developing

Our first Shoot, Develop & Print Workshop


As I write these words it’s been a couple of weeks since our first ever workshop at the Adventures on Film Darkroom and I am STILL buzzing from the experience!

Three people took part in this workshop - all of whom had shot with film in the past but were looking to get back into it, brush up on their skills and learn some new ones too.

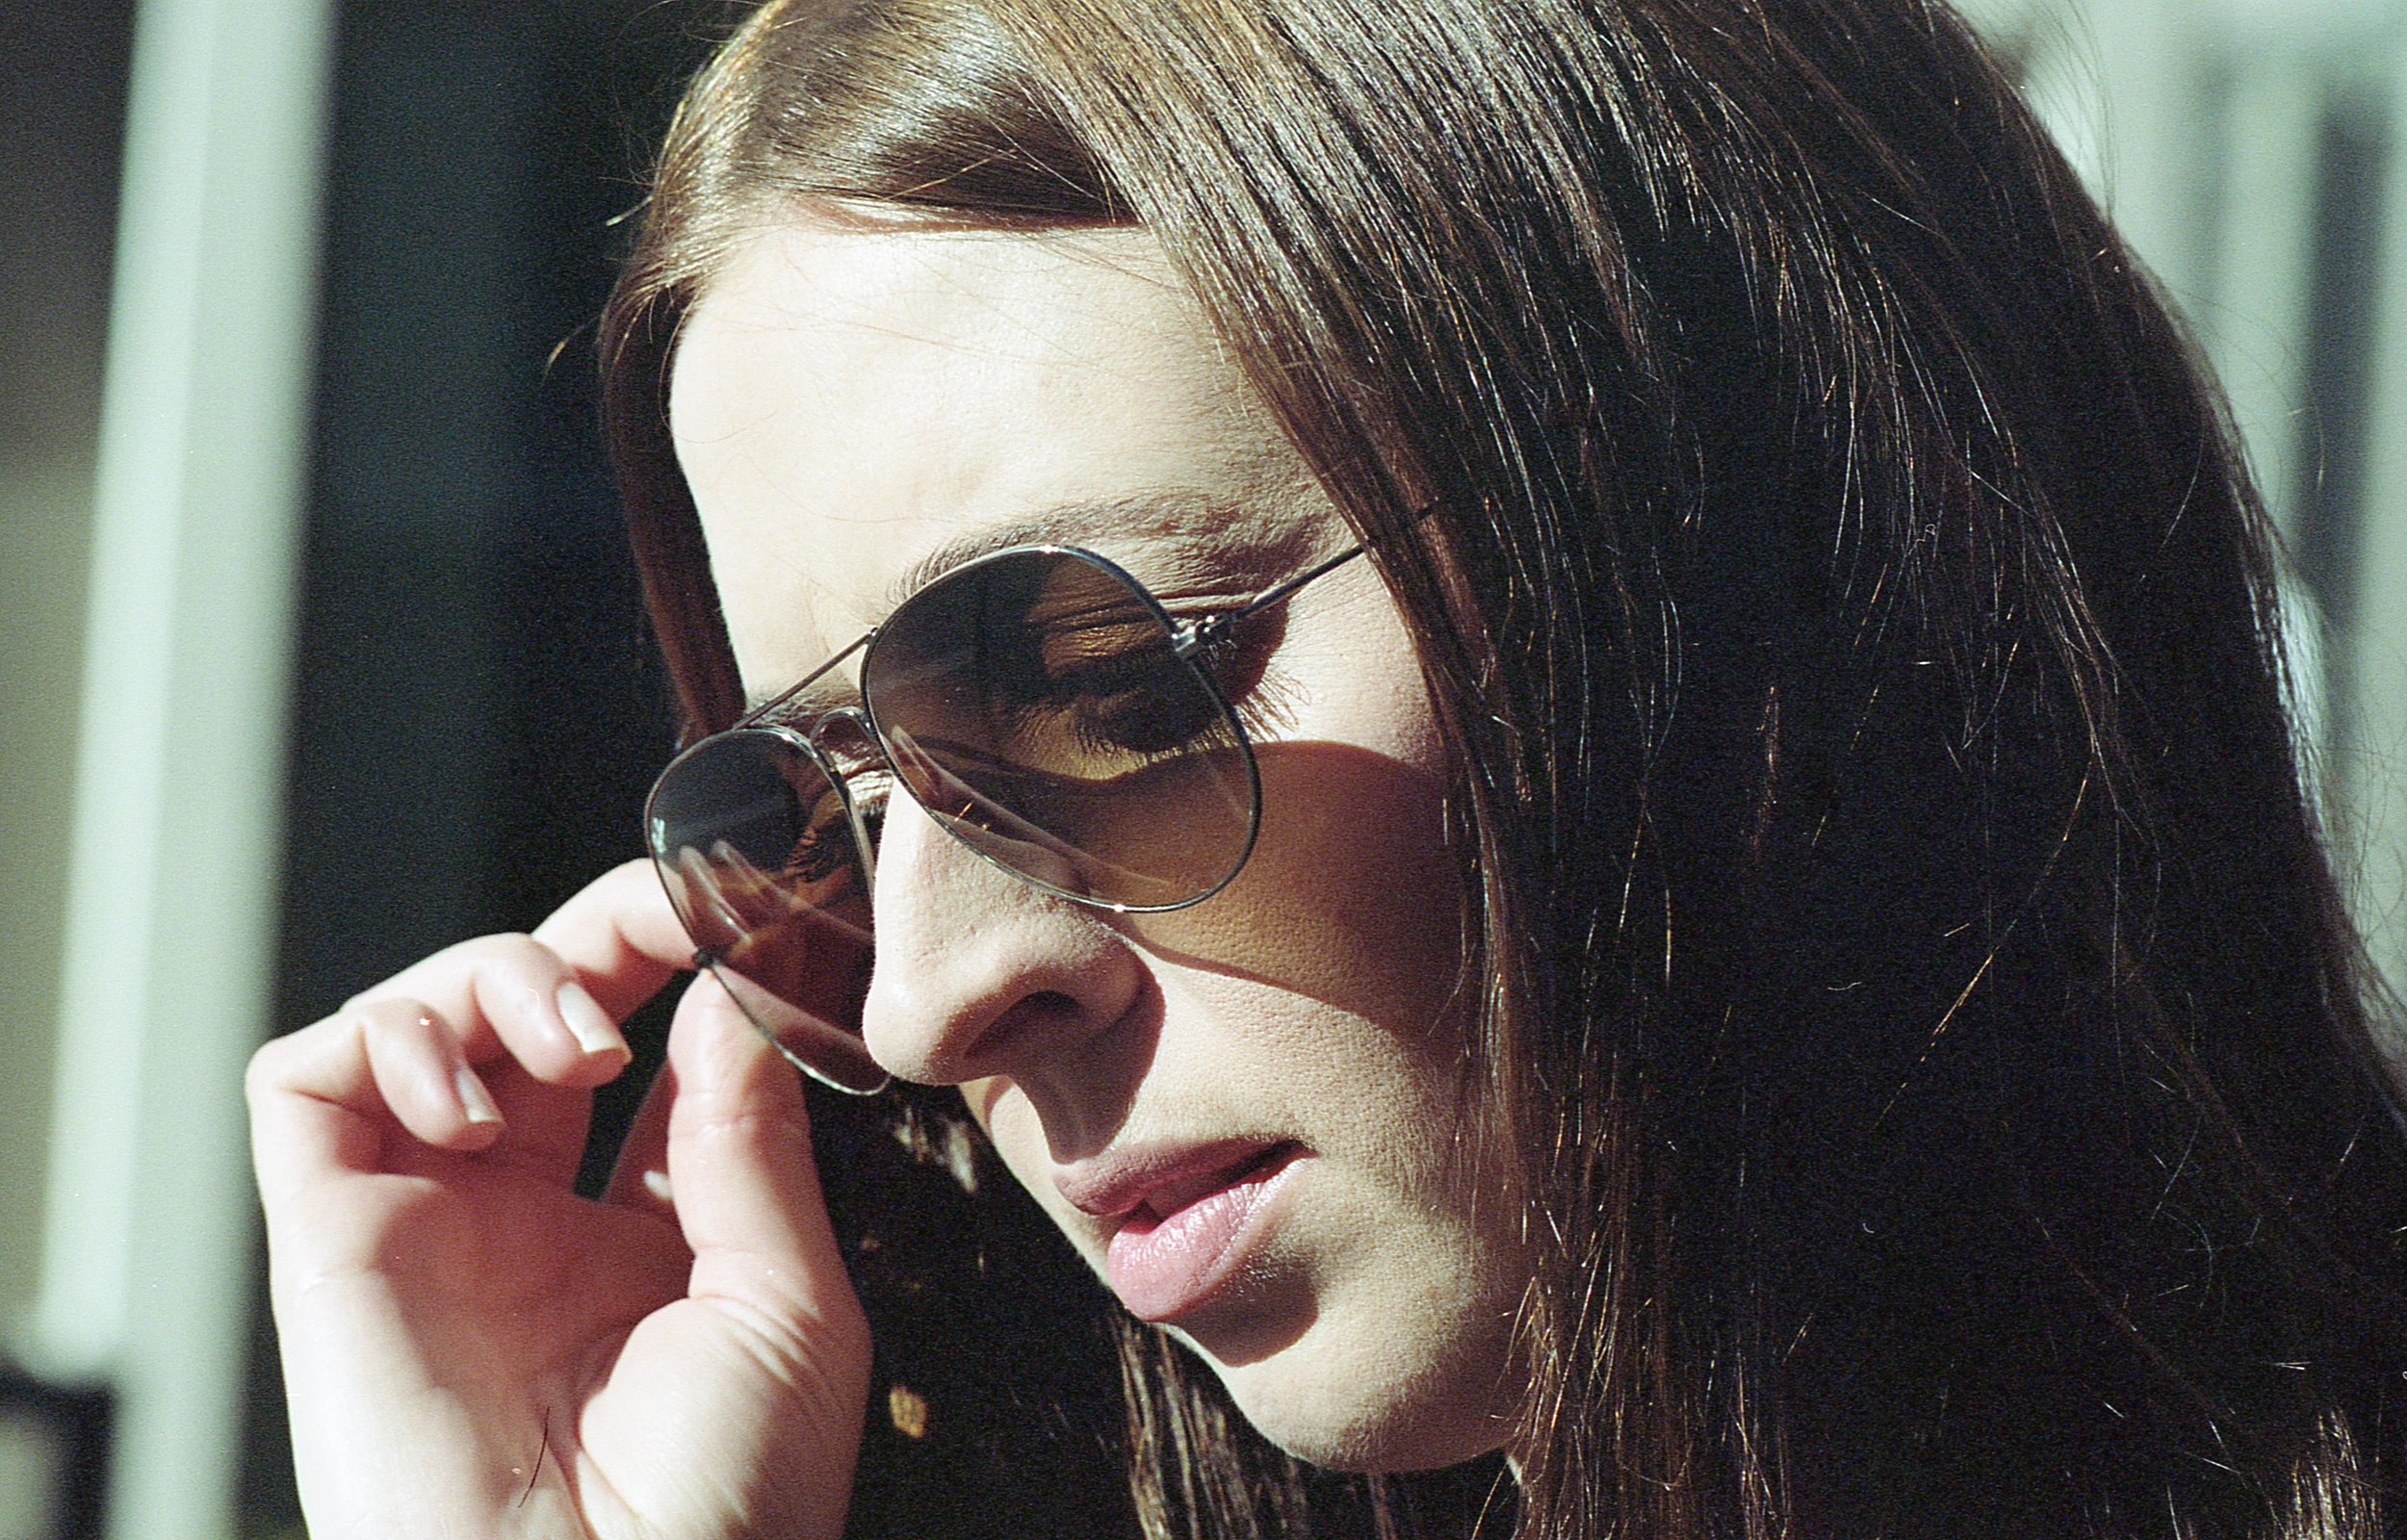
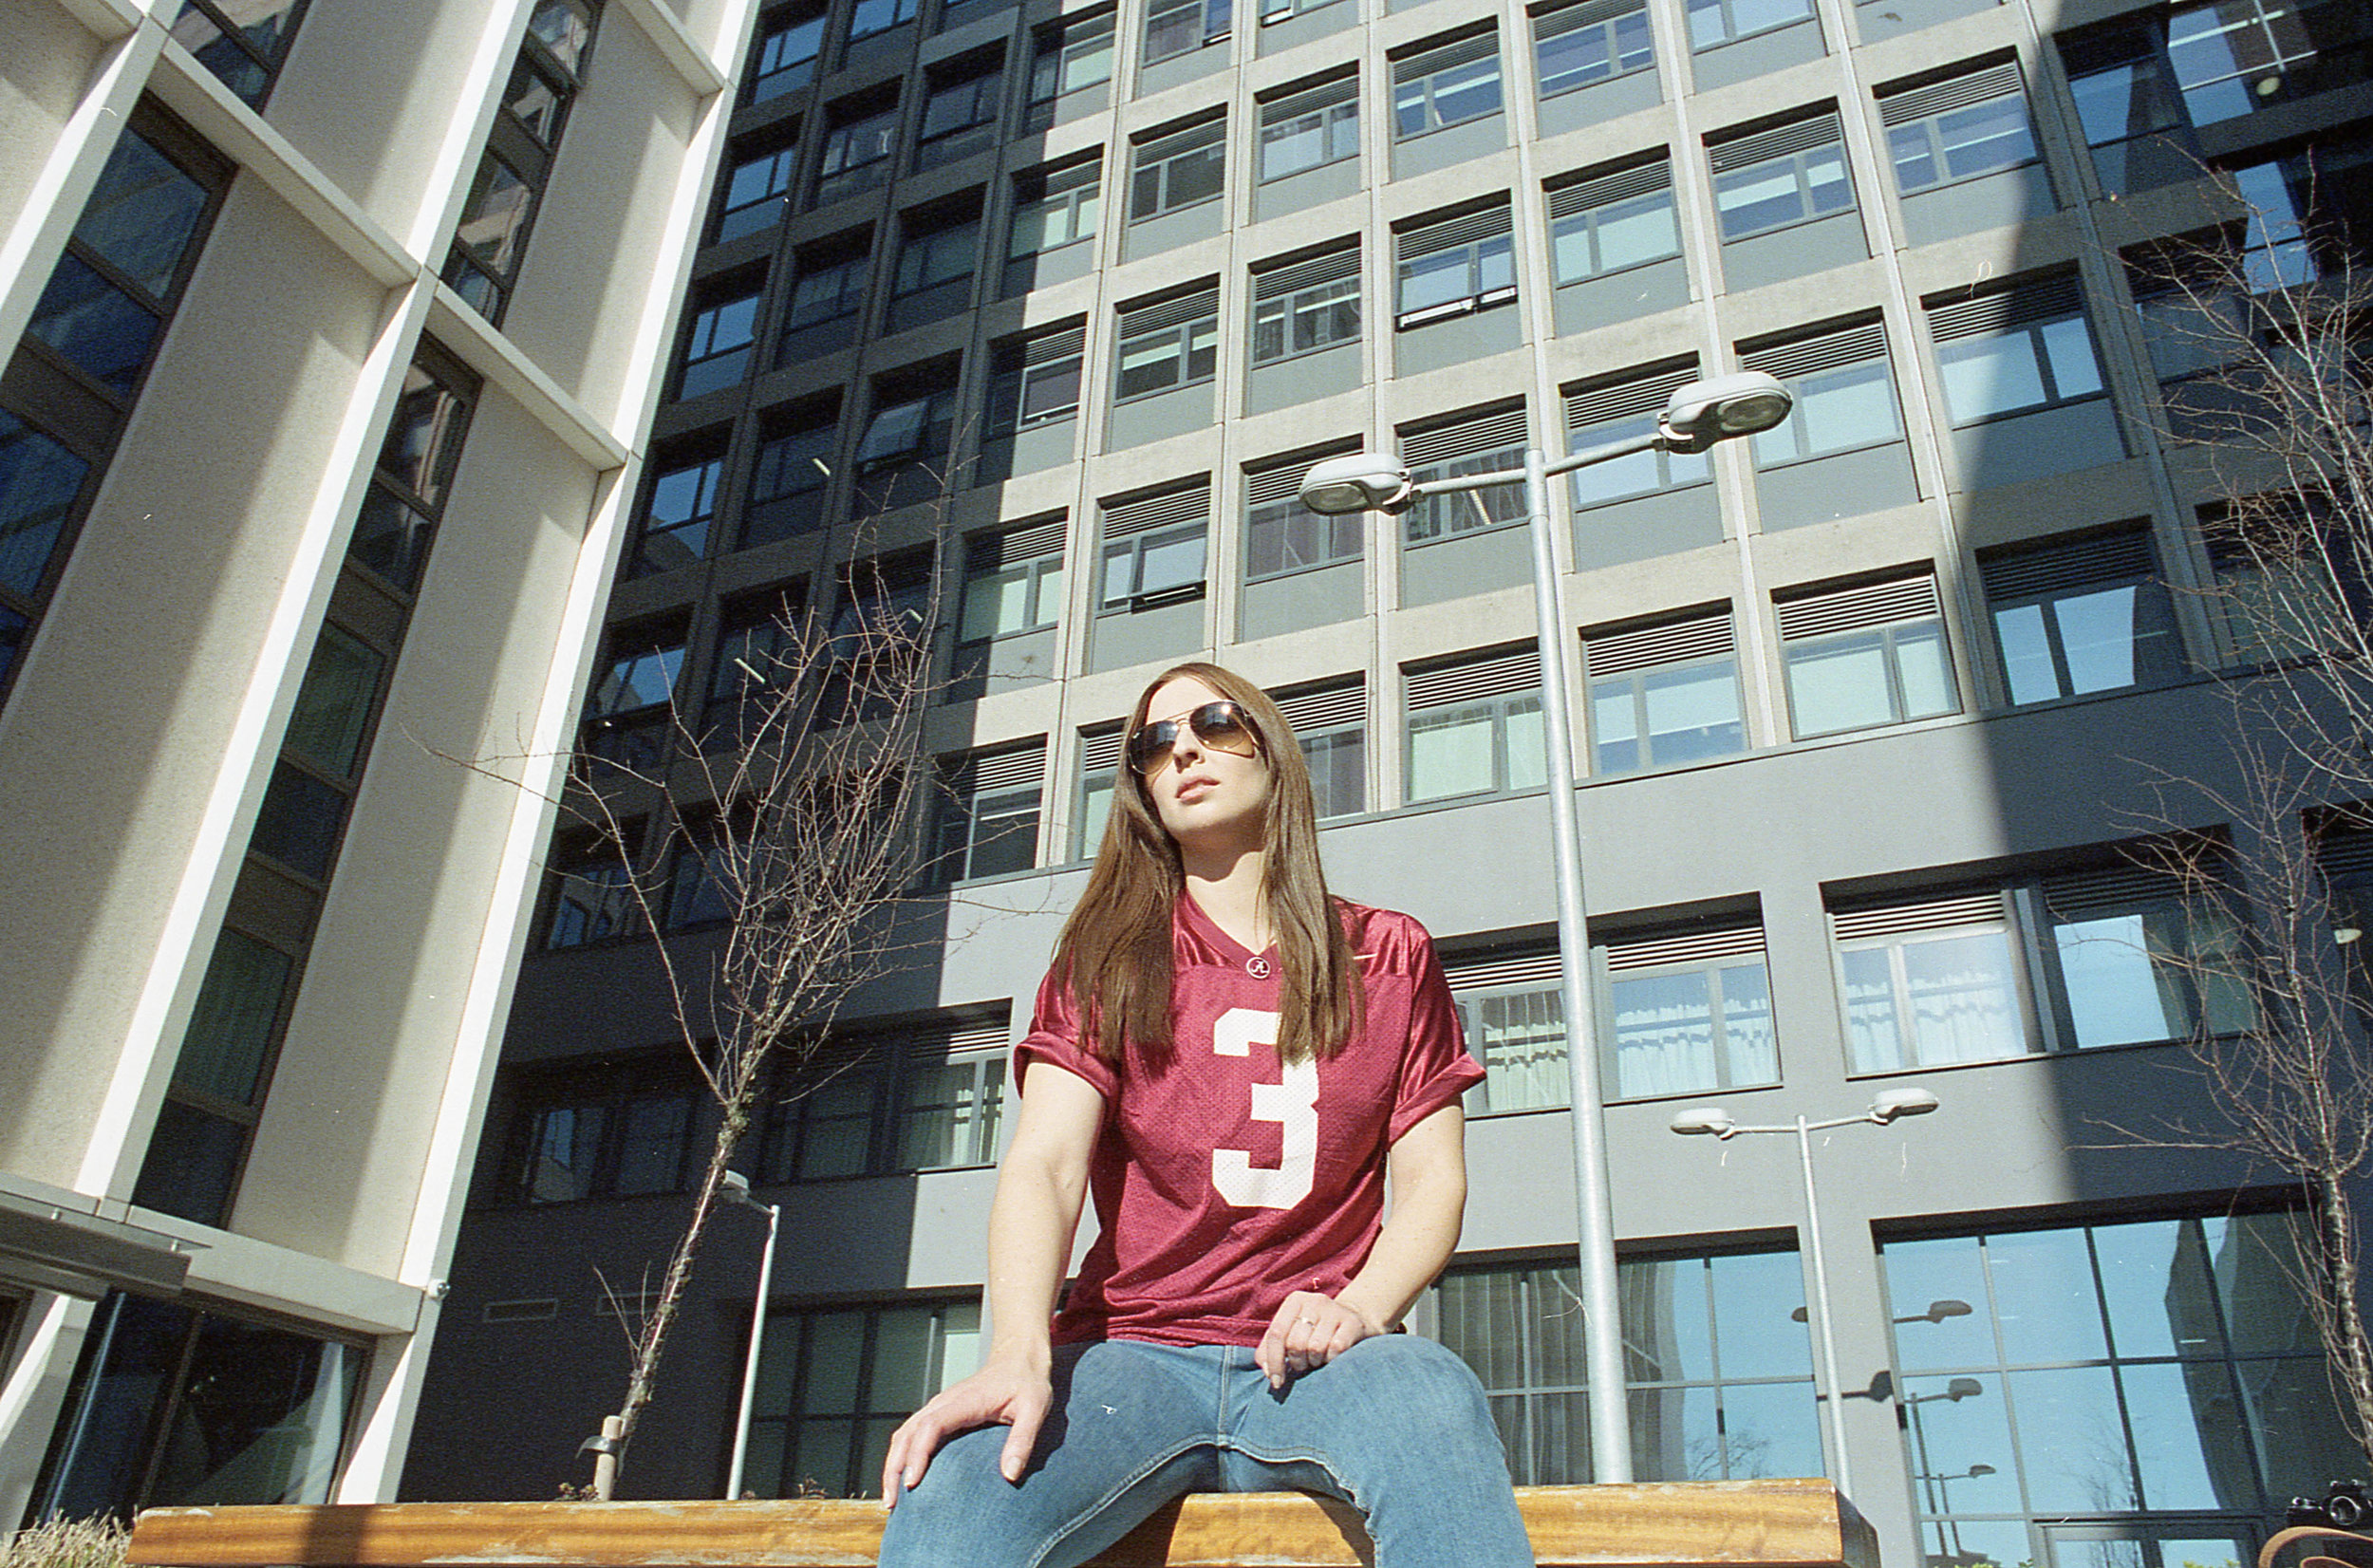
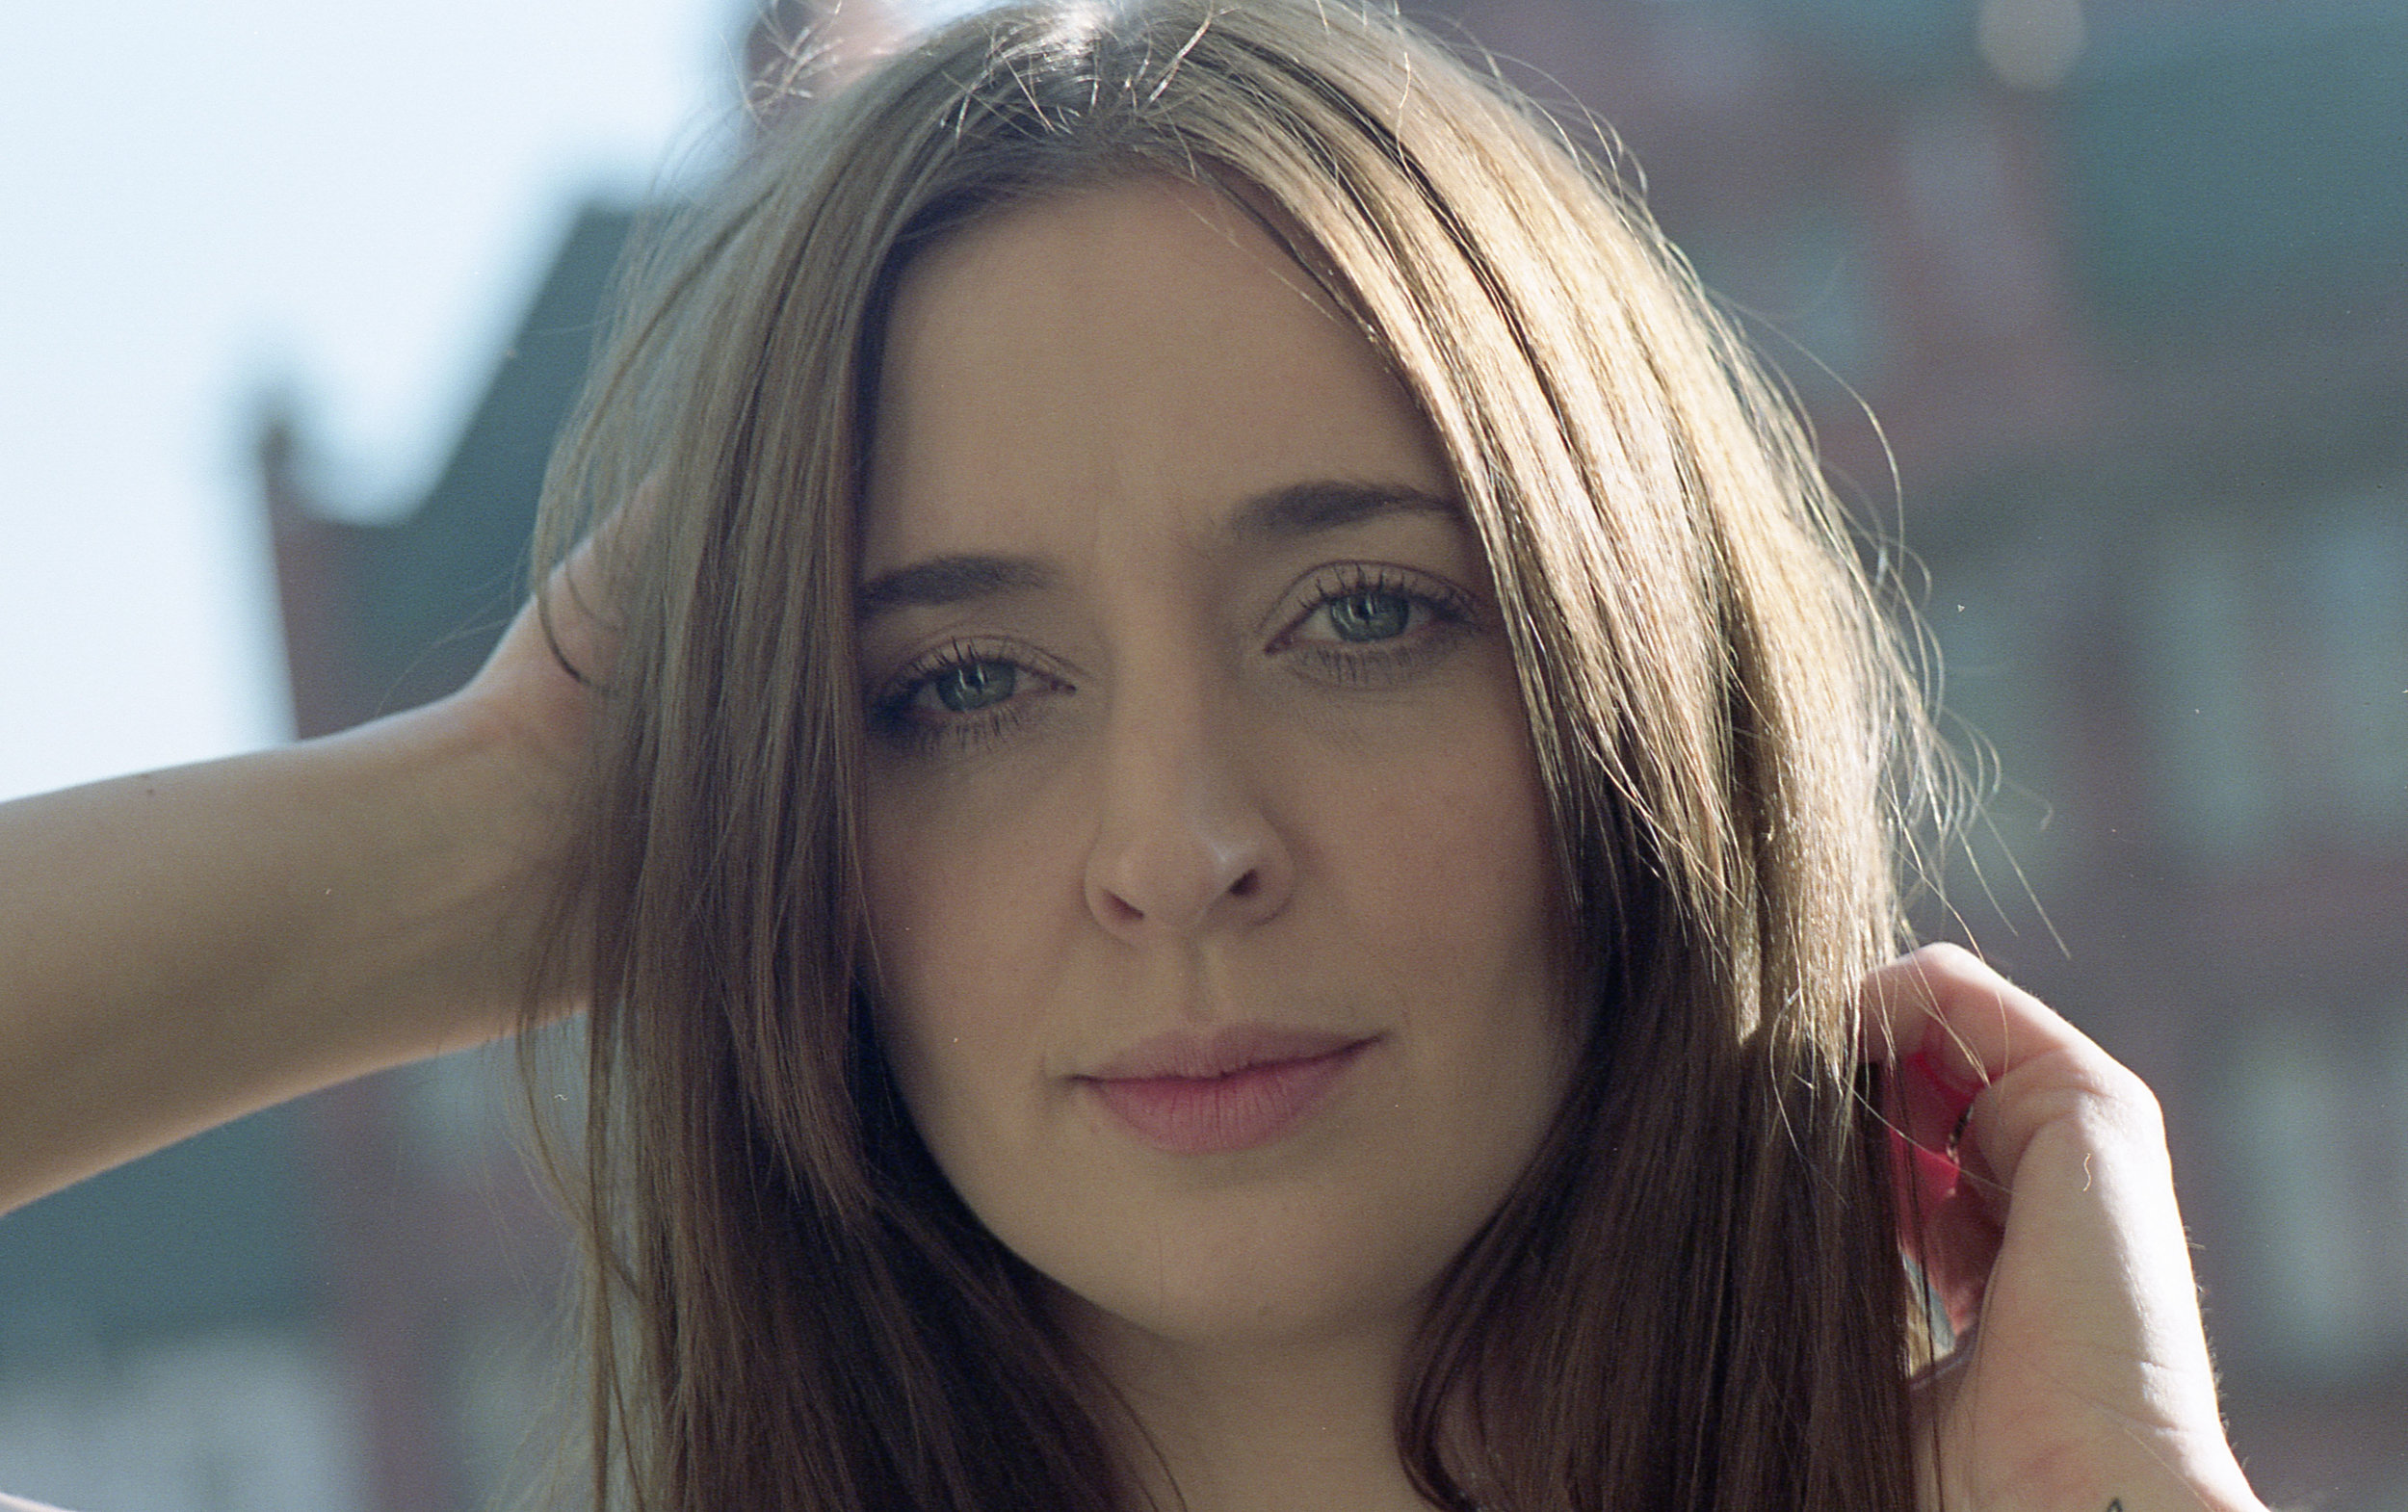
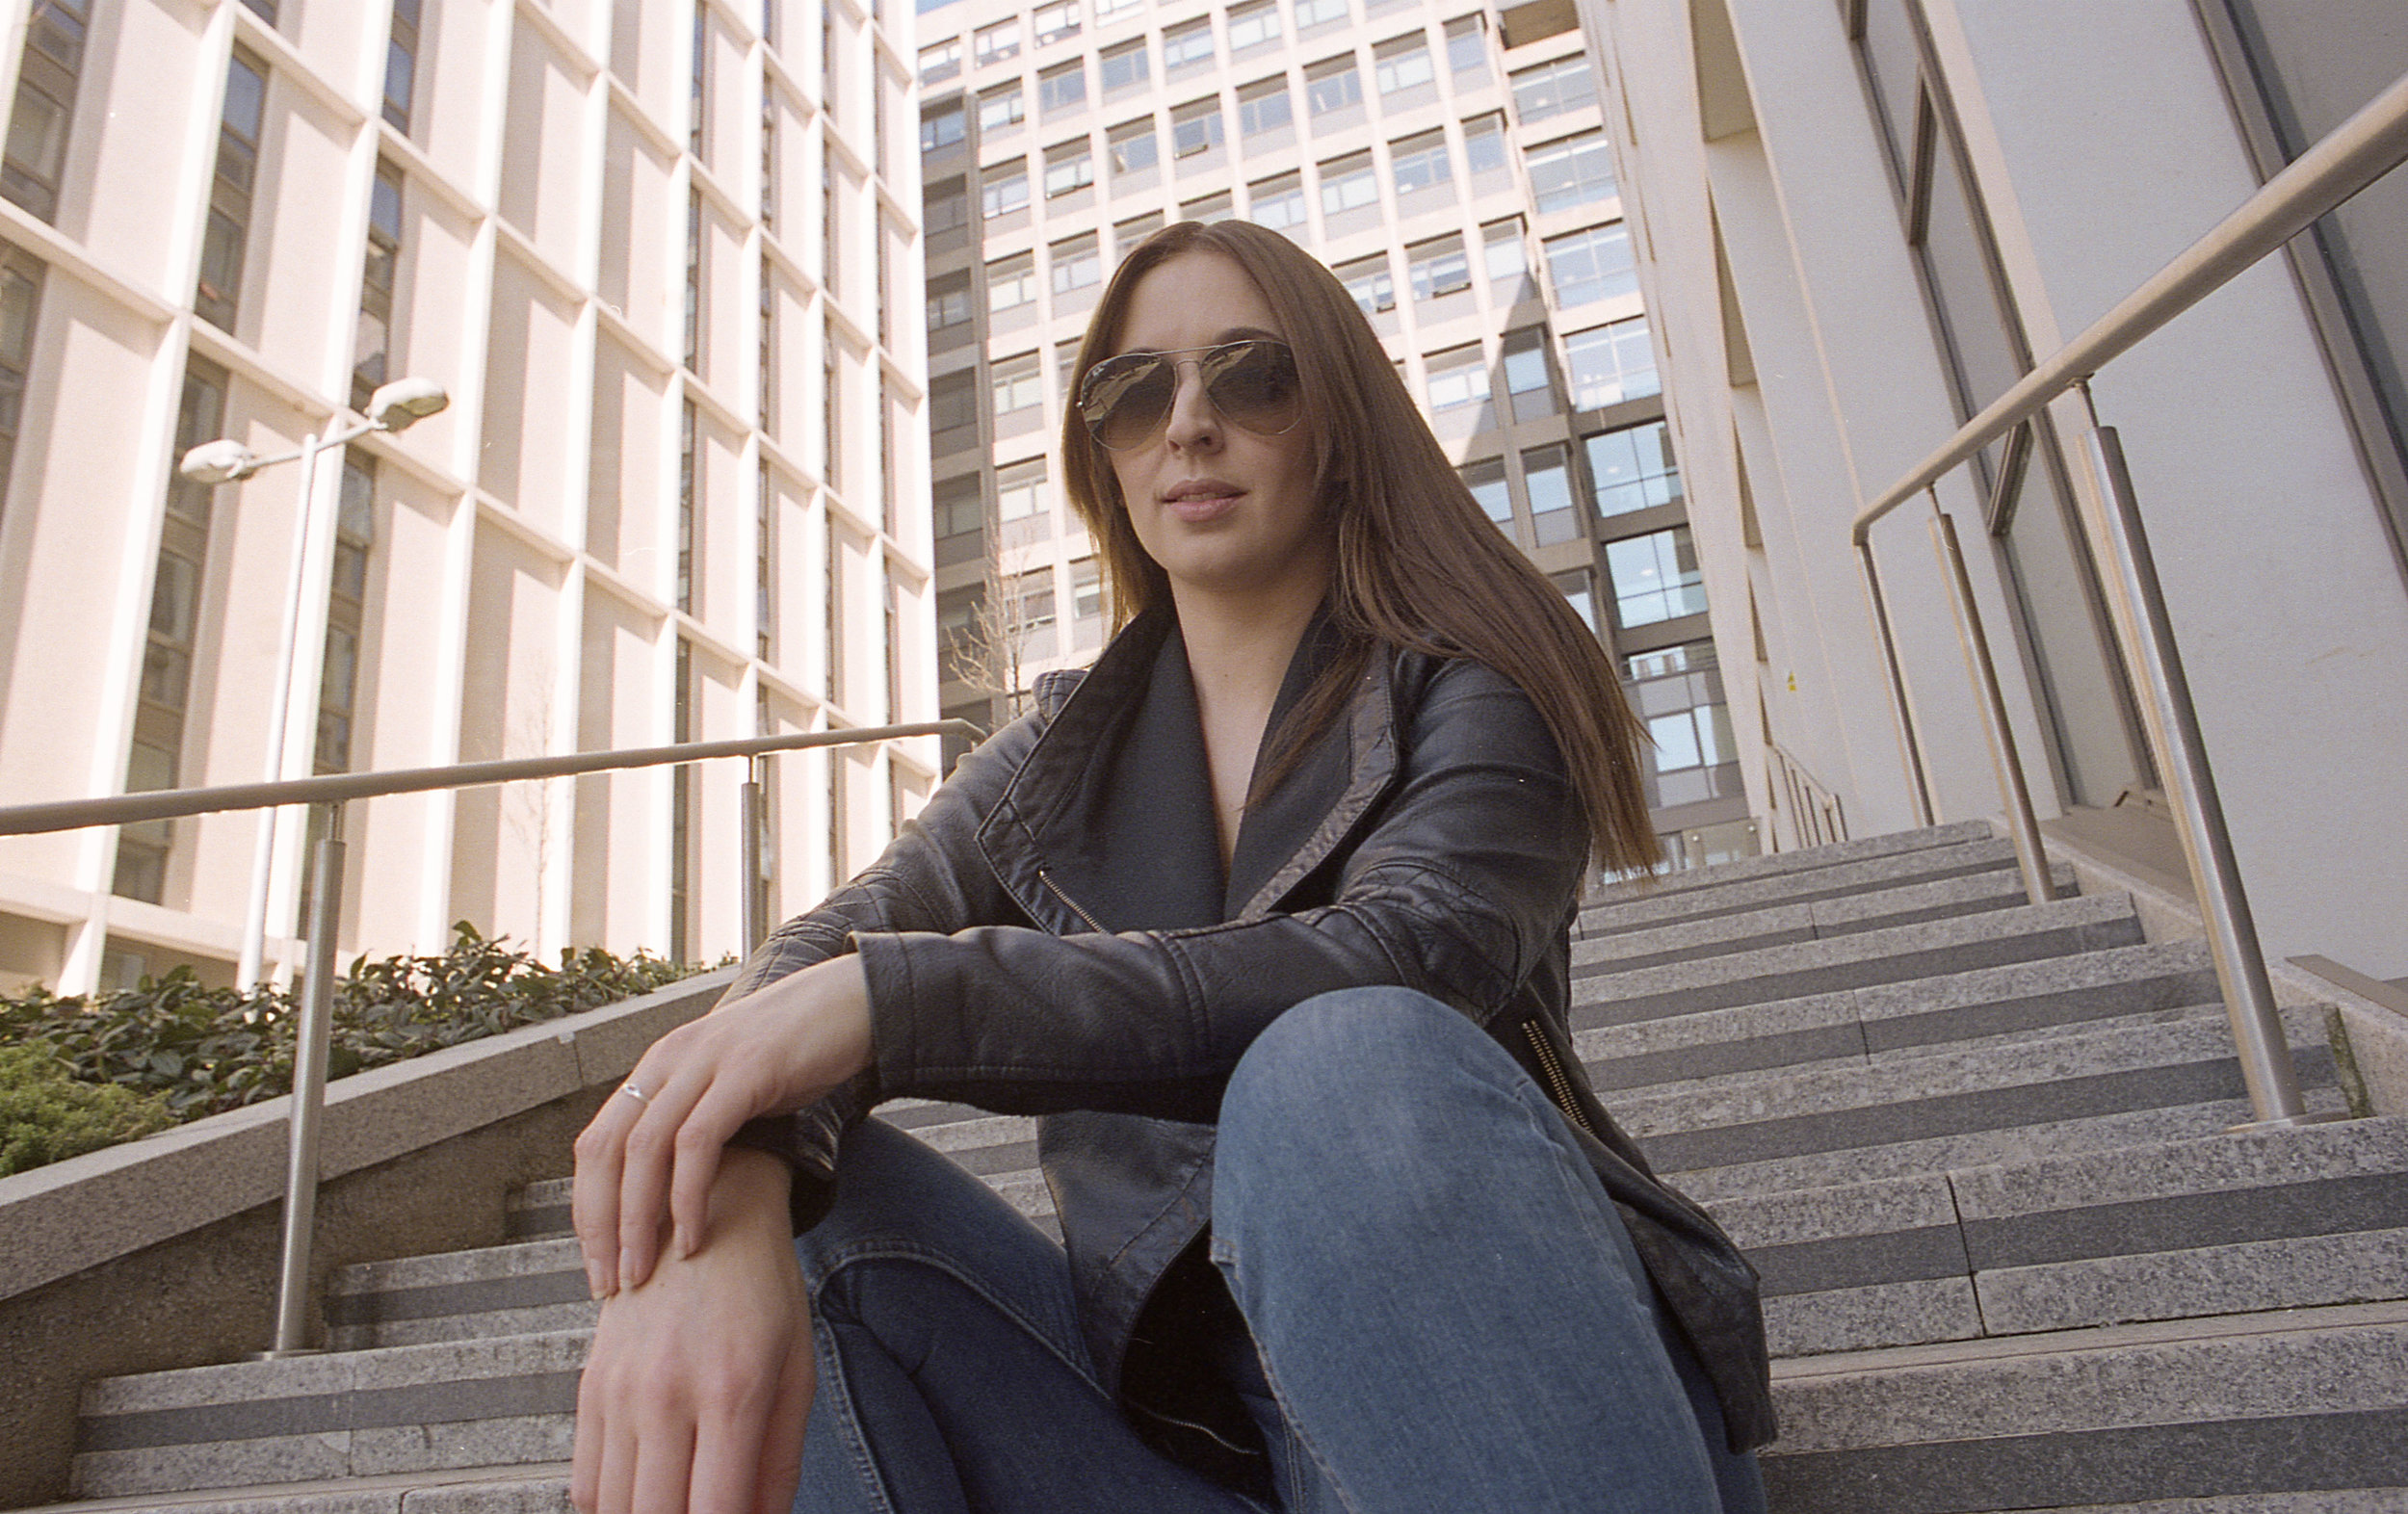
The format for the day was a location based portrait shoot with our wonderful model and long time creative collaborator Danni, after which we then went into the Darkroom to develop our film and create some prints.

You’ll have no doubt noticed the preponderance of video in this blog - yes friends I’ve recently rejoined Instagram after a long hiatus - I have been enjoying creating some video reels of our workshop shenanigans! Give us a follow HERE

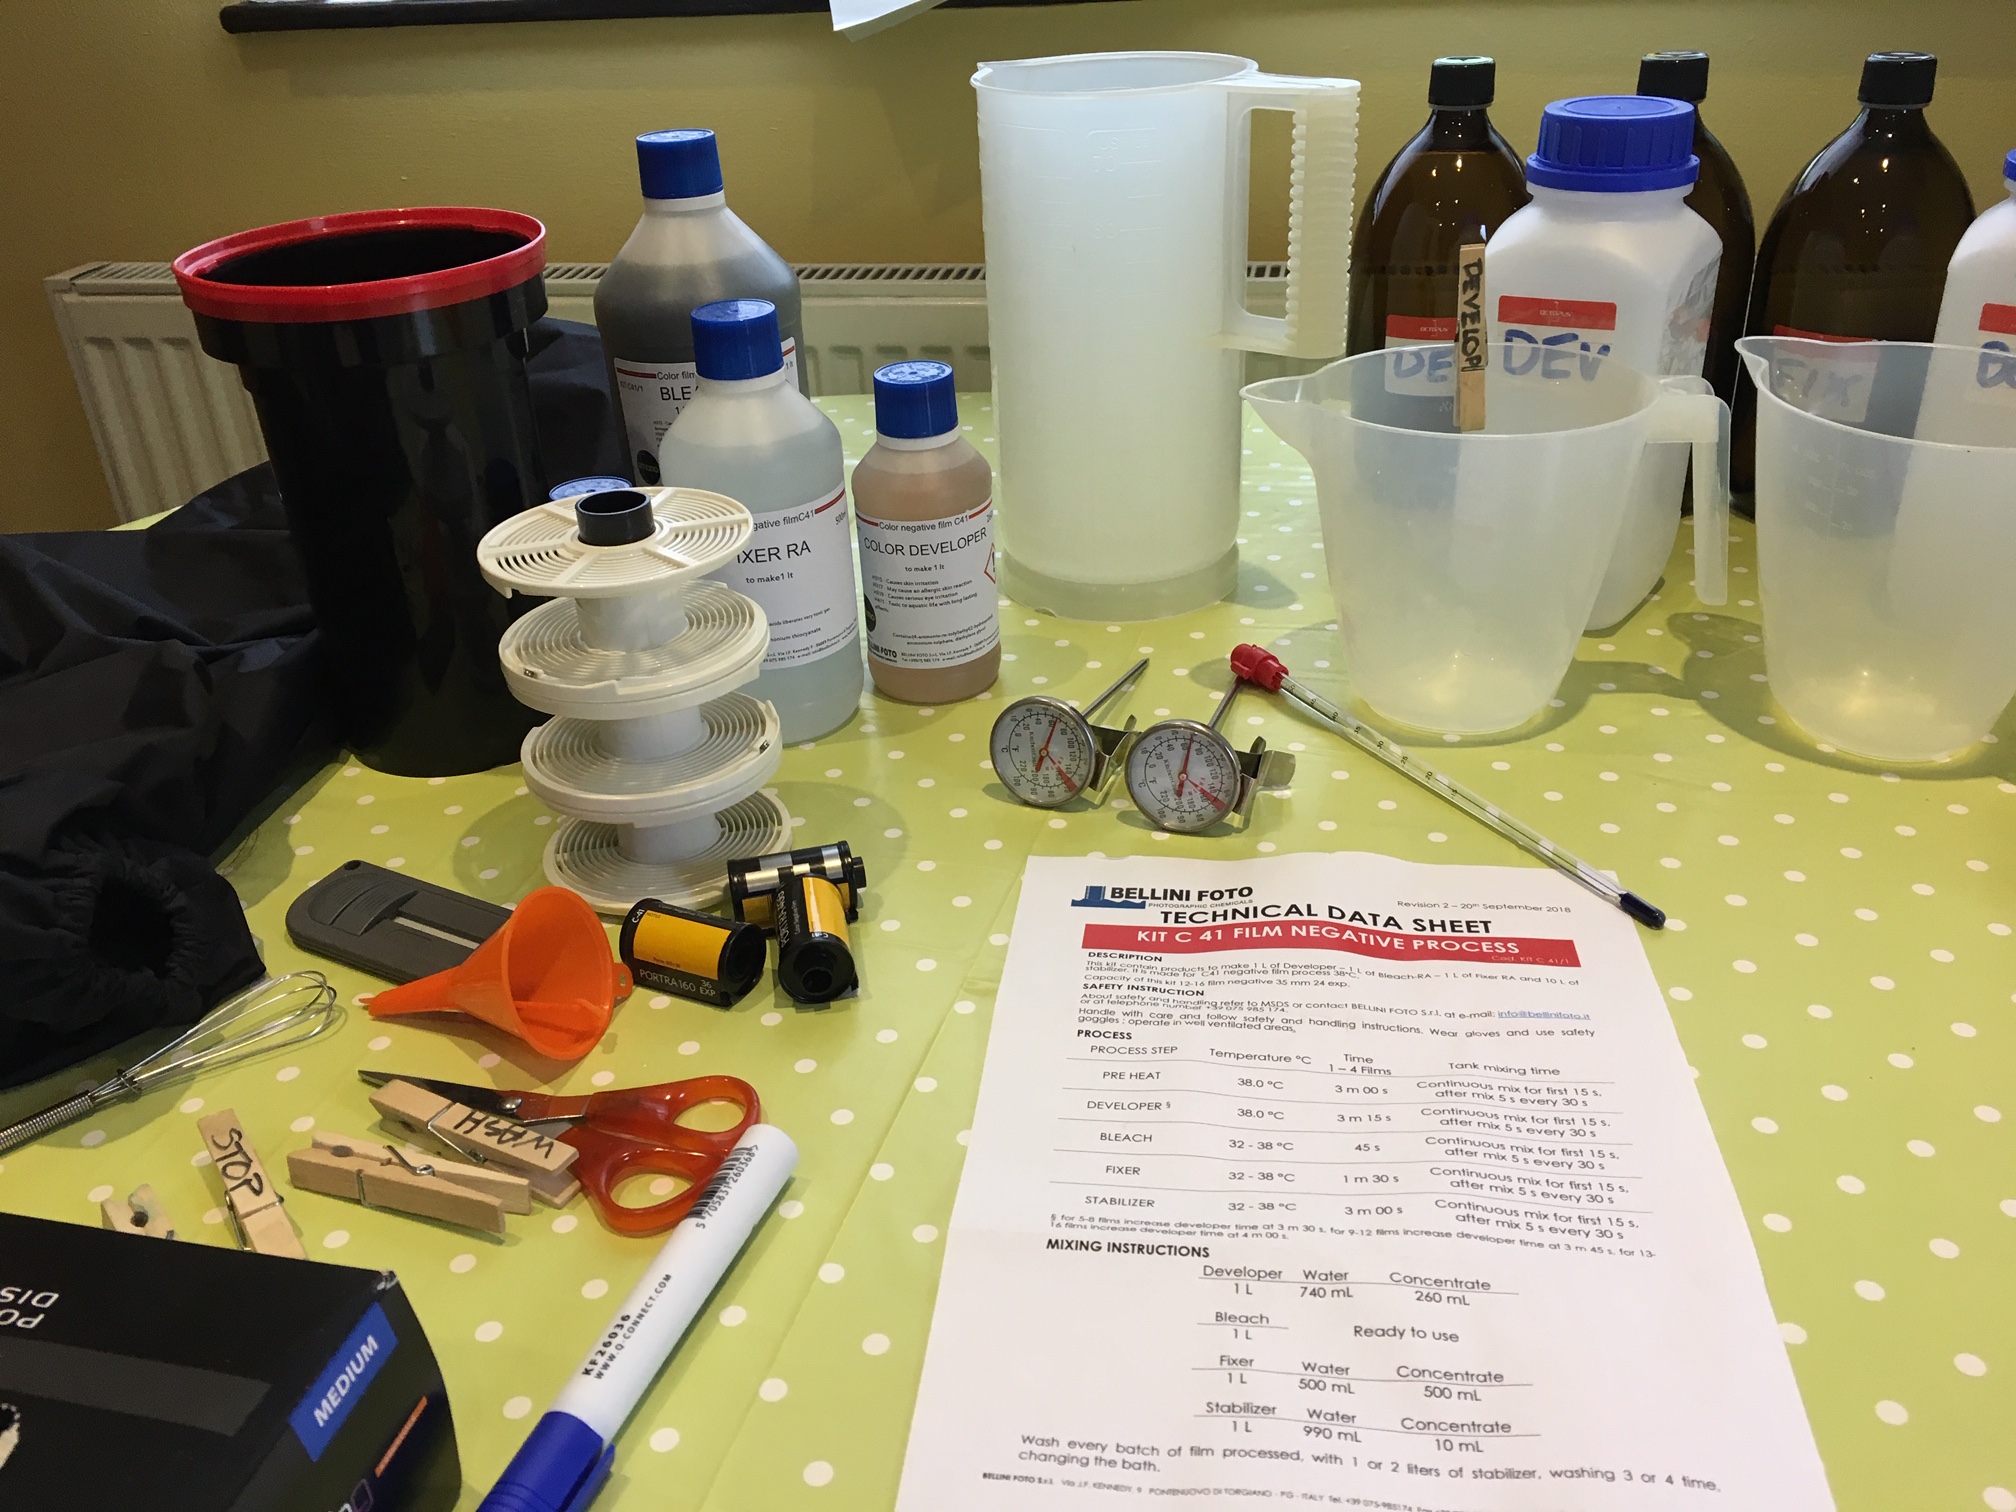
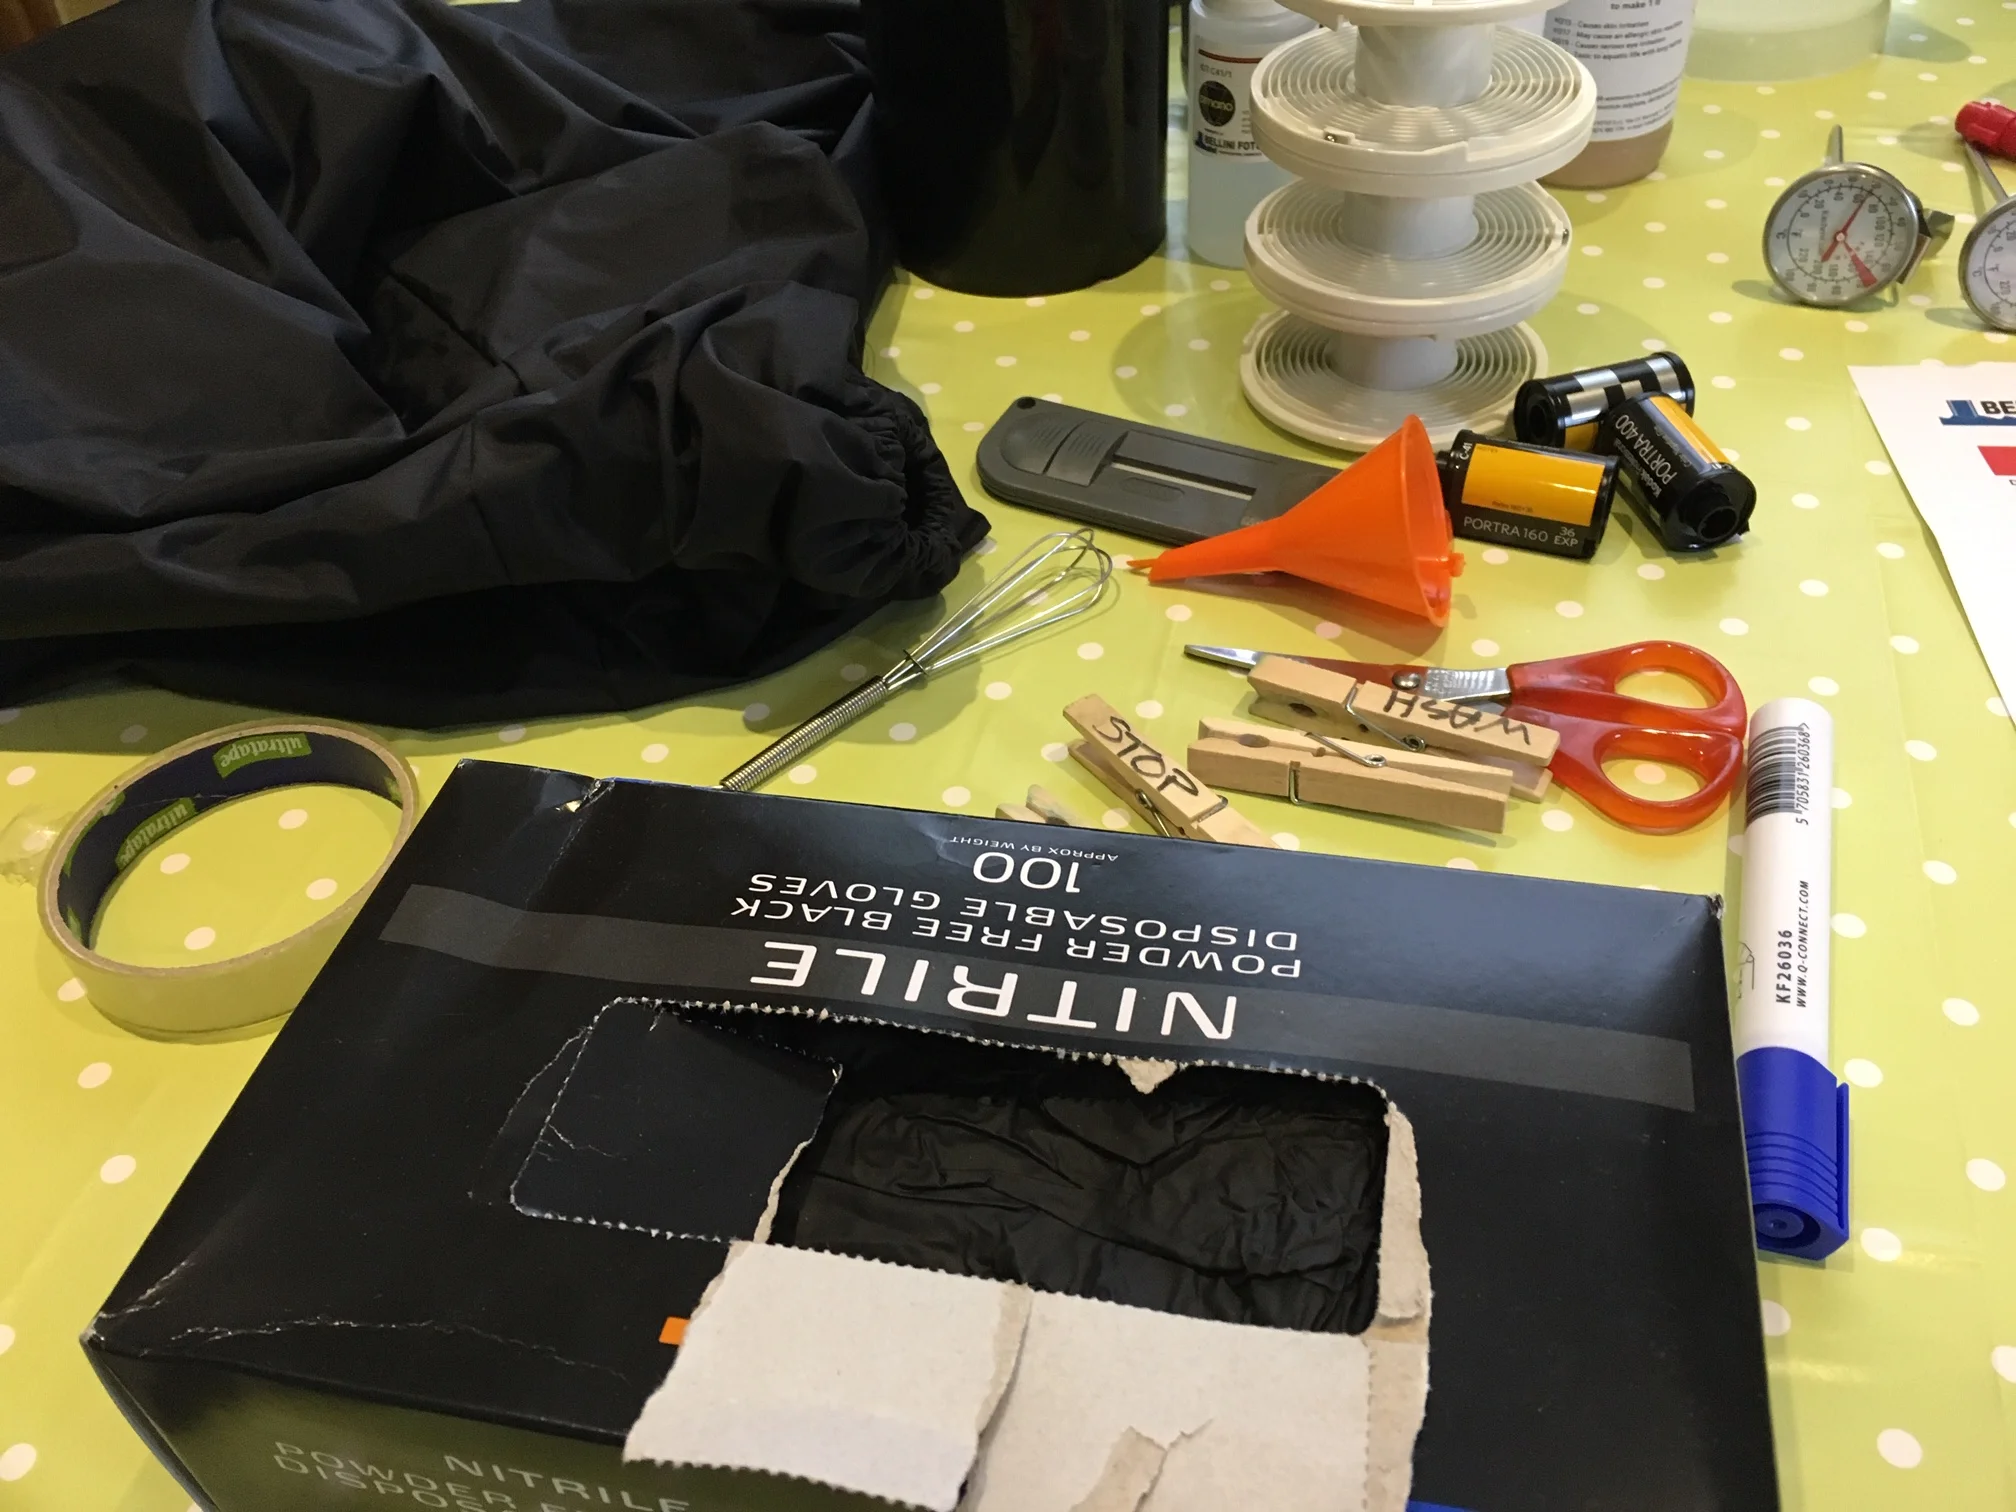
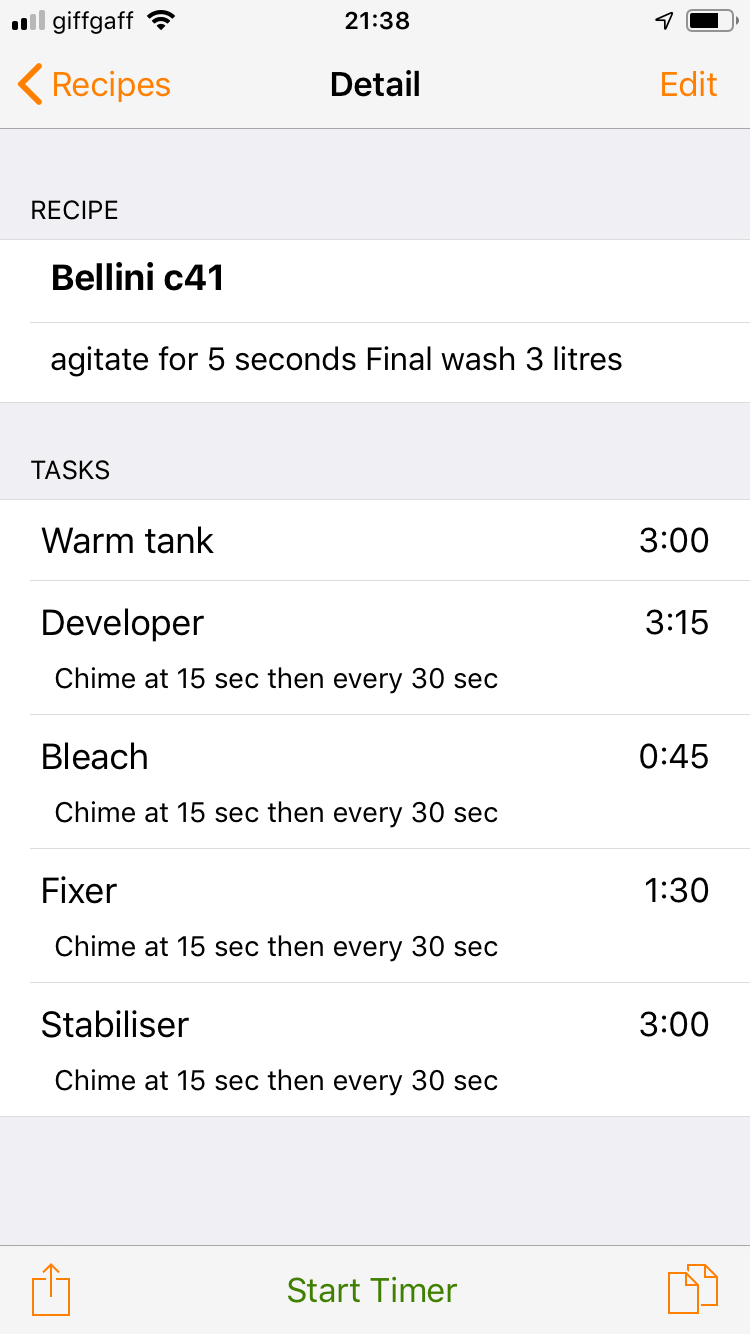
A lot of work went in to getting the darkroom ready to welcome our first guests and we had a wonderful day together shooting portraits, developing the film and making some prints.

A huge thank you to Gary, Andrew and Damian for taking part and of course to Danni for being such an amazing model and to Jony Hunter for shooting the video and BTS shots of the day!

We’re going to be organising some regular workshops beginning in the new year covering so watch this space for details and if you’re interested in taking part then please see HERE for more details or get in touch via email info@chrischinnockphotography.com

Review of the Bellini Foto 1 Litre C41 development kit

IMG_0381.JPG

I realised recently that for someone who says that they don’t shoot much colour film, I shoot a LOT of colour film! In fact over the last 12 months I’ve been shooting colour film stocks more and more regularly - so much so that i finally decided that developing colour at home was a viable option. This was something that I’d done once before a couple a few years ago but I found the results less than impressive and the chemicals difficult to handle, short lived and therefore expensive.

So having cast about for a suitable kit to get back in the colour film developing game I landed upon the Bellini Foto C41 kit purchased from Nik & Trick Photo - you can find the kit HERE - I must stress at this point that I am not being paid (or to cut out the middle man, sent free film) to say nice things about the Bellini Foto kit, this is my genuine honest feedback on the kit (spoiler alert: I think it’s ace) these are just my thoughts and experiences using it. Likewise I’m not being paid to promote Nik & Trick Photo either (spolier alert: I think they’re ace too) they’re a great independent film retailer and champion of all things film, so I am a champion of all things them! ok now all that is out of the way - on with the blog!

IMG_0382.JPG

There’s quite a bit involved in todays blog in which I’ll focus on five things:

1: An overview of the Bellini Foto kit

2: The additional bits of equipment I used

3: My approach to developing

4: Scanning the negatives and the results

5: Conclusion

I think that people (myself included) can be a bit put off colour developing because it’s a bit more of an involved process which is true to a point, but really if you can develop black and white (HERE is a blog i prepared earlier on that subject) then really you can do colour - the key aspect which always gave me pause for thought with colour developing was the short shelf life of the chemicals themselves, with the previous kit I’d used lasting about a month which for my purposes is not long enough - happily there is a solution to this problem which I’ll explain later on, first let me show you what’s included in the kit.

IMG_0383.JPG

1: An overview of the Bellini Foto kit

The kit i used is the 1 Litre version and comes supplied with Concentrated Developer, Fixer and Stabiliser plus a ready to use bottle of Bleach, mixing the concetrates is very simple as you can see from the instructions pictured above that are included in the kit.

You get enough developer and fixer to make 1 litre working solutions and loads of stabiliser - enough to make 10 litres! more than enough - which is good because I promptly spilled half of my bottle of stabiliser on the kitchen floor! :(

The key thing with developing Colour even more so than Black and White is to ensure you keep water temperature at a constant 38 degrees, it’s critical in fact!

IMG_0385.JPG

It’s worth stating at this point that whilst none of these chemicals are any more dangerous than stuff you have under the kitchen sink, since you are working directly with the chemicals then gloves are essential, as is working in a well ventilated room - this goes for black & white and colour developing - safety first folks!

IMG_0384.JPG

2: The additional bits of equipment I used

Getting the Bellini kit is one thing but getting set up to develop colour film you’ll need a few extra items (I’m assuming here that you already have all the kit and caboodle required for black and white such as a developing tank,reels, changing bag, measuring jugs, thermometers etc ) I’ll list the colour developing specific items and provide some explanation of their use along the way:

Sousvide - yes I had no idea what this was until i started looking into colour film developing either!! its a tool used for heating up water for cookery (madness i know) i bought mine for £25 off amazon (other megaretailcorps are available) you can see it pictured on the left below, it’s the U-bend shaped thing which clips to the side of the container and heats the water up. I guess it’s not absolutley essential to have and you could control water temp with a kettle of boiling water I suppose but for me the sous vide just takes all the hassle out of this aspect of the process, you set the control to 38 and wait for the it to do it’s thing - it will then keep the water at that temperature as long as you require.

IMG_0387.JPG
IMG_0390.JPG

Water Bath - Heating the water up in a water bath so that you can then heat your chemicals up to the required temp, as you can see from the pictures I used an old plastic box that we had knocking about in the shed, works perfectly!

IMG_0388.JPG

Wide neck bottles - you can see them pictured above, chemical storage bottles with nice wide tops for quick pouring, and plastic for ease of use, you could use empty pop bottles if you like but these were cheap enough and cost me £10 for a set of five.

IMG_0382.JPG

Glass storage jars - ok so these I bought to store the chemicals in when not being used, you can see them pictured above at the back of the photo. I got them from Nik & Trick along with a little vaccum pump and rubber stopper thingys (I think they’re supposed to be used for keeping wine fresh but clearly they serve a much better purpose here) fill the bottles with your working solutions of developer, fixer and Bleach - then using the vaccum pump and rubber stopper you pump all the remaining aire out the stopper seals the bottle et voila, your chemicals should now be good for approx 6 months or possibly even longer! definitely worth getting unless you shoot loads of film and can develop regularly so you won’t need to store stuff for long

Funnels - you’ll be pouring chemicals from bottle to bottle and then into developing tank and back into bottle - get yourself some funnels, label them so you keep things seperate

Theremometer - i have a glass photographers thermometer which is nice and accurate I used this to check on the temperature inside my developer bottle during heating

IMG_0393.JPG

3: My approach to developing
Step by step instructions are included in the kit and there are a number of different steps required in this process and the timings are quite short so you need to be on your toes and paying attention to whats going on, especially when trying out a new process - for me having something like the Massive Development App to guide me along my way during development is usually my preferred app but unfortunatley whilst in all other aspects the the Massive Development App is amazing, it is actually completely RUBBISH at creating custom development procedures, I mean it’s possible to do but it’s very clunky and not as good as it could be….fortunately for us there is another cheeky little phone app out there which can help, it’s called Develop! and it’s great!

It allows you to easily custom build a film developing process with timings and agitation cycles - you can then press ‘play’ and the app will give you a visual guide to keeping on track through the development procedure, lovely! I find this super helpful and takes some of the pressure off and not having to refer back to the print out instructions that come with the kit when you’re trying to keep an eye on everything else that is going on - highly recommend this app, oh and the best part? it’s free! (i think? I can’t remember now - if it did cost something then it wasn’t very much)

Following the instructions (via the help of the Develop! app) made this a very enjoyable process - setting everything up and getting your chemicals up to working temperature is the long part of the process, once everything is set then the whole process is over in less than 15 mins - you can see from the developing timings on the left above how long each stage takes and the agitation process required.

I messed up the stabiliser stage though - i poured the stabiliser away after use when it turns out it is re-useable for a few films before needing to be changing, this coupled with me spilling half of the concentrate as I was getting set up wasn;t brilliant either, fortunately Bellini supply LOADS of concentrate enought to make 10 litres worth so I think I’ve still got enough left for some more developing sessions with this kit

IMG_0392.JPG

4: Scanning the negatives and the results

The moment of truth! I was blown away by the results! clear and spotless negatives which allowed for lovely colours and tones when scanned - of course scanning colour film at home is an art form in and of itself sometimes, but after a little bit of jiggery pokery i was able to get the colour balance i was looking for (I won’t make an already long blog post even longer by discussing the vagaries of scanning - maybe in a later blog) suffice it to say that the negatives I had developed looked great and with minimal processing work i was able to achieve some really lovely finished photos which you can see below.

For more photos from this shoot take a look HERE I developed 3 rolls of 35mm in one go - two portra 400 and one portra 160, the beauty of the C41 process is you can develop different ISO films at the same time with the same process, really pleased with how they came out, of course scanning wise I would still use a professional development service for critical or professional images as the scans are just so much better but I think for personal projects these are just great.

5: Conclusion

Ok so well done for making it this far! my conclusion? I think that the Bellini Foto kit is amazing! i was very impressed with the quality of the negatives and final images, the process was relatively straight forward and I would feel much more confident in using this next time around. I like that given the right storage that the chemicals will last a while and that they are good for approx 12 rolls of film which makes this a great money saving on having films developed professionally - that being said I do need to spend some more time creating a consistent workflow for my scanning and colour balancing to get accurate colour rendition. On some of the photos they came out perfect straight away but others did require a bit of fettling in Lightroom - which is fine - scanning colour film will defintely be a topic for another day though and I am very pleased with the results I was able to achieve on my first run out with the Bellini Kit, I would definitely recommend it.