A few years ago I tried my hand at C41 developing at home - one of the benefits of writing a blog is that I can pinpoint that time fairly accurately to May 2019 thanks to the blog I wrote about it at the time HERE
Back then in those halcyon pre COVID days I came to the conclusion that the Bellini kit was great - but I found getting a ‘good’ colour balance when scanning to be a challenge and this point me off the whole deal.
I am pleased to say that thanks to Negative Lab Pro I have finally found a means of scanning which achieves results I am happy with and I wanted to share my thoughts on using it.
I wont retread ground I’ve already covered in the previous review HERE using the Bellini kit suffice it to say that having used it again recently I highly recommend it for a C41 developer as it’s just so simple to use compared to others I’ve tried (Tetenal & Rollei) and now that I have a darkroom space of my own it’s much more practical for me to do regular film developing (yay)!
Negative Lab Pro is a plug in that integrates with Lightroom, it works fairly intuitively and allows you to experiment with different settings to achieve the correct results - what I struggled with in the past was spending ages in Lightroom trying to get a good colour balance (and most often failing to get one) with Negative Lab Pro I have found that you can get a lovely colour balance pretty much off the bat, you can quickly make any adjustments that you see fit and voila - you’re done!
There are lots of great resources available via Negative Lab Pro themselves which relate to all the different aspects of the scanning process so rather than repeat them I’ll post some links - there’s a specific resource for using the Epson V600 which can be found HERE and it seems there’s a community of users built up around different methods with chat boards for questions and solving issues.
One of the best features I found is that you can download a trial version which gives you an opportunity to process up to 12 negatives - being able to try before you buy in this way was great, the results were so good I was hooked!
So enough waffle then, I think the images can speak for themselves - in terms of process I followed the instructions laid out in the link above and found the whole experience to be quick and painless (for film scanning anyway) I definitely feel that I have some more to learn about the different settings available and will experiment more as time goes on.
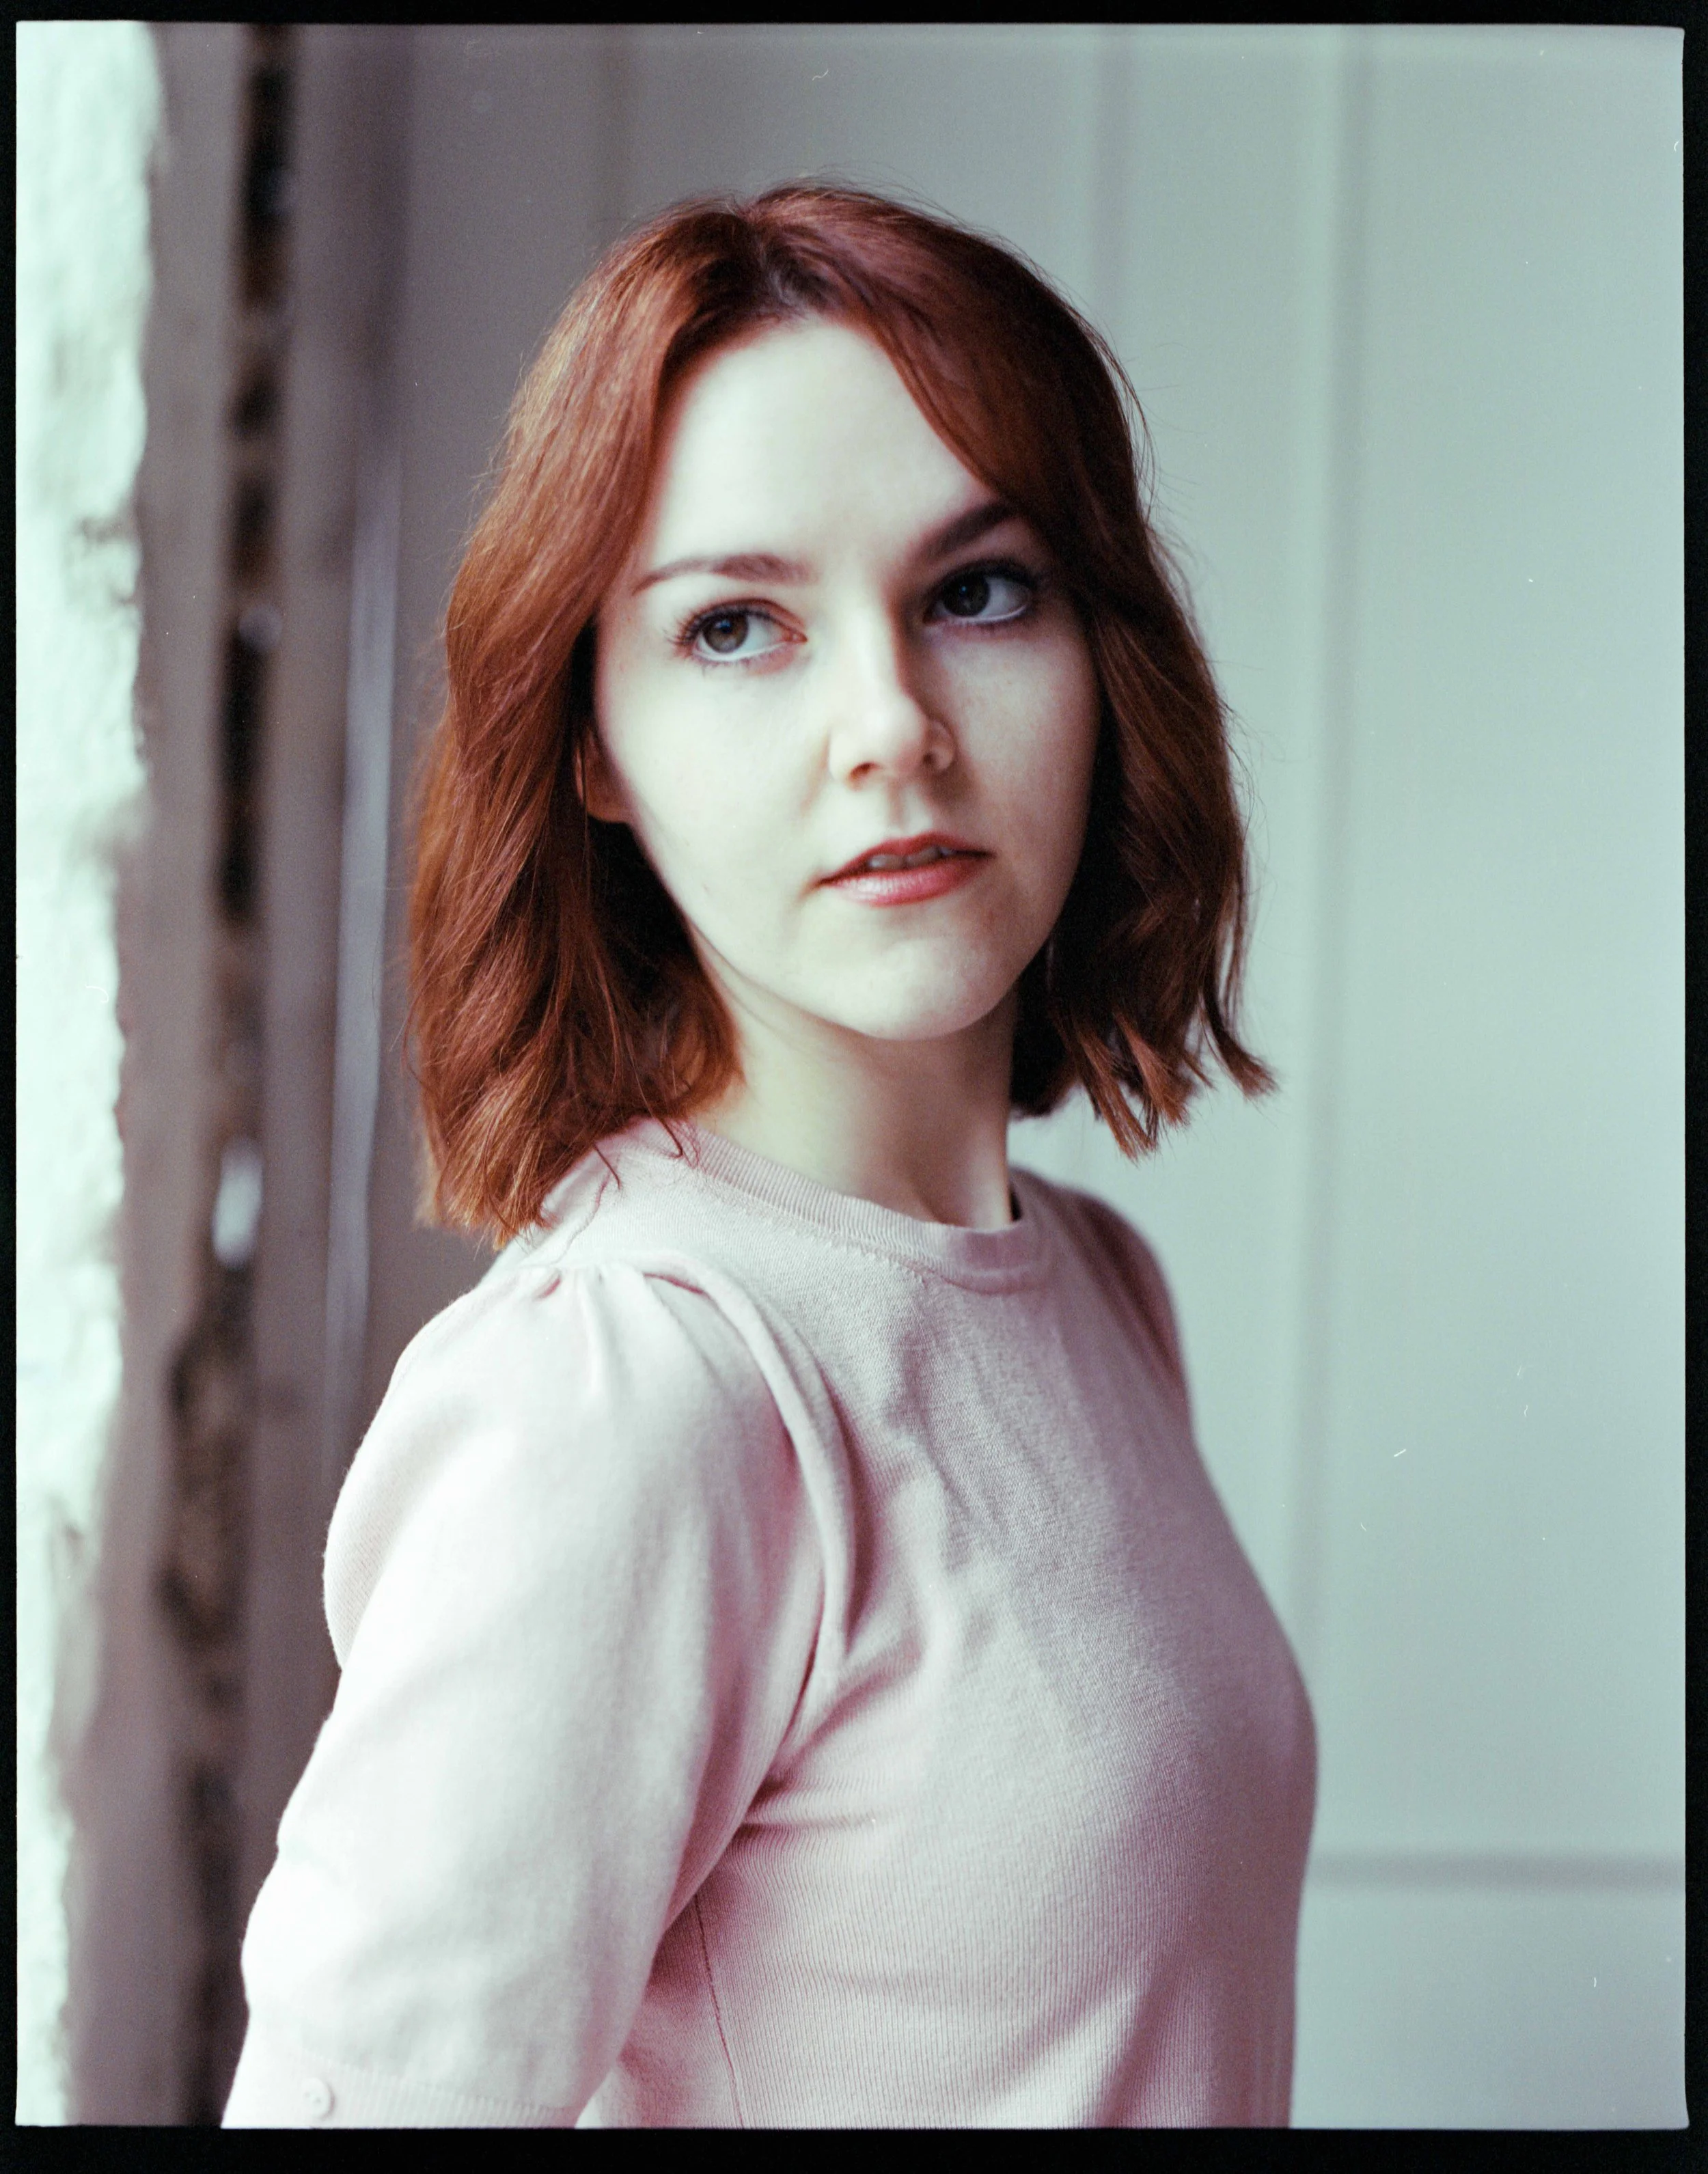
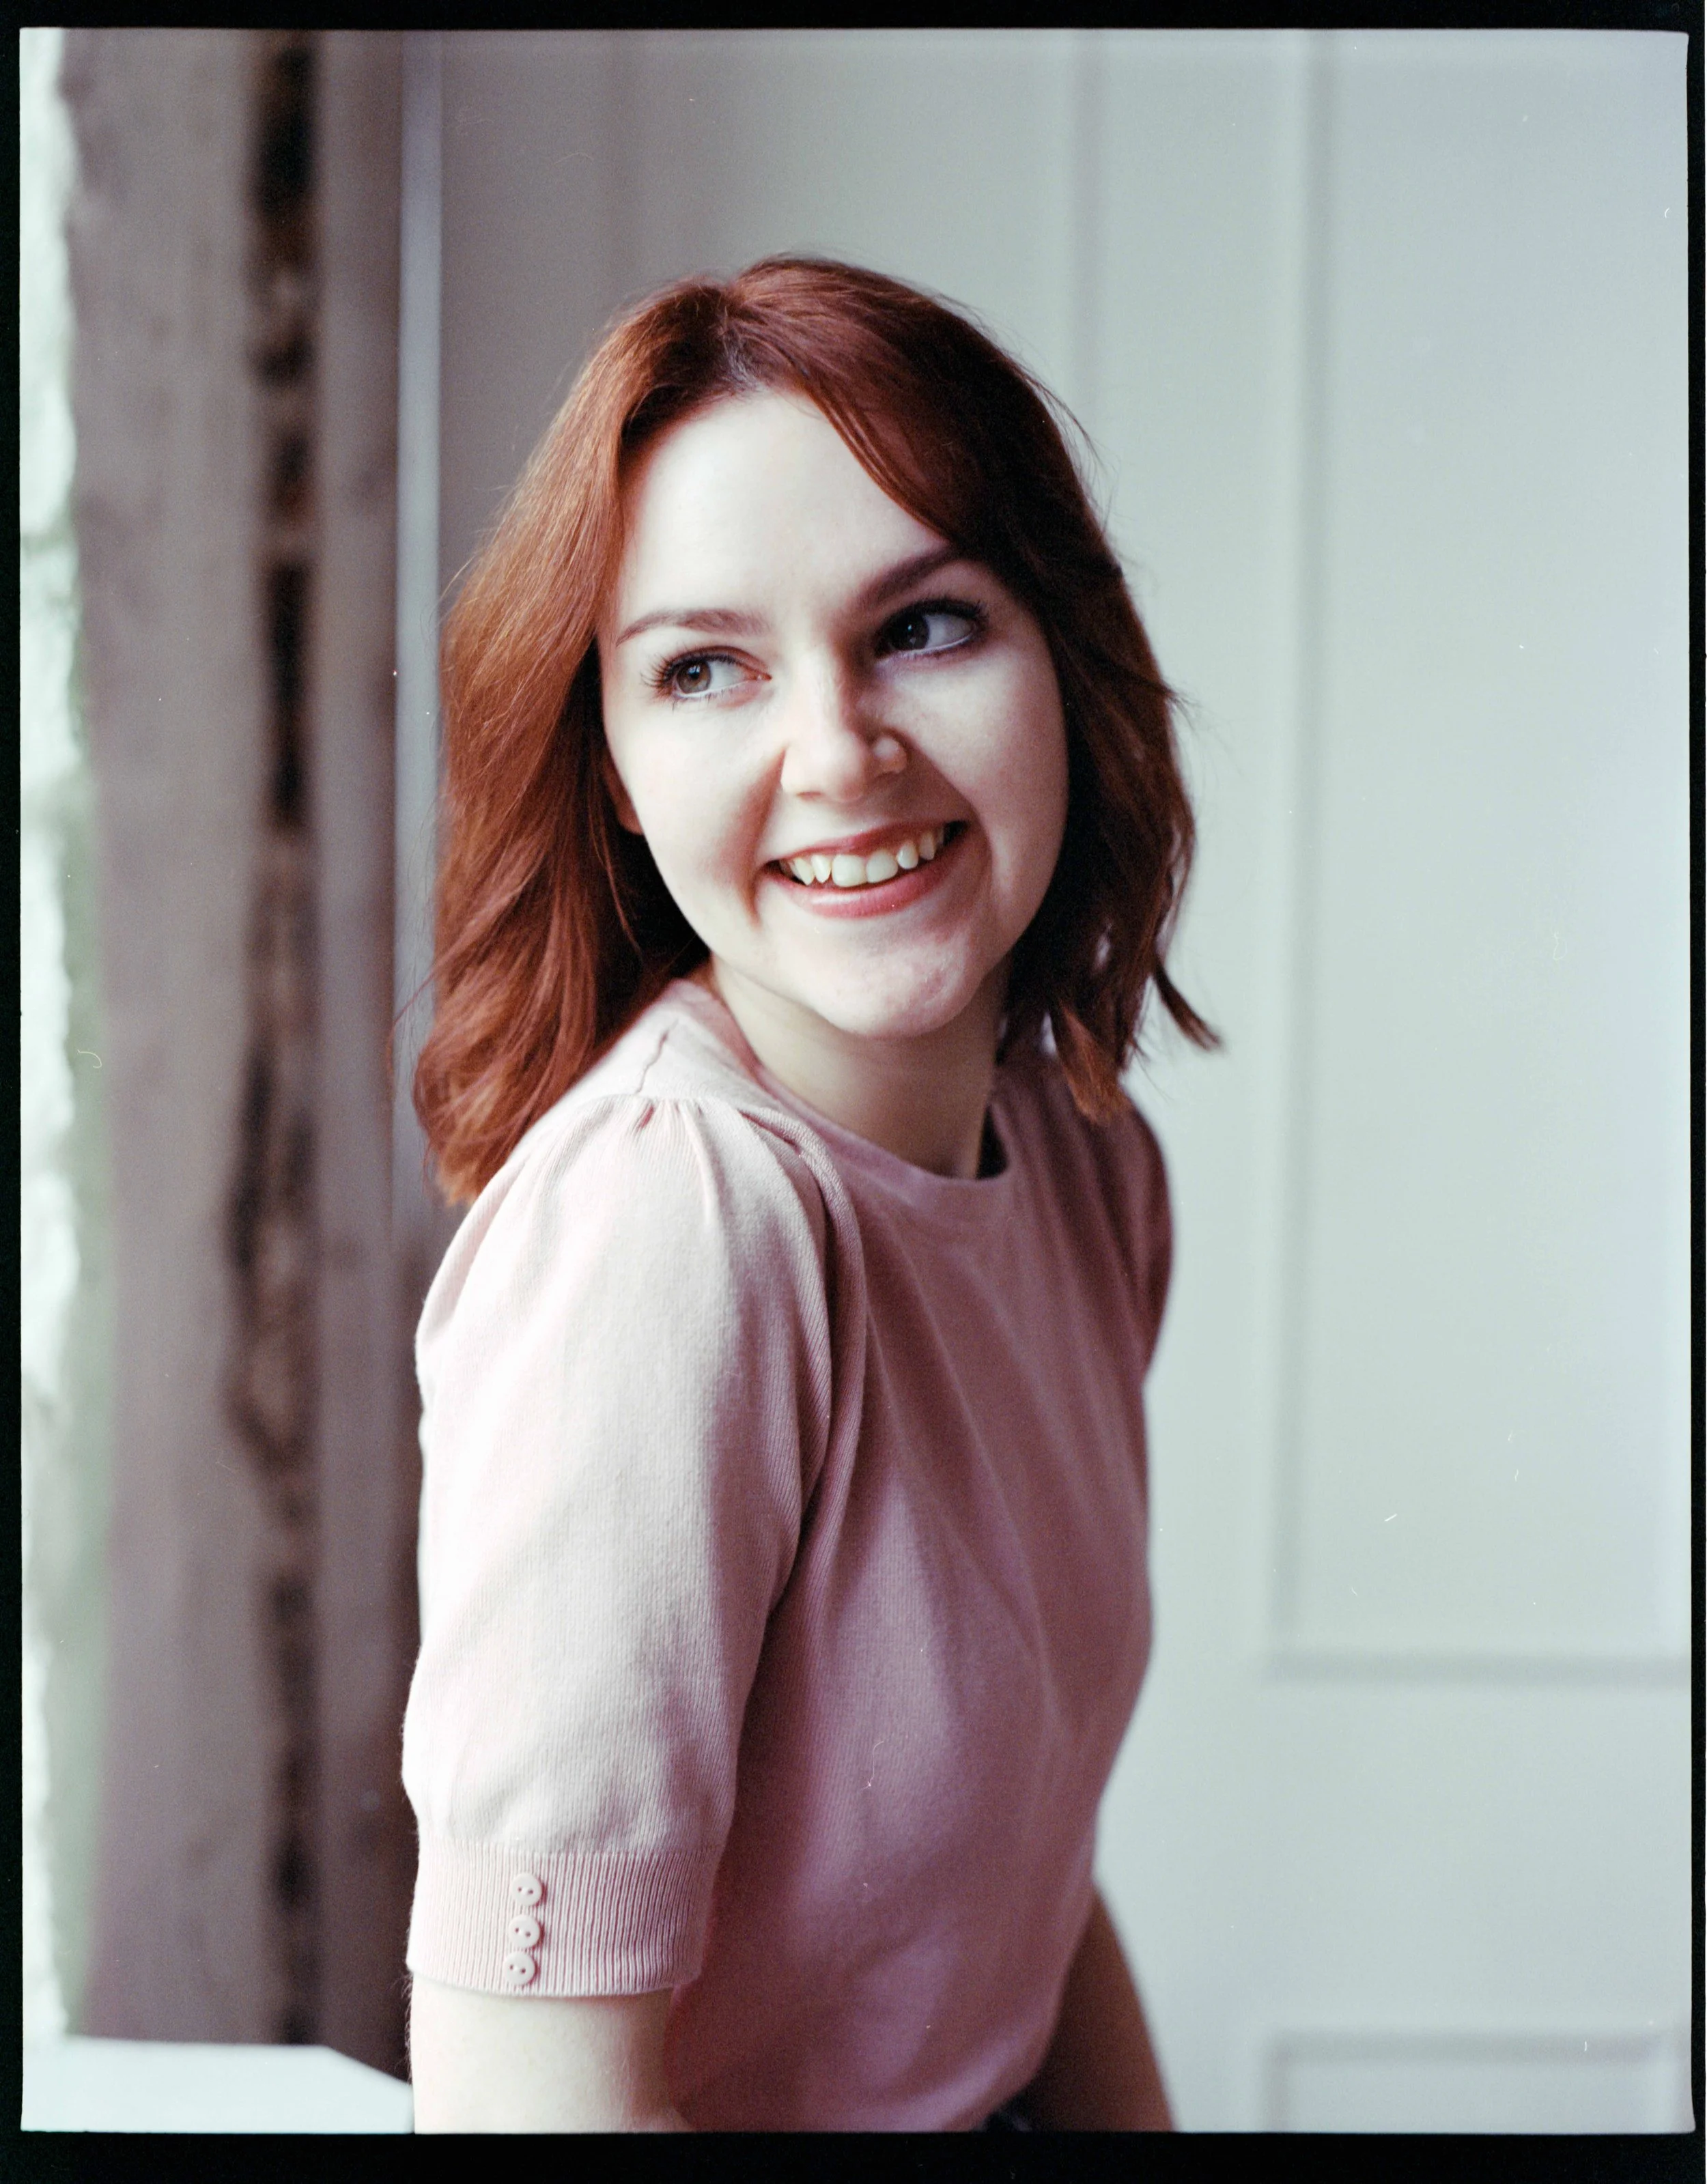
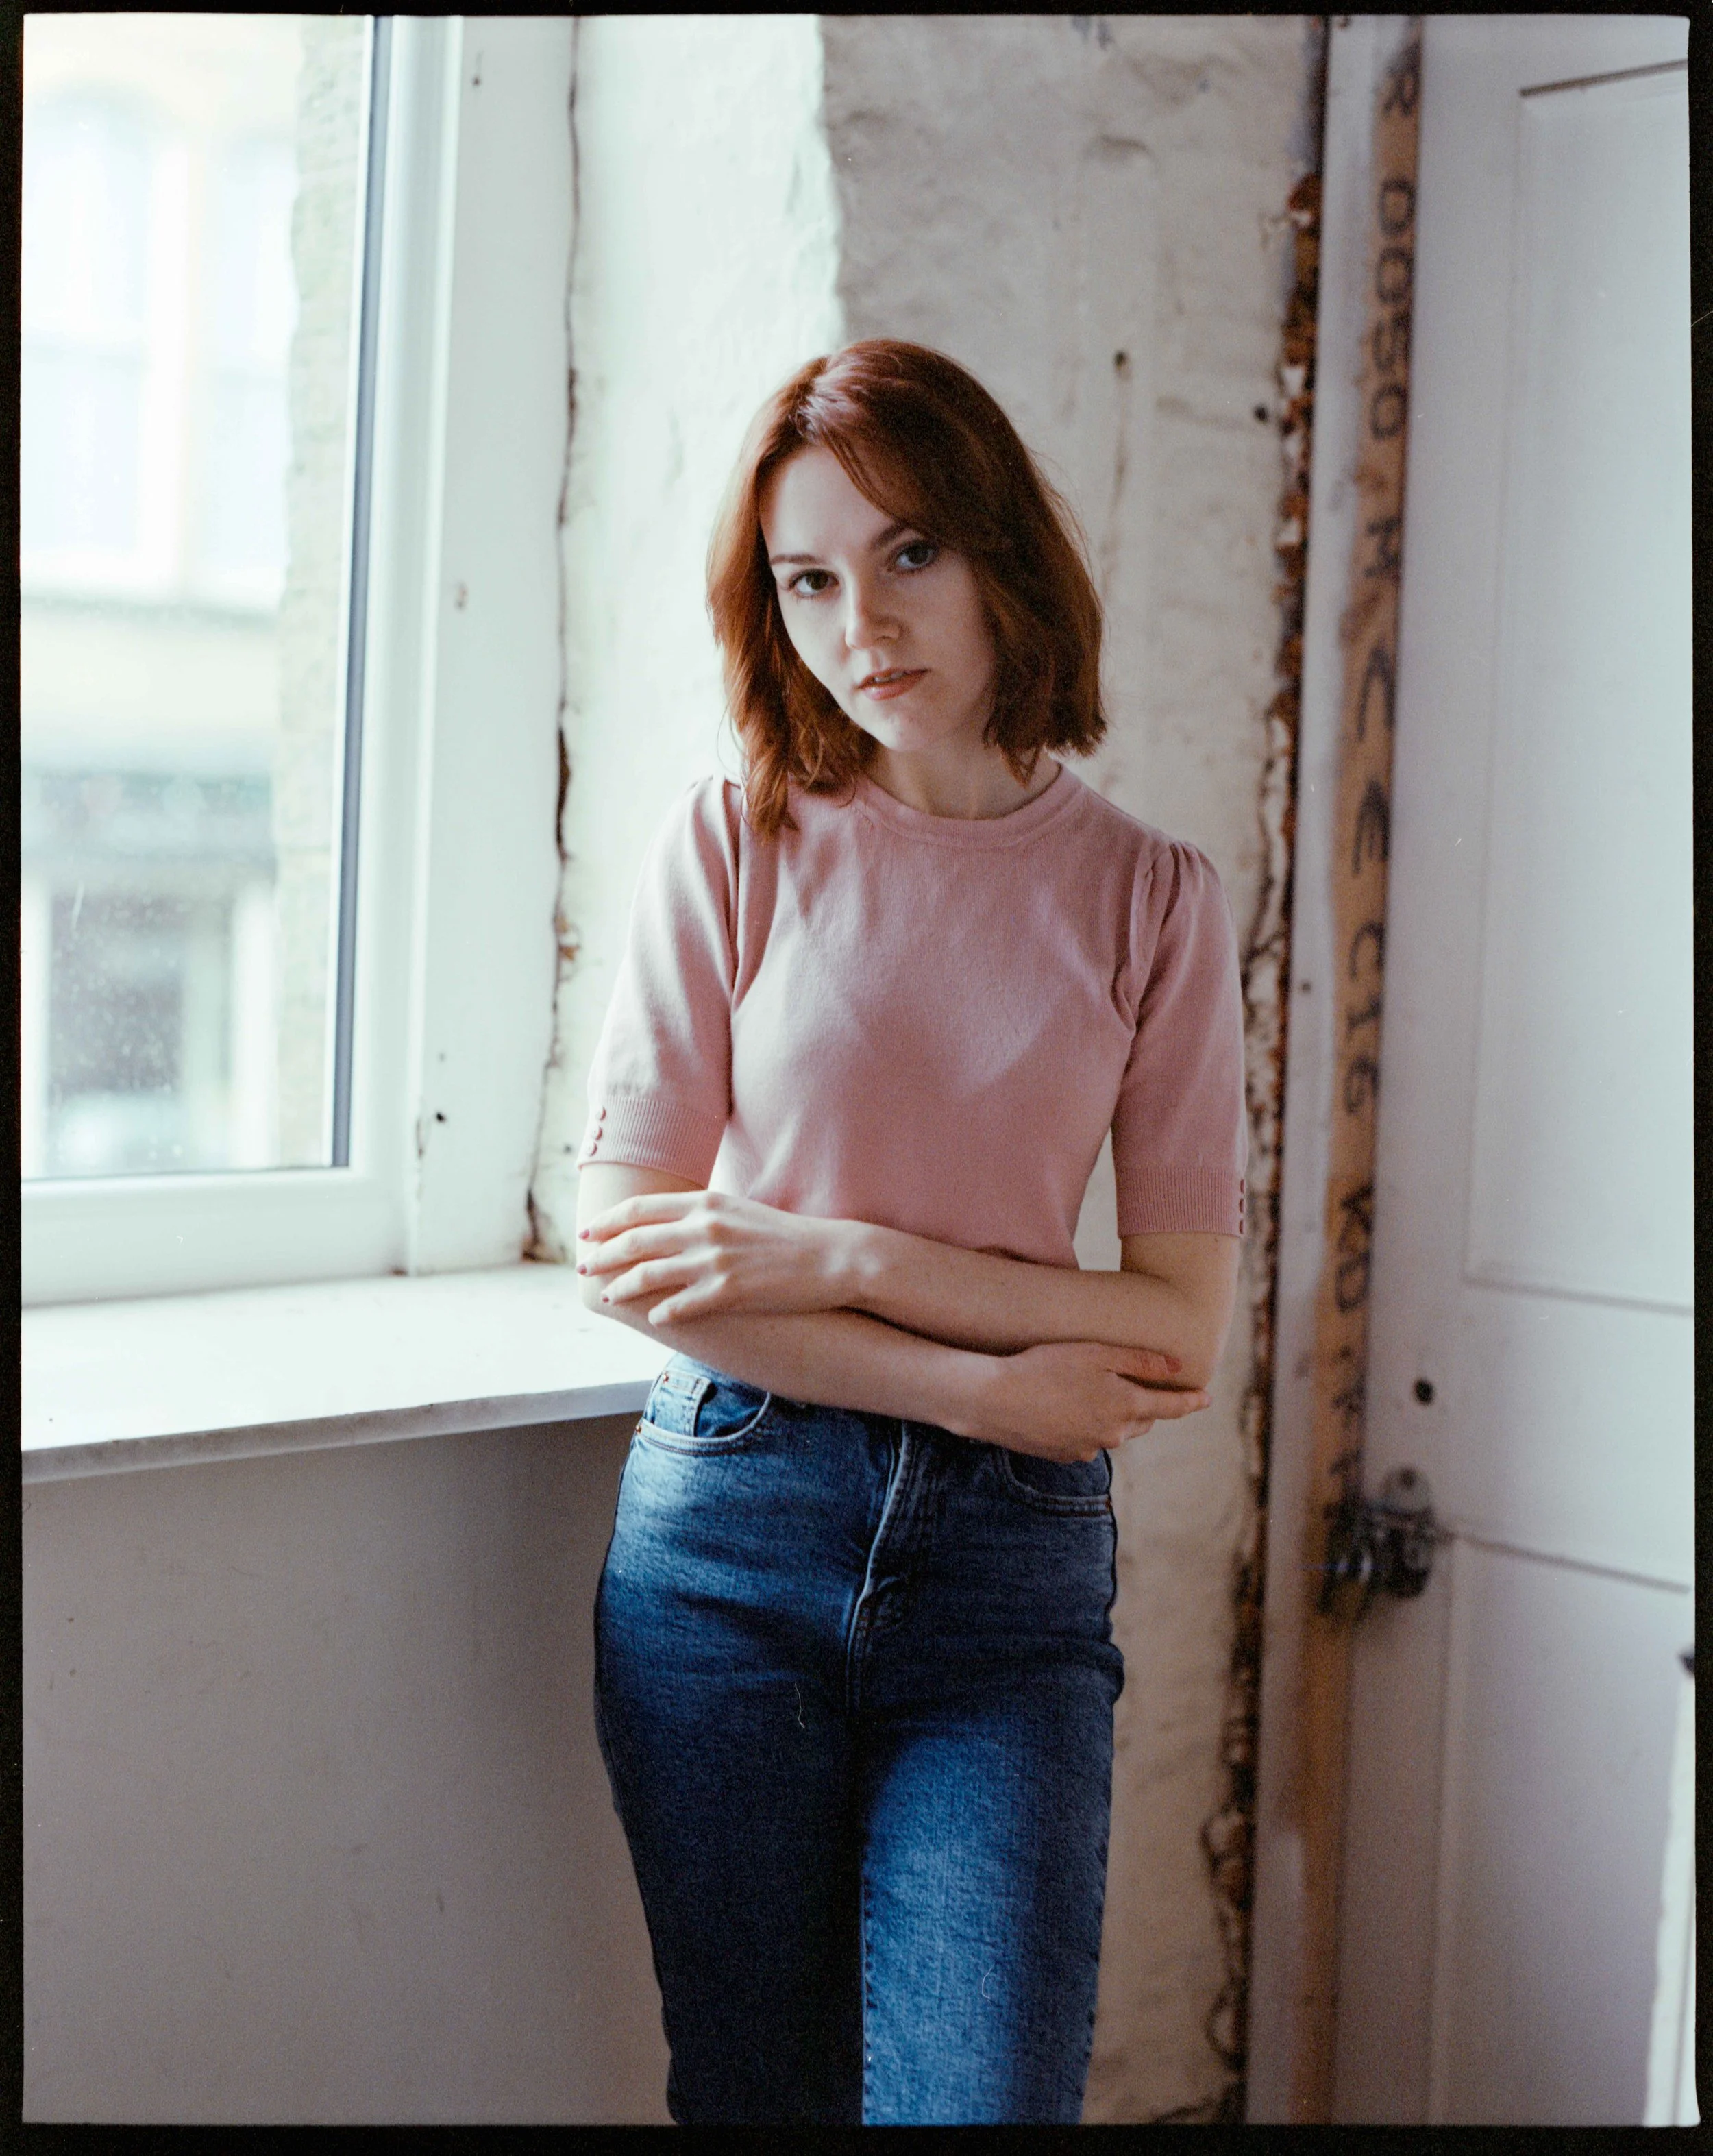
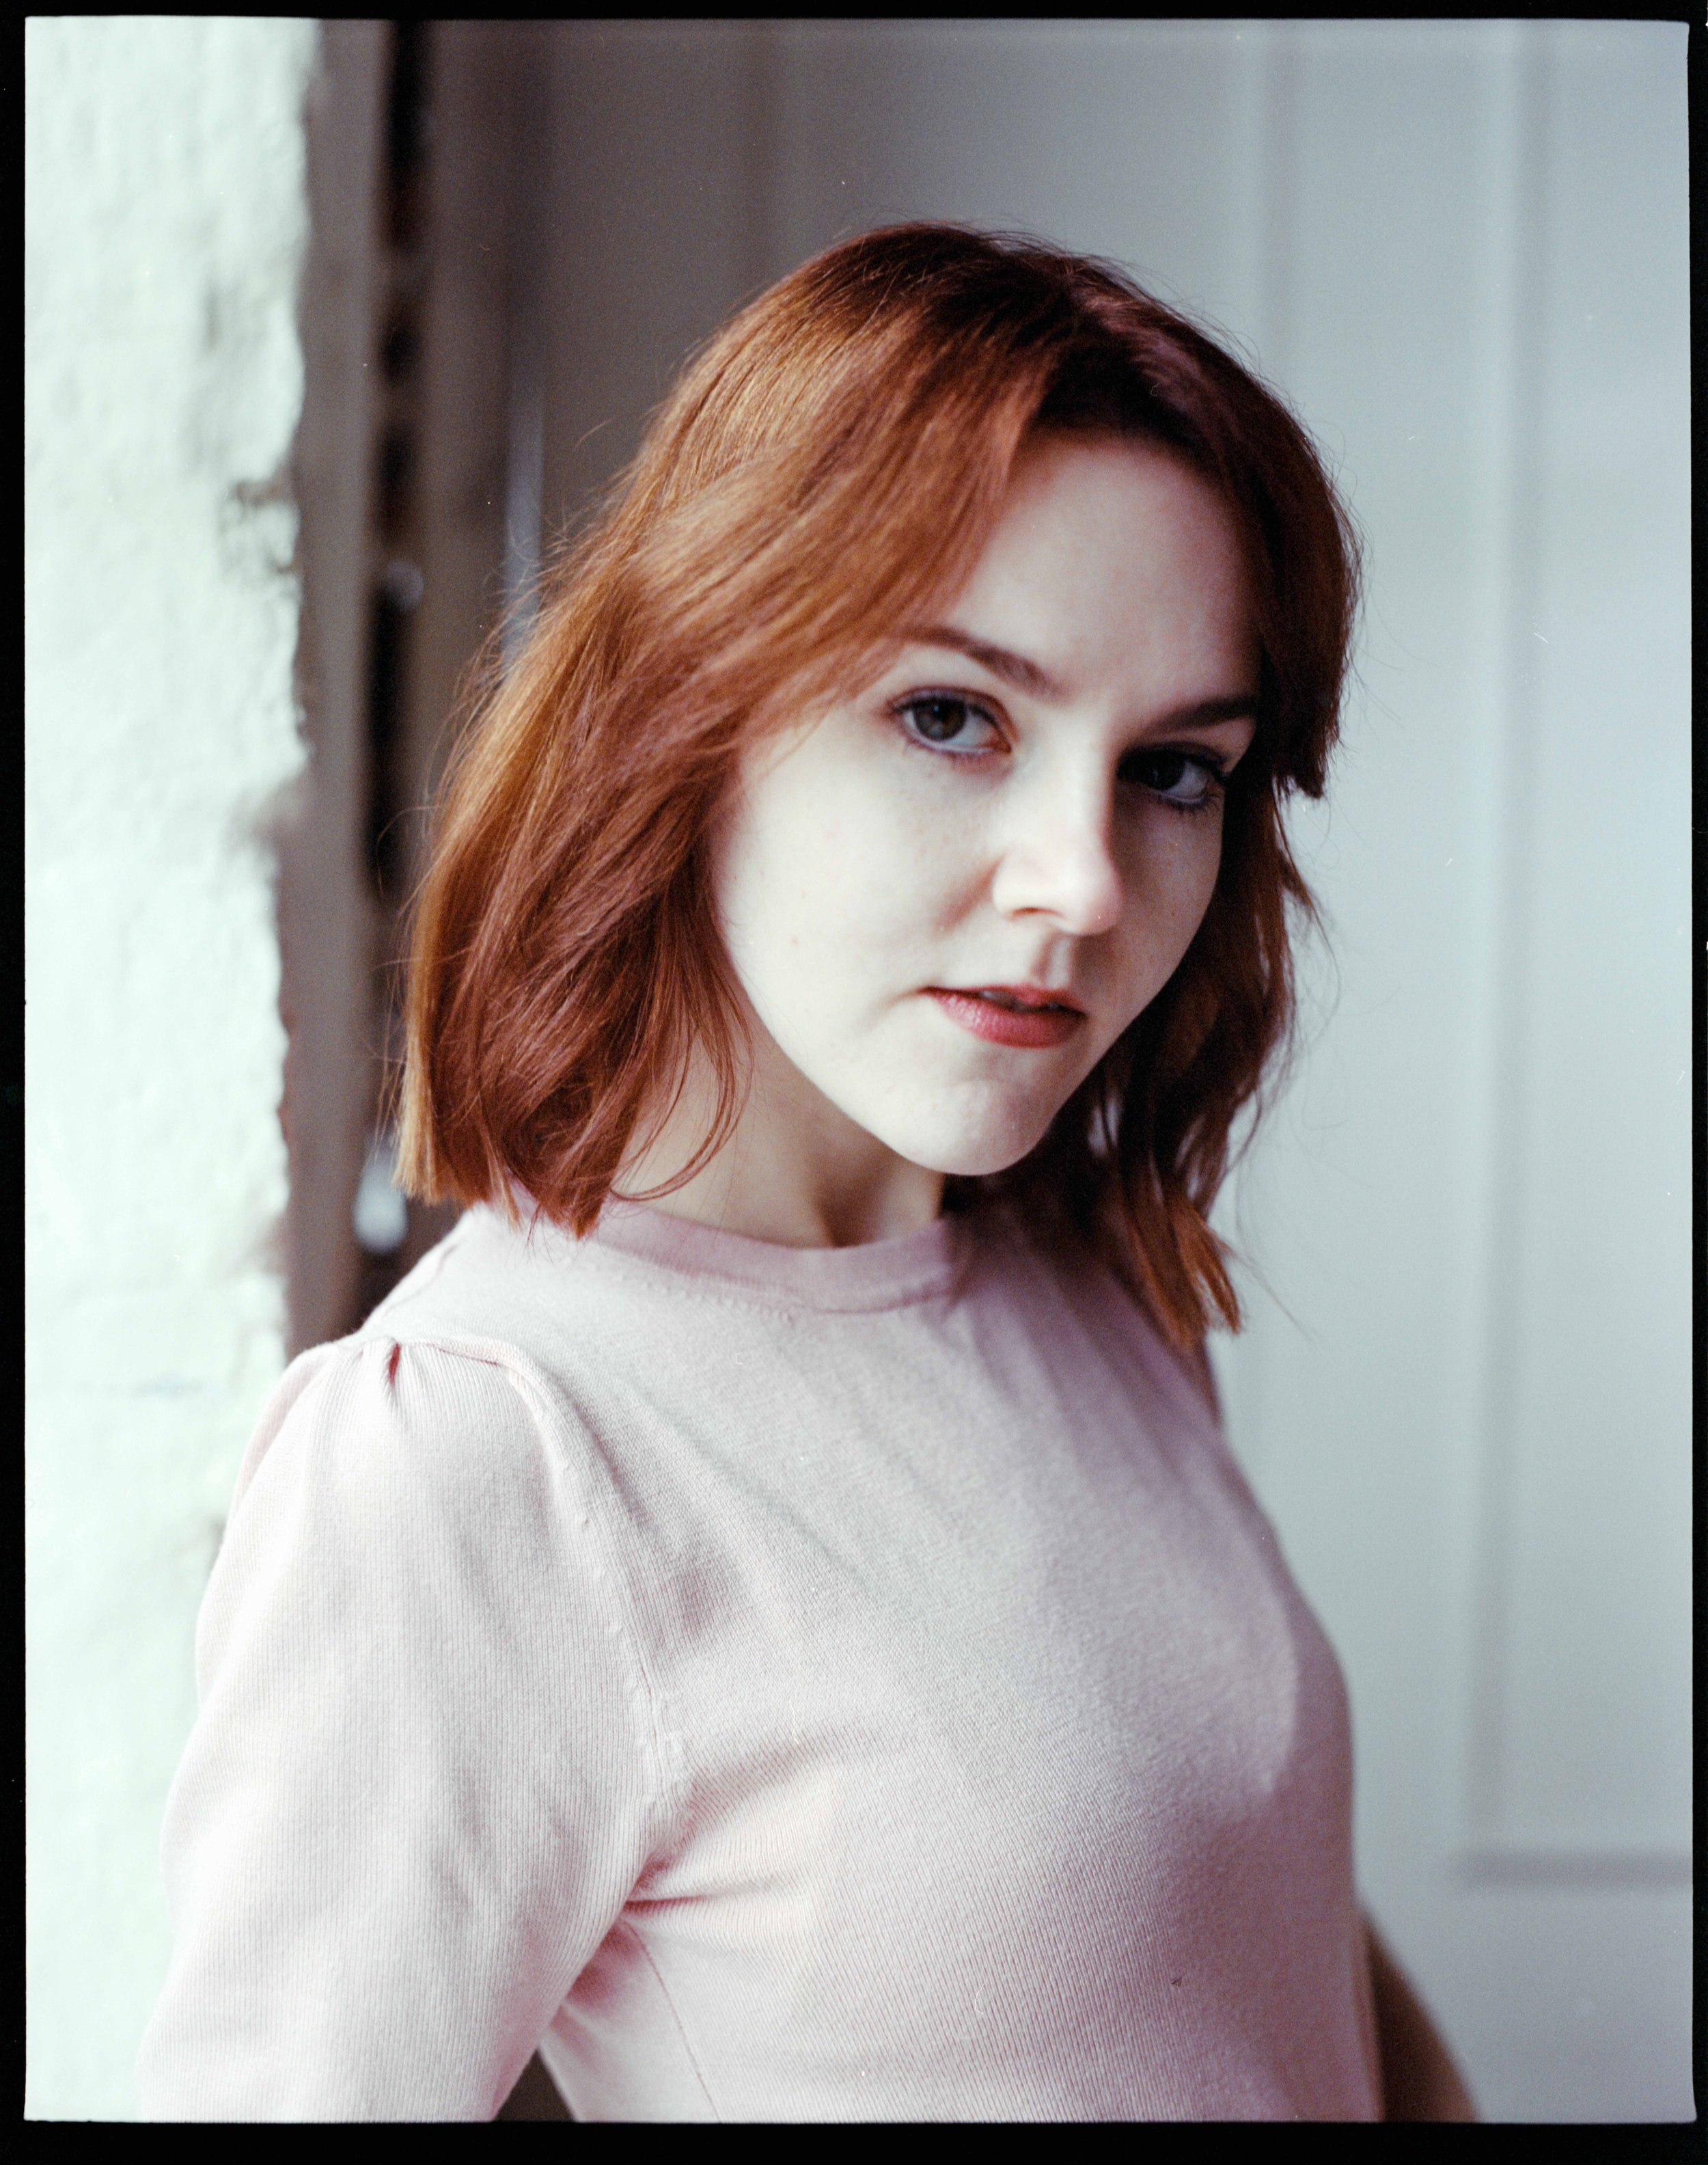
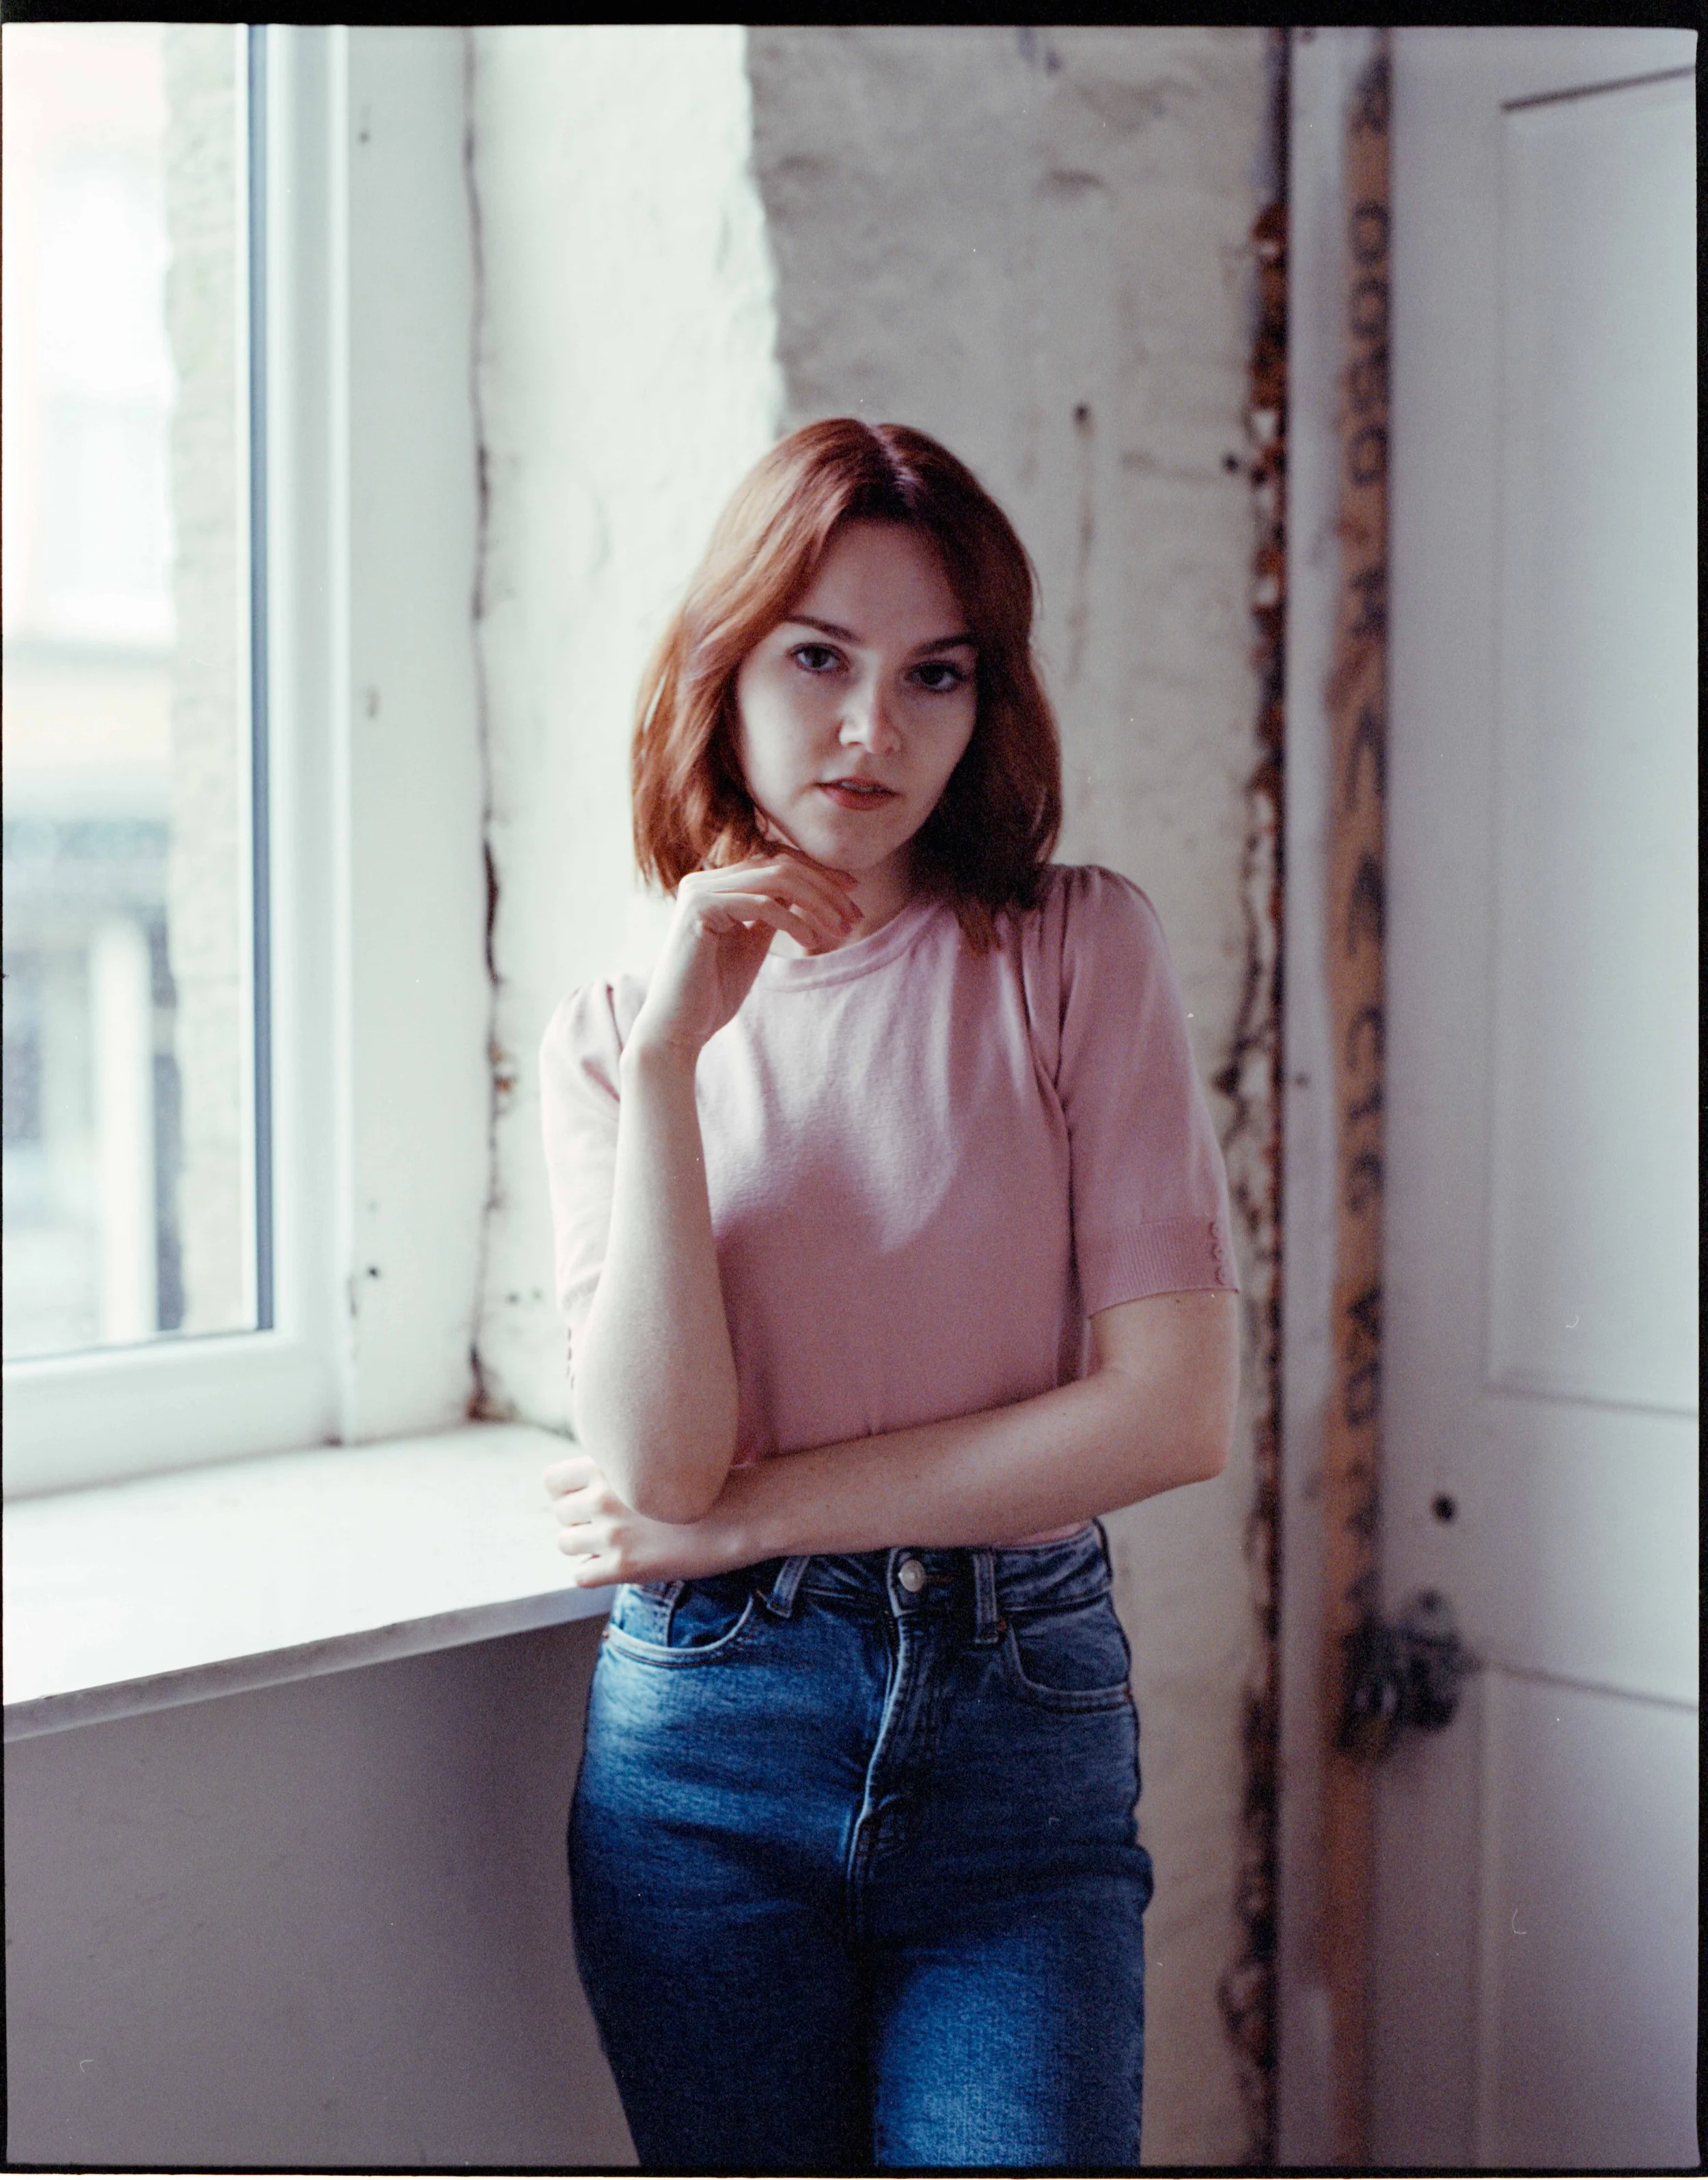
To develop and scan film yourself can be expensive to get all the relevant kit and caboodle, I managed to gradually build up all the relevant stuff over time - my biggest hurdle was a lack of space at home to regularly develop film, but now that I have a dedicated space it’s quite easy to set everything up and develop my colour film in batches knowing that I have a solid process for scanning them in a way that gives me the results I want.