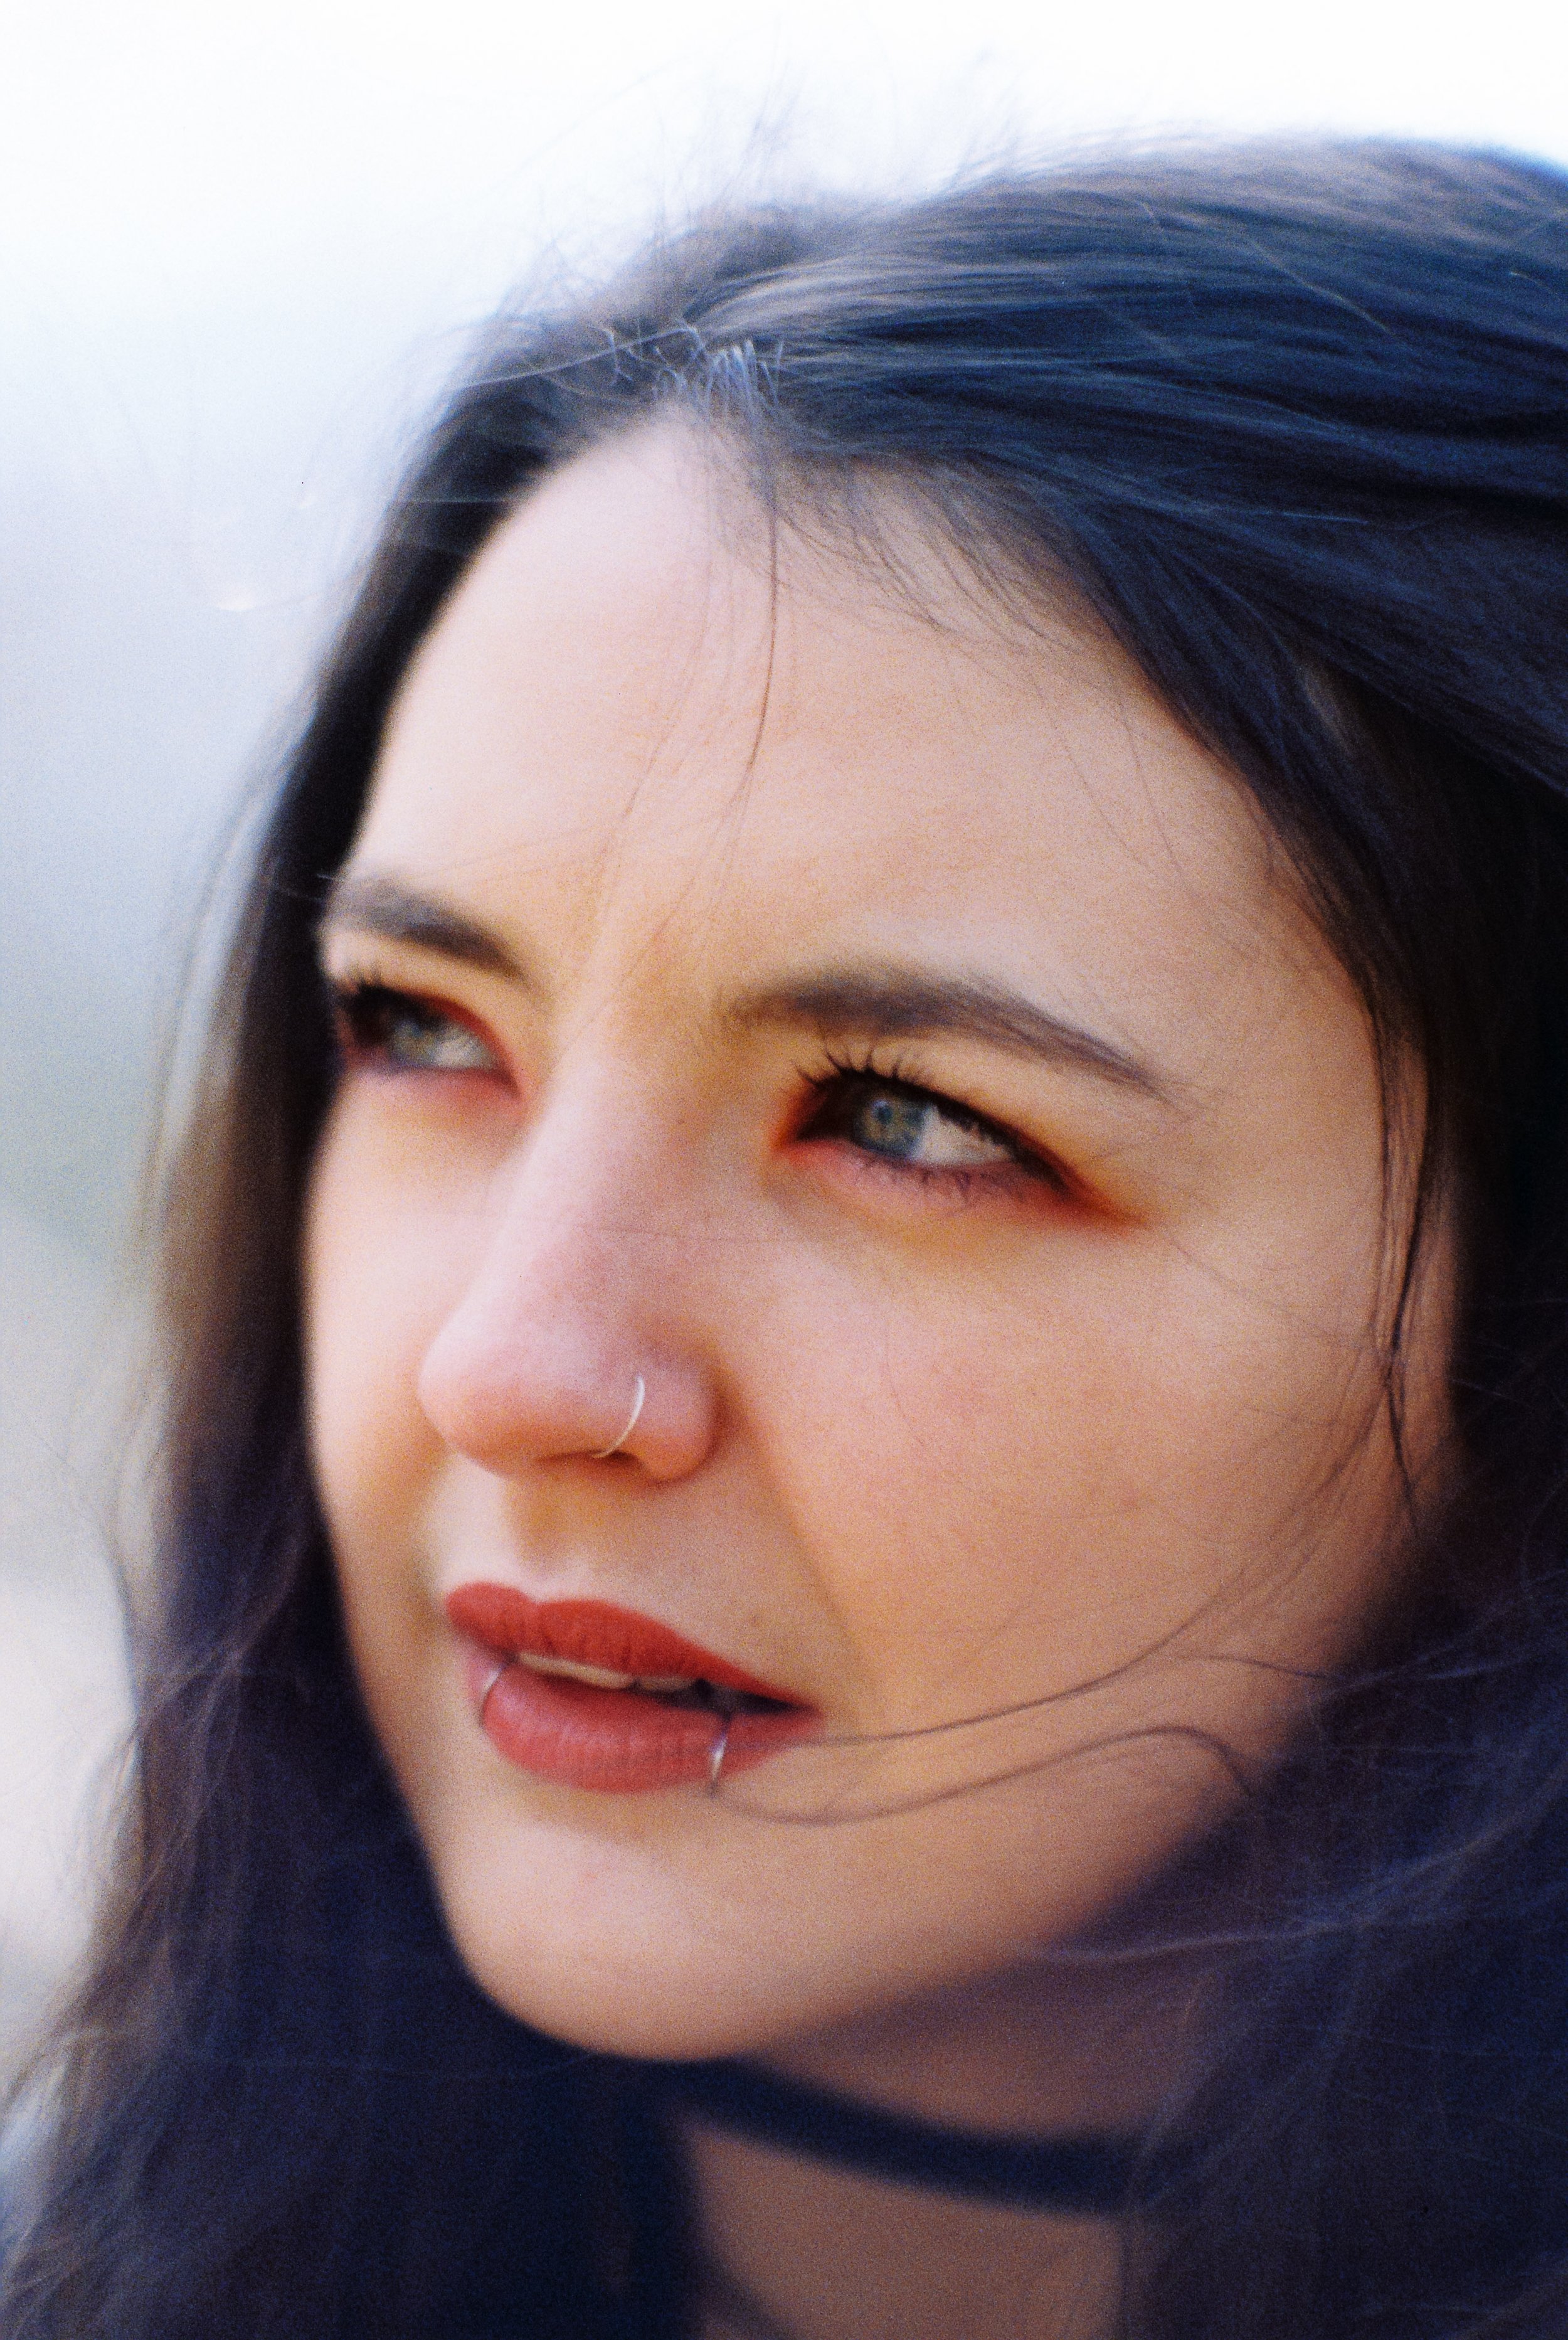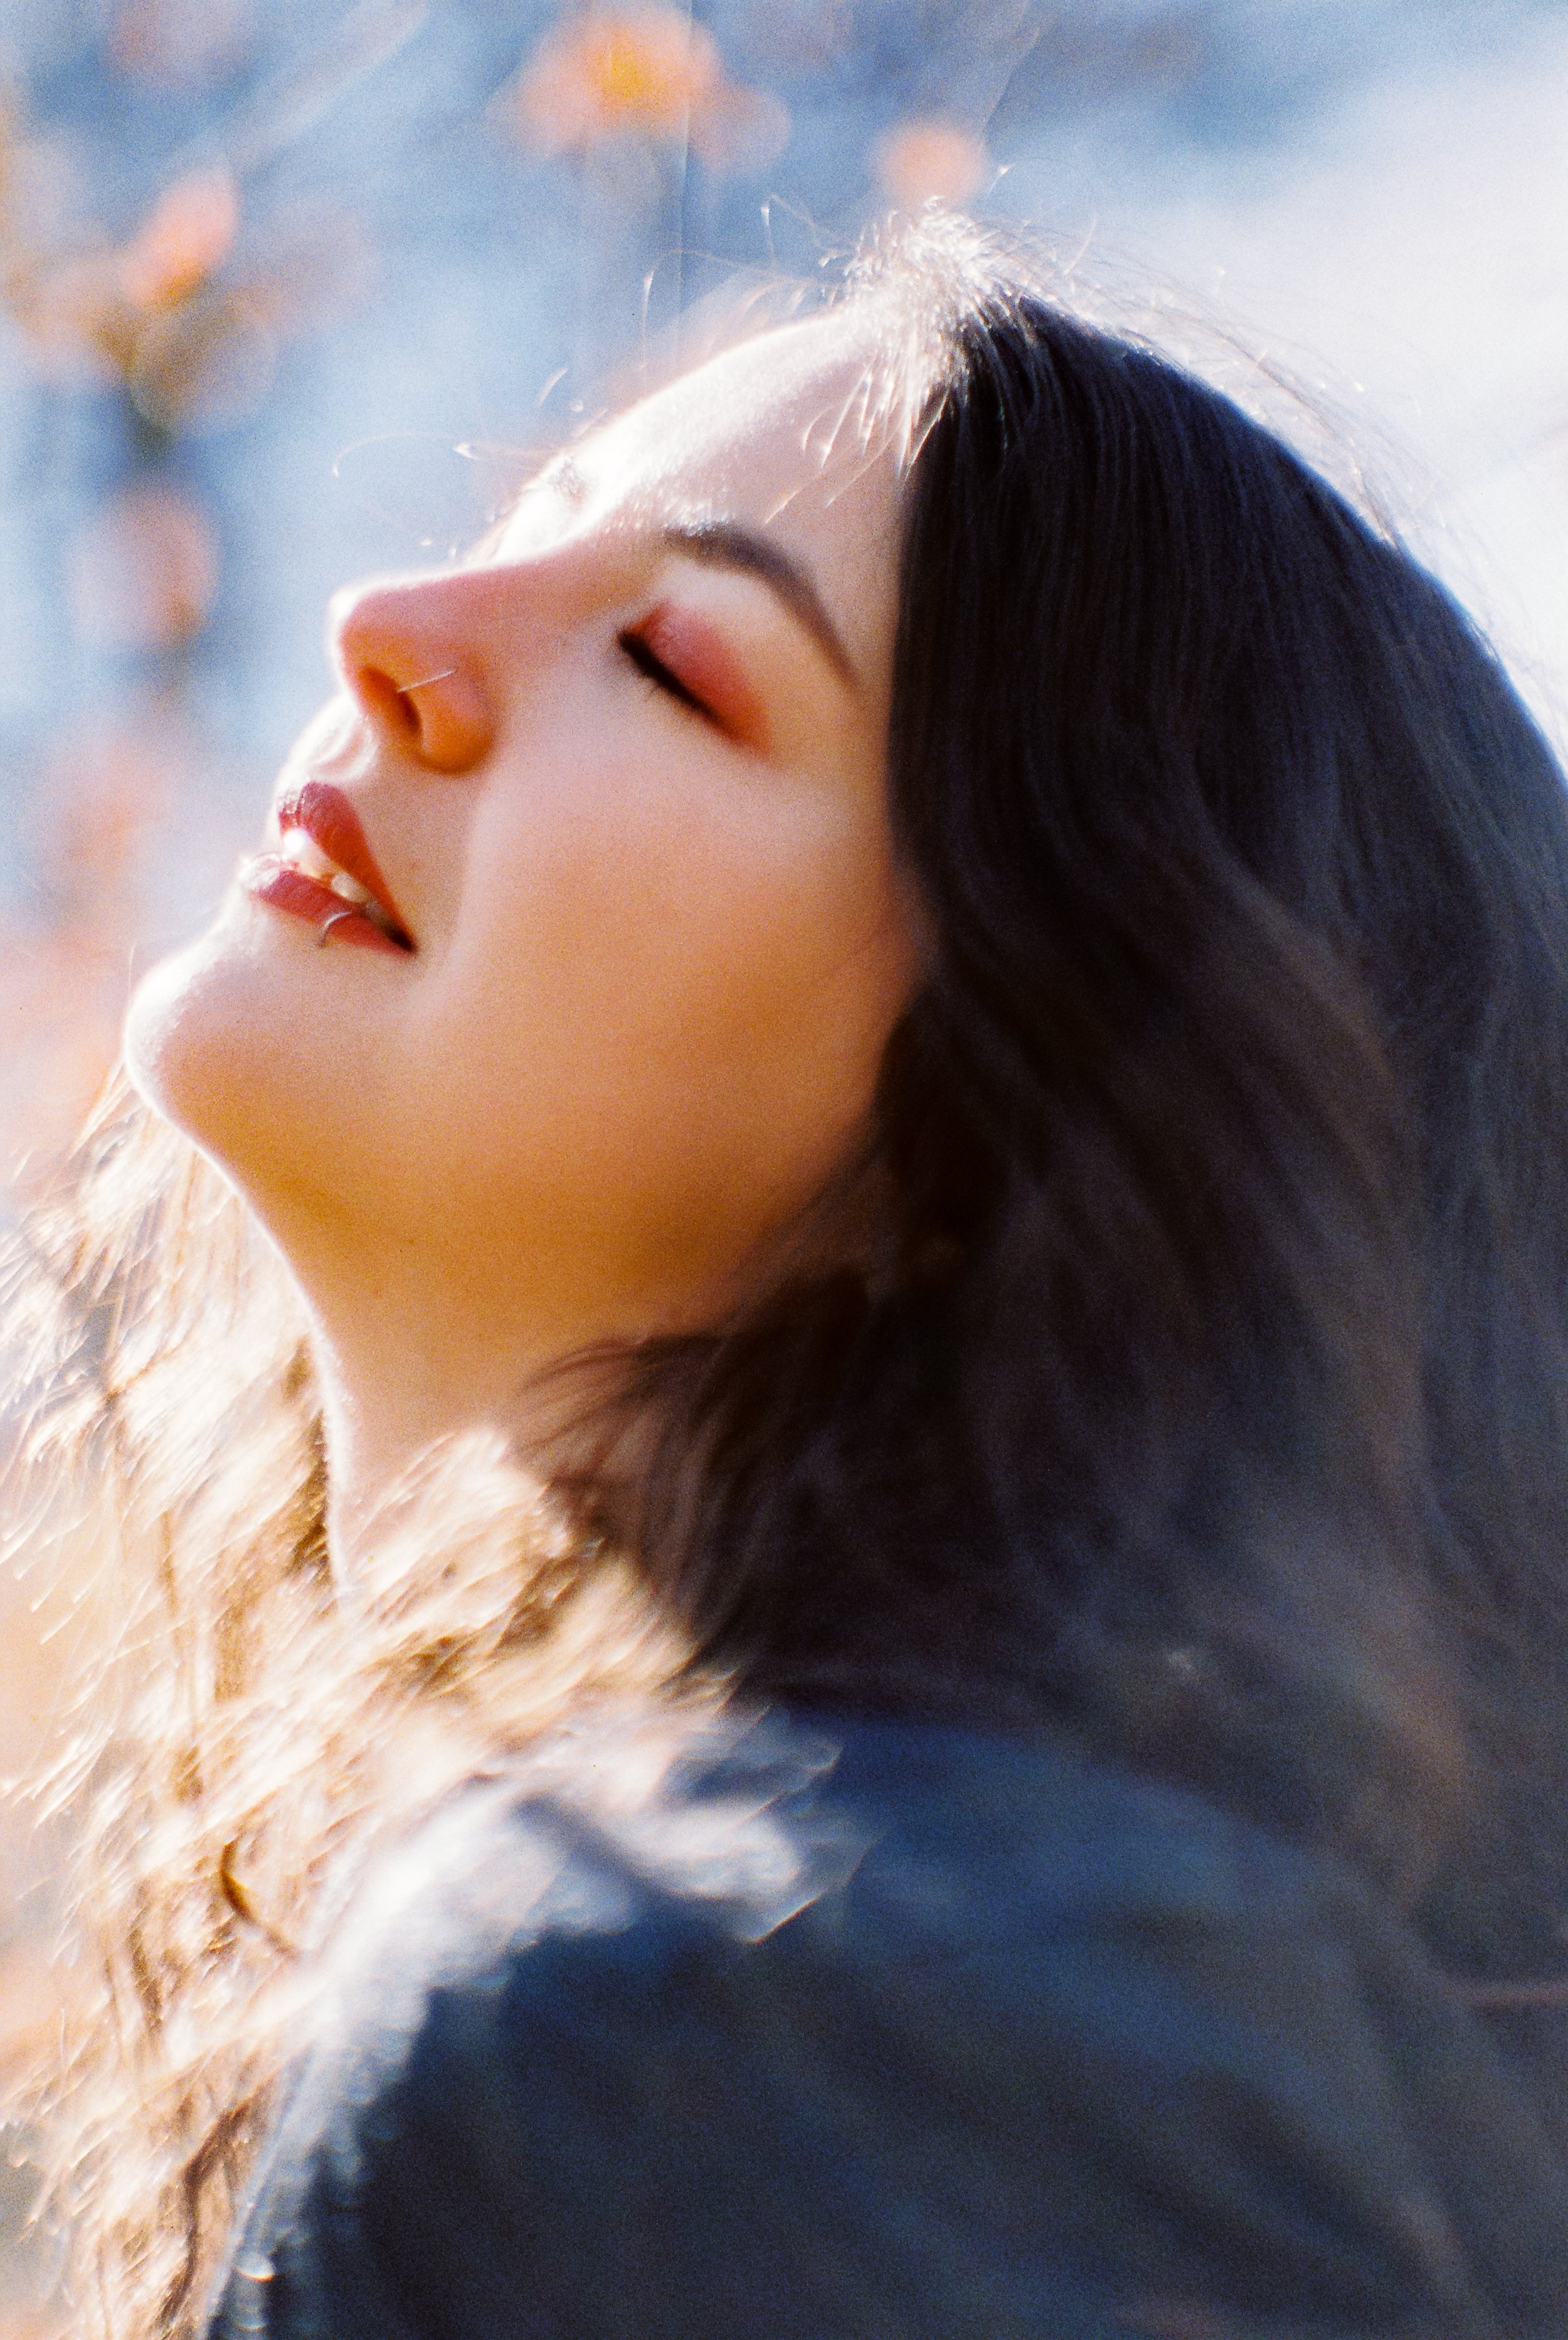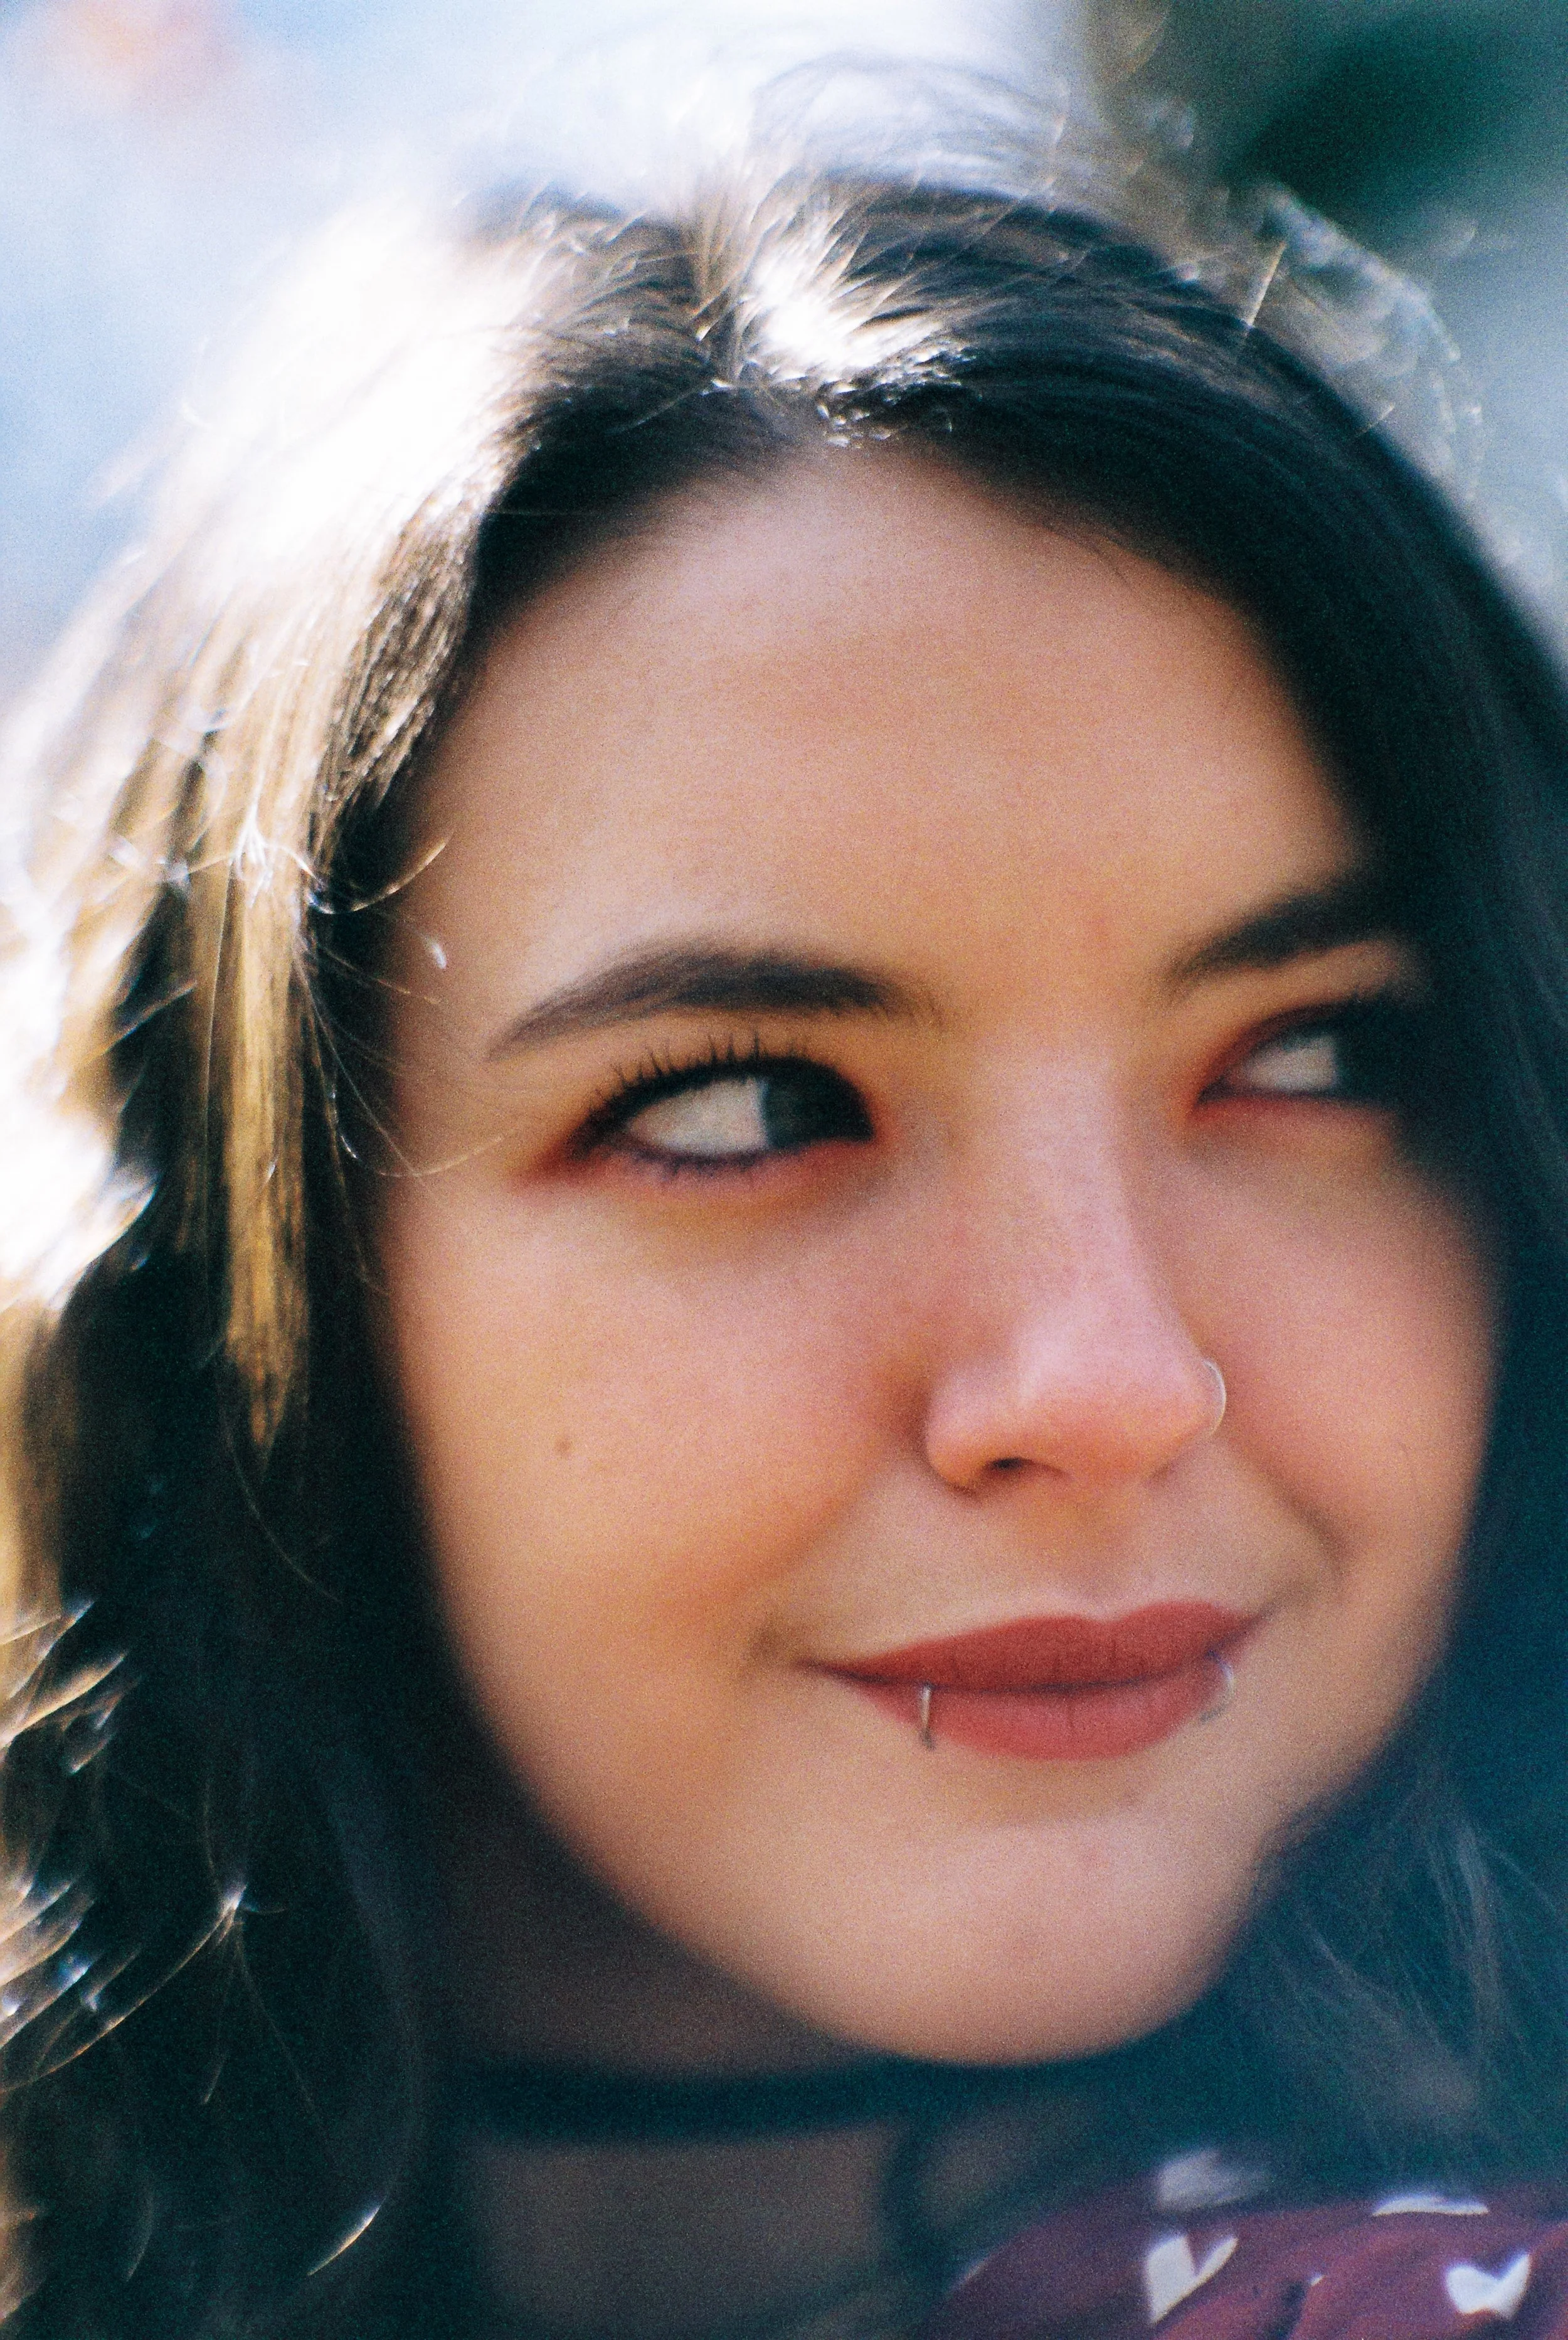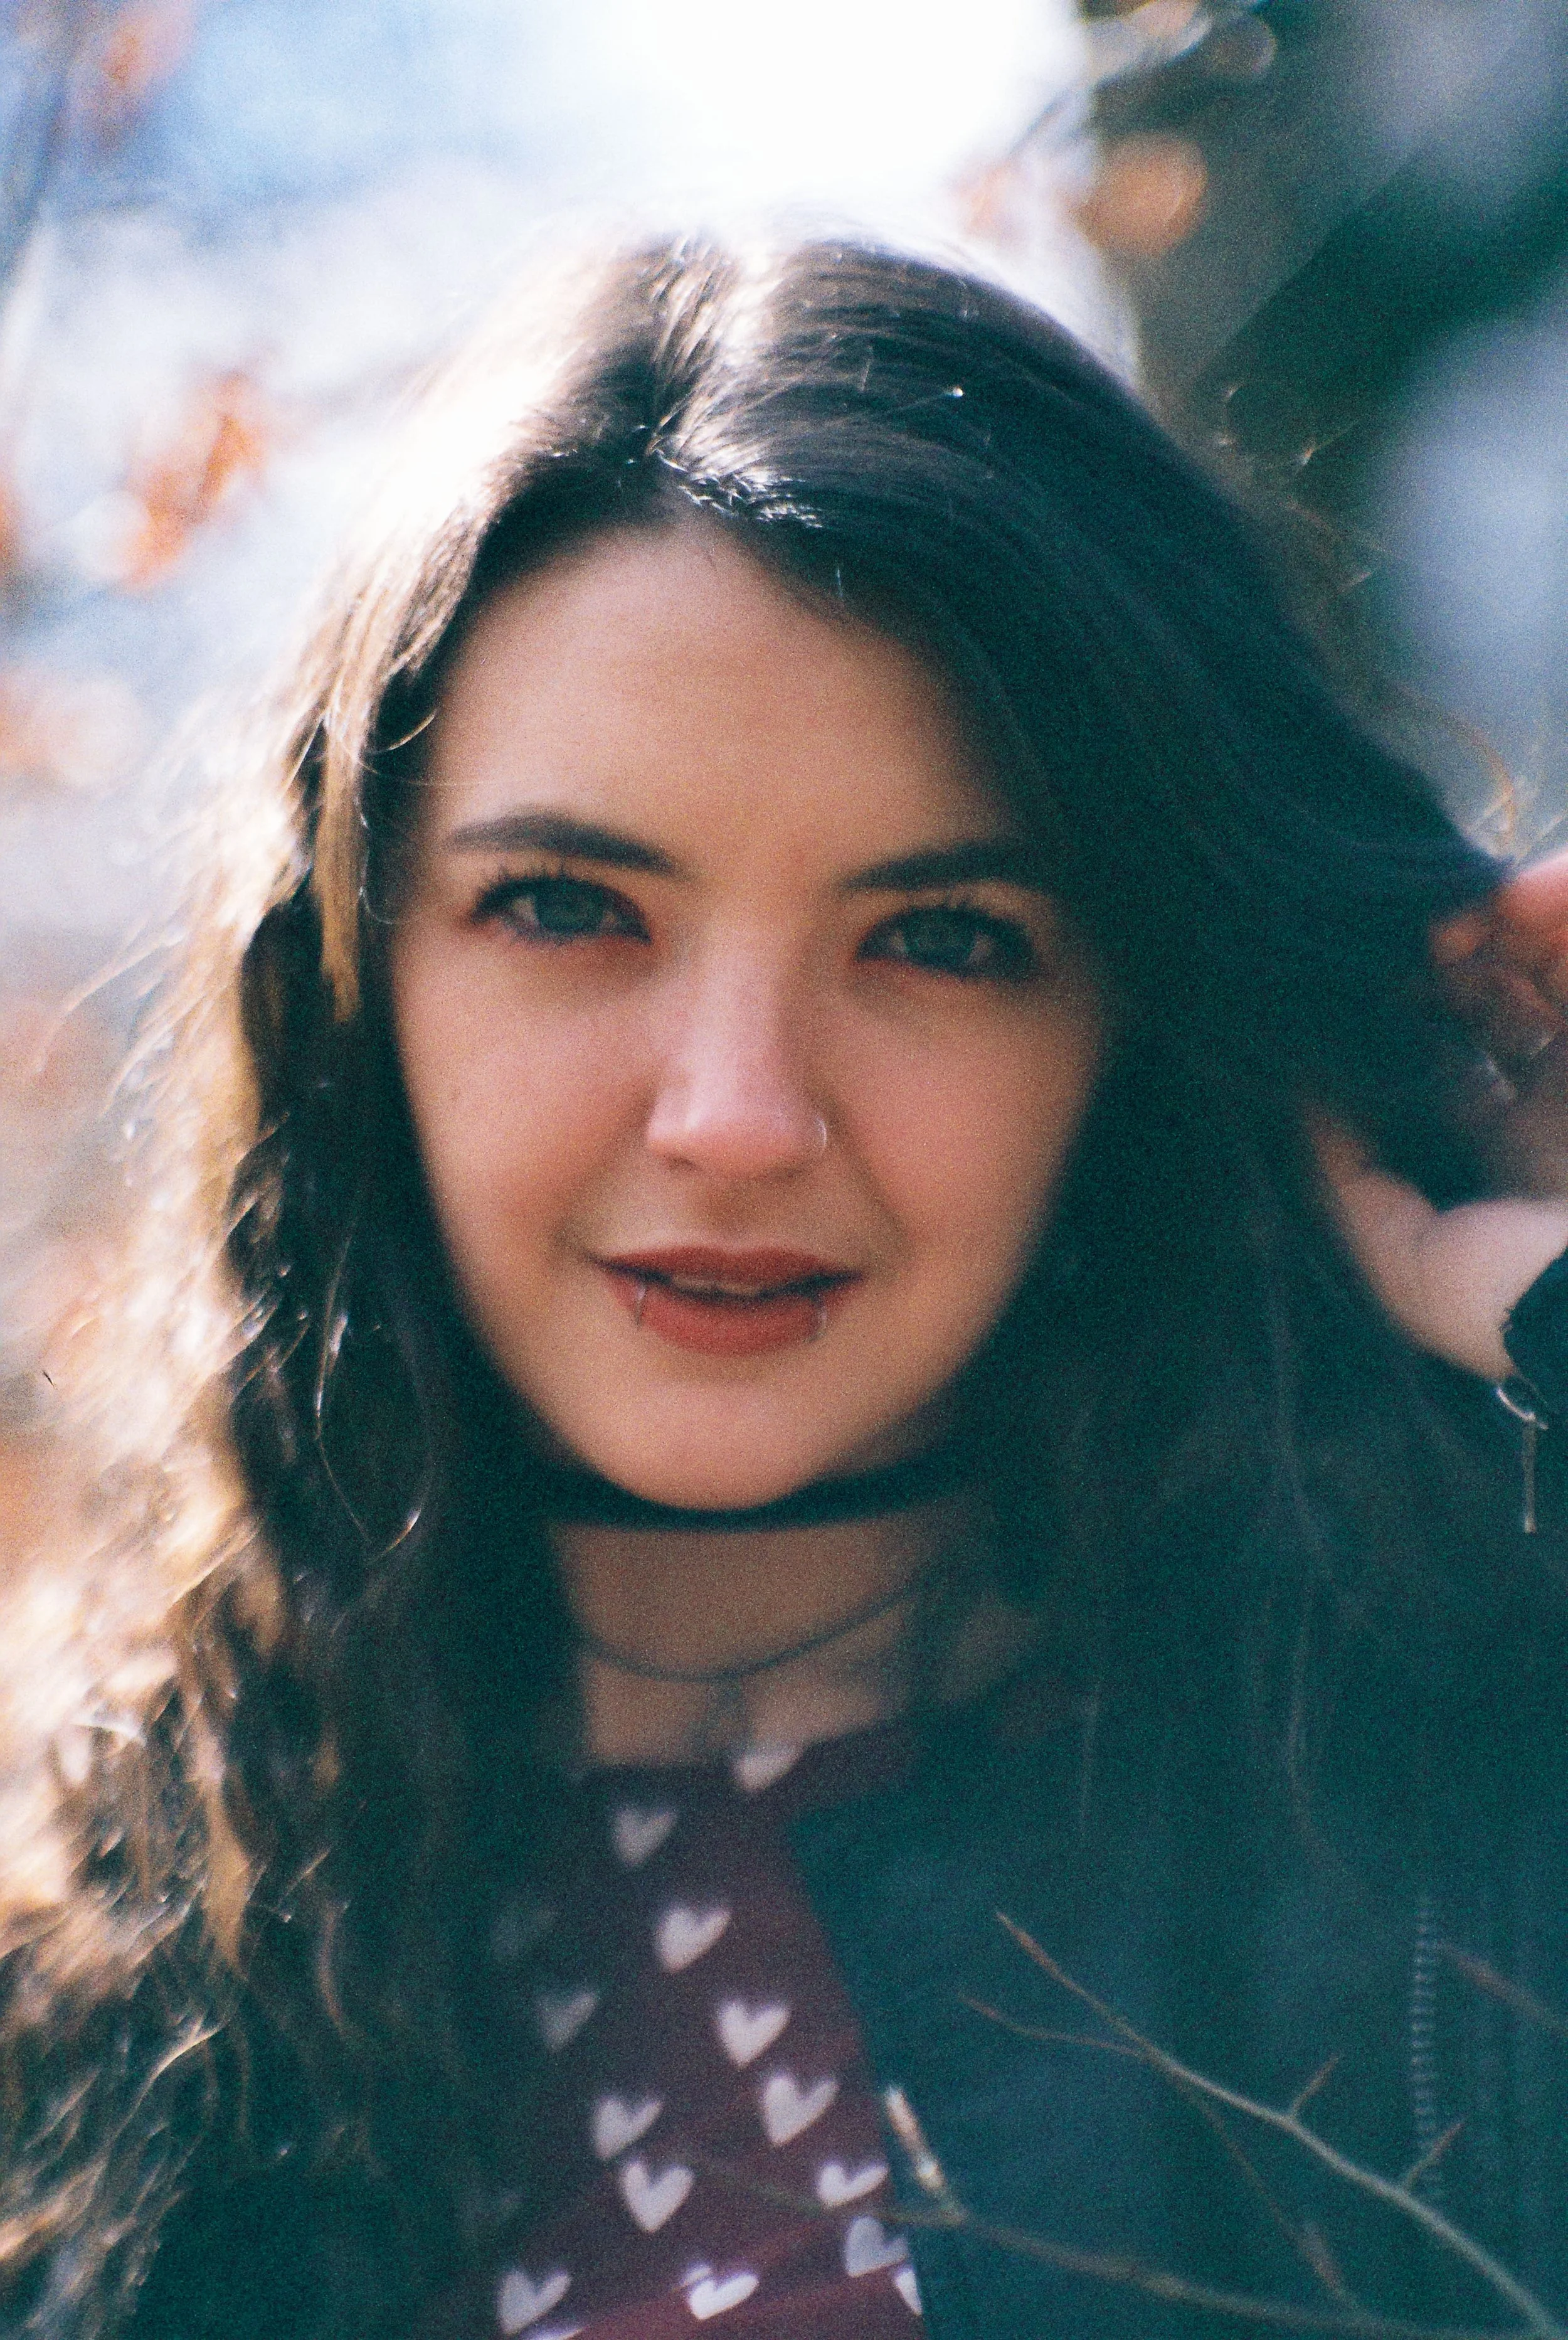
The Adventures on Film Newsletter

 
IMG_9294-Edit.jpg

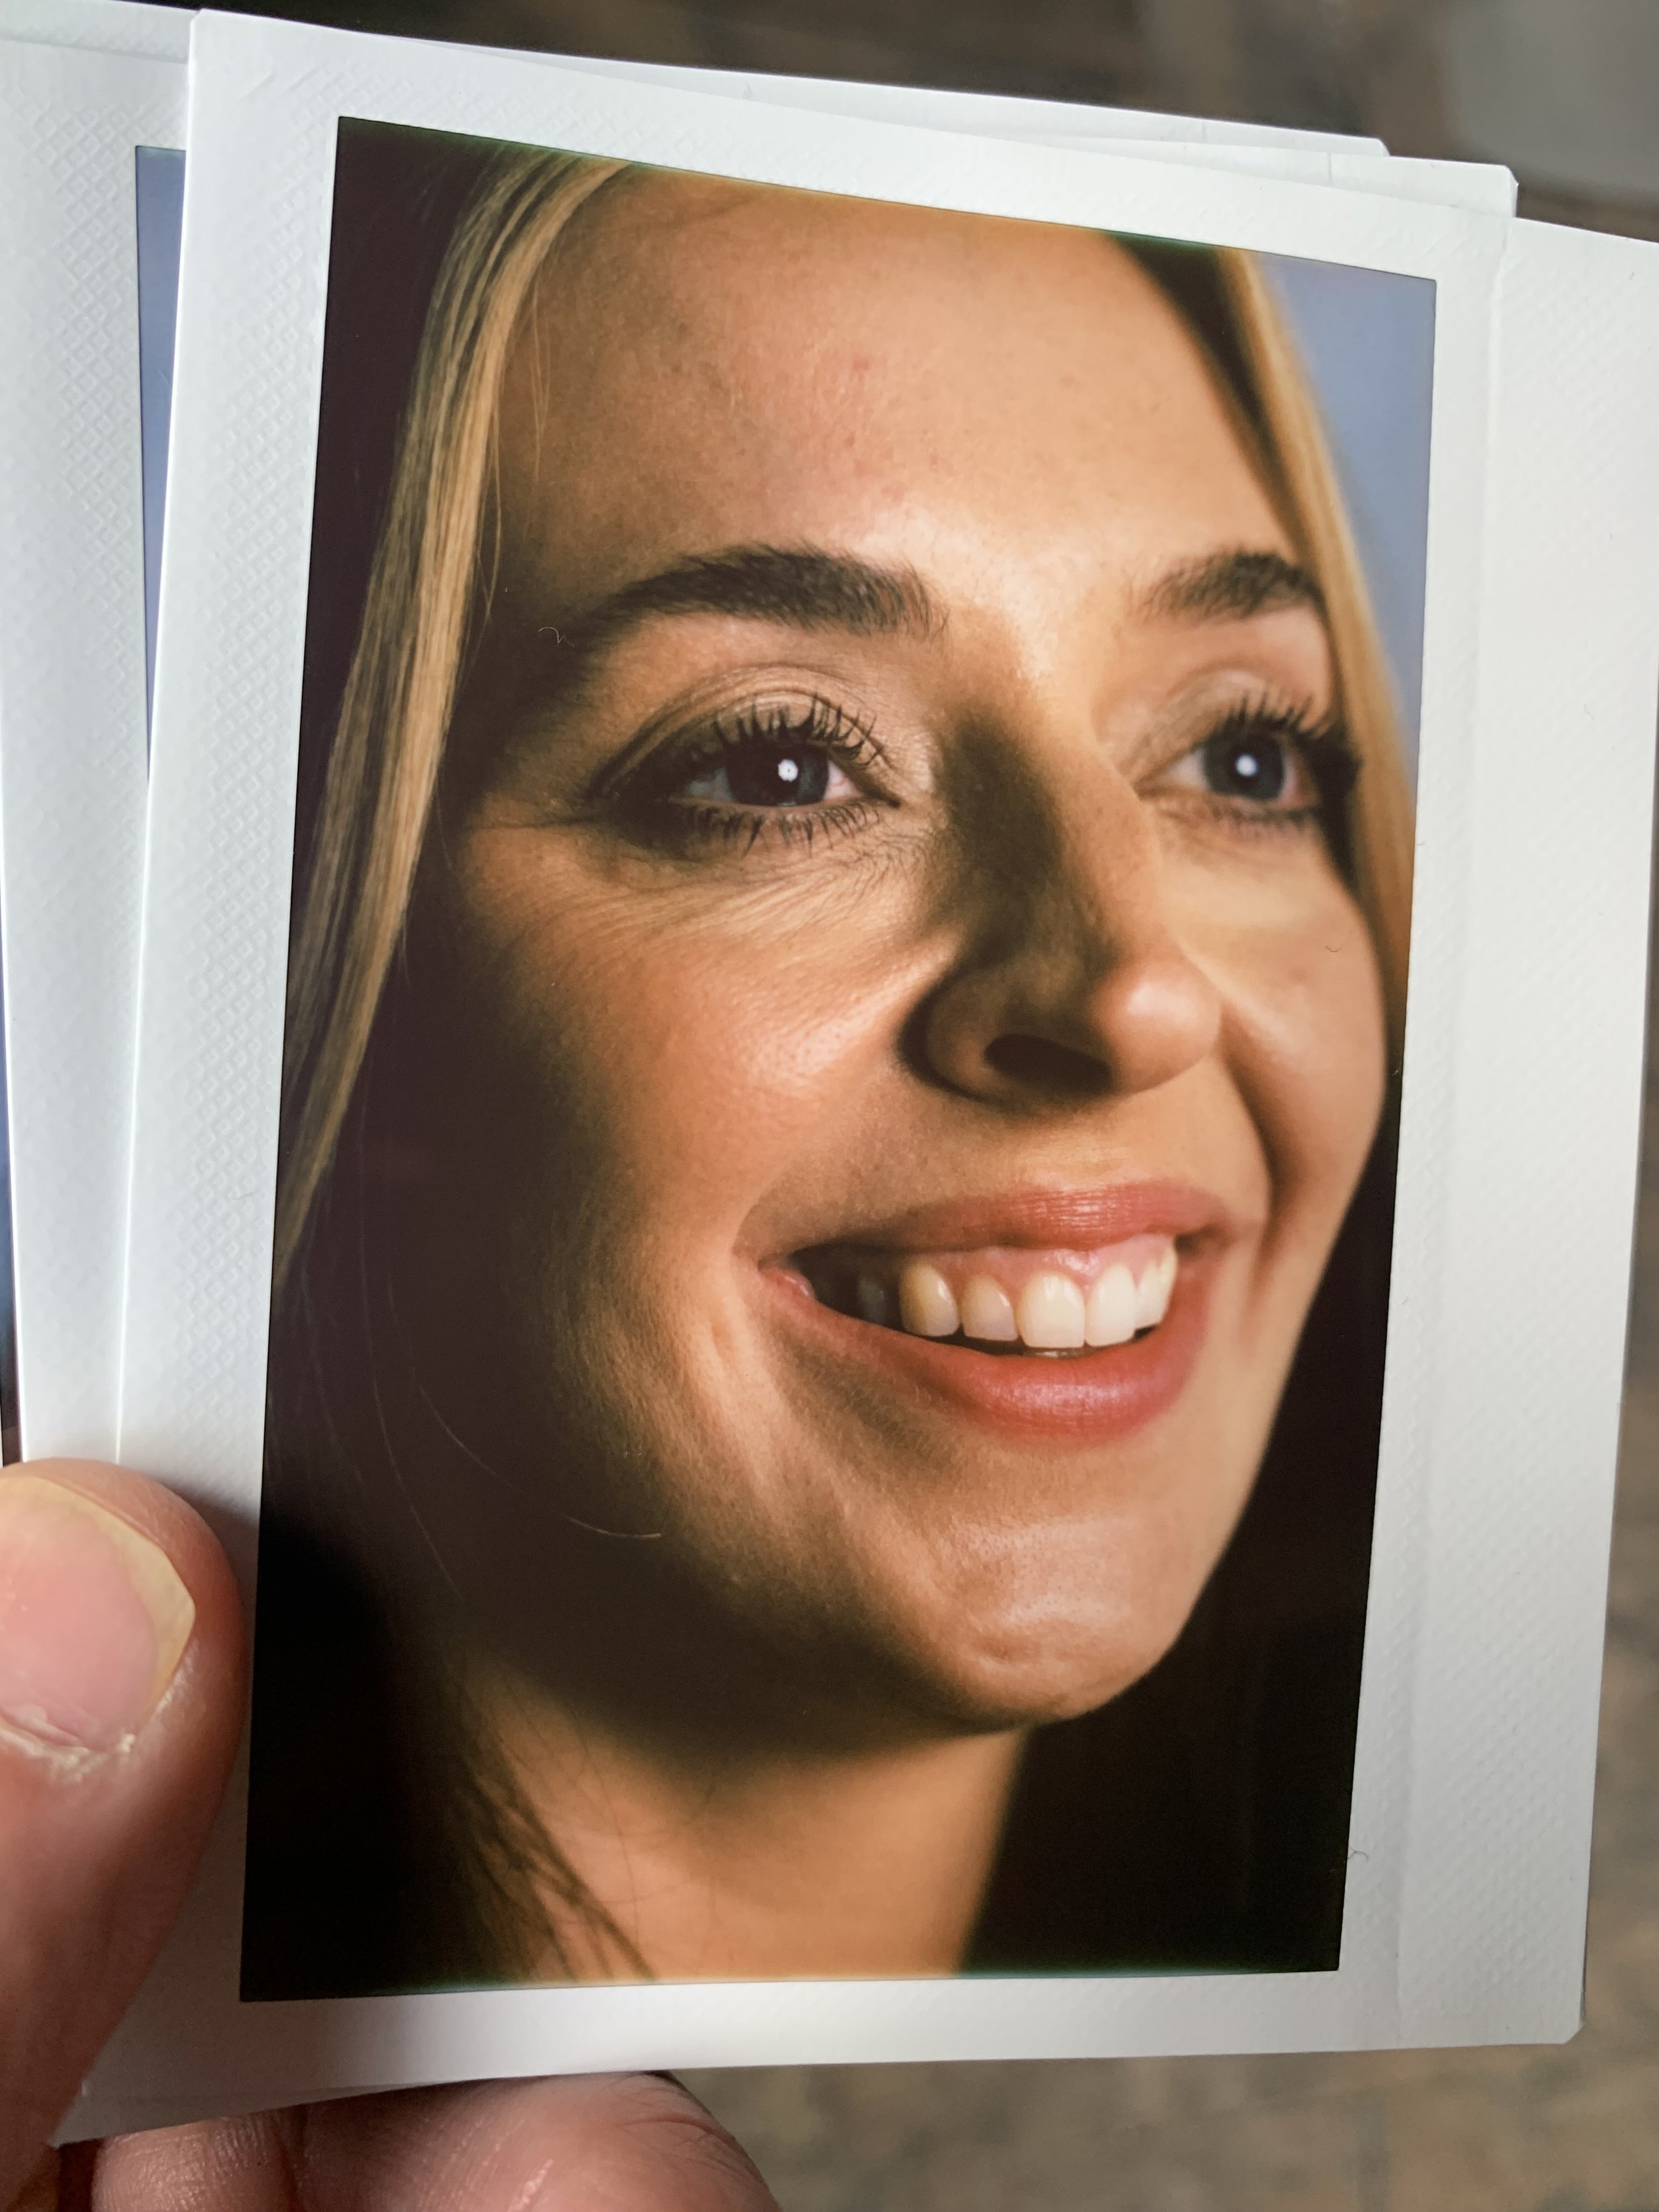
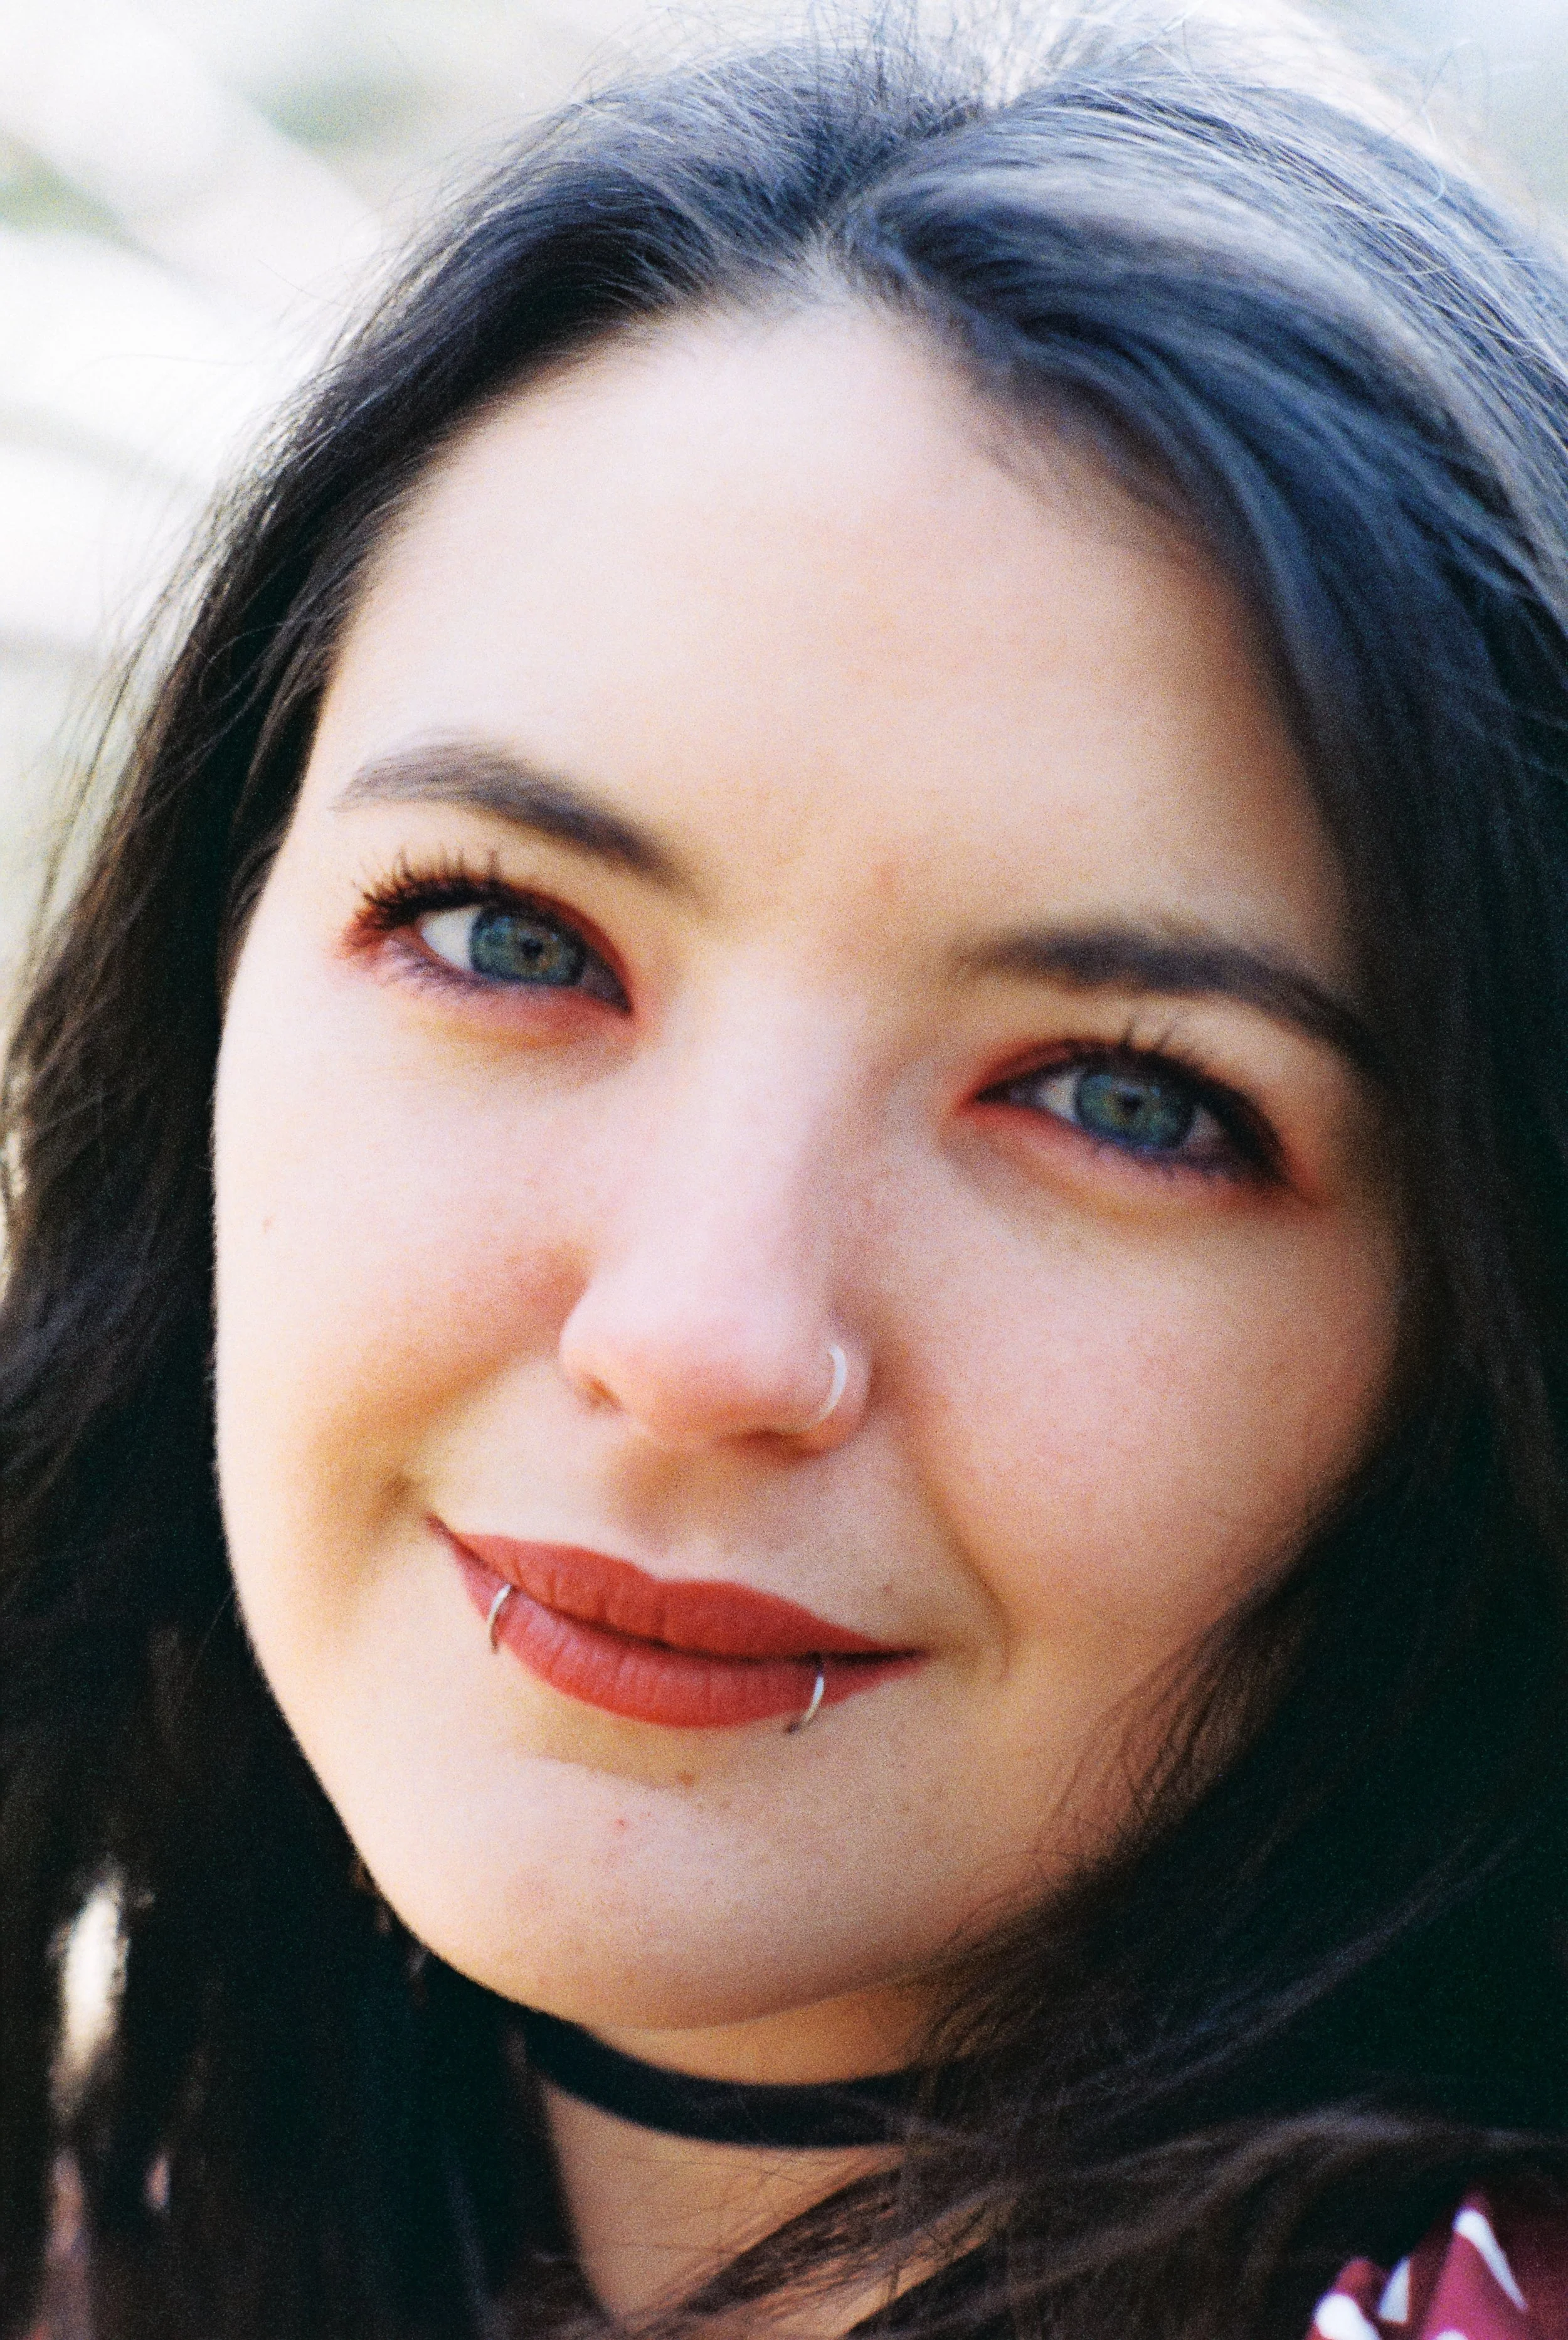
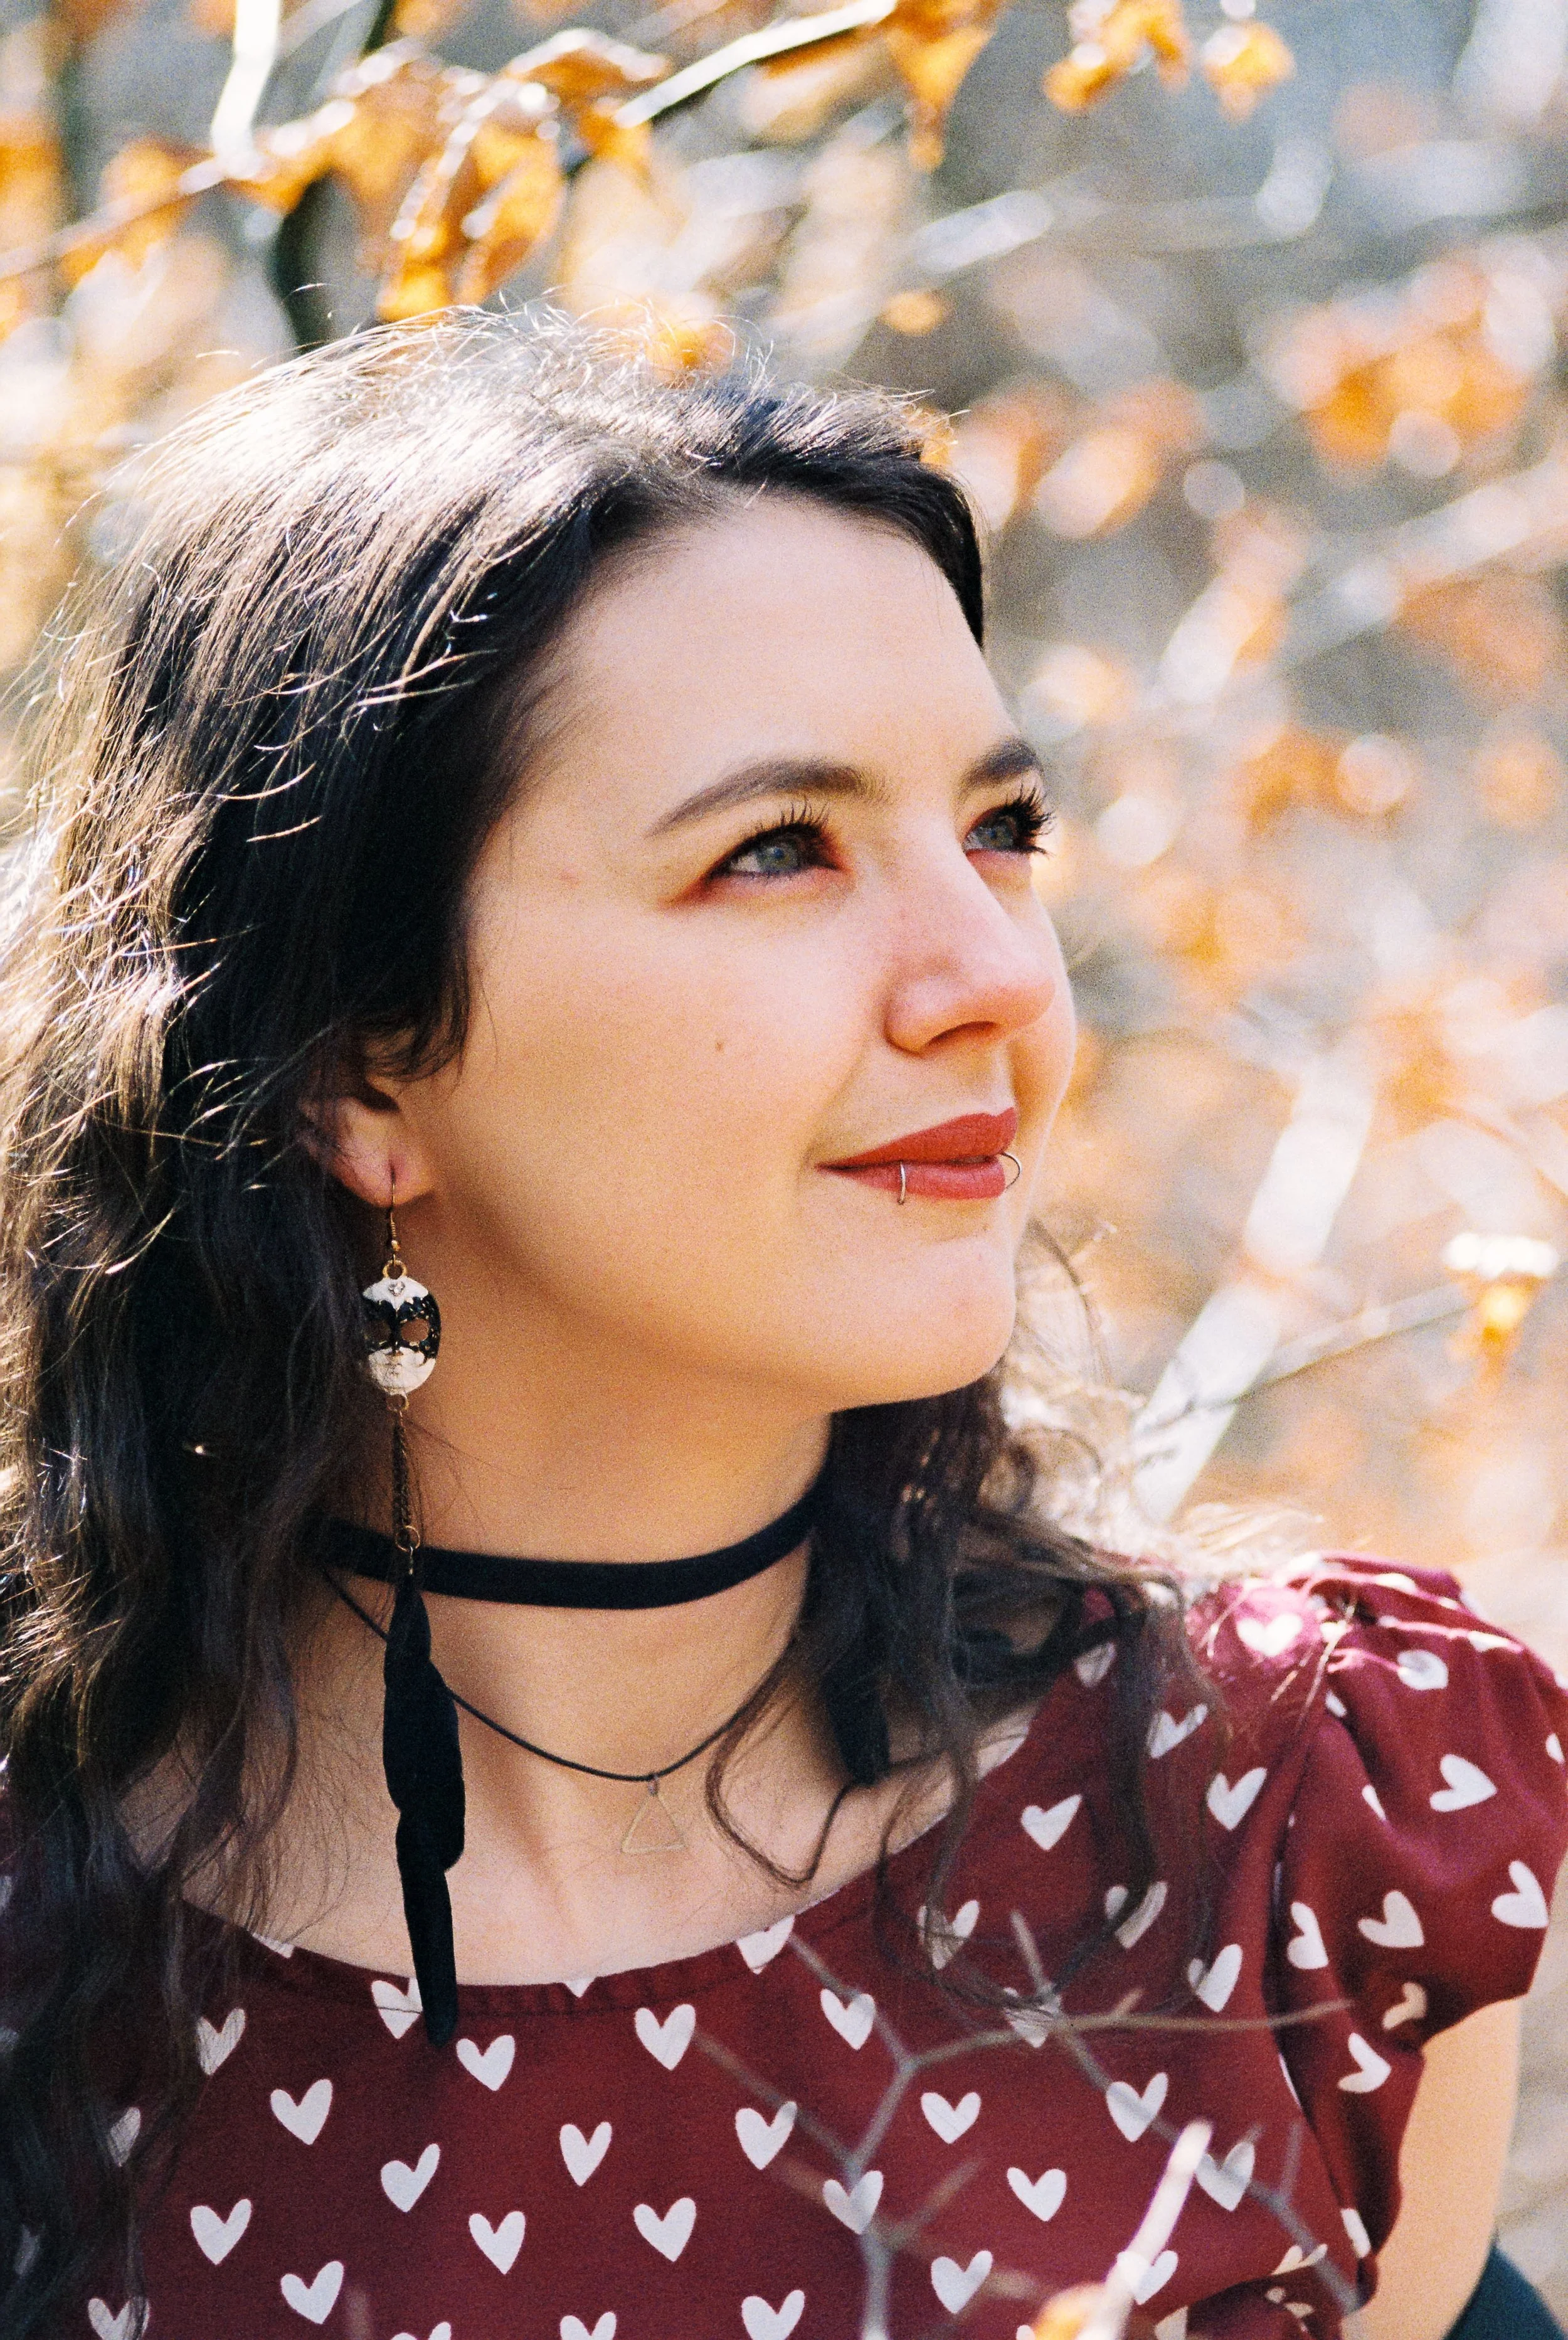
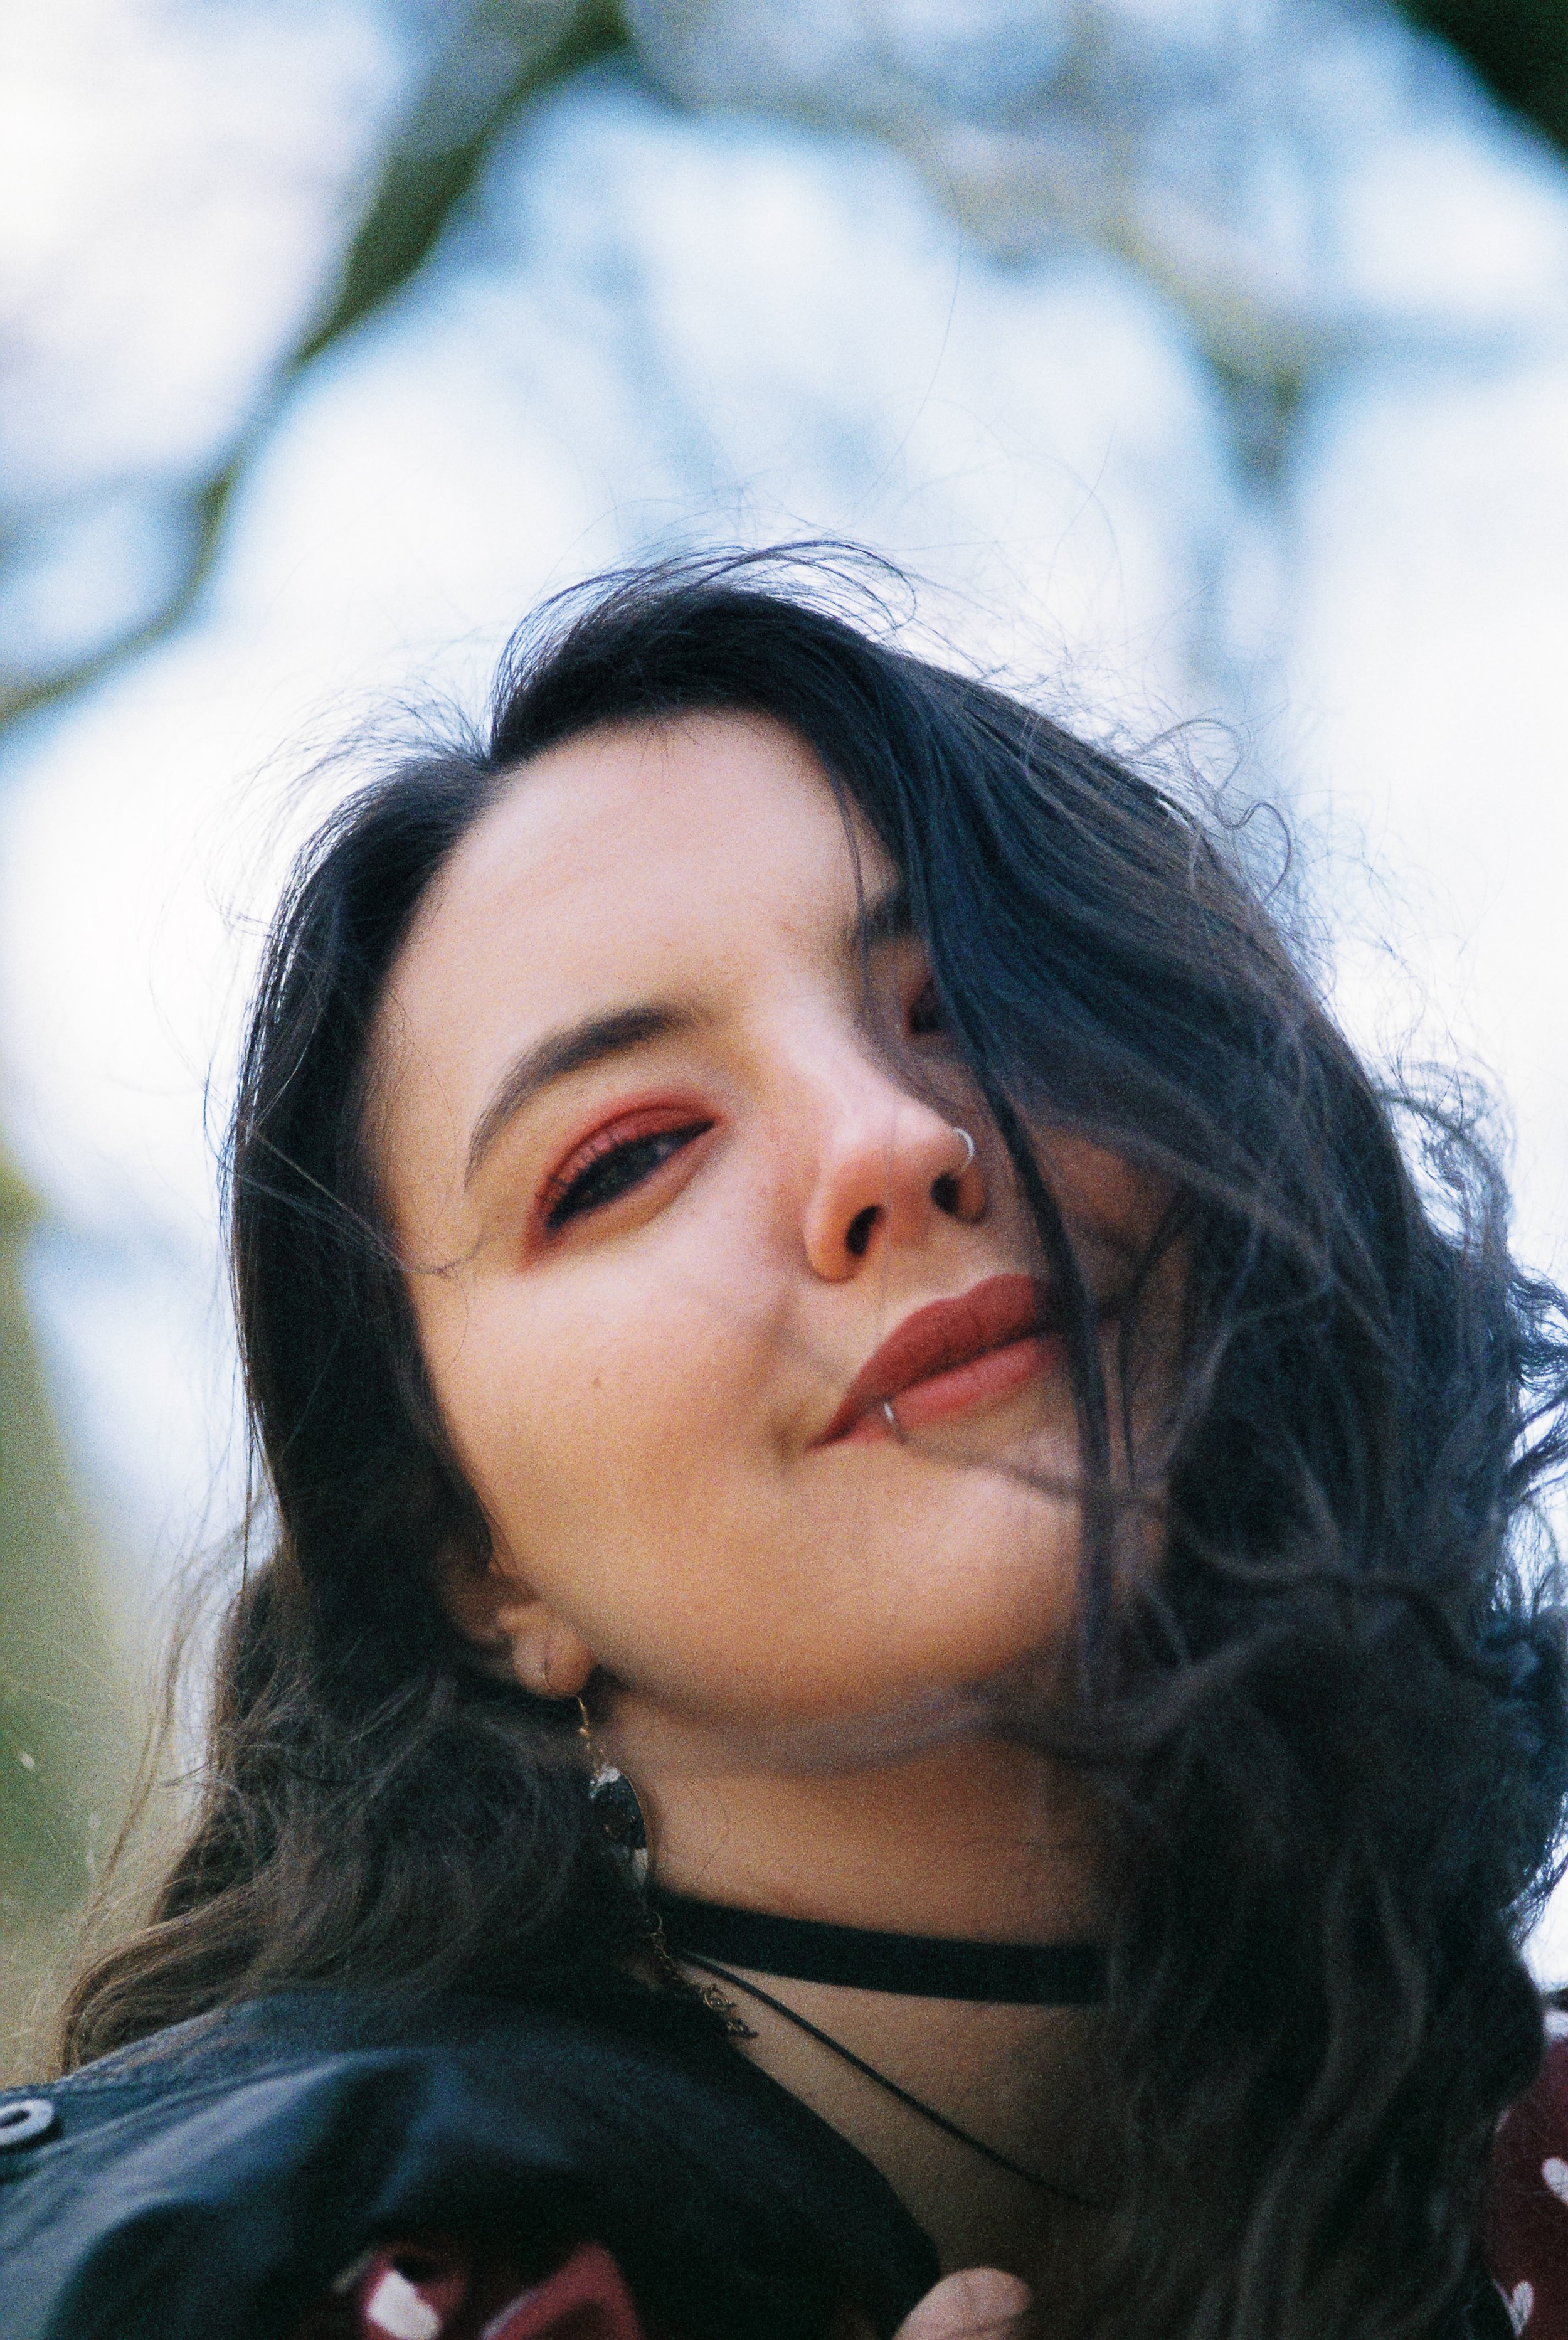
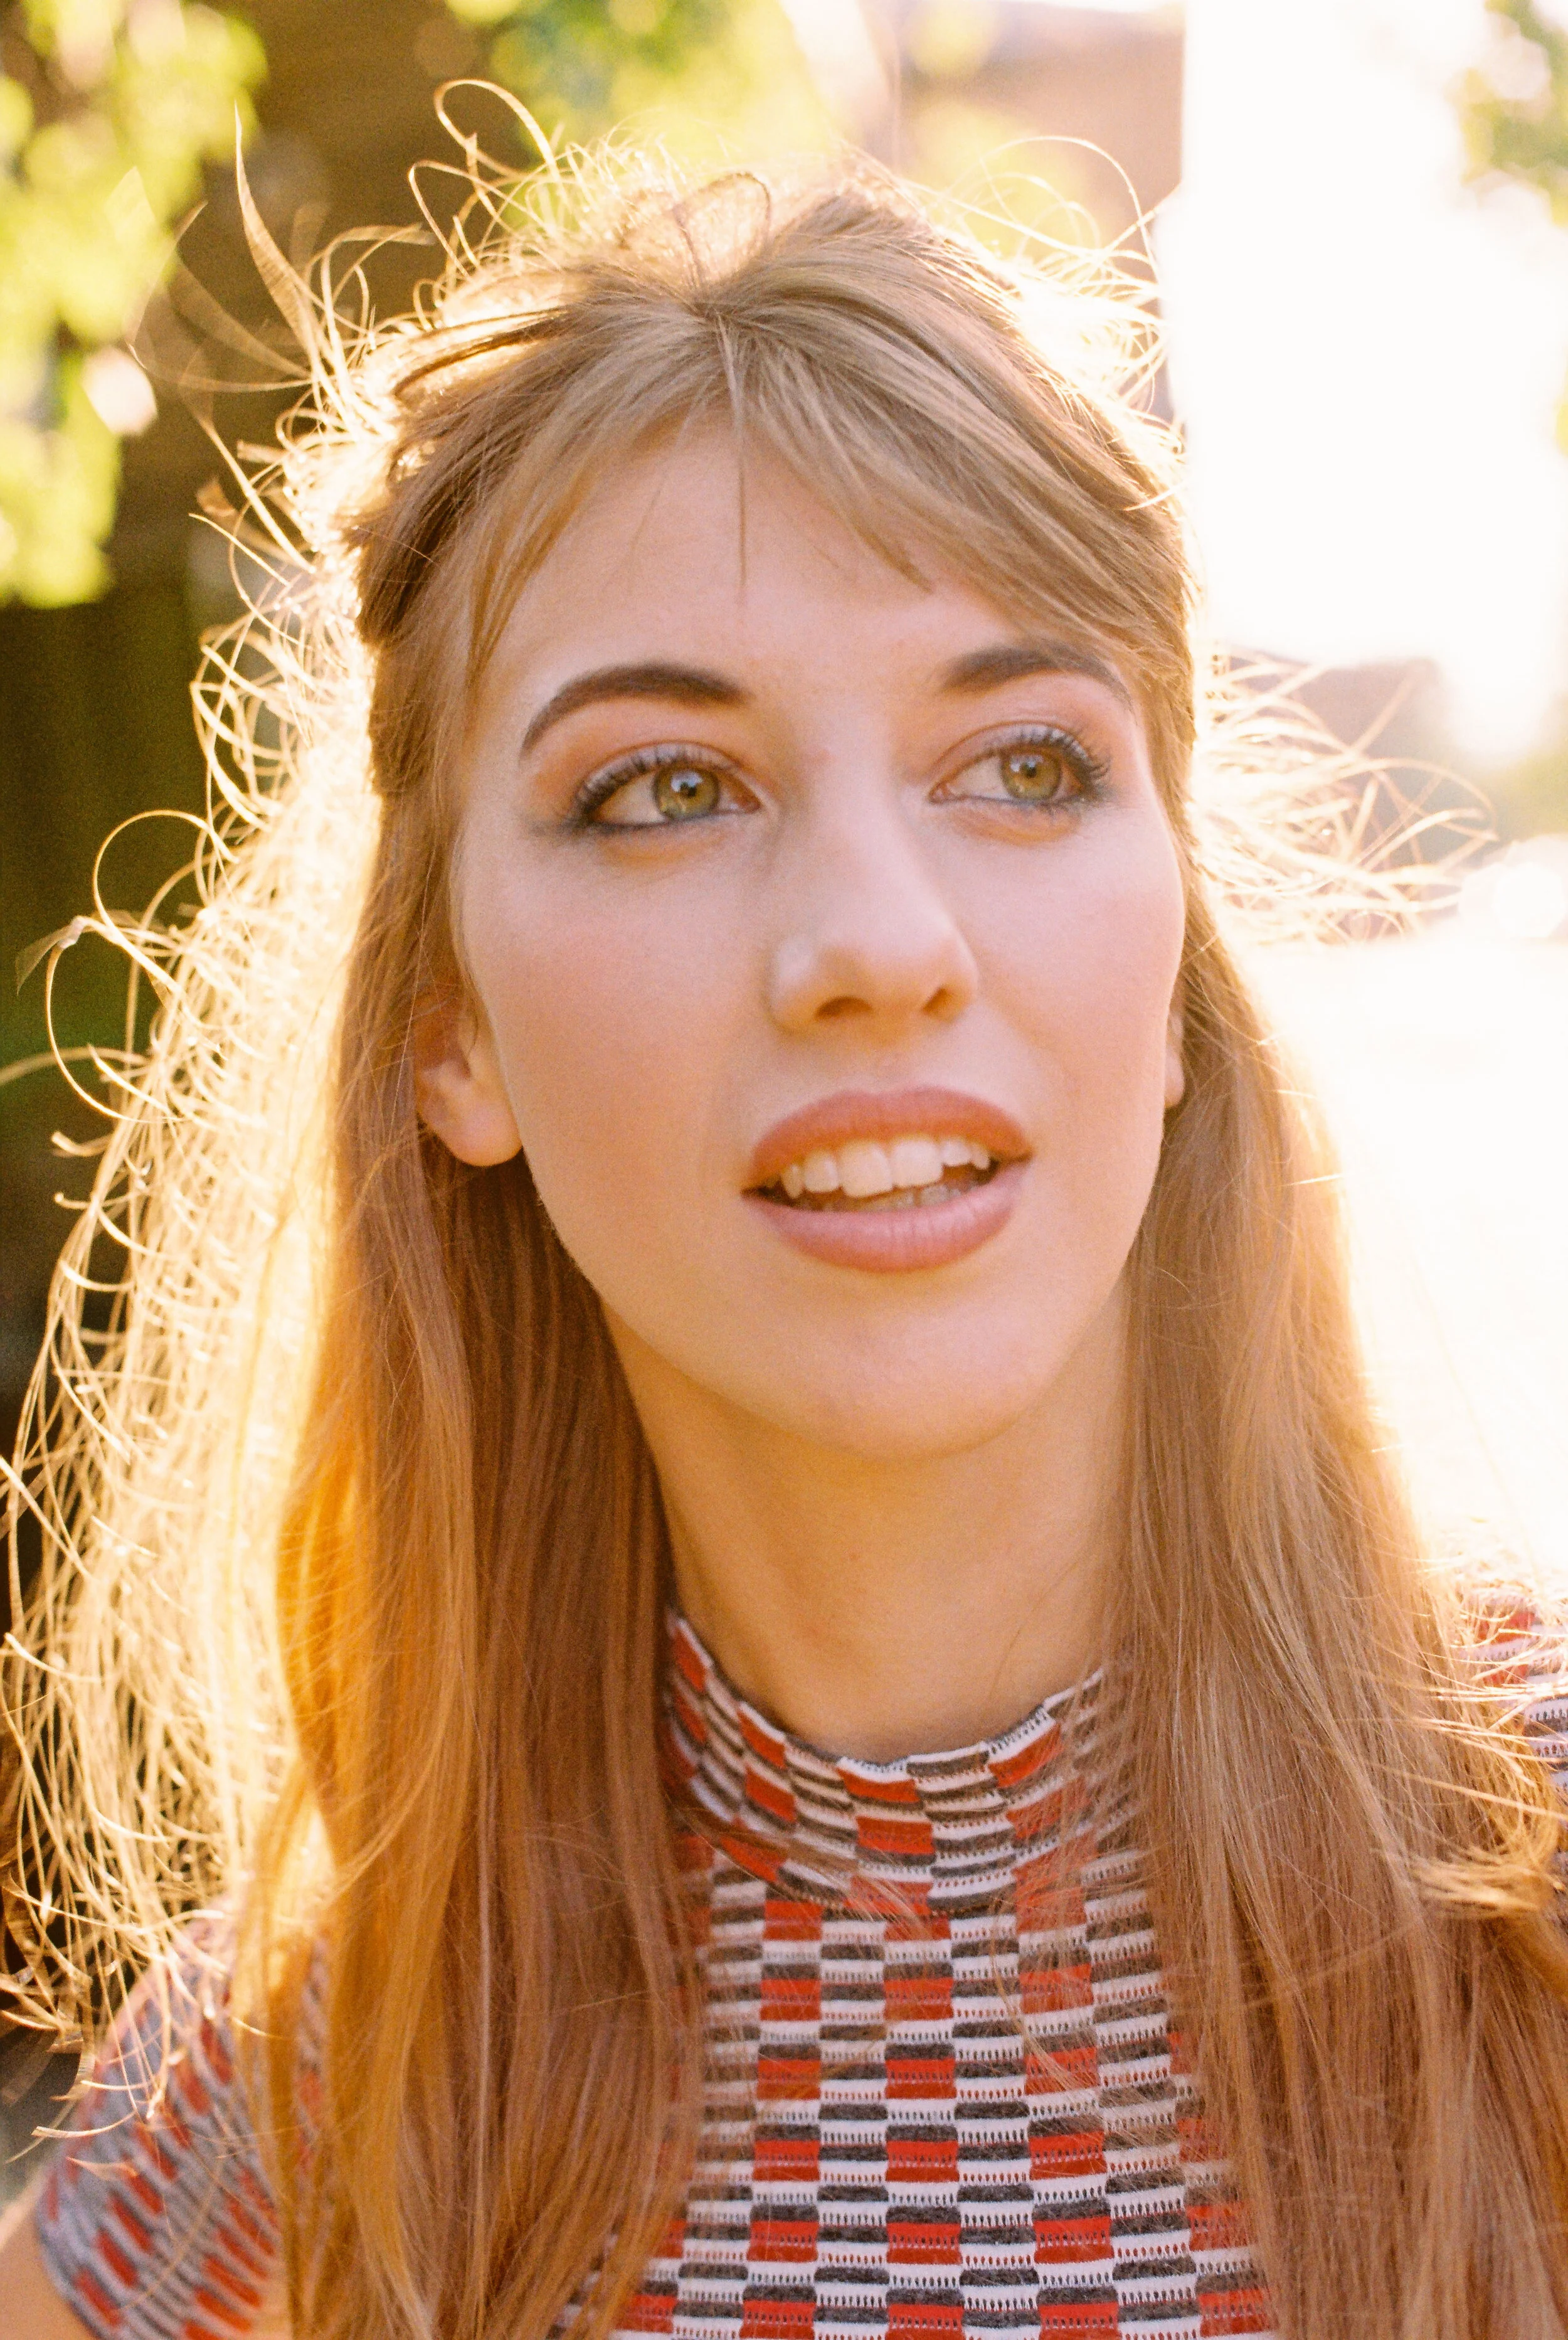
I love writing this blog - I really do! And I hope that you enjoy reading it! I wanted to take the opportunity in this here blog post to share an idea I’ve had… I’ve started a Newsletter!! It’s called the Adventures on Film Newsletter (I know - snappy right)?!

First of all it’s FREE! OK?! And I’m not looking to spam your inbox with thinly veiled sales pitches - ok? OK!

So what the heck is it then?I hear you cry! Good question - allow me to explain…

IMG_9234.jpg

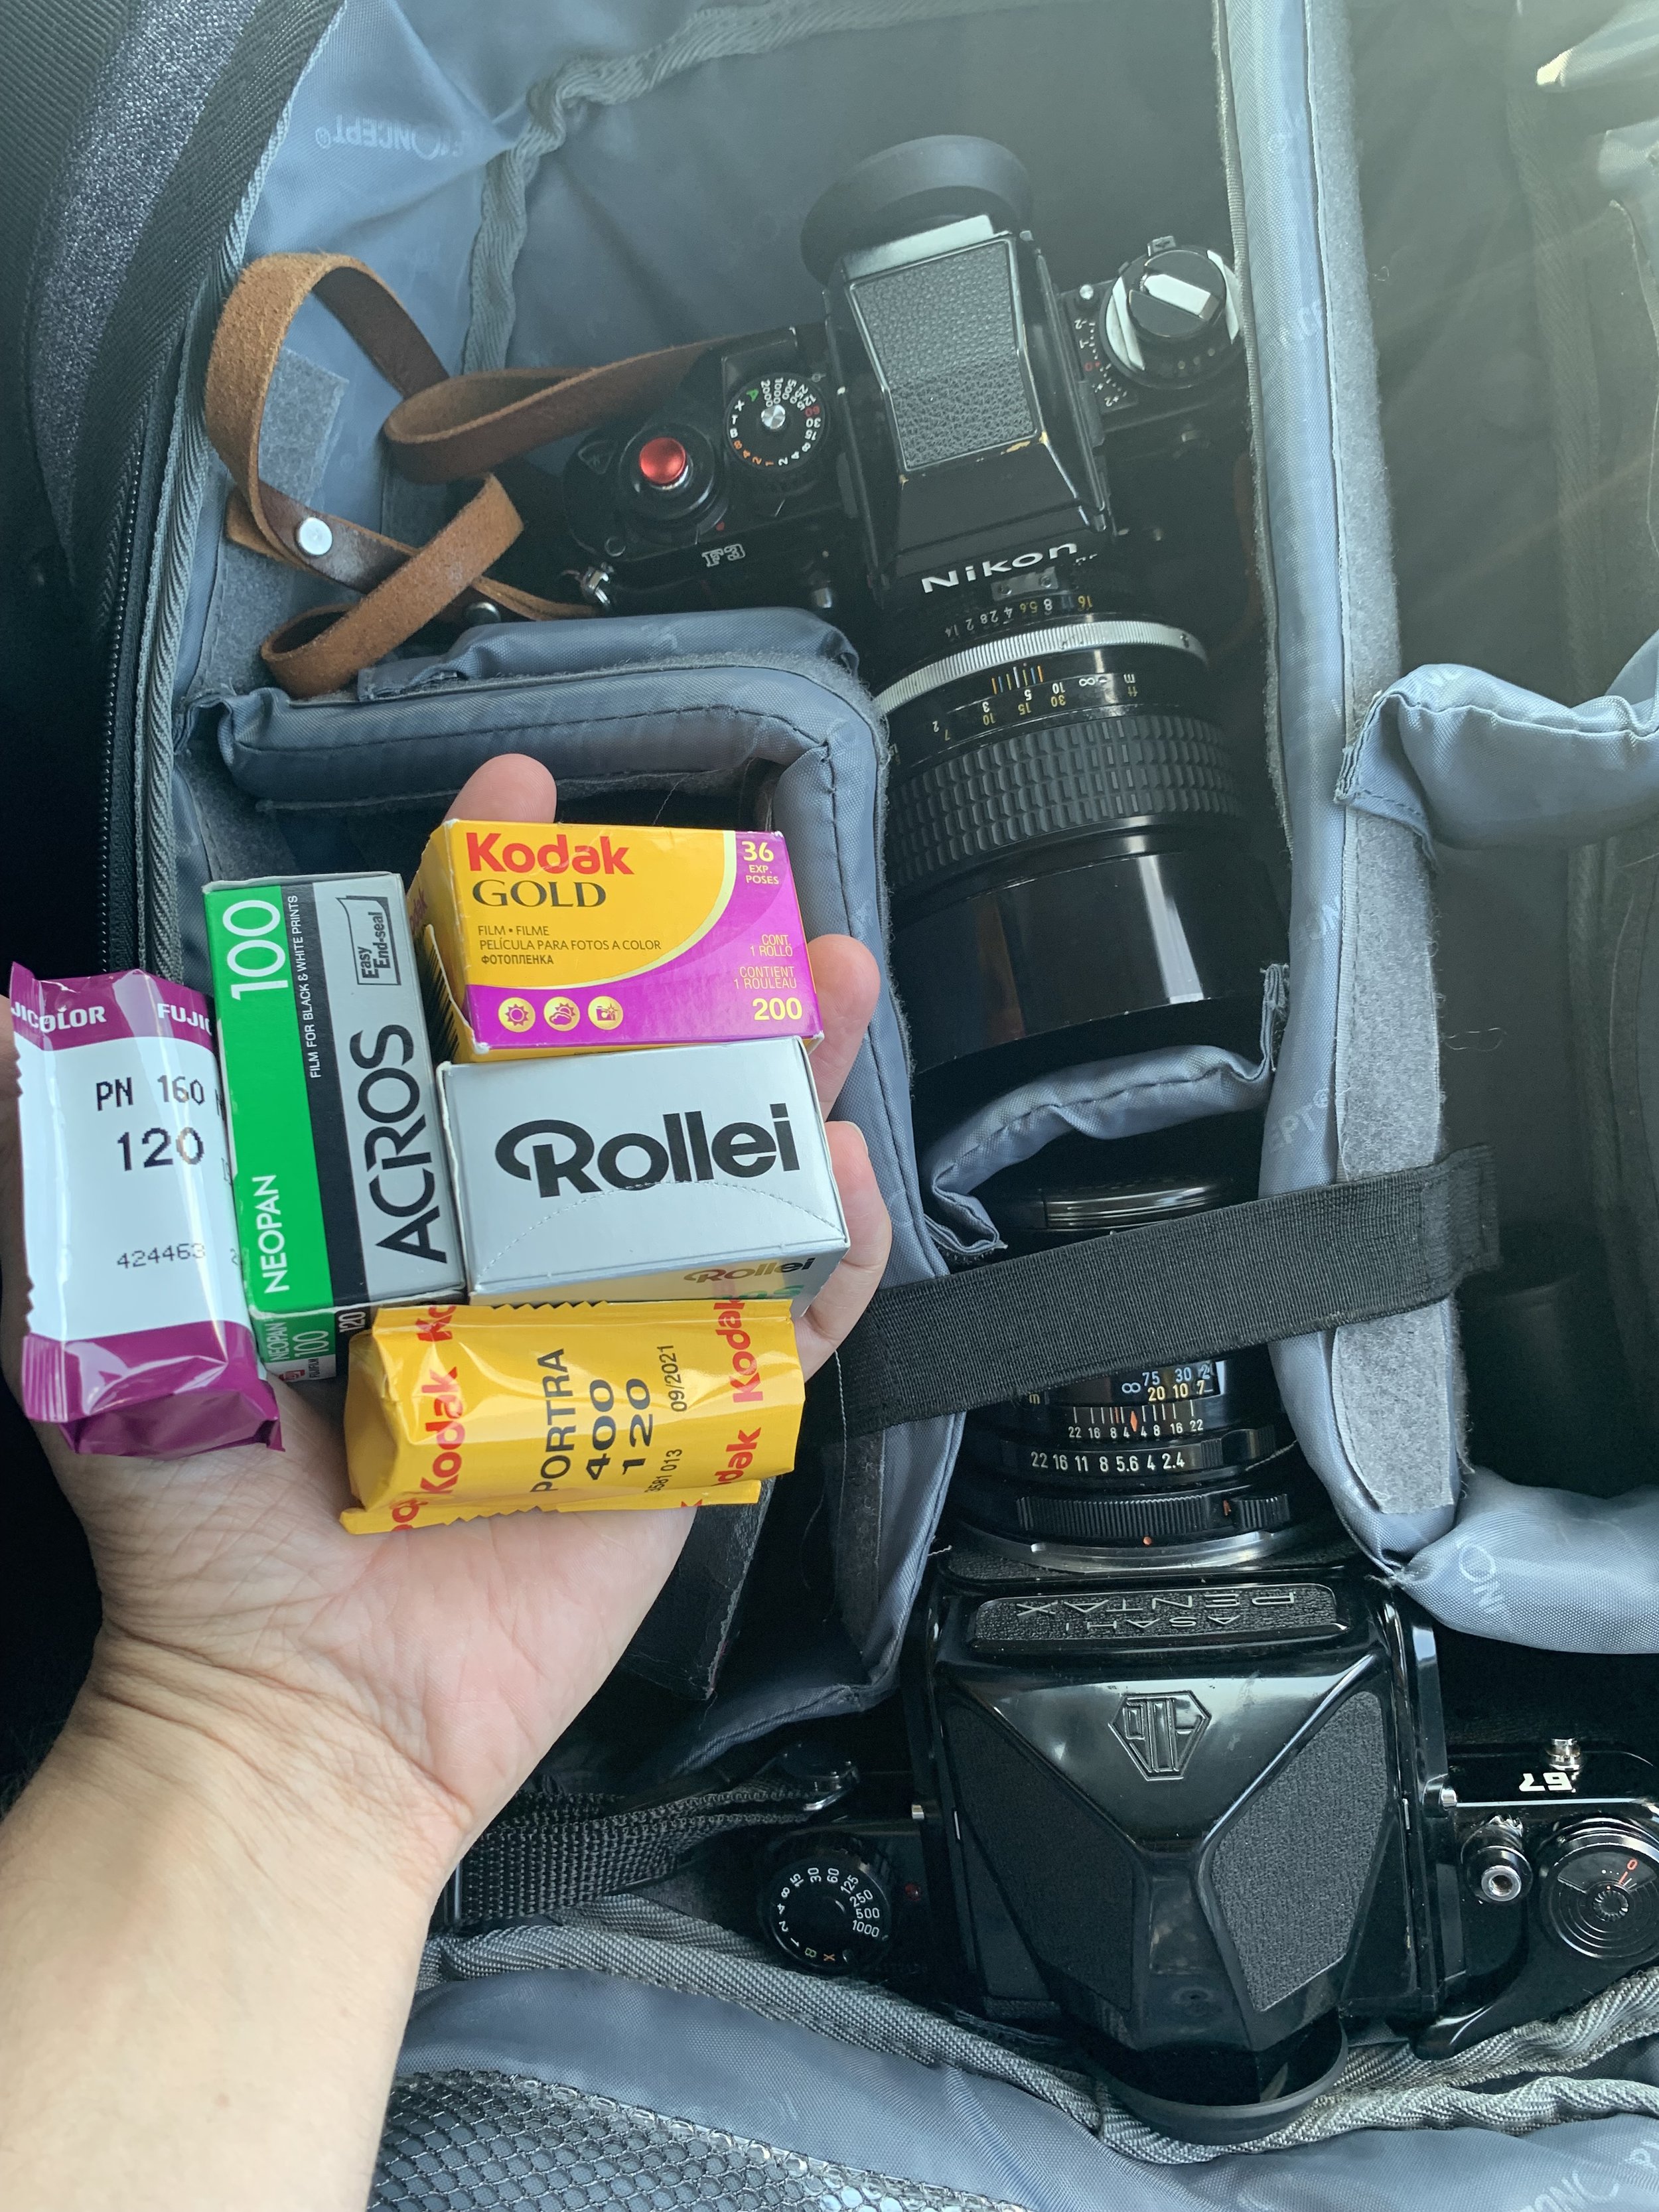
In part it is a way of keeping you up to date with the latest goings on here at Adventures on Film - the usual sharing of photographic experiences, techniques, gear reviews (we all love em) and stories of my ongoing Adventure on Film.

Beyond that though I want to use the Newsletter to feature the work of people in the film community that inspire me. There are so many amazingly talented creators out there - photographers, printers, artists, bloggers, publishers, podcasters to name but a few. If I can connect you with an artist who’s work you love then that would give me immense joy!

So that’s it really, The Adventures on Film Newsletter. It does pretty much what it says on the tin - it’s a Newsletter, It’s all about film photography and it’s free!

Olympus Trip 35 & Elektra 100 25mm Film Review for Film Camera Store


Blogging has been a wonderful way to share my passion for film photography - on occasion I get contacted by brands or companies who want me to write a blog for them - usually these brands have almost nothing to do with film photography or are just totally random products so I tend to say no. But recently I was contacted by The Film Camera Store who asked me if they could send me some film and some film cameras to review - HECK YES was my response and this here blog represents the first of three reviews that I’ll be writing. Yay!

First up we have the Olympus Trip 35 - I’ve not tried one of these before although I did have it’s cousin the Olympus 35RC which I reviewed HERE it was a great camera especially for travel.

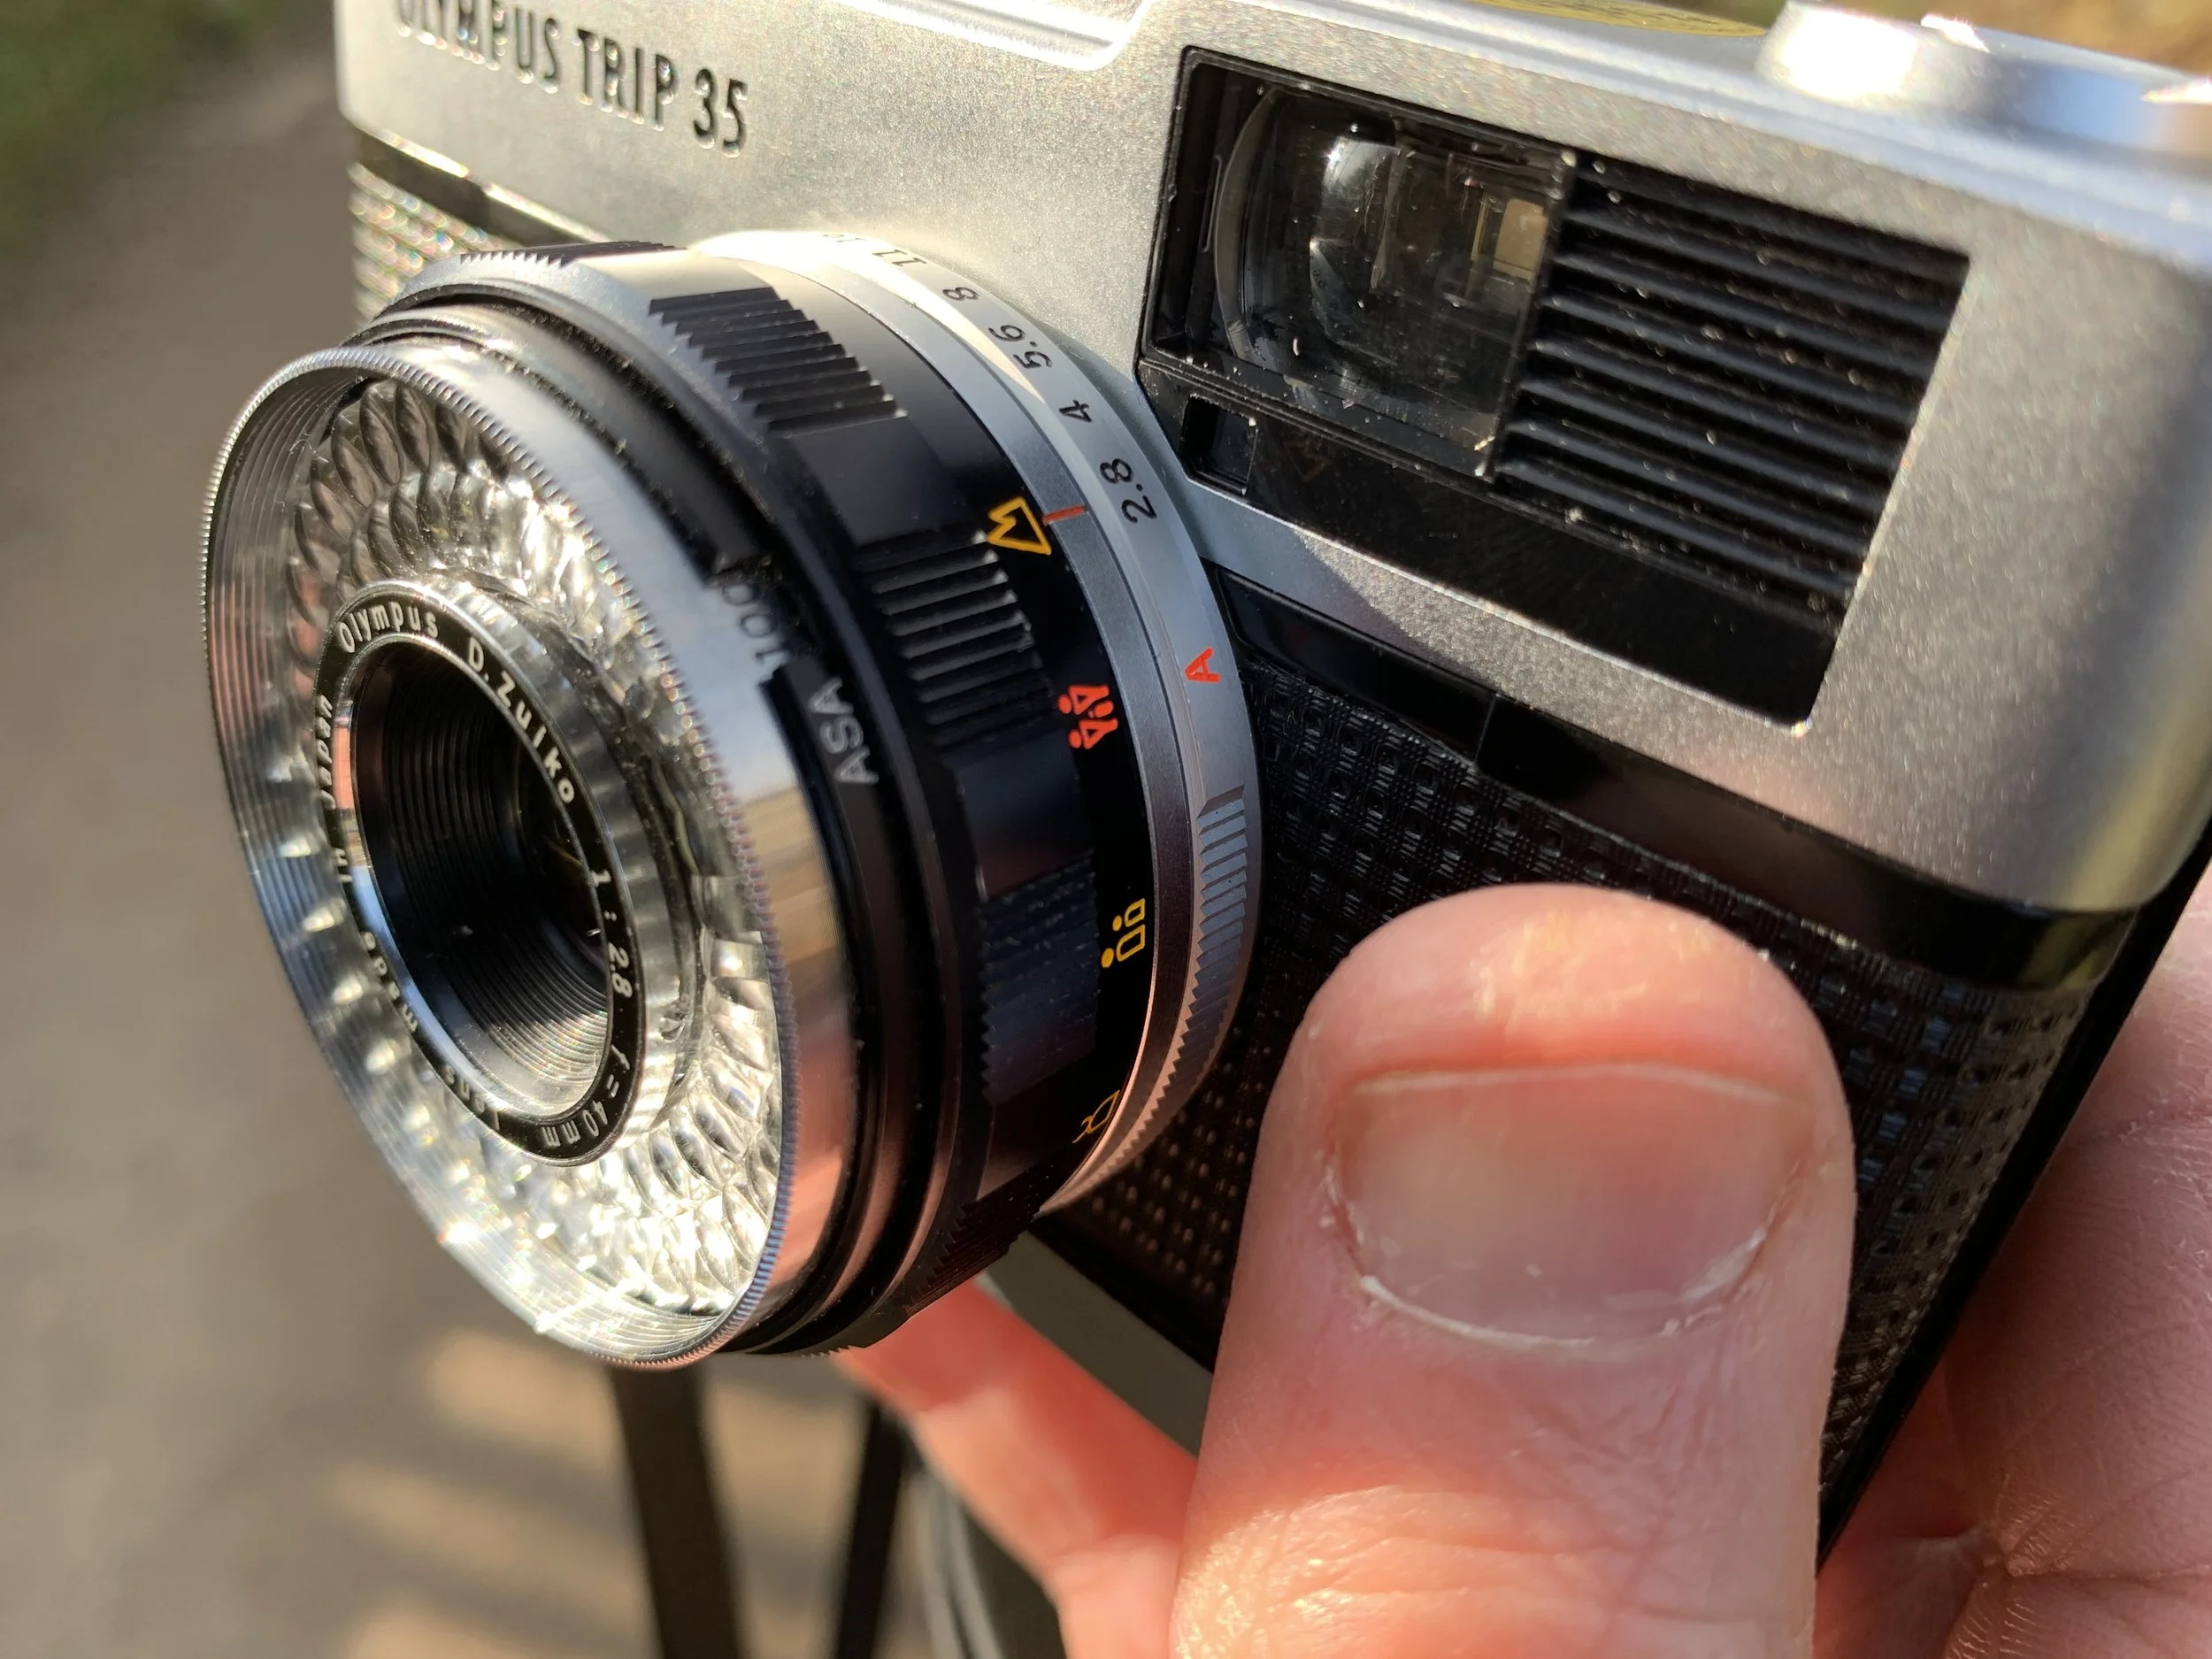
The Trip 35 is reminiscent of the 35RC although more automated / less control for the photographer which I think speak to it’s original purpose as an ideal travel camera (and yeah the name trip is a bit of a giveaway too). For example it’s a zone focus system - you set the lens to one of four distance settings (see pic below) rather than focusing it yourself, therefore the viewfinder isn’t coupled to the lens.

You can shoot in aperture priority mode by choosing the aperture yourself or you can set the camera to A which is fully auto. ISO is selected via a ring around the lens.

I’ve recently decided to make more time for photowalks and just shoot whatever happens to catch my attention so let’s see where the little Olympus Trip takes me. I’ll be shooting a roll of Flic Film Elektra 100 film which has also been supplied by Film Camera Store. I hadn’t heard of this stock before, a bit of internet research shows me that this is respooled Kodak Aerochrome IV film which is used for aerial photography, documenting landscapes and surveillance (eeek).

I loaded the camera and went on a walk along the canal that runs through Slaithwaite where I live…

The film cassette advised to load the film in low light due to it’s sensitivity and as a very thin film base it can be prone to light leaks on the first few frames but I seem to have avoided this - the negatives did look VERY thin once developed so I was interested to see how they came out - I scanned the negatives on the Epson V600 and processed the scans with the Negative Lab Pro plug in for Lightroom. I gave the images a little tweak here and there - mainly just adding a bit of warmth as the initial scans felt a bit cool (as in cold… you know what I mean)!

The film is interesting, I like the tones - it’s got some pleasing contrast. It is sharp and quite smooth although shadow areas have more noticeable grain which isn’t unpleasant - reminds me of Kodak Gold in that regard. It doesn’t seem to hang on to highlights all that well and can feel a little washed out, it was VERY bright sunshine so that maybe the Zuiko lens as much as the lens.

I shot the camera in auto mode and let it decide on the settings - it does have the ability to be shot in semi automatic / aperture priority mode too.

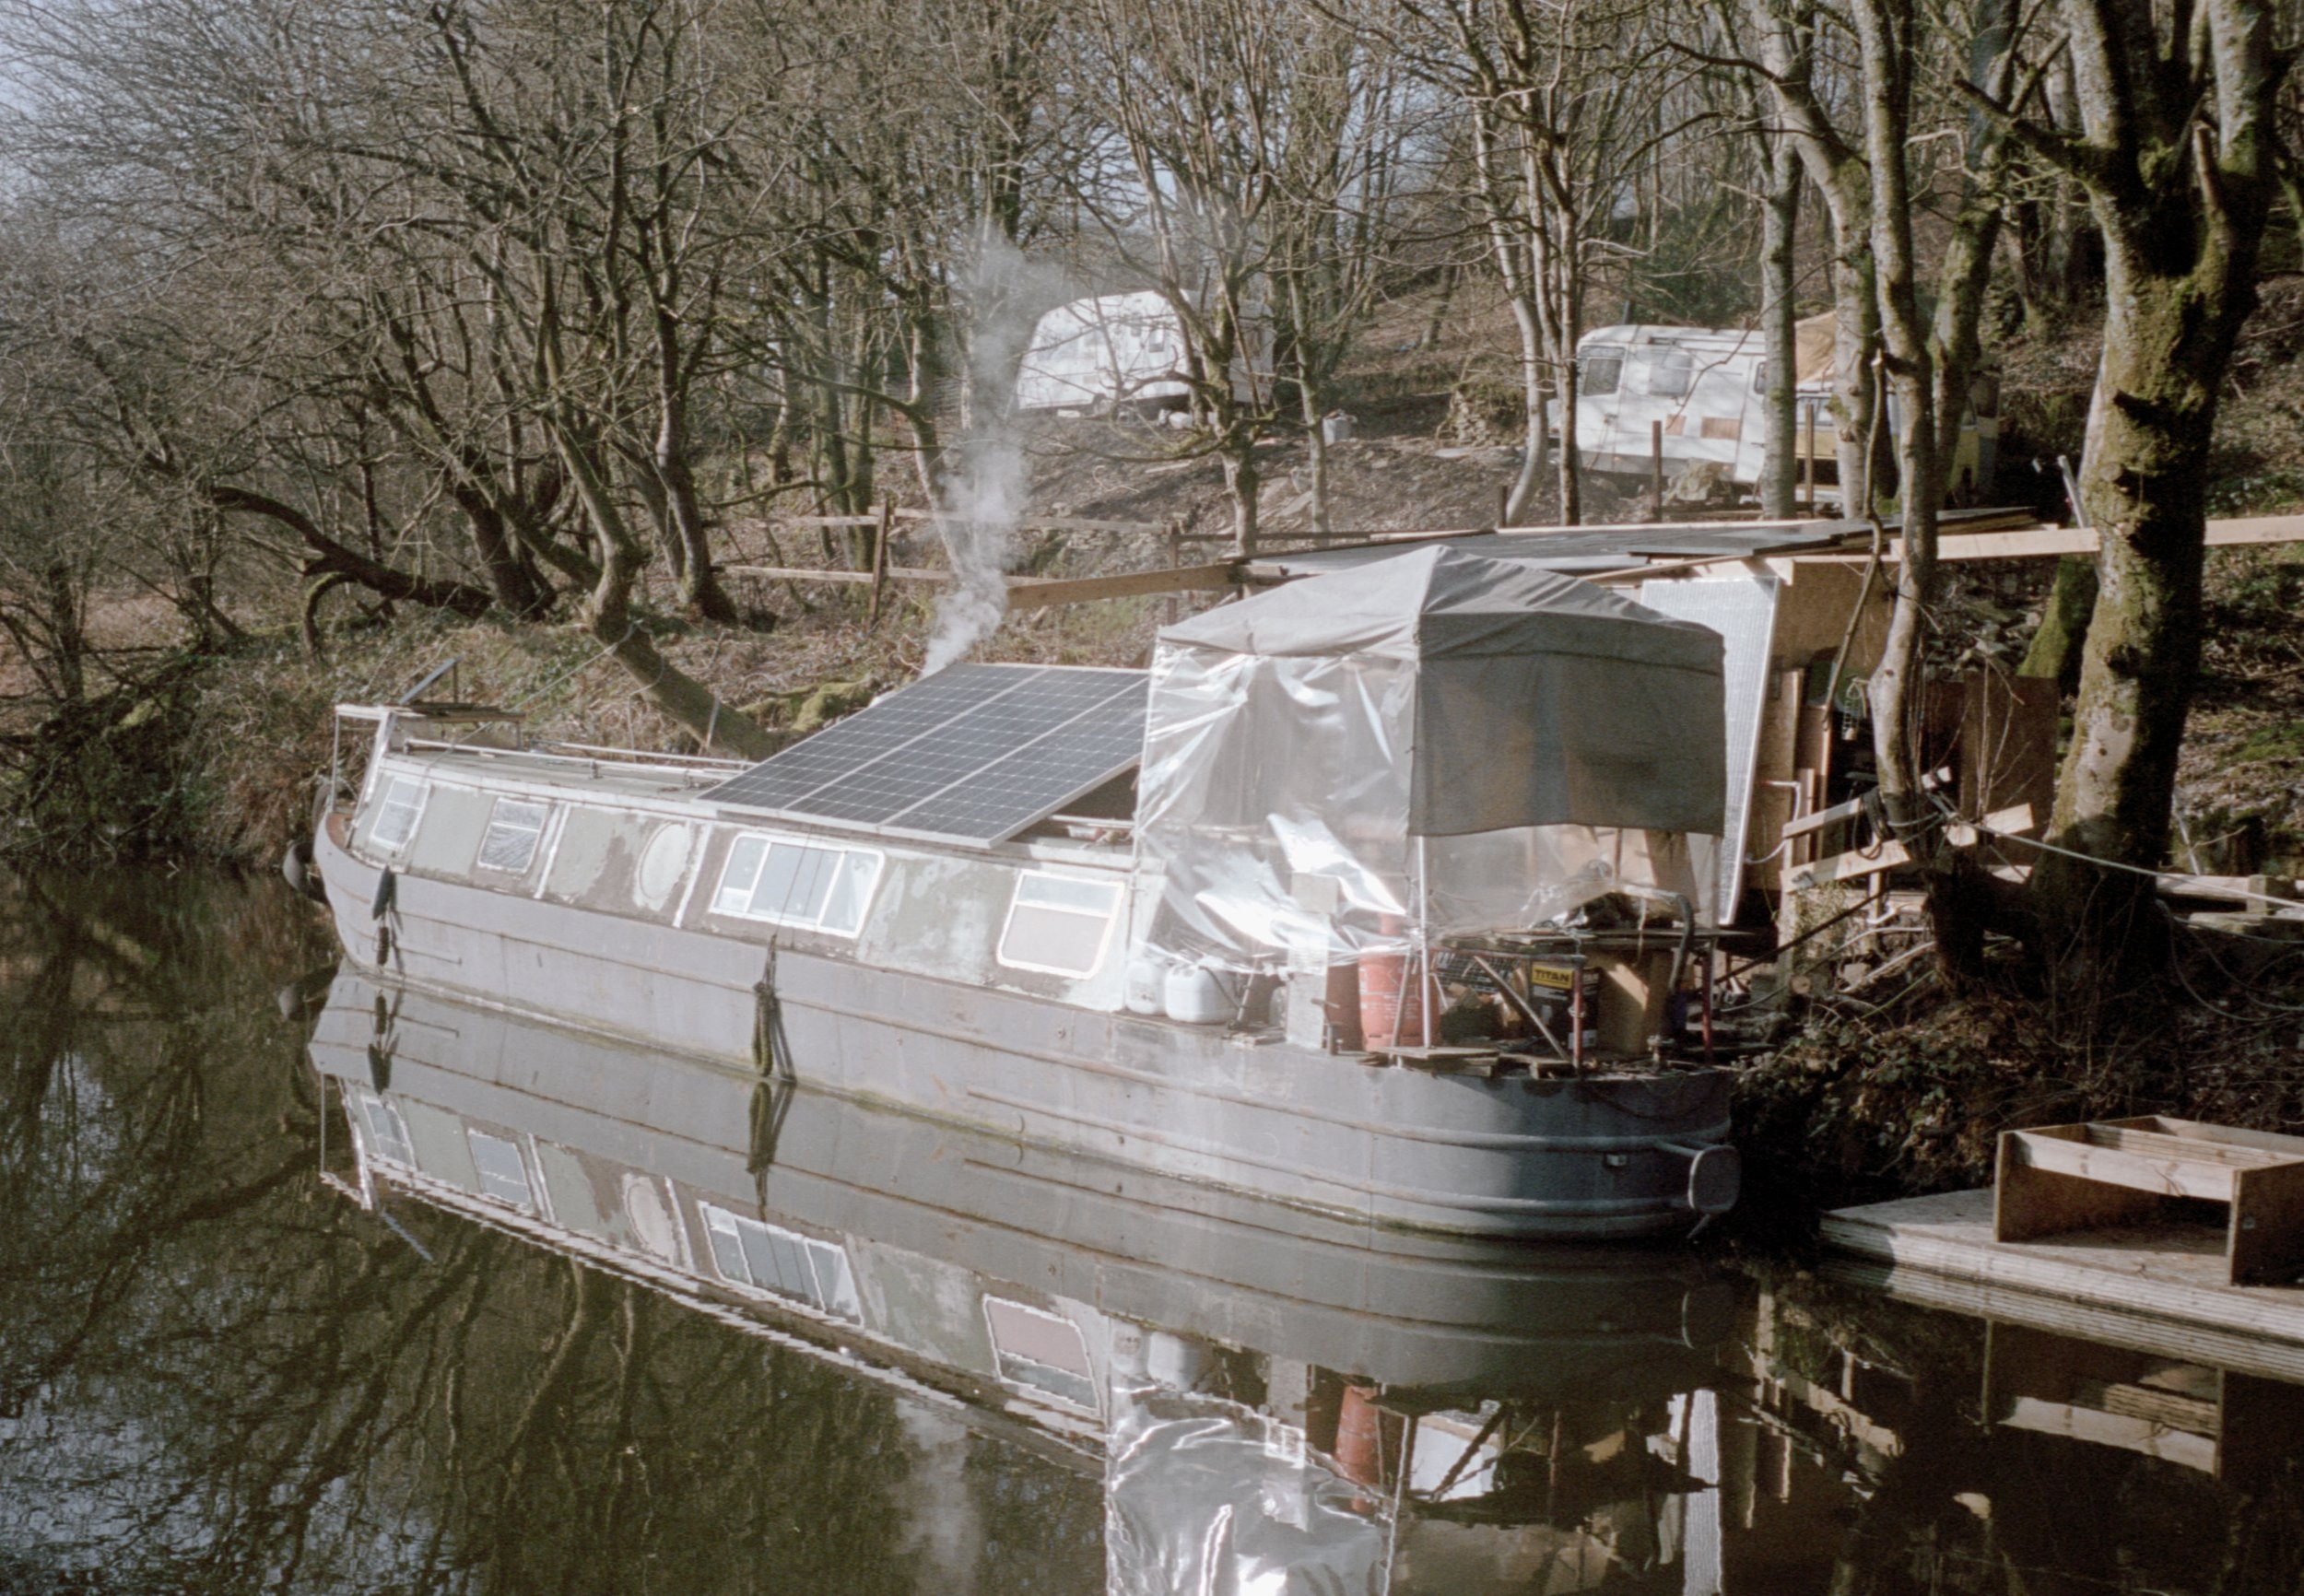
The lens and the film have done a pretty good job here - with strong sunlight washing across the scene and some lovely rays of light captured, there’s a slight drop in contrast as you’d expect but not much, I think the camera did a good job of metering the scene to get a good exposure too.

One of the tricky things with zone focus is not knowing exactly where your plane of focus is, which means there’s a little bit of trial and error involved - if I was to keep this camera I would definitley look up what exact distance the focussing indicators are set to and event take a tape measure out to check when shooting, but for these I just winged it - in the shot above I kind of missed focus.

In recent years people have been clearing the overgrown banks of the canal and carving out places to live - generally consisting of an assortment of barges, caravans, trucks and shelters. There is a definite pioneer / frontier vibe going on (Wild Wild West Yorkshire).

In bright sunlight the film is very clean and has a pleasing tonality if as mentioned previously a little washed out, I gave some of these images a little contrast boost in processing.

So there we have it - I really enjoyed shooting this Flic Film Elektra 100 with the Olympus Trip - it felt good to get out and just snap away - it makes a nice change of pace to just point and shoot!

If you’d like to try this set up for yourself then you can check out Film Camera Store and get an Olympus Trip 35 right HERE and a roll of Flic Film right HERE

Big thanks to Film Camera Store for lending me the Trip 35 and a roll of film to burn! I have another camera/film review I’ve done for them coming soon!

Scanning film with the Epson V600 and Negative Lab Pro

A few years ago I tried my hand at C41 developing at home - one of the benefits of writing a blog is that I can pinpoint that time fairly accurately to May 2019 thanks to the blog I wrote about it at the time HERE

Back then in those halcyon pre COVID days I came to the conclusion that the Bellini kit was great - but I found getting a ‘good’ colour balance when scanning to be a challenge and this point me off the whole deal.

I am pleased to say that thanks to Negative Lab Pro I have finally found a means of scanning which achieves results I am happy with and I wanted to share my thoughts on using it.

I wont retread ground I’ve already covered in the previous review HERE using the Bellini kit suffice it to say that having used it again recently I highly recommend it for a C41 developer as it’s just so simple to use compared to others I’ve tried (Tetenal & Rollei) and now that I have a darkroom space of my own it’s much more practical for me to do regular film developing (yay)!

Negative Lab Pro is a plug in that integrates with Lightroom, it works fairly intuitively and allows you to experiment with different settings to achieve the correct results - what I struggled with in the past was spending ages in Lightroom trying to get a good colour balance (and most often failing to get one) with Negative Lab Pro I have found that you can get a lovely colour balance pretty much off the bat, you can quickly make any adjustments that you see fit and voila - you’re done!

There are lots of great resources available via Negative Lab Pro themselves which relate to all the different aspects of the scanning process so rather than repeat them I’ll post some links - there’s a specific resource for using the Epson V600 which can be found HERE and it seems there’s a community of users built up around different methods with chat boards for questions and solving issues.

One of the best features I found is that you can download a trial version which gives you an opportunity to process up to 12 negatives - being able to try before you buy in this way was great, the results were so good I was hooked!

So enough waffle then, I think the images can speak for themselves - in terms of process I followed the instructions laid out in the link above and found the whole experience to be quick and painless (for film scanning anyway) I definitely feel that I have some more to learn about the different settings available and will experiment more as time goes on.

To develop and scan film yourself can be expensive to get all the relevant kit and caboodle, I managed to gradually build up all the relevant stuff over time - my biggest hurdle was a lack of space at home to regularly develop film, but now that I have a dedicated space it’s quite easy to set everything up and develop my colour film in batches knowing that I have a solid process for scanning them in a way that gives me the results I want.

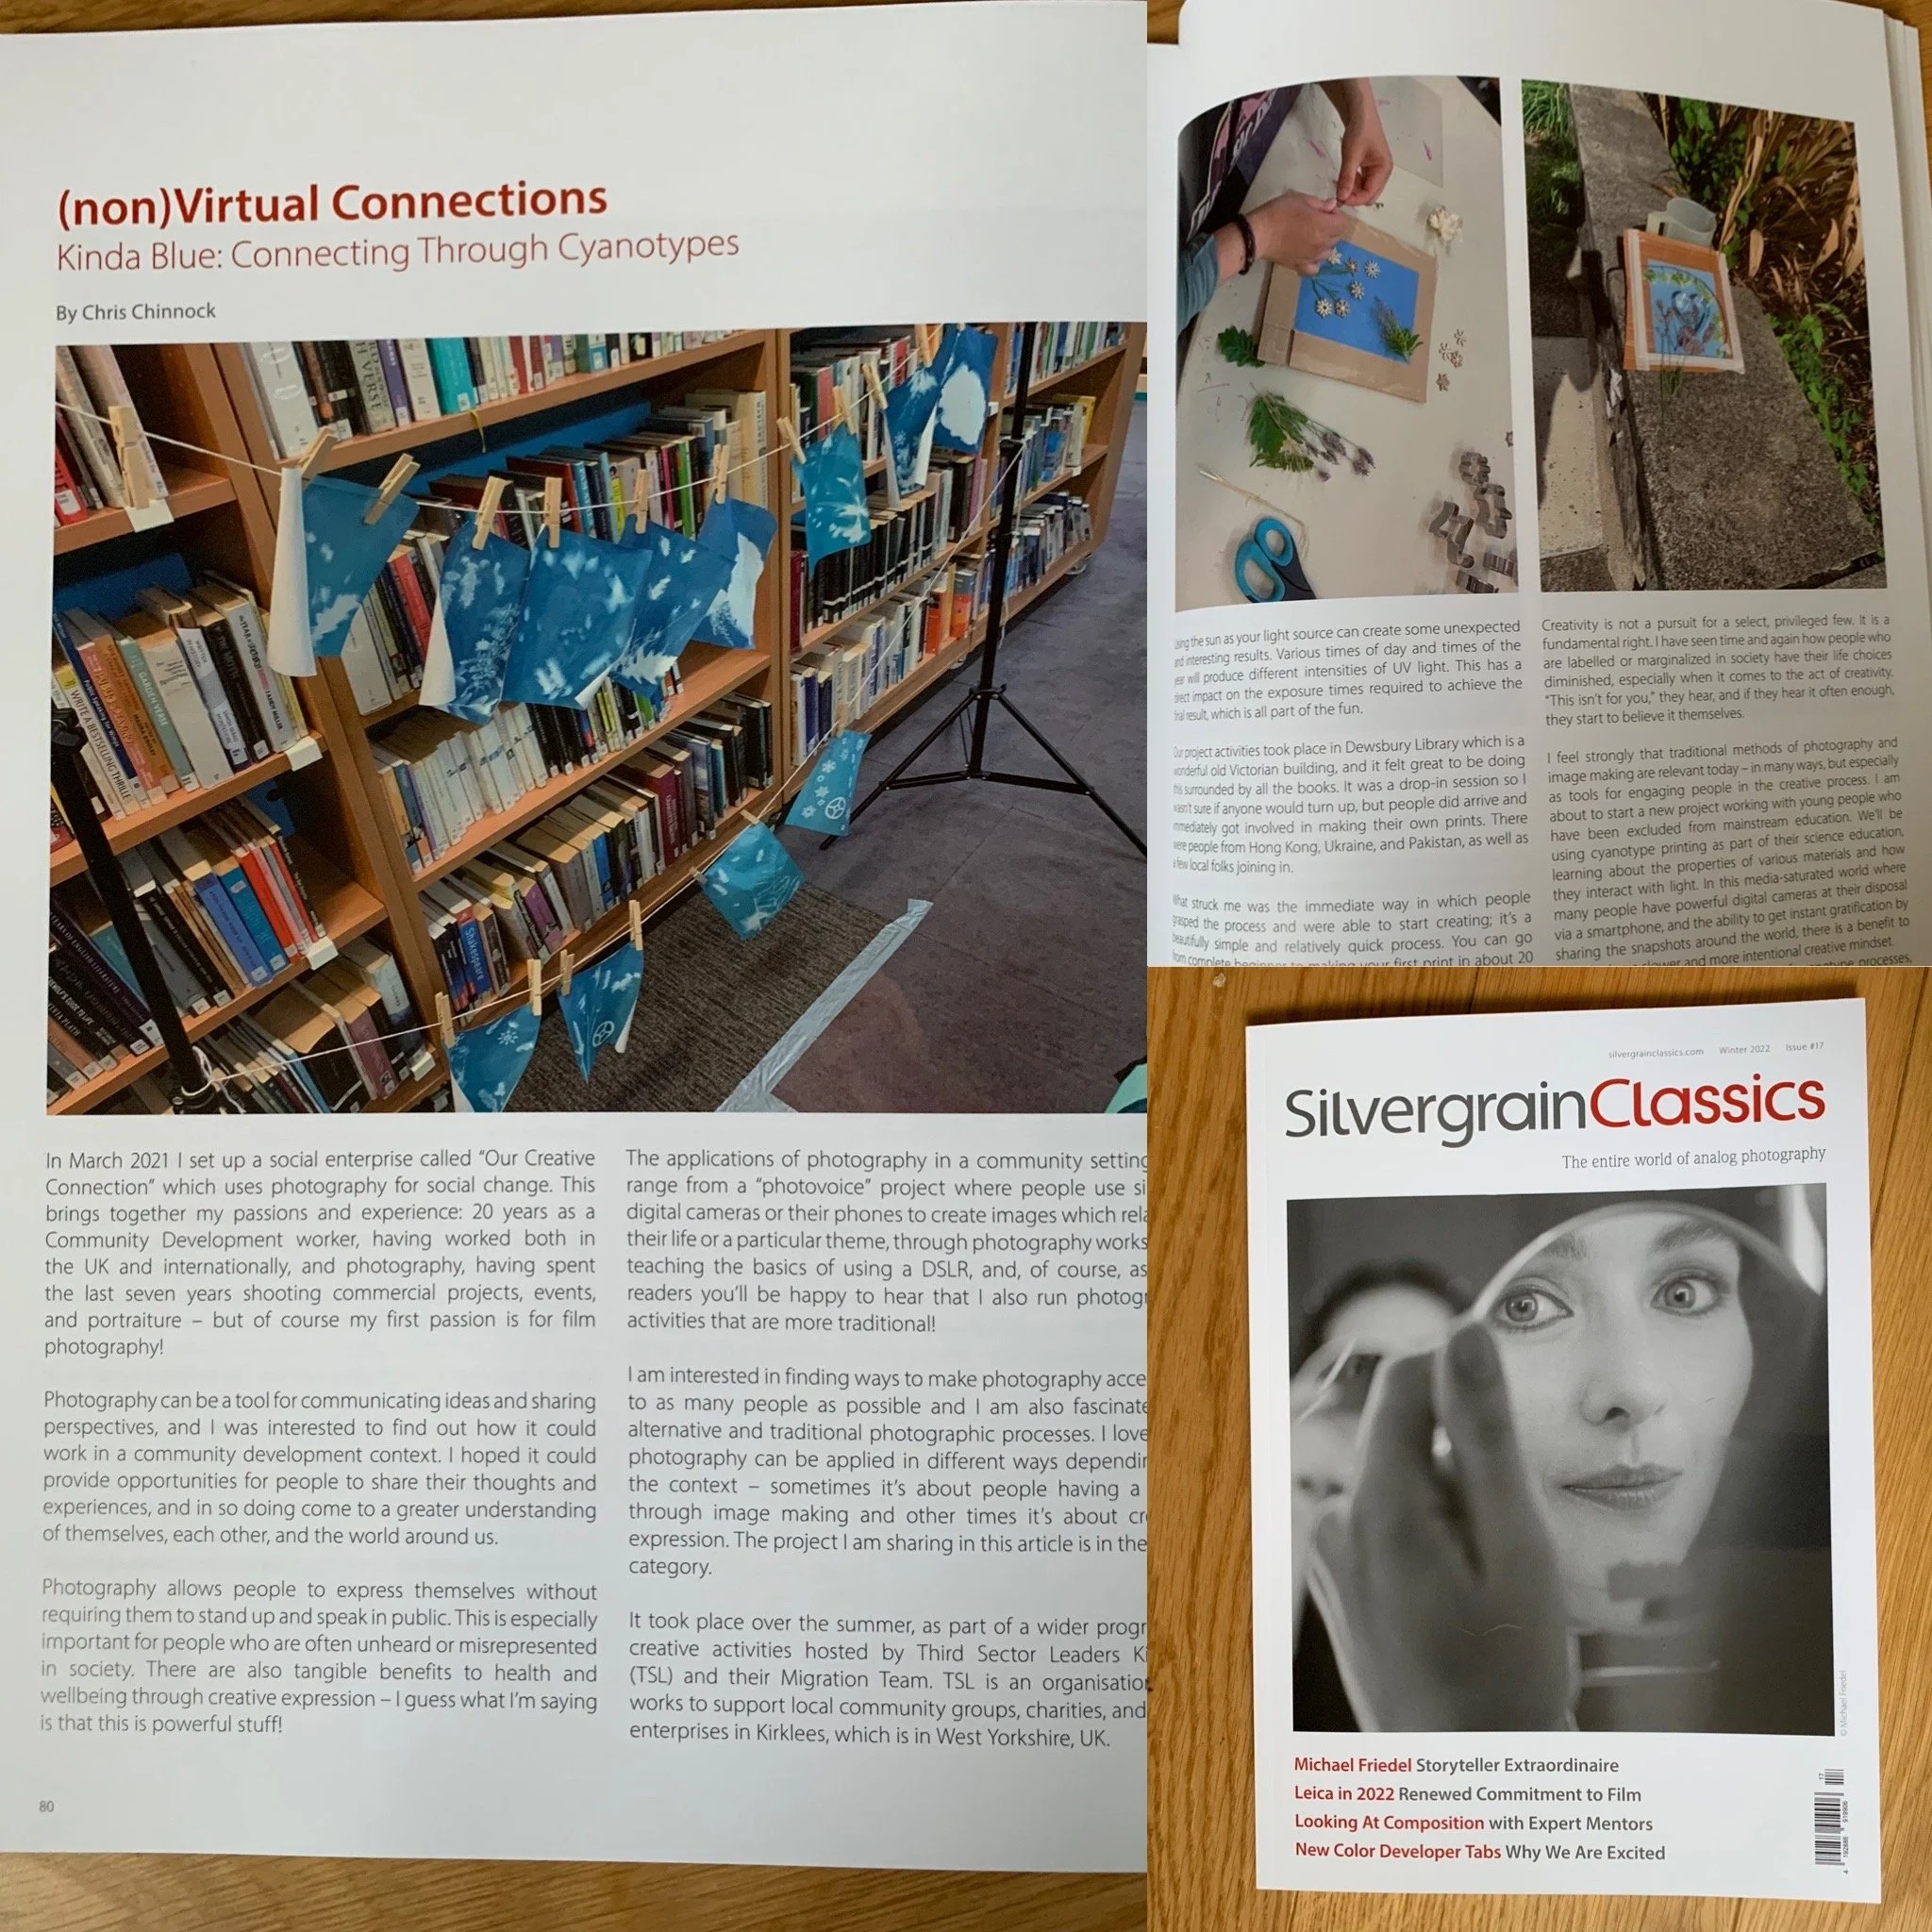
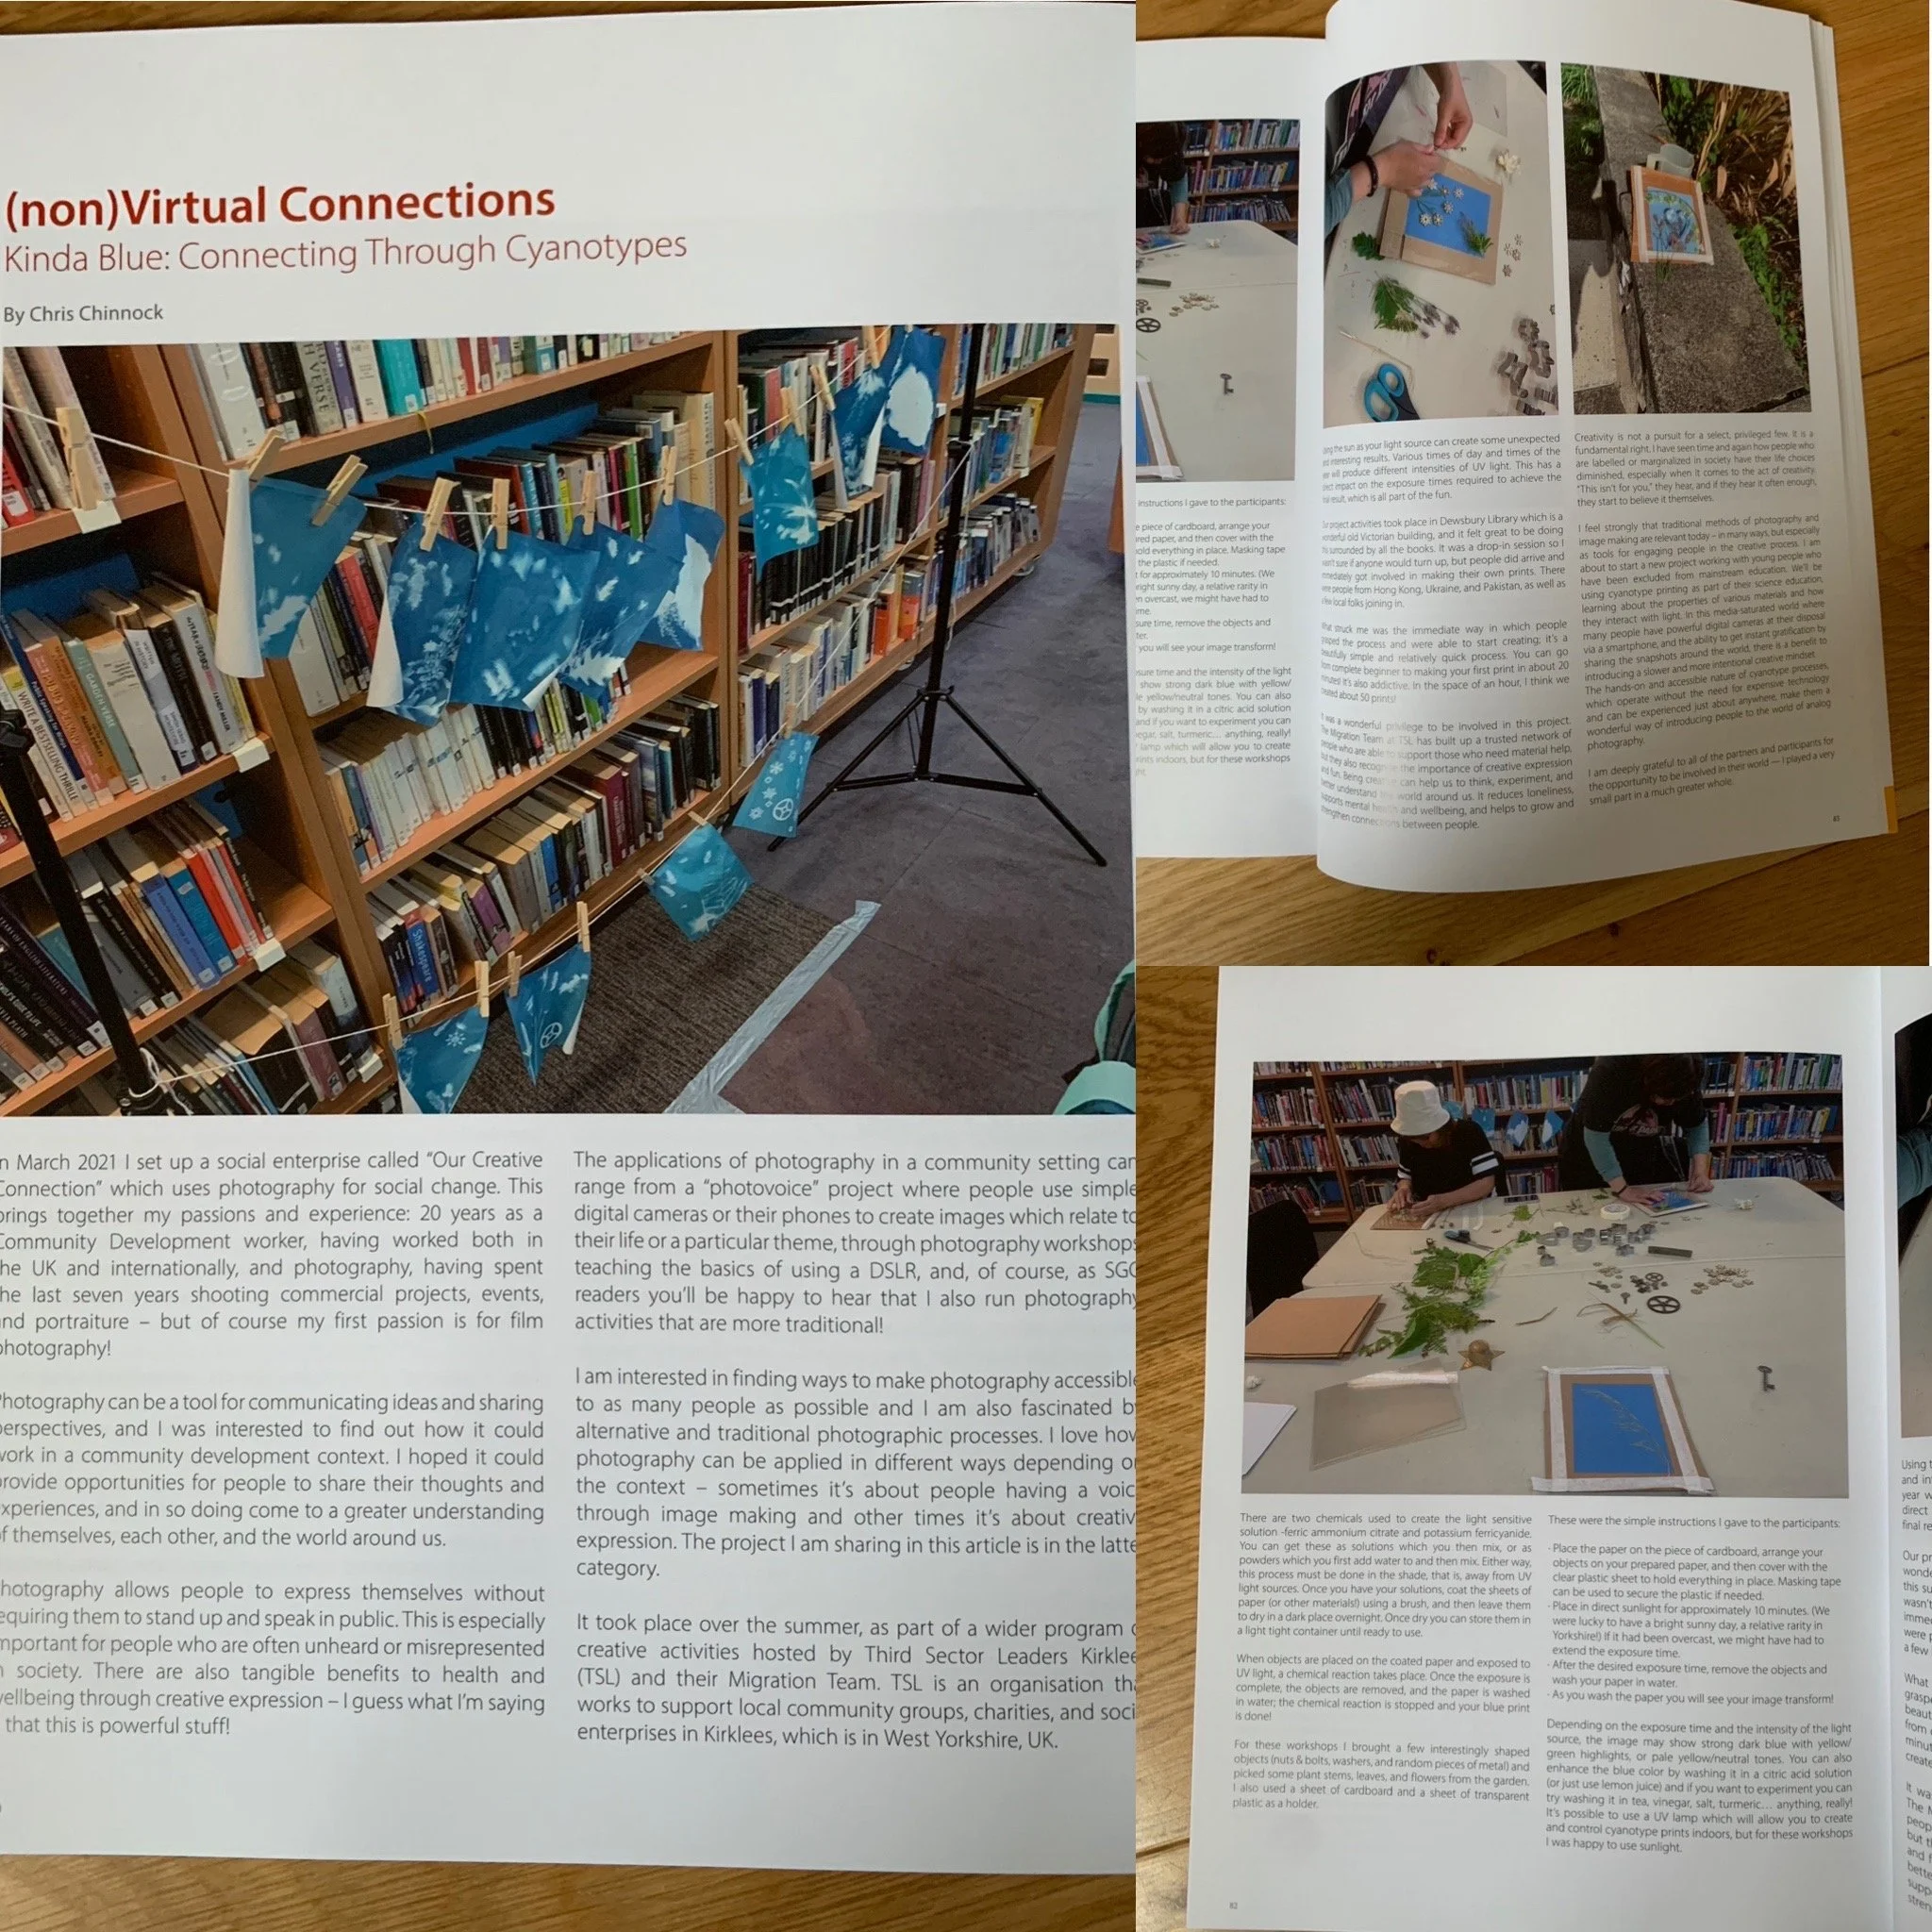
Featured in Silvergrain Classics Magazine!

It’s a sign of just how bonkers hectic things have been that I am only now sitting down to share that I was invited to write an article for Silvergrain Classics Magazine!!

It features some of the community based work that I do via Our Creative Connection you can visit HERE for more details of that in general.

It was wonderful to be invited by Silvergrain Classics magazine to share a project I was involved with last summer with TSL Kirklees’ Migration Team running Cyanotype Printing workshops with refugees and asylum seekers 💙
My work life can be a bit compartmentalised - but I have been working to bring the different strands together. Just in case you were wondering everything is done under the banner of Our Creative Connection the Social Enterprise that I founded in 2021. All of the commercial, portraits and event work and all of the darkroom and film photography workshops - they are all trading activities that support the social aims and objectives of Our Creative Connection which if you’re wondering what they are can be seen HERE.

Participatory photography doesn’t have to mean taking photos with cameras - I love the accessible nature of hands on traditional photographic techniques like Cyanotype, very simple to learn and lots of fun!

It’s a real kick to see this in print - huge thank you to everyone involved in the project and to Silvergrain Classics for the opportunity to share it with a wider audience.

Darkroom Printing Workshop

From basic darkroom skills for first time printers, to more advanced processes for seasoned practitioners the Darkroom Printing Workshop is the perfect way to make the most of your black and white film negatives and let them fulfil their photographic potential by making a proper Darkroom print!

I’ll guide you through each stage of the process from evaluating your negatives and choosing which one to print, how to use a photographic enlarger, making test strips and how develop and fix your final print.

Please bring your own developed black & white negatives in either 35mm or 120 formats and I’ll supply the photographic paper & chemicals.

The Darkroom Printing workshop lasts 3 hours and costs £75 per person either as a 1to1 or for a small group of up to 3 people.

Dates and times will be arranged with participants.

To book a workshop please email info@chrischinnockphotography.com or complete the form below.

Let's Shoot Film

This workshop will get you up and running when it comes to shooting with film - we’ll look at the different types of film stocks and how they affect your final image, the basics of making a good exposure, metering light, composition and all the other aspects of using a film camera.

Whatever your photographic interests - portraiture, landscape, still life or street photography - we’ll shoot a roll of film together before developing it in the darkroom and digitising your negatives too.

Film cameras are available for you to use including 35mm and 120 film formats or you are welcome to bring your own. The workshop includes the cost of film & chemicals.

The ‘Lets shoot film’ workshop lasts 3 hours and costs £75 per person either as a 1to1 or for a small group of up to 3 people.

Dates and times will be arranged with participants.

To book a workshop please email info@chrischinnockphotography.com or complete the form below.

Our first Shoot, Develop & Print Workshop


As I write these words it’s been a couple of weeks since our first ever workshop at the Adventures on Film Darkroom and I am STILL buzzing from the experience!

Three people took part in this workshop - all of whom had shot with film in the past but were looking to get back into it, brush up on their skills and learn some new ones too.

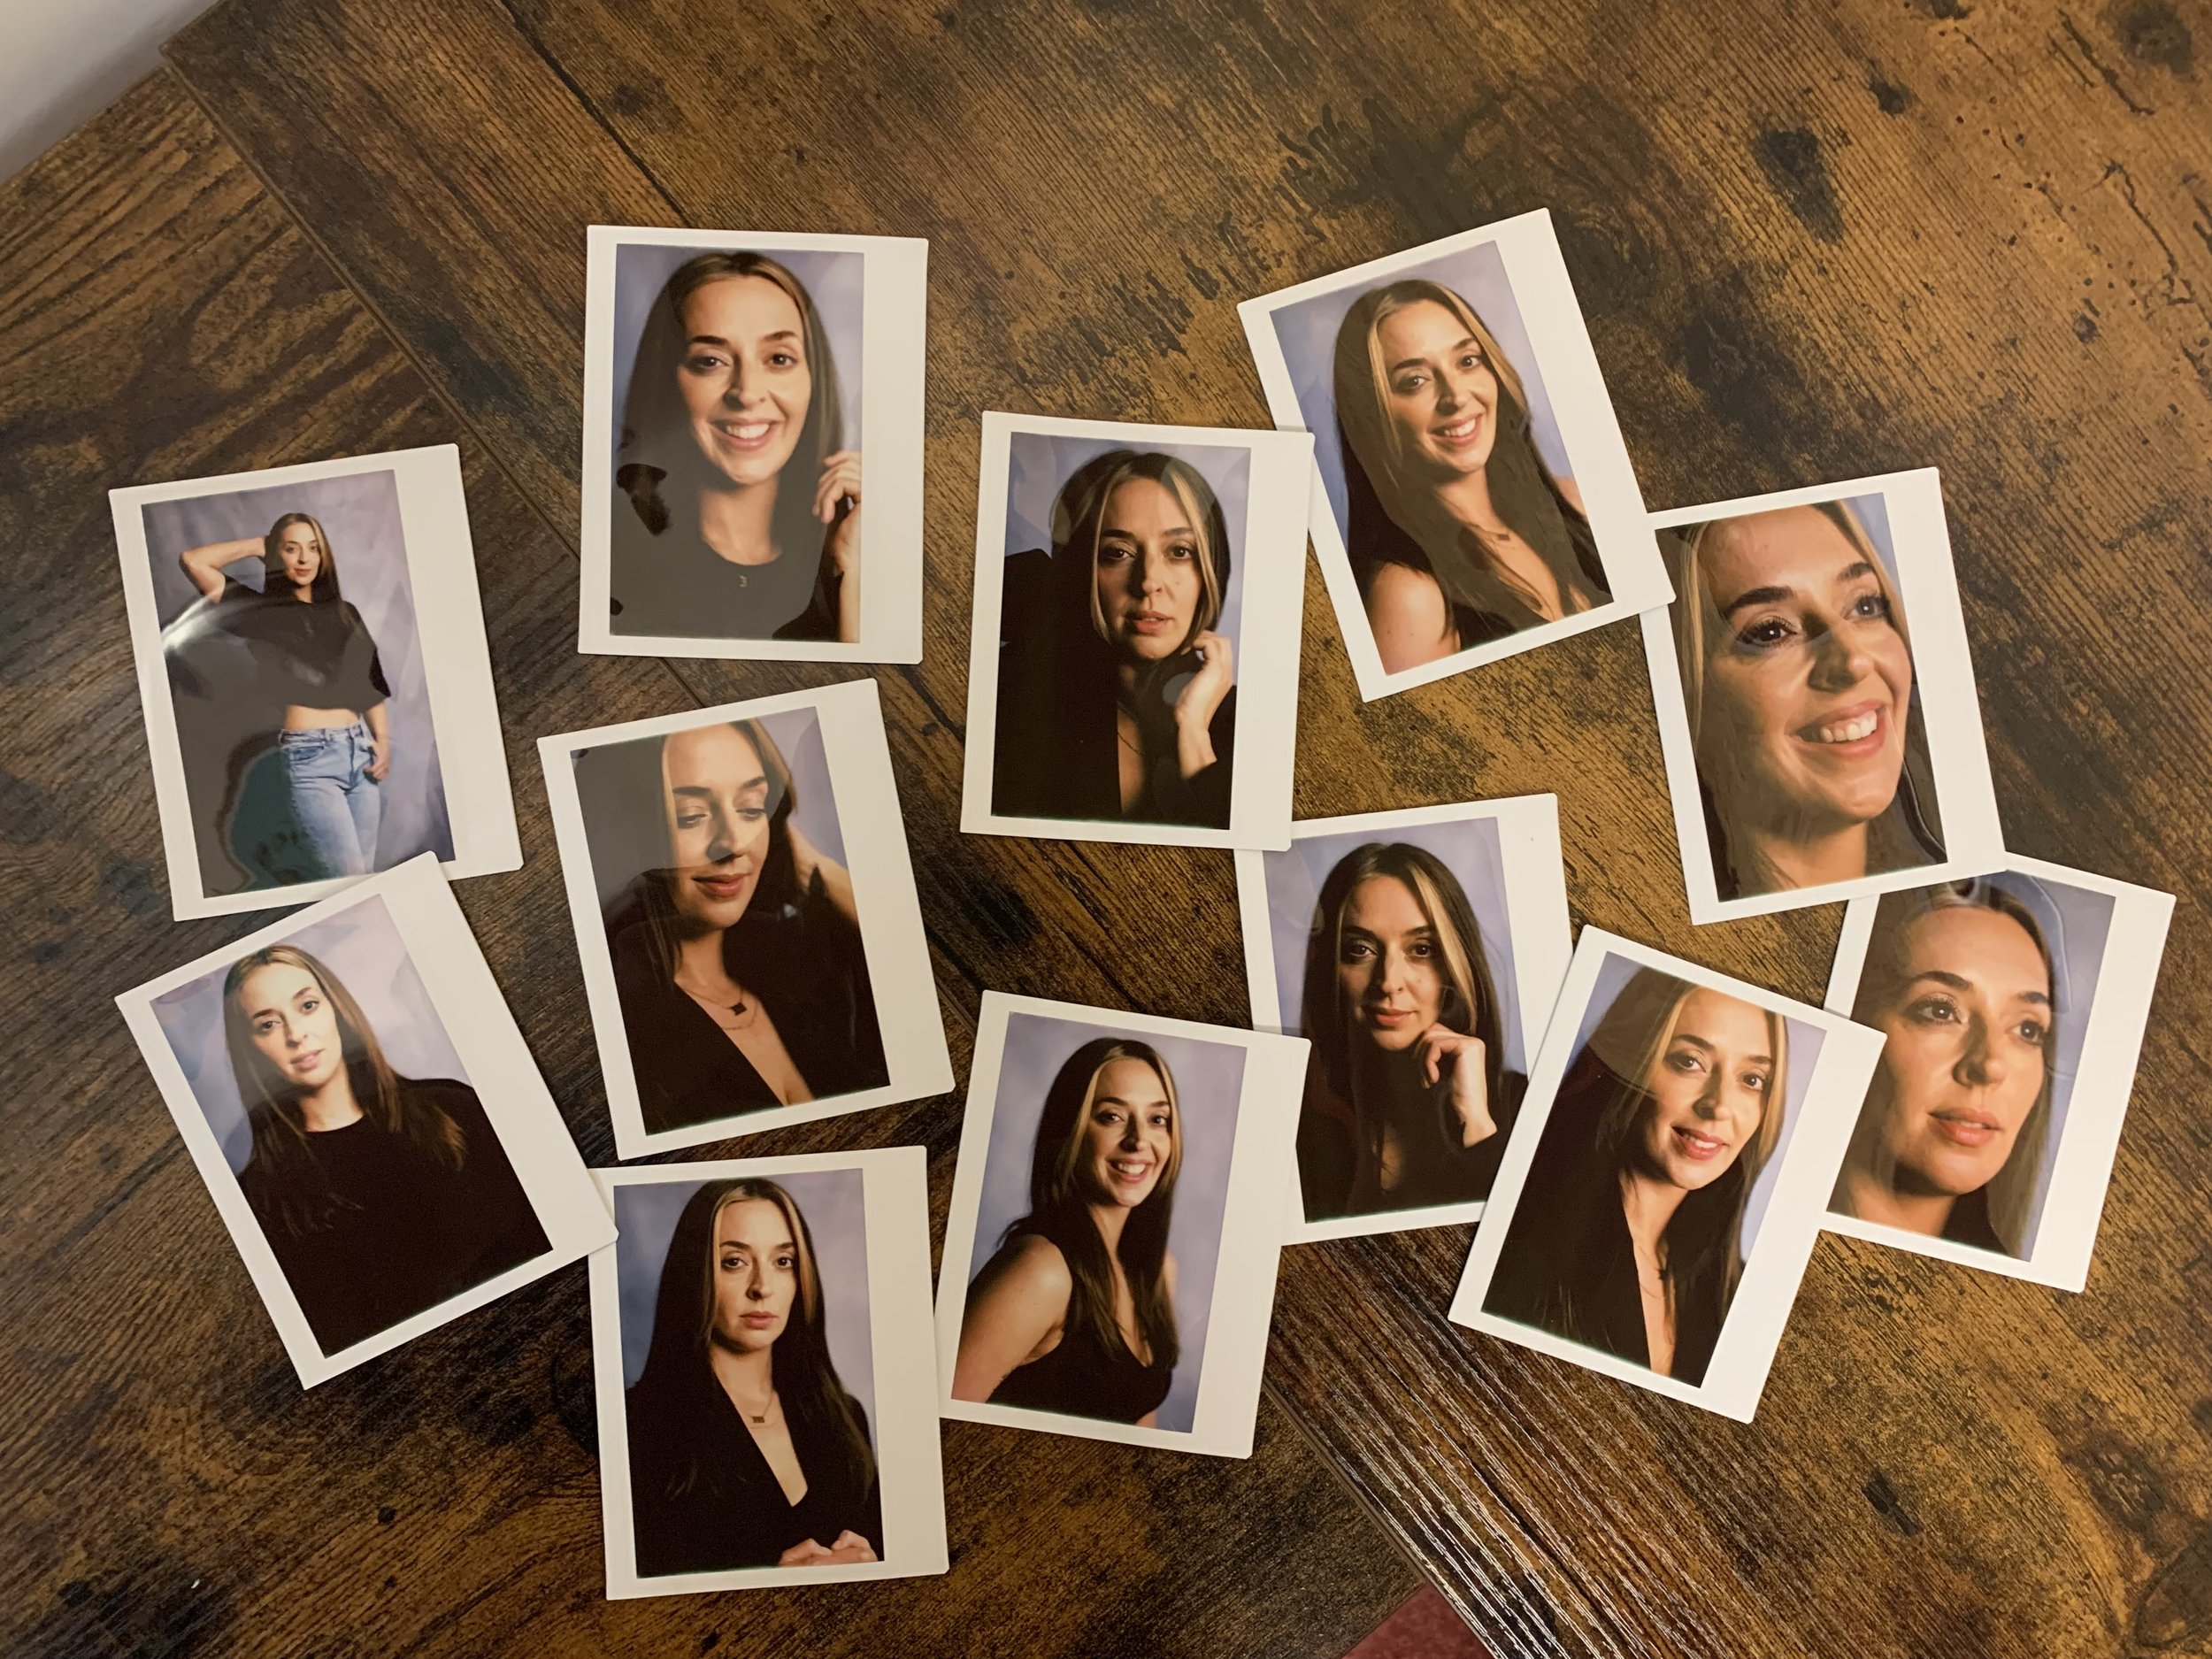
The format for the day was a location based portrait shoot with our wonderful model and long time creative collaborator Danni, after which we then went into the Darkroom to develop our film and create some prints.

You’ll have no doubt noticed the preponderance of video in this blog - yes friends I’ve recently rejoined Instagram after a long hiatus - I have been enjoying creating some video reels of our workshop shenanigans! Give us a follow HERE

A lot of work went in to getting the darkroom ready to welcome our first guests and we had a wonderful day together shooting portraits, developing the film and making some prints.

A huge thank you to Gary, Andrew and Damian for taking part and of course to Danni for being such an amazing model and to Jony Hunter for shooting the video and BTS shots of the day!

We’re going to be organising some regular workshops beginning in the new year covering so watch this space for details and if you’re interested in taking part then please see HERE for more details or get in touch via email info@chrischinnockphotography.com

Shoot, Develop & Print - Workshops in our Darkroom

This workshop covers the three main stages of shooting, developing and finally printing an image from film. We’ll look at how to get the best exposure from your negative, how to evaluate which negative to print and methods to create the best possible print from your film.

Whatever your photographic interests - portraiture, landscape, still life or street photography - you’ll learn how to create stunning images on black and white film.

You’ll then develop your film by hand before learning how to make a darkroom print of your work.

You will also receive digital scans of all your film shots.

Film cameras are available for you to use including 35mm and 120 film formats or you are welcome to bring your own. The workshop includes the cost of film, chemicals & paper.

The Shoot - Develop - Print workshop lasts 3 hours and costs £75 per person either as a 1to1 or for a small group of up to 3 people.

Dates and times will be arranged with participants.

To book a workshop please email info@chrischinnockphotography.com or complete the form below.

More is More: Medium Format and 35mm Portraits on Black and white film

There is a school of thought which advocates only shooting one camera and one lens in order to fully focus on your creative process which in the case of portraiture is about connecting with your subject. I have subscribed to this view for a long time - minimise your kit and maximise your attention on being present rather than spending time deciding which lens/camera to use next. Makes good sense and it absolutely works!

But during COVID as the restrictions meant that opportunities to shoot became fewer and farther between ( I also realised just how important to my mental health shooting is) my mindset shifted towards one of ‘this might be the only shoot I have for X months, why not bring some more stuff’.

I’m not here to tell you what you should or shouldn’t be doing because this is all down to personal preference - for me (for now) I’m adopting the ‘more is more’ approach. Like any new practice I went overboard at first and brought too much stuff which did kind of get in my way but now I feel I’ve found a balance that works for me.

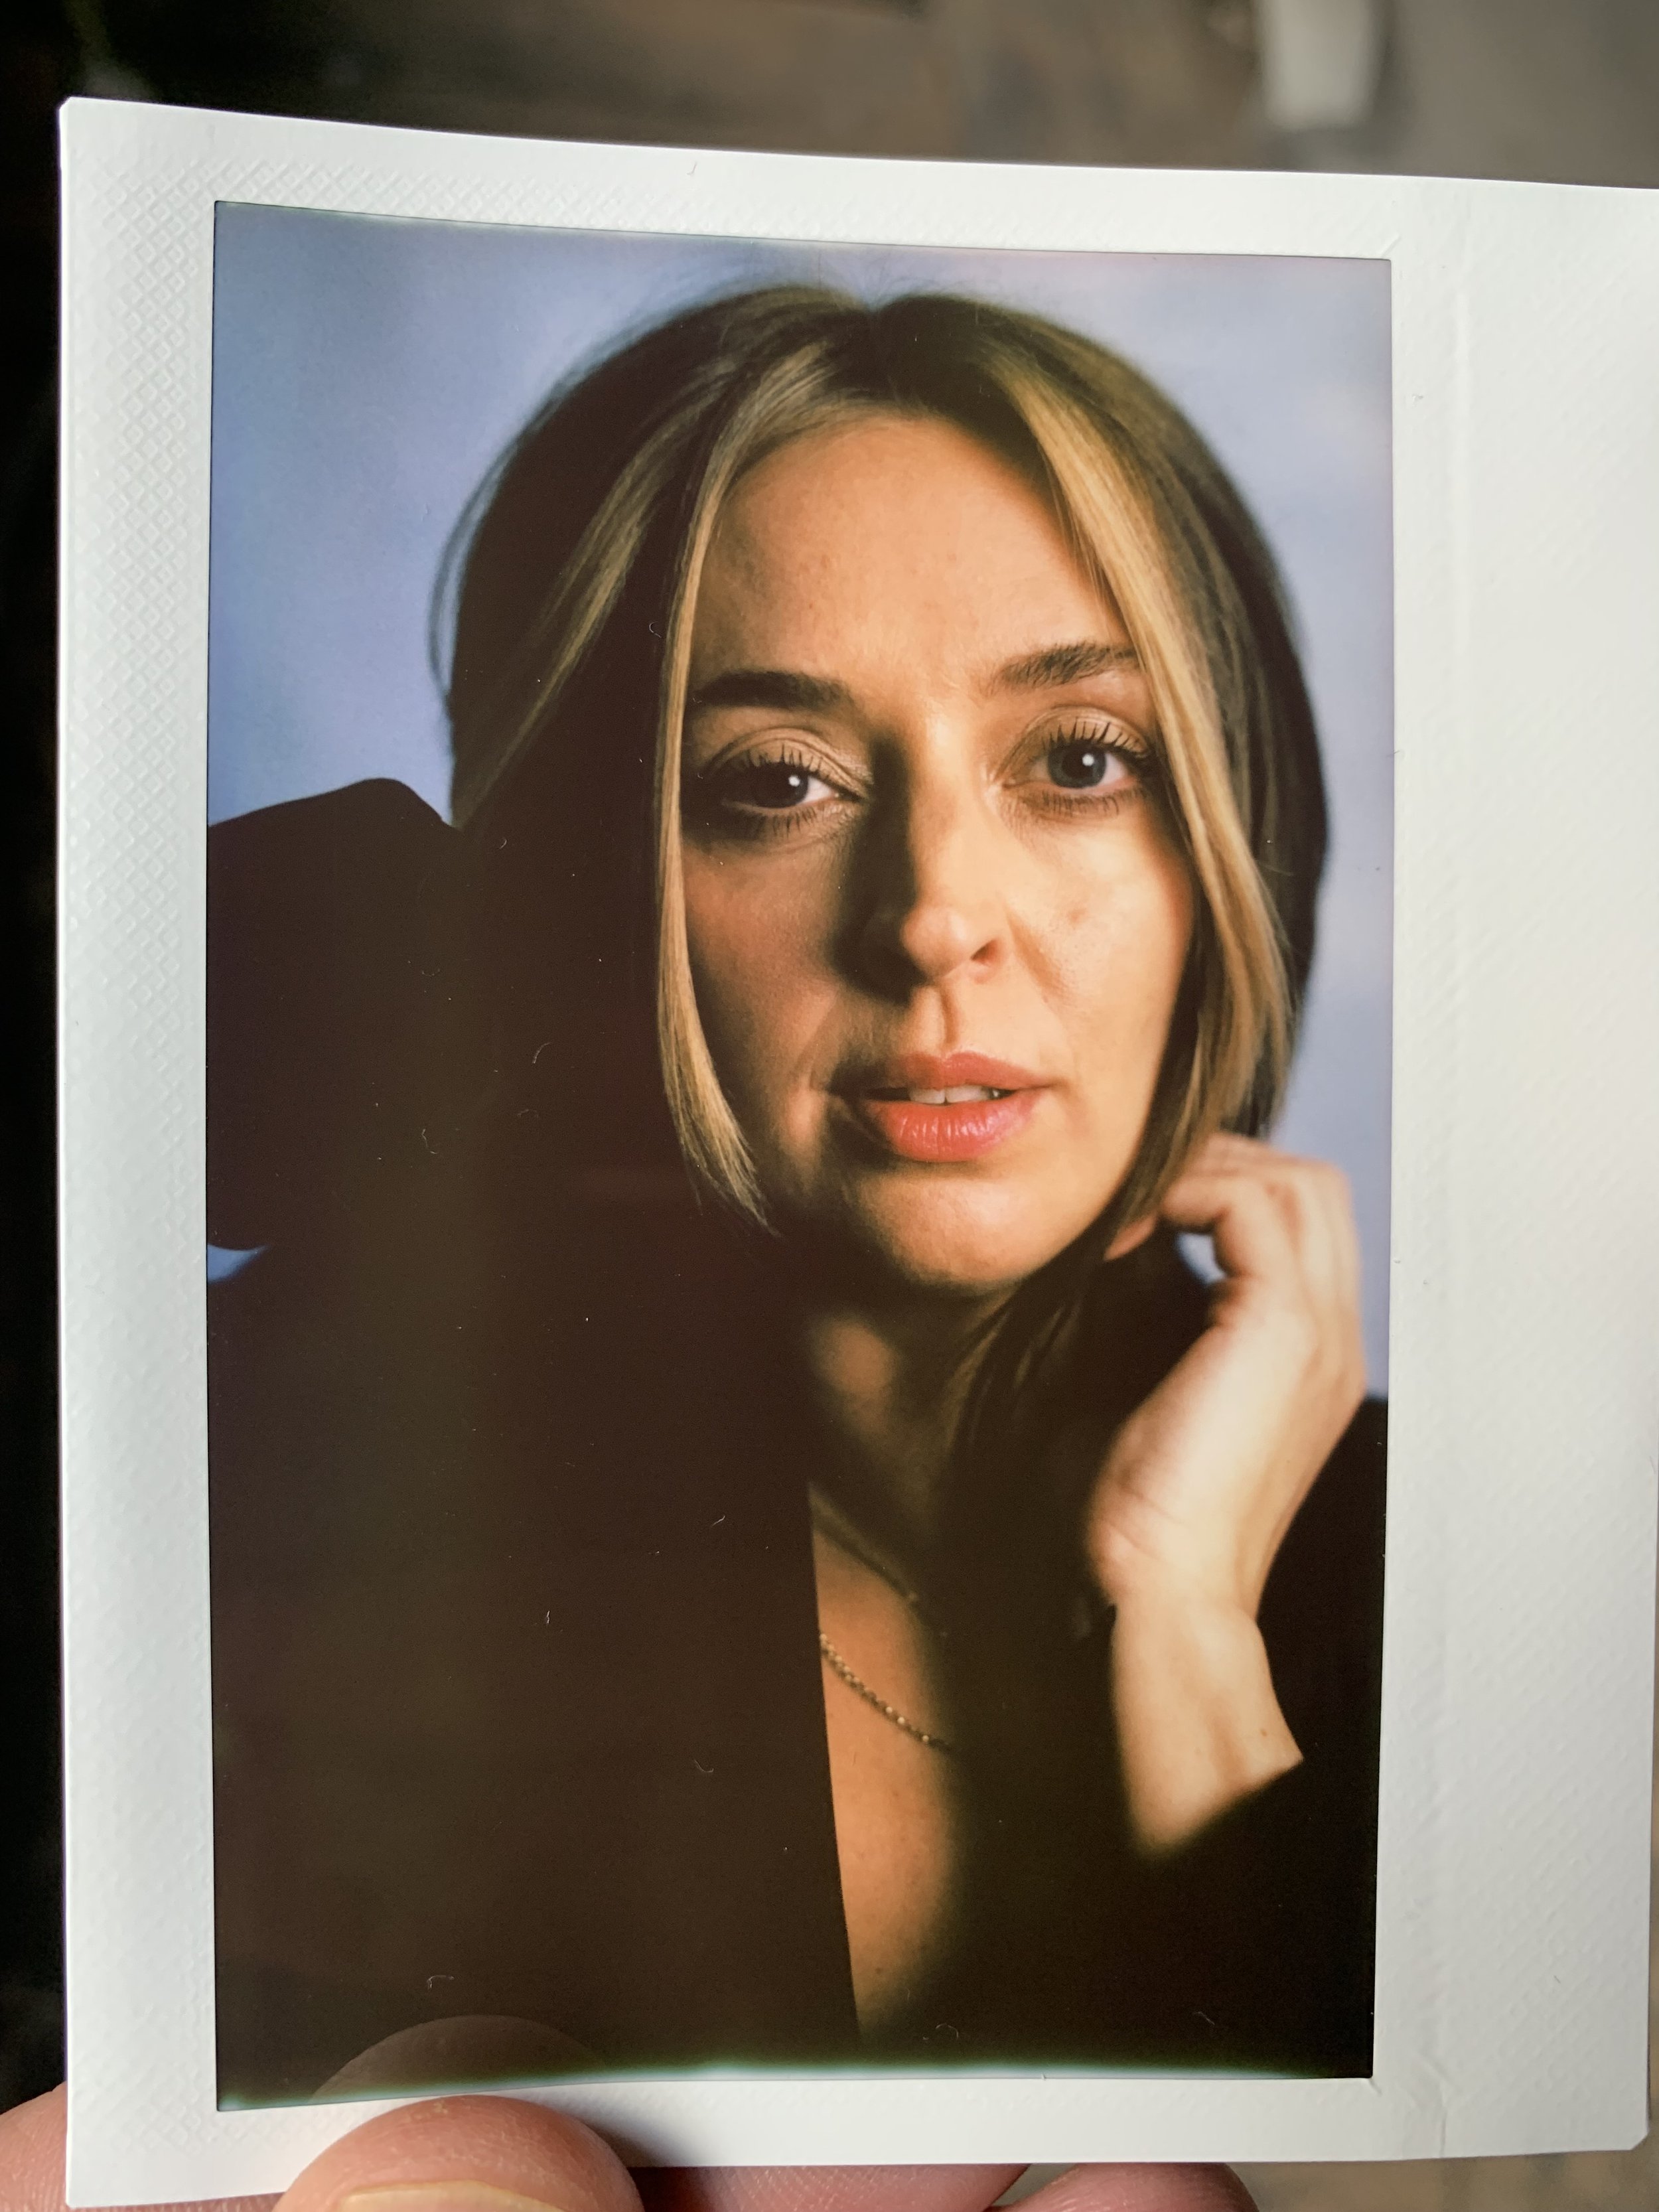
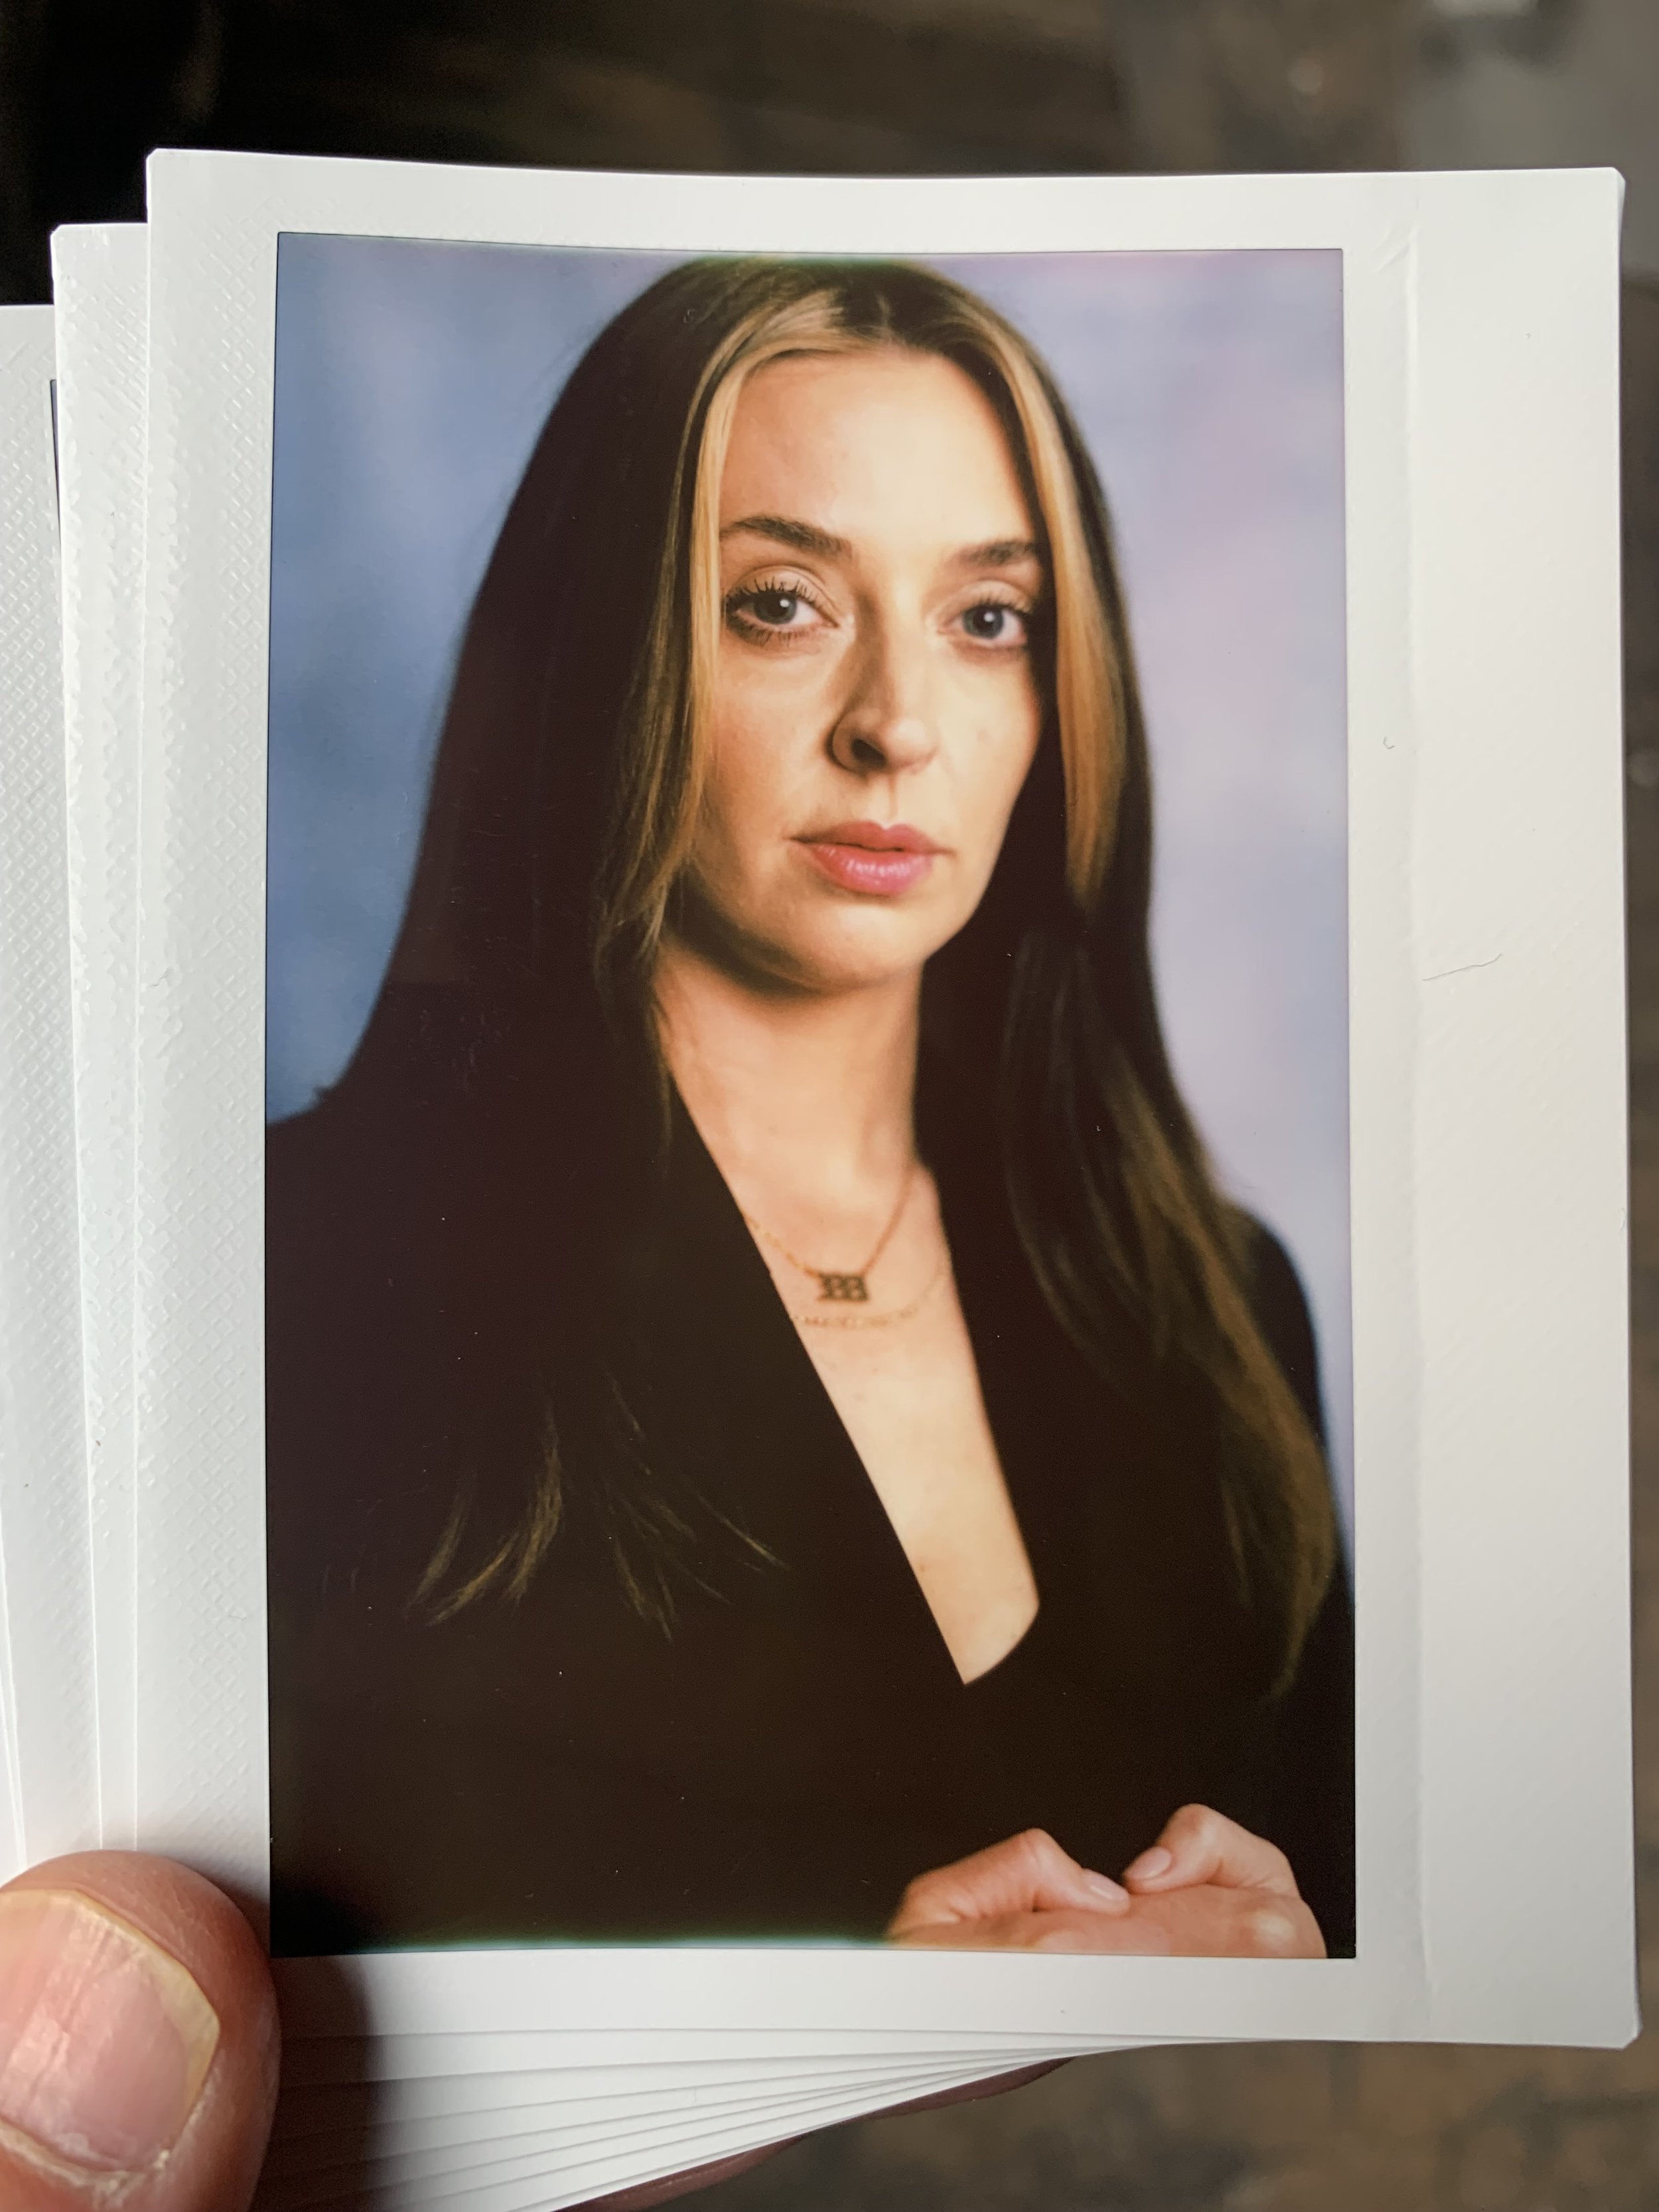
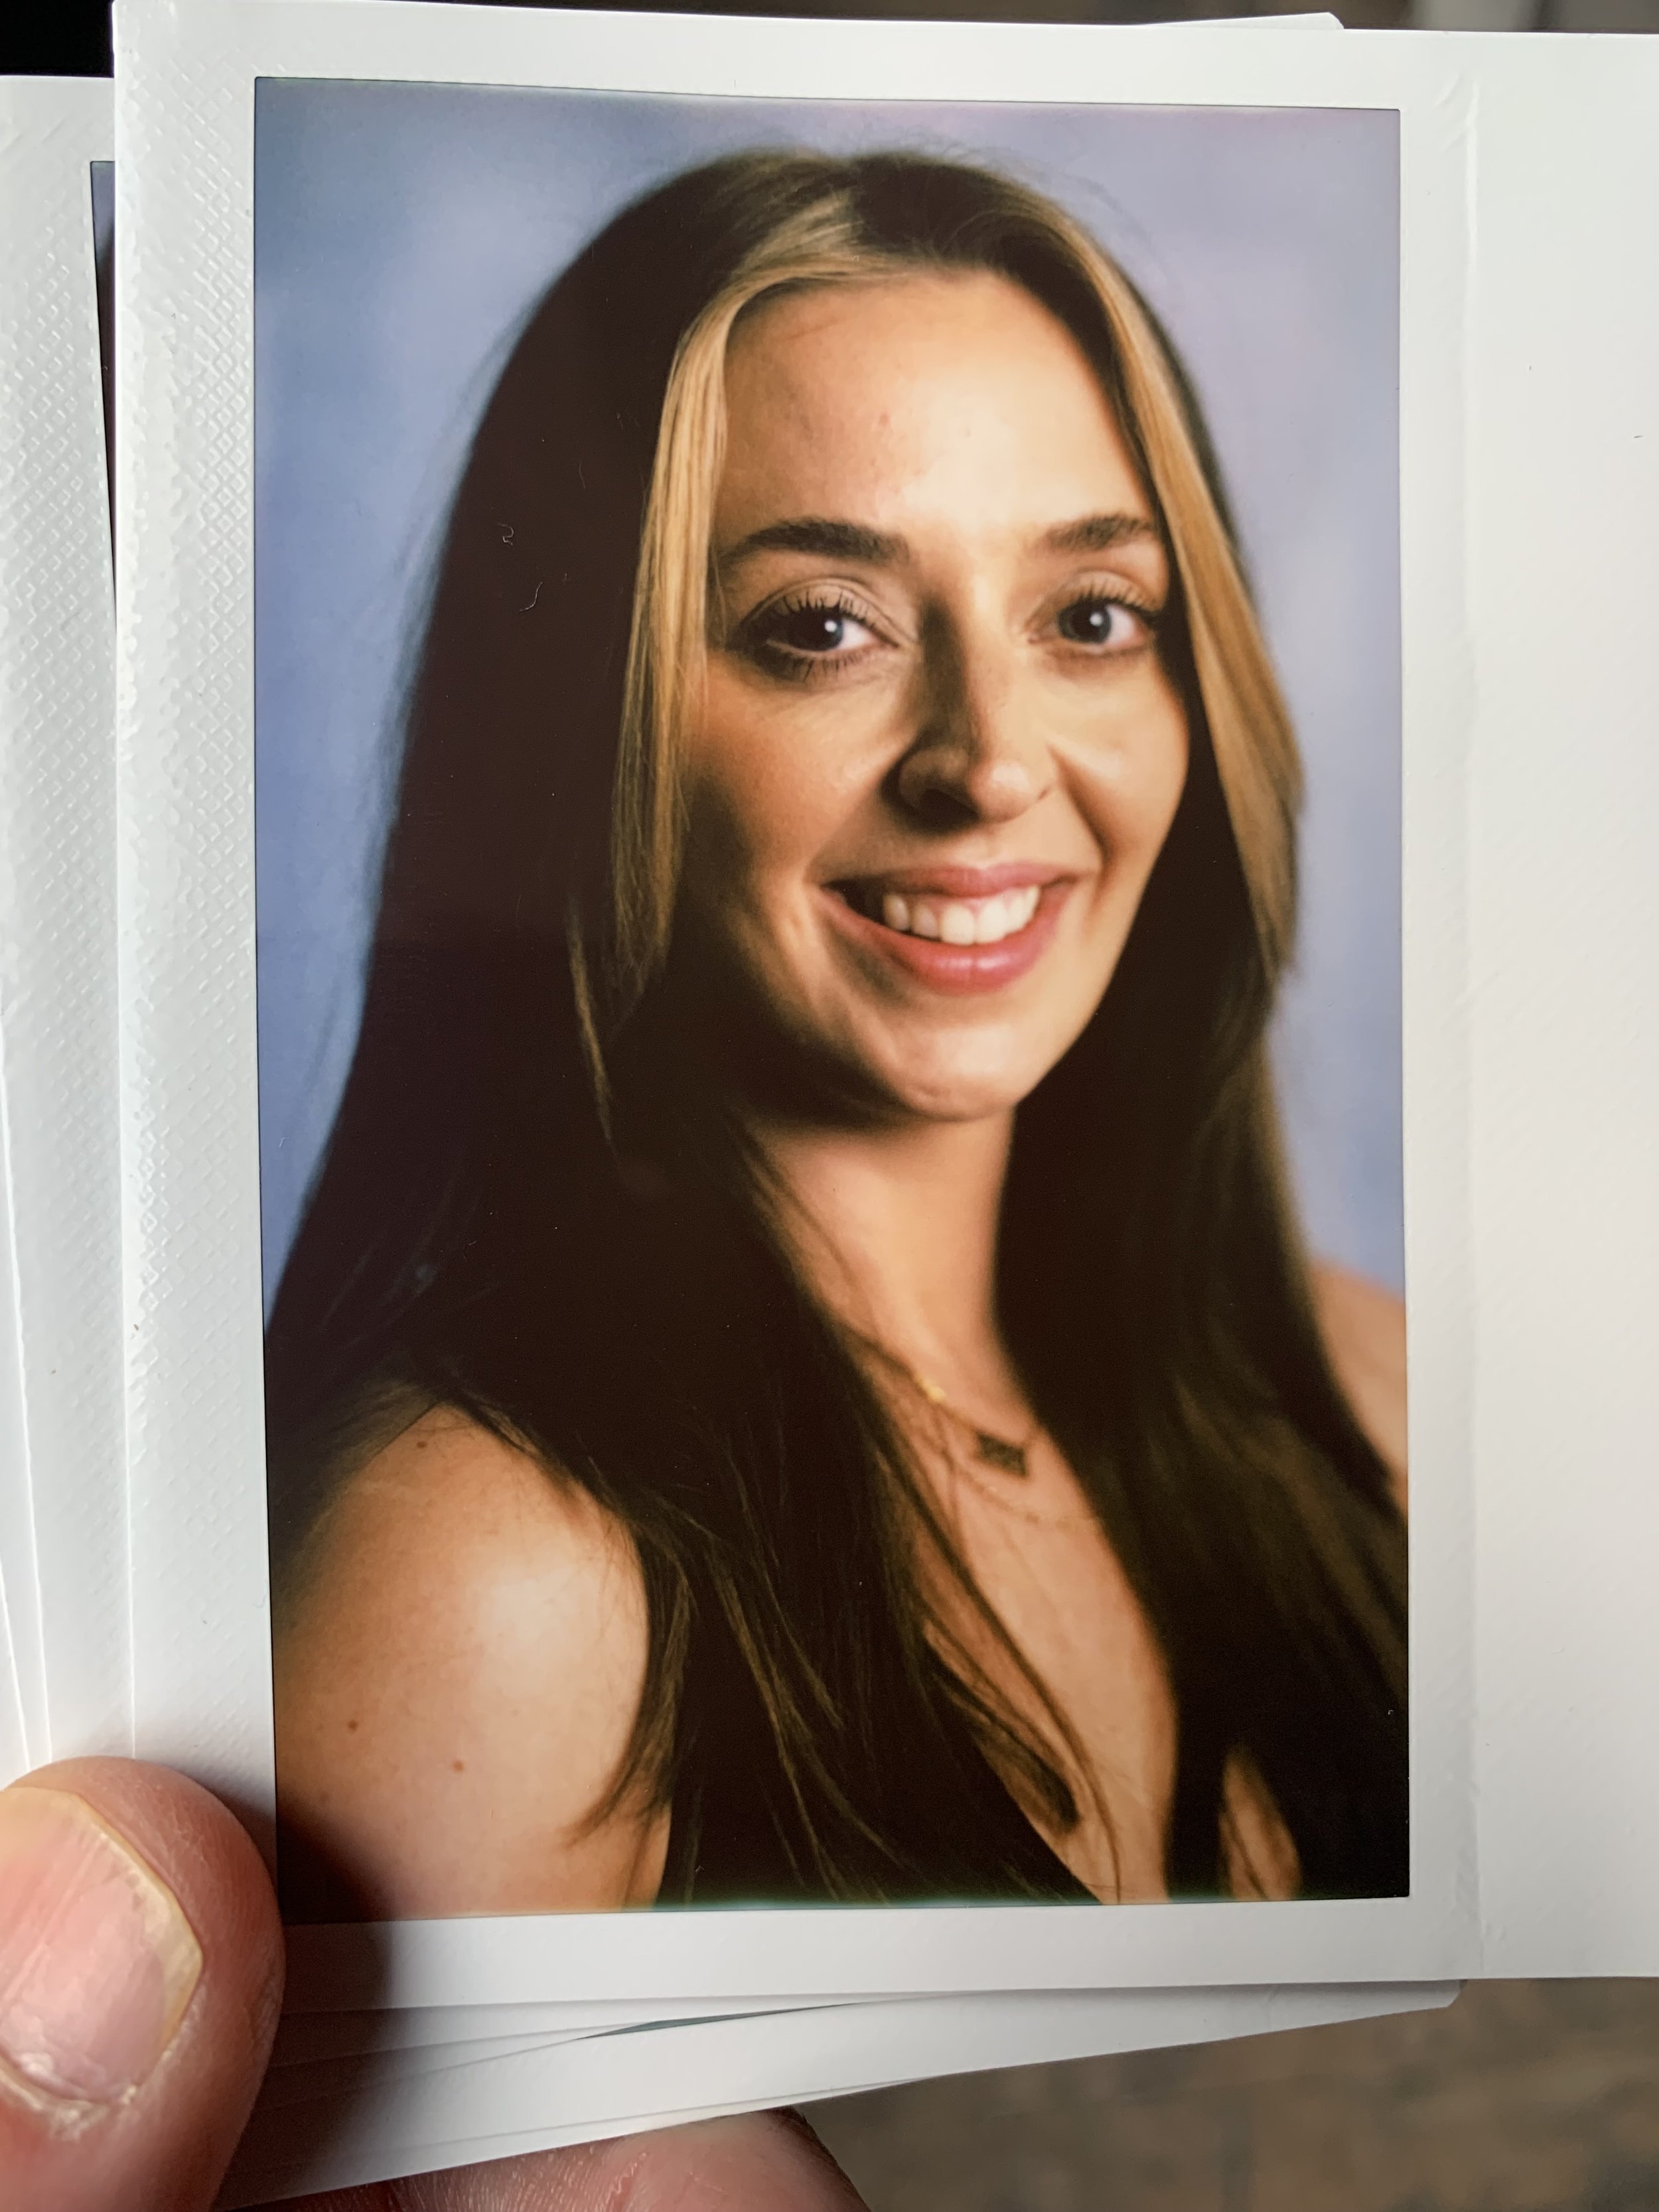
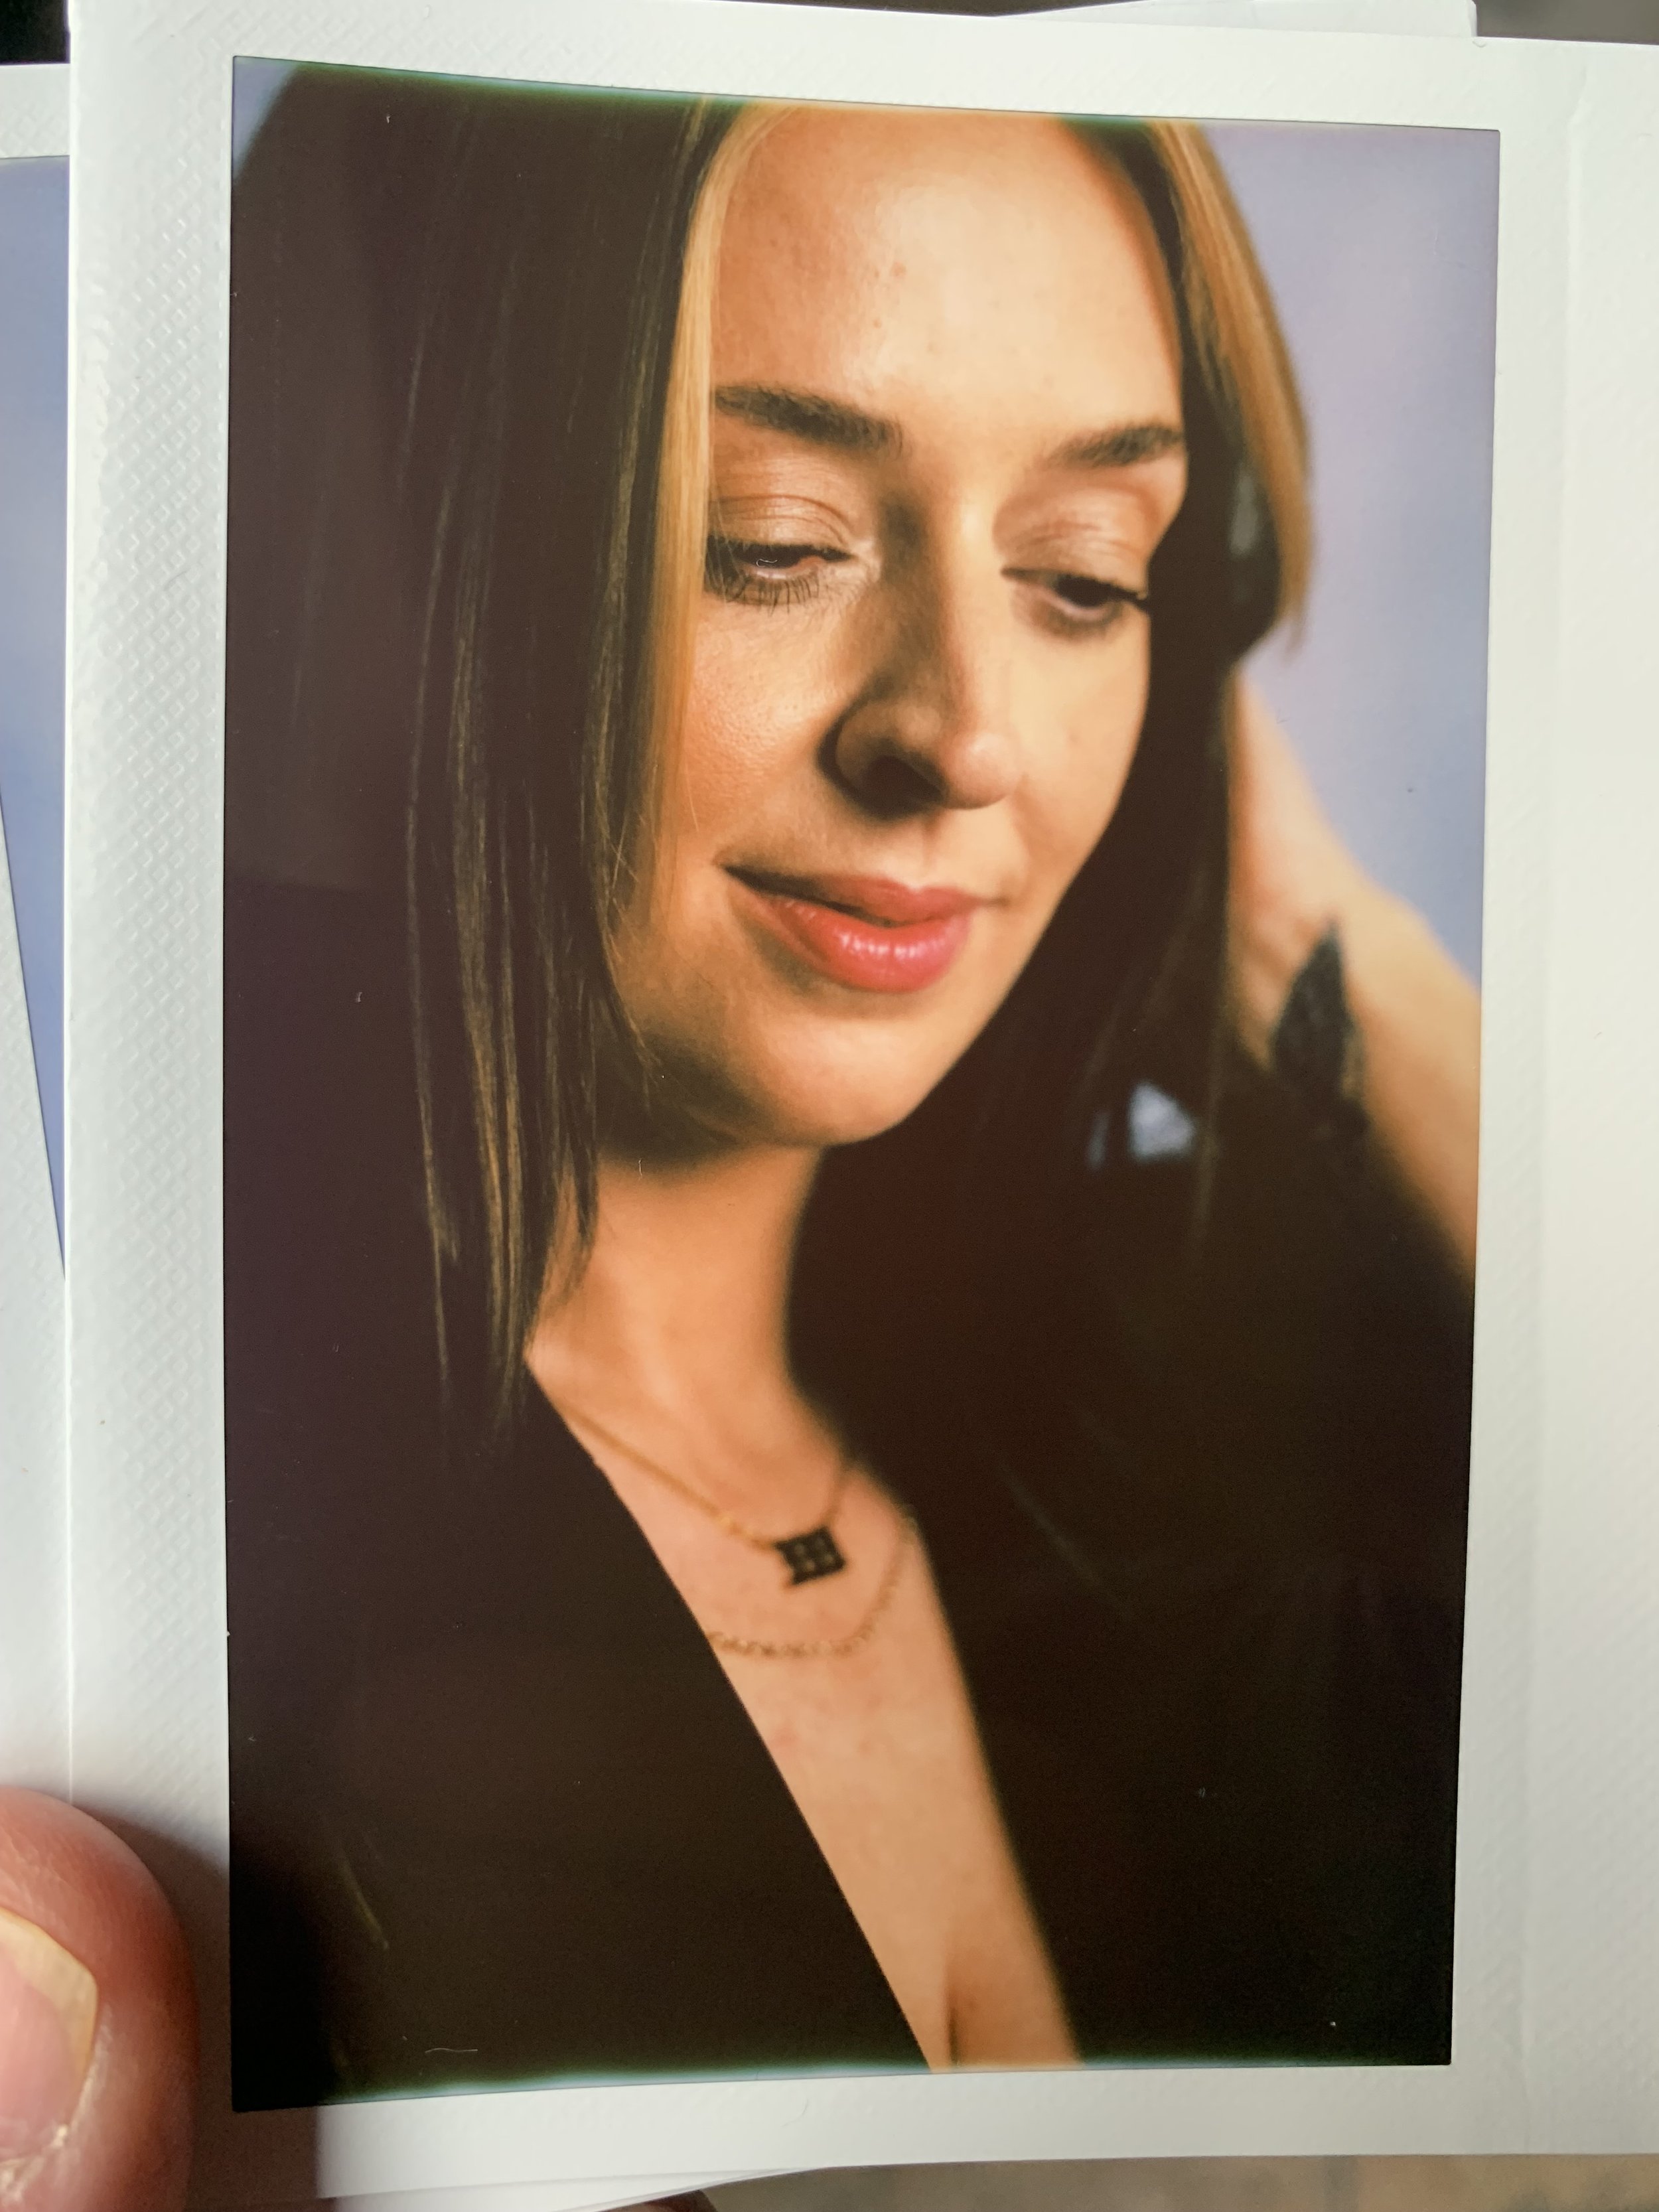
So let’s get down to business shall we? I’ve decided to split this into a two part series of blog posts about the same shoot (this is all about maximising right)? The shoot in question took place recently with a wonderful model Fae Rose someone I haven’t shot with before but absolutely will be working with again! Thank you Fae!

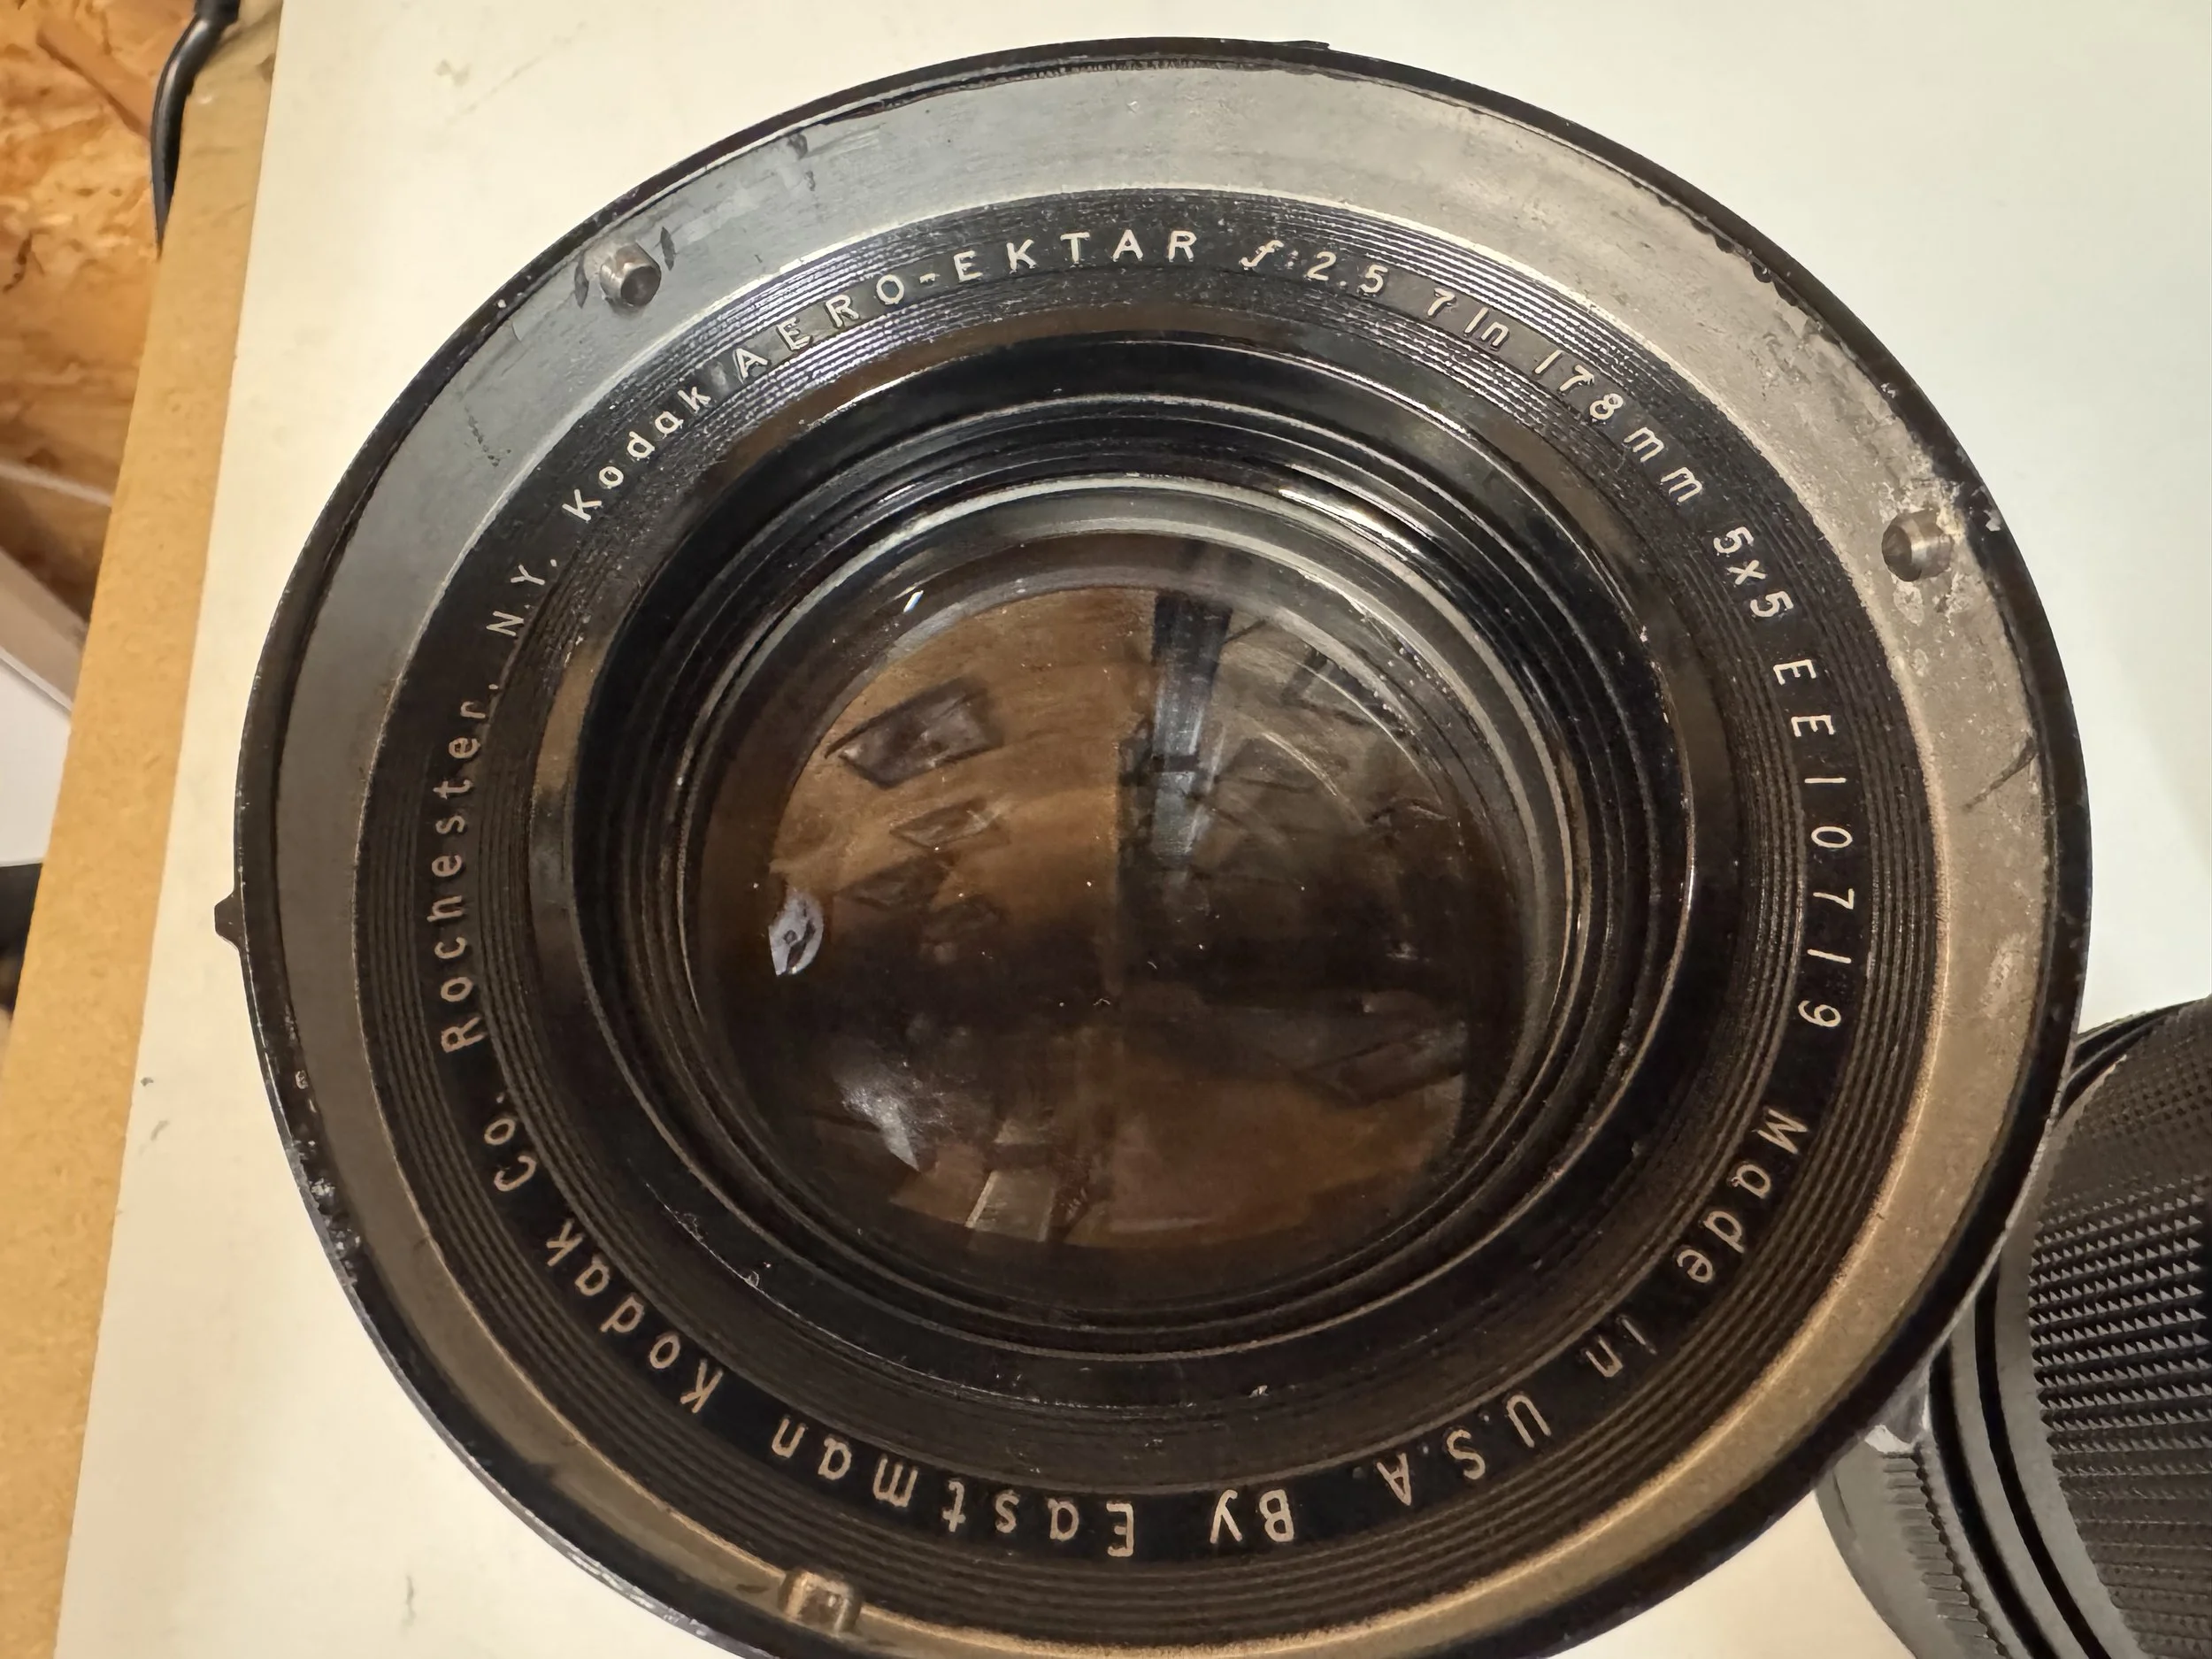
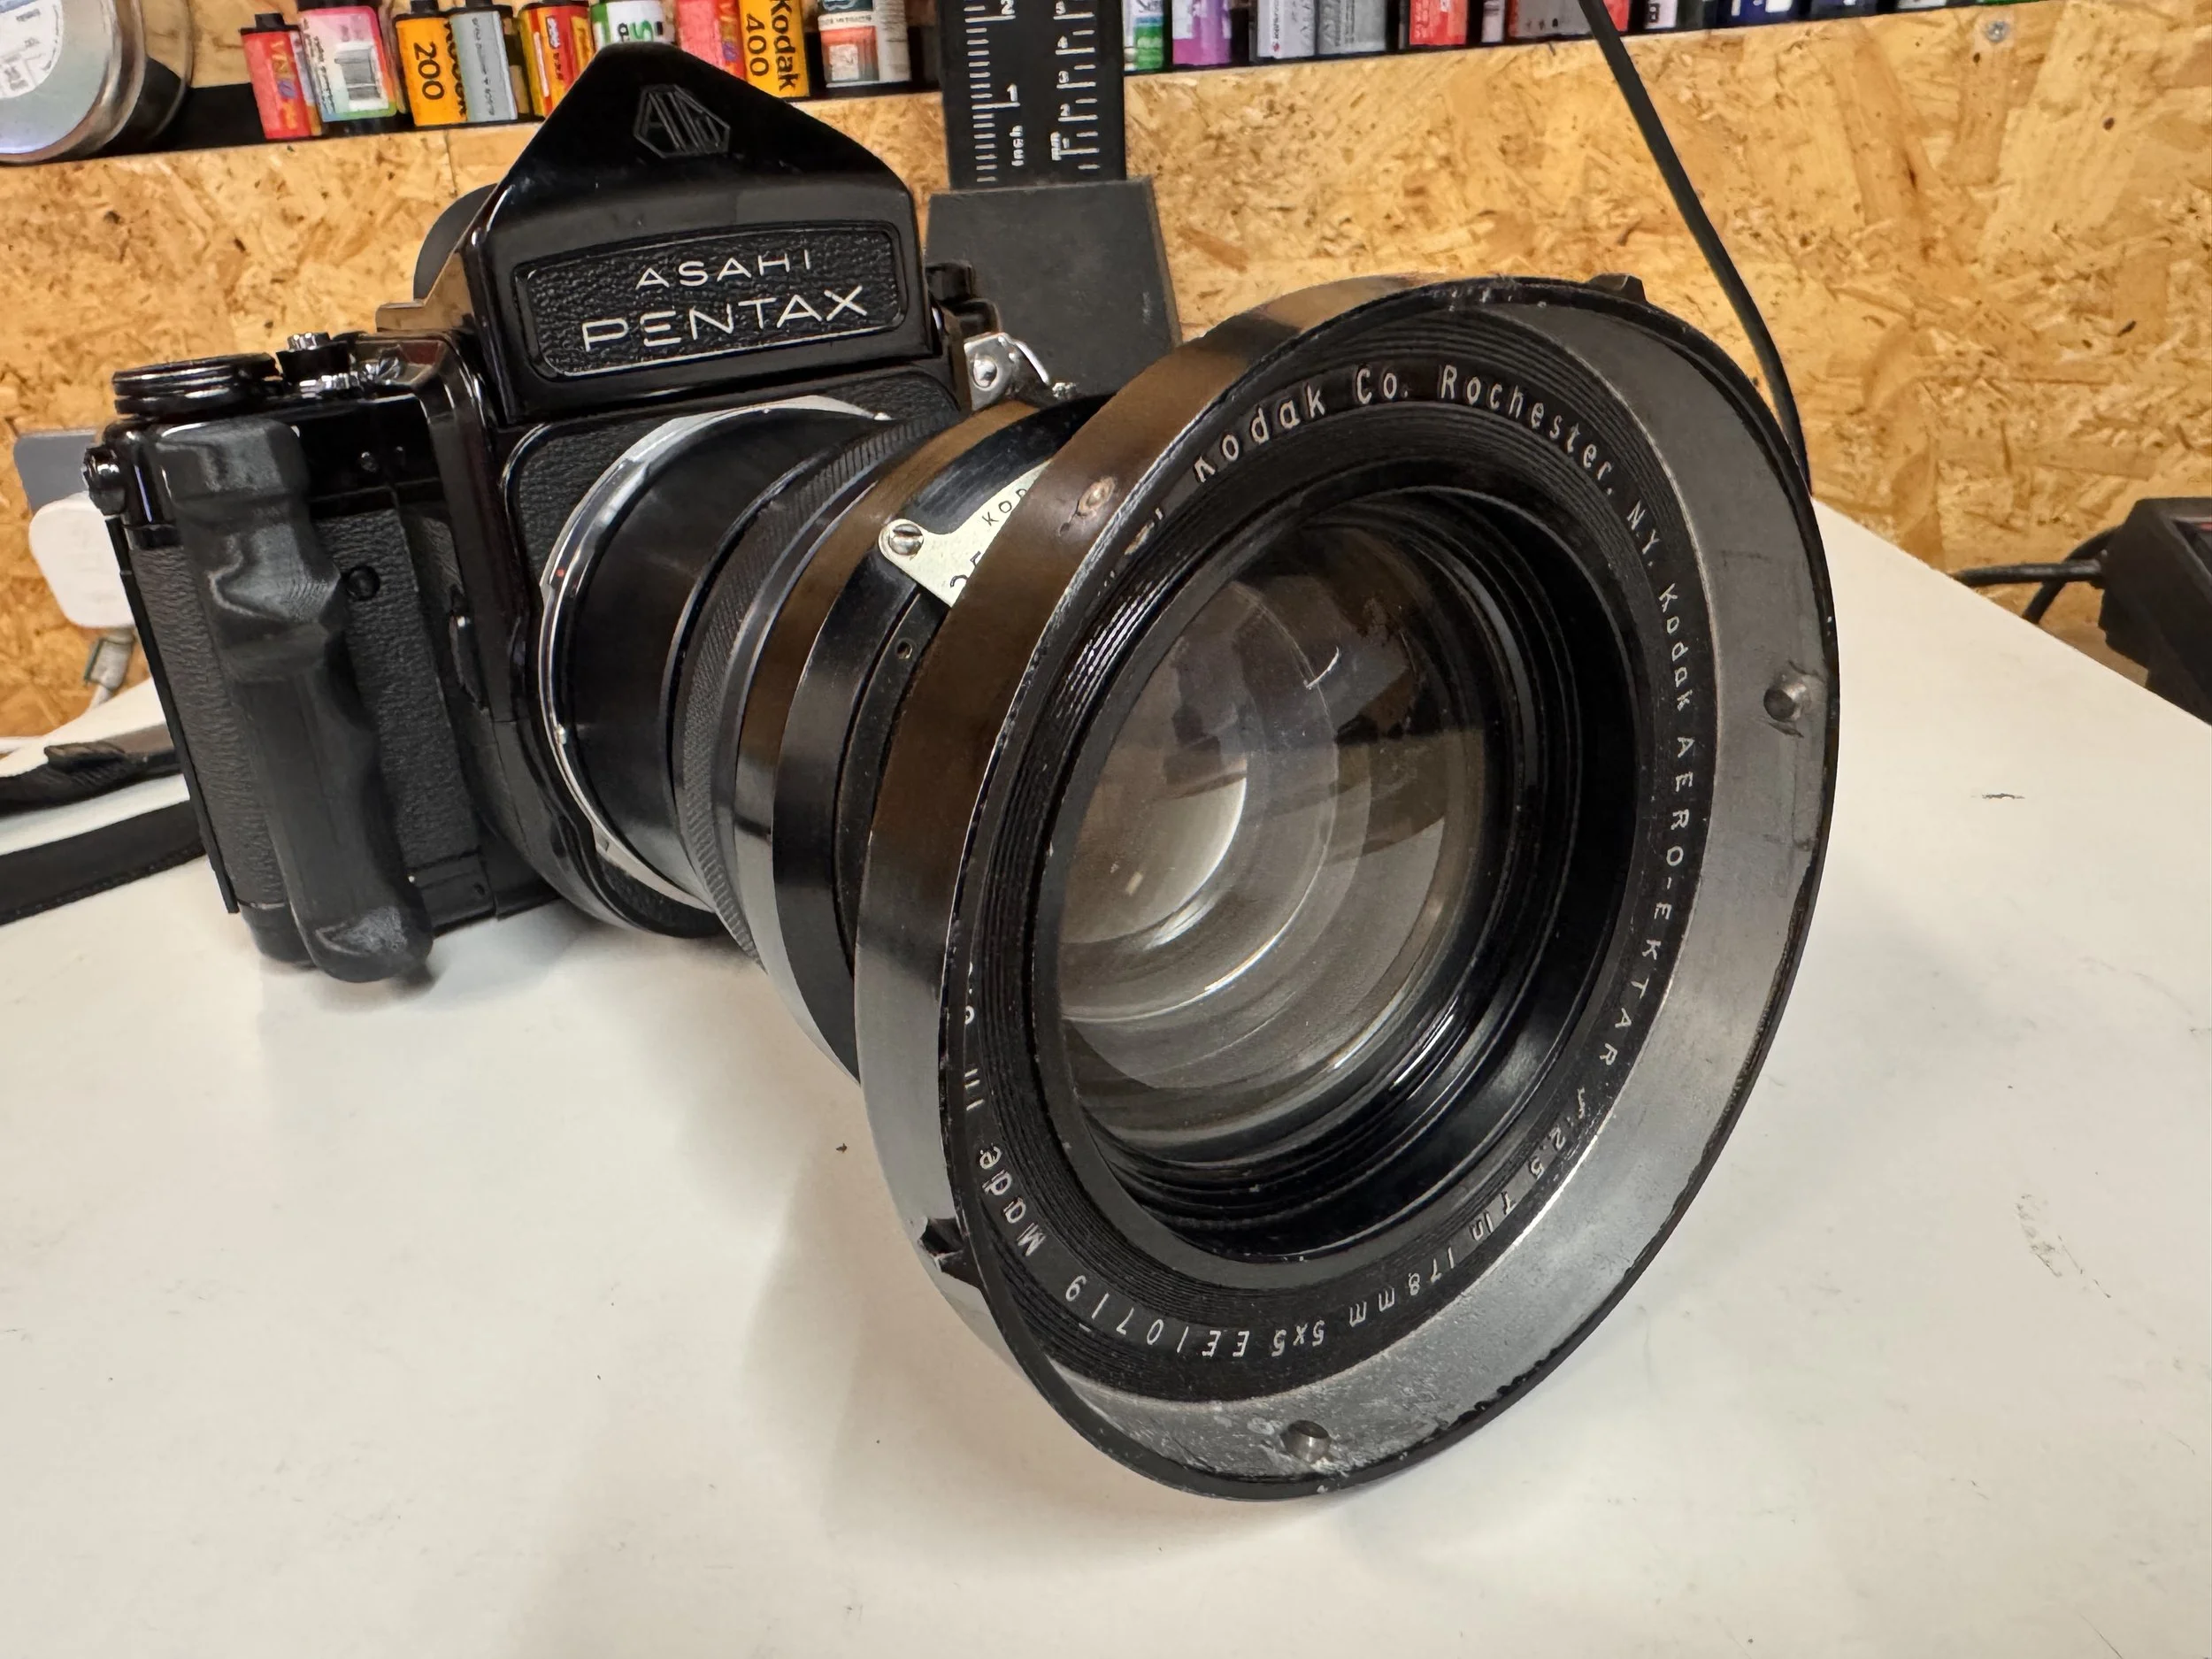
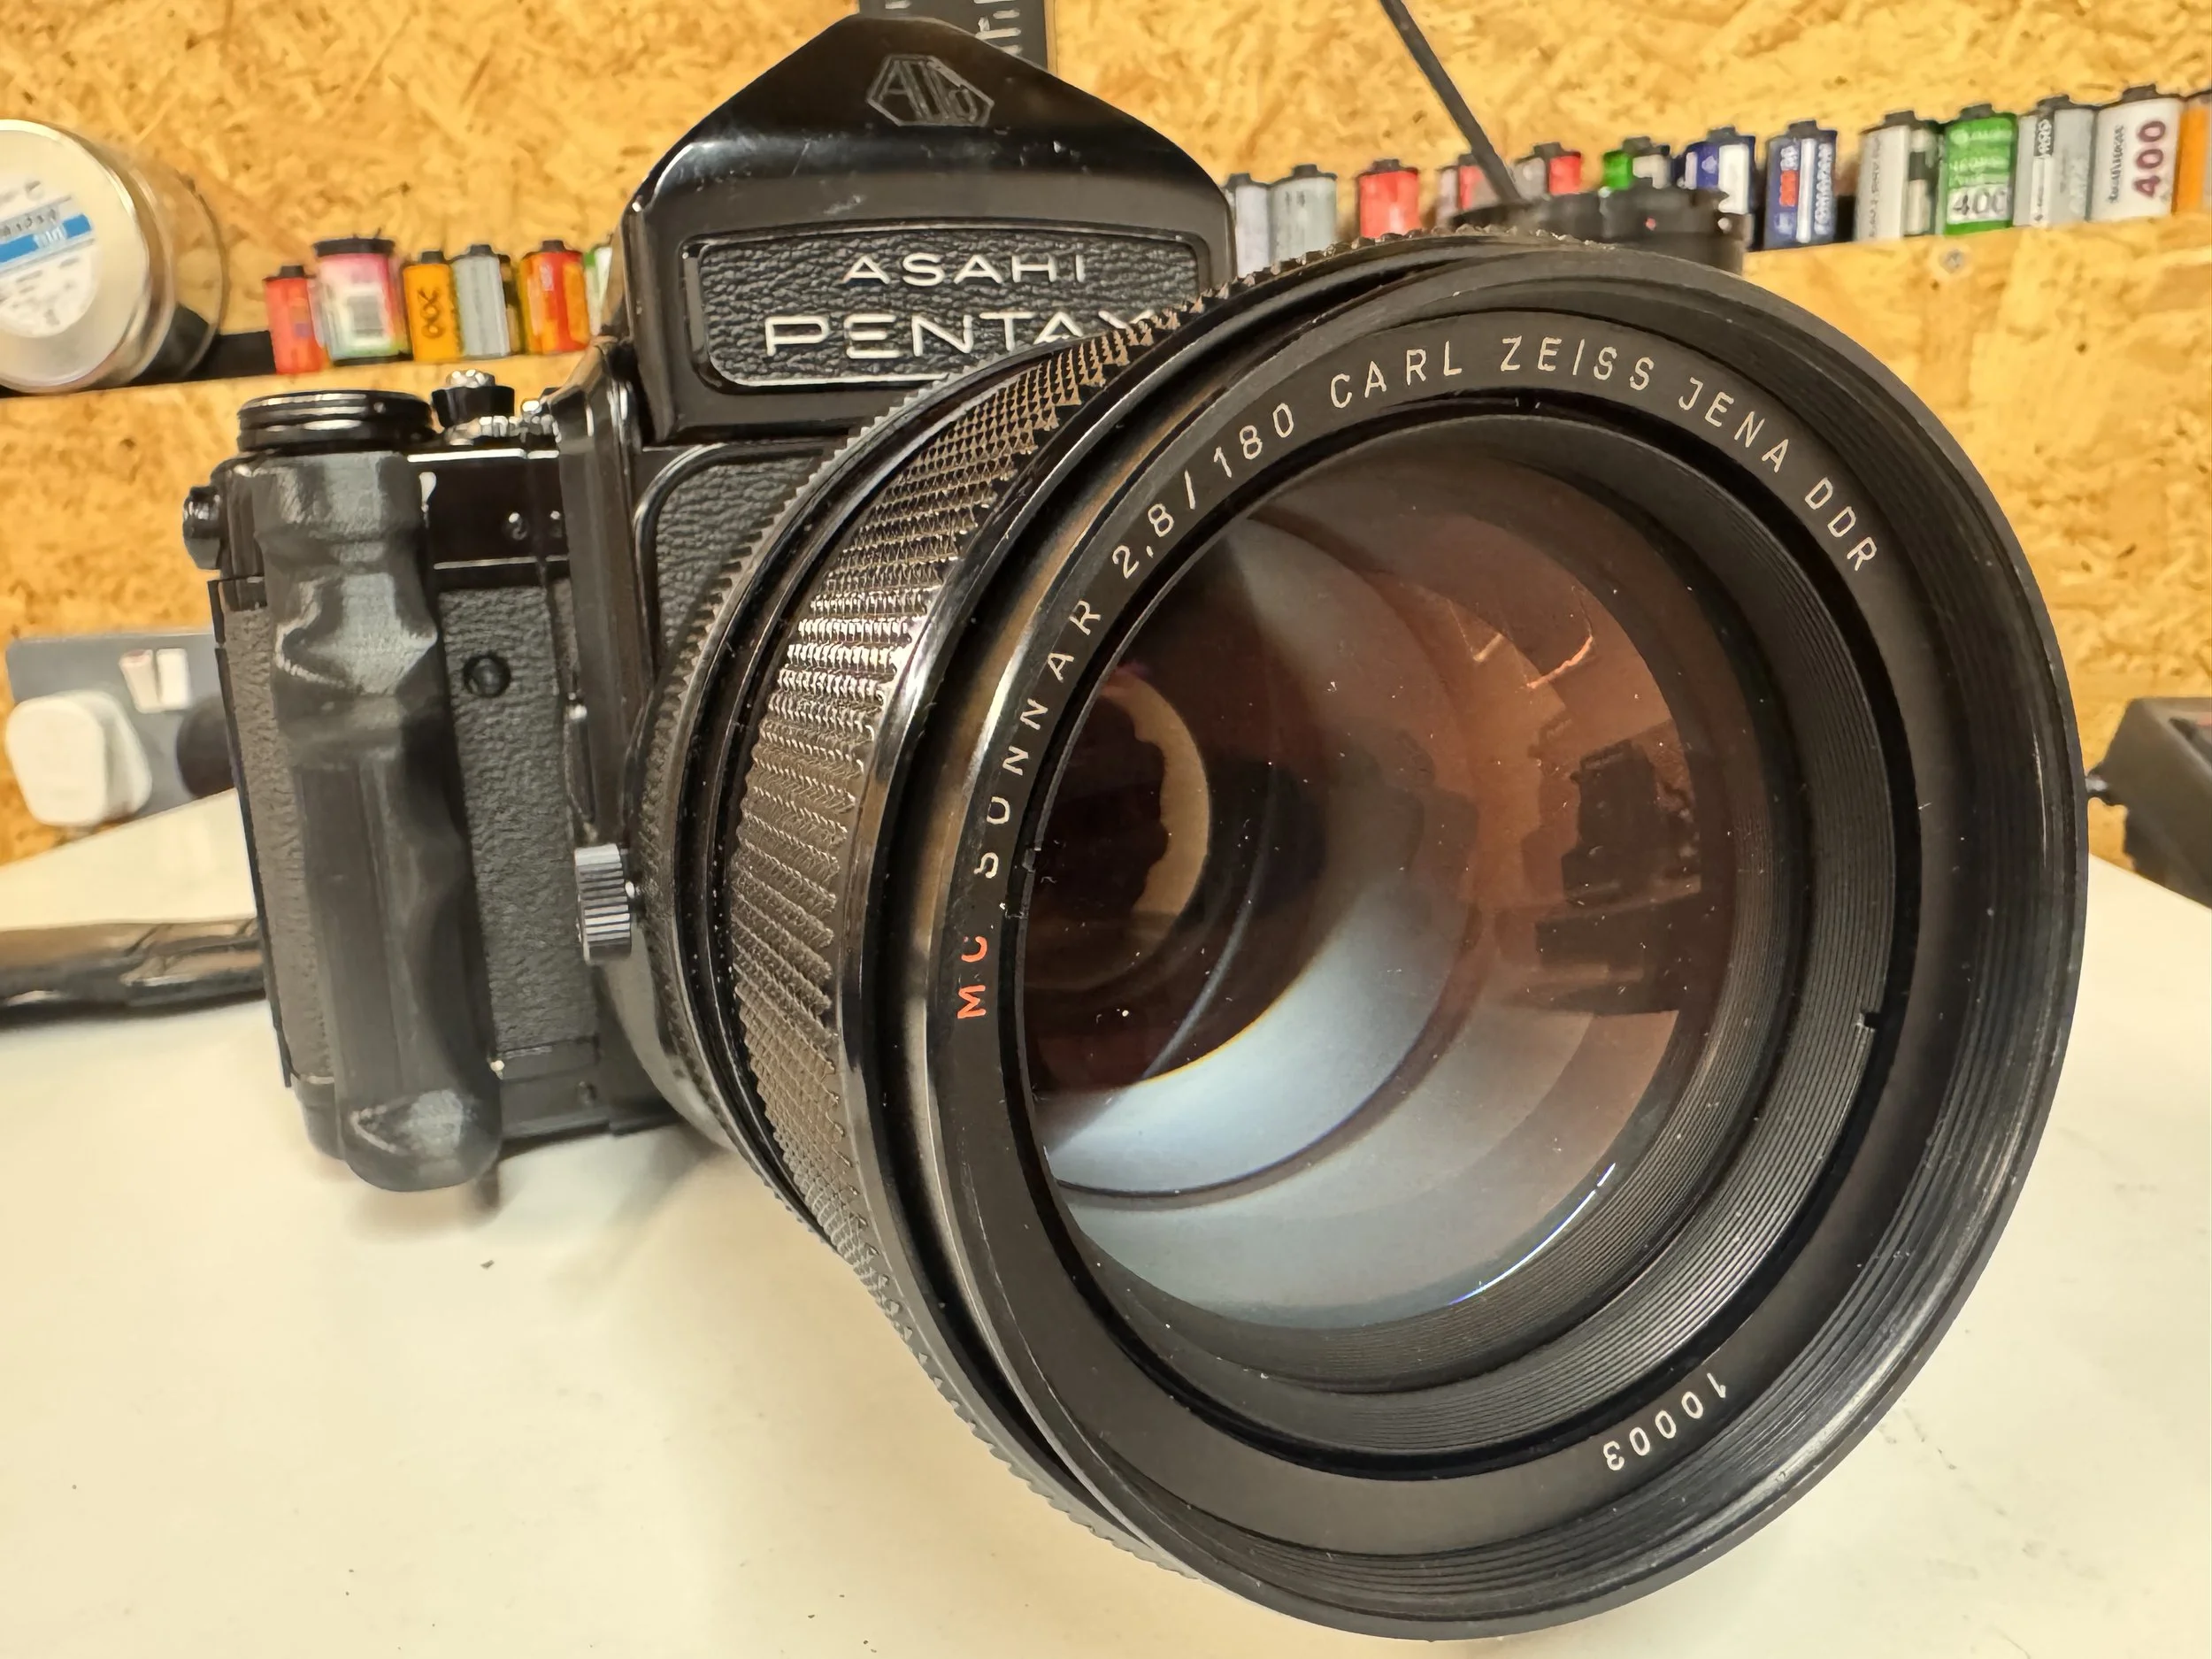
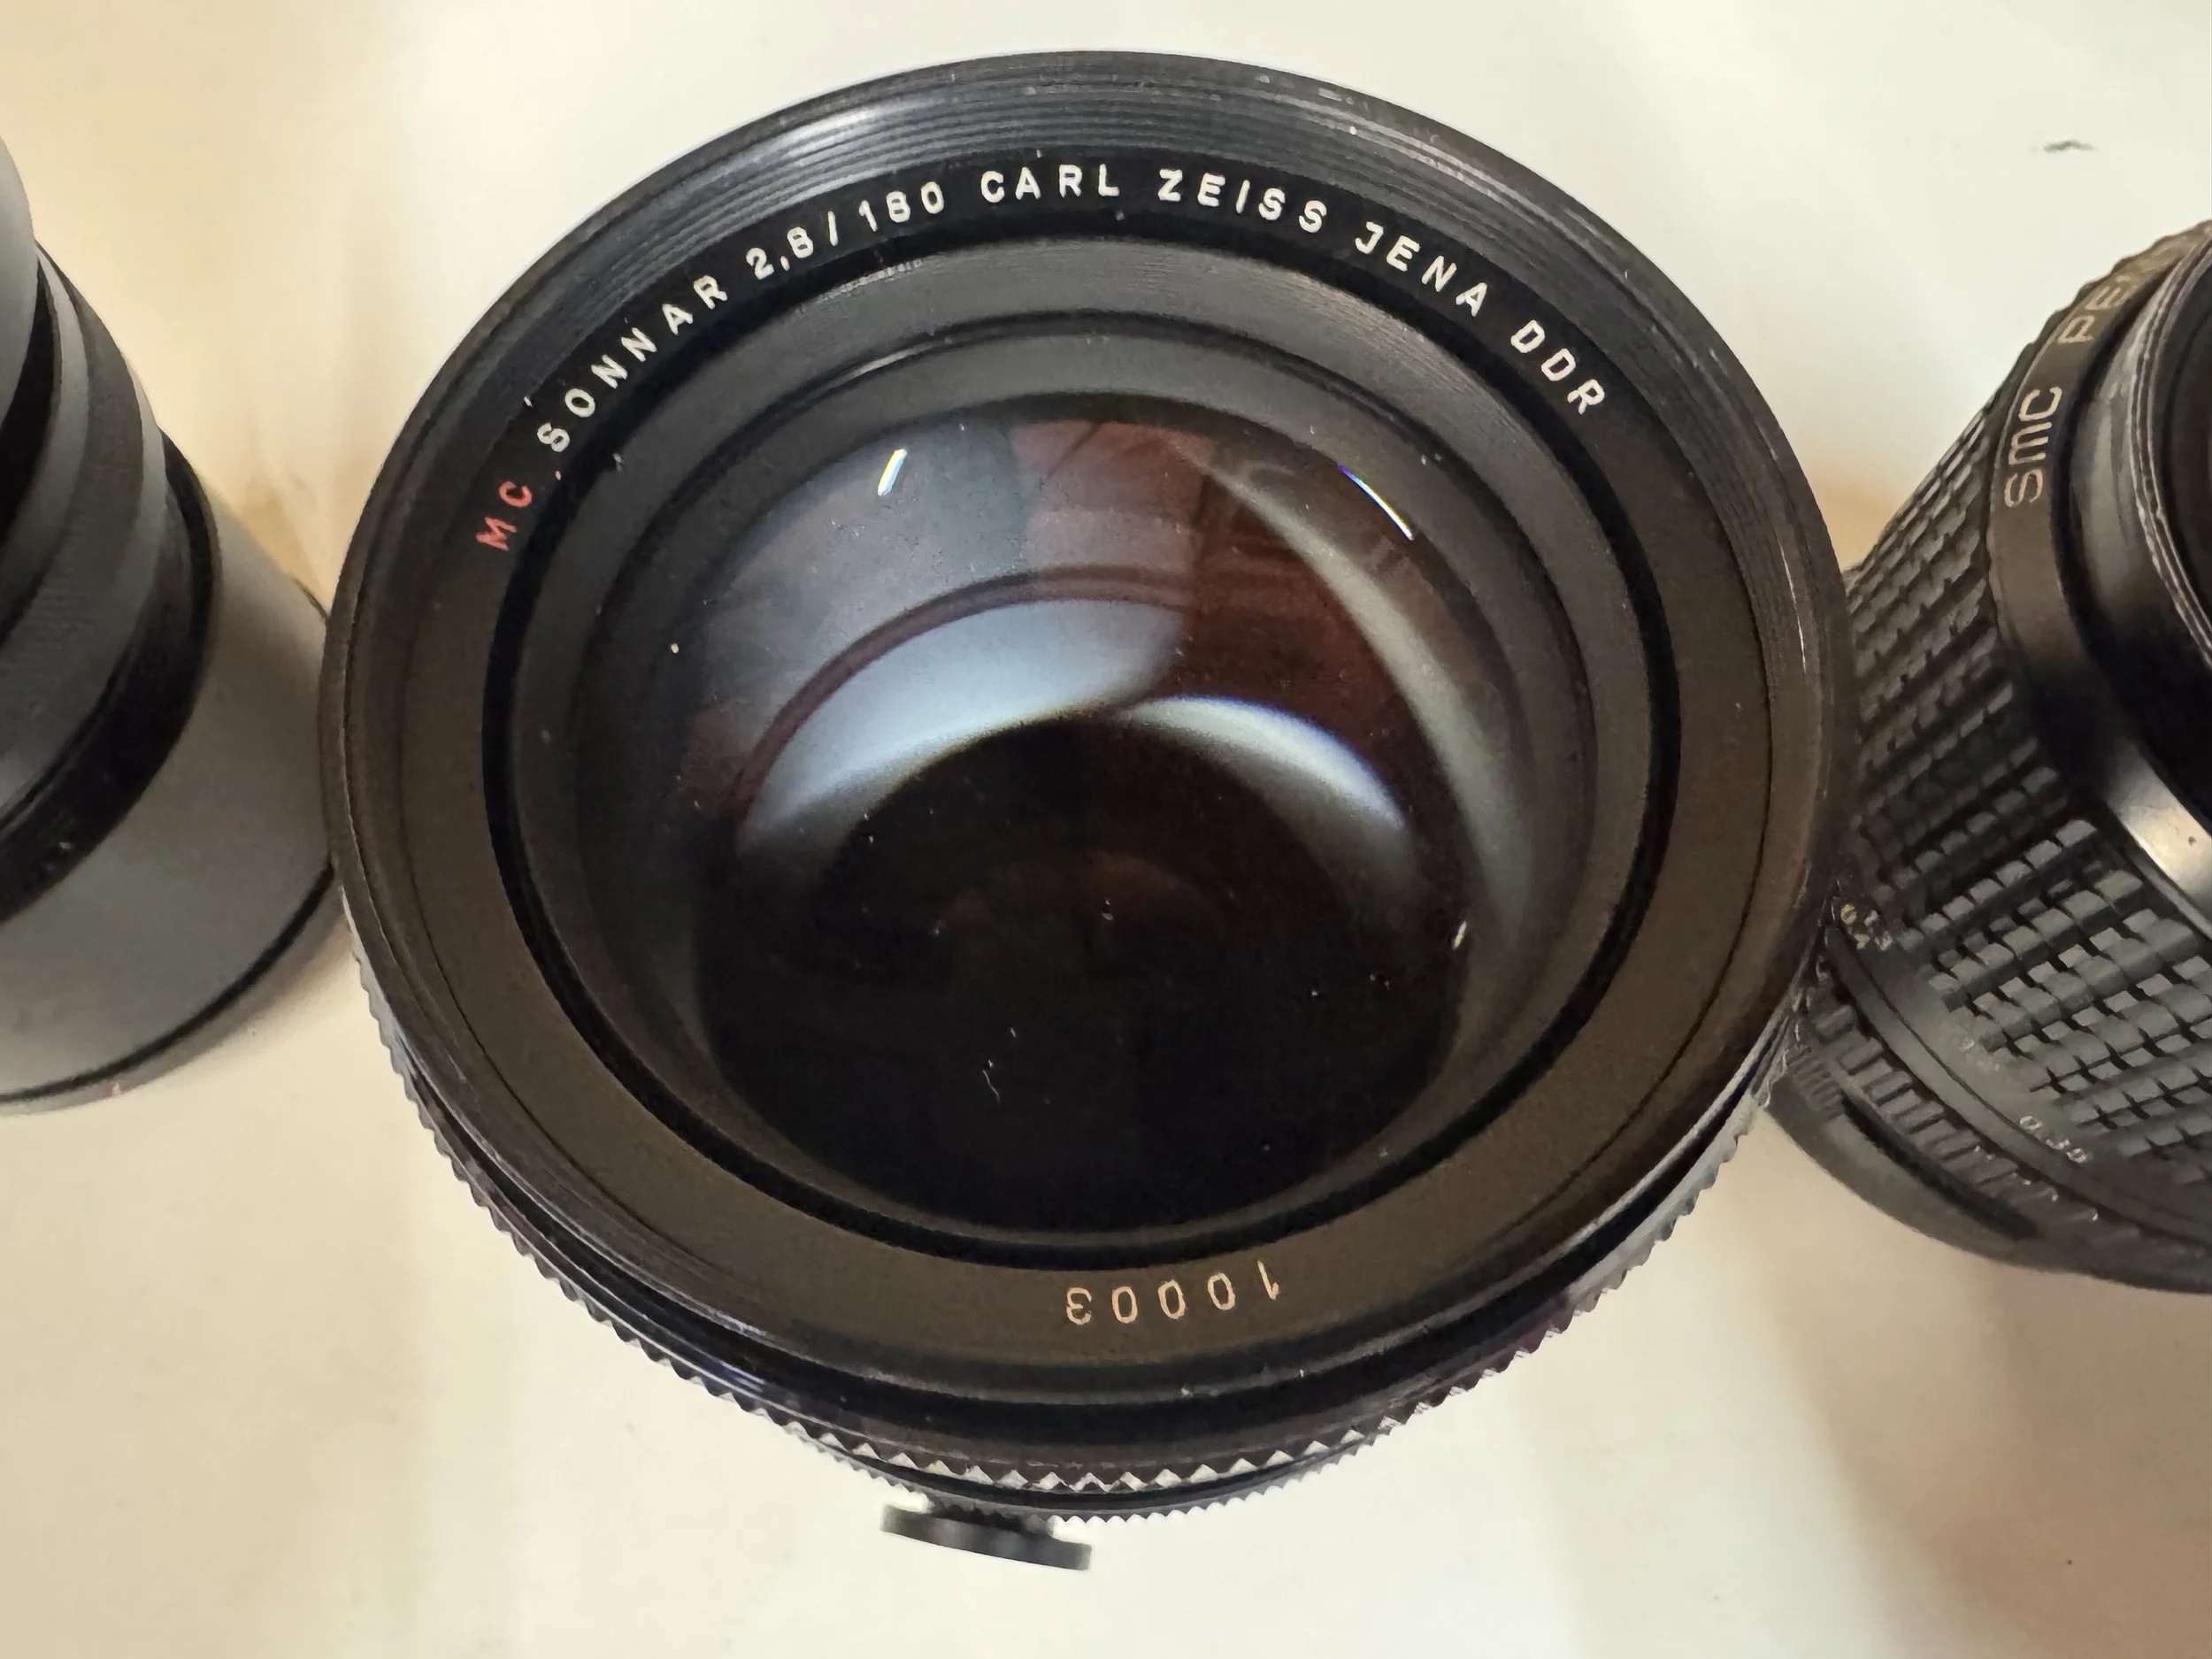
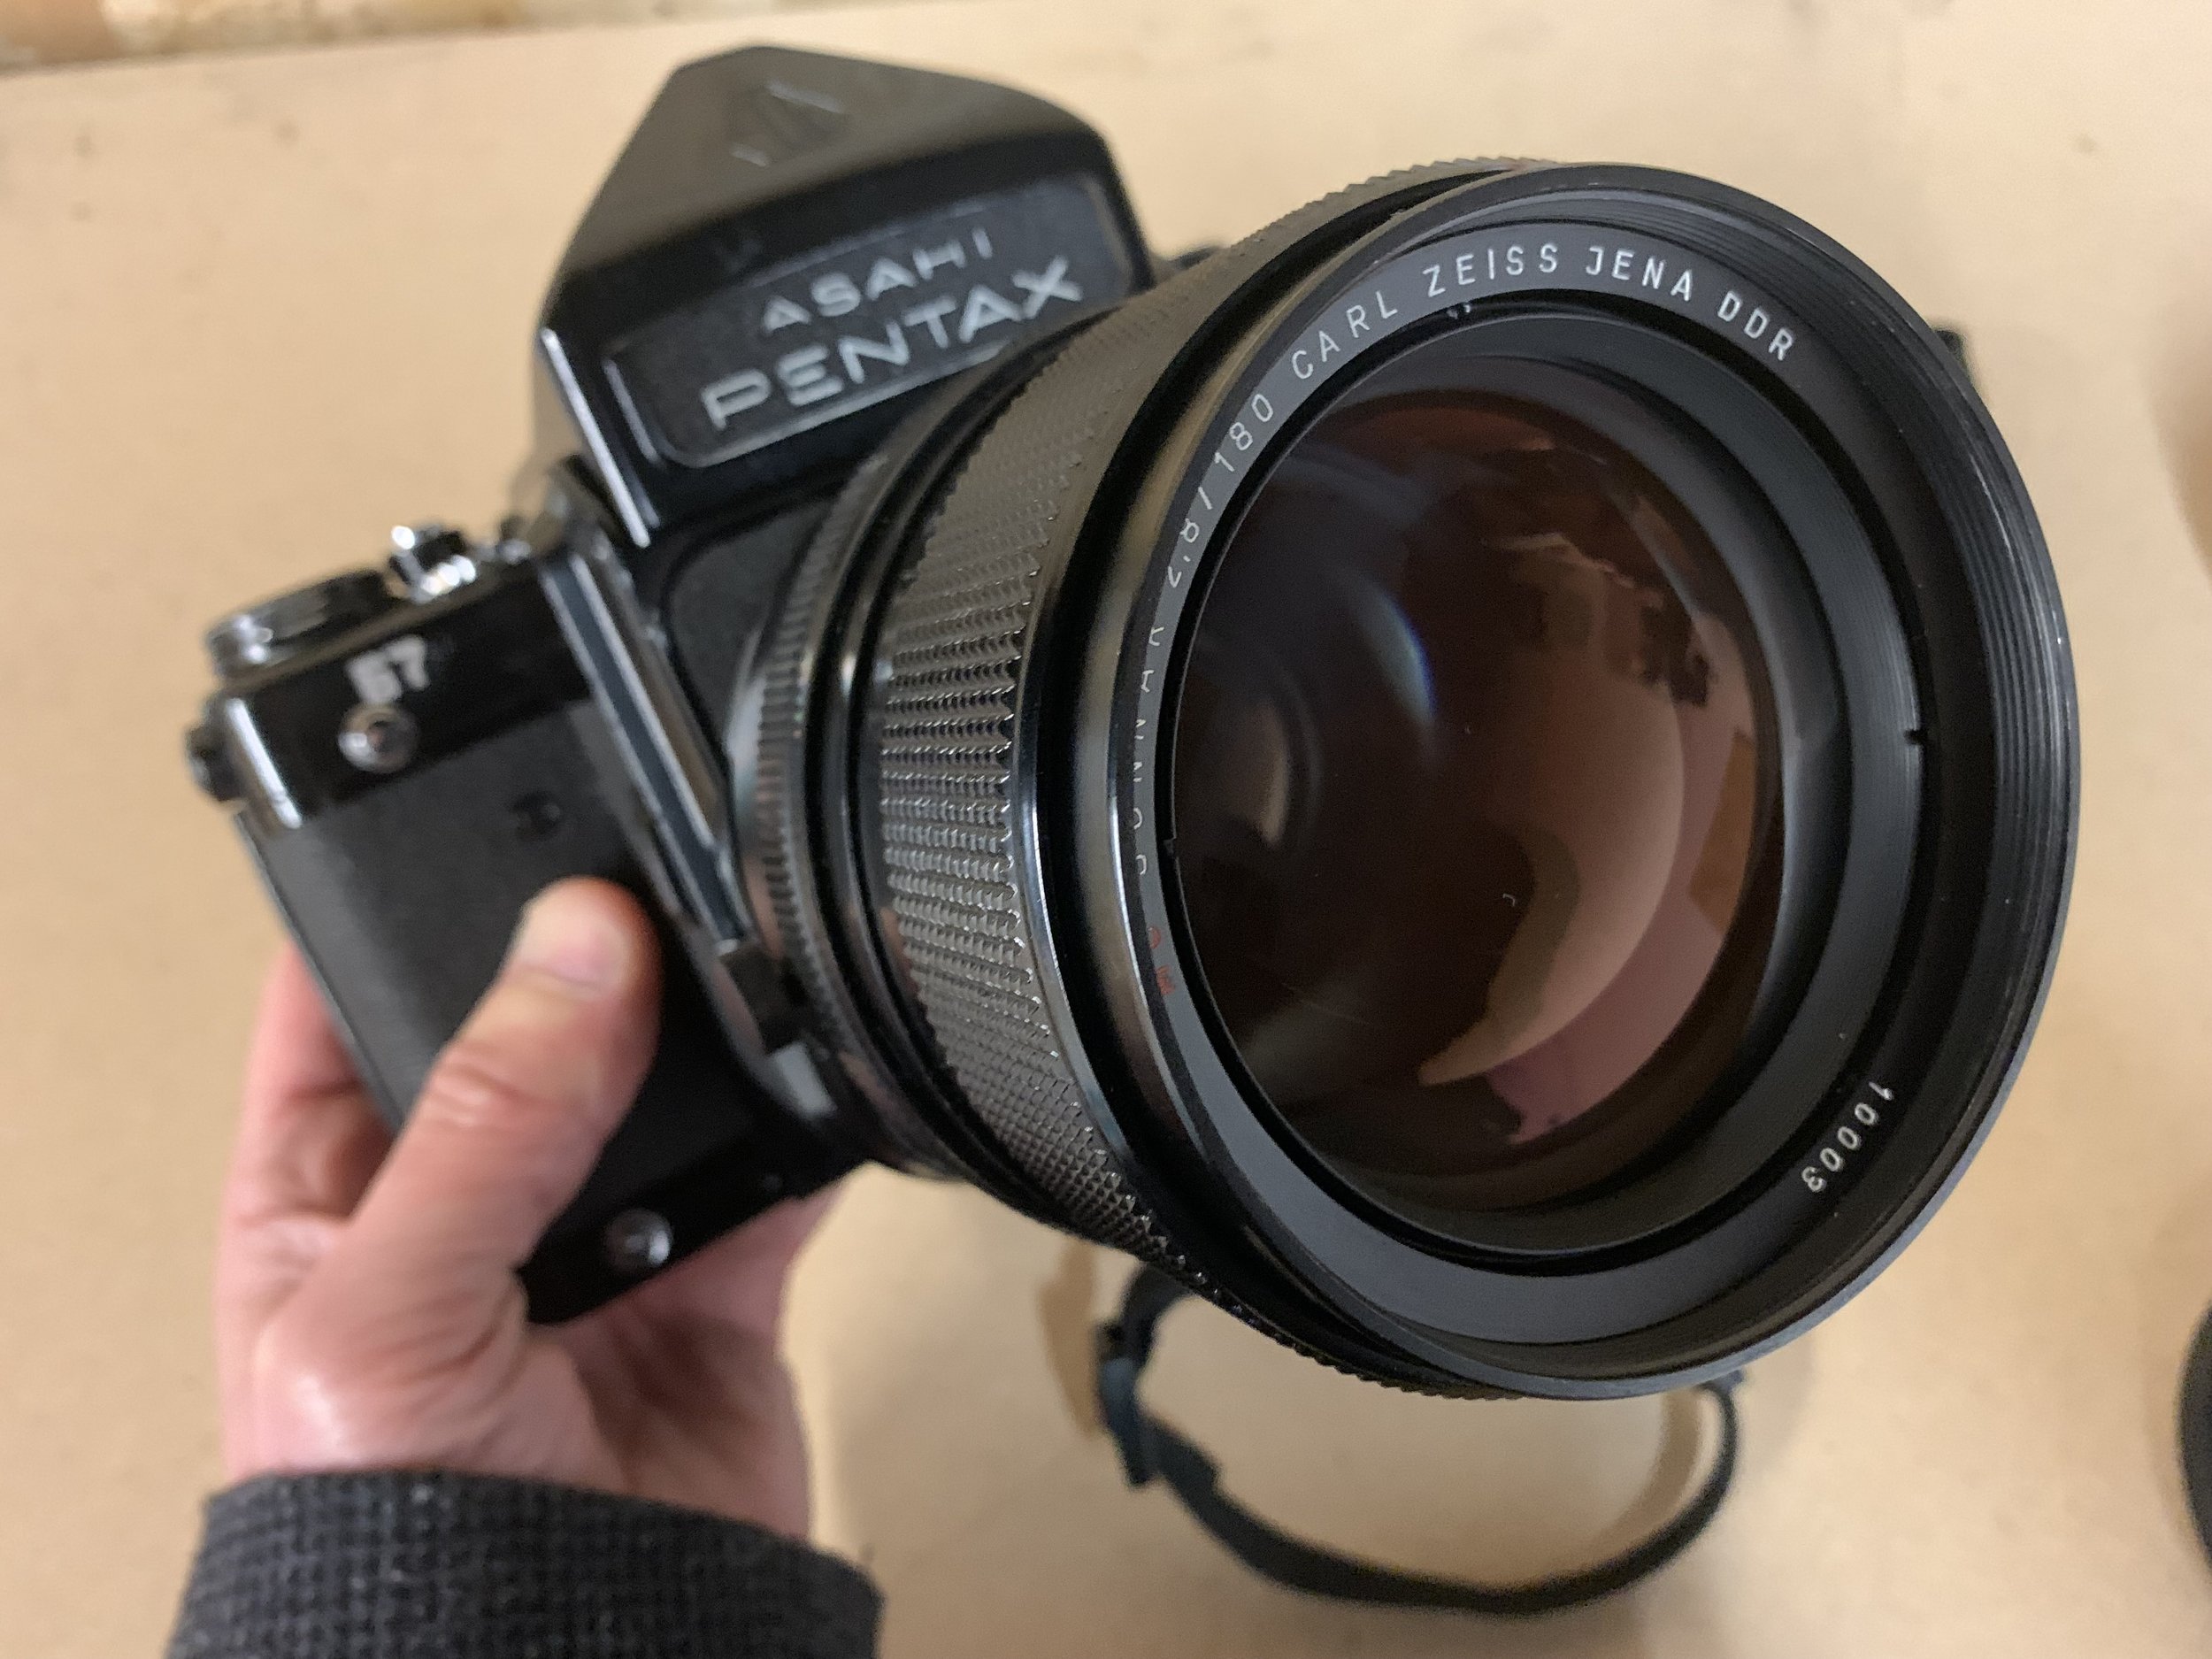
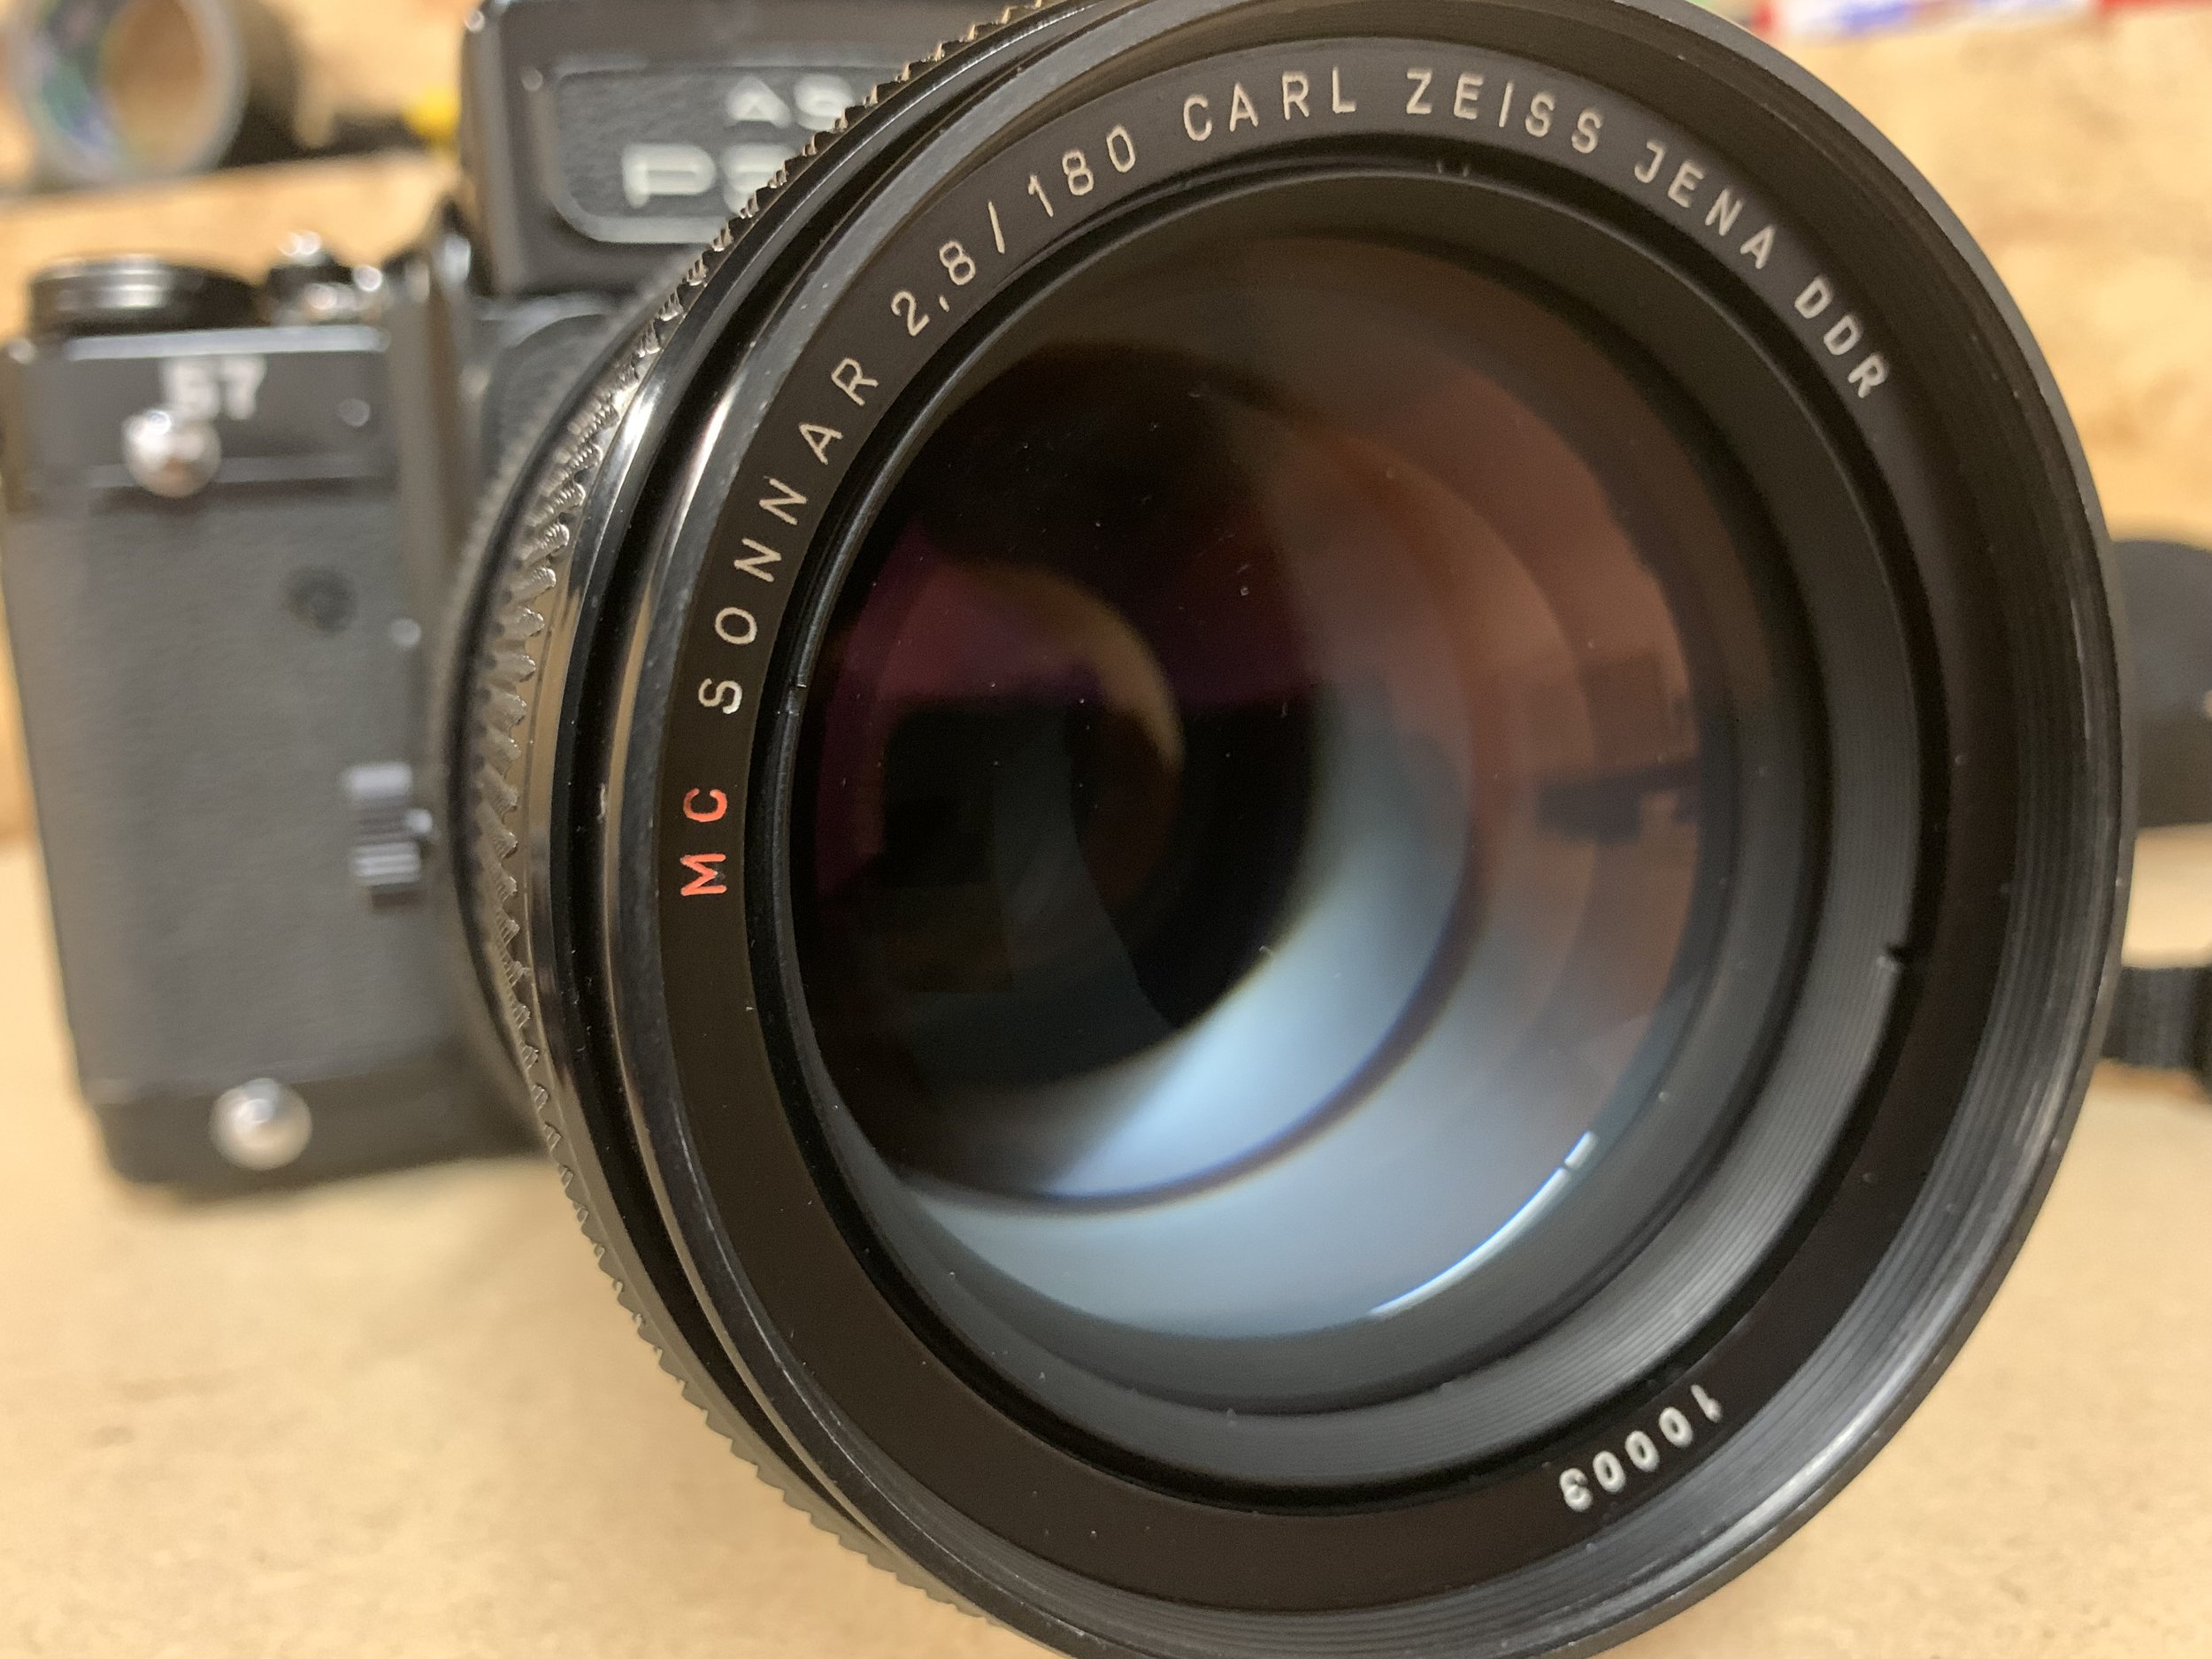
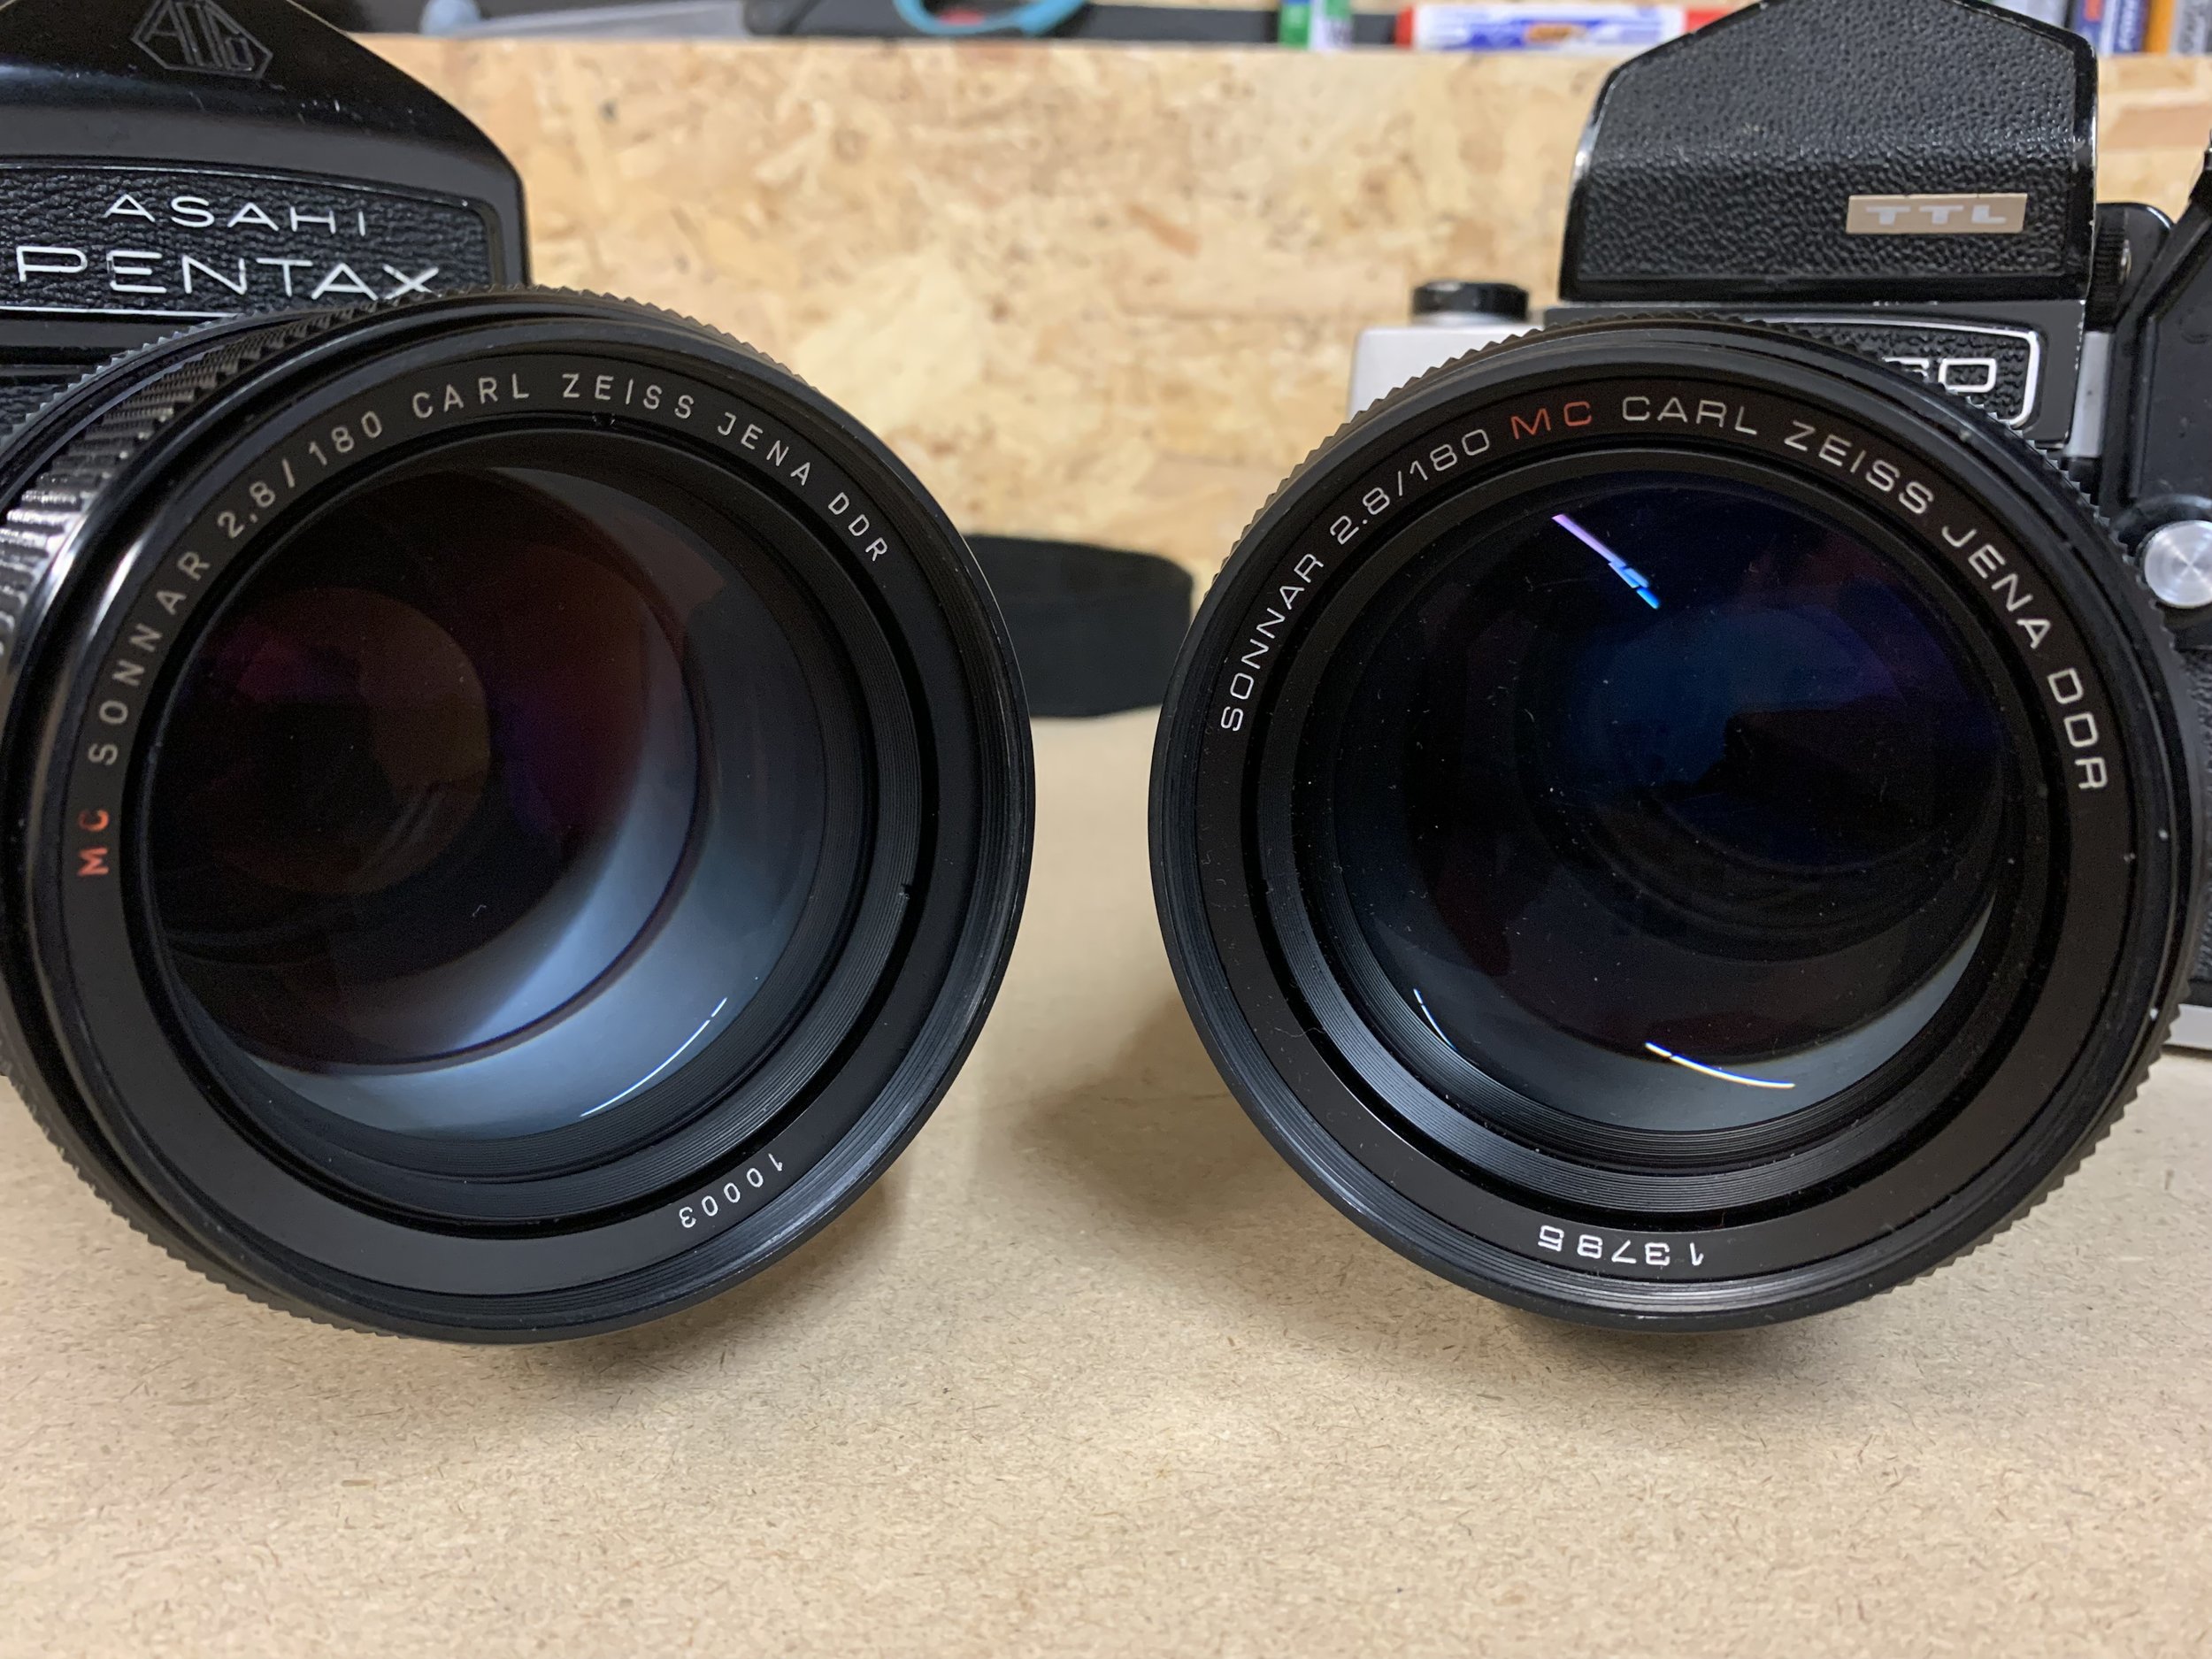
First up we’ve got some images from the ARAX CM using the stunning Carl Zeiss Jen Sonnar 180mm 2.8 lens.

Yikes this lens is so sharp!! Skin glows and backgrounds melt into a creamy dreamy blur. yum! I reckon this is the best portrait lens EVER made! It’s only downside is it’s size / weight - its a bit of a beast and it’s certainly not one for people who like to go unnoticed… people will think your toting a rocket launcher carrying this thing around! KABOOM!

A few words about the film stock too - I have a few rolls of Fuji Acros 100 on ice which I picked up very cheaply, WOW! I am only really now appreciating this film, its beautiful stuff… I’ll be searching out more and also checking out the new version too!

And now some 35mm shots from the Nikon F3 with the Nikkor 50mm 1.2 loaded with Rollei Retro 80S.

Yikes again!! Loving the results on 35mm film too - I only recently got the 50mm 1.2 and it is a stunner! I’ve shot Rollei Retro 80S before and again it does not disappoint - it has a very crisp, punchy contrasty look which is unique.

I am over the moon with how shots from both cameras came out - it’s given me two quite different look and feel with the different formats, social lengths and film stocks.

Ironically I decided not to swap lenses on either camera on this shoot (but I was glad to have the option to do so)

So what the heck was all that about then? Well, on one level I think it’s purely about 'what the hell is the point in owning all this stuff if you’re not shooting with it’ and on another level it’s about the final vision - offering different creative possibilities.

I am not advocating just taking LOADS of camera gear, throwing the kitchen sink at your concept and seeing what happens, I am however suggesting that if you put some thought into your shoots upfront you can select some kit that will help you realise your vision.

By Jupiter! Portrait shoot on ADOX Color Mission 200 film


What a time to be alive! A BRAND NEW film stock just released by ADOX called Color Mission 200. I was very fortunate to be able to grab two rolls via someone on a fb group I’m part of who had the great foresight to buy a whole stack of these and then sell them on at cost price to fellow film addicts! Thank you kind sir! Without your quick thinking (and bulk purchasing) I’d have missed out on this film stock - which if you can’t be bothered to read any further I flipping LOVE! What a surprise - a film stock that he loves, shock horror, stop press etc etc.

It’s been a while since I blogged as I’ve been super busy with other things but I’ve got a ton of stuff to share with you all and what better way to kick things off than taking ADOX Color Mission 200 film for a spin. A big thank you to Danni for modelling on this shoot - it’s always great fun shooting together!

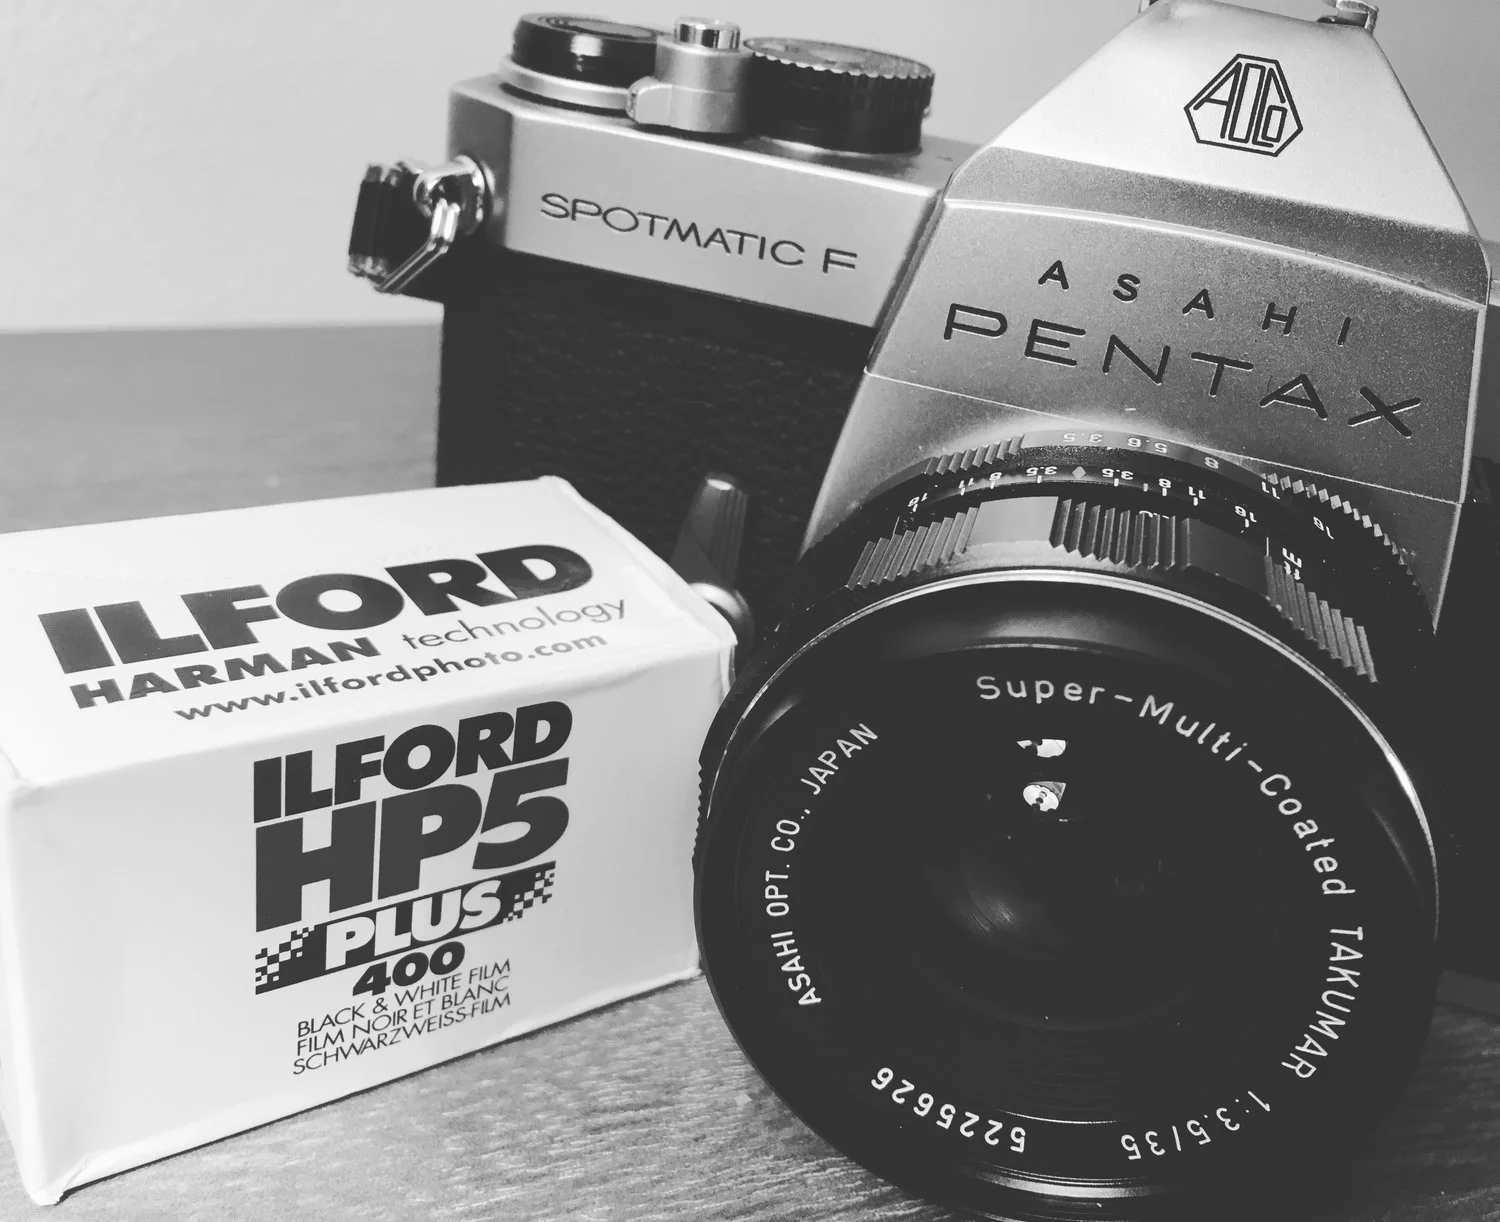
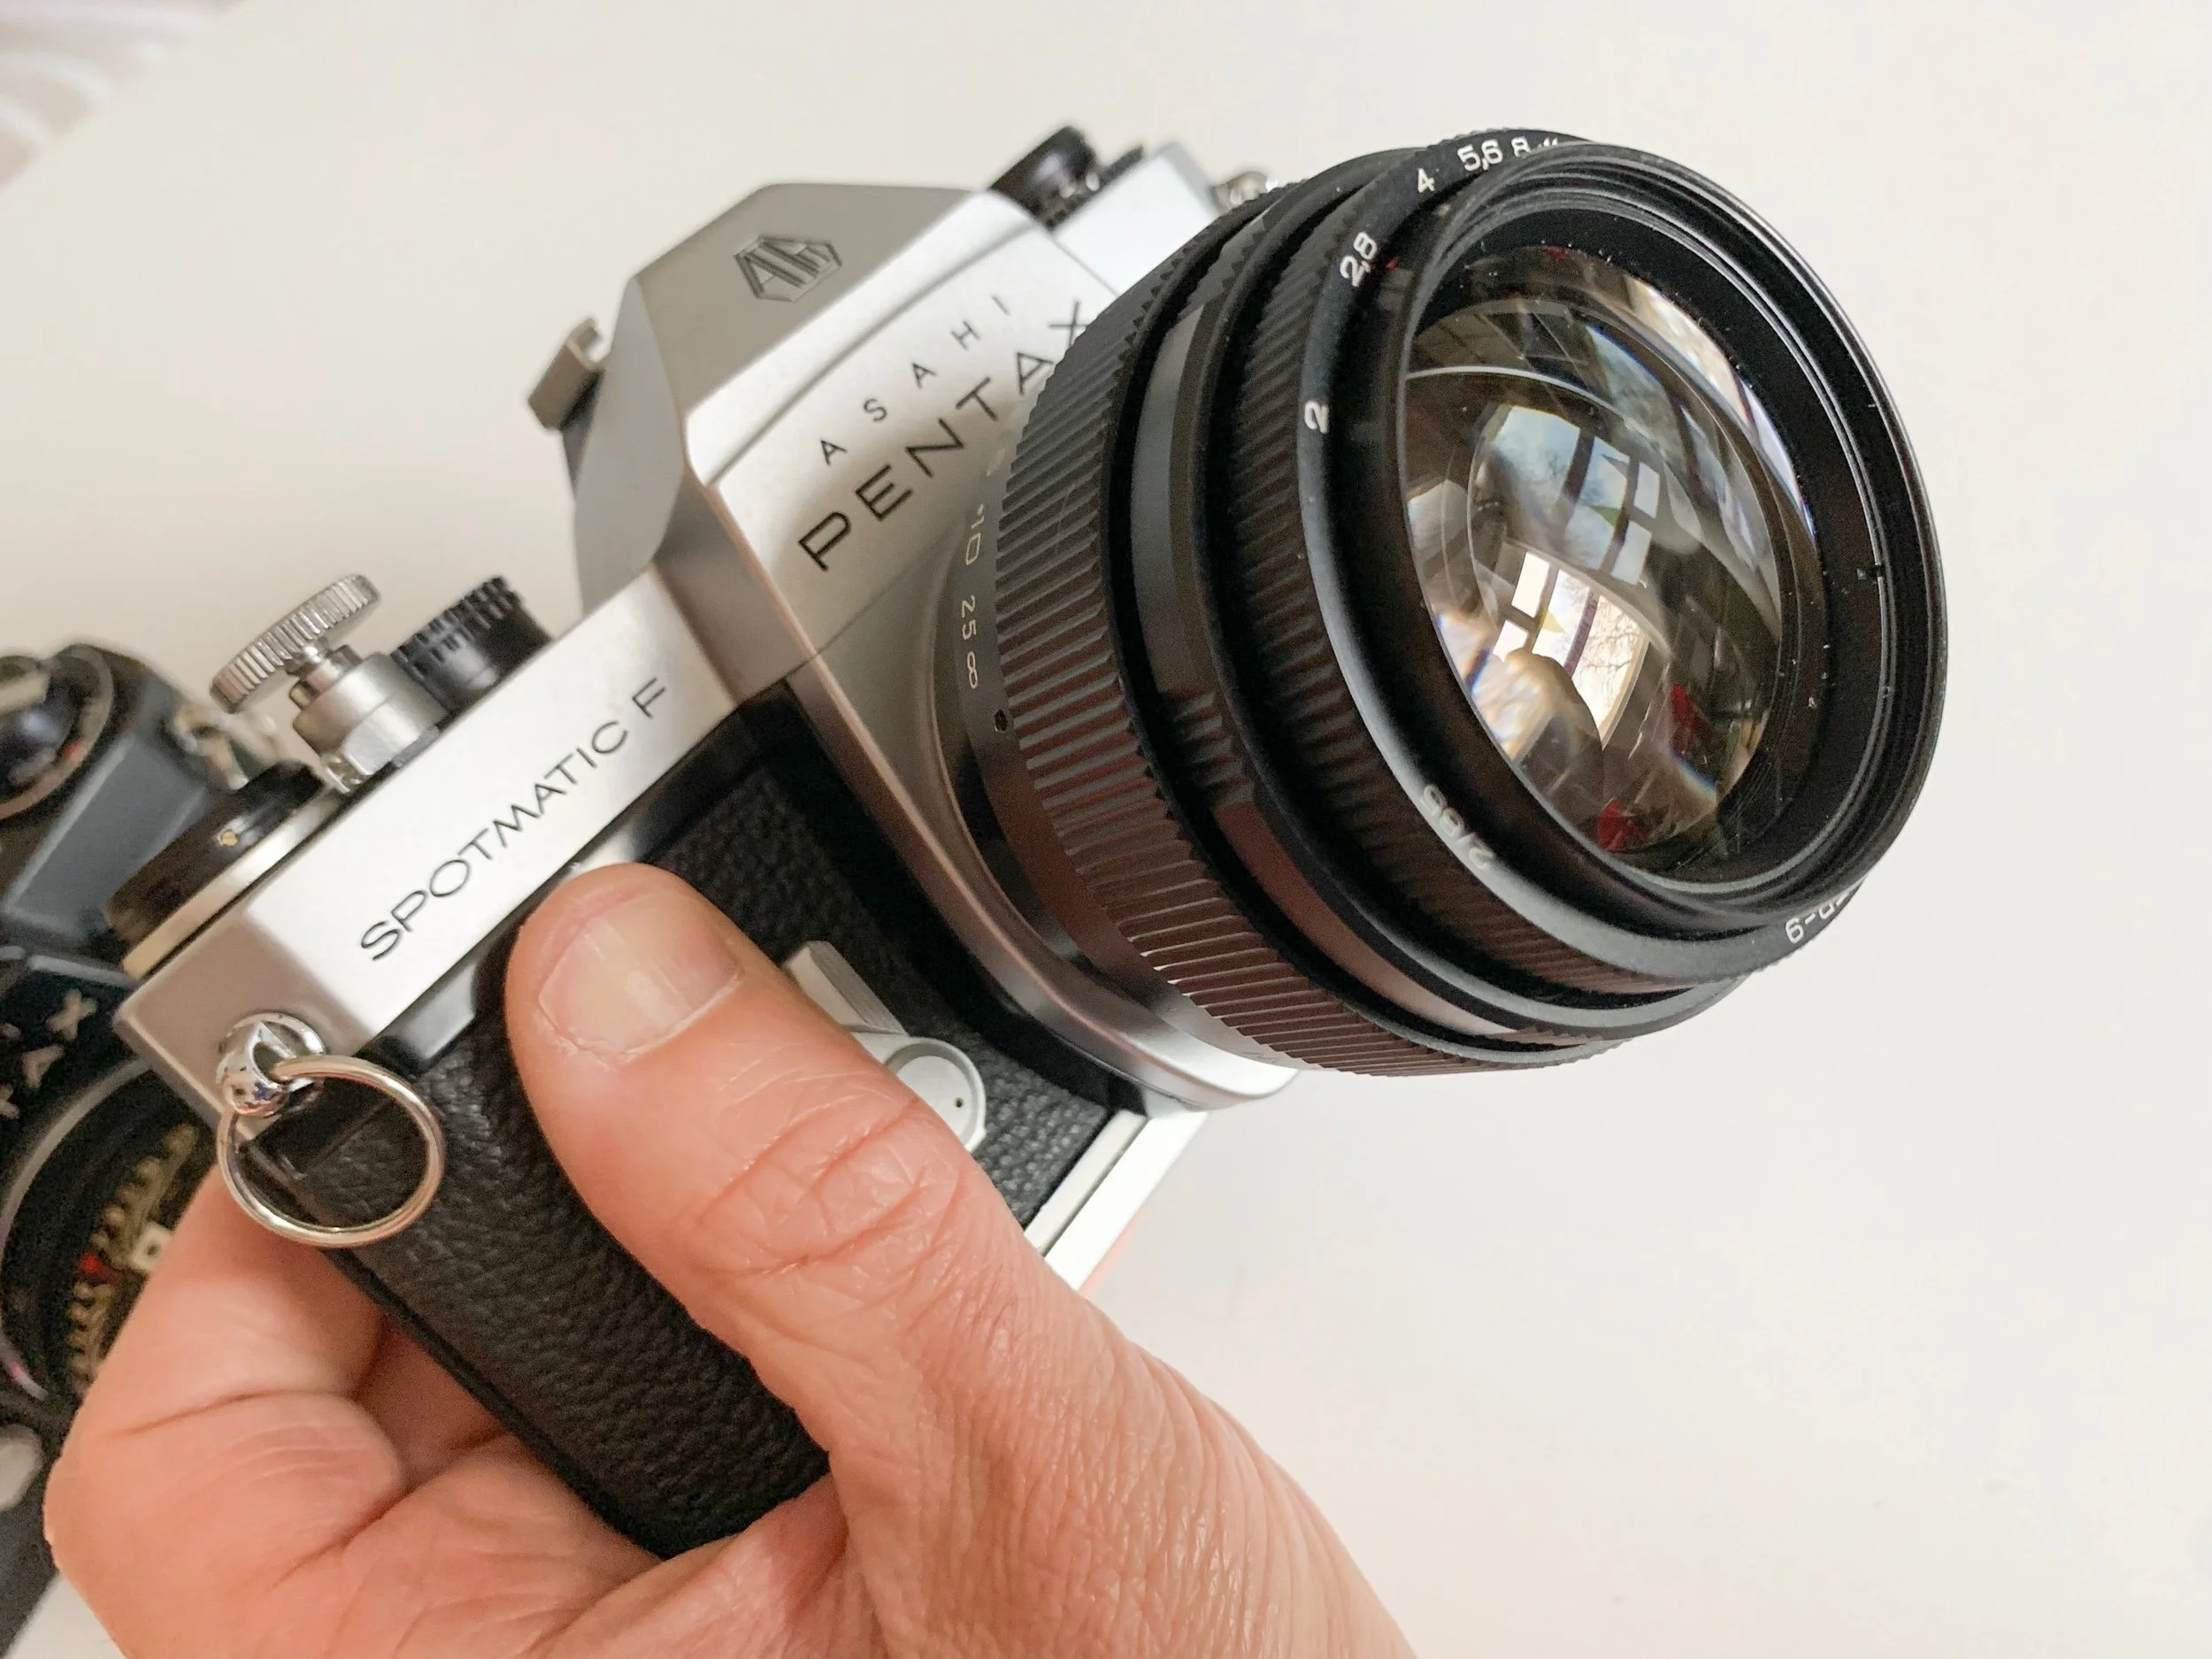
A few words about the kit before diving into the images - I’ve been shooting loads with my Nikon F2 recently so I decided it was high time that my Pentax Spotmatic F come out to play. I took my ARAX CM along too but that’s a blog for another day!

The Spotmatic is such a great camera- I highly recommend them to anyone looking for a reasonably priced and solidly built M42 camera. Lenswise it was an all Jupiter affair (see what I did with the title eh? By Jupiter I said….By Jupiter…oh forget it).

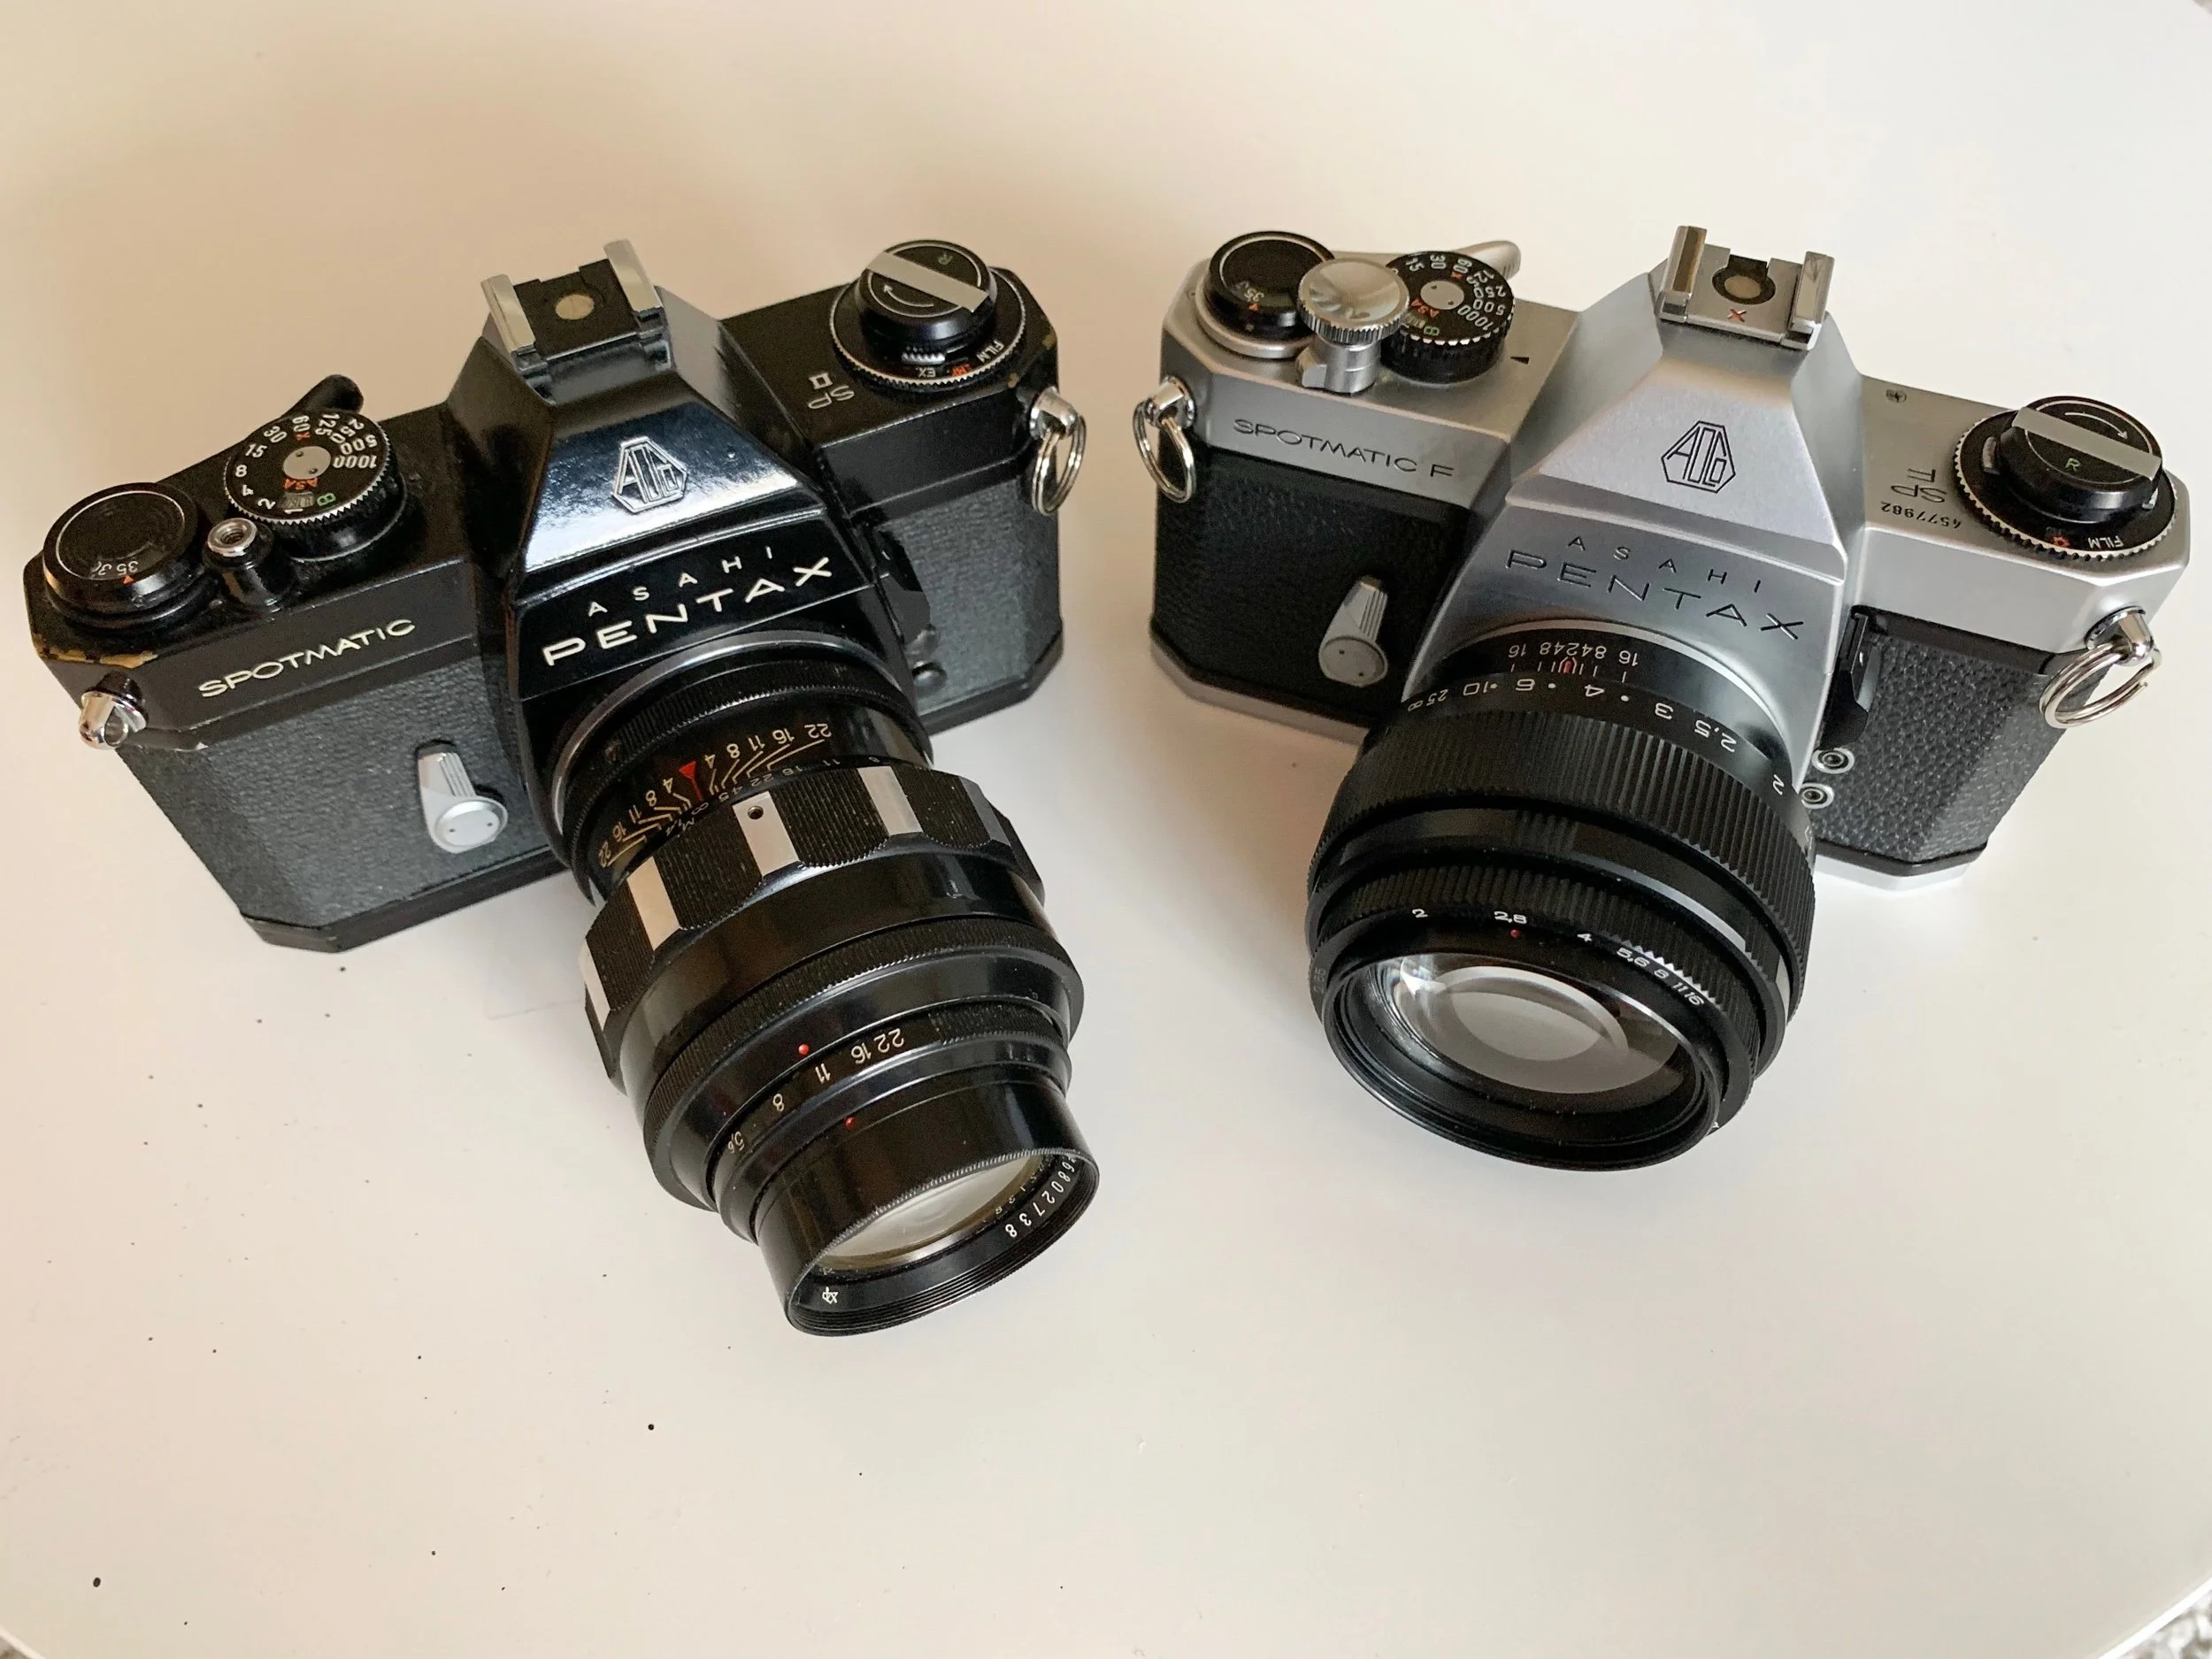
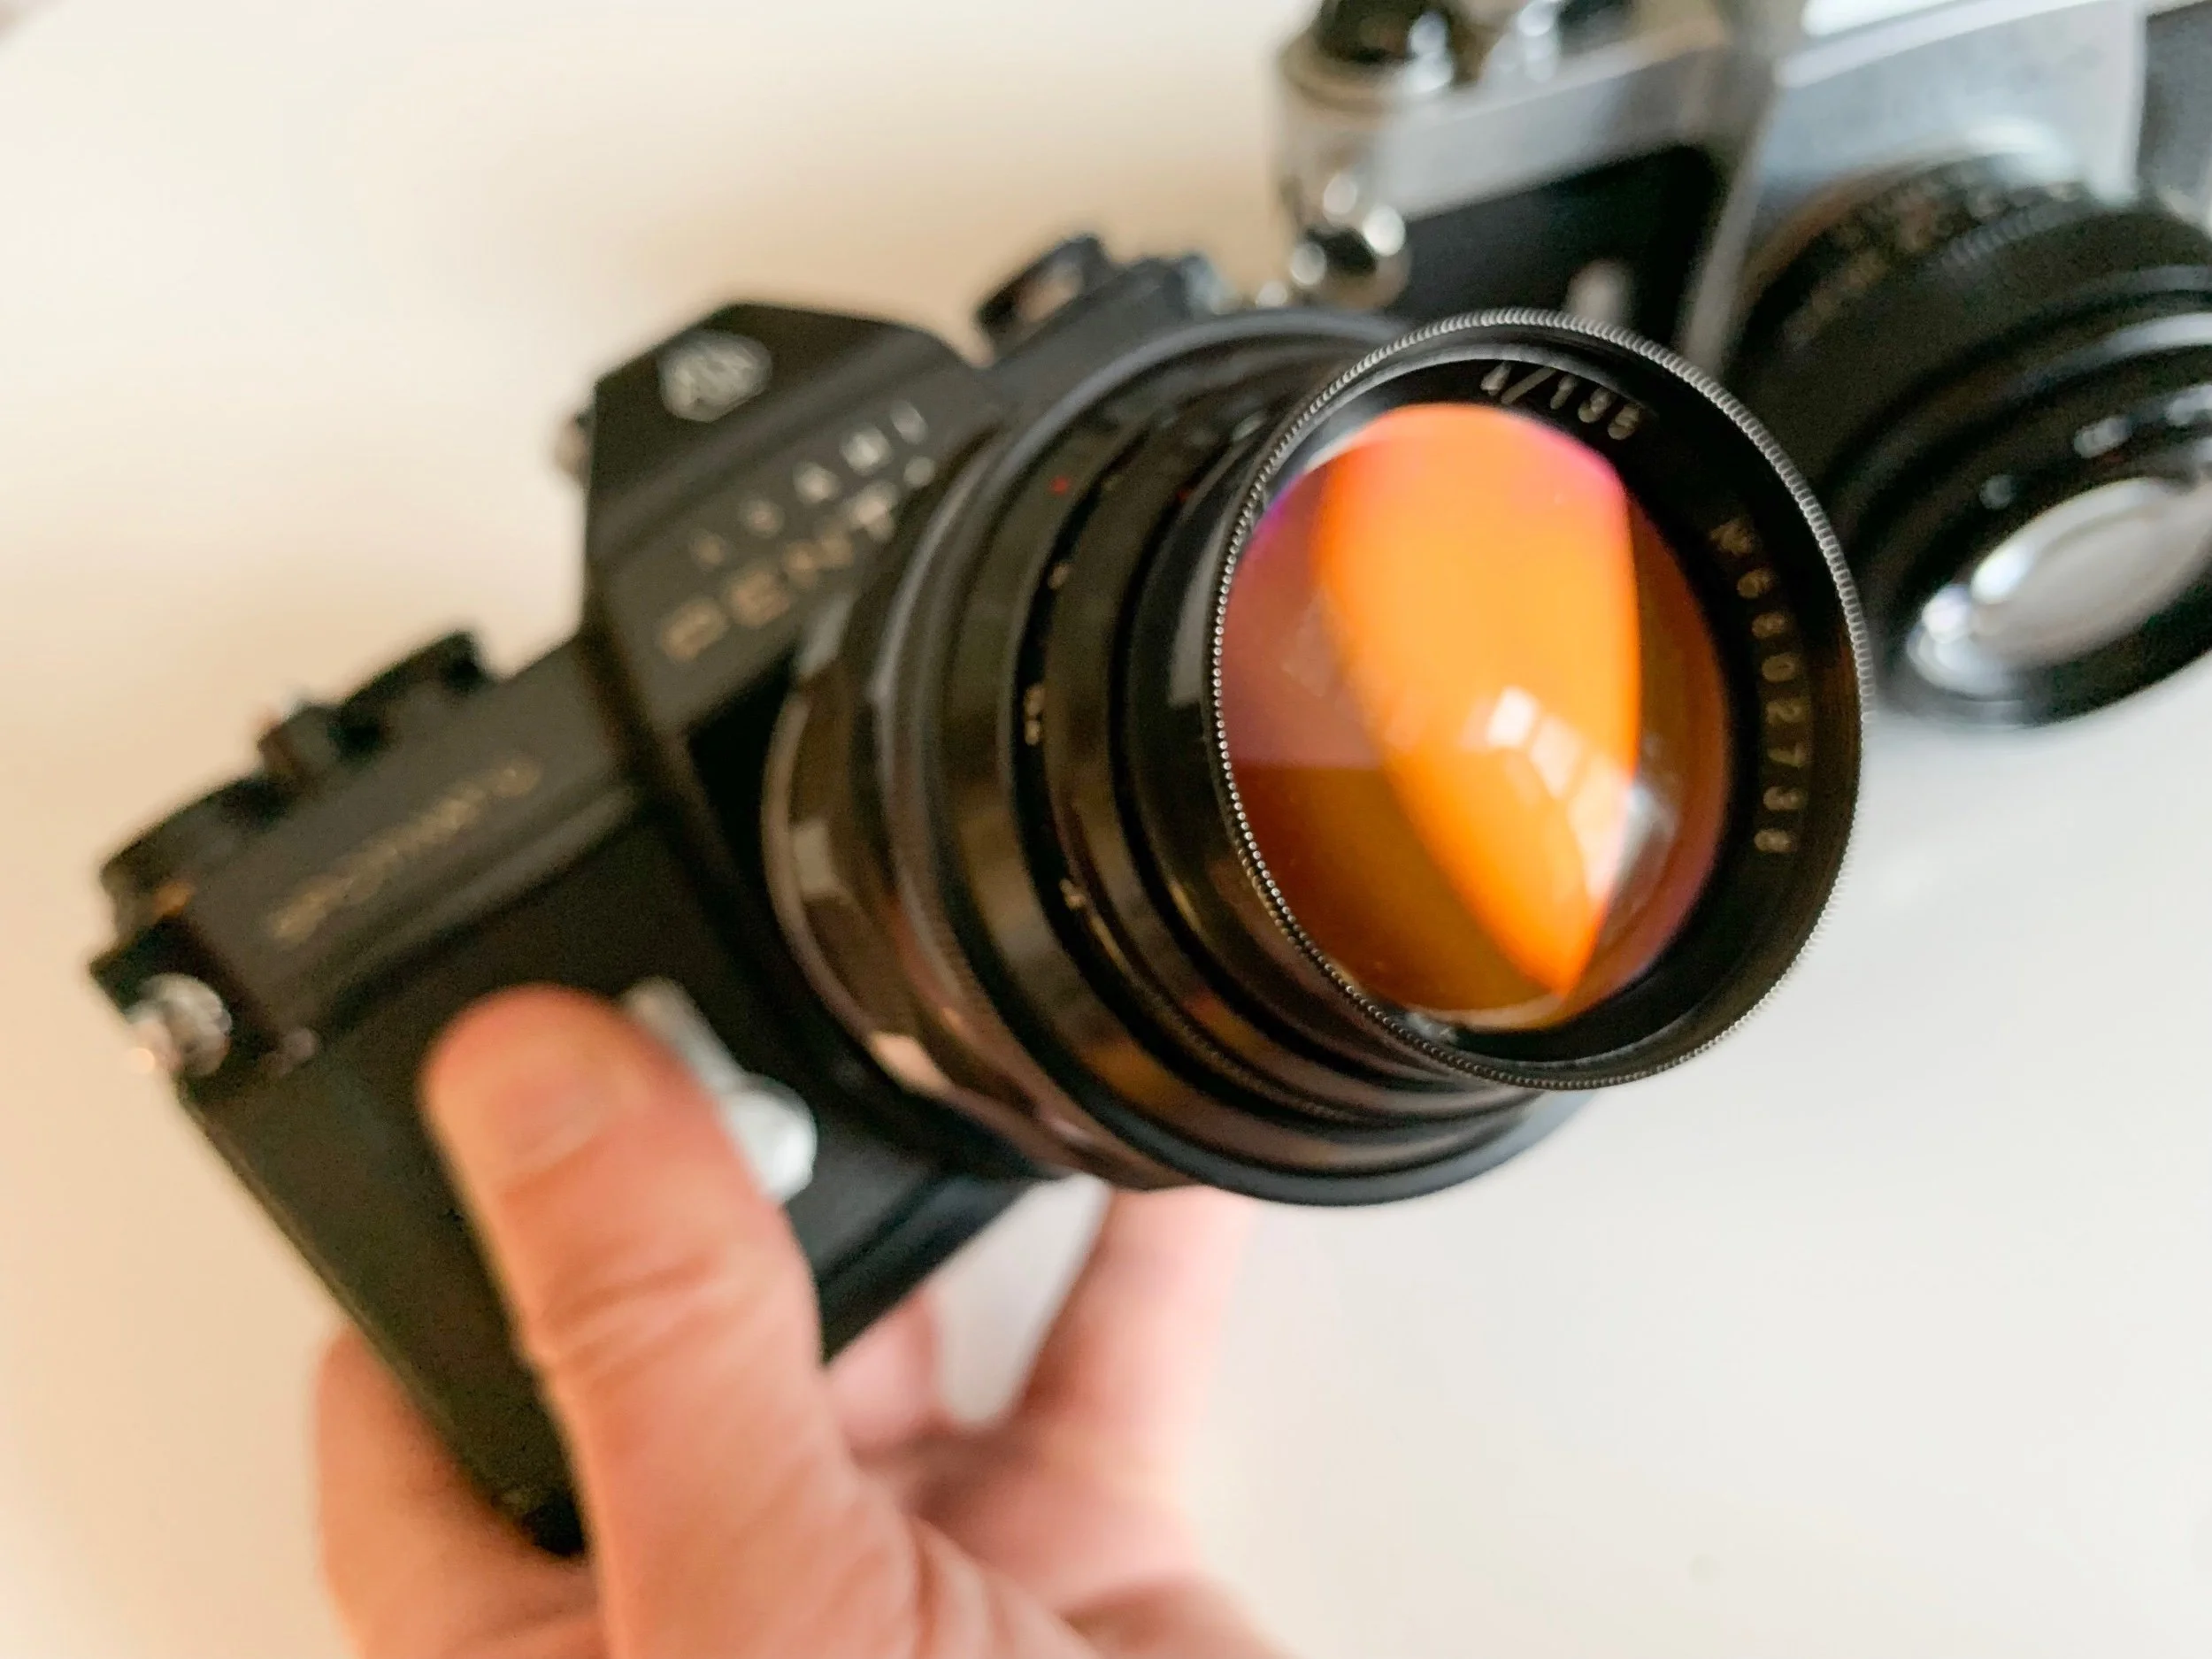
I only took the silver spotmatic F on the shoot but you can see the lenses mounted side by side below - the Jupiter 9 is really compact almost the size of a 50mm and the 135 is likewise quite a compact design.

Spot the multi coated lens or what?!! :)

The Jupiter 9 85mm f2 is a lens which I’ve owned for a while now but only shot with once (as it happens on another shoot with Danni HERE) I also took along a brand new to me Jupiter 11 135mm f4. I’ll share the images in the order I shot them - Jupiter 9 first then the Jupiter 11.

I was really keen to shoot the Jupiter 9 wide open at f2 - not something I often do TBH, but with these old soviet lenses that’s often where there unique characteristics are most pronounced.

I love the dreamy glow that the Jupiter 9 creates in the shot above, it’s the single coated version and handled the backlighting really well (always use a lens hood peeps)!

Love the wide open soft dreamy effect of this lens! Well chat about the film at the end but so far so great I reckon! Now let’s take a look at some of the Jupiter 11 shots.

I really love the Jupiter 11 too - it’s an f4 max aperture and I shot this wide open too. Being an f4 lens gives you enough depth of field to ensure a sharp portrait and look at those blurry backgrounds too - lovely!

OK so let’s take a totally subjective and unscientific approach to thinking about the film: my first flush response was that it really reminds me of Kodak Pro Image 100 which I’ve shot before with Danni (again) a couple of years ago HERE I think the texture and tonality are very similar, colour wise ADOX tends a little more towards the red where as Pro Image is more towards green so that’s something to keep in mind.

This shoot had lots and lots of natural sunlight as you can see - I love the contrast and just overall feel of the images, really lovely stuff. Part of me would be tempted to over expose my next roll (yes I have another) at 100 and see how it performs but I like the punchy colours and contrast of this roll so much that I’m not sure, maybe I’ll just shoot it at 200.

Big thanks to Exposure Film Lab my go to people for colour film dev and scanning!

This film has bags of character and a lovely classic feel to it - absolutely love the results and it’s so exciting to see a brand new film coming to market! Well done to the folks at ADOX!

Fomapan 400 Review - Street Portrait Shoot

 
0-2.jpg

Back again after a little break - life has been WAAAAY too busy of late! In a good way though so I have no complaints, except that my blog has had to take the back seat for which I apologise! I have been managing to get a few shoots in though and I’ve been trying out a bunch of new (to me) film stocks - prompted in no small part because of financial considerations, but also because, well… there are still loads of film stocks out there to shoot so why not take them for a spin?! Today we’ll be looking at Fomapan 400 in medium format.

0-4.jpg

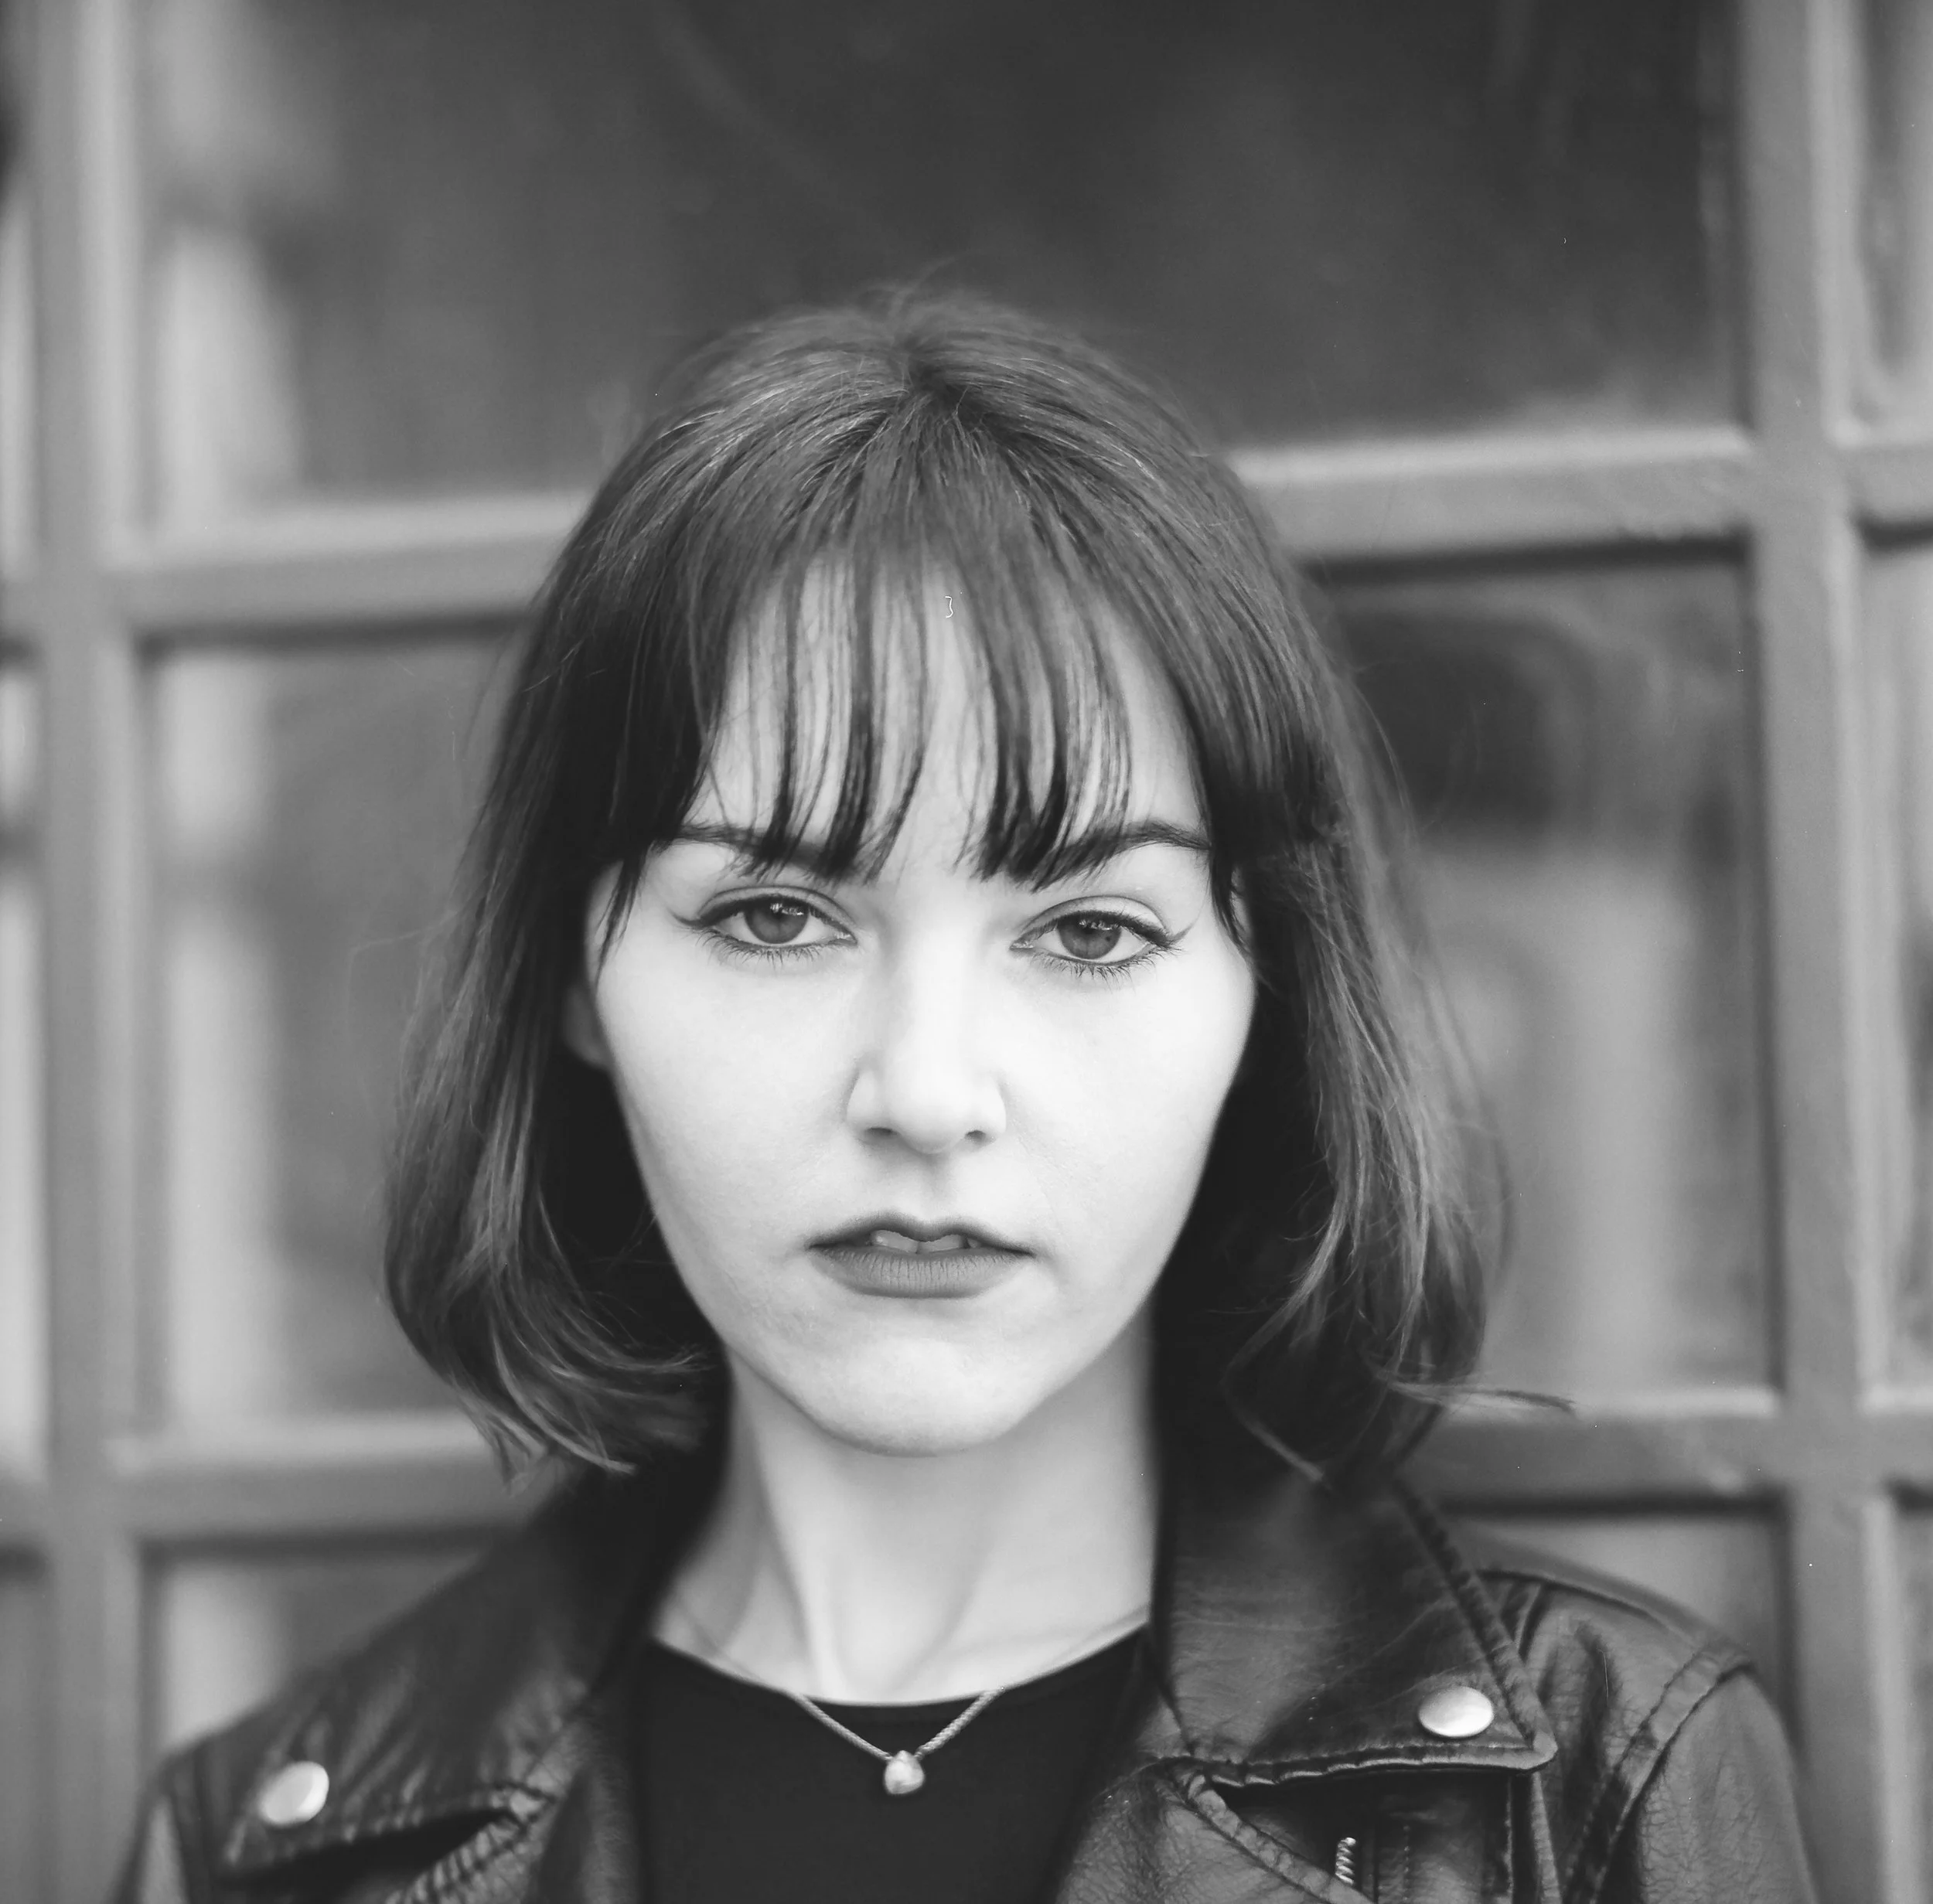
I am no stranger to Fomapan film having shot quite a lot of 200 HERE and I figured it was high time that I took their faster speed 400 film for a spin and it did not dissapoint! After a bit of research online I decided to rate the film at 200 and I love the results!!

0-7.jpg

I really enjoyed shooting with KC on this one as we had a walk around Bradford City Centre making the most of the urban landscape. Fomapan 400 in medium format gives lovely clean and crisp results - I’d be interested to se how it performs in 35mm, i suspect a bit more gritty / grainy which would be no bad thing!

0-8-2.jpg

I really like the tonality and texture of this film, shot in good light and over exposed two stops is certainly a good starting point, I think I’d like to experiment with shooting at box speed too as I feel it might add some more charachter / contrast.

0-7-2.jpg

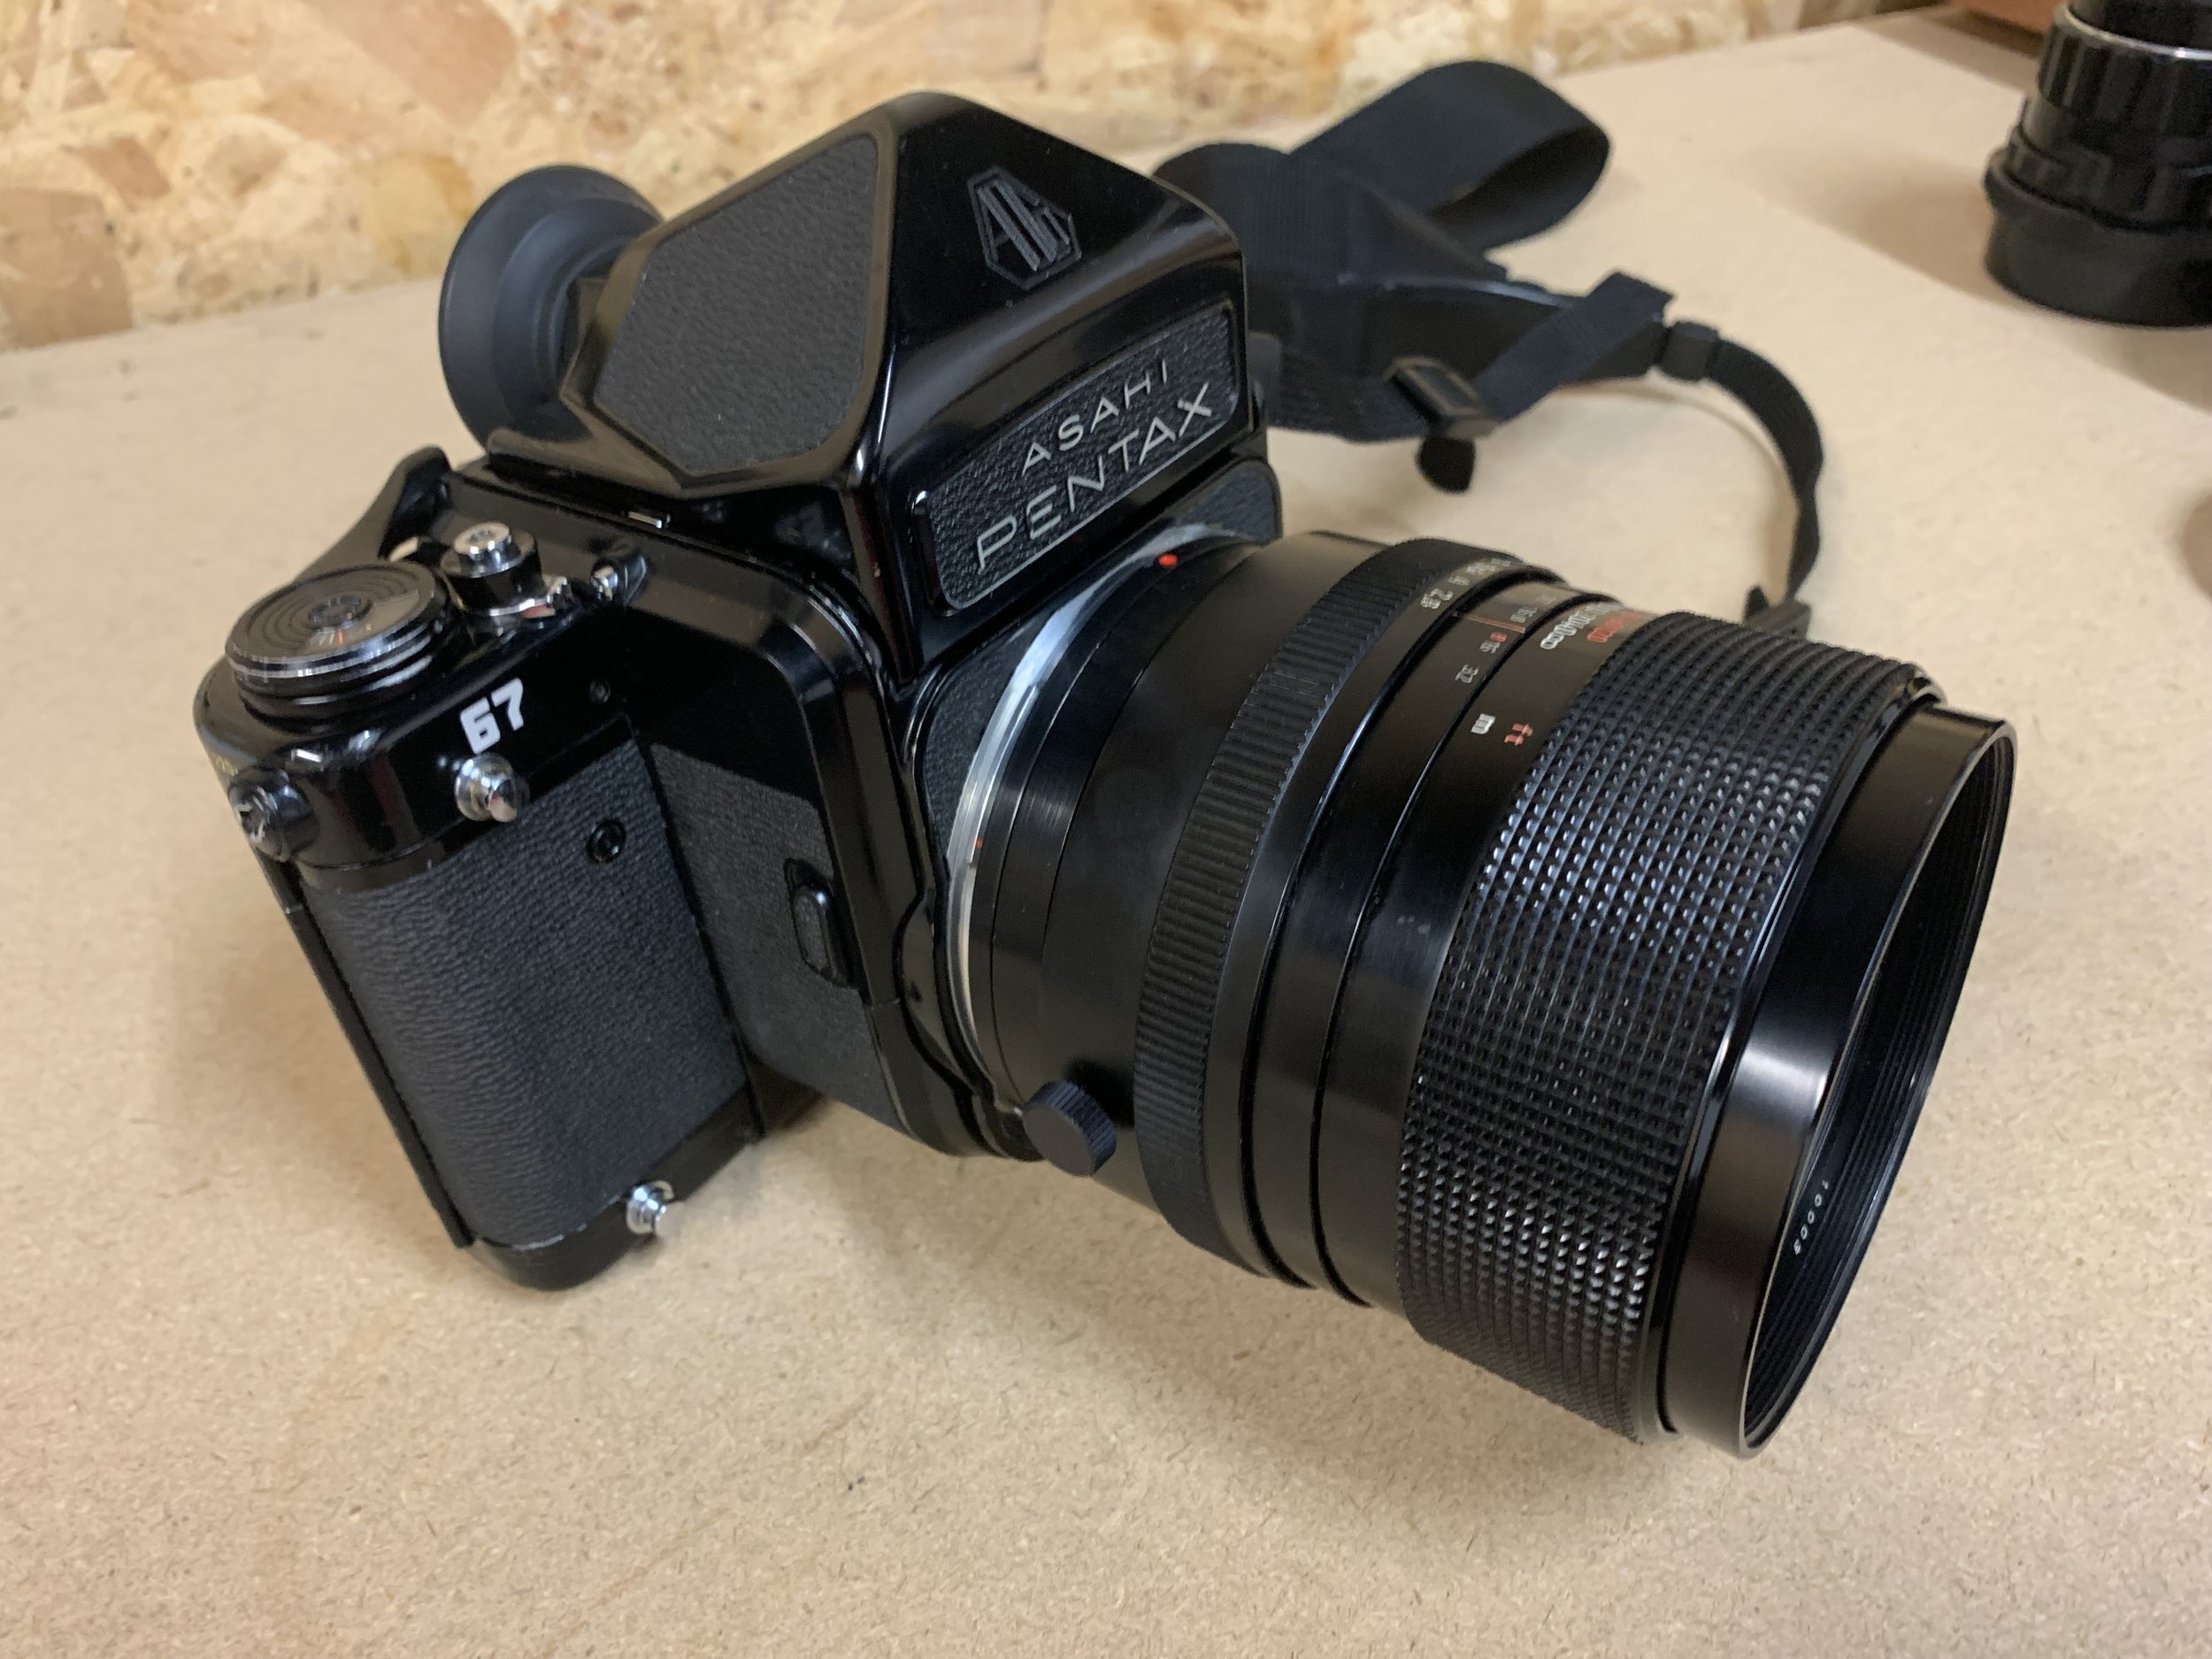
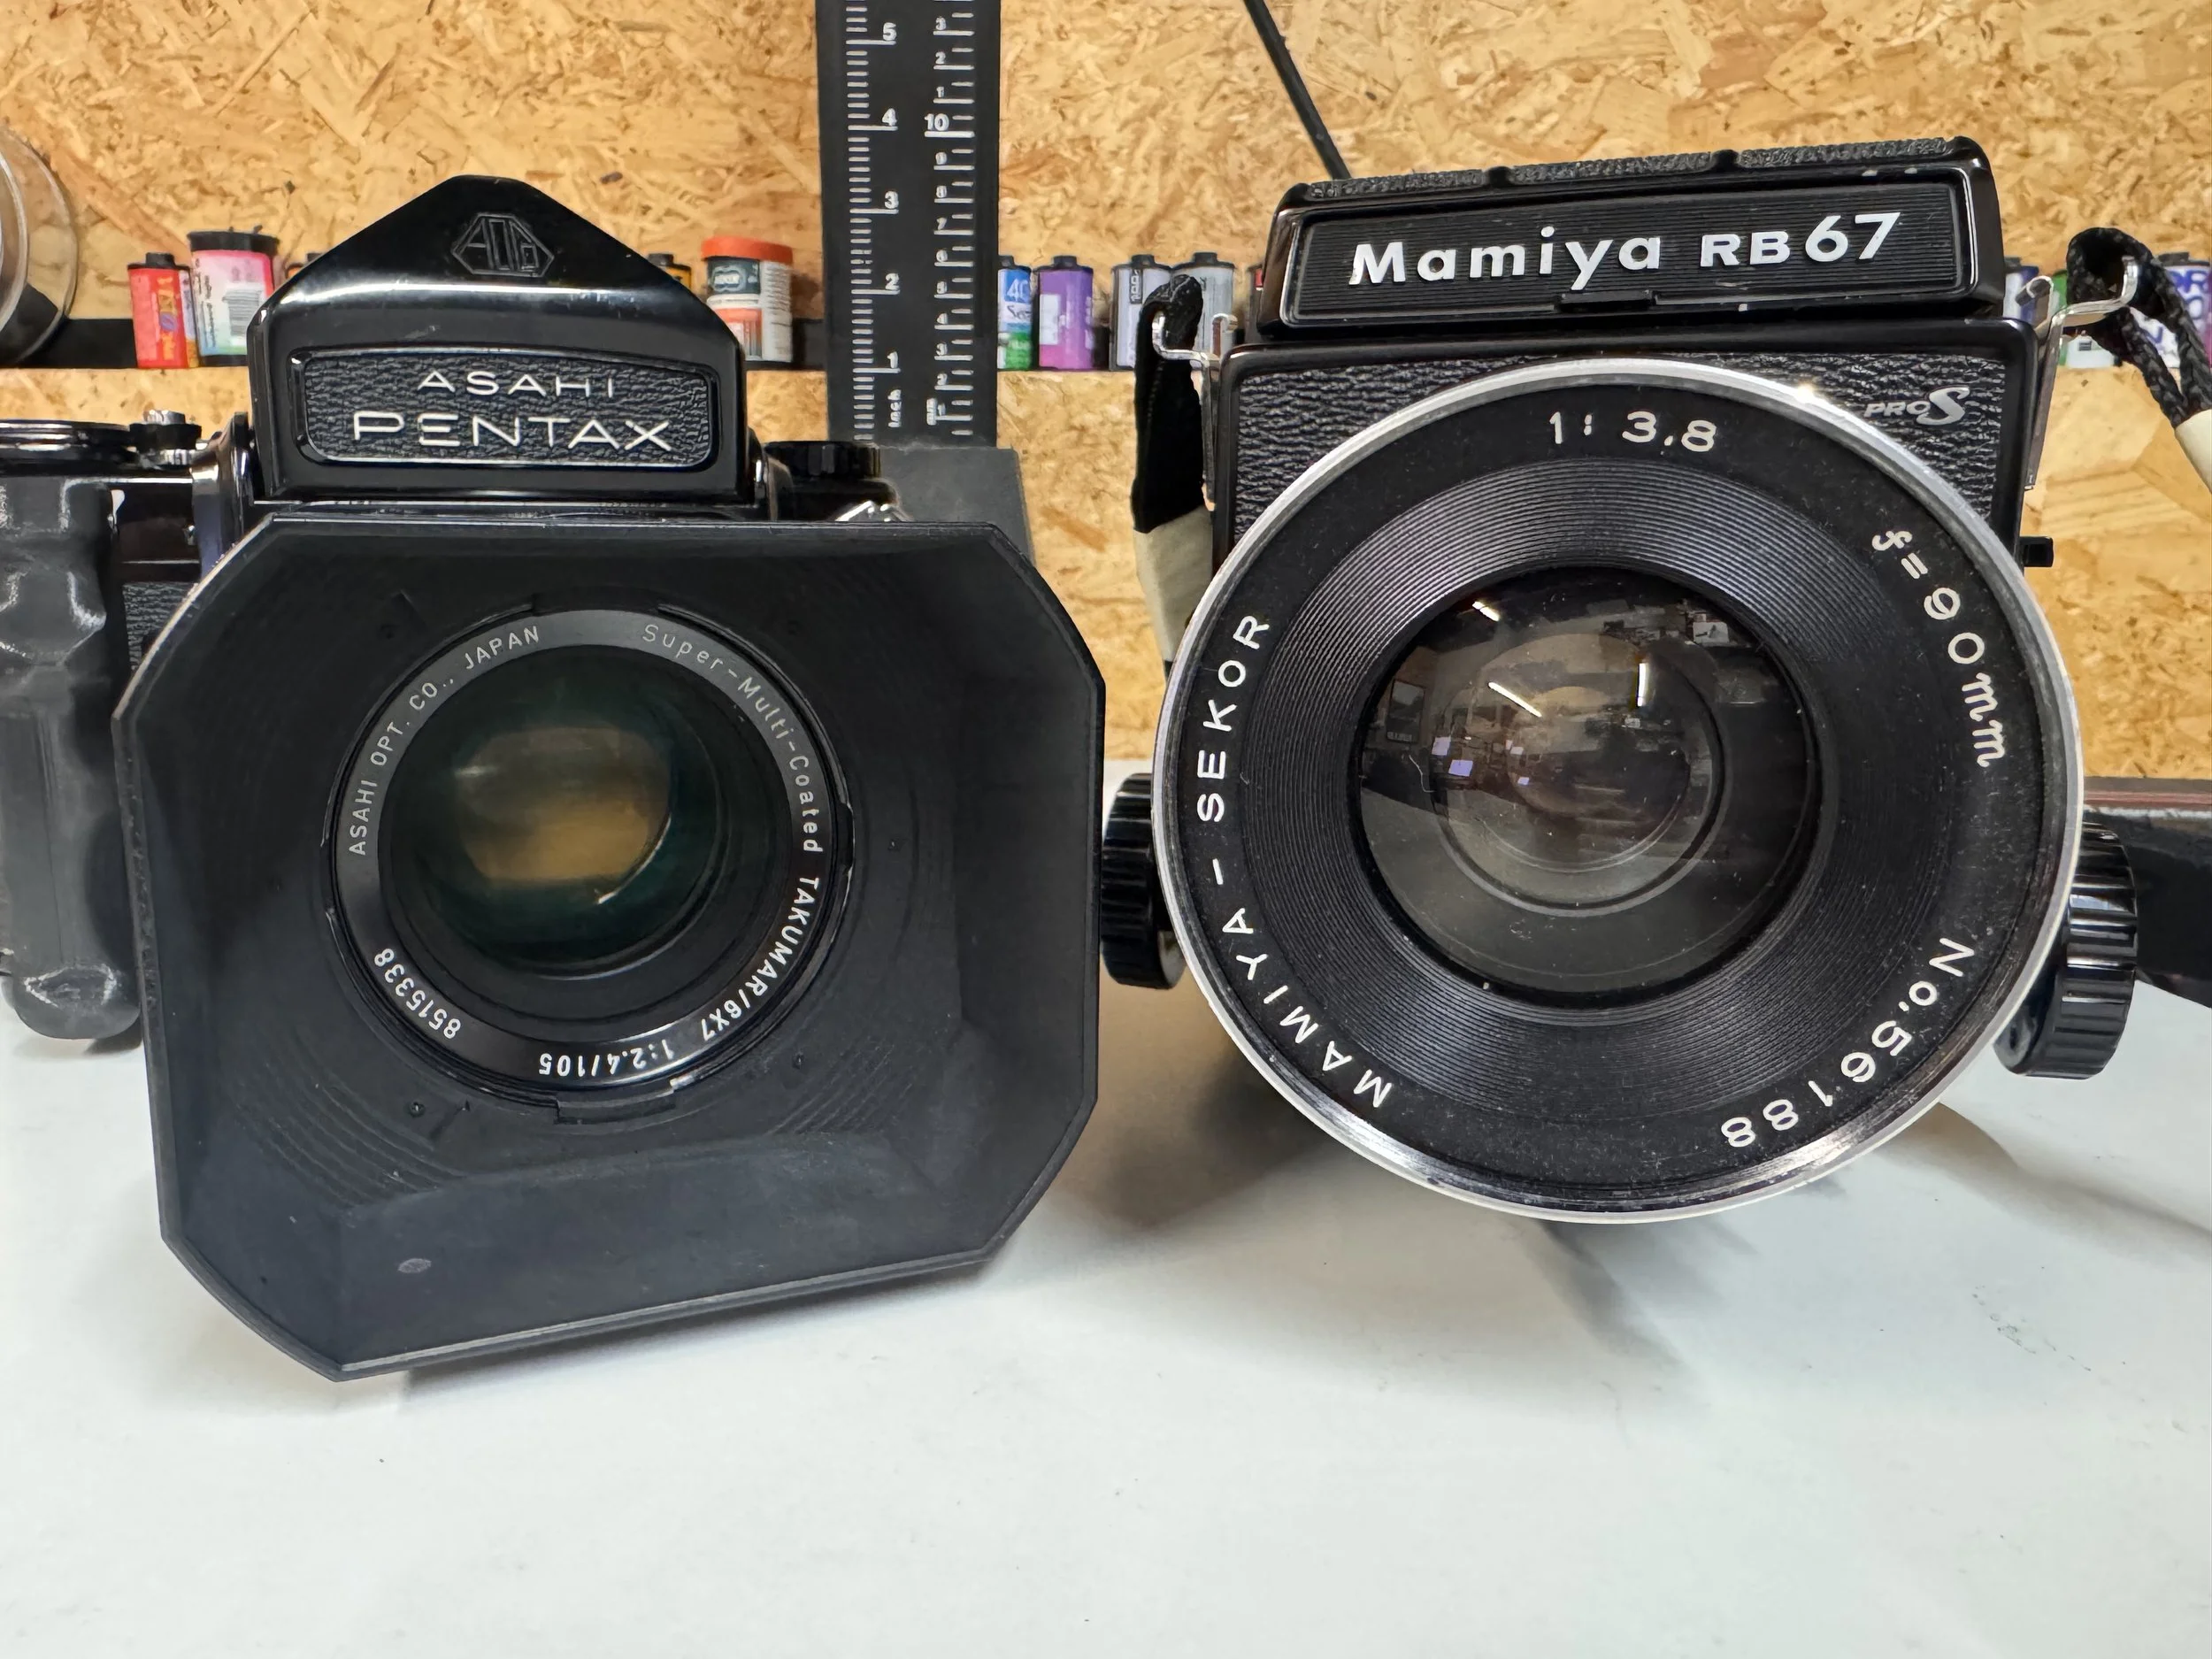
I love shooting with the Pentax 67 - it’s a wonderful camera, so easy to shoot with and with the 105mm Takumar lens mounted it’s pretty much perfect! Dreamy and creamy bokeh and razor sharp where you want it, this lens gets a lot of HYPE but I think it’s well deserved, my only gripe with the P67 is that some idiot (me) dropped it a couple of years back and it needed to be repaired but ever since it’s not been the same and I’ll often lose a frame or two from a roll as they overlap, not good when you only have ten shots per roll to start with! And it is almost always some of the better shots which end up being ruined - as in this case :(

I’ll have to send it off for another repair I think, but at least we got some more good shots! Really enjoyed this shoot and it felt good to try out a new and relatively cheap film, prices are going up and up so Fomapan is really viable option for me

In this final shot we snuck into the National Film Museum and I grabbed this reflection shot of KC - I was surprised at how well it came out since I think I metered the scene as 400 and then held my nerve with the Pentax 67 at about 1/30 of a second at f2.4 - lots of punchy contrast in this due to under exposure, I like!