location shoot

Lomography Colour 100 medium format review

 
0-7.jpg

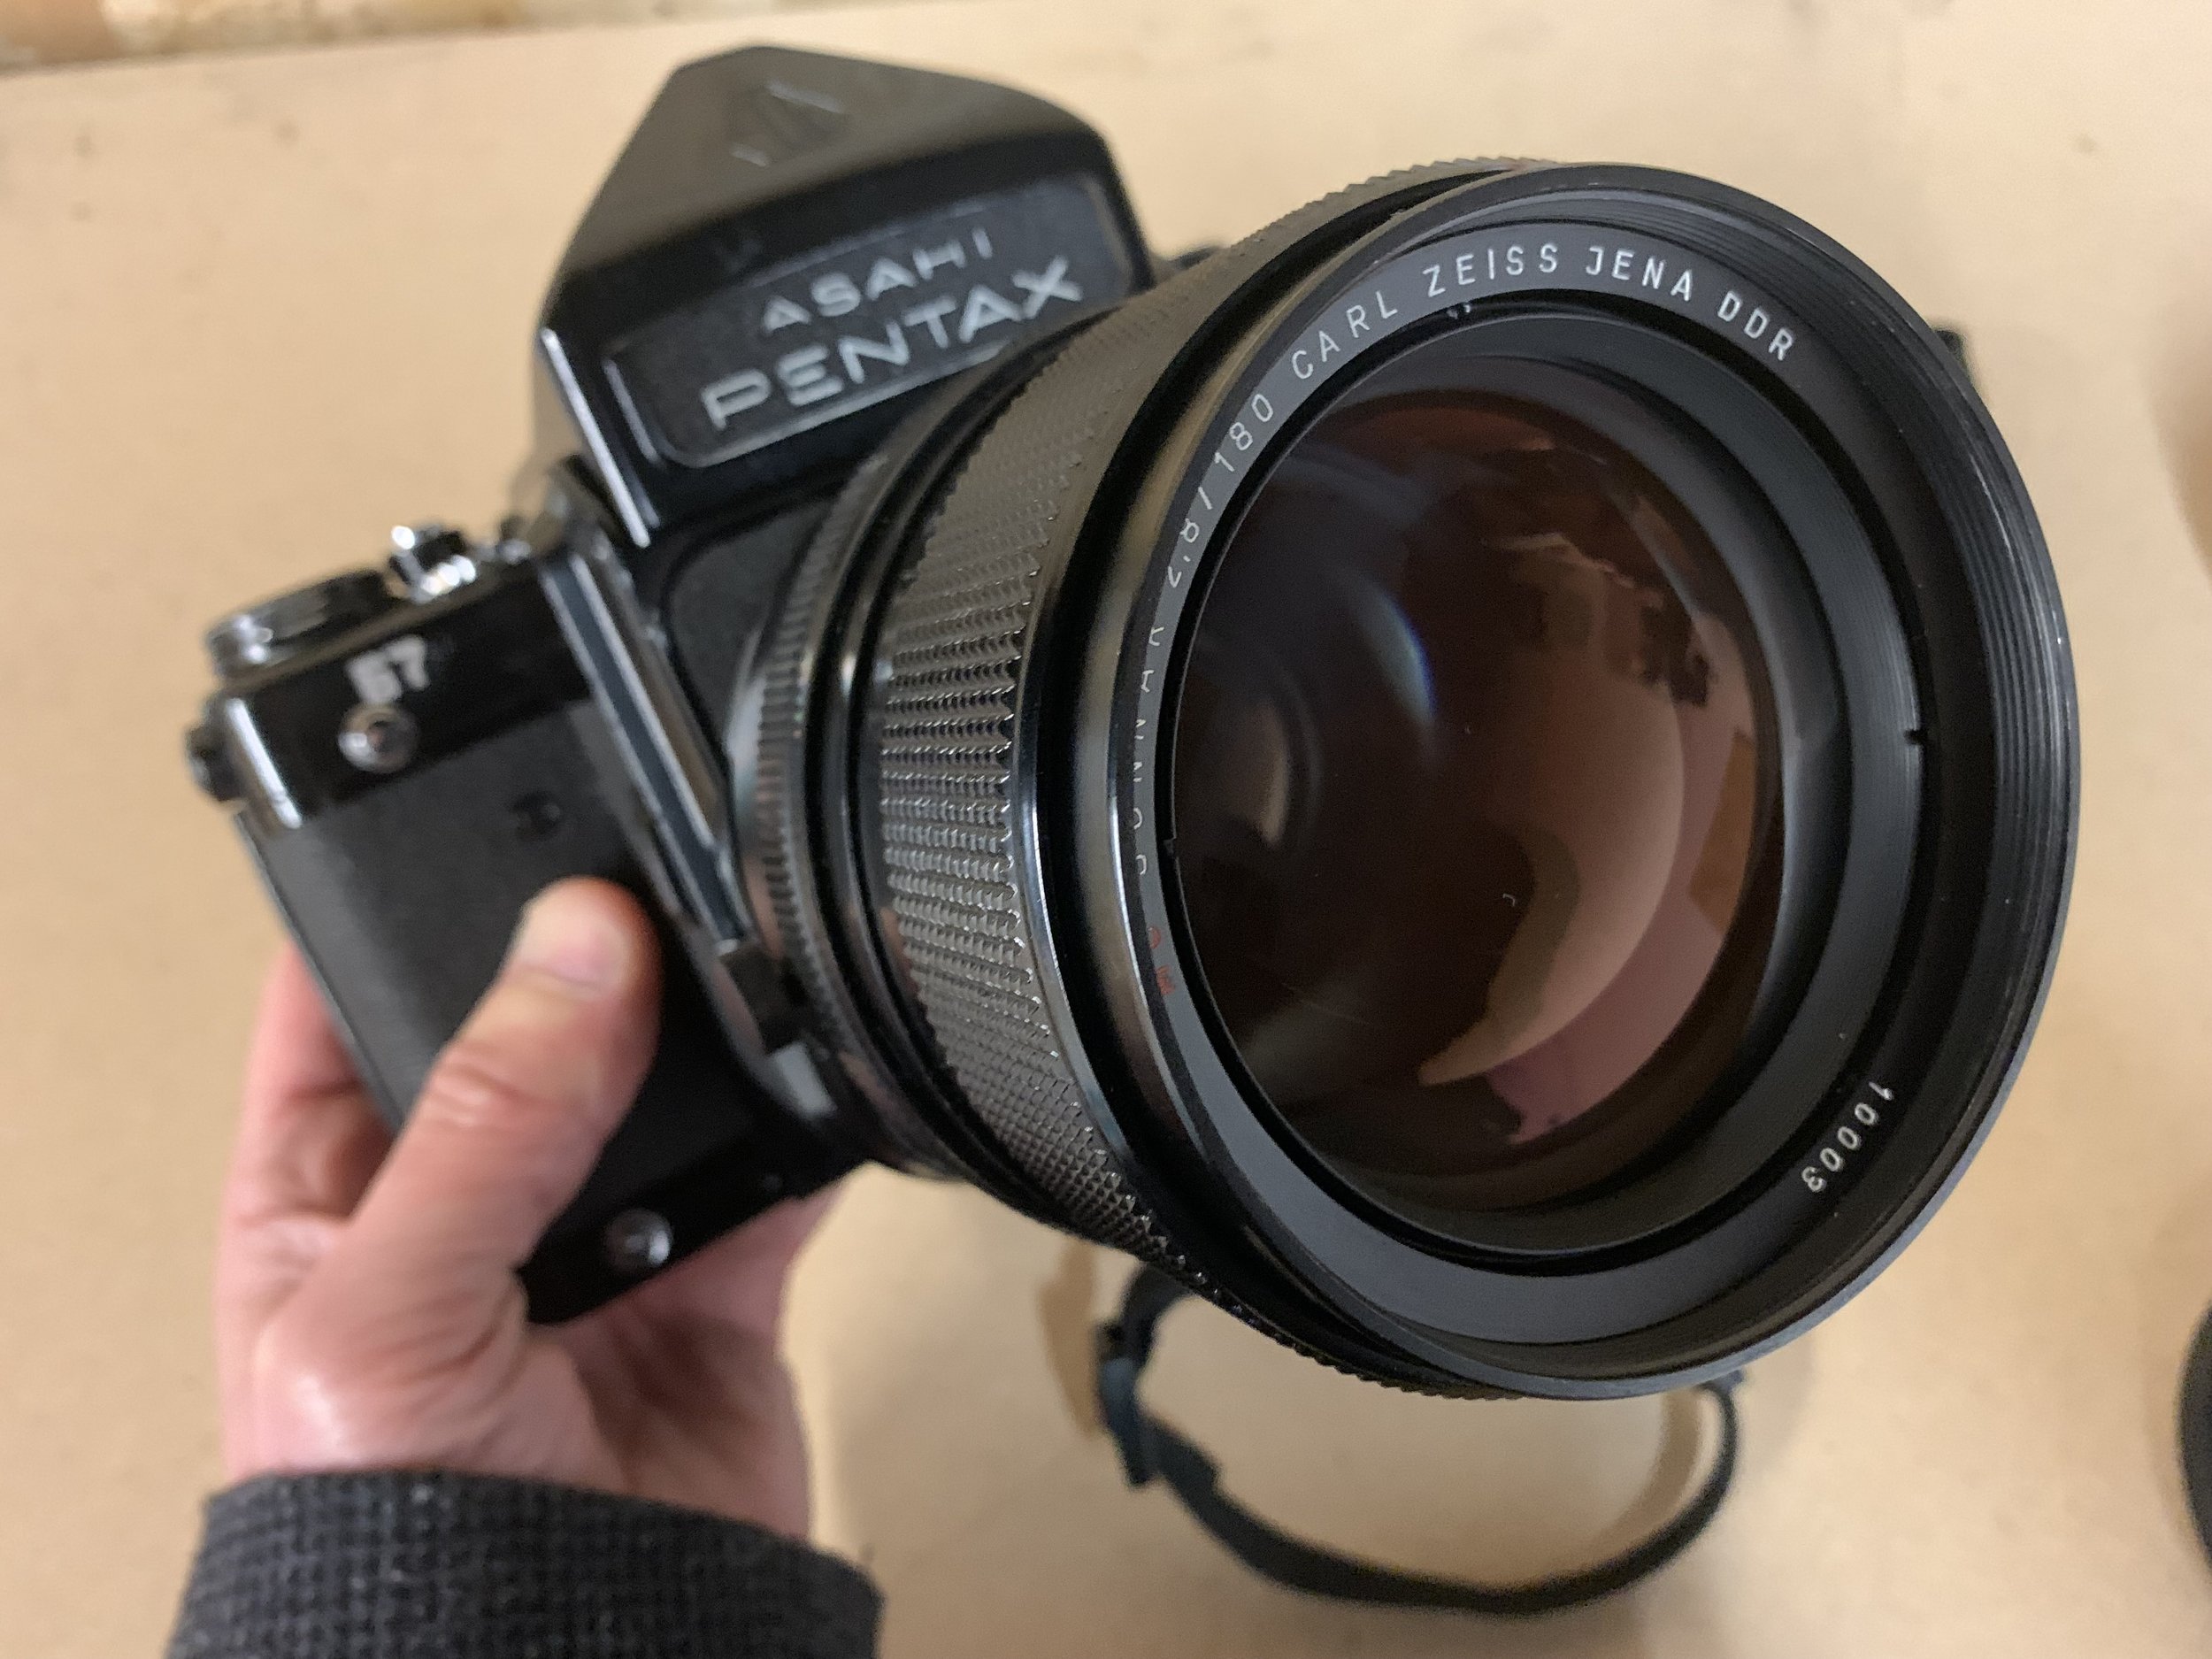
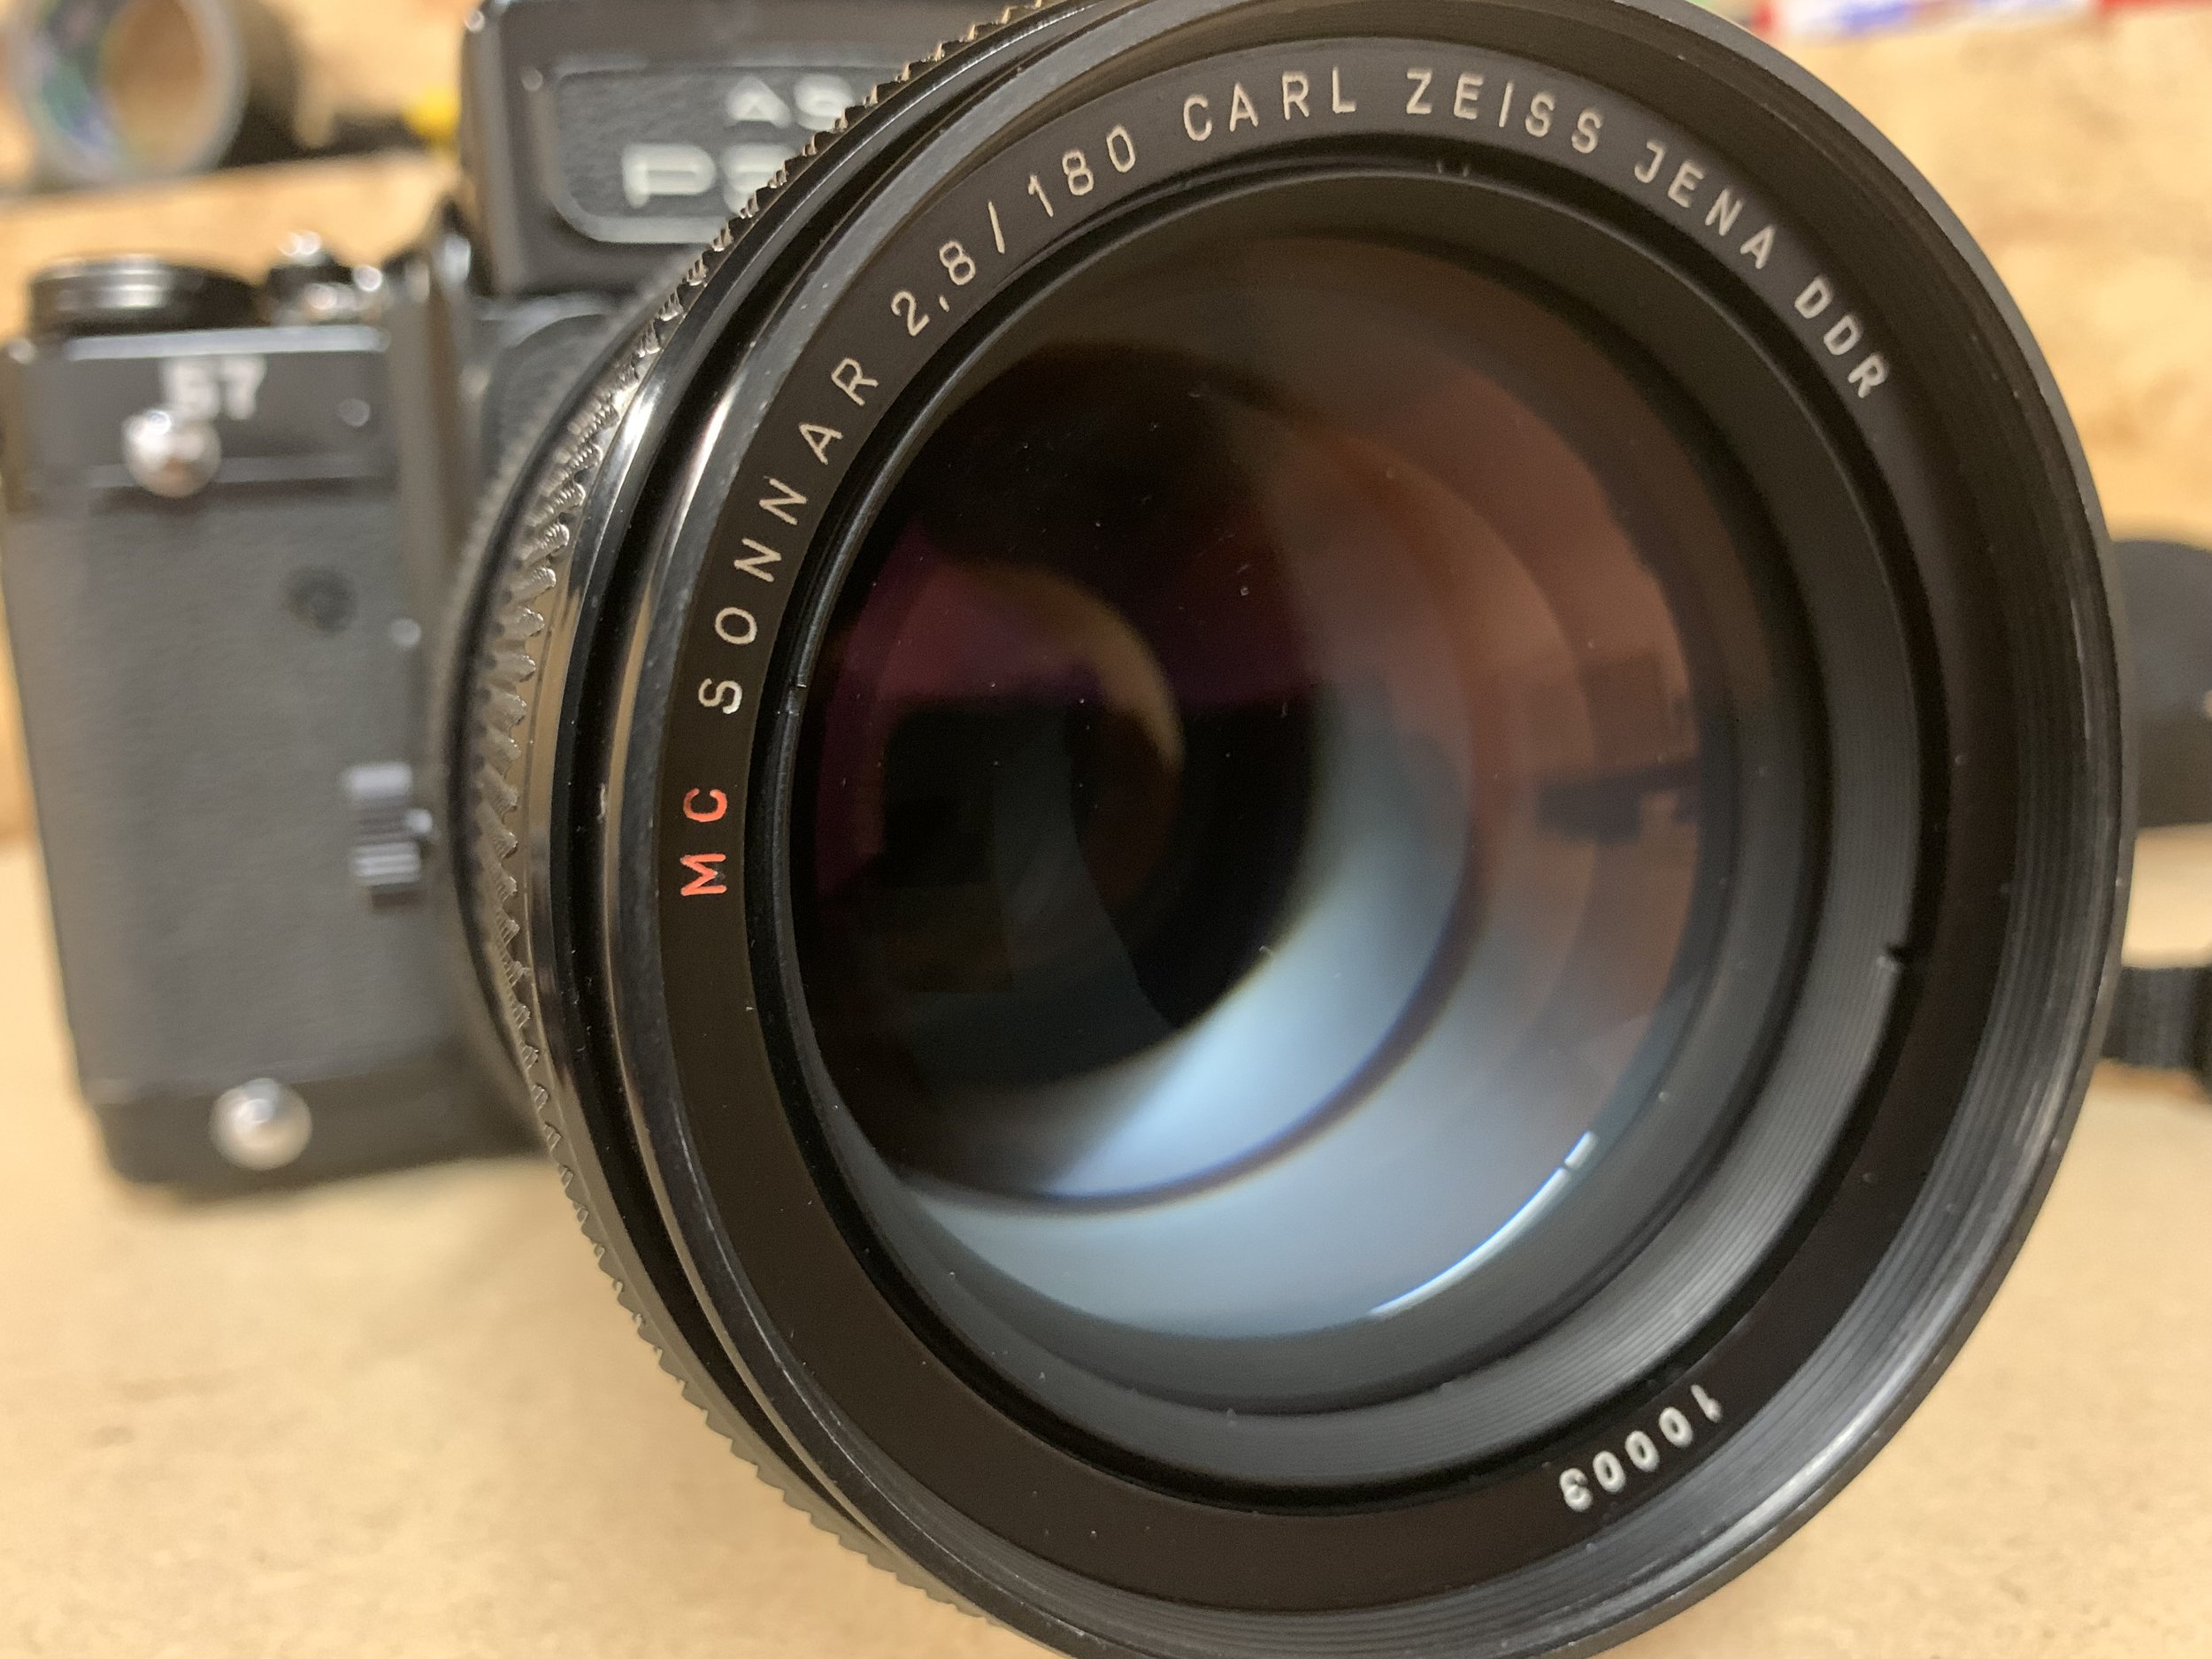
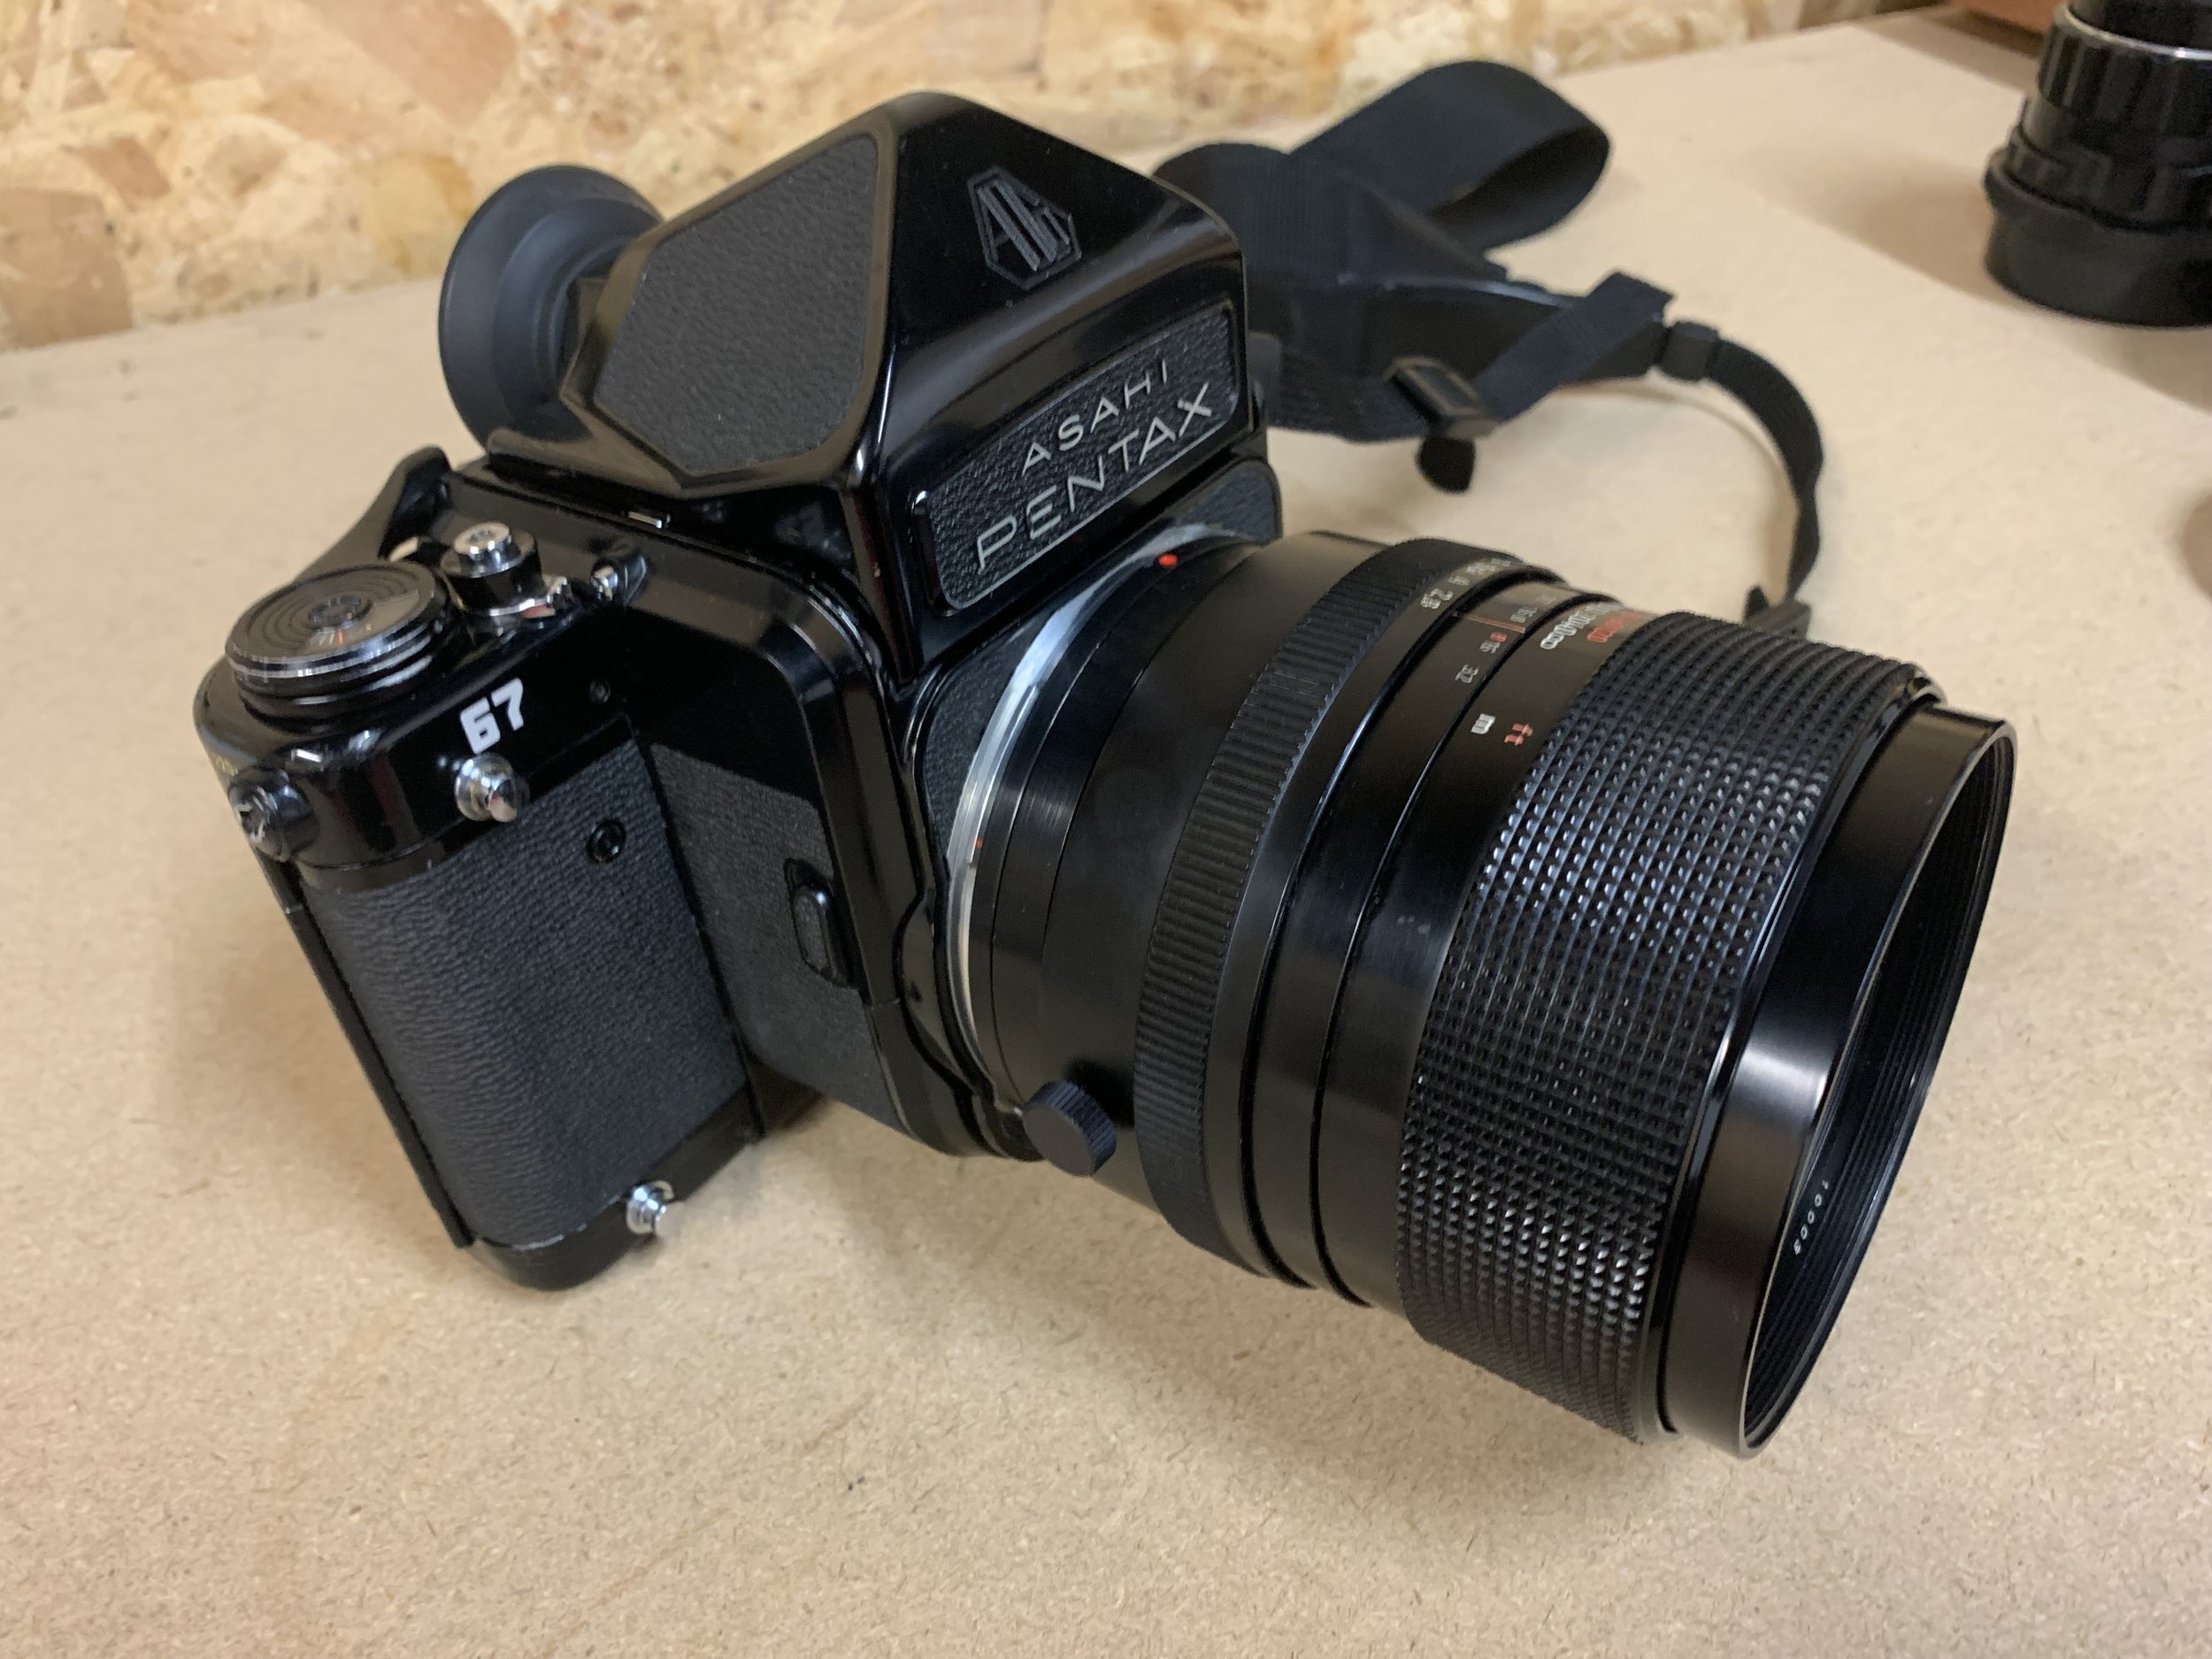
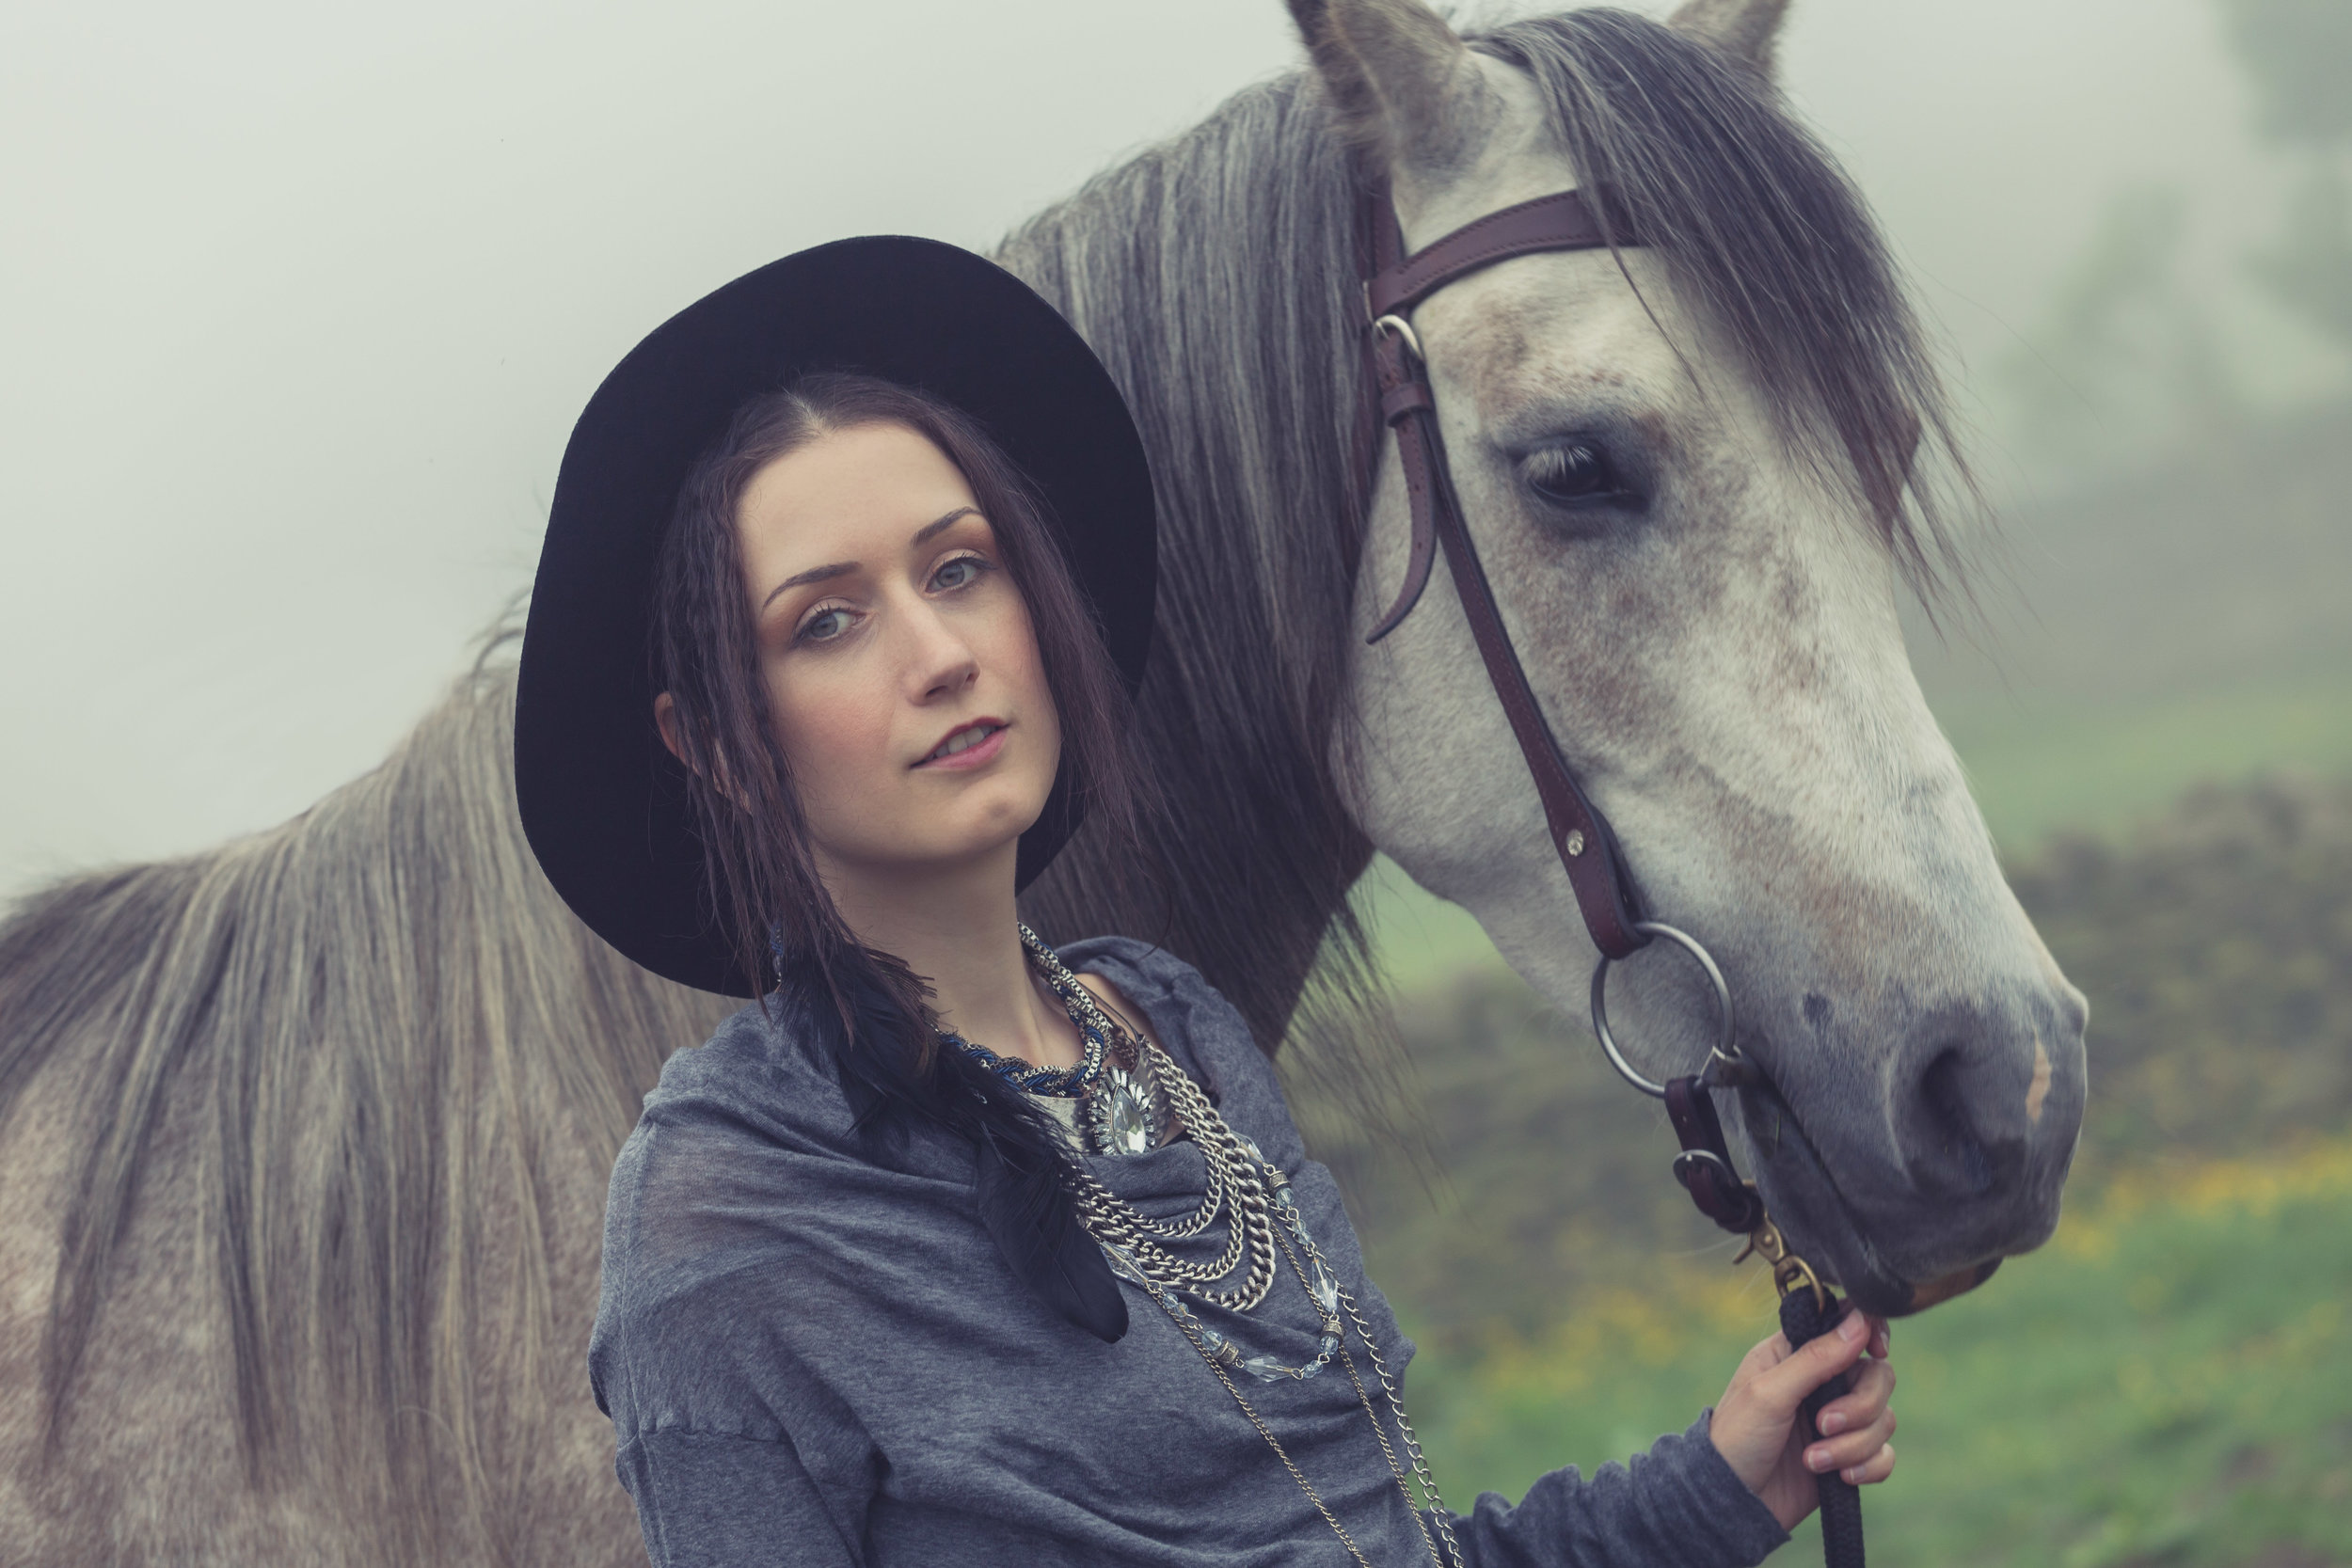
Here we are with part two of a three part series featuring films from a recent portrait shoot with Monika! If you haven’t already, check out part 1 HERE but if you’re not bothered about that then read on and welcome to this review which is focussing on yet another new to me film stock - Lomography Colour 100, which I shot in medium format 120 flavour on the mighty Pentax 67!

0-8.jpg

I’ve shot a few rolls of different Lomo films over the years (and predictably enough blogged about them too) colour 400 in 35mm HERE and Colour 800 in 120 HERE. So what’s this Lomo colour 100 like then?! I hear you cry! Well first of all just look for yourselves - I think it looks great!

0-4.jpg

As you can see this was a sunlit location shoot with the very talented Monika. This presented the Lomo film with an opportunity to shine! In good light it’s a clearly very fine grain film, with strong contrast and rich colour balance - it’s punchy which I like and gives plenty of fine detail too. The 120 format certainly helps in that resolving power, as does the Super Multi Coated Takumar 105mm 2.4 lens on the P67 on which it was shot.

0-2.jpg

I think it has a slightly different look and feel to portra films which can be a little more muted and if I’m honest a little more to my taste. Don’t get me wrong though Lomo colour is a lovely film stock - I haven’t tried it out in poor/mixed lighting yet so I can’t speak to it’s flexibility but if it bears anything in common with the Lomo 800 film I imagine it will hold highlights well but lose the shadows fairly quickly in poor lighting. So it’s all sweetness and light then is it? Not exactly…

0-10.jpg

I would be remiss dear reader if I didn’t share the shortcomings of this film stock, in fact I think it’s worth saying up front that I have a bit of an issue with Lomo films in general - I don’t know whether it’s how they’re packaged or what but they are VERY prone to light leaks and/or having half a frame burned away for no good reason, I can forgive this when shooting 35mm because with 36 exposures to play with I can spare the odd one or two but when it comes to 120 film and something like the Pentax 67 which only gives me 10 frames per roll if one or two frames are frazzled then that’s a big chunk out the roll - I’m 99% certain it’s not an issue with loading as it only ever seems to be Lomo films that I have this issue with…. what the heck LOMO?!?!

0-9.jpg

Anyway back to the good stuff, aside from issues with the occasional random light leak/burned frame I really like this film stock - I was going to say that it’s a good budget choice but actually prices seem to be on the rise across the board and prices for a three pack of this film are £22 and upwards which is bonkers really - honestly I’m definitely starting to feel the ‘burn’ pardon the pun with film prices and after this shoot where I shot only colour film stocks I think my next few will be black and white only affairs and develop at home!

0-3.jpg

So that’s it for this review! I hope you’ve enjoyed the images and my ramblings about Lomo 100 and if you didn’t well - tough! :) Stay tuned for the final thrilling instalment in this trilogy of colour film stock reviews when i’ll be sharing my thoughts on yet another (yes another) new to me film stock!

Rollei Retro 80S - Portait shoot

Sometimes you have a shoot and it ends up exceeding your expectations and becomes the new benchmark from which all other shoots must now be measured.

IMG_7650.JPG

To continually create images which you are proud of, which showcase your vision in it’s best light - this is what I strive for. But it’s never a given! We cannot take these things for granted and they most certainly do not just ‘happen’ it requires the alignment of many factors!

And what better medium to explore those factors than a blog?! Huzzah! I hear you cry! What’s that you say? You want me to tell you about the background to the shoot, the creative process and to dabble in some film photography technobabble and geekery?? Well if you insist dear reader… if you insist..

0-3.jpg

I was very fortunate to work with Theresa Terzonie AKA ‘Tree’ on this one- she’s an uber talented Songwriter, Vocalist and Guitarist based in Leeds. Check out her music HERE and find her on facebook HERE. I have to say that Tree was an absolutely amazing person to shoot with - she has great energy and together we were able to create some of what I believe to be my best work yet.

0-34.jpg
0-8.jpg

The three images above are my absolute picks from the shoot - in fact I think they work really nicely as a Triptych. It’s given me some ideas for incorporating more of a ‘short story’ element into some future shoots. I love that about stills photography, even when constrained by a single 35mm frame you still have the scope to convey a sense of story - definitely something for a future project.

0-22.jpg

We really wanted to incorporate some movement into some of these shots - remember I’m shooting a manual everything Nikon F2 so I’m manually focussing and only have enough time to take one shot during these jumping moves - no spray and prey around here thank you very much (some might say I’d have been better off with a rapid fire camera but you know what? I properly enjoyed the challenge and I love the results).

0-32.jpg

Shot on location in Leeds city centre I wanted to make the most of the bright sunny conditions that day so brought along a roll or Rollei Retro 80S - one of my favourite films which I’ve shot on quite a few occasions but always for travel/architecural stuff never for portraits. I love shooting portraits in an urban environment, by paying attention to your composition you can really incorporate the strong architectural features of your surroudings into your image, also working with someone like Tree helps as she is just great in front of camera, really relaxed, comfortable and creative.

0-20.jpg

A HUGE thank you to Tree for this shoot - absolutley some of my favourite images and it’s been amazing to get back shooting after the lockdown! For the static images like the one below I shot with the Nikkor 85mm 1.4 which is fast becoming my favourite lens - this combined with the wonderful sharpness, detail and contrast of the film just blows me away, who needs digital?! not me!!

0-1.jpg

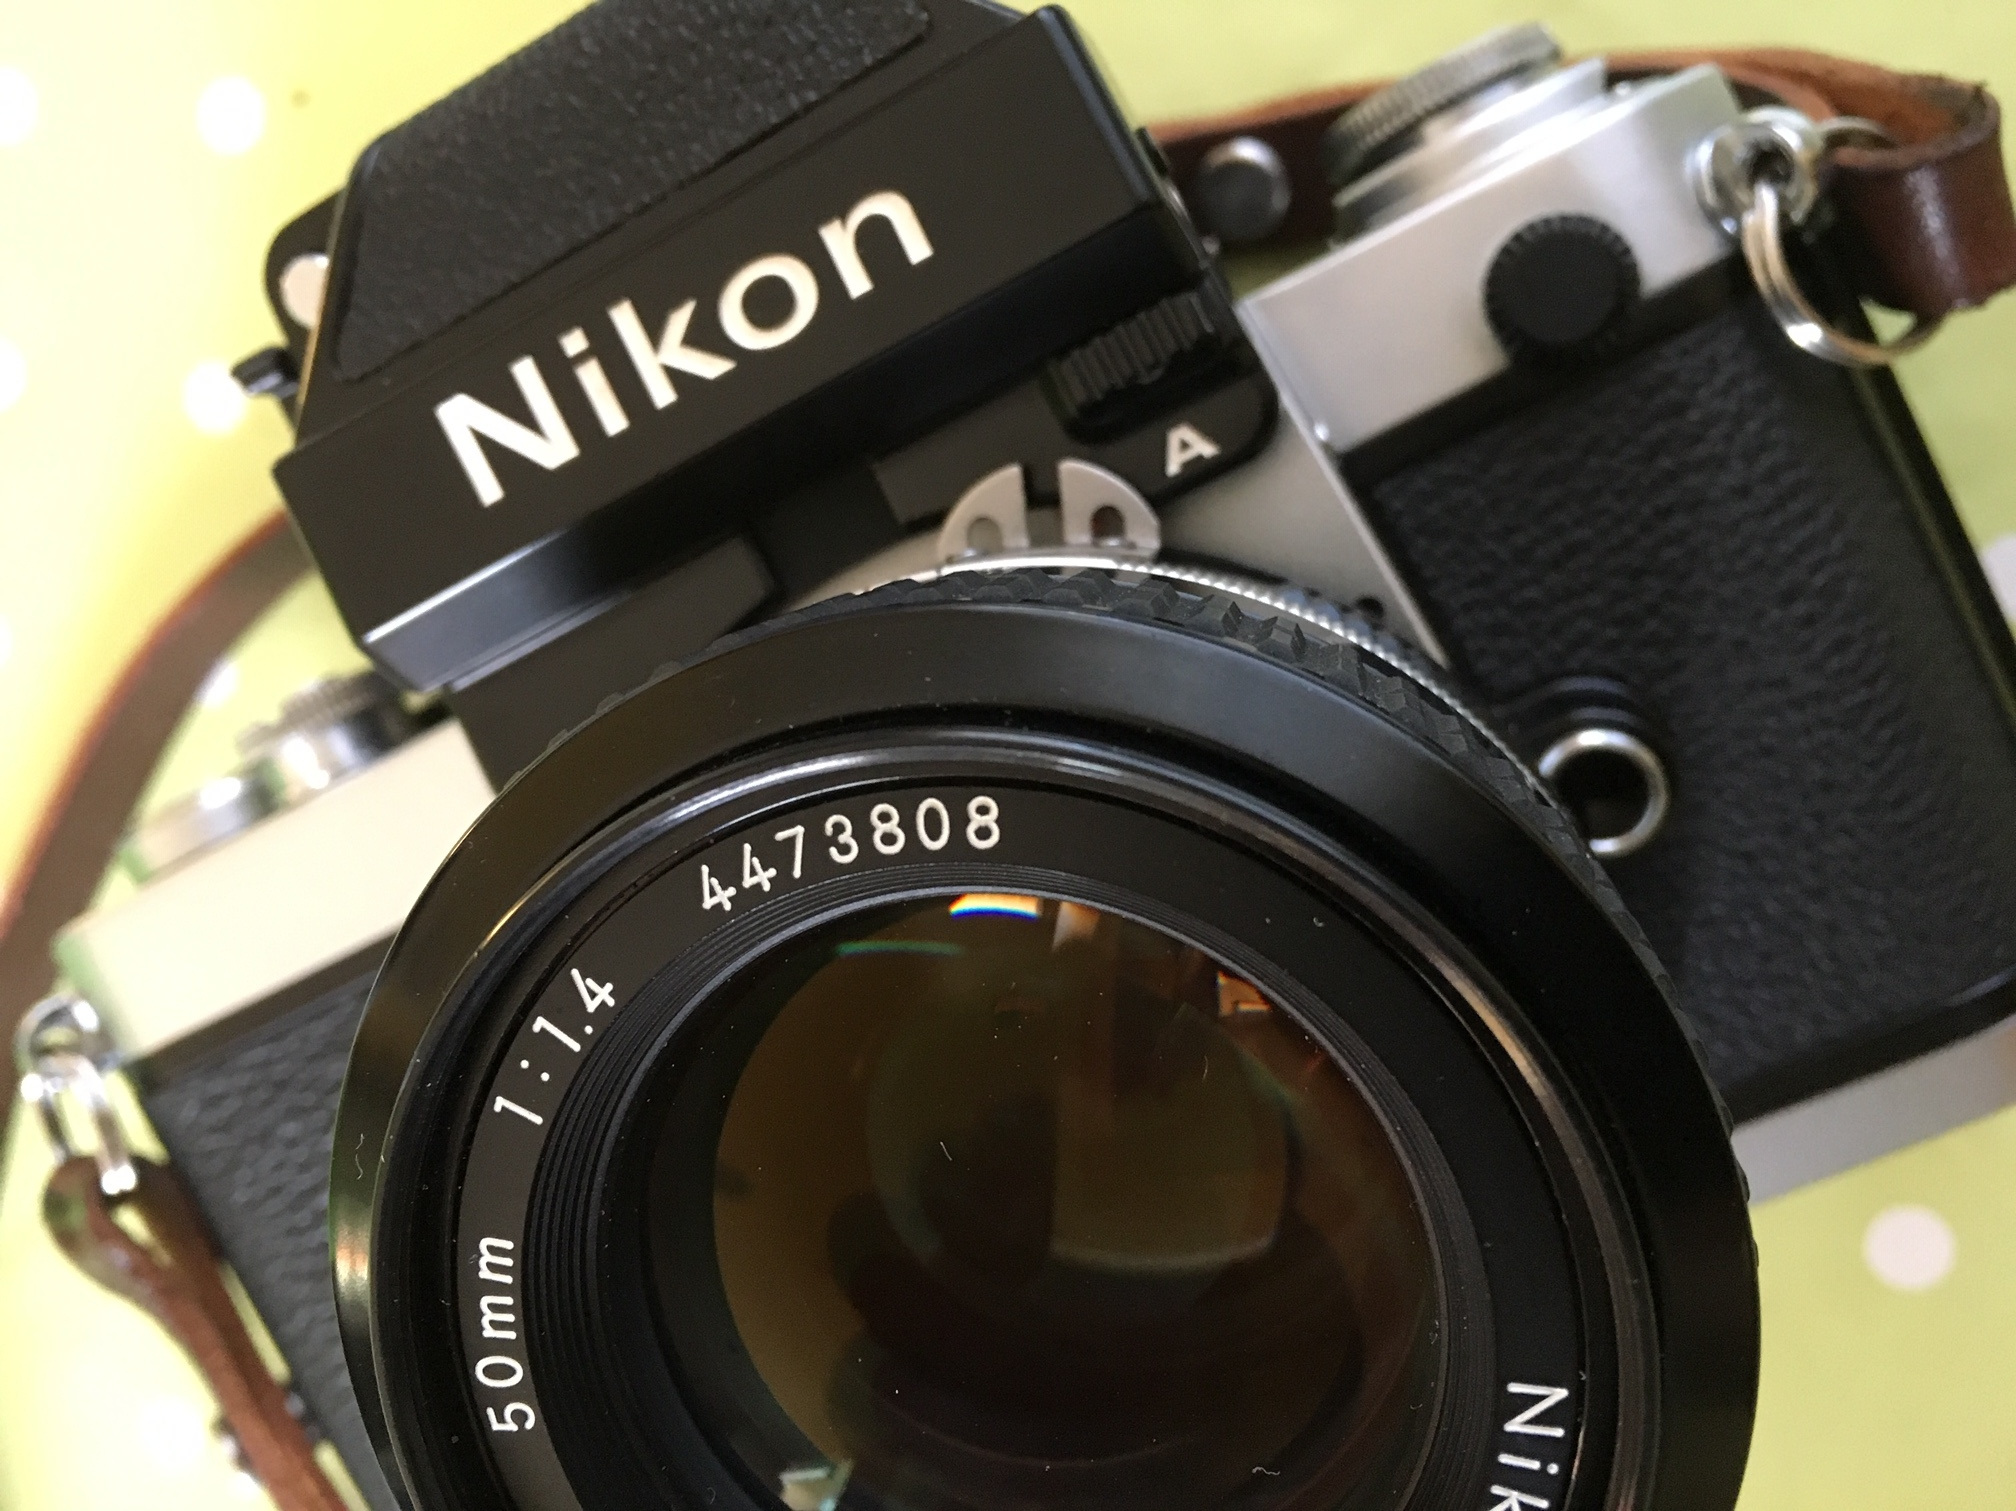
Let’s get the camera geekery out of the way shall we: My set up for this shoot is pictured above I used everything except that roll of pro image 100 in fact! My Nikon F2 is fresh from a service/overhaul (read about that HERE) so I was uber keen to shoot with it. I’ve gotten into the habit of taking two cameras with me (often having one colour and one black and white) on most portrait shoots but just using the one body and swapping lenses worked really well for me so I think I’m going to stick with this format for a little while.

IMG_7645.JPG

Lenses chosen for this shoot are some of my favourite in my collection the Nikkor 85mm 1.4 AIS, 50mm 1.4 and 24mm 2.8 AI - I was slightly concerned that I’d pull my usual trick of taking a few lenses and then only shooting with one of them but not on this occasion! I actually used each of the lenses equally (maybe the 85 got a bit more use). The observant amongst you will notice a roll of Ektachrome too - my first time shooting slide film, I’m saving the images from that roll for a film review blog coming soon!

Dark Future: A shoot on Kodak Portra at 1600

0-1.jpg

It’s almost November 2019 and that can mean only one thing: we are now living at the time that the original blade runner movie was set!! While there’s certainly no denying that at times it can feel like we’re already living in a dystopian Dark Future, as with all things the reality is often less stylistically pleasing than our celluloid fantasies would suggest – to rectify this, my latest shoot was a Dark Future/Neon Noir/Blade Runner inspired look with the very awesome Charlie Hex 

0-2.jpg

This shoot presented me with a number of new creative challenges – first and foremost amongst these was lighting. Having scouted out a suitable location (and a huge shout out at this point goes to The Arcade Club in Leeds for hosting us) I also wanted to have some control over the lighting too, but given that we were shooting in a public space and the fact that I also have two cameras to lug around I needed something fairly compact – enter the LED light pad! I then used a couple of sheets of cellophane to create my own lighting gels and voila! 

Ignore the F90X in this pic - I changed my mind at the last minute and went for the F2 instead :)

Ignore the F90X in this pic - I changed my mind at the last minute and went for the F2 instead :)

In the run up to this shoot I rewatched the original Bladerunner movie which has been a firm favourite of mine for as long as I can remember, I also re-watched the sequel Bladerunner 2049 (a film which I went to the cinema to watch when it came out and honestly thought it was a bit rubbish) what was interesting was to re-watch both movies but specifically to pay attention to the lighting and how it is used to enhance the narrative of the story – as it turned out I actually really enjoyed 2049 the second time around and one thing I took from the film as a major inspiration was the amazing colour palettes – in particular the strong use of orange lighting, obviously the creative lighting budget for both of these films far exceeds any resources I was able to throw at this project (my orange lighting gel is just two pieces of cellophane, one yellow and one red laid over each other) but as you can see here with a little thought and a cheap LED light, creative possibilities abound!

0-11-Edit.jpg

 A Dark Future inspired look has been on my wish list for a long time and I was delighted when Charlie got in touch after a casting I posted on FB. The images speak for themselves of course but it’s still worth stating that Charlie absolutely smashed it on this shoot!! I shared a few mood boards with Charlie and she came back with the makeup and outfit looks you can see in these images, this combined with her being super confident in front of camera really helped to realise the vision, a proper creative collaboration! Big thanks too to Charlie’s boyfriend Jony who did a sterling job as human light stand by holding the LED light for me :)

0-6.jpg

 During the shoot itself we were in the midst of a very busy Arcade location, mixed and changing lighting and I didn’t have chance to visit the space ahead of the shoot (something I had planned on doing) armed with my trusty light meter, Pentax 67 and Nikon F2 I felt confident I could handle things but as always with film you don’t know until you get the films developed how things really turned out.

0-19-Edit.jpg
Looks like my P67 still has a bit of an issue with the frame spacing with this accidental double exposure - fortunately in this case, I flipping love it!

Looks like my P67 still has a bit of an issue with the frame spacing with this accidental double exposure - fortunately in this case, I flipping love it!

 I was also using a brand new (to me) lens the amazing Nikkor H C 85mm 1.8 and wow has this lens blown me away!! It’s perfect for lowlight shooting – most of these images were shot around f2 or f2.8 and for the Pentax 67 I was mostly wide open at f2.4

The Nikon F2 and the amazing Nikkor H C 85mm 1.8

The Nikon F2 and the amazing Nikkor H C 85mm 1.8

As it’s turned out I think most of my fave shots are with the F2 and the 85mm lens, given the low light and relatively slow shutter speeds (all around 1/60) I am very pleased with how they came out.

Now let’s talk about film stocks -  I used Kodak Portra 400 for both 35mm and 120 formats and again, wow! I am blown away at how awesome it looks! I rated the film at 1600 and asked the lovely people at Exposure Film Lab who do all my colour developing to develop the film at 1600 (push it two stops) the results speak for themselves – colour balance is spot on and to my eye they just look RIGHT!

0-13-Edit.jpg

This is the beginning of a wider Dark Future project I’ll be exploring on future shoots mainly cos I’m a Sci Fi geek and have always loved that Neon Noir vibe ranging from Bladerunner to Akira and beyond - I Can’t wait to add some more retro futurist looks to my portfolio and to explore some more creative lighting techniques!

0-2.jpg
0-8.jpg
0-32.jpg

Portraits on film - Night shoot with Cinestill 800T and Lomography 800 Colour

Sharing details of another portrait shoot, this is part of a major ongoing series I’ll be working on as a I rebuild my portfolio - it gives me an opportunity to share some insights on the cameras/films I’m using, the story behind the shoot itself as well as a place to share those photos which might not make it into my main portfolio.

IMG_0884.JPG

Having made the switch to full time film only and also recently adopting the very wonderful Pentax 67 as my main camera I have been keen as mustard to rebuild my portfolio, to explore the creative possibilities (and challenges) that shooting with film offers and basically have a shed load of fun along the way :) To that end I have been seeking out opportunities to collaborate with some of the very creative souls I am fortunate enough to know - hence this series of blogs! :)

This shoot was for my mate Paul who is a Music Producer under the pseudonym ‘Gamma Prime’ he’s been working on some new material and wanted a set of publicity images to help promote the new work.

The idea was to shoot at night and make use of available artificial lighting to add some creativity to the portraits, this assignment called for some special film stocks - Cinestill 800T and Lomography 800 and I also used a roll of Kodak Portra 400 too. I’ll give you a bit of an overview of these film stocks along the way and some thoughts on their particular qualities in use. I hadn’t used either the Cinestill of Lomo films before so I was excited to try them out - Cinestill is an expensive option and Lomo is more of a budget offering so we’ll see how they stacked up against each other.

First thing to consider when shooting in low light/night time is to take account of sunset! Golden hour light is there for the taking either side of the actual sunset so before I broke out the Cinestill and Lomo films I used a roll of Kodak Portra 400 to snag some of that golden hour light.

Kodak Portra 400

0-4.jpg
0-10.jpg

Shooting with the Pentax 67 you only get 10 frames per roll of film so you really have to make each frame count! As the light fell I loaded the roll of Lomography 800 and since we were still in golden hour I used the first few frames here. At this point it’s worth stating that in a stand up contest Portra 400 vs Lomo 800 there’s really not a huge amount in it, they’re both great films although I think Portra has the edge - crisp grain structure as you’d expect from portra and shadows hold up well with lots of detail. That being said the Lomo film is no slouch and it has a very definite character and feel all it’s own.

Lomography 800

0-2-2.jpg
0-4-2.jpg

We drove into town for the night shots and took a walk through the University Campus to take advantage of the artificial lighting and interesting architectural features. These first couple of frames are still on Lomo 800 and I really like how they came out - a very definite grain charachter which I like very much, shadows don’t hang on to too much detail but in this artificial lighting I think it adds to the effect.

Lomography 800

0-6.jpg
0-2-4.jpg

The images below are all shot on Cinestill 800T - this film stock is repackaged motion picture film, the stuff they use to make Hollywood movies! I was very excited to try it out and it did not dissapoint! the letter ‘T’ in it’s name designates that it’s a Tungsten balanced film so it was designed to be shot under artificial lighting - as you can see the tonality and detail are really great here.

Cinestill 800T

0-2-3.jpg
Note my iphone acting as a fill light here! Focussing was getting a little difficult as it got darker so this helped - I’m thinking of getting a little LED light to help in future

Note my iphone acting as a fill light here! Focussing was getting a little difficult as it got darker so this helped - I’m thinking of getting a little LED light to help in future

0-4-3.jpg
0-8-2.jpg

Cinestill 800T has been processed to remove the Anti Halation layer which in some conditions gives lighting a strange glow, it also appears quite prone to light leaks as you can see on the left side of the above image - although in this case I kind of like the effect!

This shoot was planned as a portrait shoot for a friend to create some promotional images for his work as a Music Prodcuer - you can check out Paul’s music HERE :)

I hadn’t planned to compare and contrast these film stocks but the differences between the final images and the way I shot them presented the opportunity to reflect on the different charachters of each stock, overall I like all of these films and very happy with how they came out - here’s my thoughts on each in turn:

Portra 400 - what is there to say about this film which hasn’t been said already? It’s a classic for a reason and is one of my firm faves - clean grain, great details and rich colours. I’m tempted to explore how flexible this film stock is maybe pushing it to 800 and beyond in lower light to see how it coped. Portra is my go to film, a quality product capable of wonderful results.

Lomo 800 - this was a bit of a wildcard choice and it’s a very solid performer, espeically when you consider the price for a pack of three rolls of 120 is about £18. I shot it in good light and in low light in both situations it doesn’t hold up shadow detail as well as the other two stocks but this shouldn’t put you off, the grain structure is more prominent than either Kodak or Cinestill but this is also not bad news - it gives the film a look all it’s own which is good.

Cinestill 800T - this film blows me away - I love the colours, contrast and tones but more importantly for these shots it’s how the film handles shadows with details holding up really clearly even in very low light, it’s expensive stuff that’s for sure but it’s definitely worth a shot in the right conditions. It’s proneness to light leaking could be annoying if you have ‘THE’ killer shot and some random leaks could spoil your hard work - on the other hand it could just add something to the image!

It’s worth stating at this point that I was really pleased with how the Pentax 67 worked on this shoot, I was able to achieve useable images down to 1/30 of a second in low light which pleases me very much! The 105mm 2.4 lens continues to impress me with it’s ability to create 3D like images with pristime sharpness and beautiful bokeh too.

I have some more creative portrait shoots lining up over the next few months so I’ll be continuing the portraits shot on film series and looking forward to exploring more wonderful film stocks!

Portrait shoot with Arya Ravenswood

I recently had the pleasure of working with my friend Arya Ravenswood who is a practicsing Occult Magician & Witch. Arya wanted to create a fresh set of images to use on her website and Social Media (the occult is a very 21st Century operation ya know) and I was thrilled to be asked to help Arya realise her creative vision!

A huge thank you to Arya for the opportunity to collaborate on these images, check out Arya’s website HERE and also a Periscope TV channel HERE Arya has a real gift - go visit her website and find out for yourselves!

0-9.jpg

Since I am in the process of rebuilding my portfolio it was a great opportunity to put my new Pentax 67 through it’s paces on this shoot. To mix things up a bit I also used my Nikon F2 as a second shooter, filmwise on both 35mm and 120 formats this was an all Kodak Portra 400 affair mainly to give a consistent look and feel to the images so that they can hang together as a set and also because I bloody love the stuff!

IMG_1202.jpg

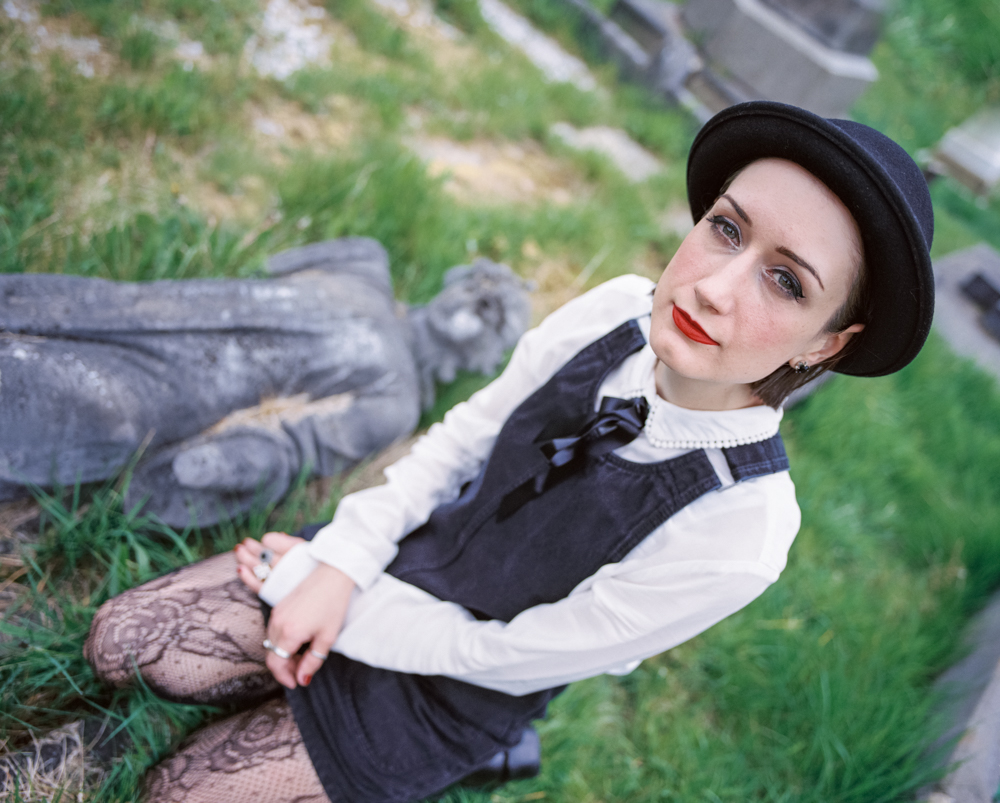
Working with Arya was amazing, she created two really strong (and of course very Witchy/Occult inspired) looks for us to shoot, we chose two locations (one for each look) and got to it - here’s the first look shot in a local graveyard.

graveard (10).jpg
35mm  (6).jpg
0-10.jpg
0-8.jpg
35mm  (57).jpg
0-3.jpg

We didn’t scout the locations beforehand so it was very much a case of paying attention to our surroundings and allowing ourselves to be drawn towards particular details and working with them; having explored one graveyard we moved on to a second just across the valley. As i reflect on these images now I am reminded of the beautiful surroundings, the palpable stillness, the lush green of the grass and moss covered graves contrasting with Arya’s monochrome outfit, the Occult and Christian symbolism, life and death - as above so below….

woods (11) PICK.jpg

Our second look for the day was an opportunity tor Arya to channel her inner Stevie Nicks with a more bohemian, naturalistic look replete with lace, jewelry, bangles, occult symbols and also incorporating the tools of Arya’s trade - a bronze knife, a crystal ball, a chalice and cauldron. We chose some local woods for this look emphasising the natural elements and giving us a new setting to explore this side of Arya’s persona.

0-10-3.jpg
35mm  (11).jpg
0-2-2.jpg
0-4.jpg
0-10-3.jpg
0-10-2.jpg

This second set of images is certainly more expressive than the first and the wooded location was the perfect backdrop - walking through the trees we came upon a rocky outcrop which provided the setting for our shoot being set back from the main path and out of view of inquisitive dog walkers and their dogs! (I’ve never seen people skidaddle so quickly upon hearing that we’re doing a ‘Witchy’ shoot)! ;)

The combination of the Pentax 67 and Nikon F2 worked great for me - the Pentax is capable of some uniquely stunning images with a very distinctive, almost 3D look which I love, the F2 is no slouch either and some of my favourite images from the whole shoot came from the 35mm camera, I think this will be my default combination of cameras for the foreseeable future.

There were so many images to choose from on this shoot! It was great to work with Arya to create these images and full credit goes to her for styling the shoot, she did an amazing job on the day too and as a result we made some powerful images together, I think this is some of my best portrait work to date (if i do say so myself) I wish Arya every success in her Macgickal endeavours!

35mm  (50).jpg

Street Portraiture on 35mm film with the Nikon FE2 & F2

 
Partners in crime - my trusty FE2 (left) alongside it’s new bezzie mate the F2

Partners in crime - my trusty FE2 (left) alongside it’s new bezzie mate the F2

Lots and lots and lots to update you with since the last blog post which was all the way back in December!! I’ve been mega busy with lots of different projects and got loads to tell you all about, so since it’s almost a quarter of the way through already let’s finally get the 2019 blogging season off to a start shall we!

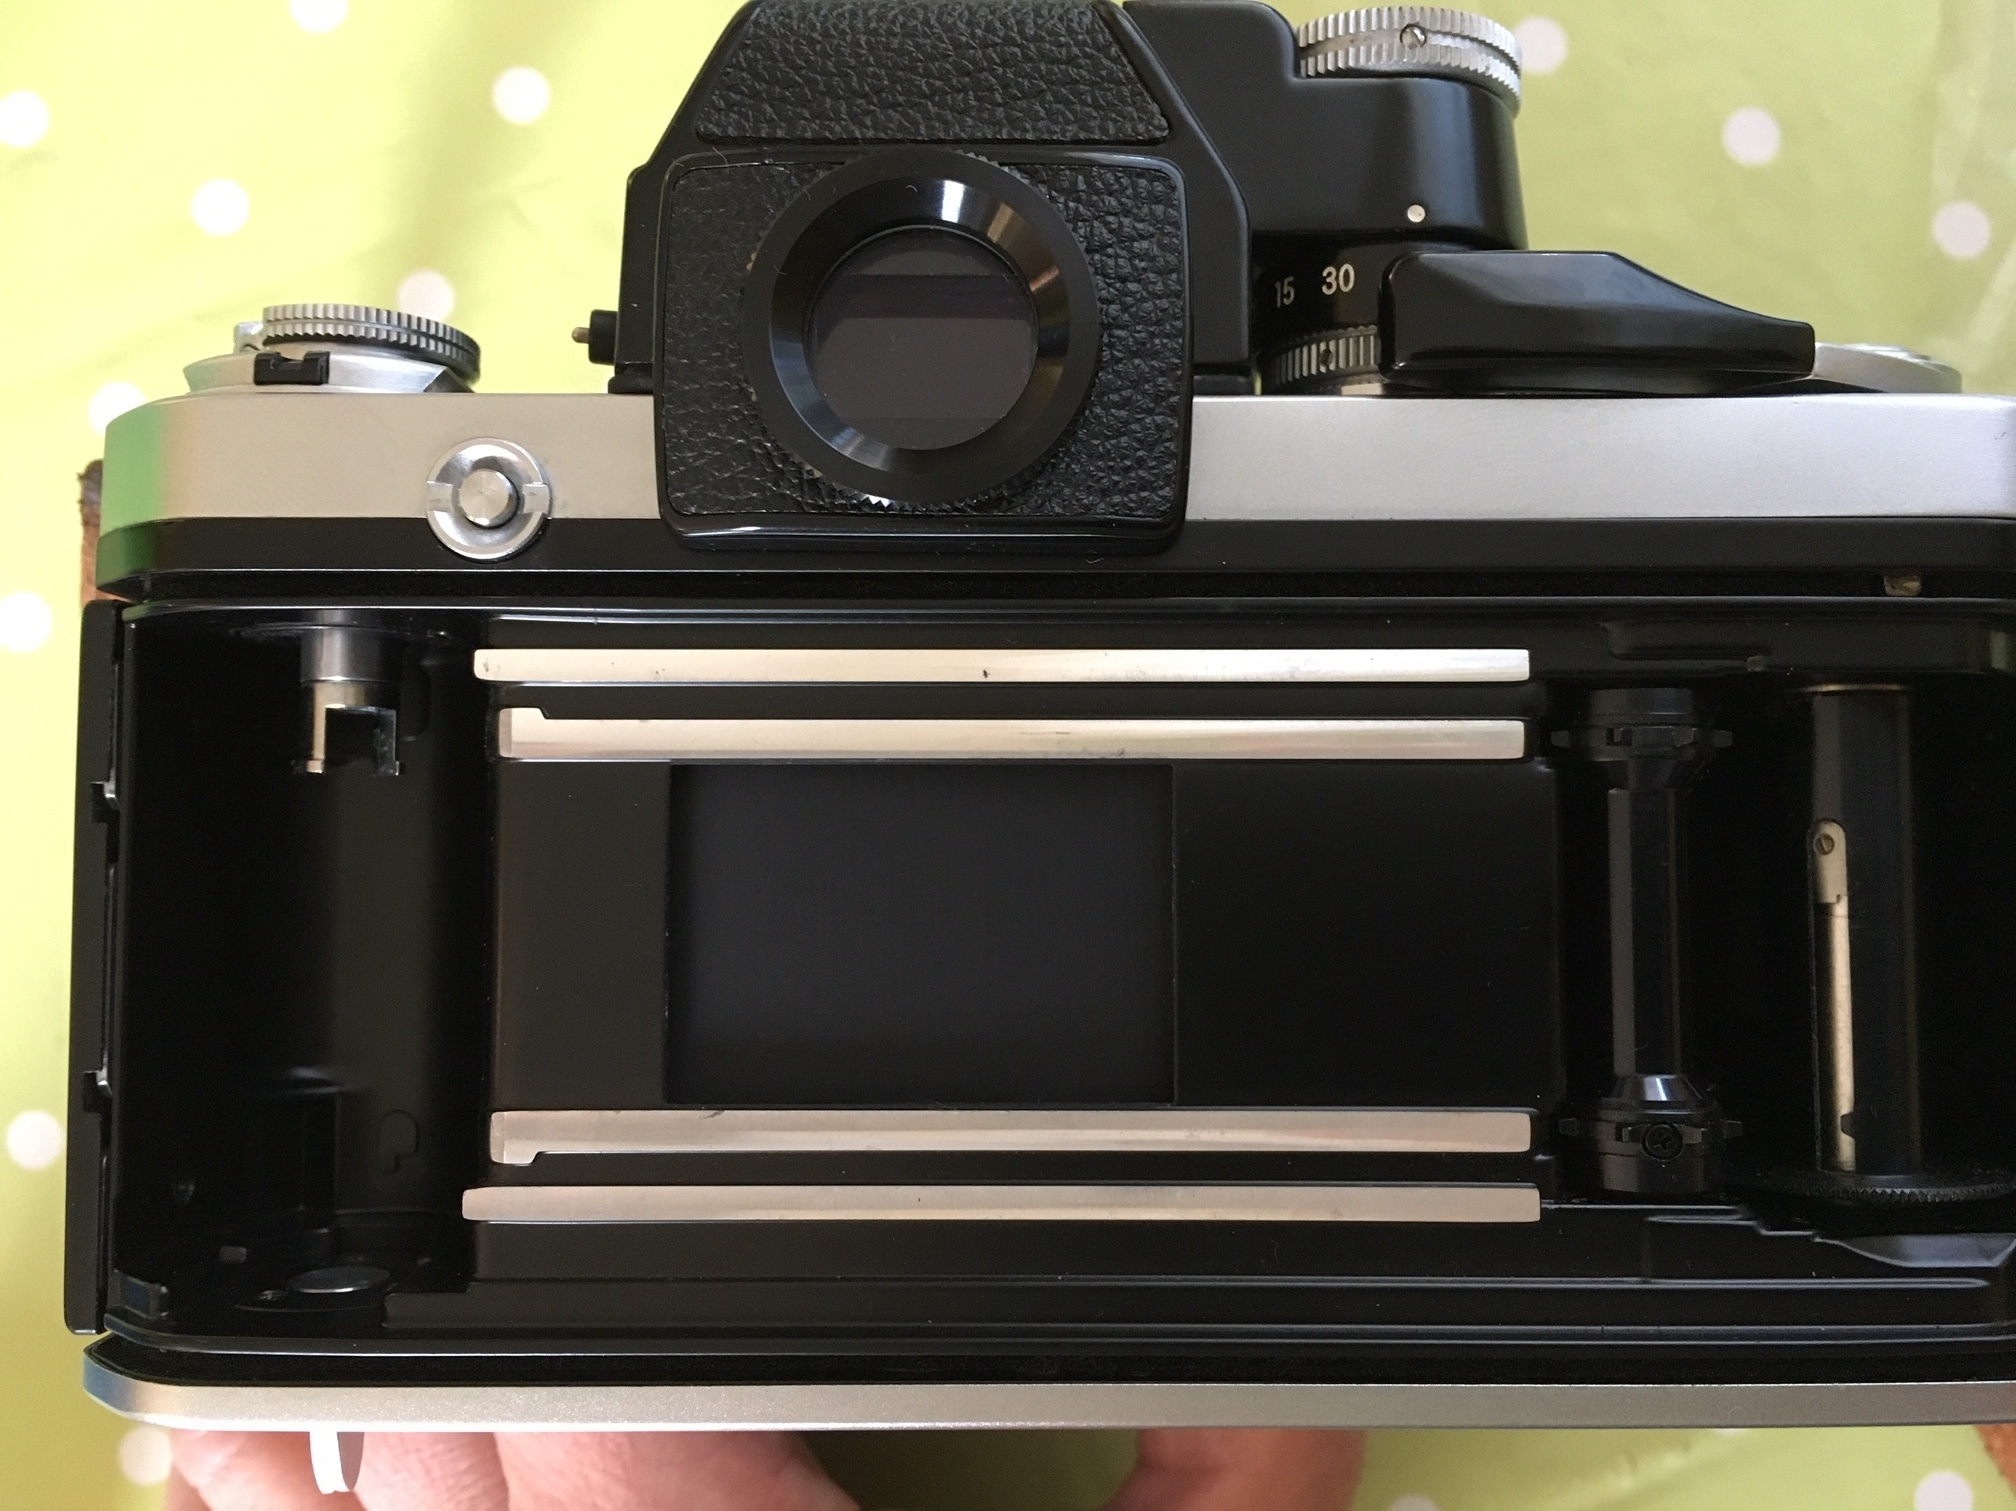
Remember last time I was saying things like “I’m going to focus more on creating photos” and “I won’t be doing as many gear reviews” and “gear just gets in the way” well I still think that’s true but owing to my contrary nature I’d like to introduce you to my latest gear acquistion… the Nikon F2!! Rather than just a boring old review thought this time I’ll be sharing some images i shot with this amazing camera on a recent portrait shoot as well, but first let me take you for a walk around the F2

IMG_0114.jpg

Ever since selling my Nikon F3 last year I have had a Nikon F Series shaped hole in my heart/camera collection (check out this link for the reason why I sold the F3) back in mid December I decided (after not very much deliberation) to buy myself an F2, cos ya know..I worked really hard last year and it’s nice to treat yourself every now and again and it was the run up to Christmas and… well, you get the idea…

I found this beauty on Evilbay for the ridiculous price of £70 and so a deal was done, the caveat being that the camera was from Japan so taking a bit of a punt on condition and shipping times, but as with my previous experience of international purchases the shipping is mega quick, it’s really only on arrival into the custody of Her Mahesty’s rip off merchants here in good old blighty that things slow down, after an almost literal ice age in UK customs my camera was finally released to me and there was much merry making and feasting by all….. sort of… two things became clear fairly quickly 1: it was in very good condition and functionally worked perfectly 2: there were traces of dreaded fungus in the viewfinder and in the mirrorbox which didn’t bode well and therefore i was going to have to shell out some more cash (and wait even longer) before getting to grips with the F2 - it’s all sorted now though, fresh from a good clean and service I even managed to negotiate a part refund from the ebay seller which paid towards the cleaning :)

There’s oodles of info out there on the interwebs about the F2 so there’s not much point in me re-hashing it all, suffice it to say that between 1971 and 1980 if you wanted a professional level Nikon SLR then this was it!! Instead of reeling off a list of it’s features and functions I’m going to share with you a series of images I shot with both the F2 and my trusty Nikon FE2 on a portrait shoot recently, I’ll share my experience of shooting with it too of course and no doubt indulge in some techno-babble along the way as is my want…

Oh yes and interesting/geeky factoid alert! The serial number on my F2 is 7865098 and thanks to the wonders of the internet and some Nikon nerds who collate all this info I was able to date manufature of my particular camera to between May & August 1977 - so this camera is only a few months older than me! :)

Ok so that’s enough camera geekery for one blog, what’s the damn thing like to shoot I hear you cry… well… it’s amazing! build quality is second to none, it just feels very well balanced despite being quite a large camera, the viewfinder is HUGE and bright and lovely which makes manual focussing a doddle, alongside the ever brilliant FE2 I now have my perfect 35mm dynamic duo!

Portra 160 with the FE2 and series e 100mm 2.8

Portra 160 with the FE2 and series e 100mm 2.8

These images were taken on a portrait shoot with Model Rebecca back in Feb when we had a mini heat wave - I was so glad we made the most of the sunshine! The FE2 was loaded with a roll of Portra 160 and with the F2 I shot a roll of Fuji Acros 100 and a roll of Portra 400 - I enjoyed using this combination of film and cameras so much and was very happy with the results that I decided right there and then that I’m going to shoot film from now on for portraiture.

Fuji Acros 100 on the F2 with Nikkor 50m 1.4

Fuji Acros 100 on the F2 with Nikkor 50m 1.4

Let’s take a moment to reflect on the film stocks used on this shoot - I’ve had a couple of rolls of Fuji Acros 100 on ice in the freezer for a few years now and since buying it Fuji have discontinued production :( having only shot one roll of it before I figured I’d give it a whirl and I love the results, developed in HC110 it has a clean and balanced finished with lovely contrast.

Colour film duties were fulfilled by Kodak Portra one roll each of 160 and 400 flavours - I think i overexposed the 400 speed a couple of stops to 200 and shot 160 at box speed - having developed these myself I had some issues getting the right colour balance when scanning at home and for some frames it took me a little while to get the colours to look and feel ‘right’

Portra 400 on the FE 2 with Nikkor 24mmm 2.8

Portra 400 on the FE 2 with Nikkor 24mmm 2.8

img938.jpg

So there we have it - I was so pleased with how both cameras performed and I continue to be impressed at the quality of the Nikon lenses, the images here were shot on the Nikkor 50mm 1.4, Nikkor 24mm 2.8 and the Series E 100mm 2.8 - super sharp shooters the lot of them! If you’ve not tried an old Nikon camera and lens I would urge you to do so - there’s a reason why these were the manufacturer of choice for professionals back in the day.

Portra 160 on the FE2 series e 100mm 2.8

Portra 160 on the FE2 series e 100mm 2.8

I developed the colour film at home too - the first time in a long time that I’ve done that, I was really pleased with how they came out and I’ve got a write up of the process and kit that I used on the way, I promise it won’t be another 3 months before I write another blog, in the meantime happy shooting!