The winter months are well and truly upon us! For someone who shoots 100% on film then this can present it’s own challenge - as nights draw in, and the opportunities to shoot in natural light become ever more fleeting I decided to set myself a challenge to see me through the winter months and to develop some confidence in using artificial lighting with film.
Back when I shot digital I had a great studio strobe set up and I was a big fan of using flash in my portraiture work - however a lot of that confidence came from the ability to instantly review, adjust and review again my images on my DSLR, a luxury not available to the film shooter!
My shooting style has changed a lot over the last 9 months of shooting film only, so when looking into options for lighting I had a few requirements which I’ll lay out below but before we do that it is worth mentioning at this stage that I also wanted to explore the creative possibilities open to me using my favourite colour film Kodak Portra 400 and to establish for myself how far this film can be pushed in terms of exposure and development.
As far as kit goes my Pentax 67 had to go back to the Drs for a check up so this was a purely 35mm affair - I shot with my two Nikon F2 bodies with a Nikkor 50mm 1.4 and a Nikkor H C 85mm 1.8.

My requirements then were:
1: it had to be truly portable - I love working on location and I am not one of those people who thinks portable means loading one of those daft shopping carts with huge stands and modifiers and basically wheeling a whole studio set up around! For me portable is something I can realistically carry about with me alongside my camera kit and ideally as near to pocket sized as a I can get.
2: LED lighting - What you see is what you get, the ability to prejudge and measure the light was a key factor - strobes offer much more power output but I prefer to gauge the lighting by eye, then meter and take my shot.
3: Price - I do not have a mega budget to throw at this project so I wanted to keep prices sensible.
4: Colours - I am really interested in exploring colour as a creative device in my work and referencing point number 3 above I wanted to keep price down as a low as possible.
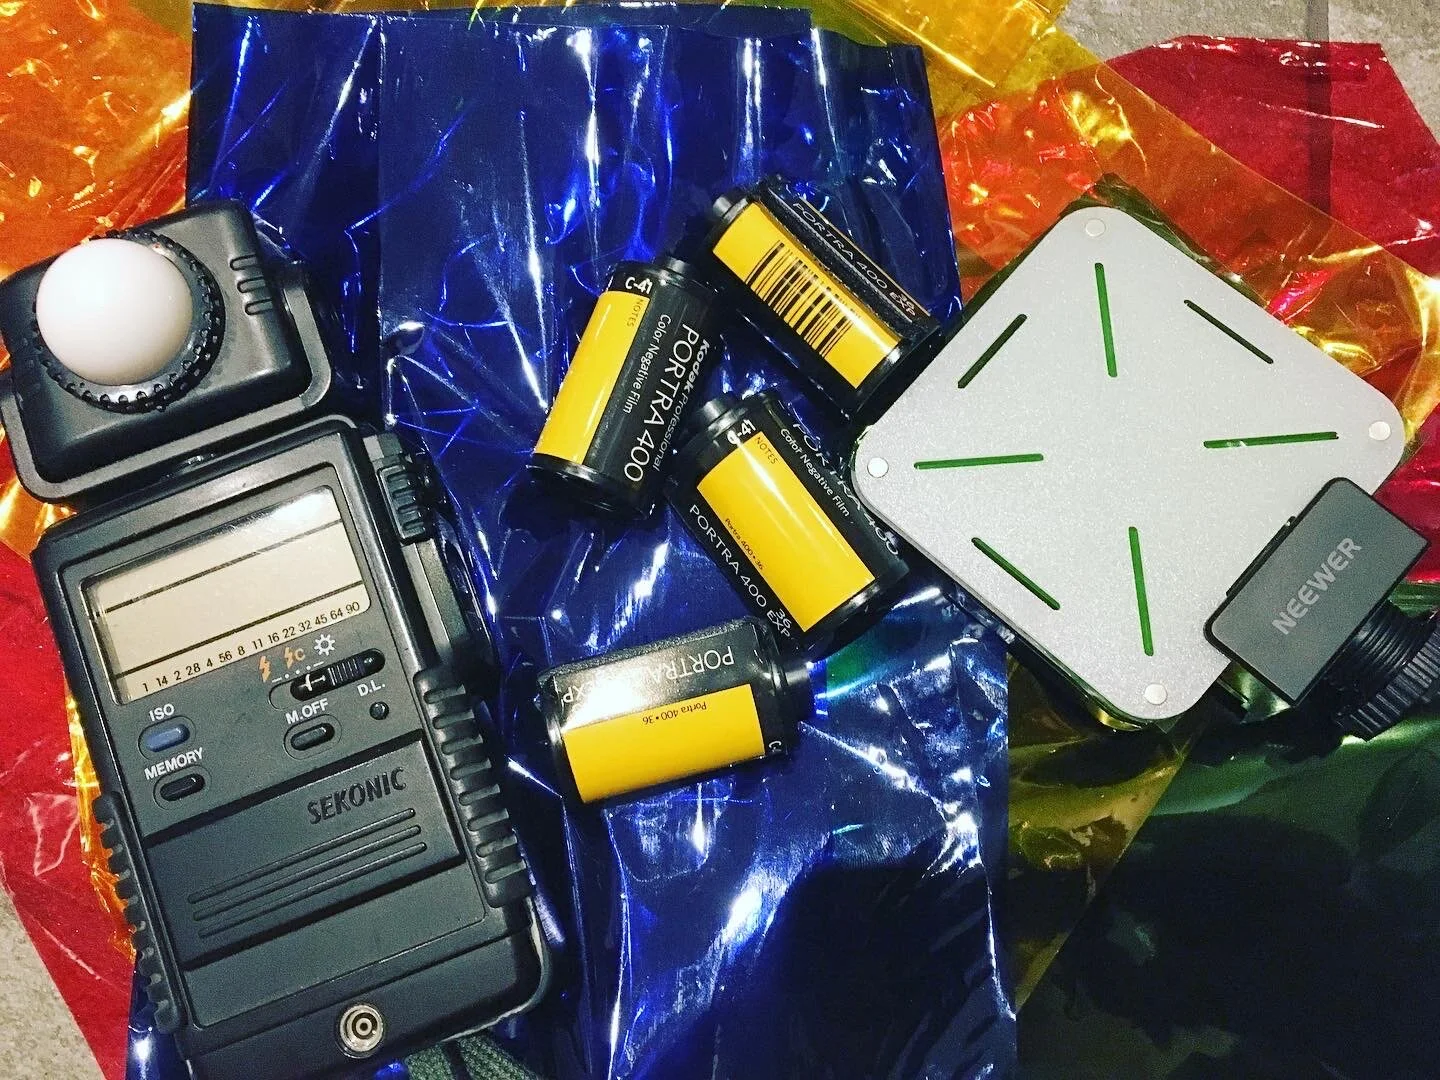
Using these 4 points as a guide my journey led me initially to one of these Neewer light pads which tick all of the above boxes - I bought one of these for £20 and a pack of coloured Cellophane for 99p to create my own lighting ‘gels’ (it is worth noting at this point HAVE YOU SEEN HOW EXPENSIVE ACTUAL LIGHTING GELS ARE?? OMFG! WHO BUYS THIS STUFF)?!!
This little light pad on it’s own is perfect for location shooting when all you are wanting to do is to add some fill lighting to your shot, it won’t light your whole scene so you will still want either another main light source - it worked great on this location shoot recently HERE.
I’ve already said that shooting on location is my fave, however it tends to be quite a fast paced process without much time to reflect/experiment as basically the whole world is going about it’s business around and through the middle of your shoot! So I decided to book some time in a local studio to play around with lighting and to experiment with using more than one light.
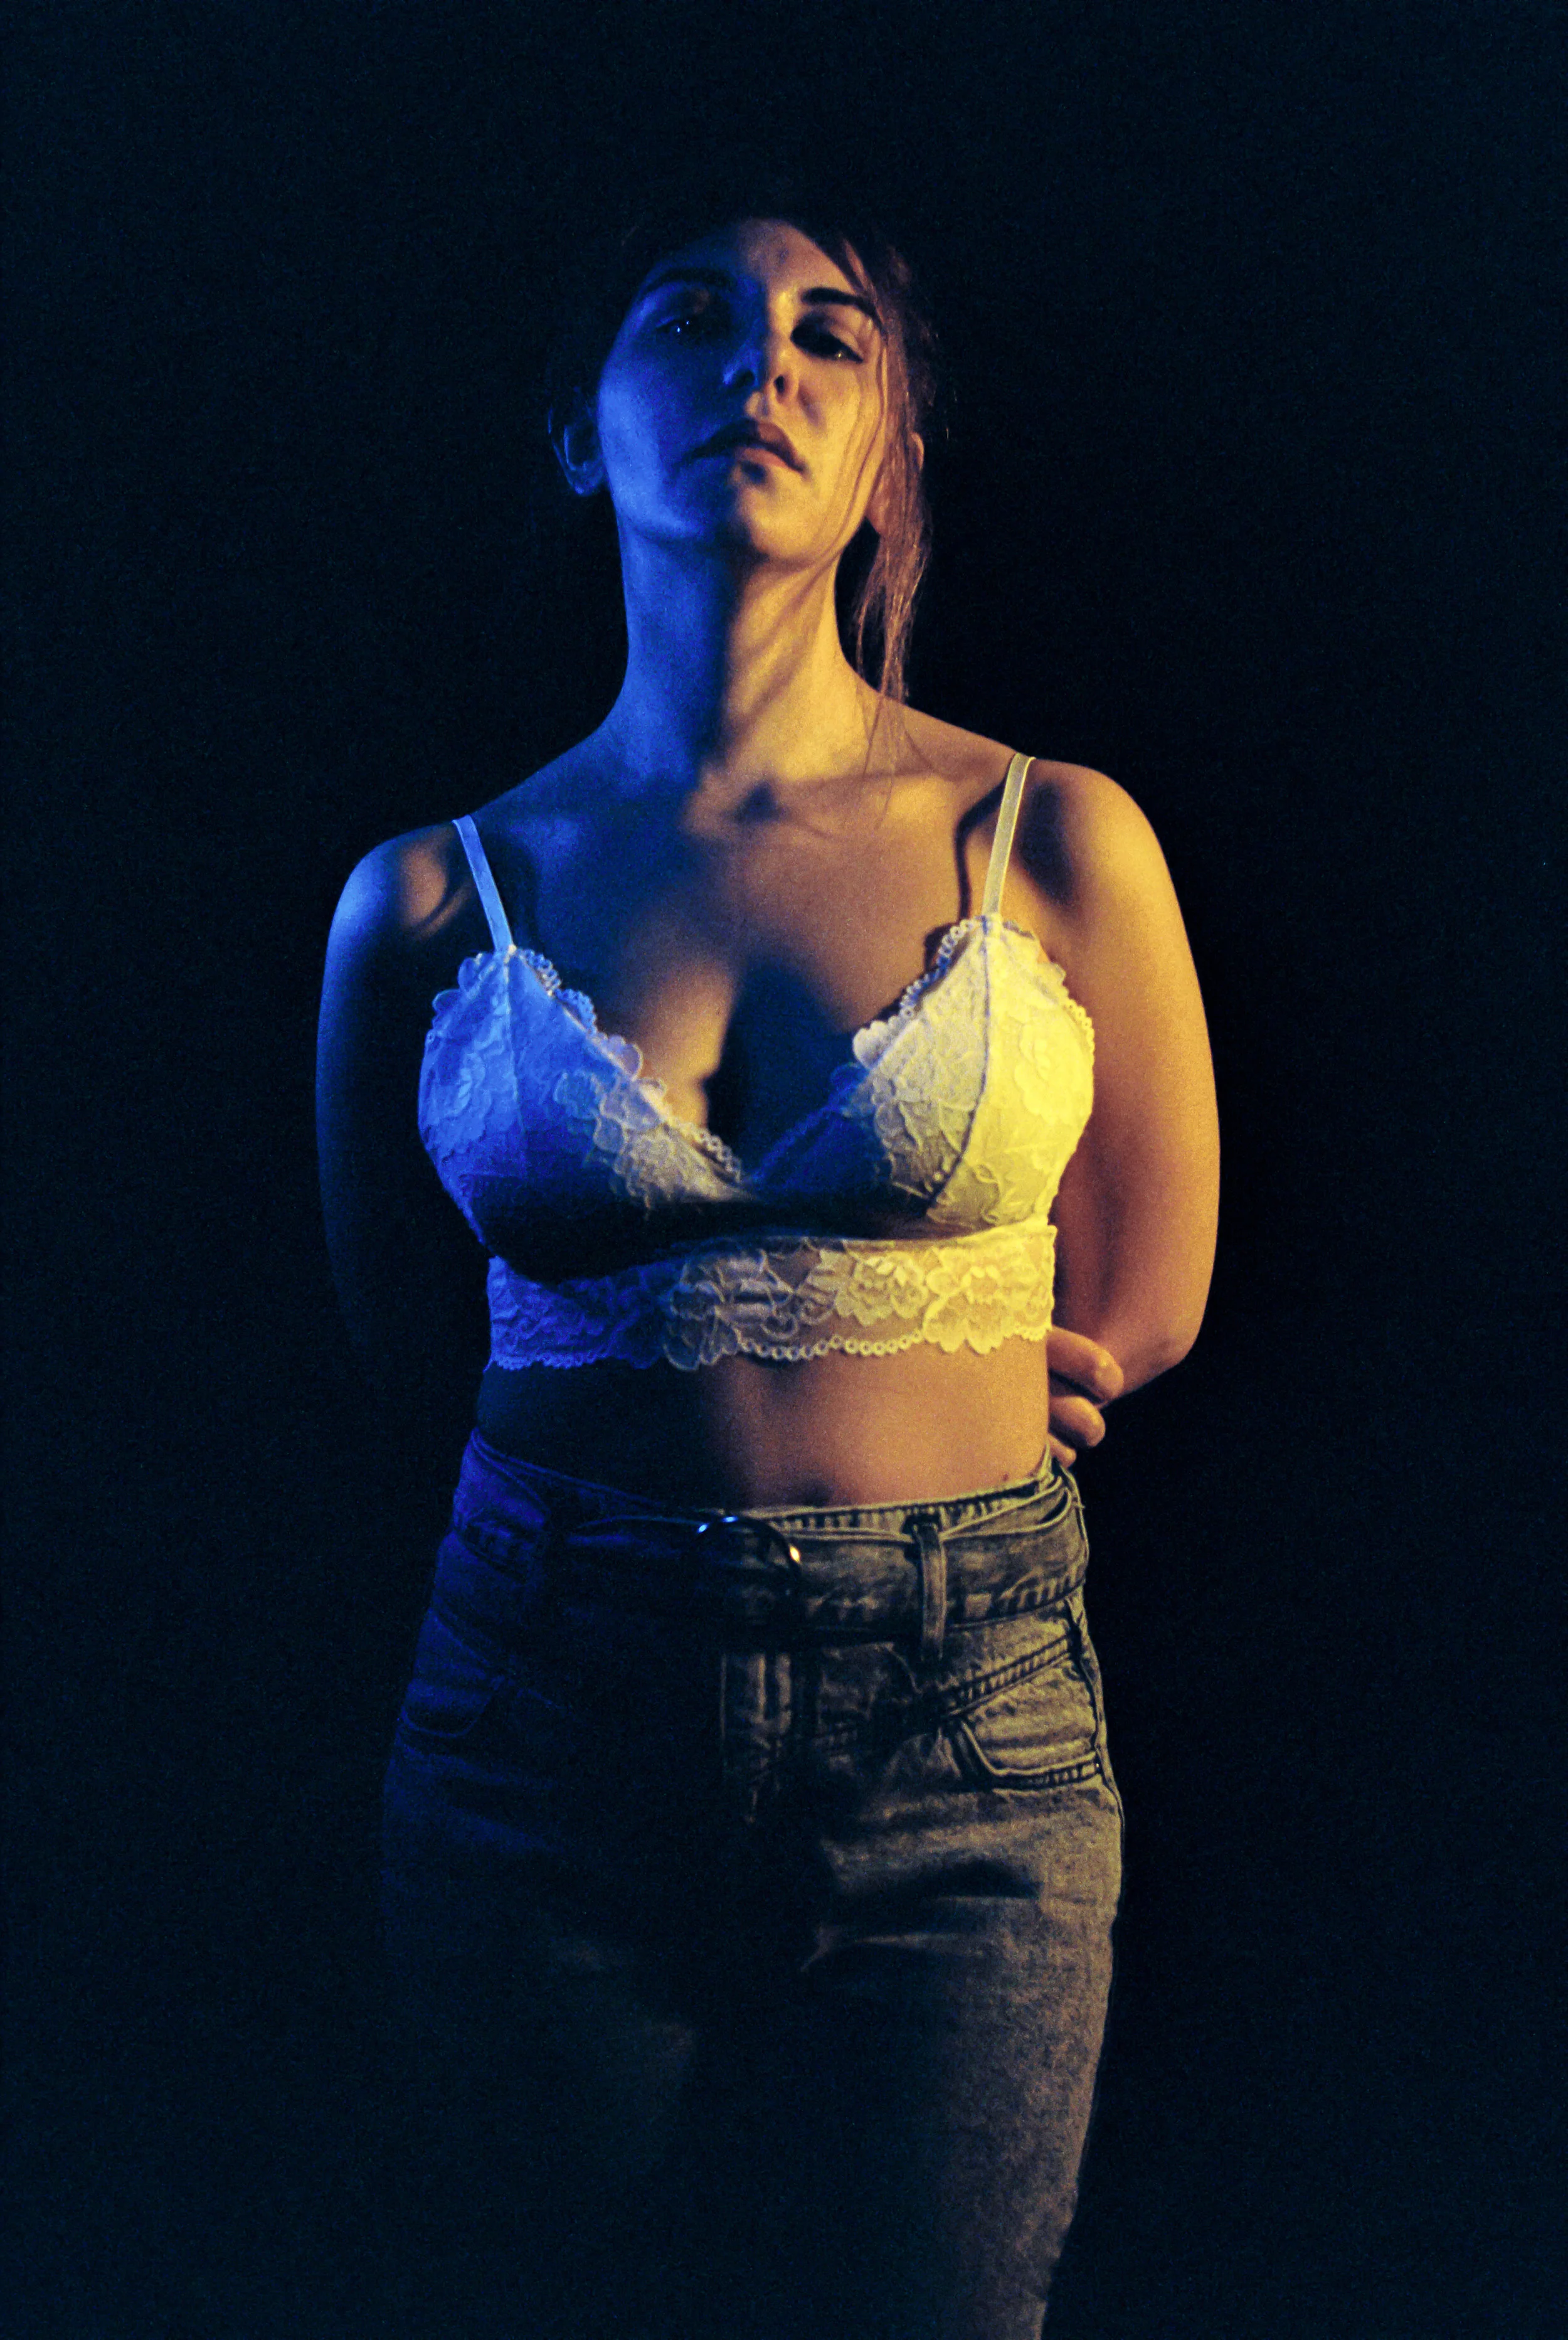
The following shots were taken over the course of two shoots using Portra 400 shot at 3200, I bought another Neewer light pad and borrowed a Yongnuo YN300 for a bit more power.
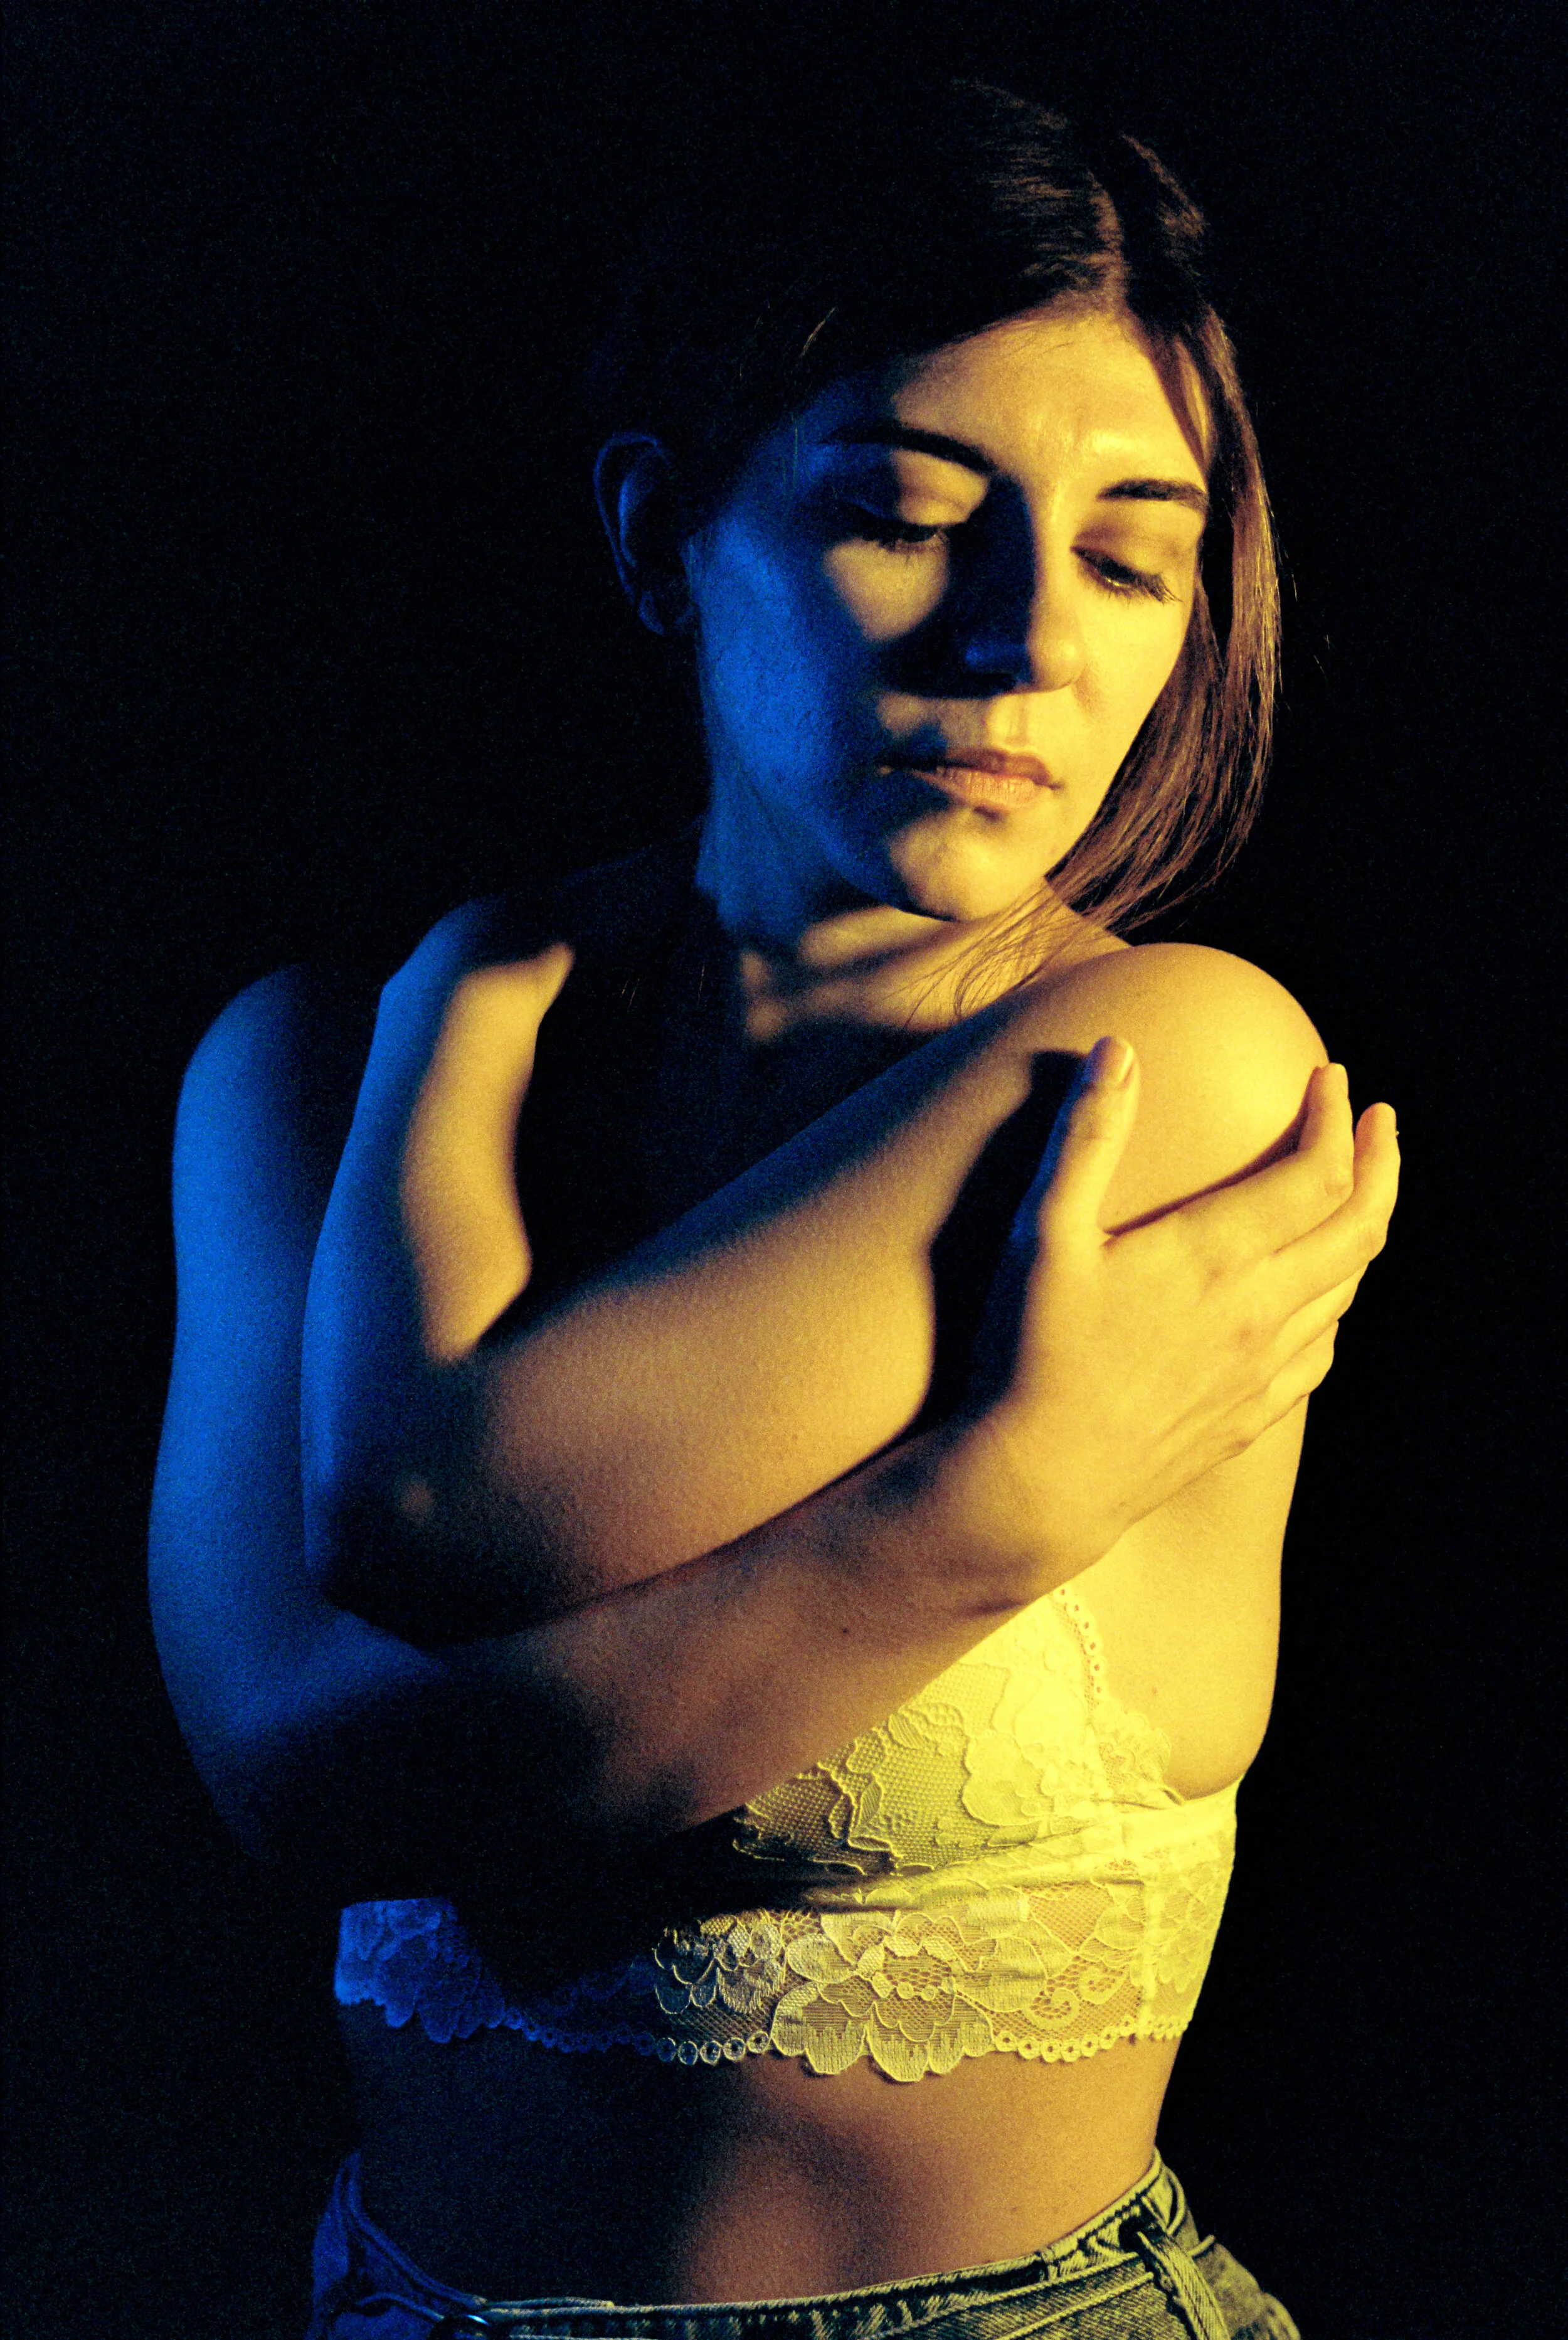
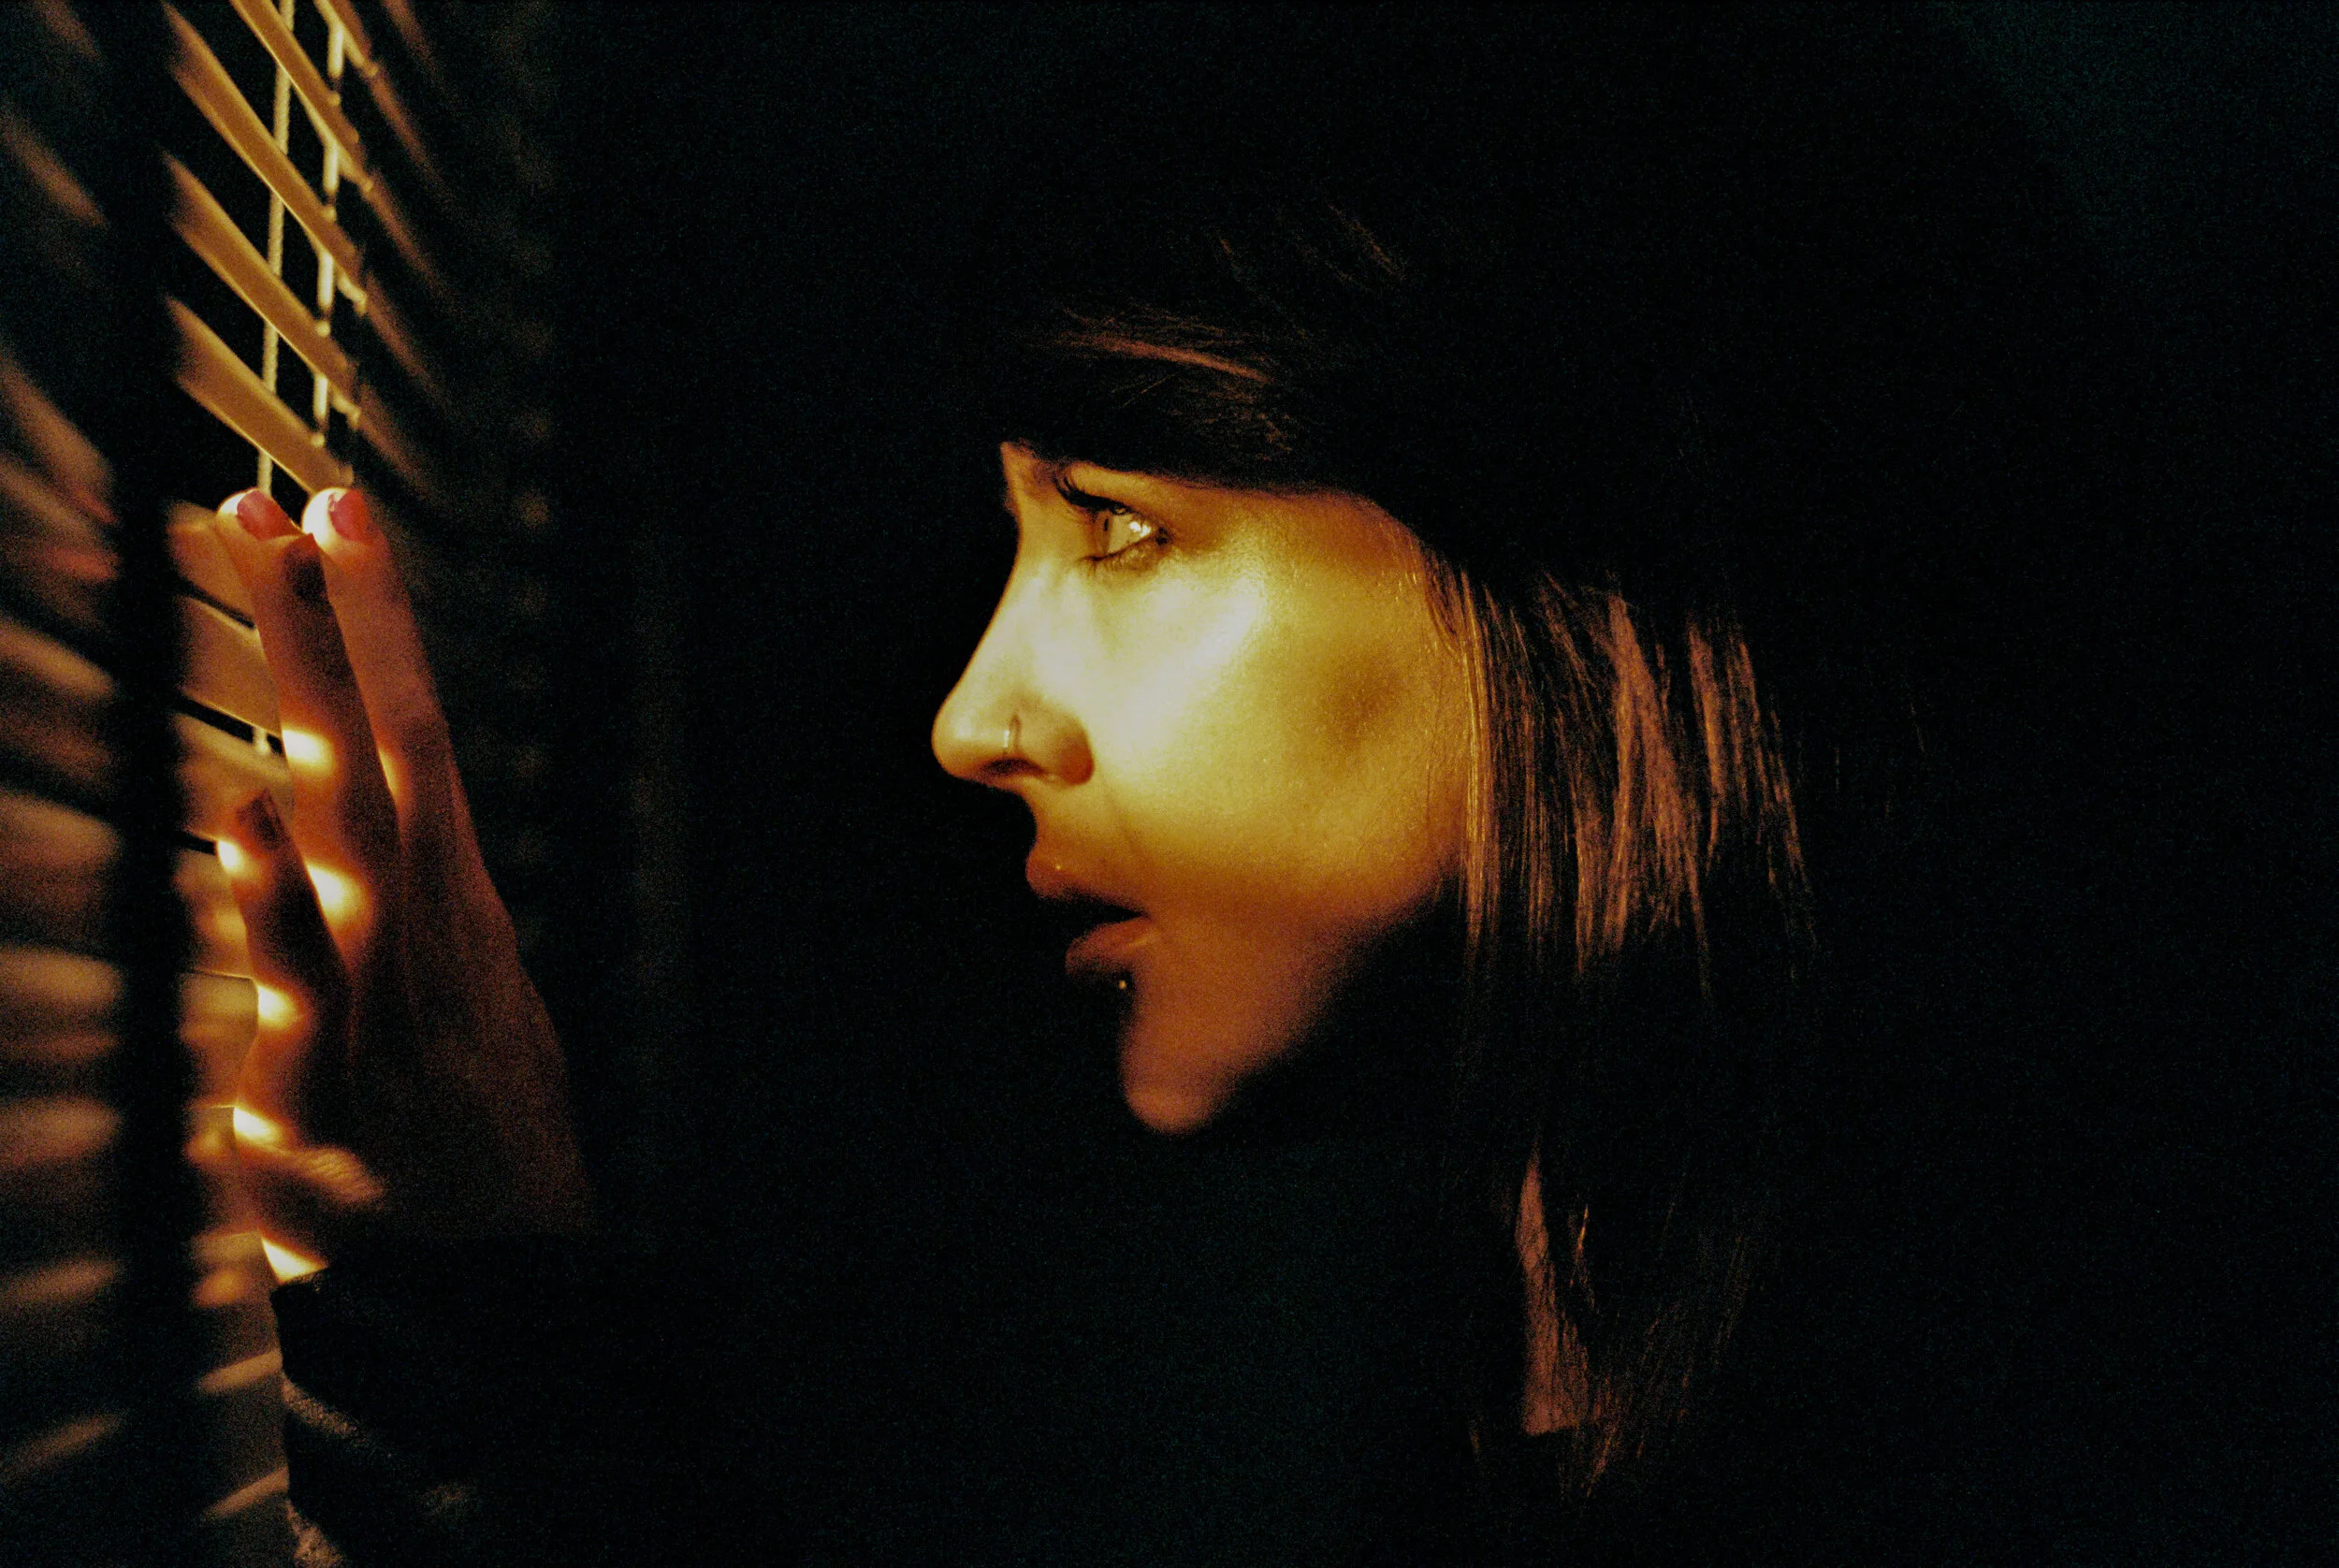
The following images were taken over the course of two shoots a couple of days apart - the first images are with Sophie who is a fantastic model and I love the images we created together!
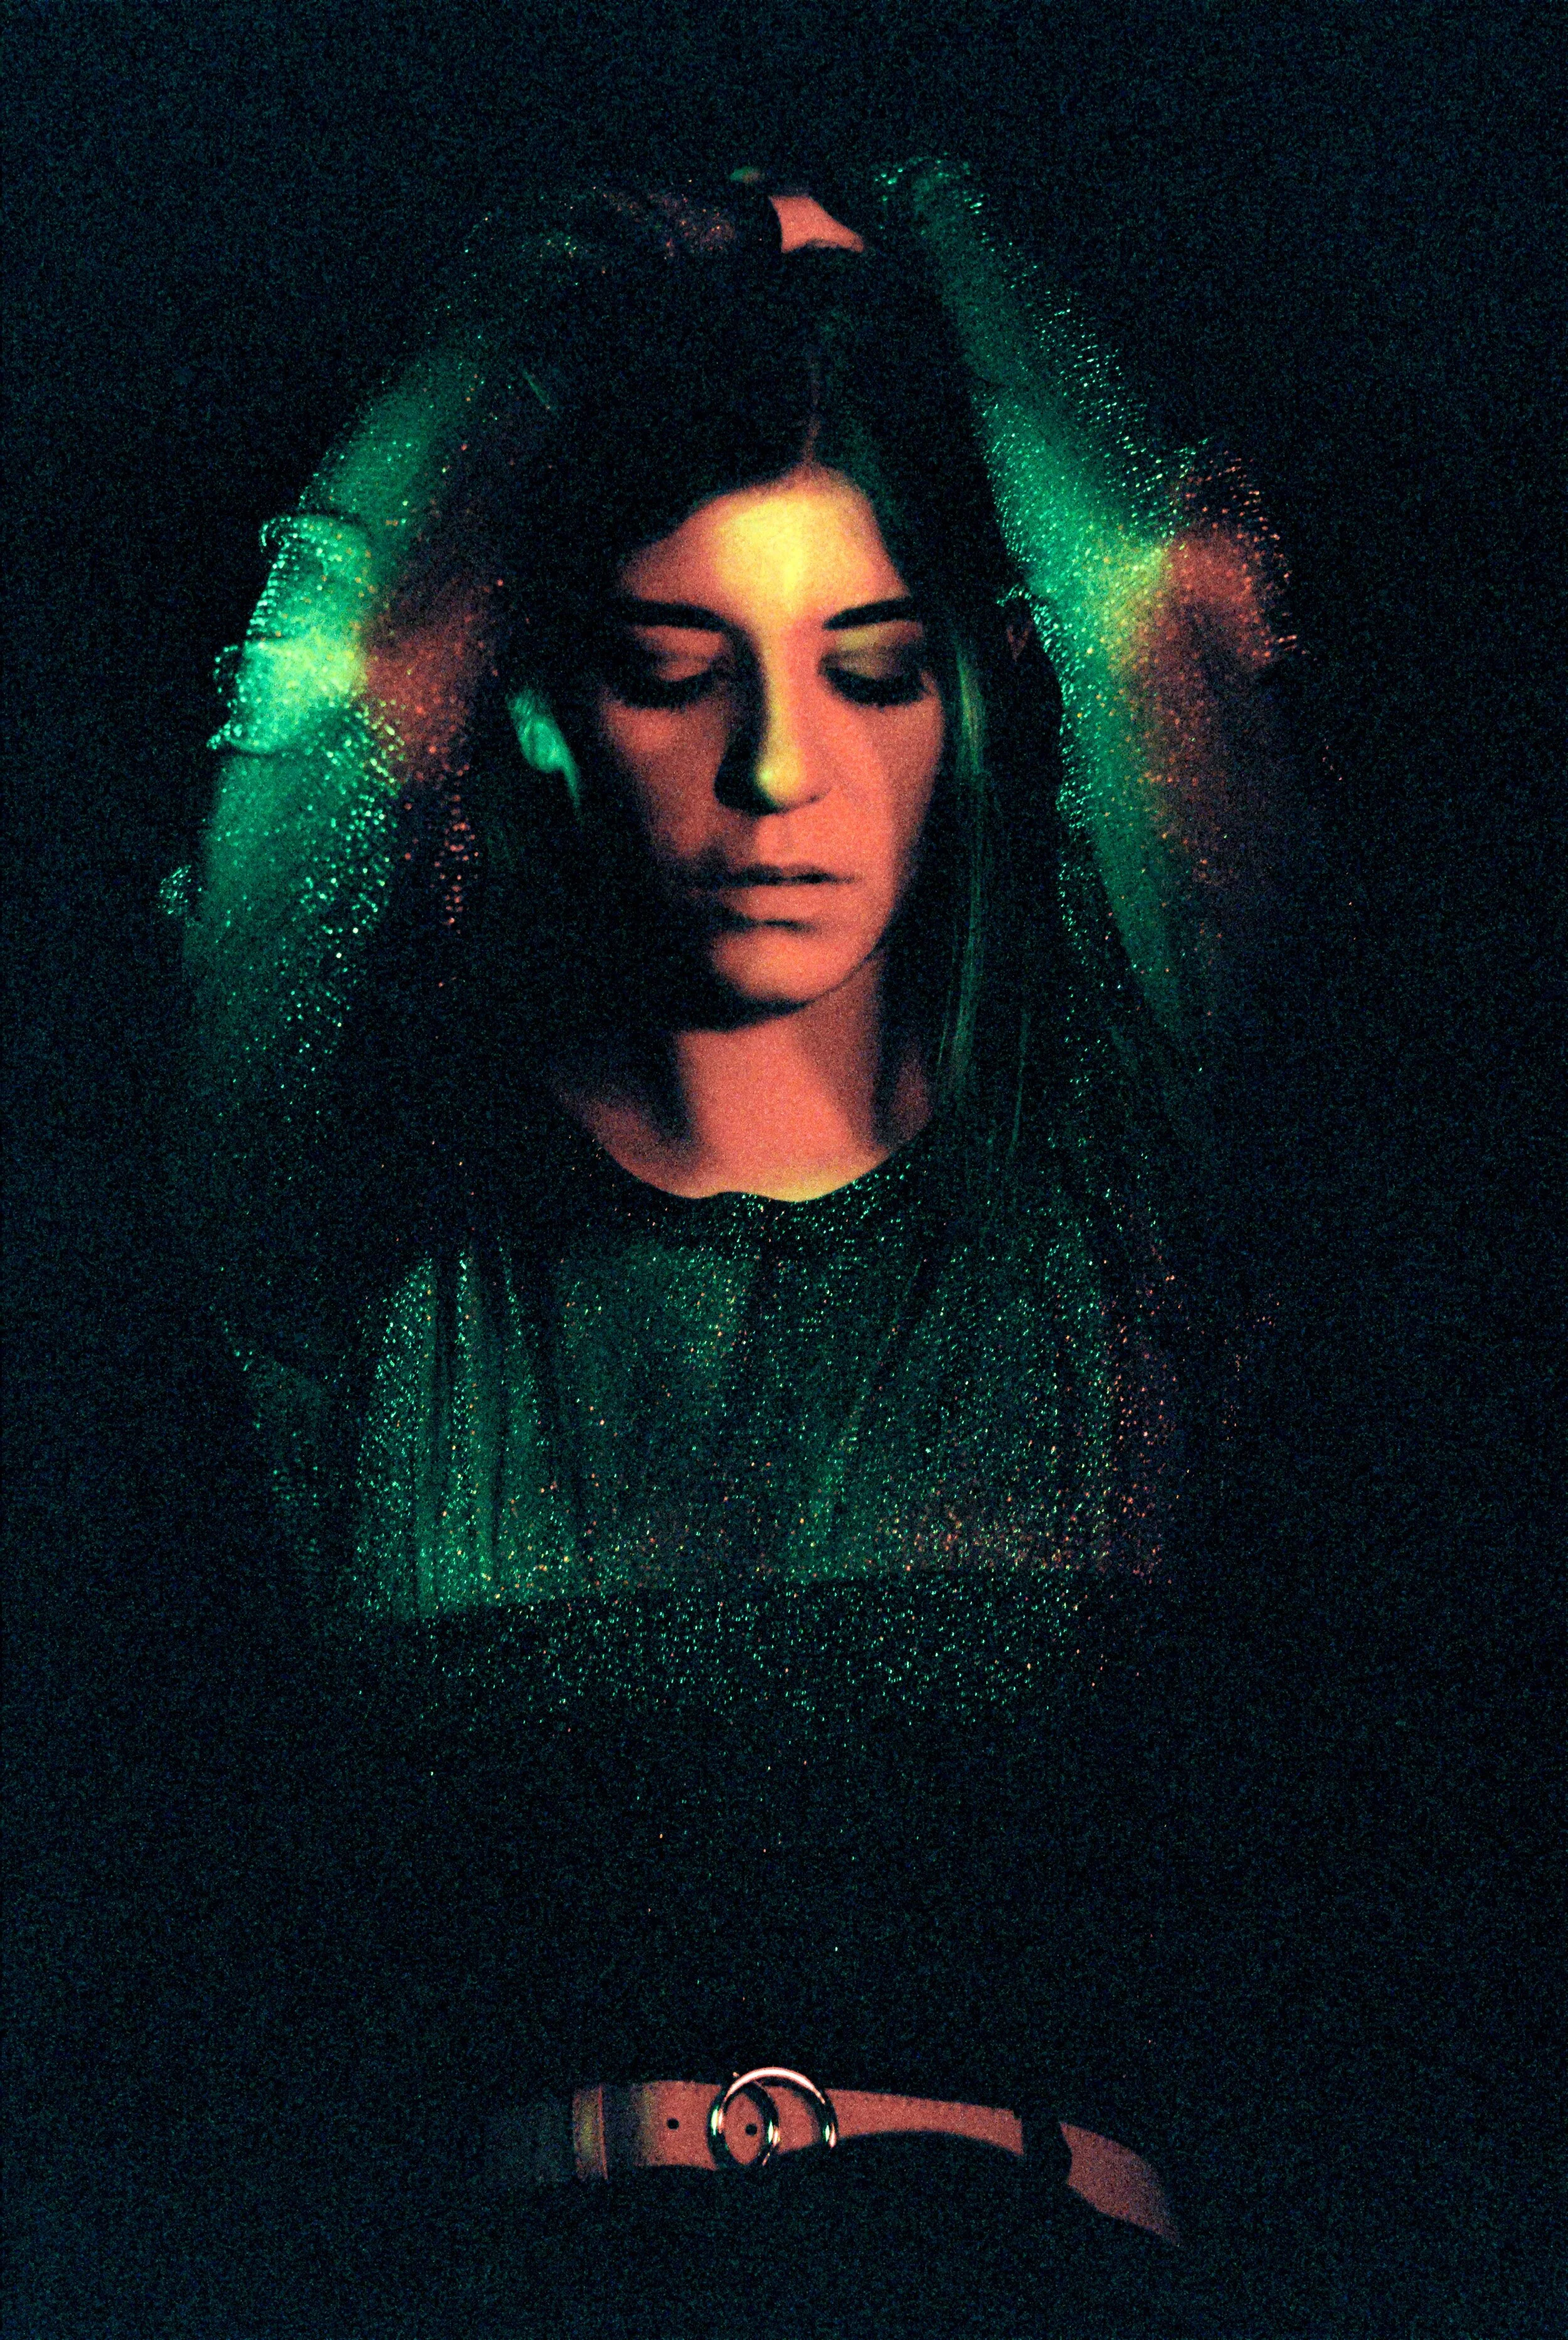
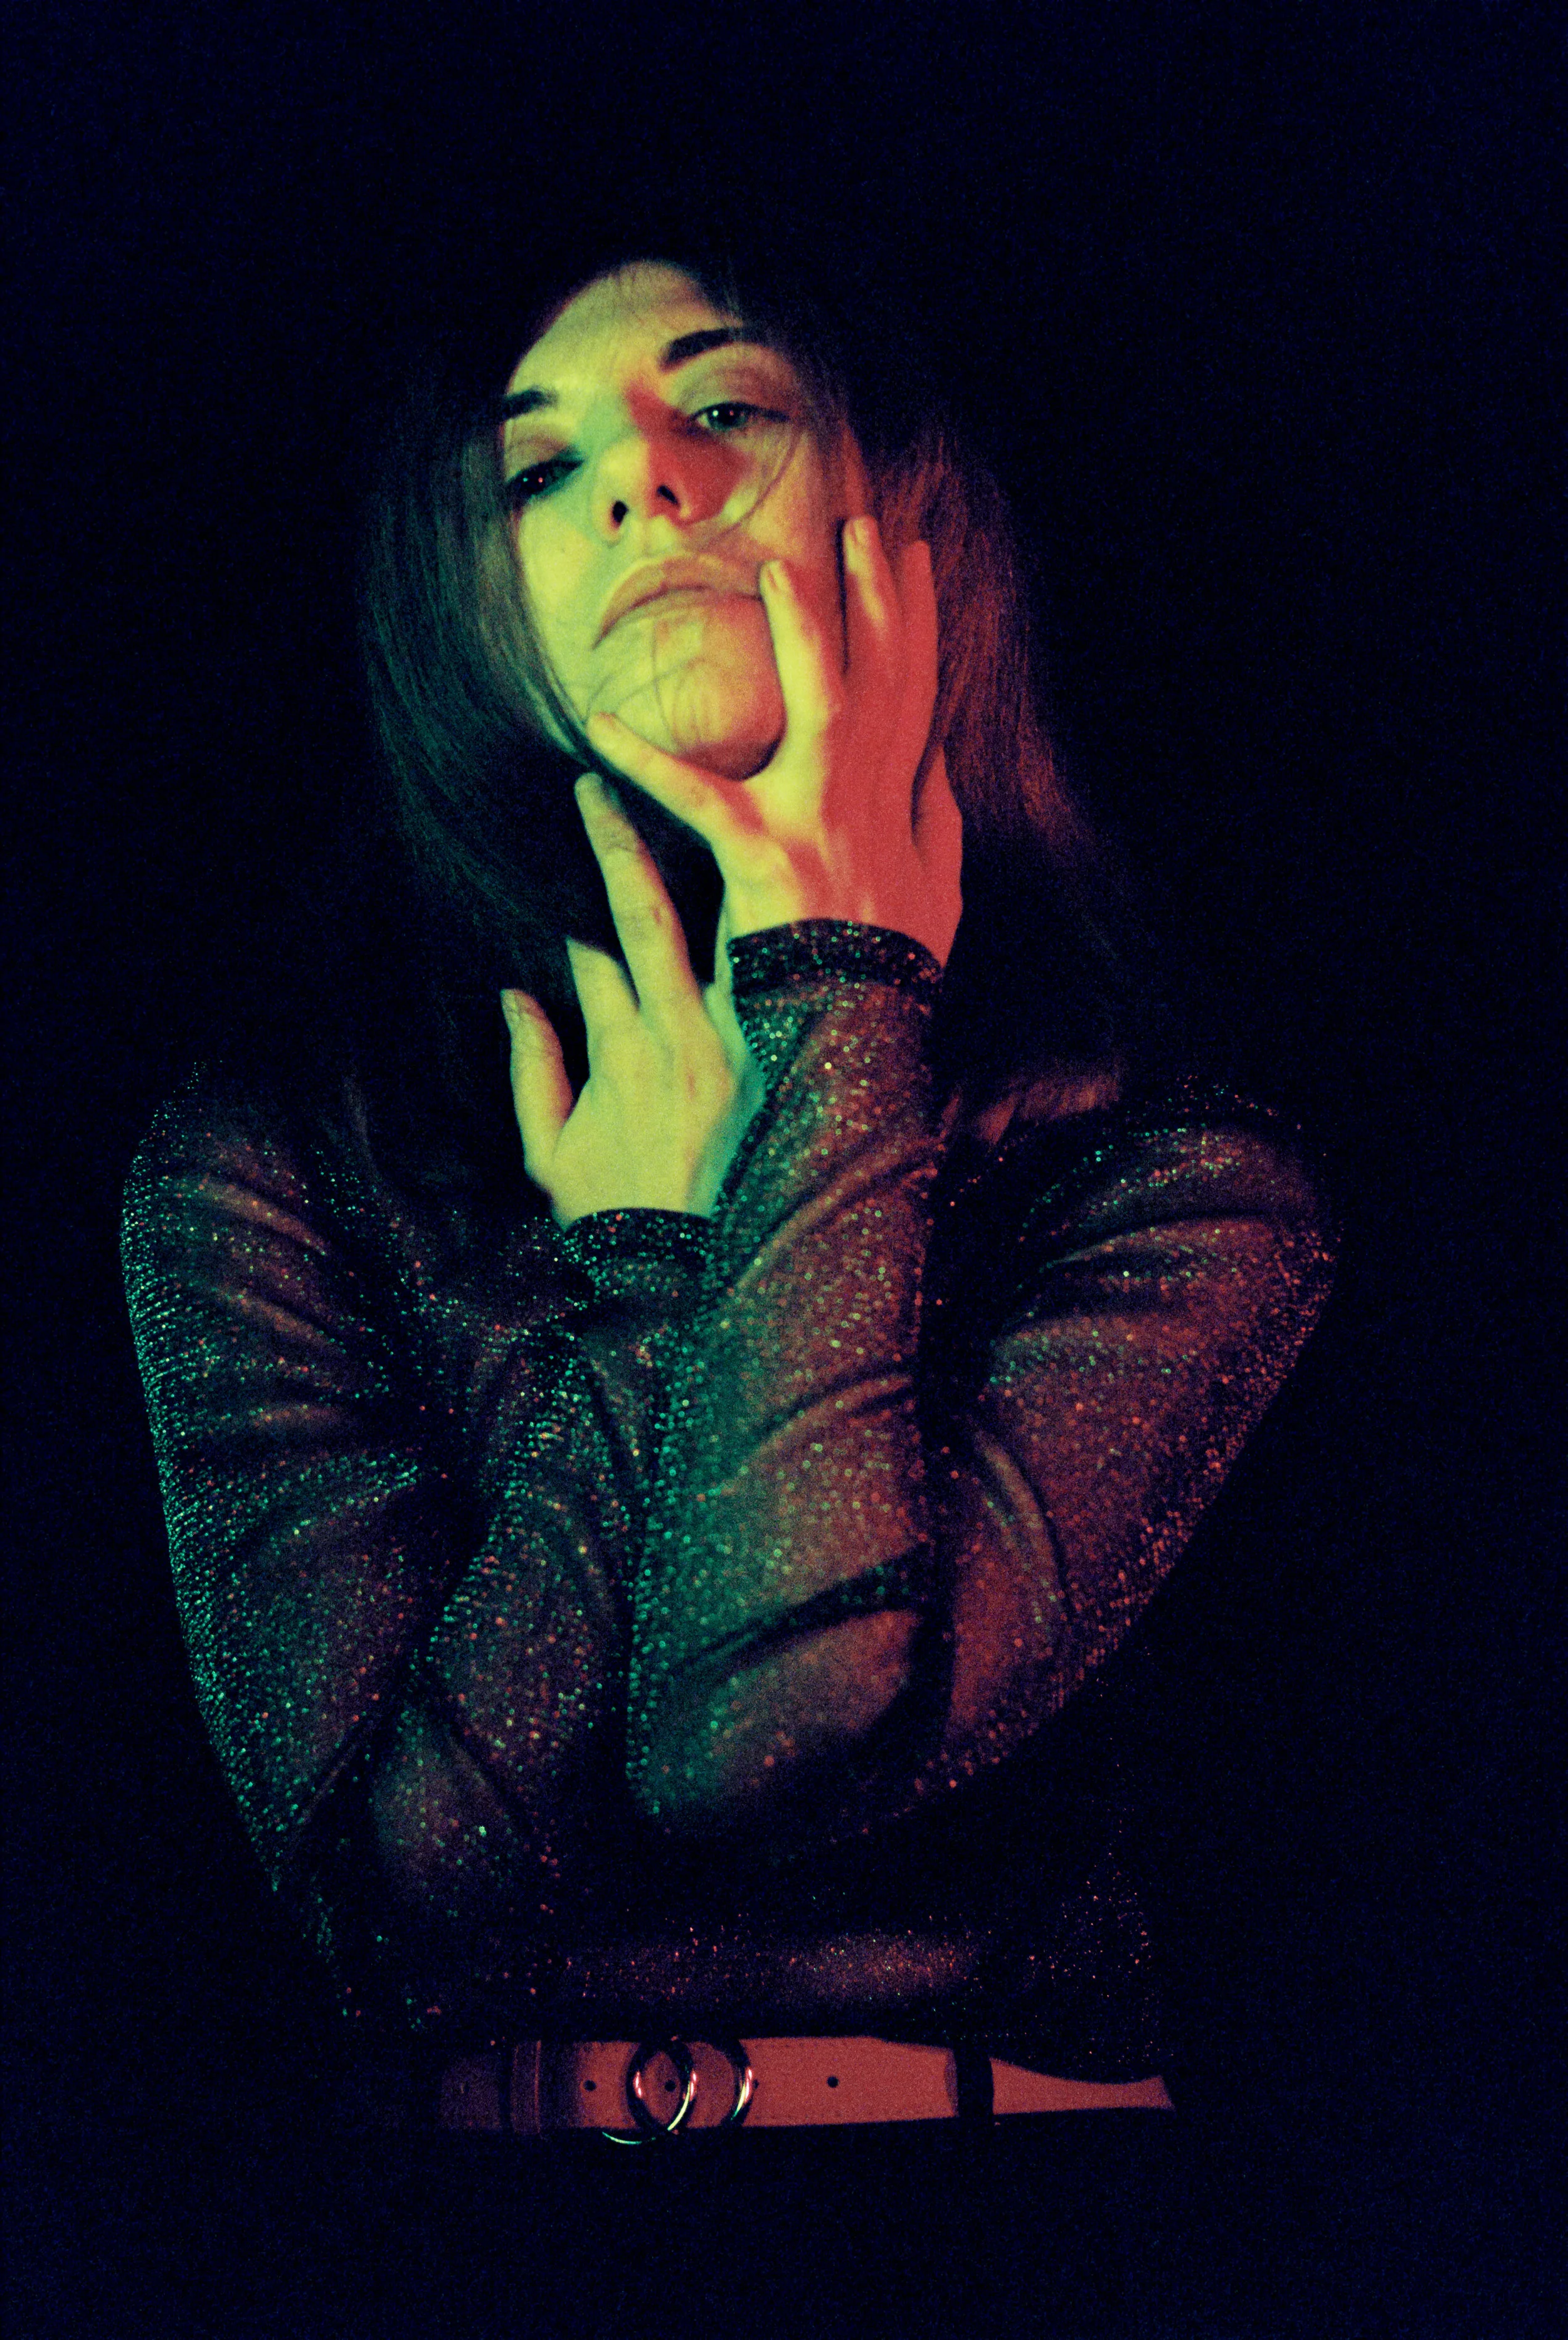
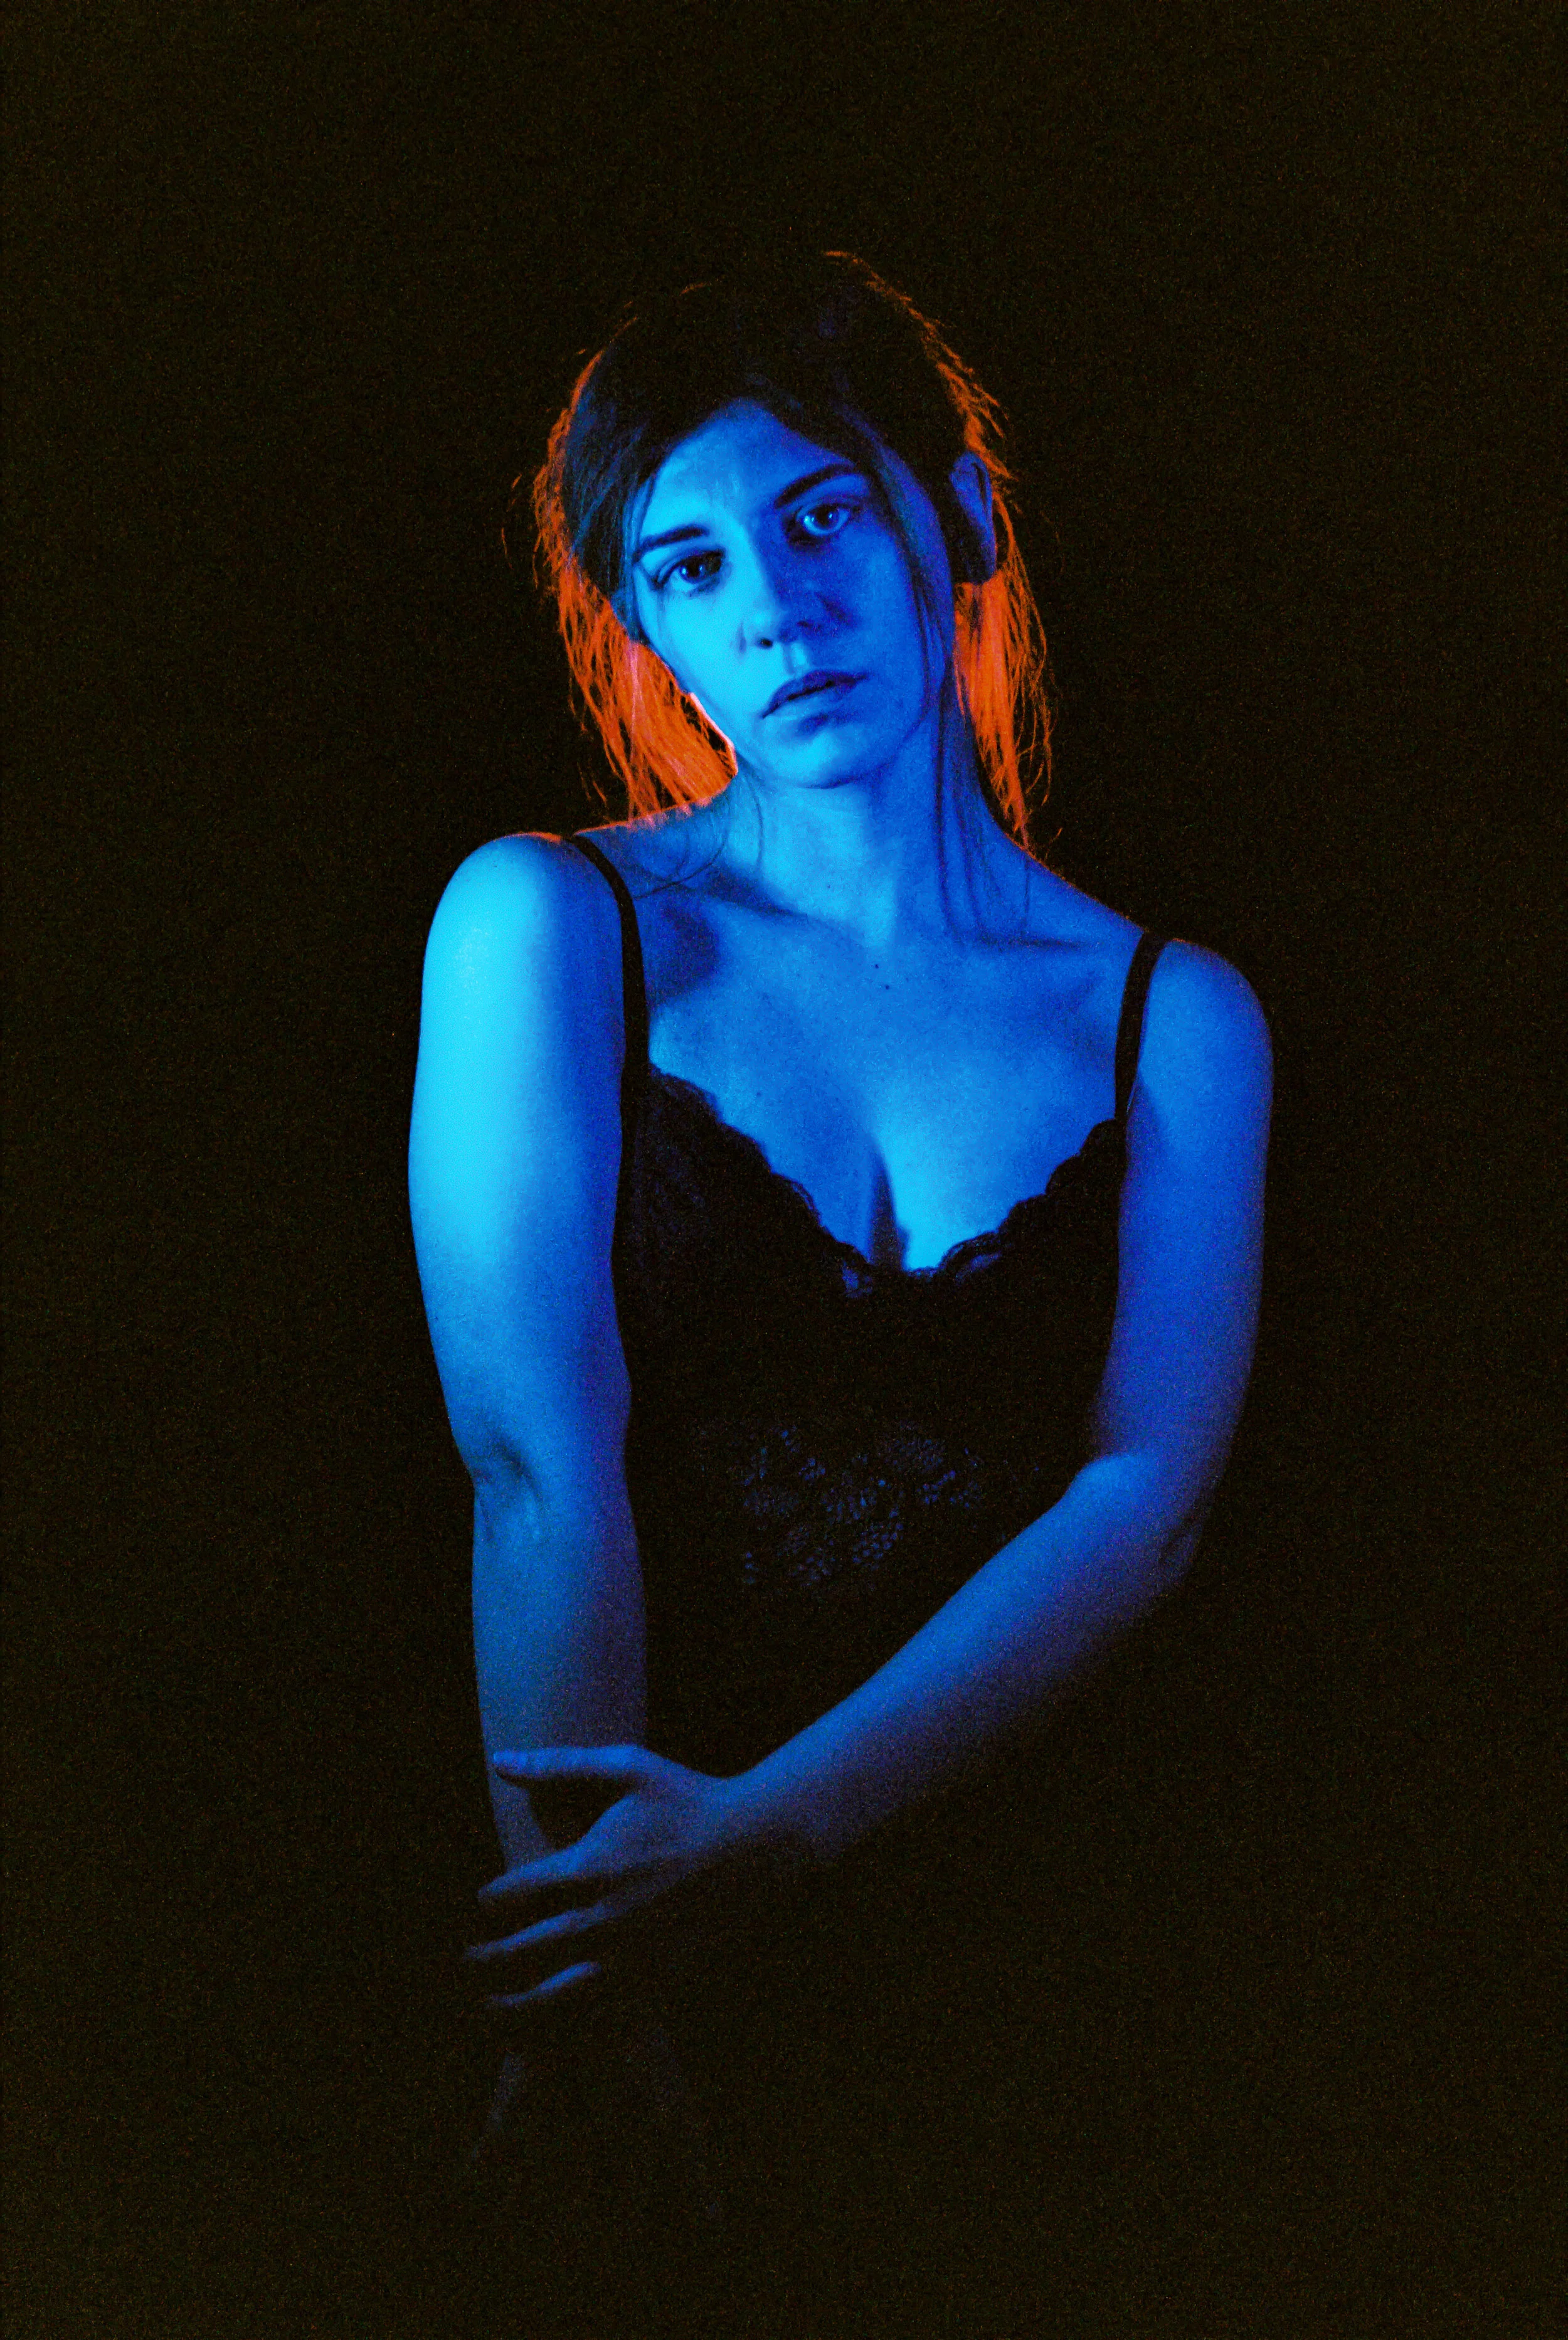
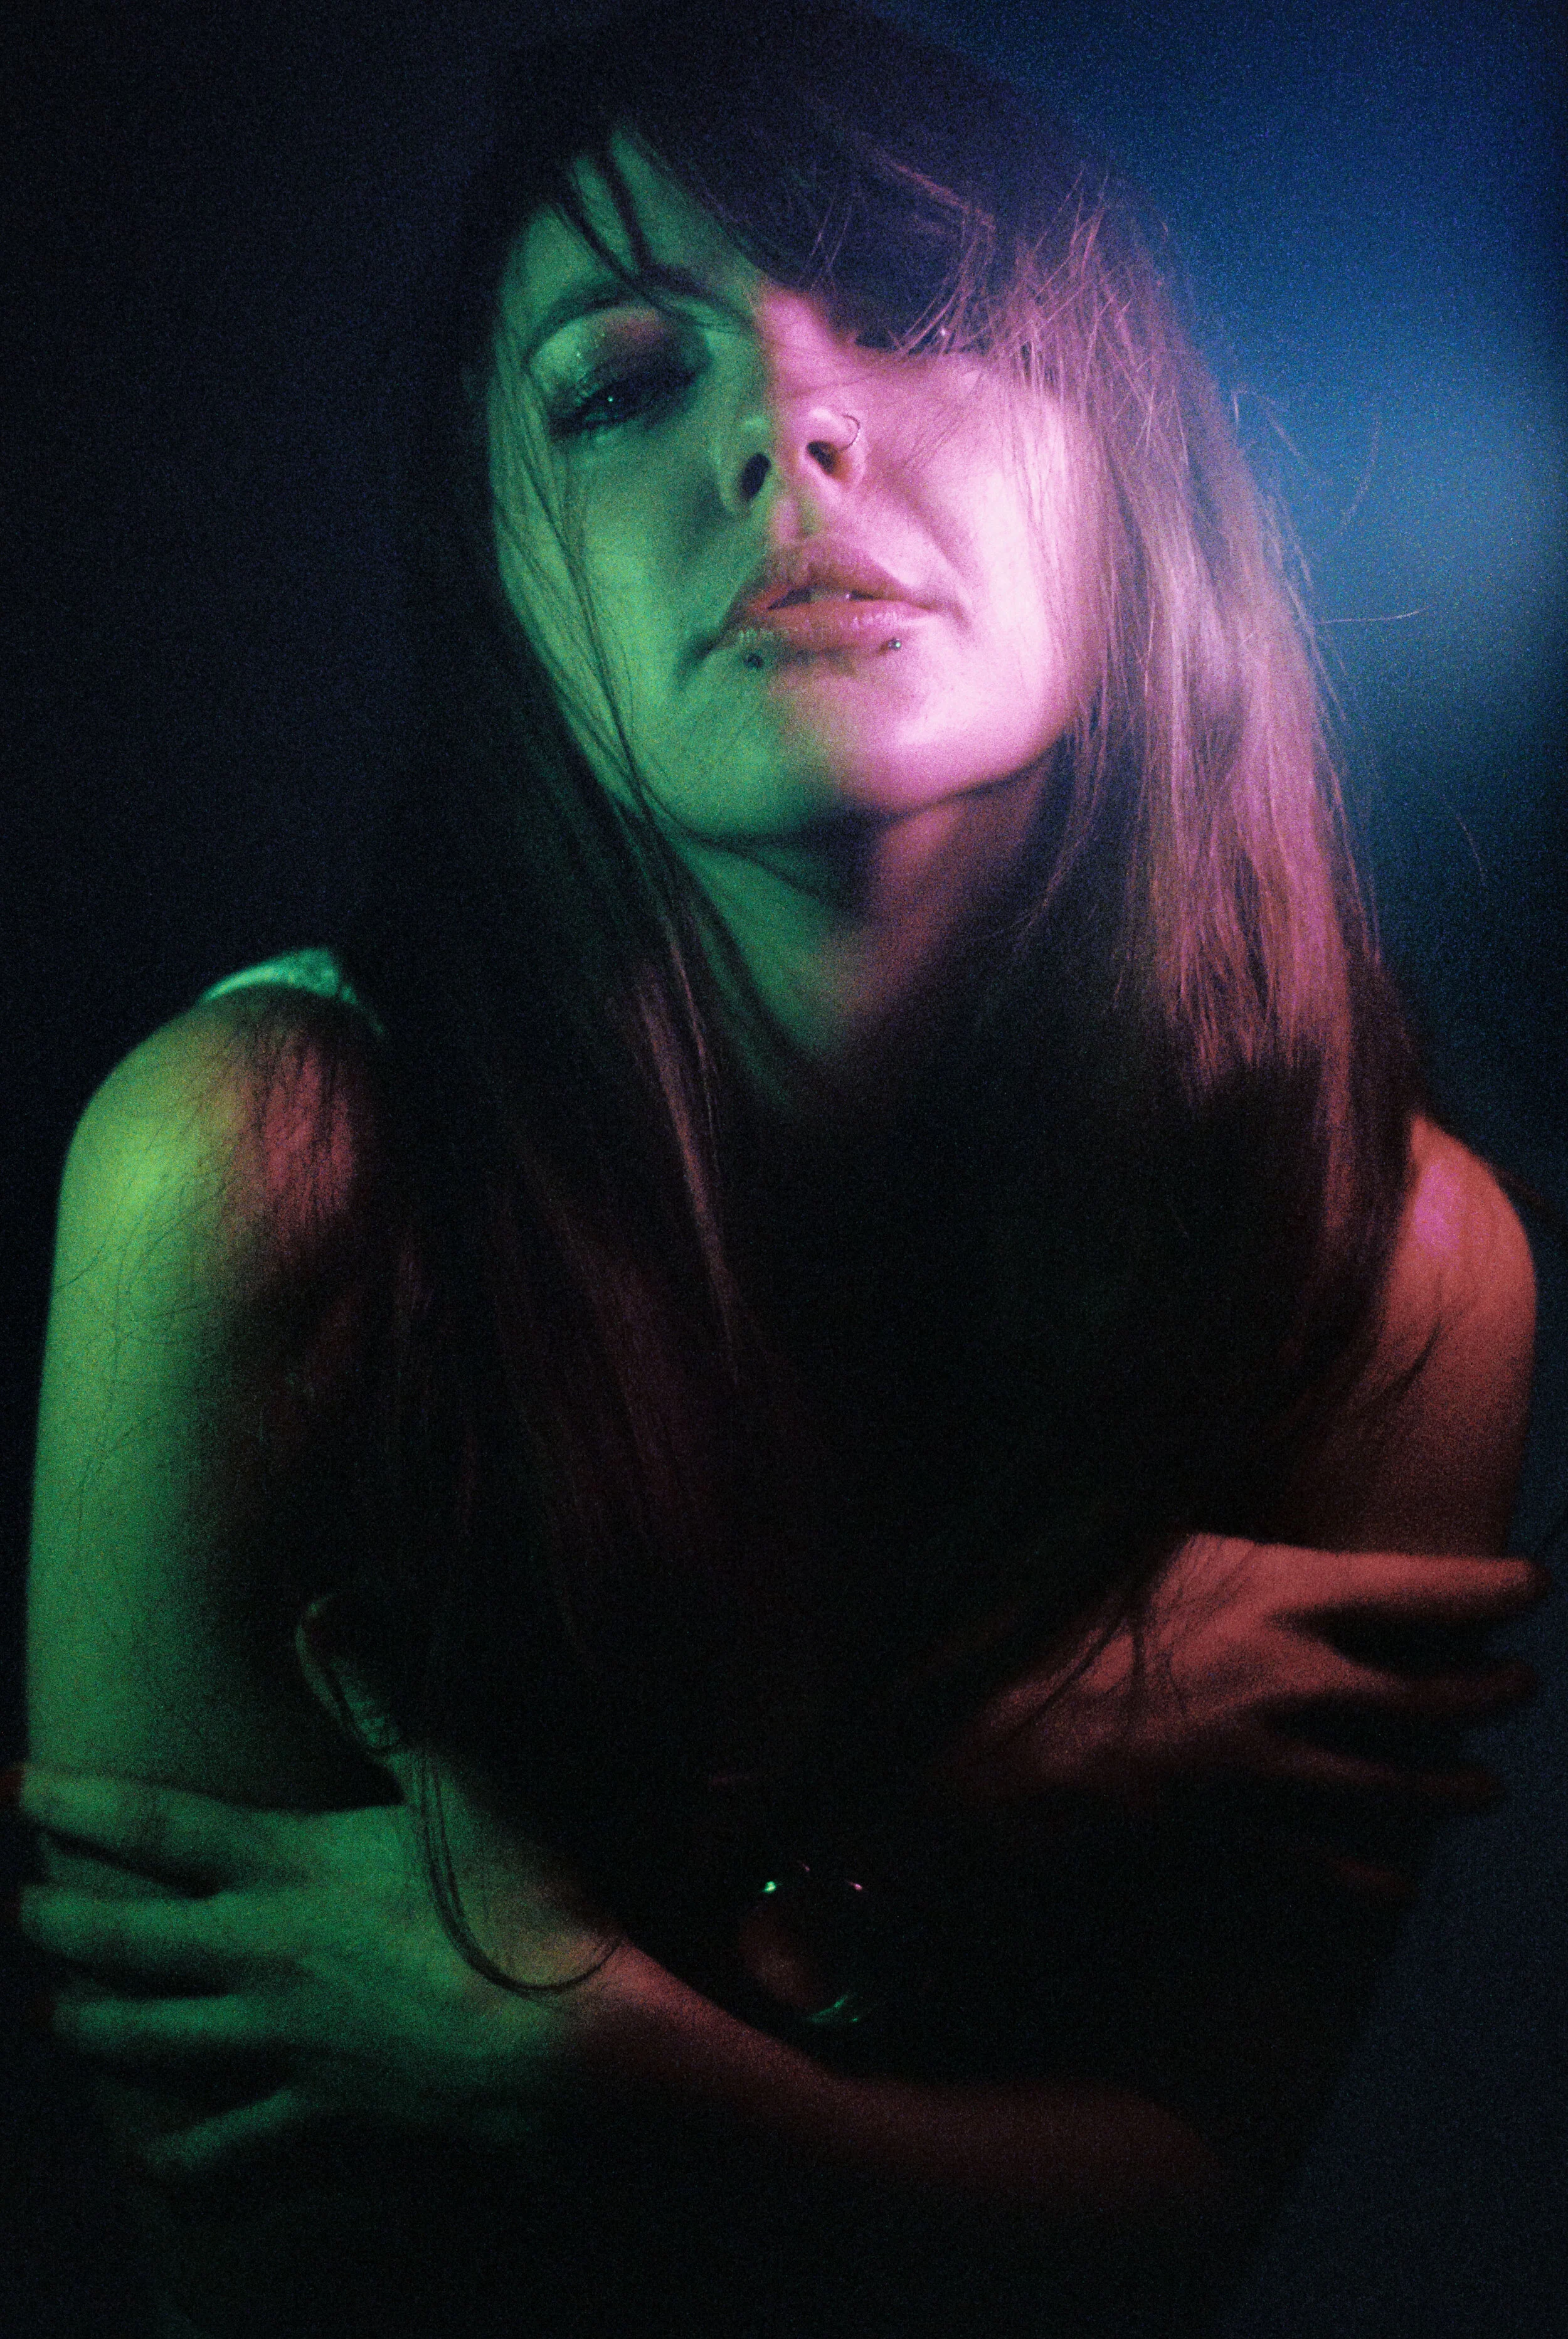
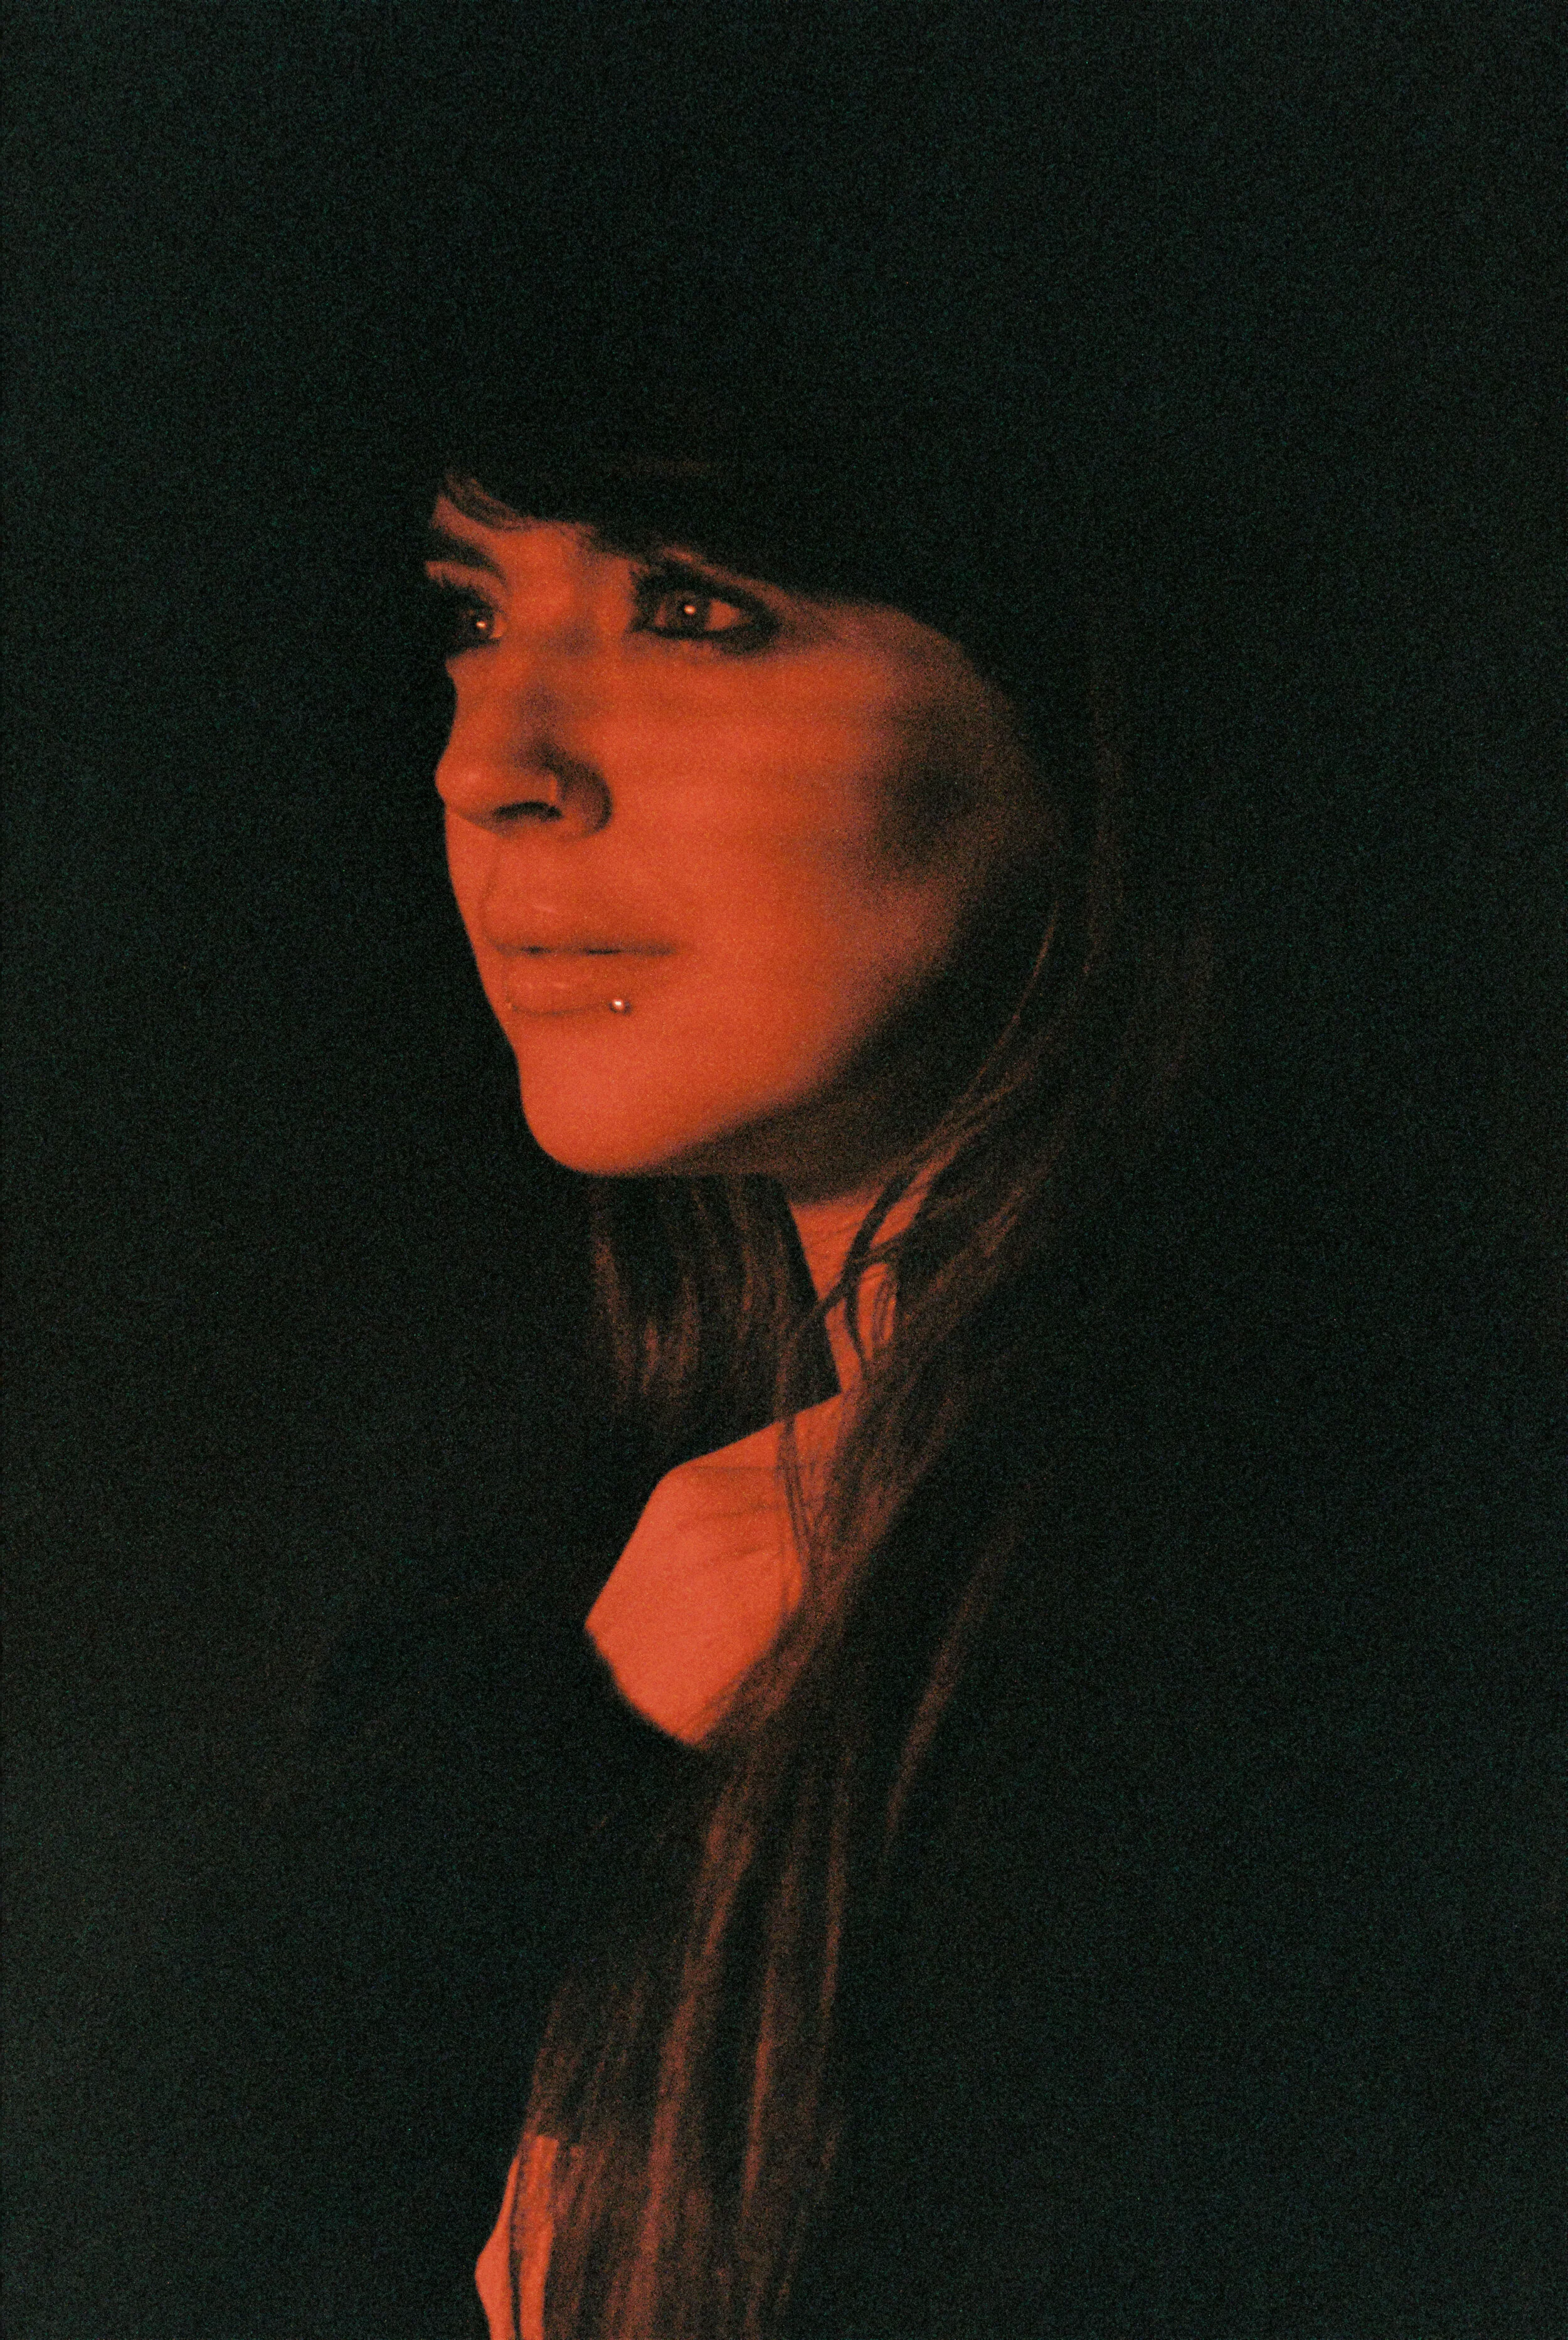
A couple of days later I shot in the same studio with Danni - again a wonderful model and lots of fun playing with the lighting.
A huge thank you to models Sophie and Dannie for agreeing to help me with this creative experiment.
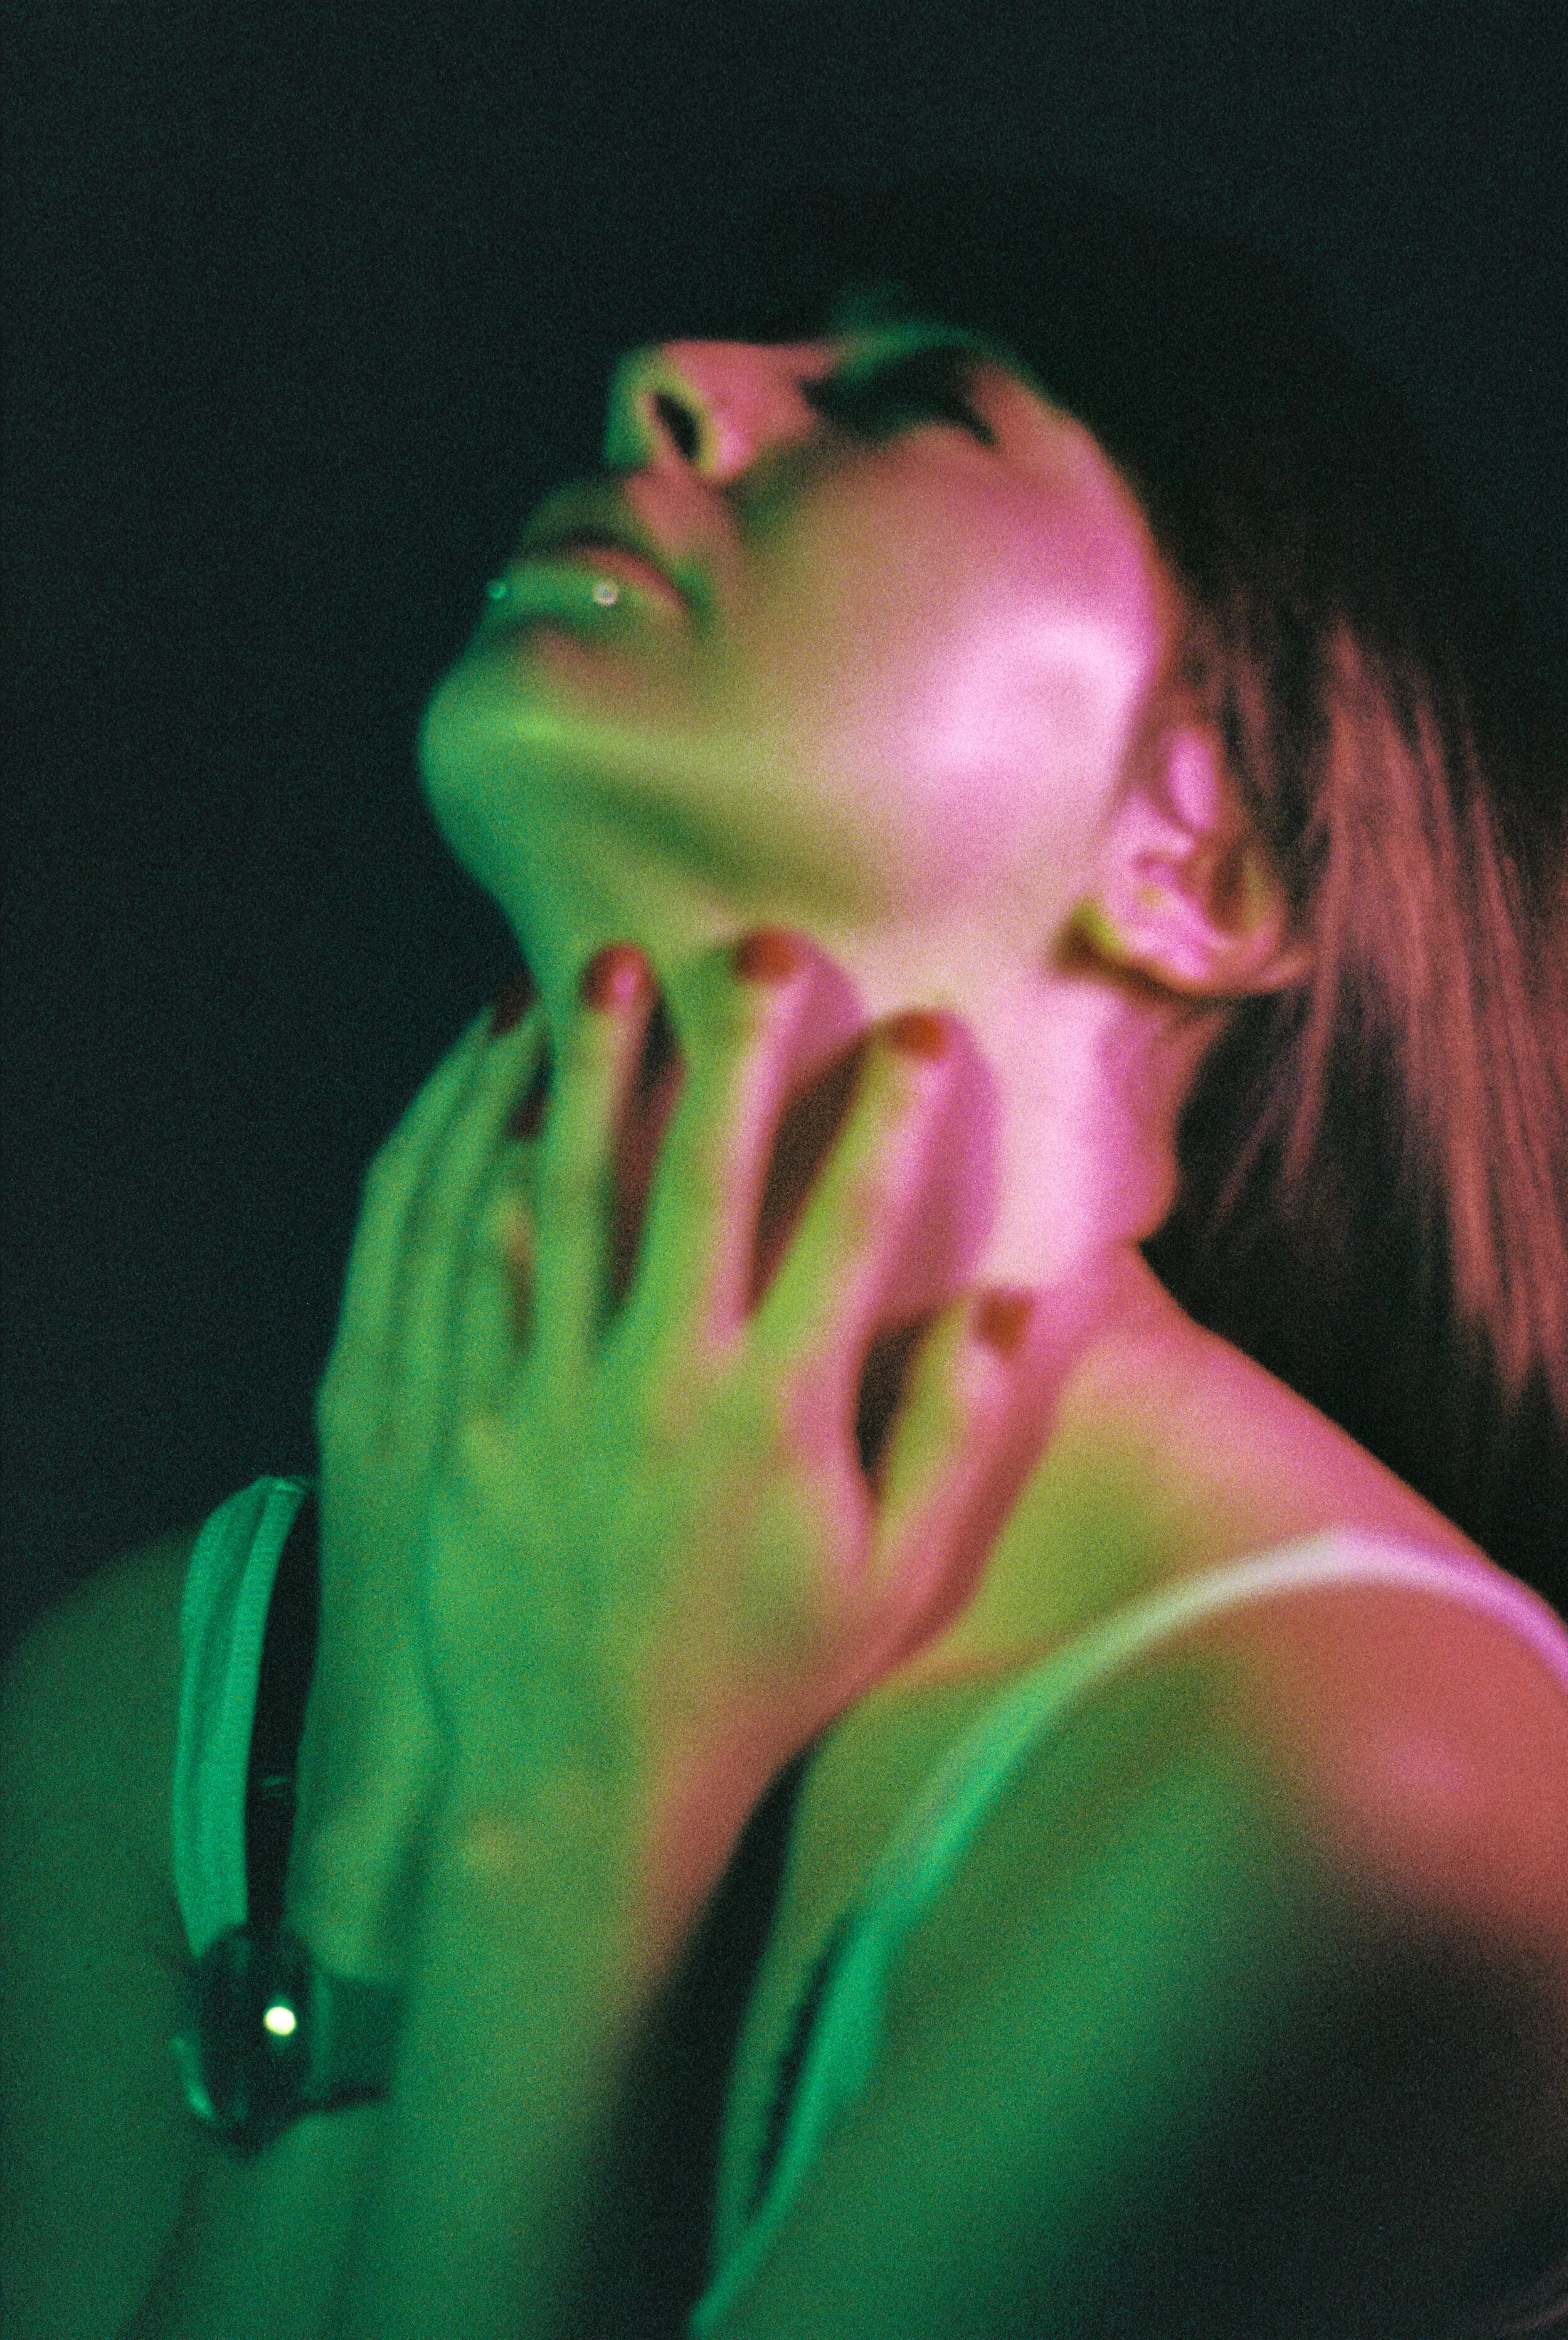
Once again I am knocked out by the results! I’ll talk you through my process and set up for creating these - in terms of lighting I had two Neewer as fill lights and the YN300 as key light. I played around with colour themes as well as mixing and blending colours for different effects.
I found that to get a rich, deep colour two or three layers of cellophane were required over the lights, this obviously impact the amount of light being transmitted but the depth of colour is much improved.
Positioning the lights I was able to judge by eye how the light is falling, then when happy with that I take a meter reading for the highlights falling on the models face and then take the shot.
In general these images were shot at around f2, 1/60 at 3200 - this is quite a big limitation in terms of depth of field and holding steady to avoid camera shake - but I’m really pleased with how they came out - I learned a LOT about the process of shooting film under LED lights, next time I would definitely use some more powerful lighting which would allow for deep/rich colours but without limiting my exposure options. Once again a huge thank you to my collaborators on this project - it really is a joint process and such a creative, shared experience! Every time I shoot I continue to learn, to grow and develop my portfolio which is what it’s all about!
One other thing worth mentioning is that shooting 35mm instead of medium format you do lose quite a bit of resolution as you might expect with a smaller format, but to my eye there is a particular look and feel to these images which is just…..hard to define… the grain, the structure, the feel, it just adds to something intangible which I just love.
Stay tuned for more colourful creative collaborations! I have a loads more for using colour and artificial lighting to help tell a story, evoke a mood and add interest to my work. I have also fallen back in love with shooting in the studio it’s a different process, more systematic and with greater control over things without the pressure of having to accommodate the world at large into your creative decisions - and in these cold winter months it’s good to be under cover!