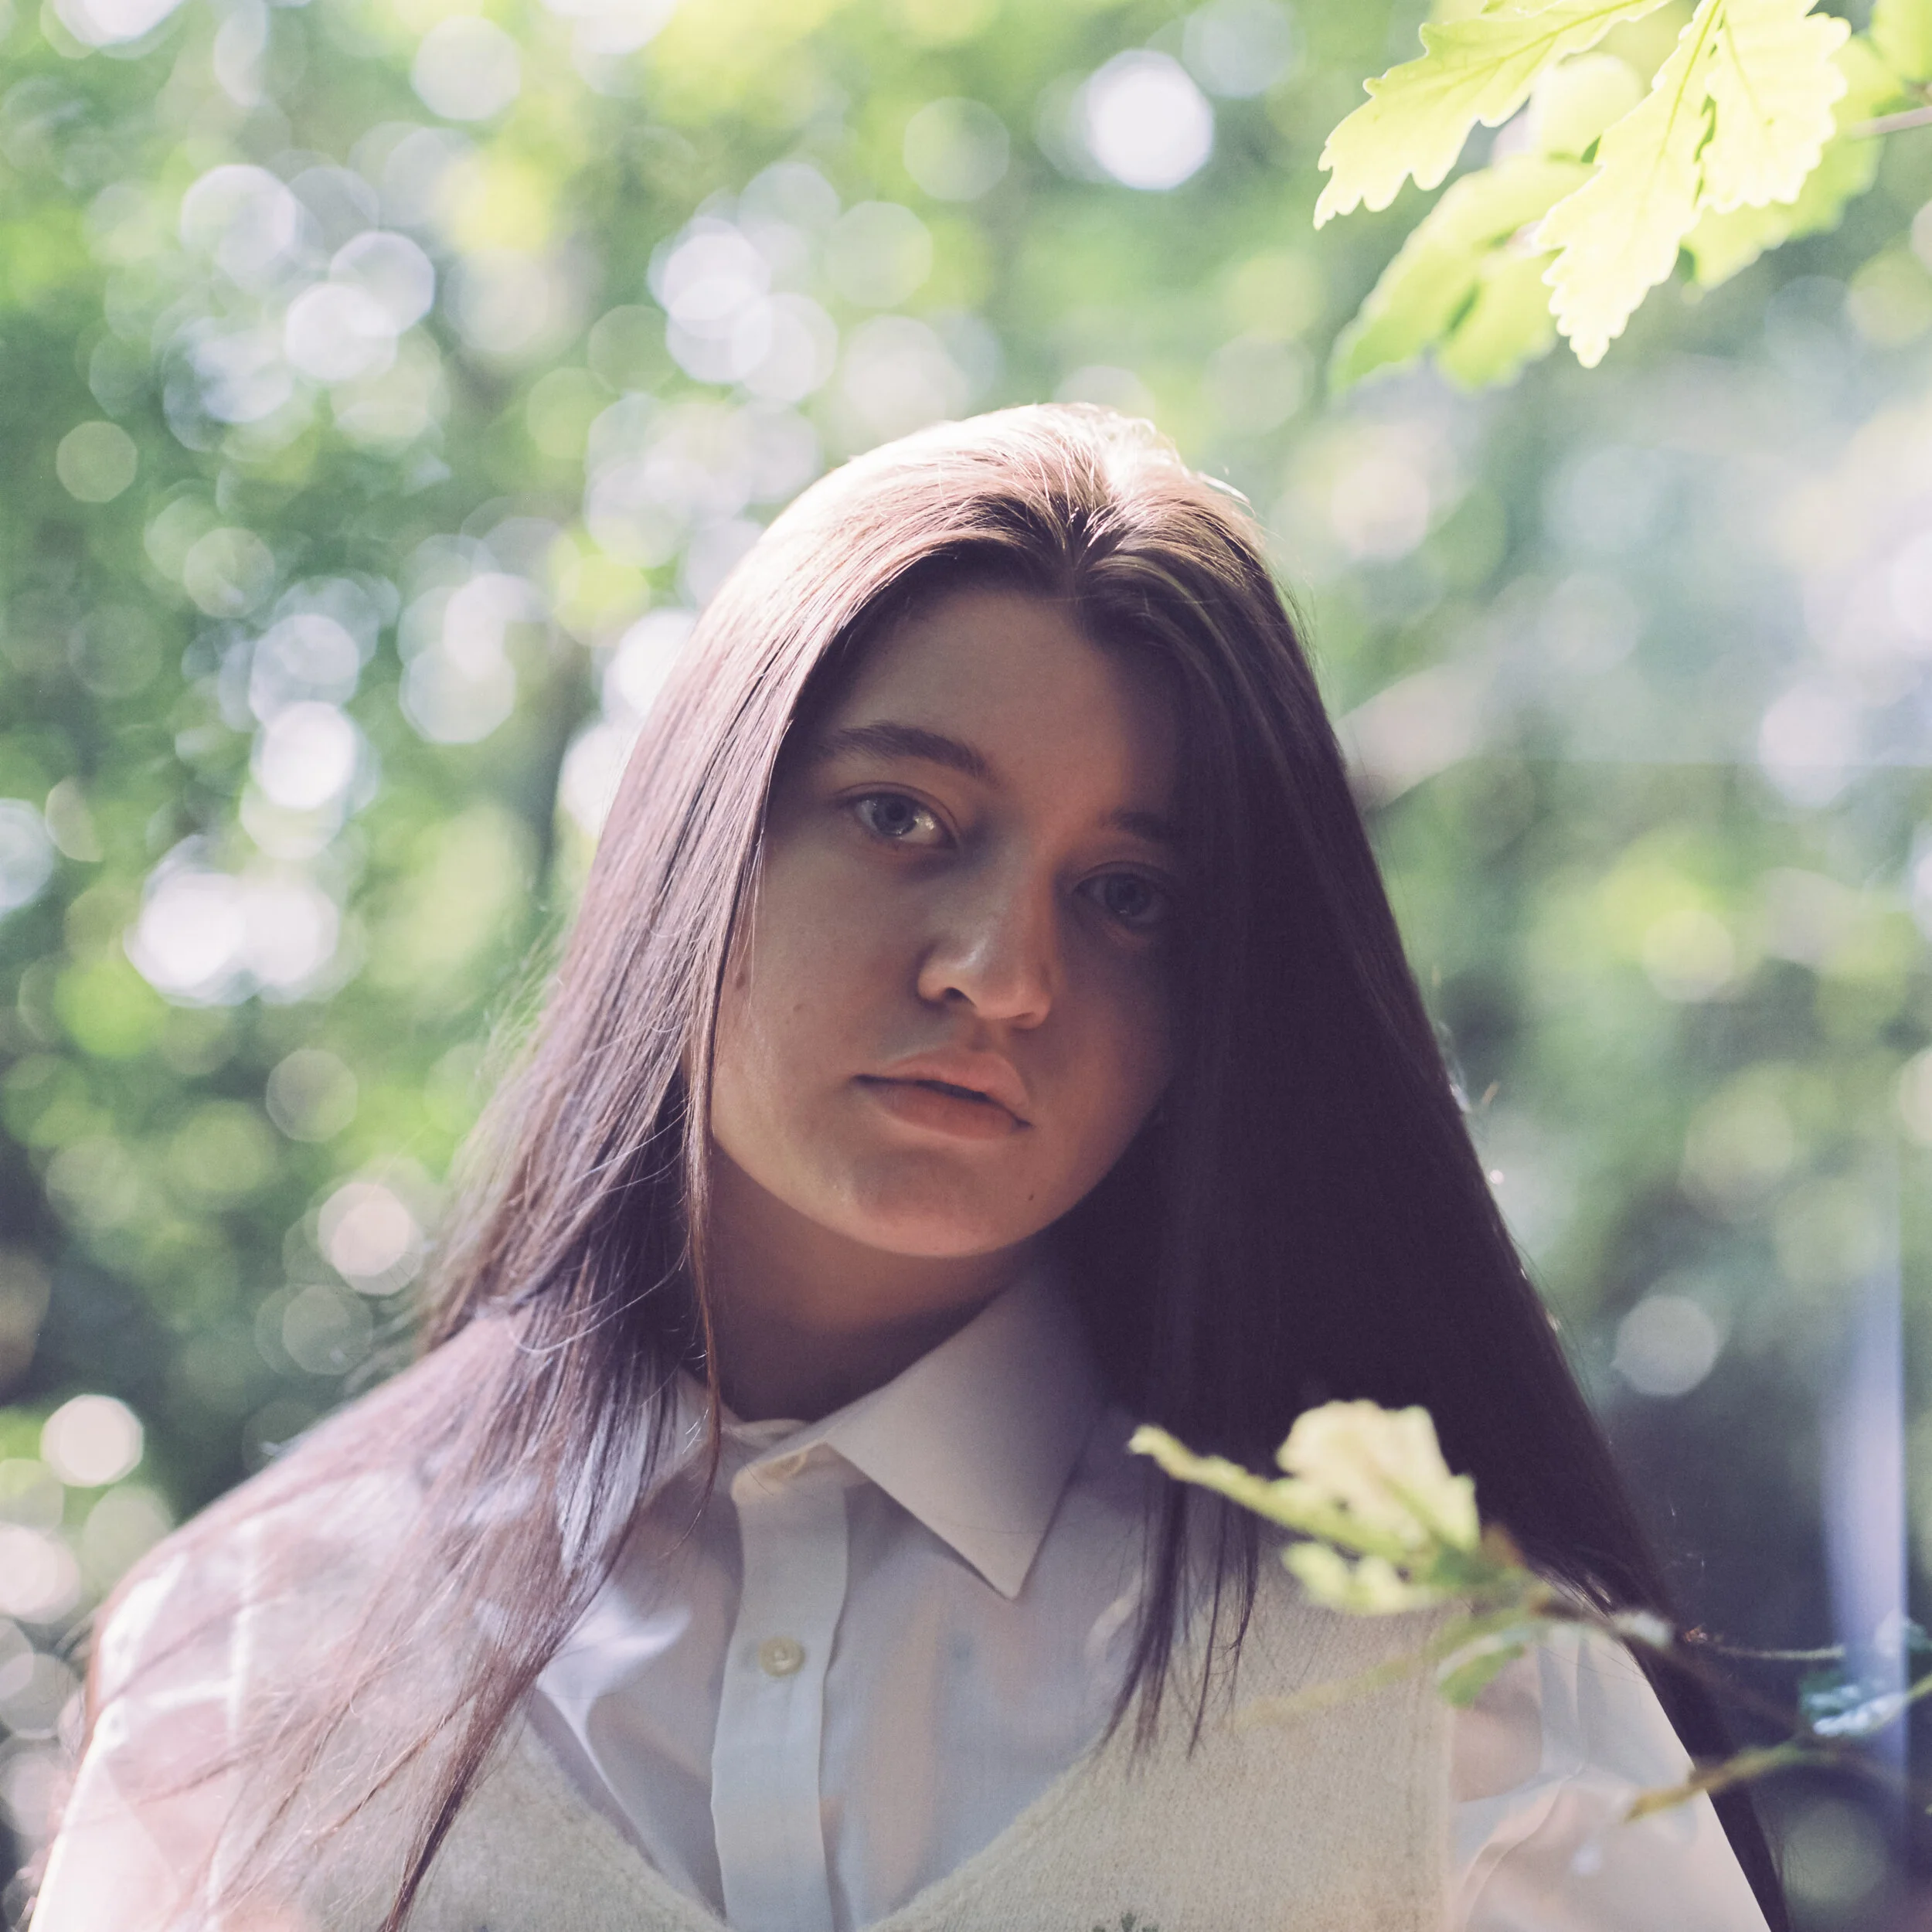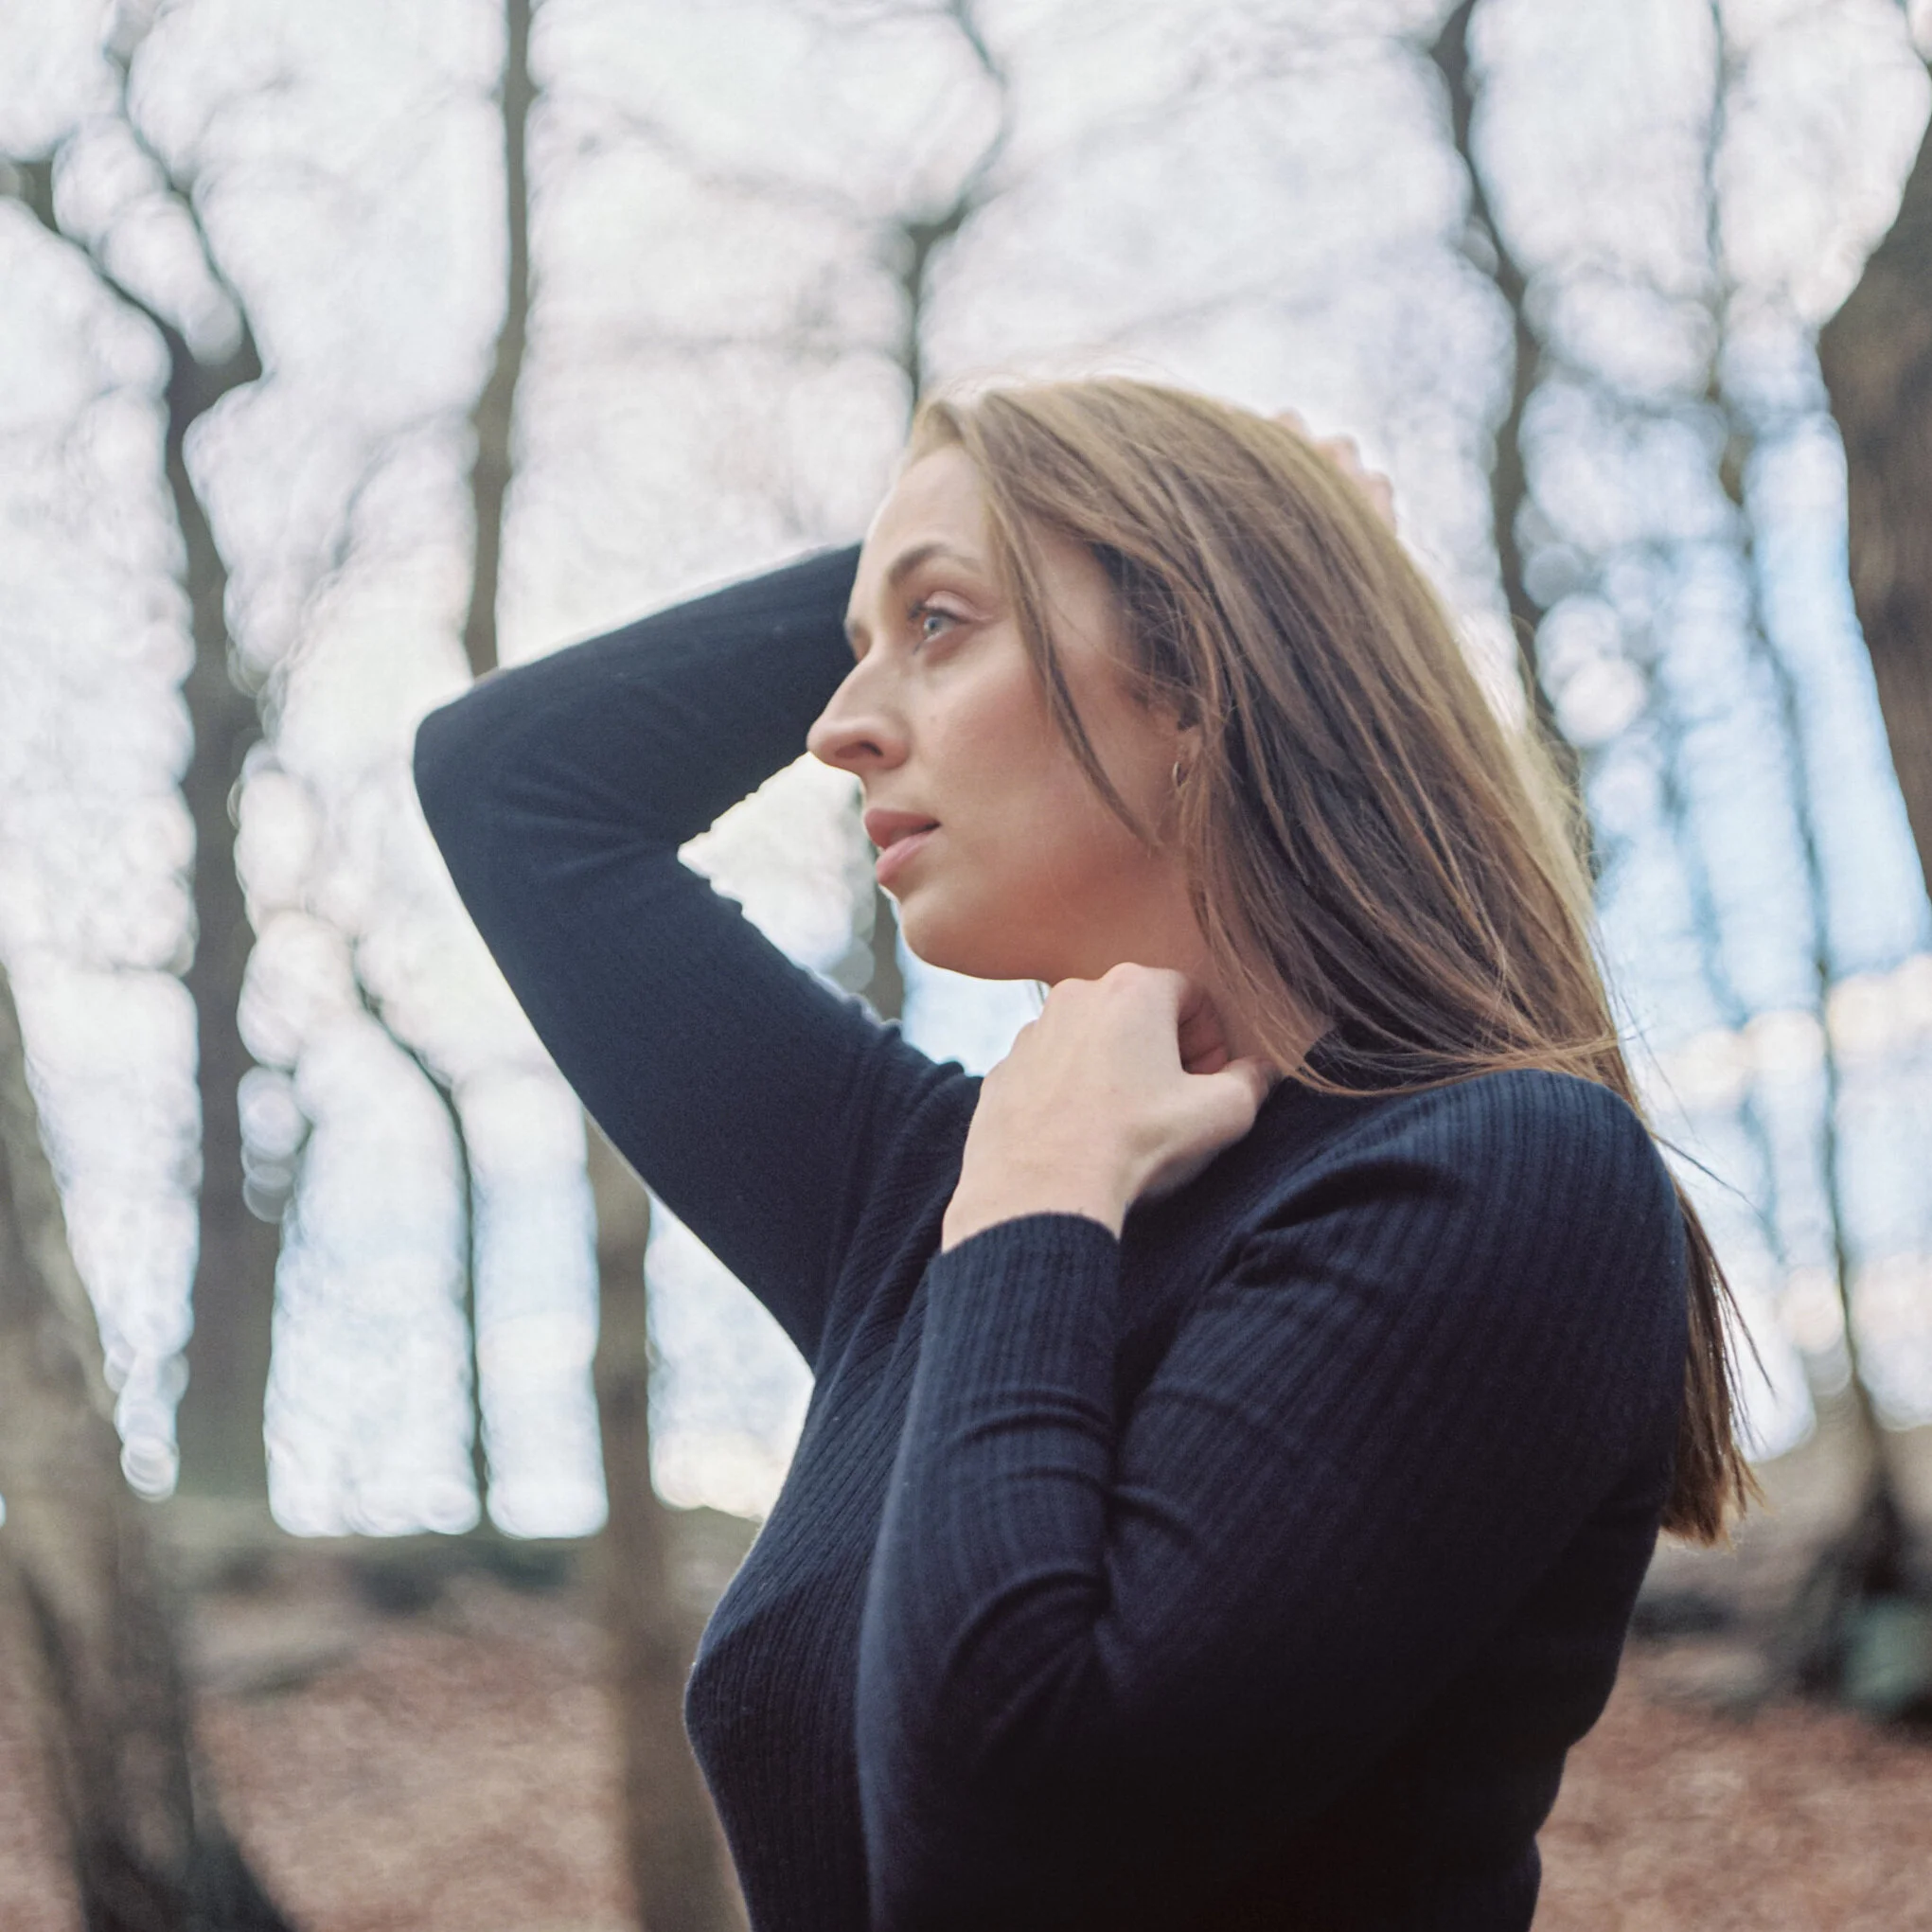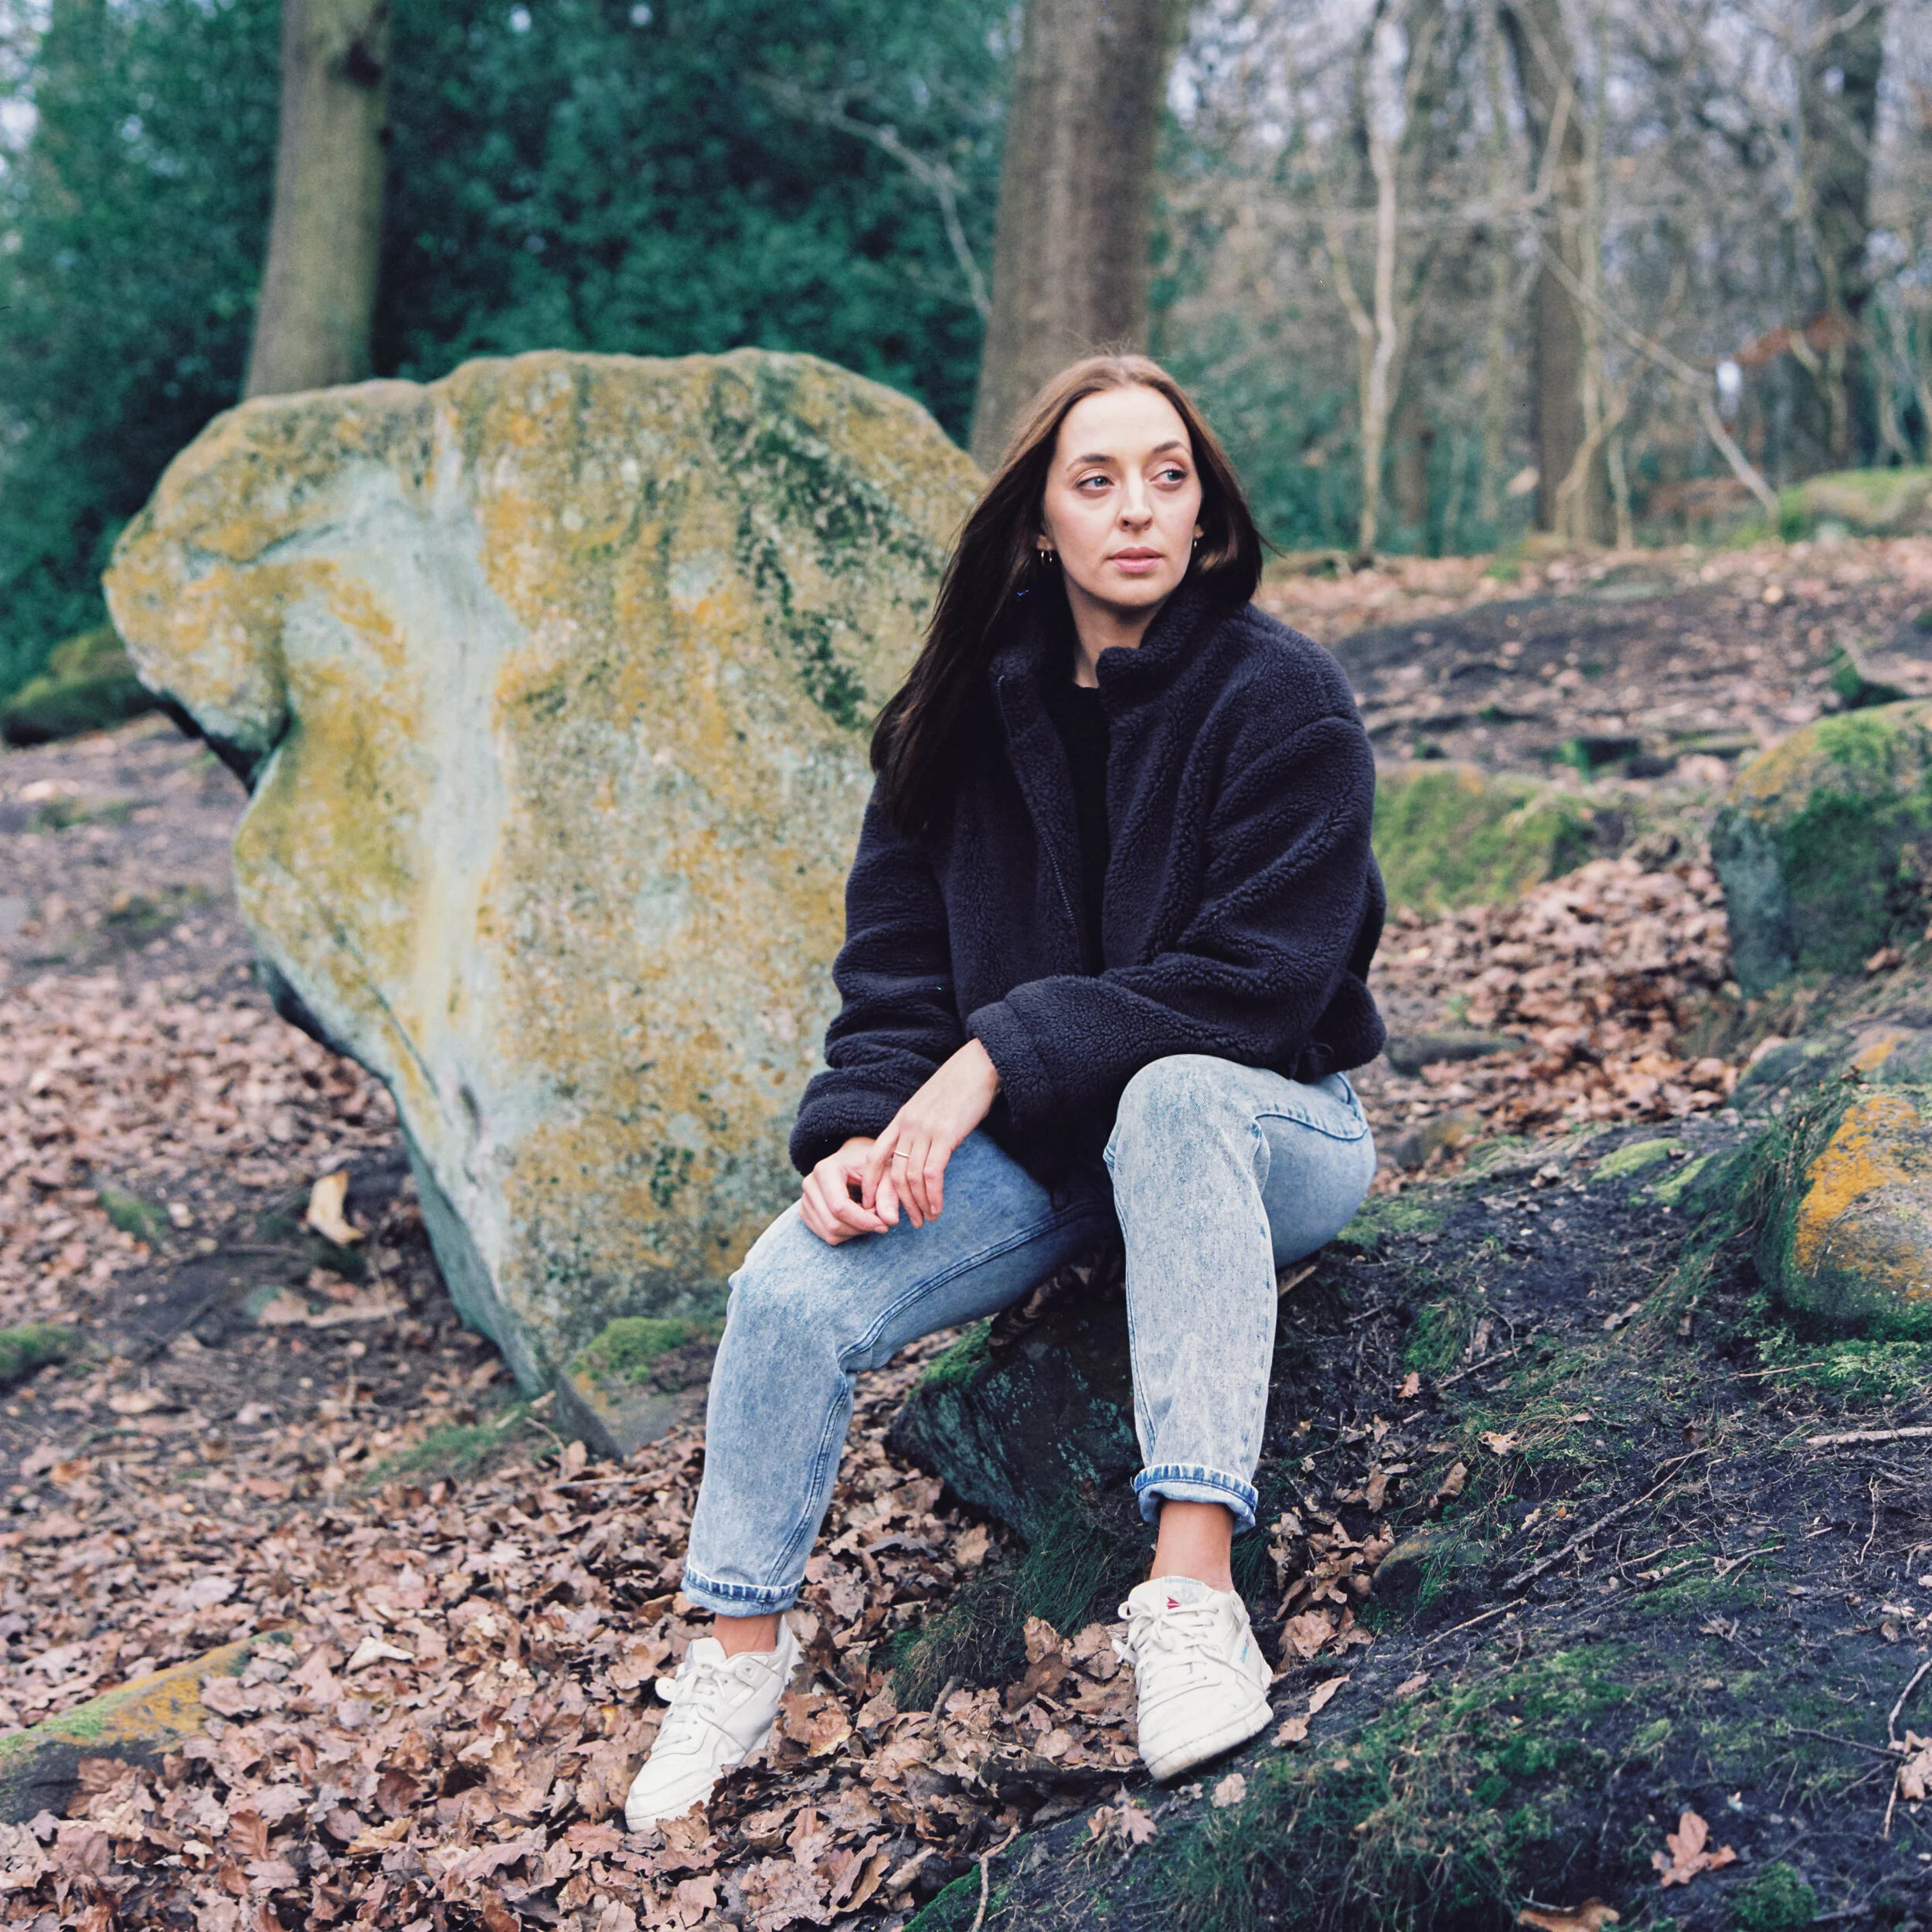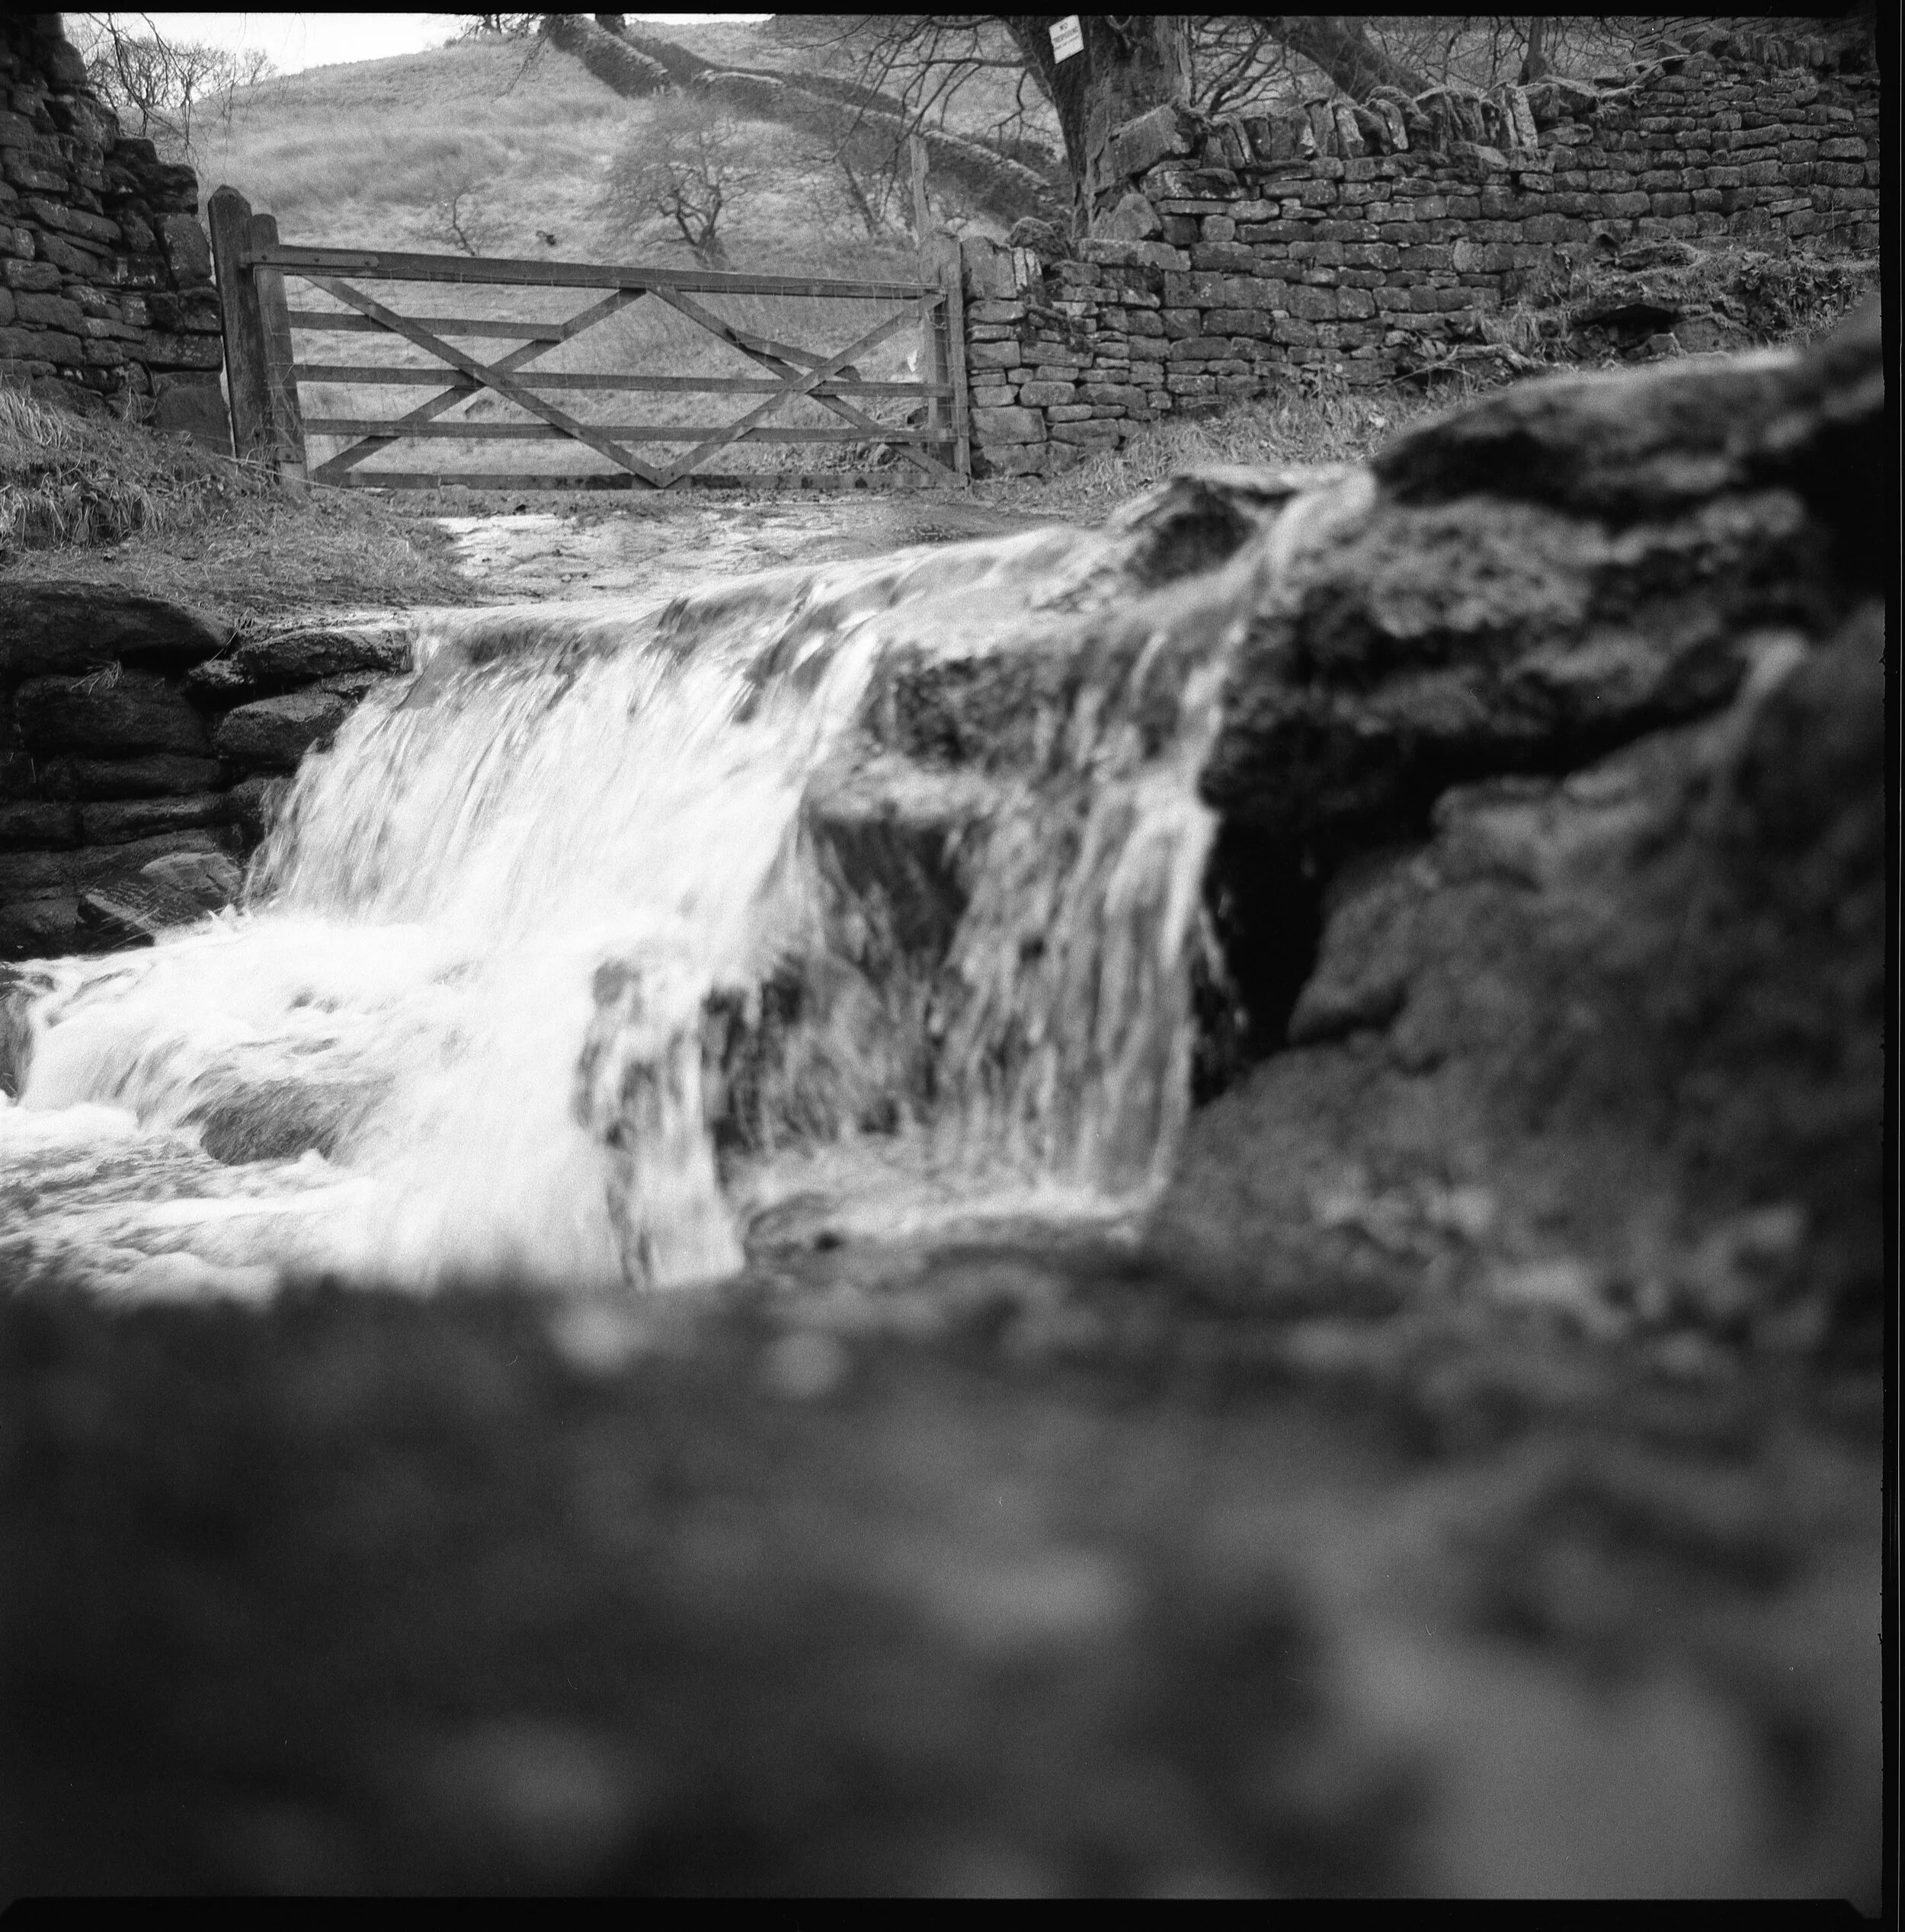
Helios 40-2N Review or Digital Photography: A Slight Return...

 
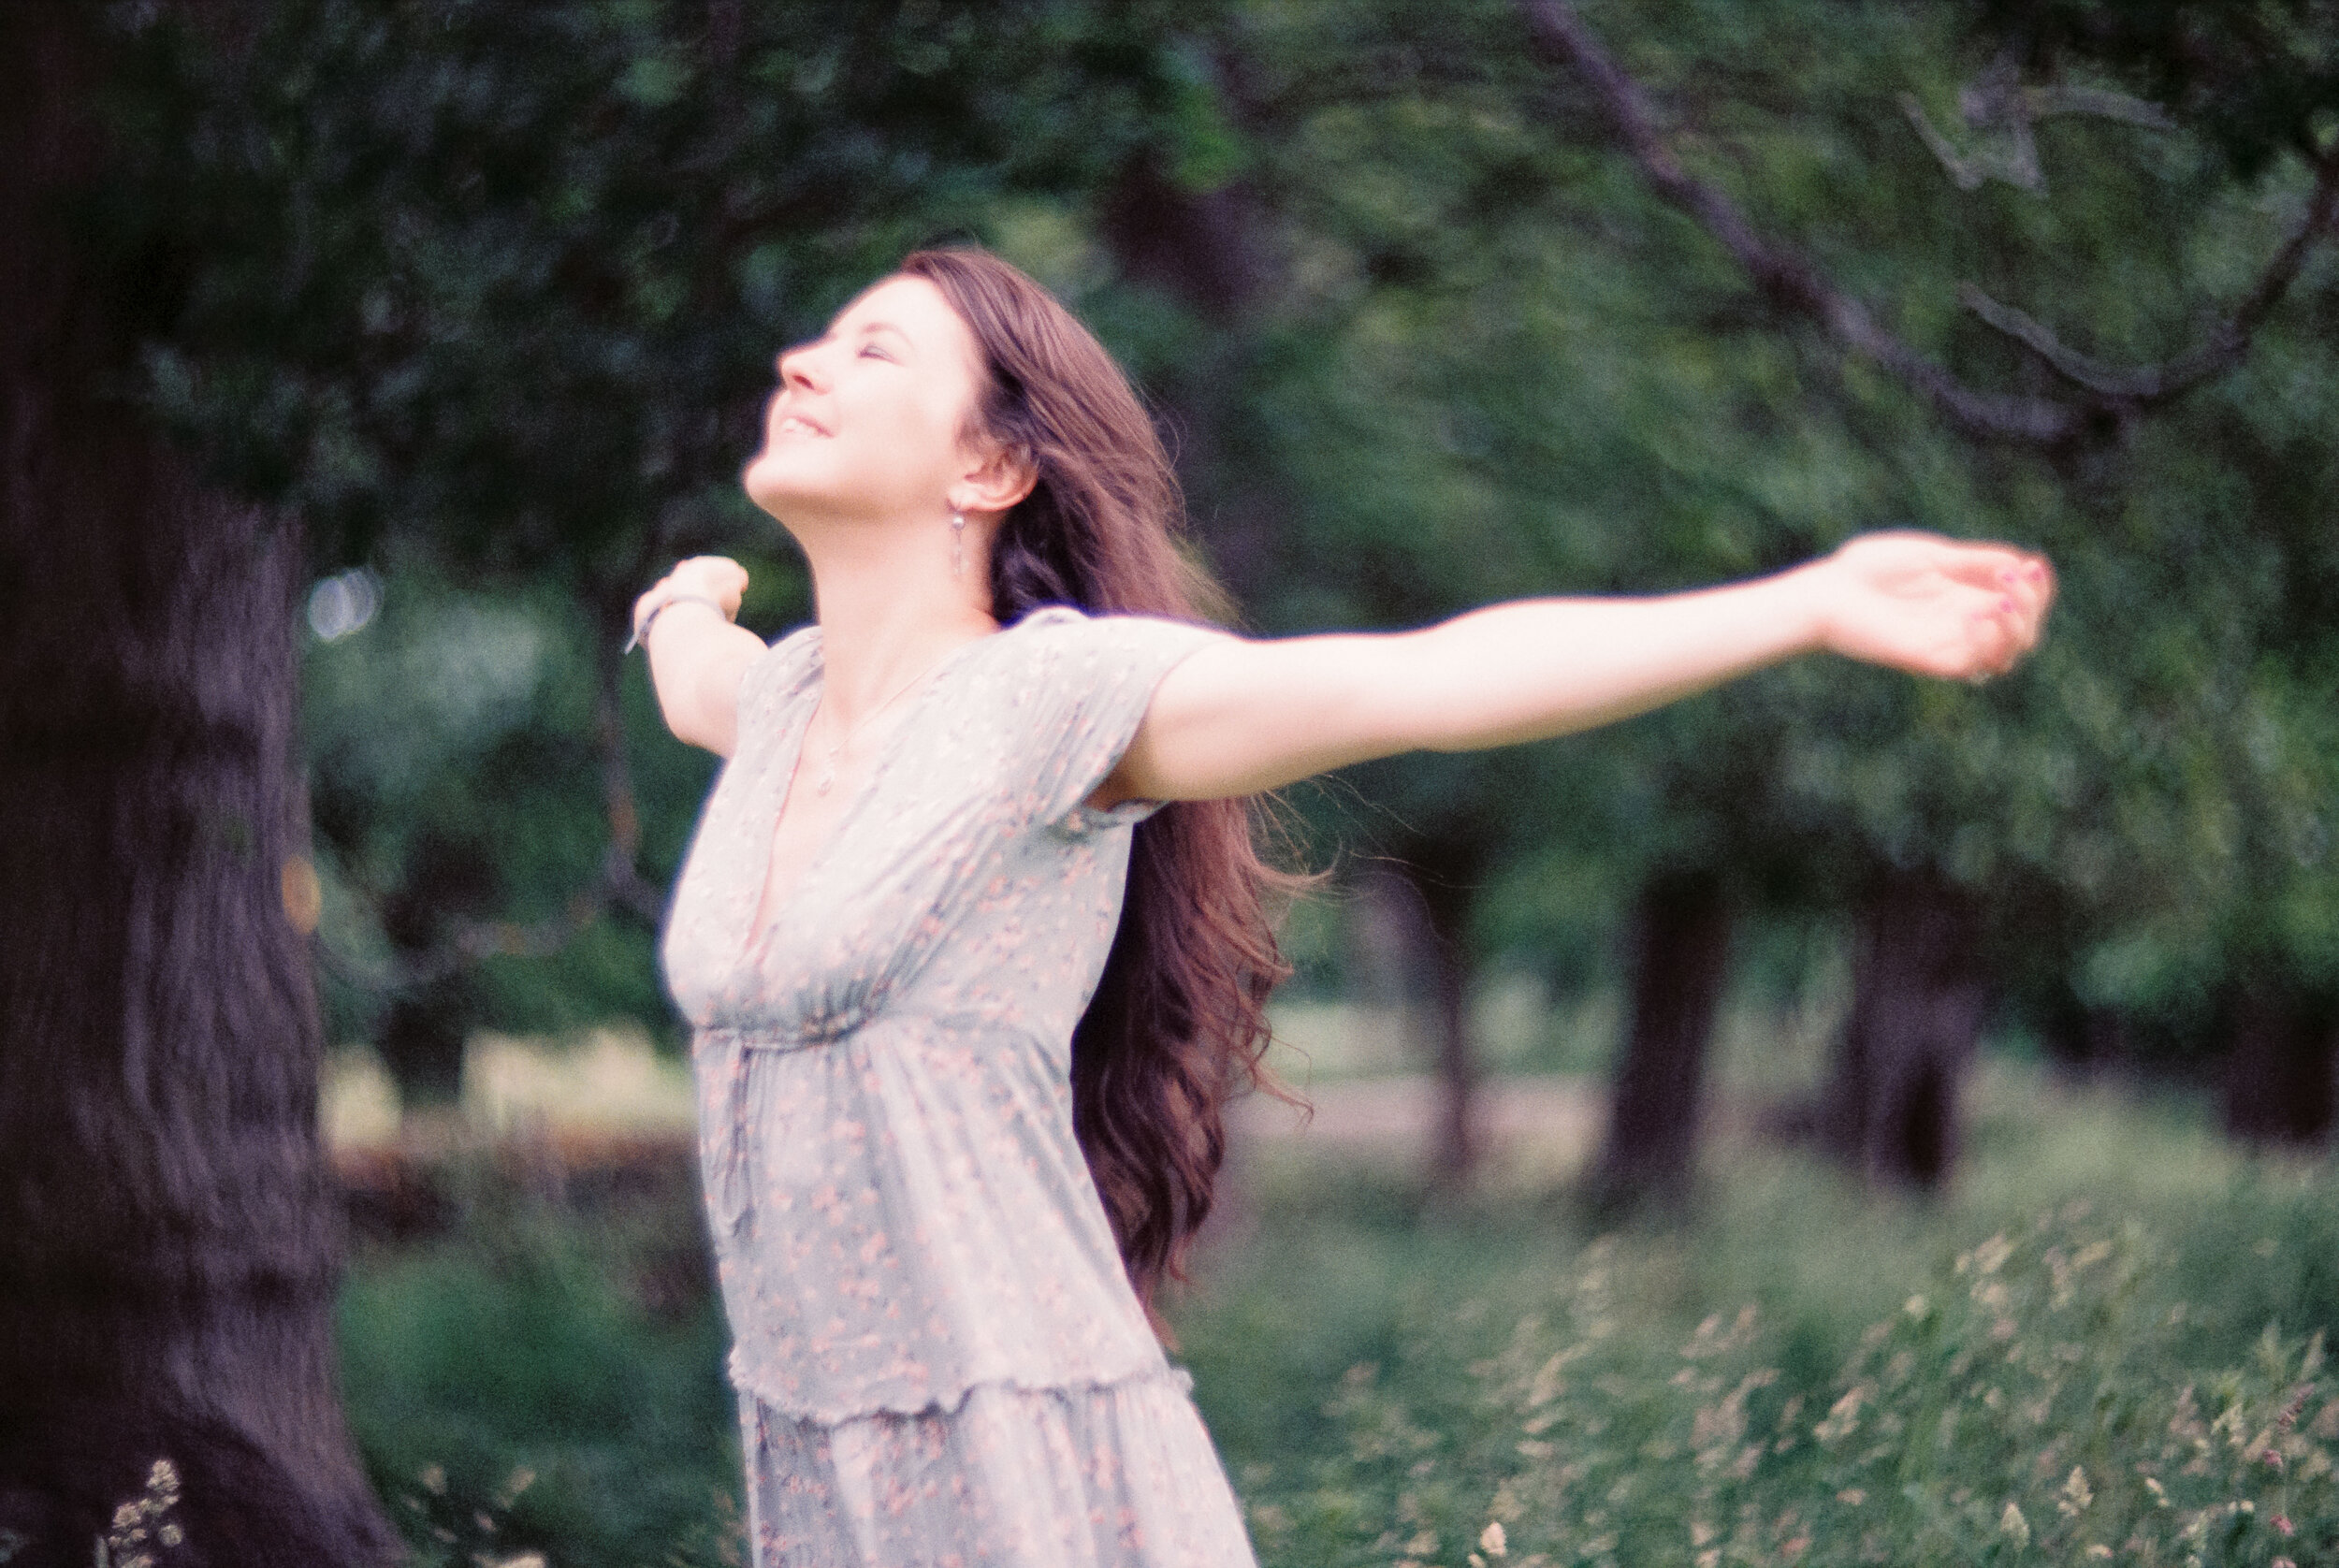
DSC_9908.jpg

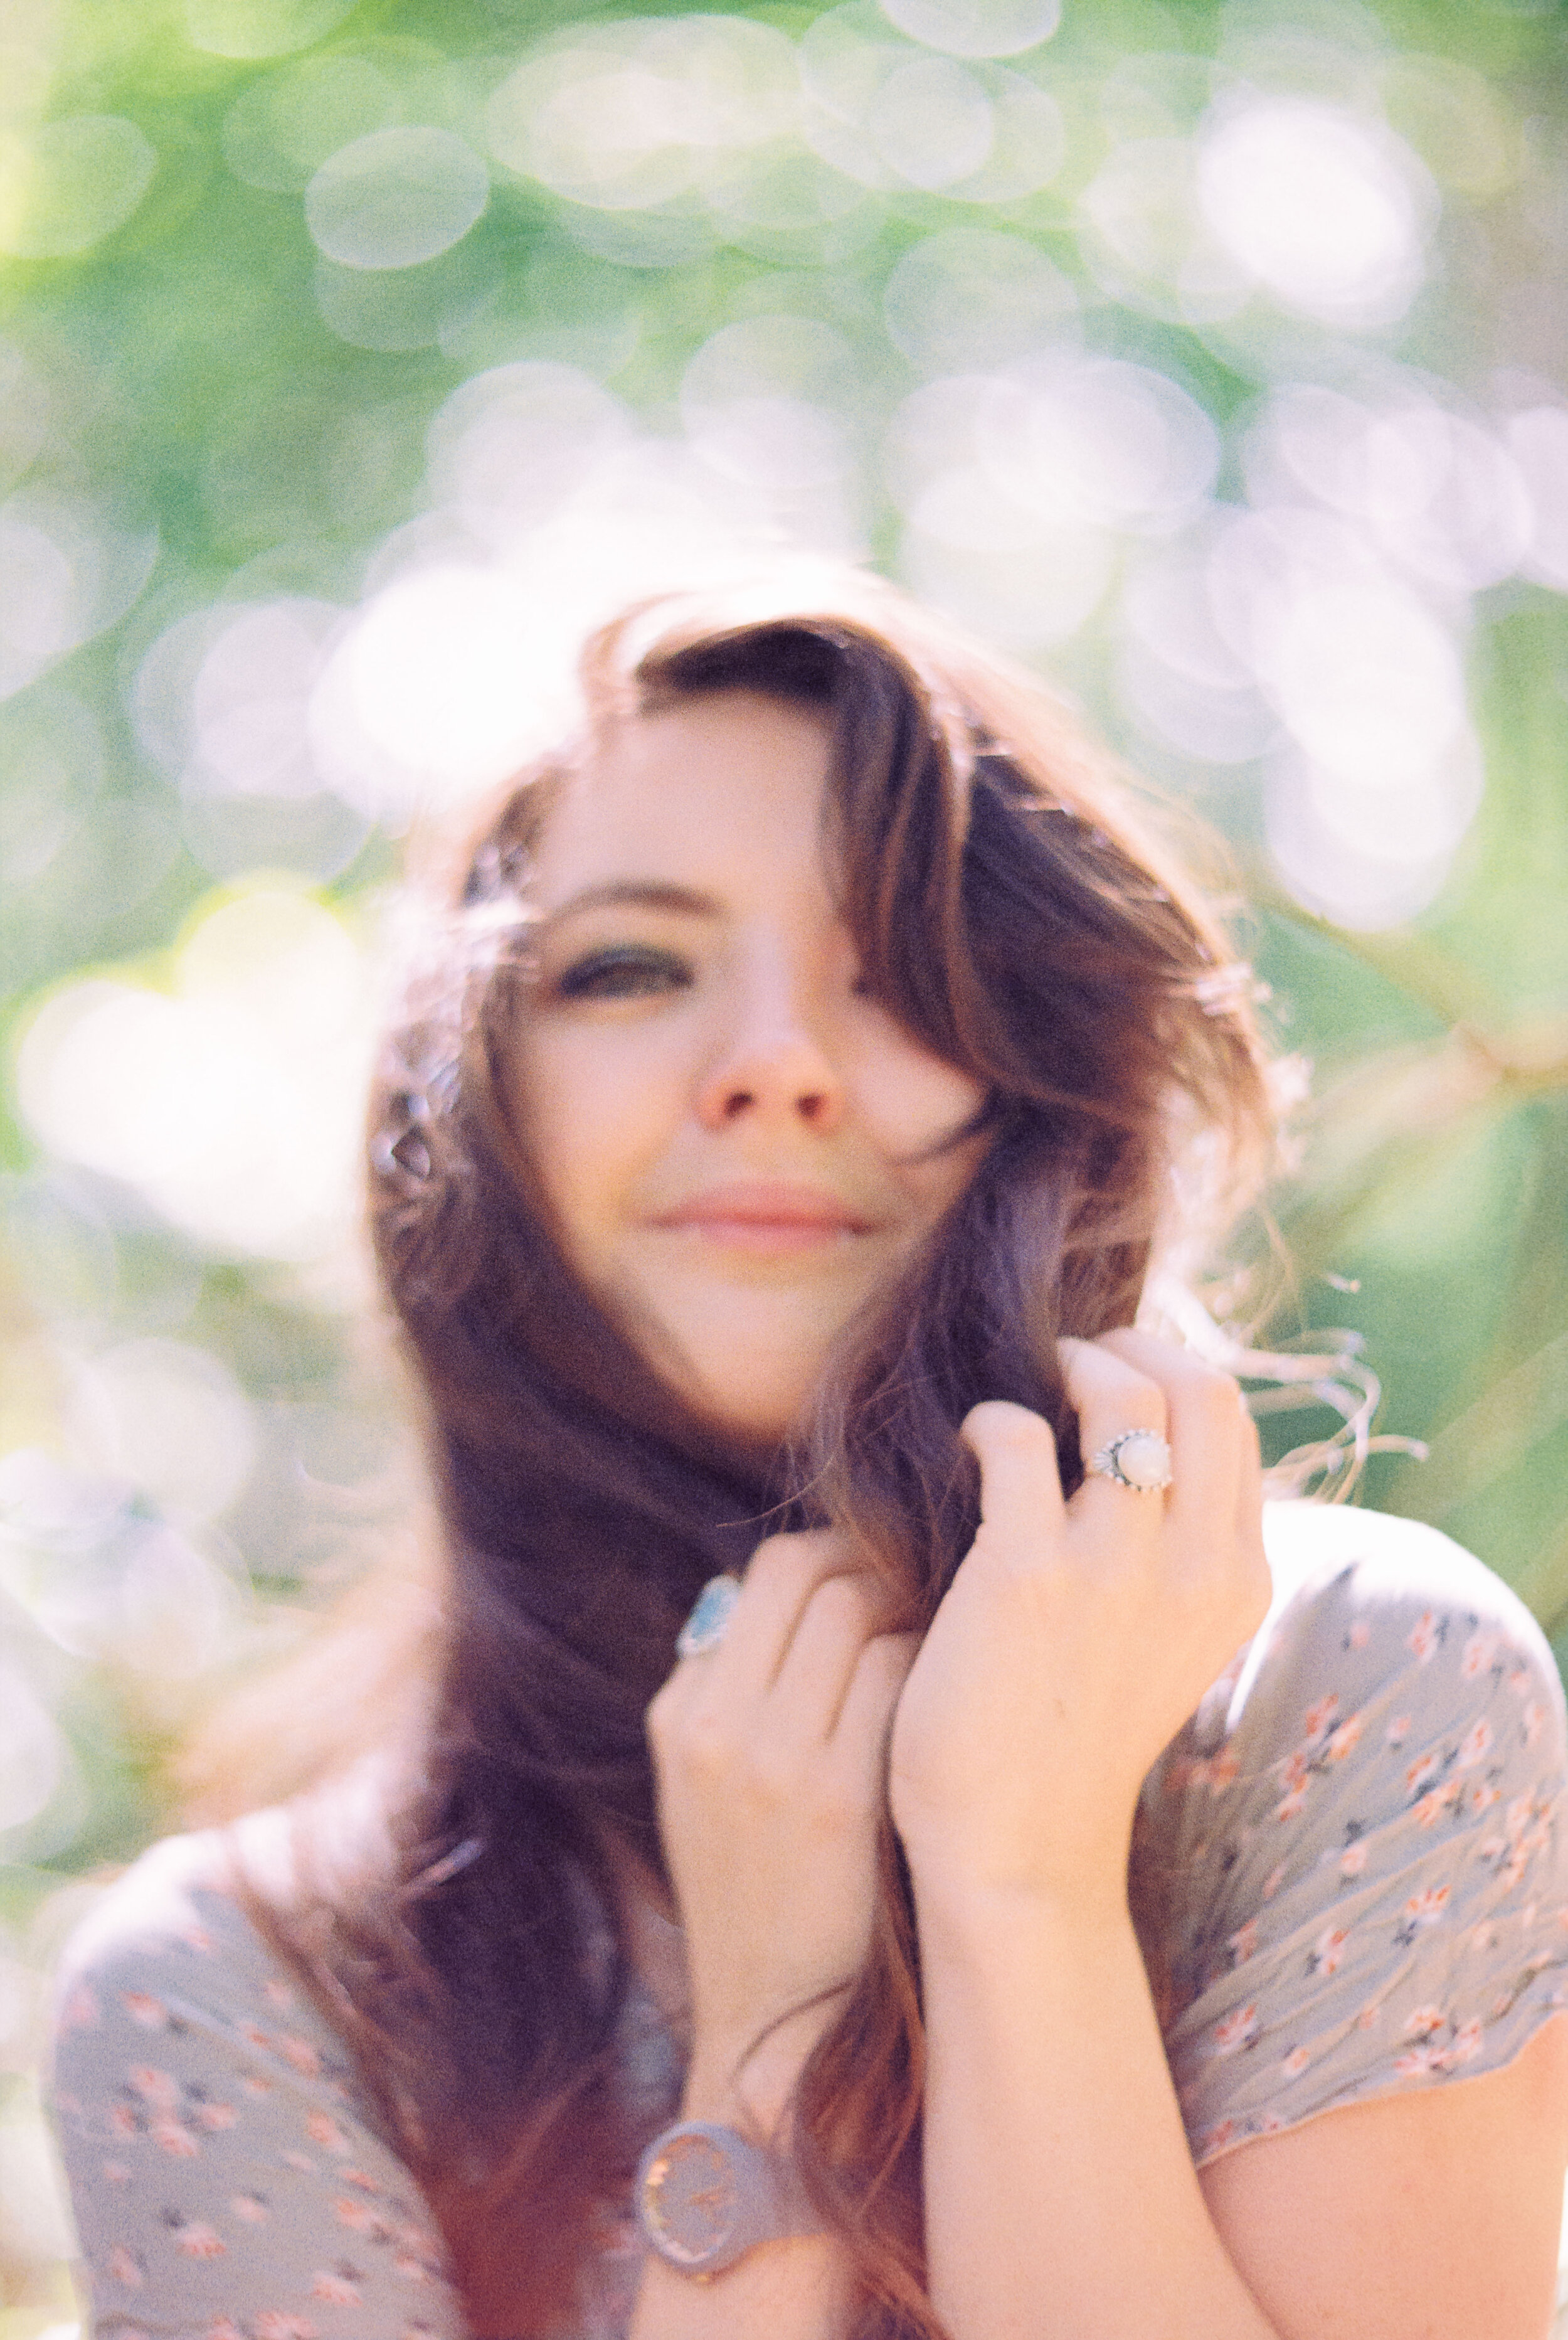
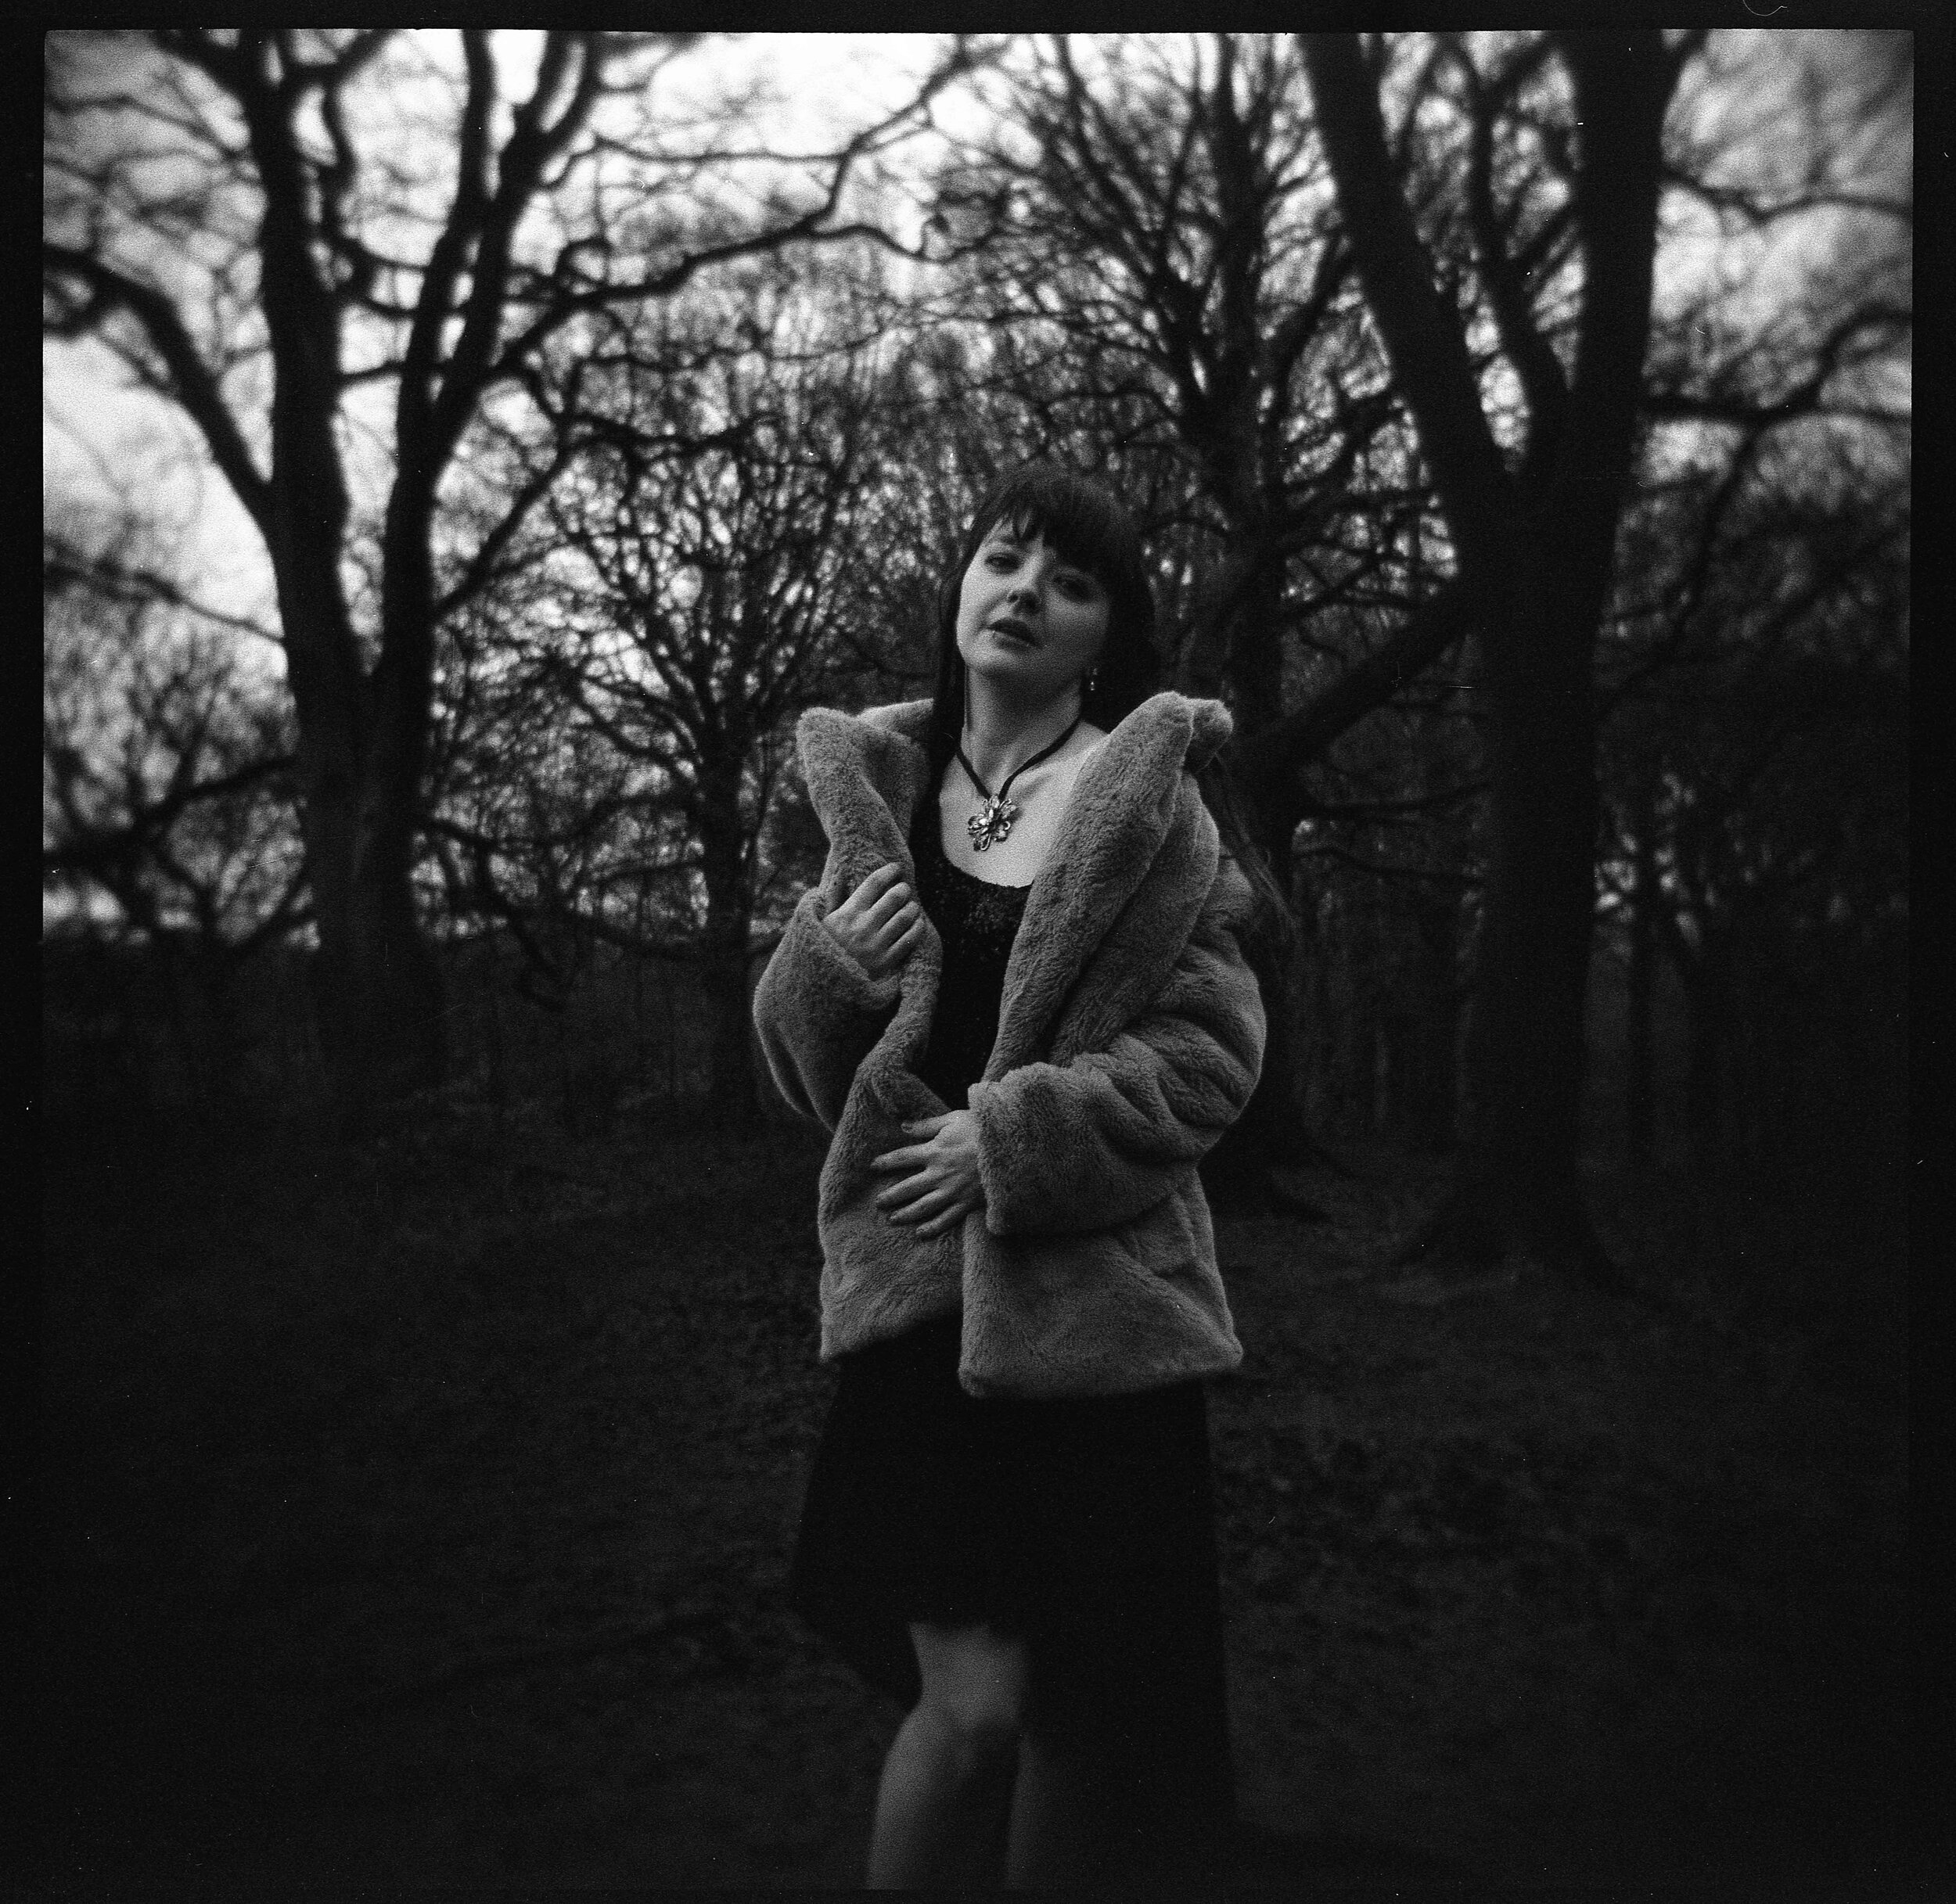
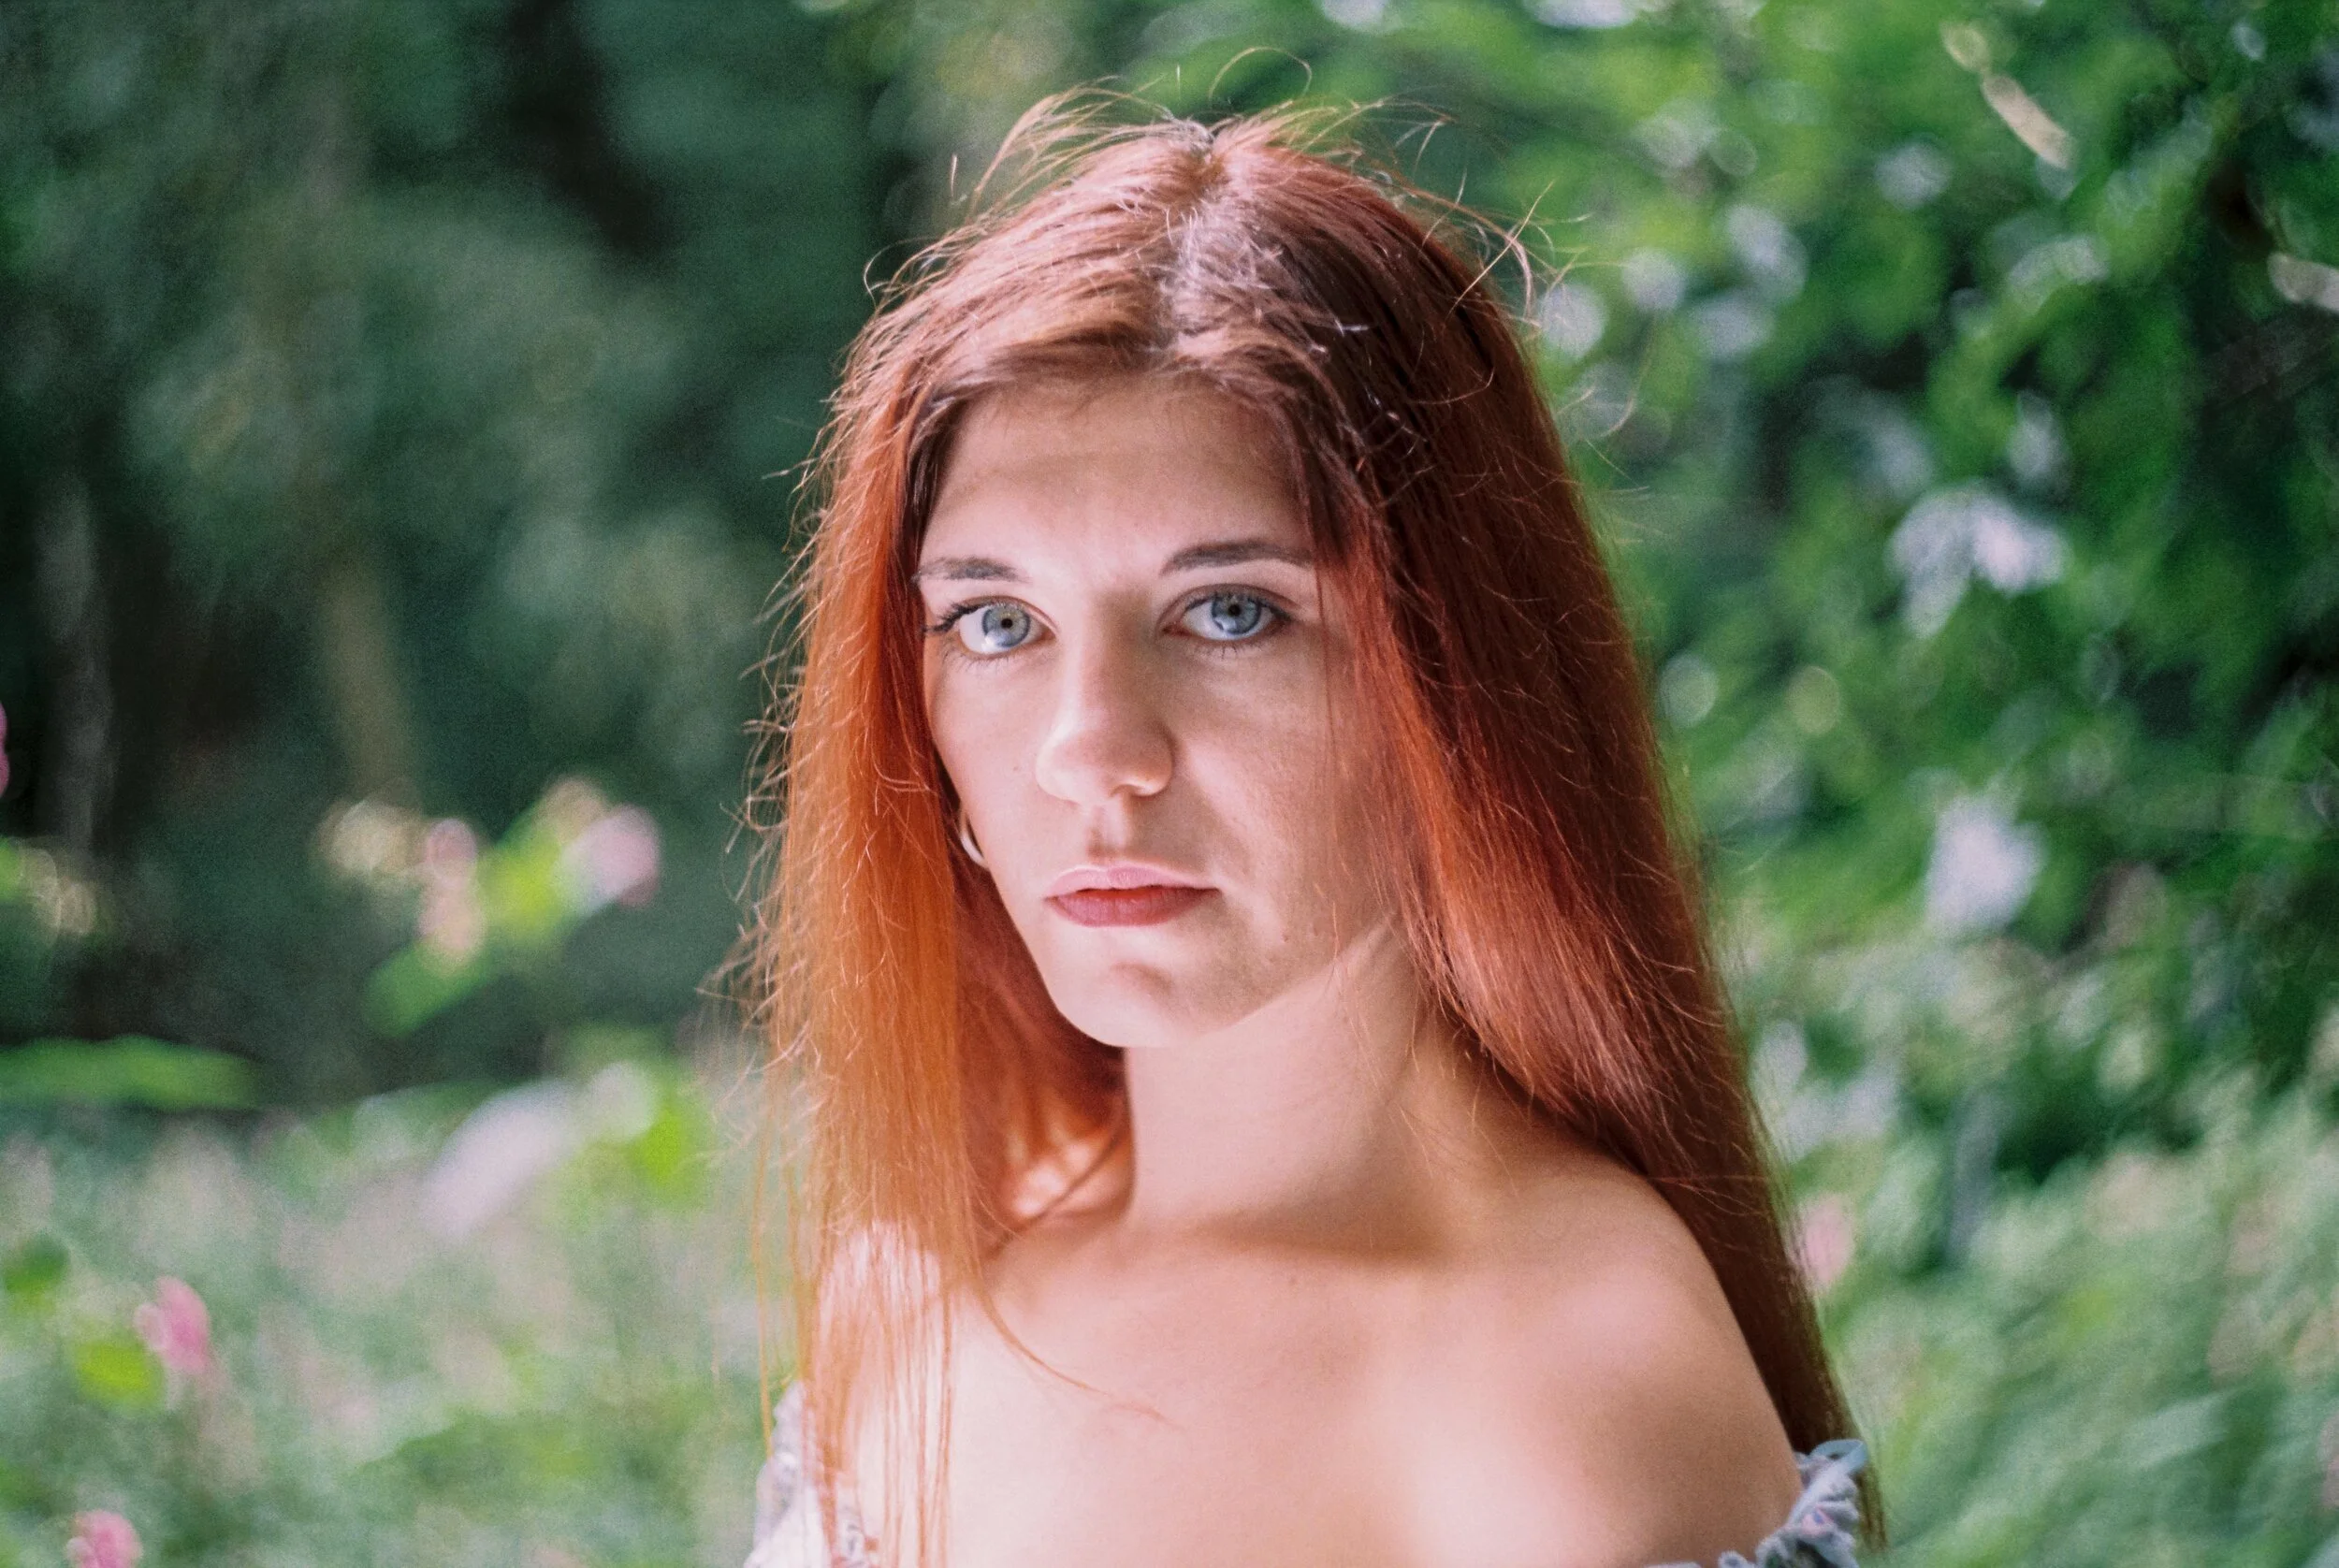
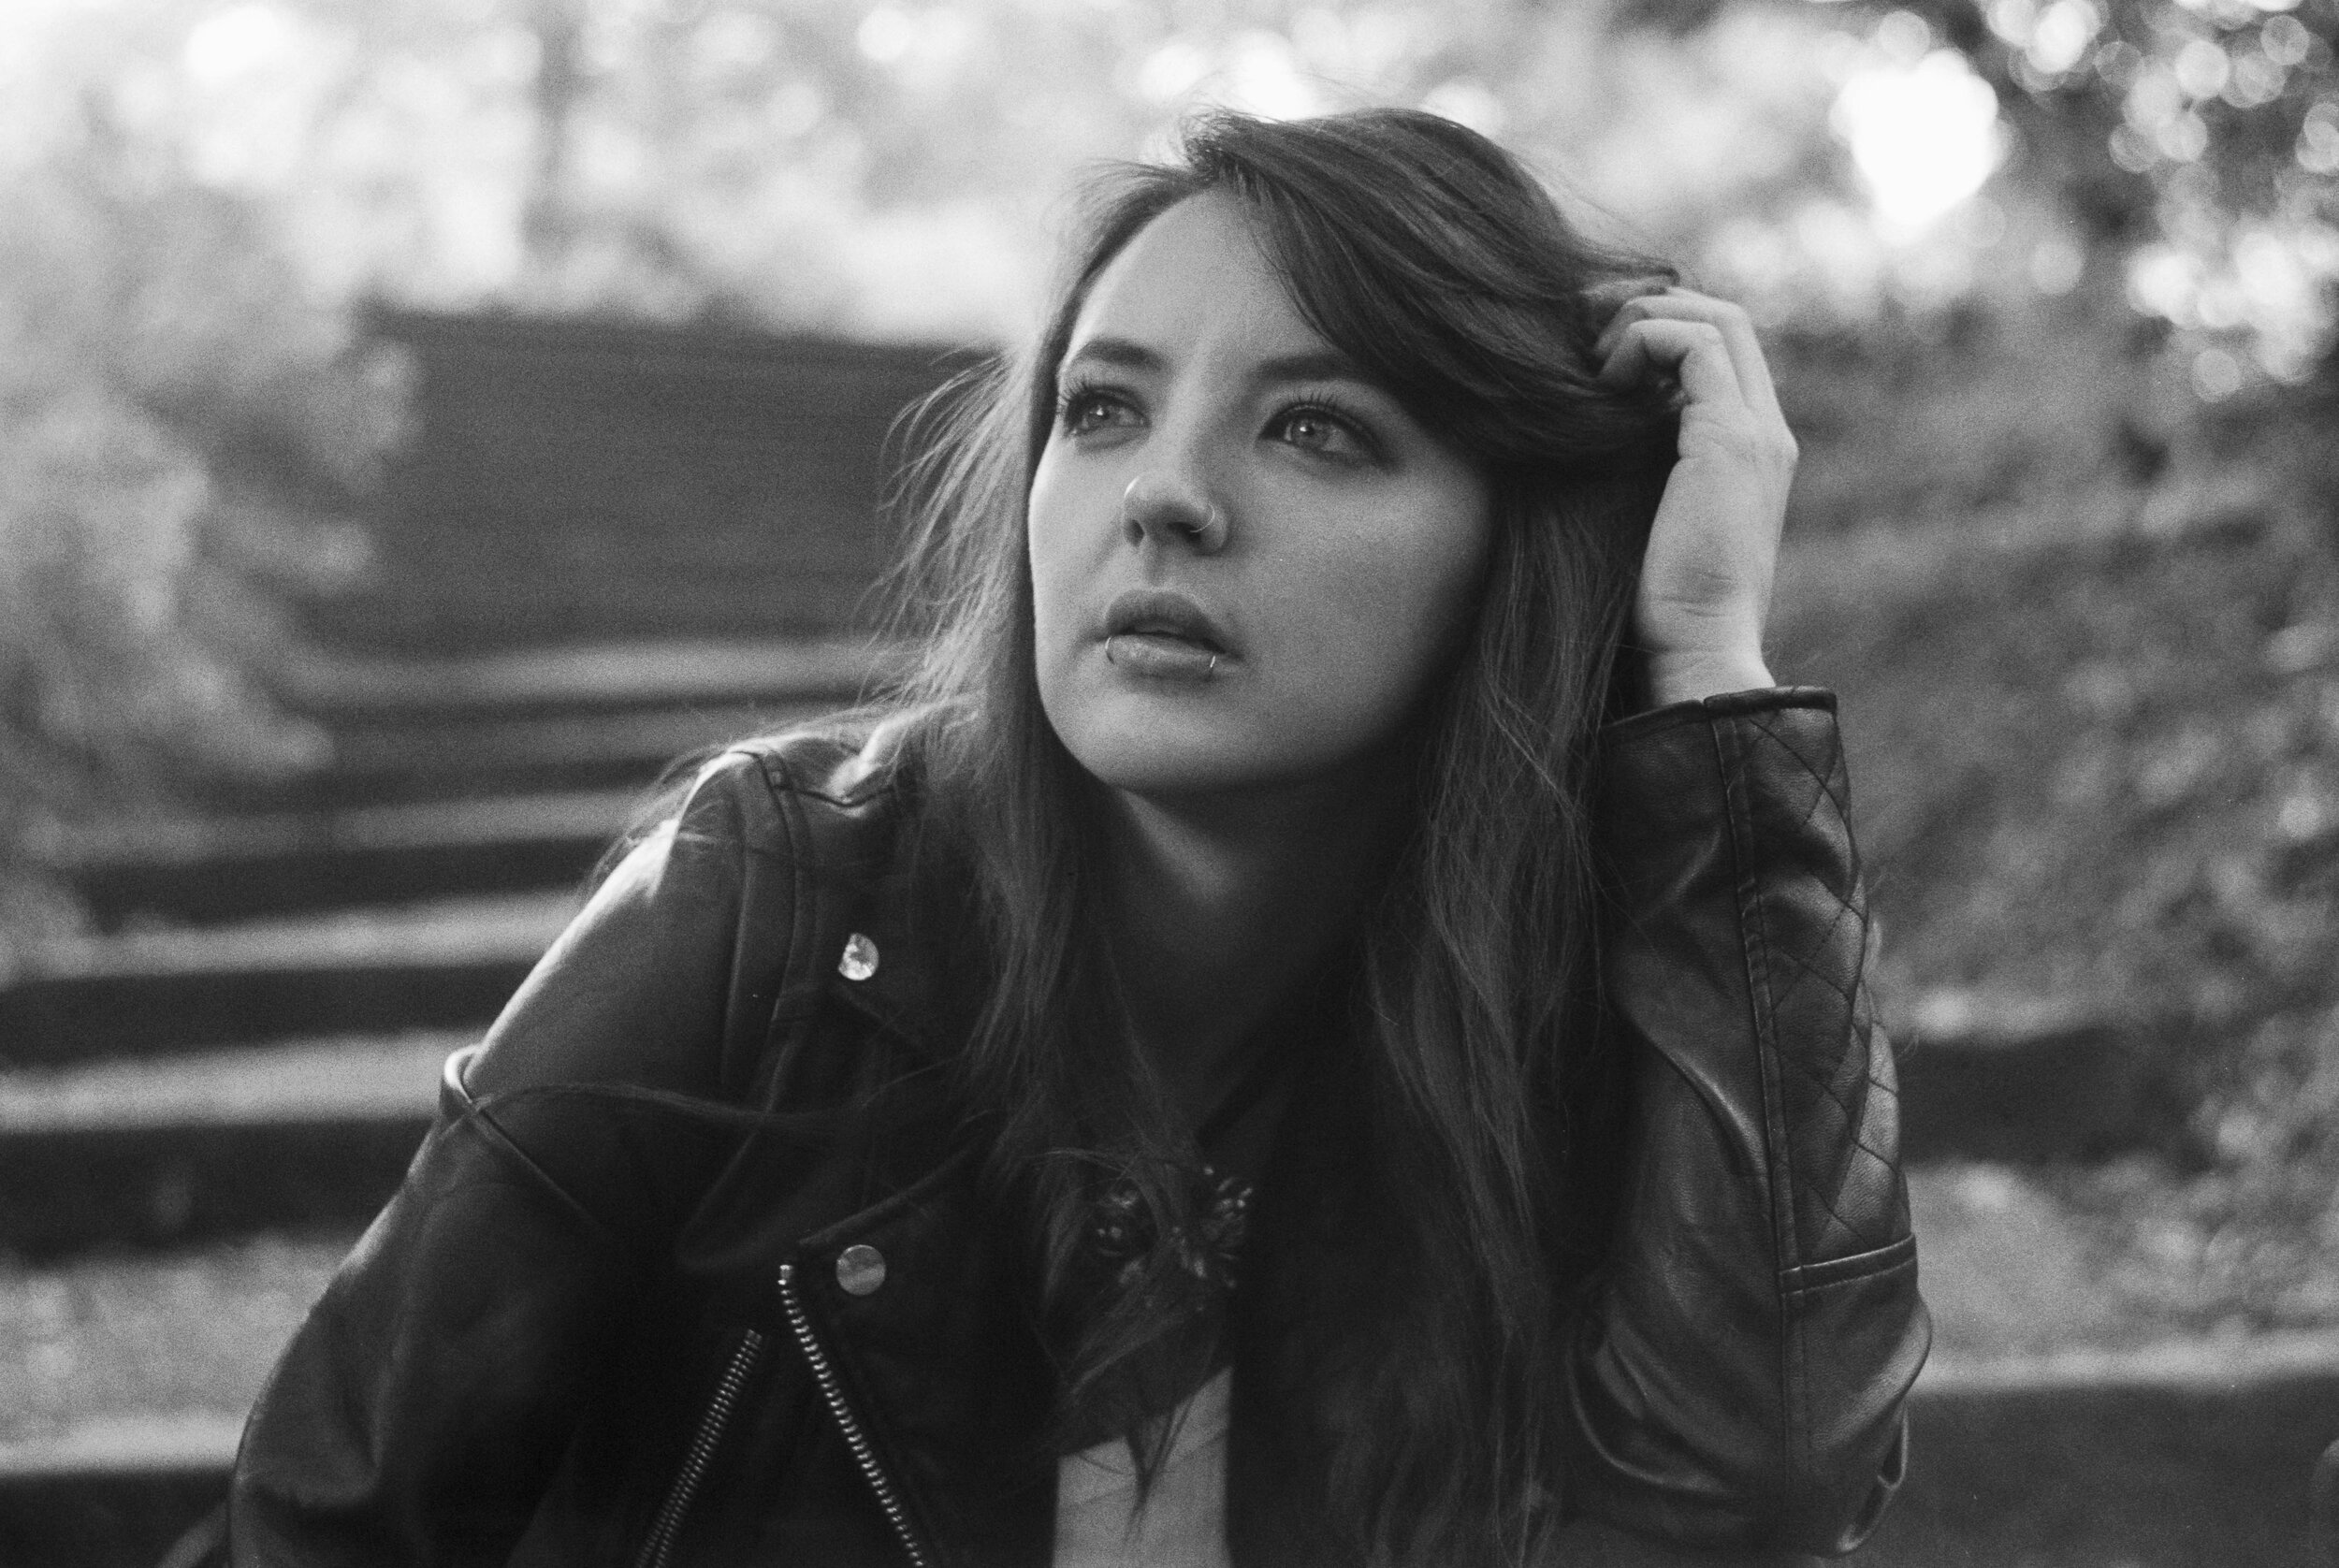
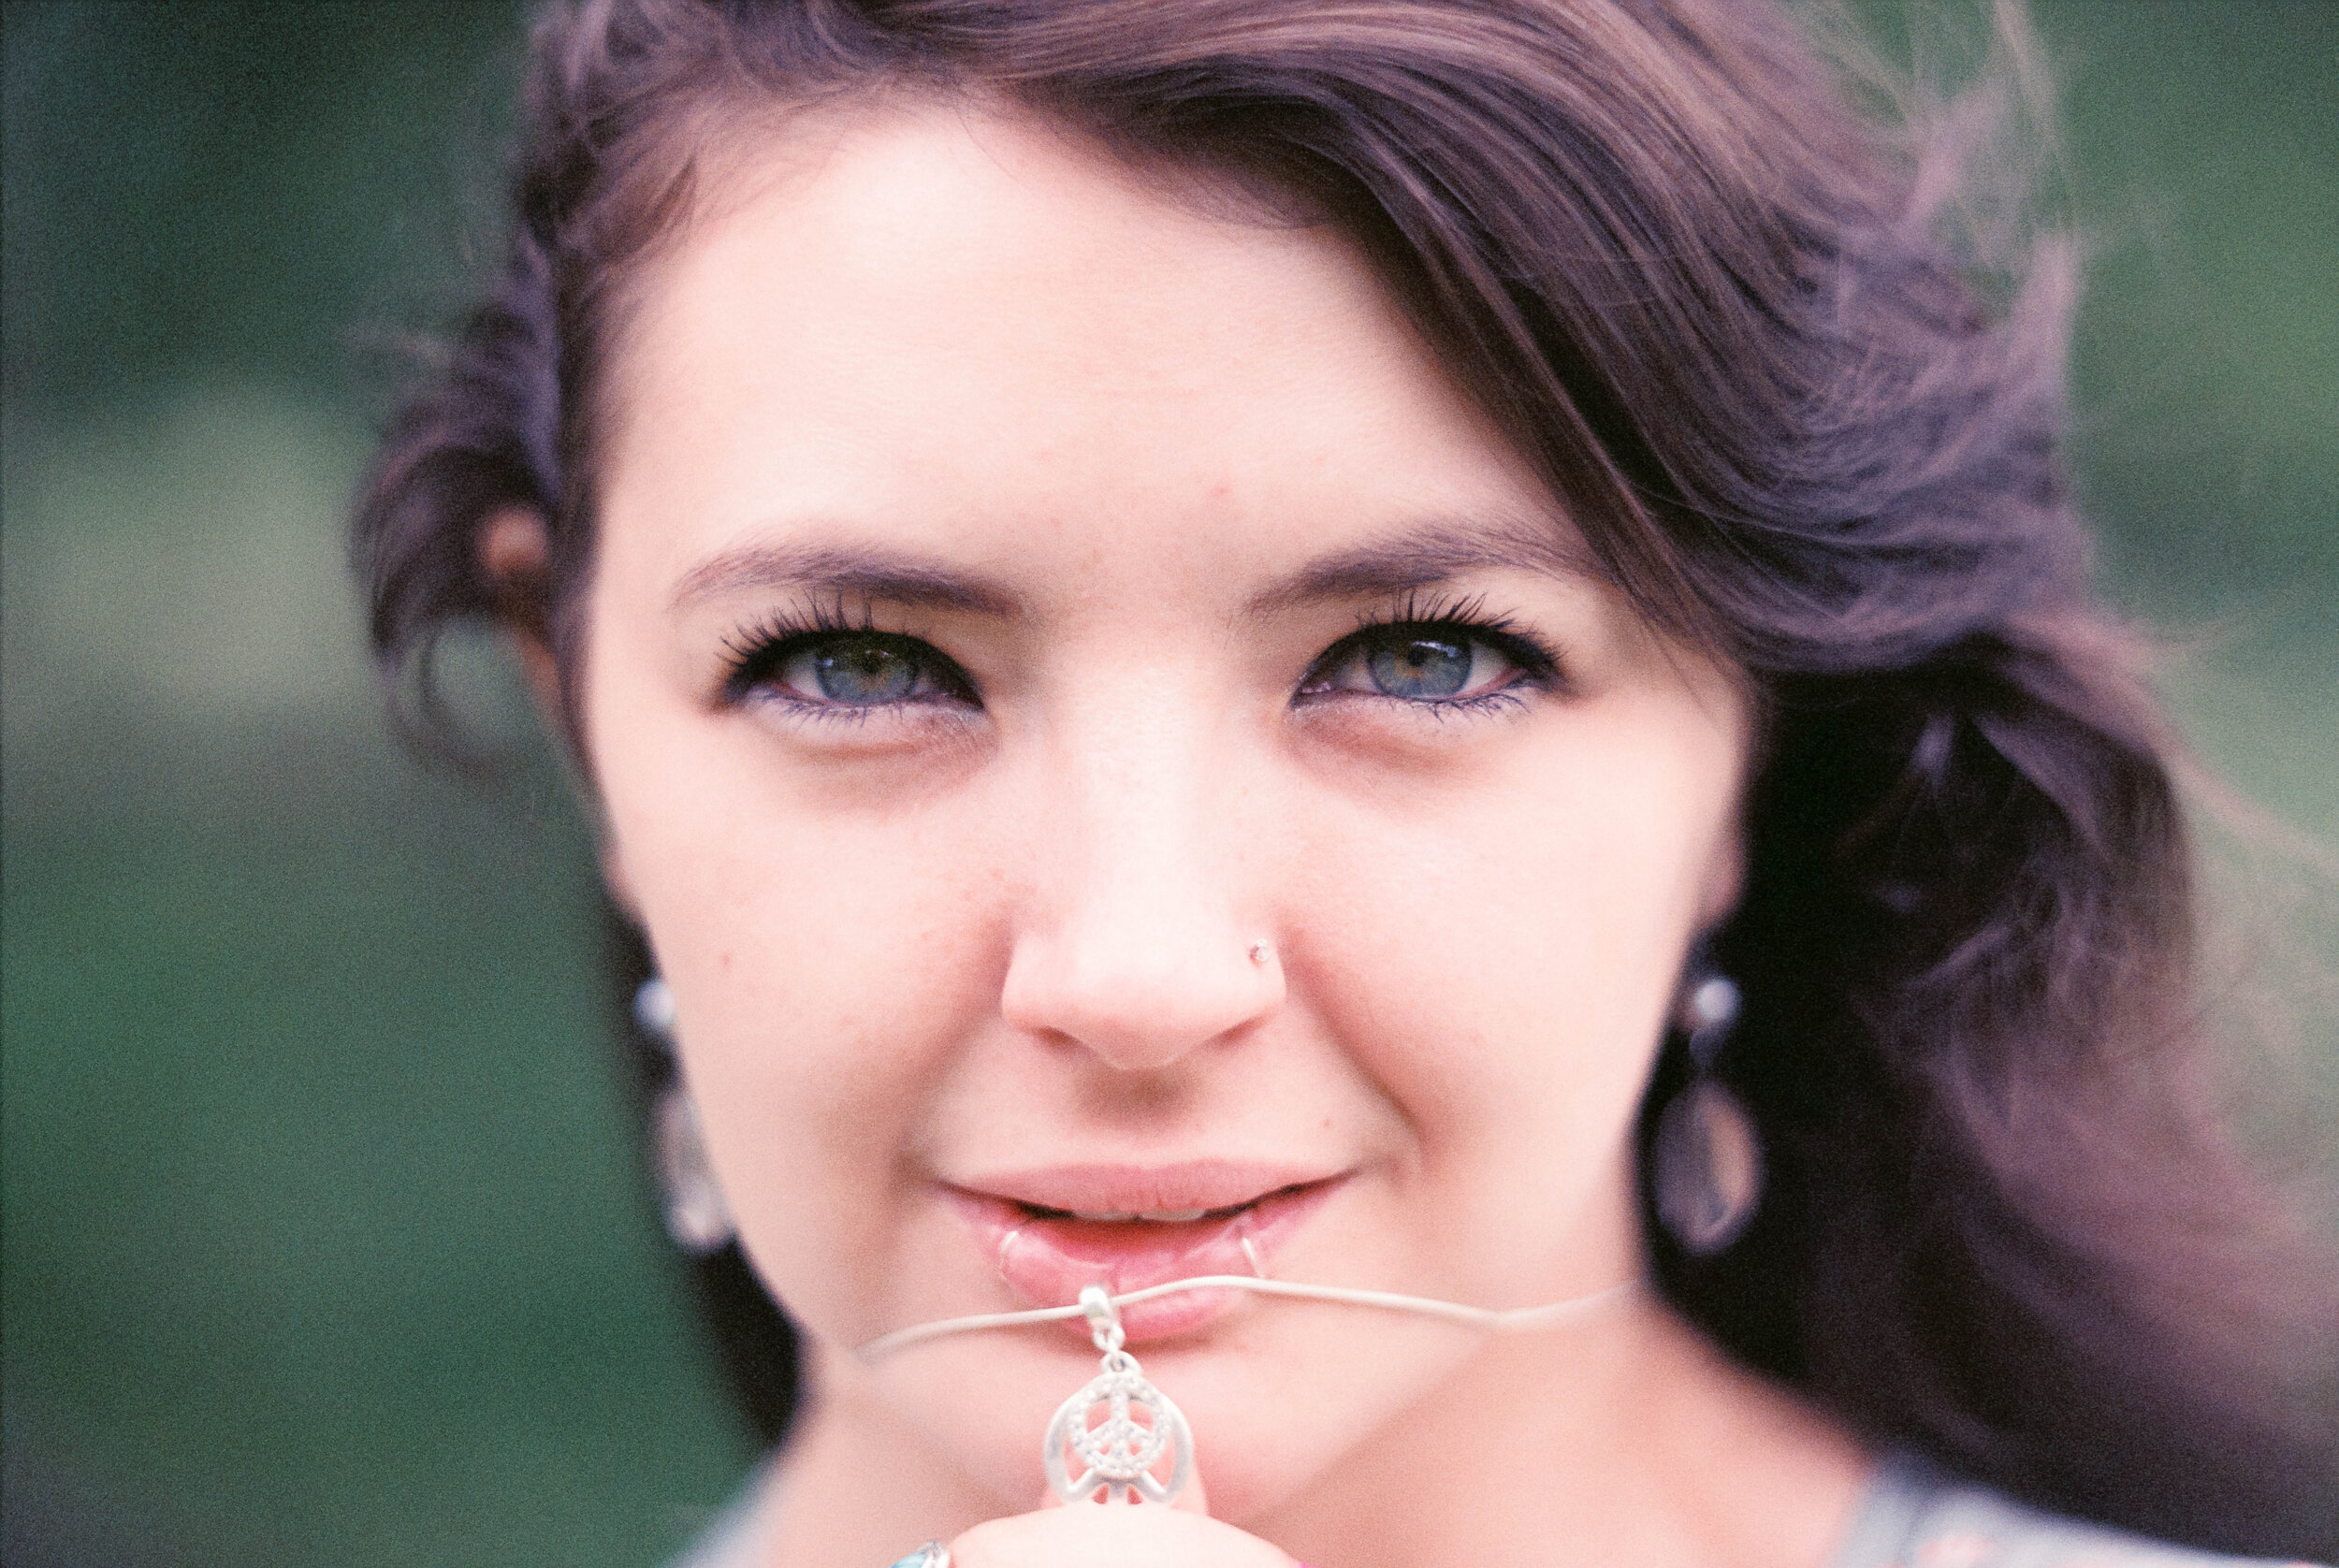
I don’t know about you but I’ve found myself struggling for inspiration lately, not feeling motivated to get out and shoot - in part because I have been SUPER busy starting a new business AND a new job but also just generally not feeling ‘IT’. Have you been feeling that way too? I know many of my friends have - I mean look at the world around us right now, it’s been one heck of an 18 months hasn’t it? I’ve often found that inspiration/creativity/the muse has ebbed and flowed like the tide - one thing I’ve learned is that you have to work for inspiration. It’s no good sitting around waiting for creativity to strike KABOOM! It doesnt work that way - you have to change it up, try something new, or try something old, whatever… just try… to whit: this latest blog.

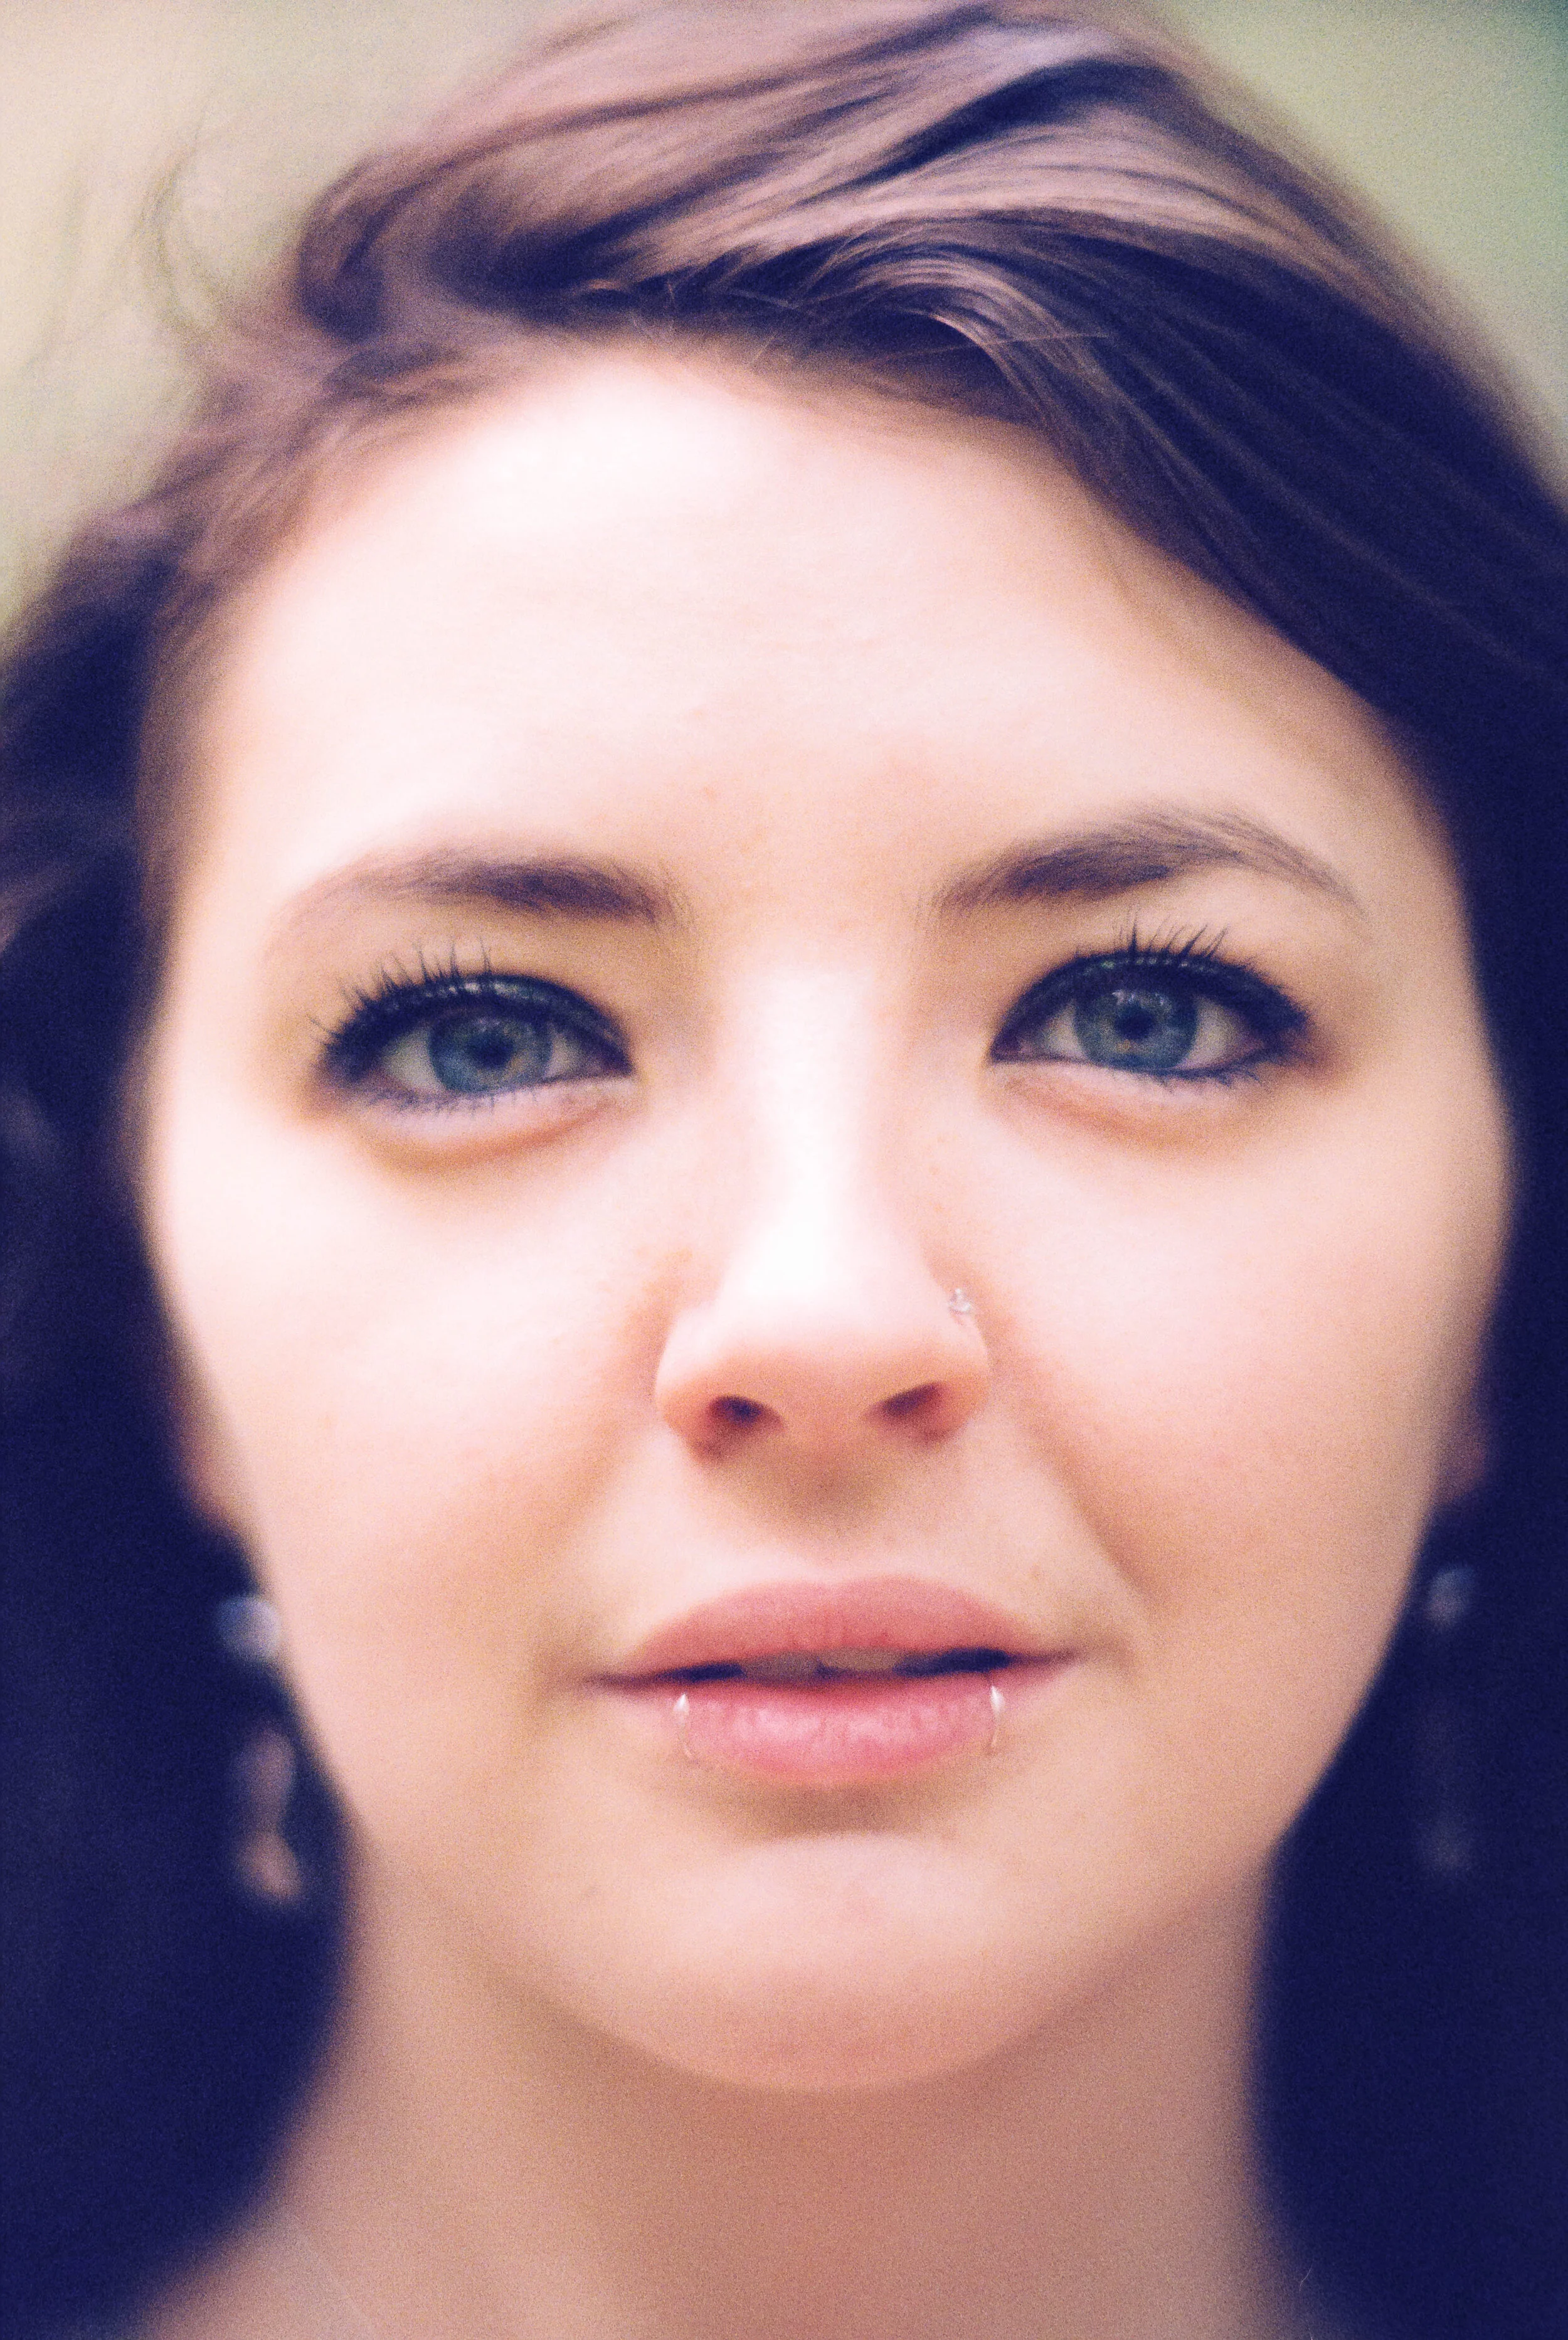
DSC_9874.jpg

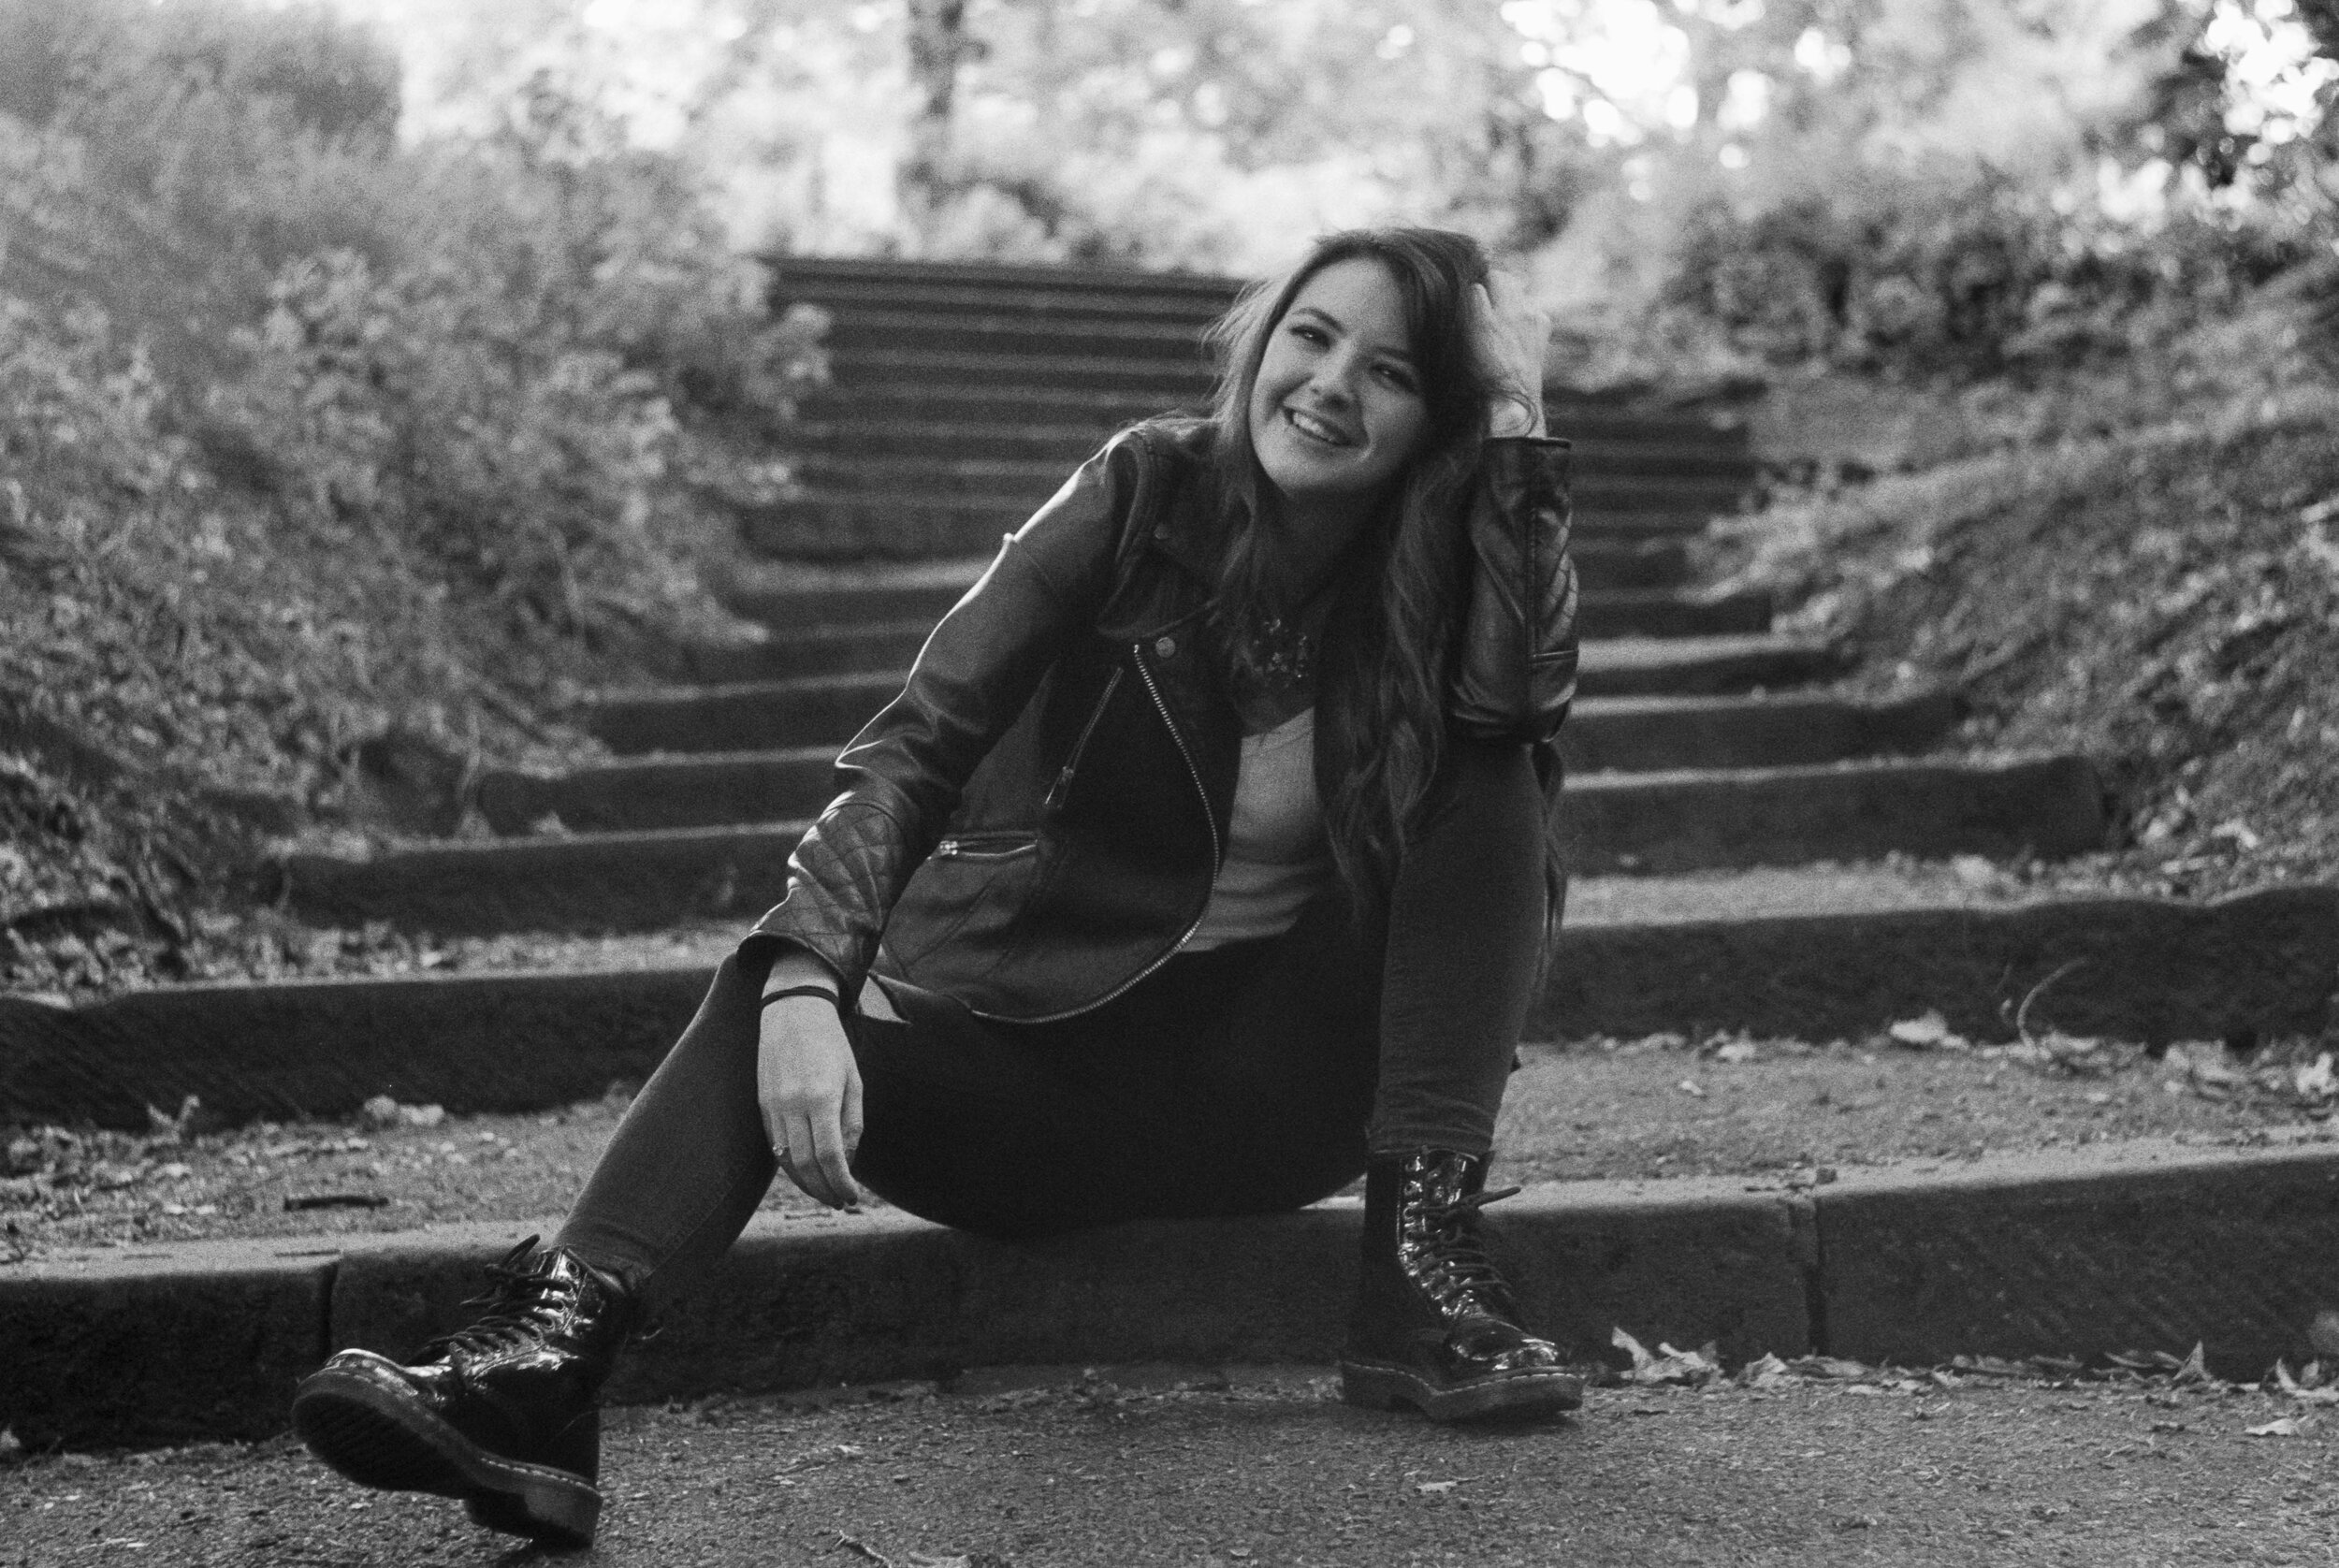
I have to thank my friend Sophie for giving me the much needed creative kick up the backside to just get out and shoot - and since I was feeling in a mood to change it up I decided to take a DIGITAL camera with me!! GASP! SHOCK! HORROR!! please keep reading though… don’t run away! :D I have in my posession a Nikon D700 camera which I’ve just bought for a commercial project and I figured what the heck - why not shoot some digital as a way of changing things up. It’s been a good few years now since I sold all digital gear and pledged allegiance to the gods of FILM but let’s not beat about the bush film is getting EXPENSIVE now especially in these uncertain times so expect to see some more digital offerings here…. but fear not I haven’t abandoned film all together! I shot a couple of rolls of medium format and they are off at the lab being developed as I type these words to you - I guess I’m saying I’m going back to shooting both digital and film.

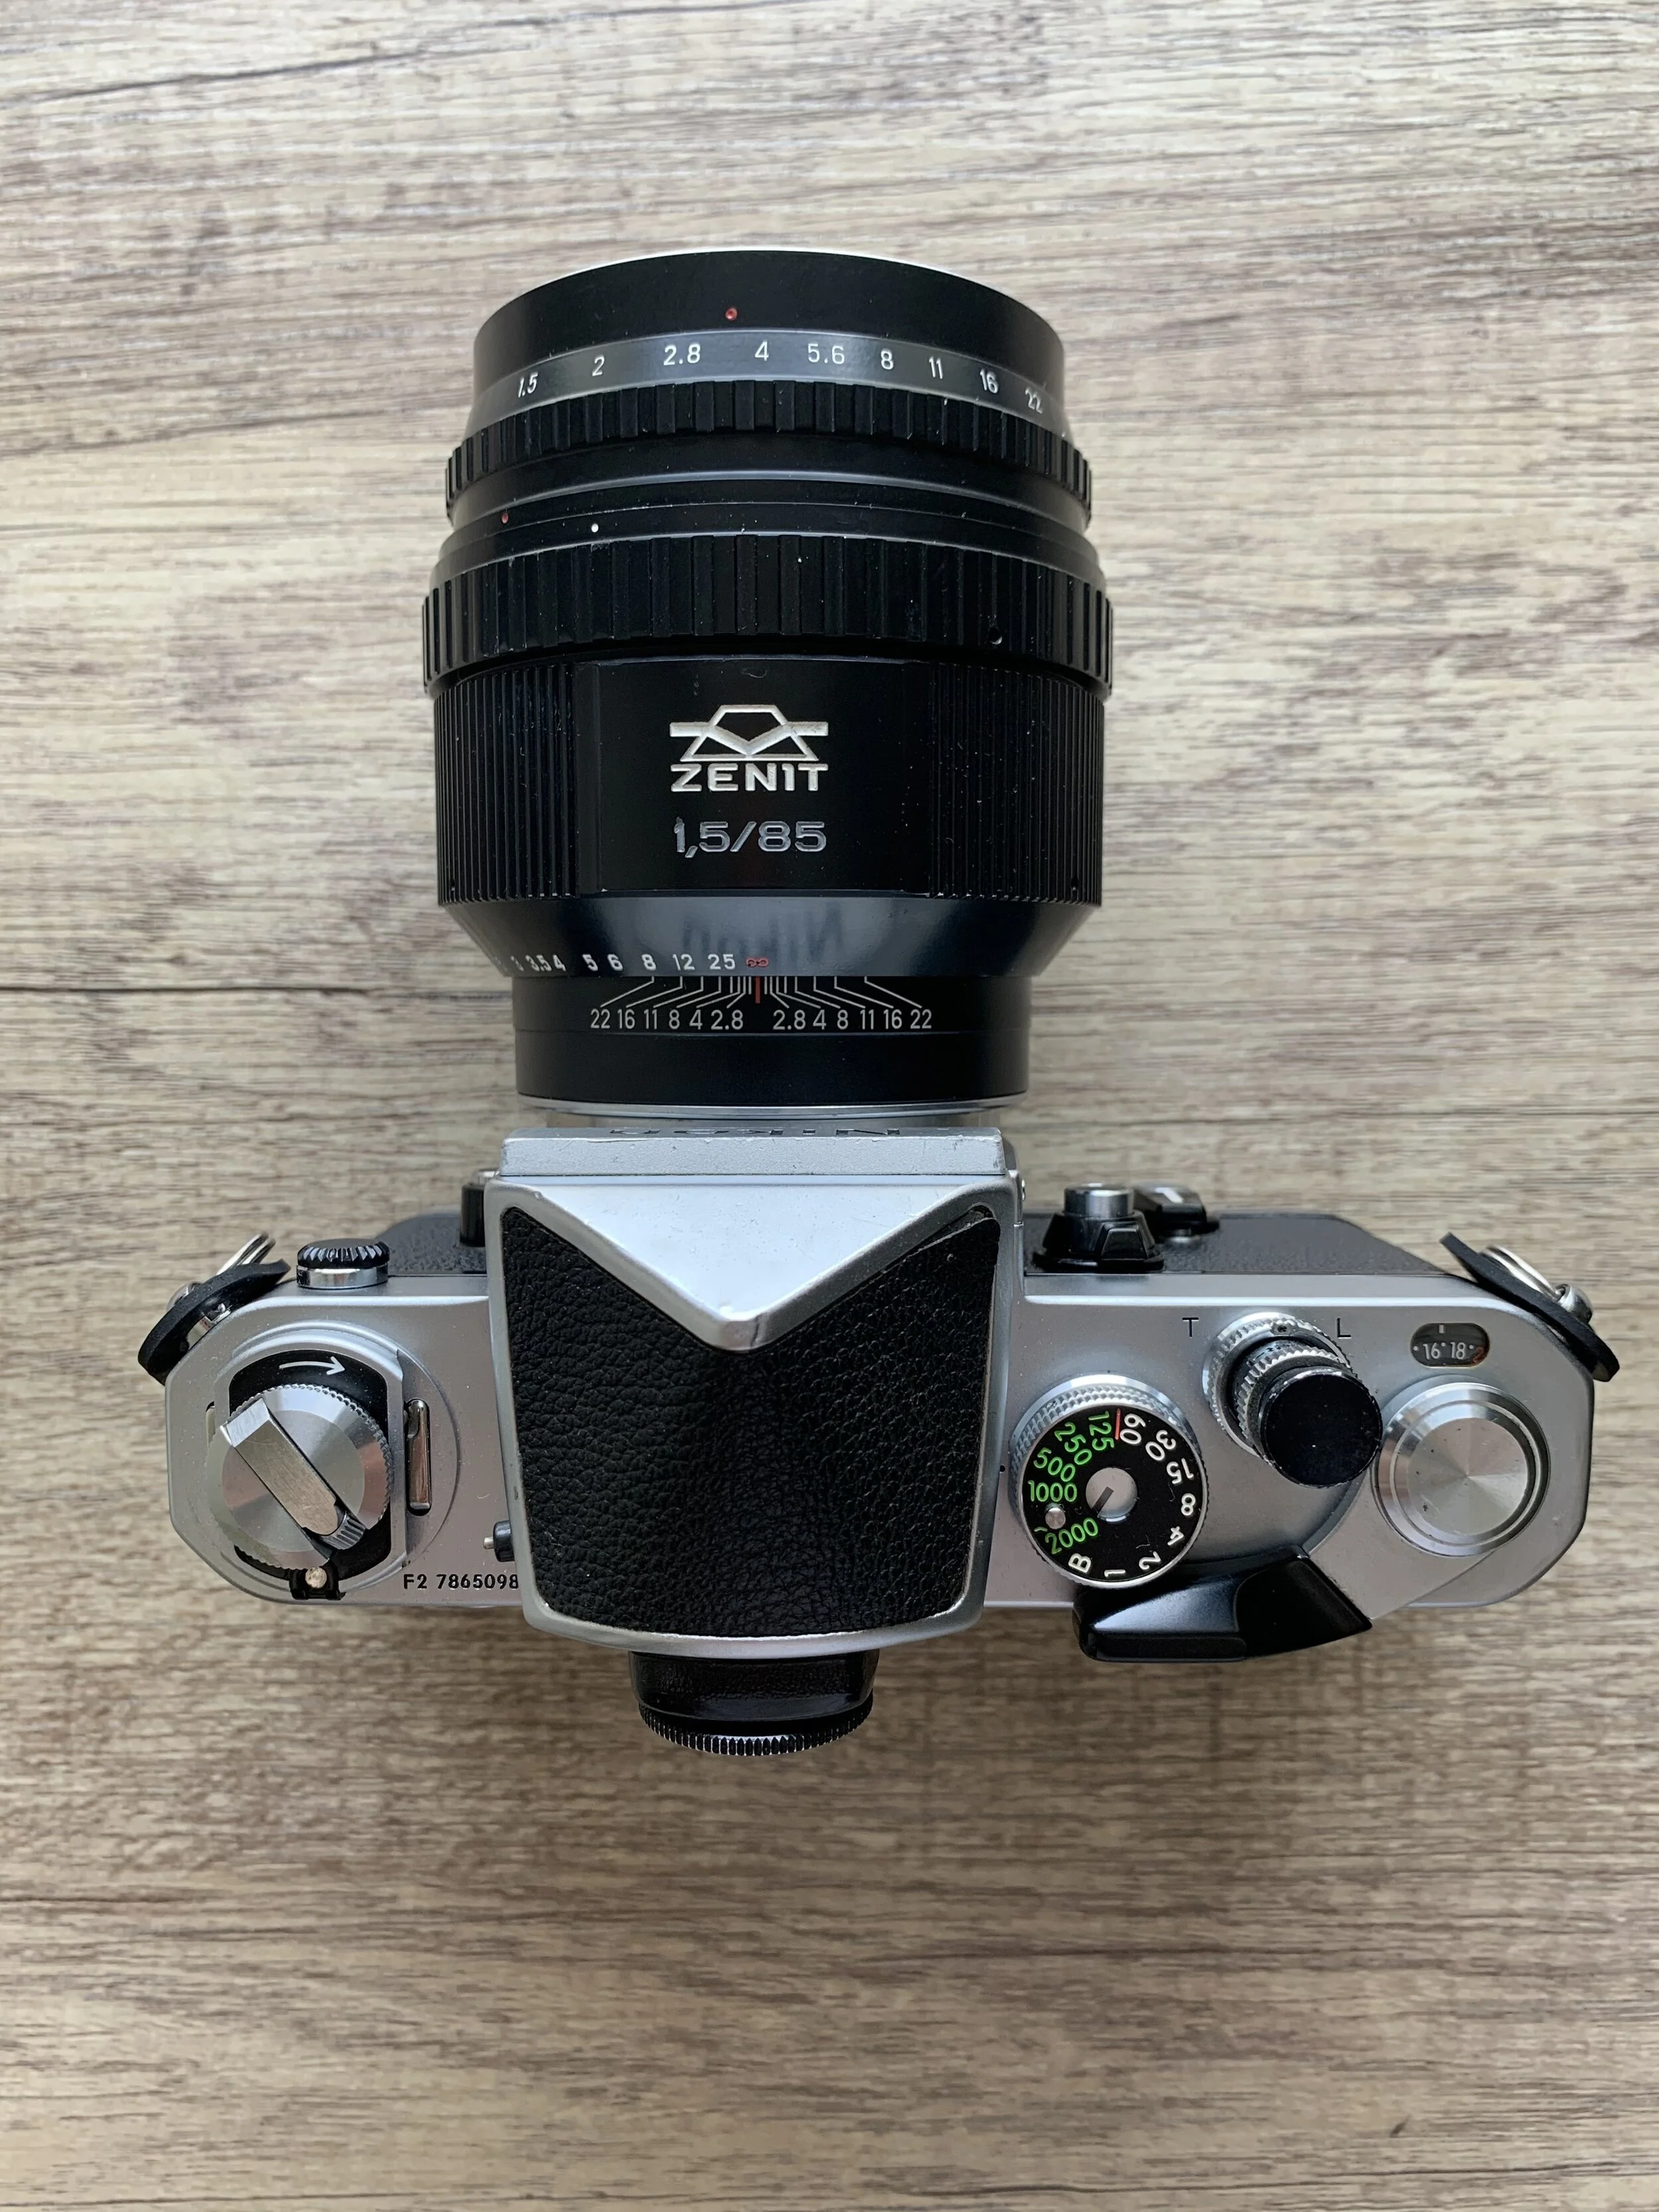
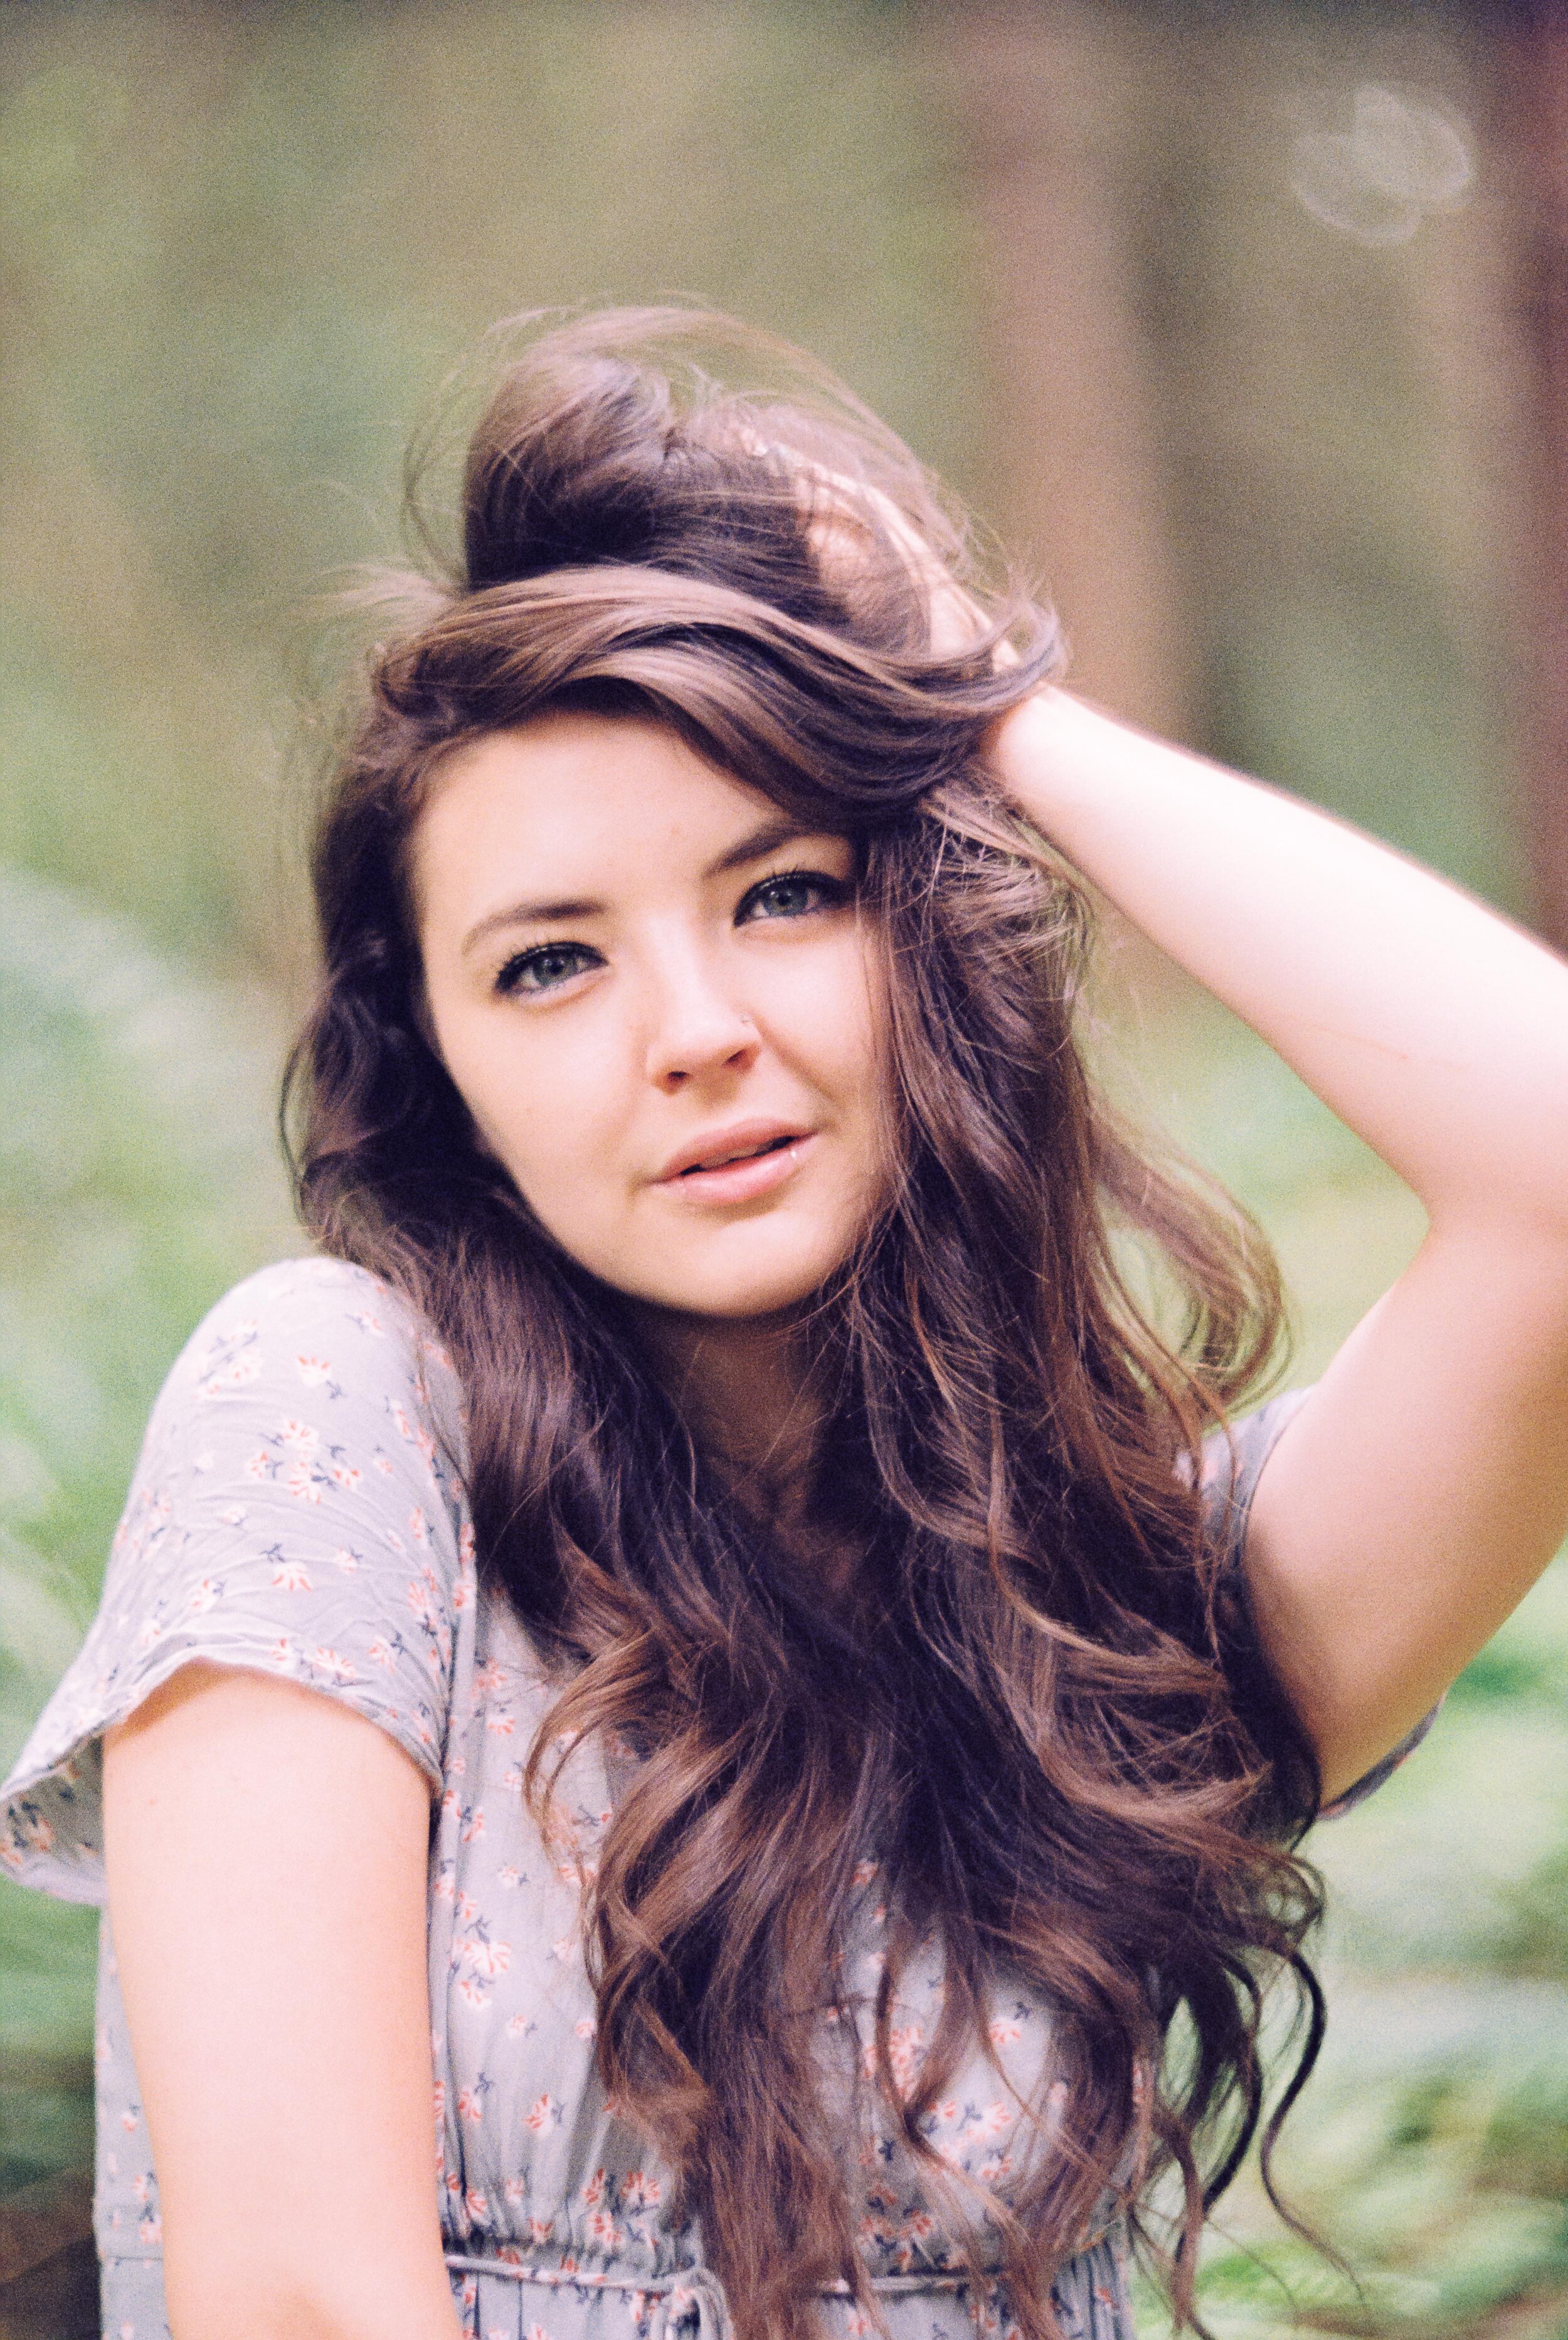
Its not just economic reasons, I’ve kind of been feeling a little bit restricted by the self applied ‘I only shoot film’ and I want to make sure that I’m not missing out on something creatively by cutting myself off from digital photography - so it’s coming back into my practice. HOWEVER. There’s no denying that I do find digital images a bit too ‘clean’ if you know what I mean so I’m very interested in combining digital with vintage lenses to add some character - and this brings me FINALLY around to introduce todays offering: The Helios 40-2N. I’ve written about it before HERE sharing some shots from a film only portrait shoot.

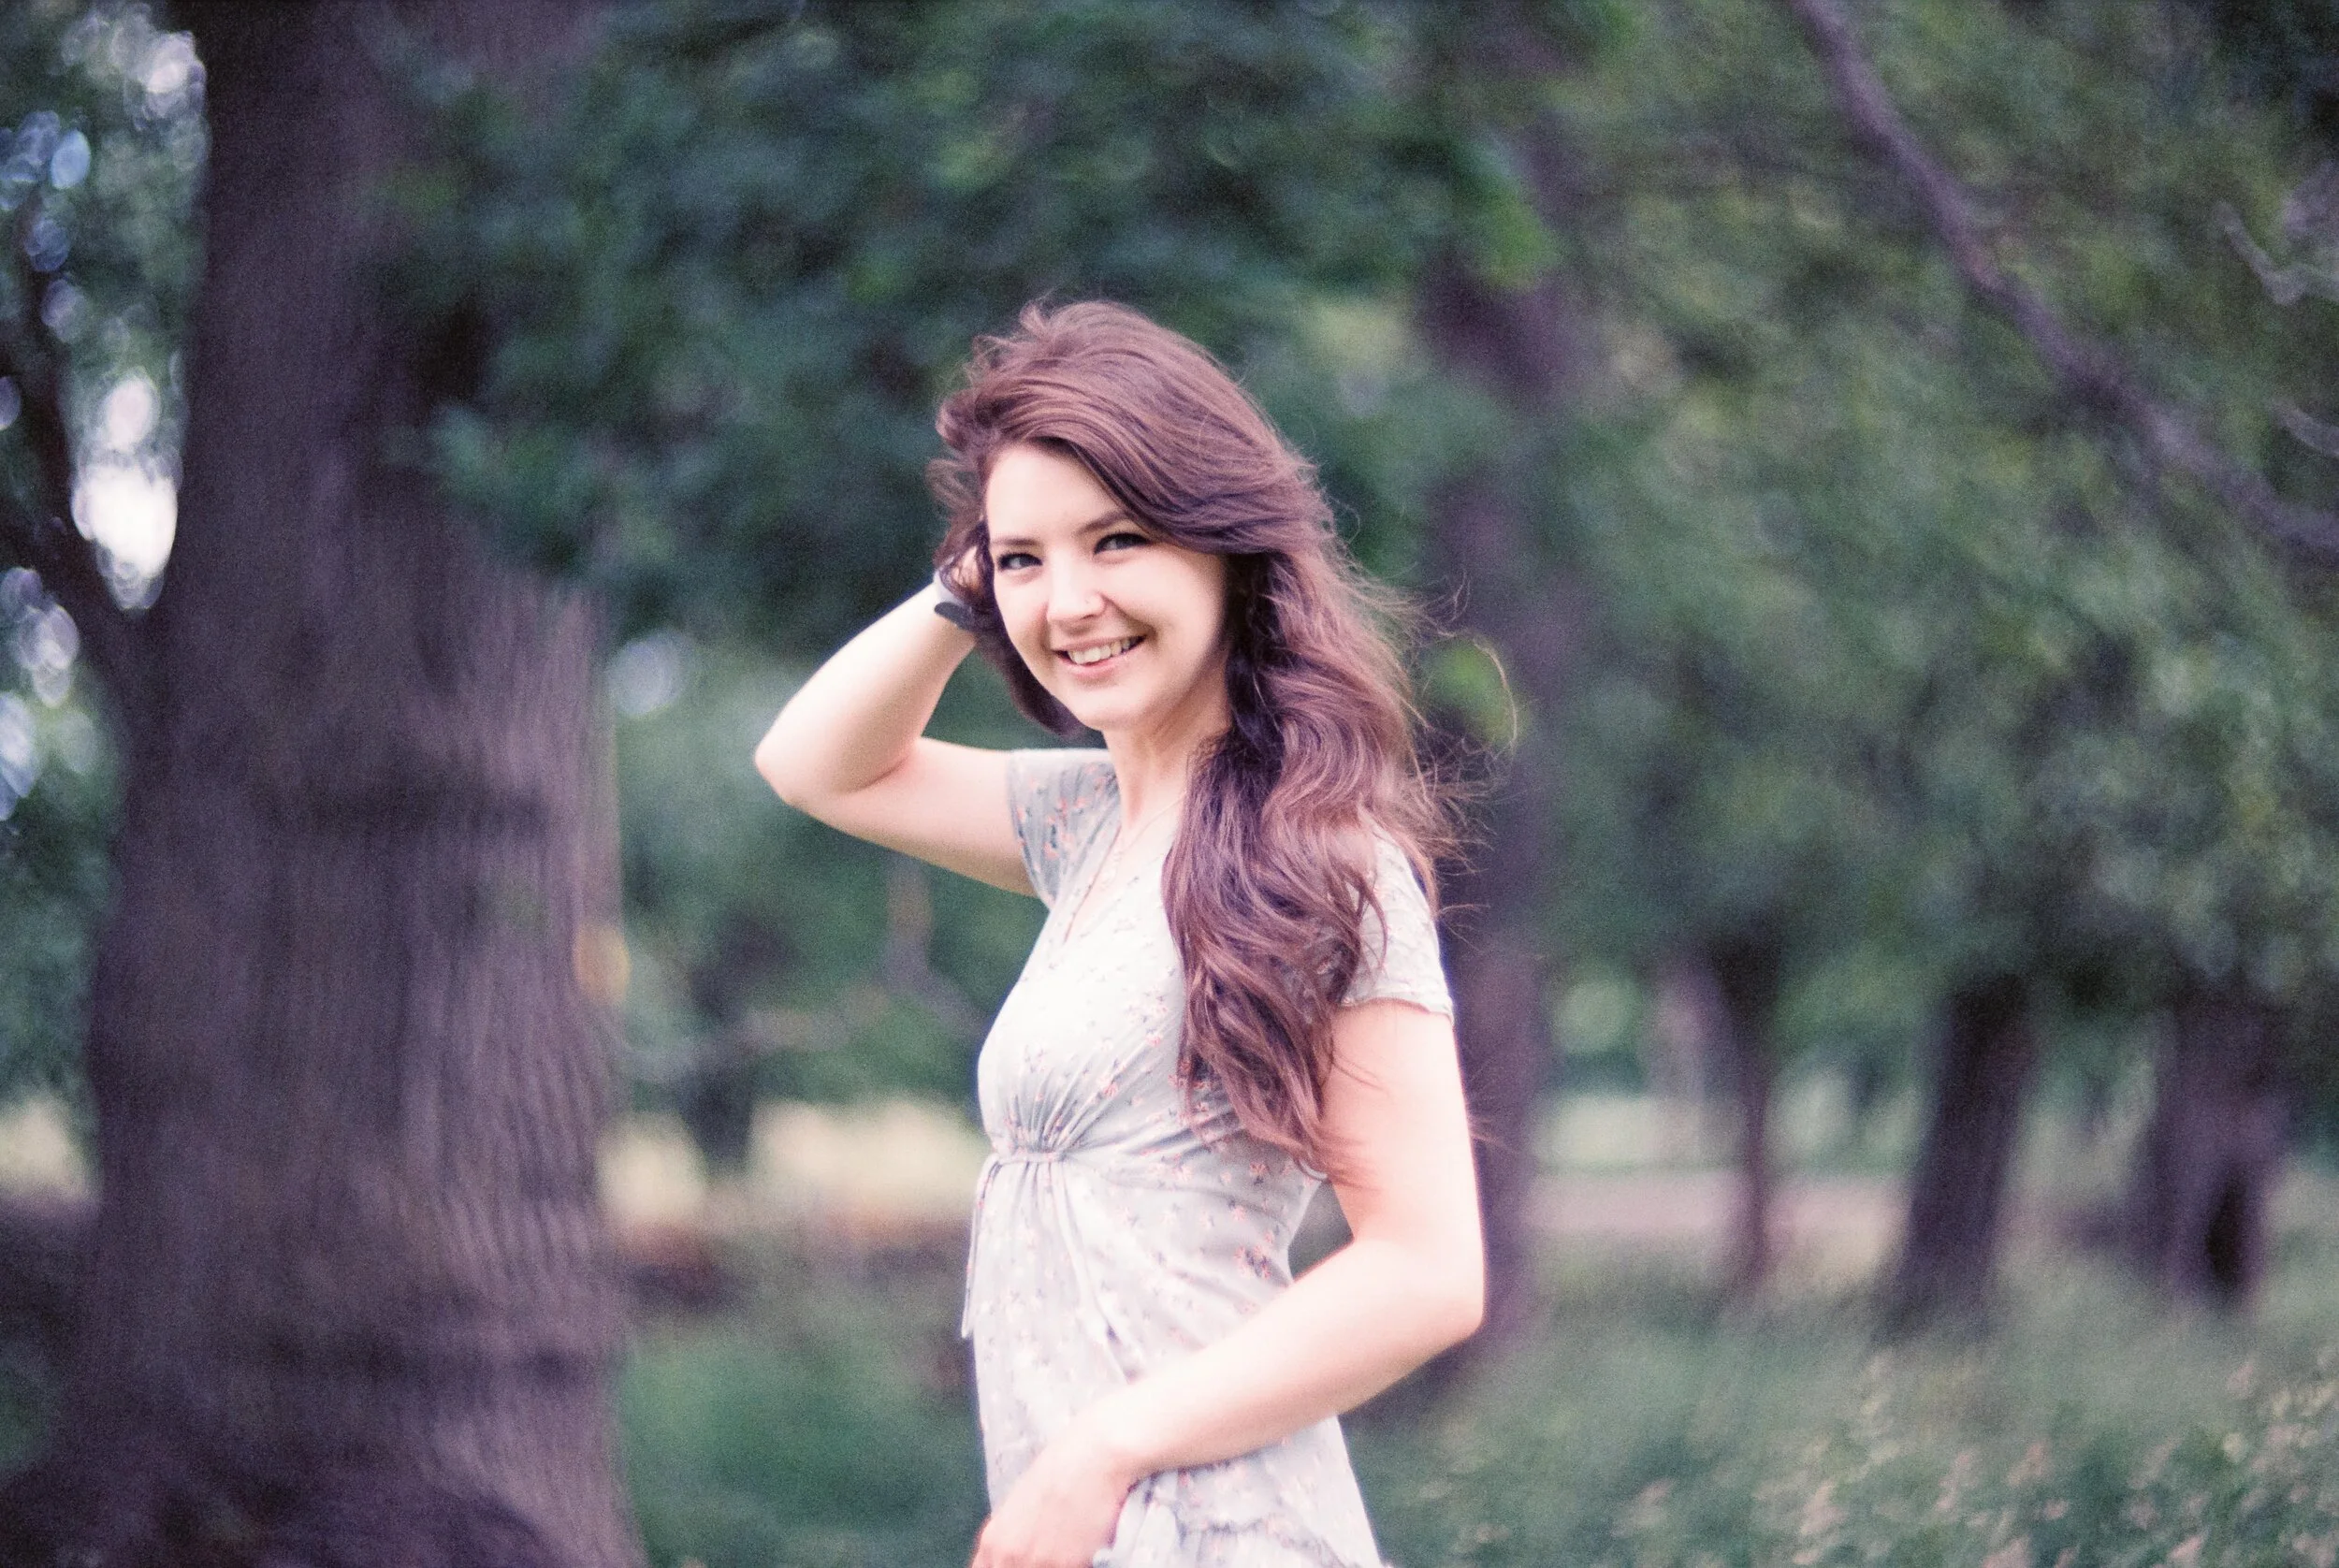
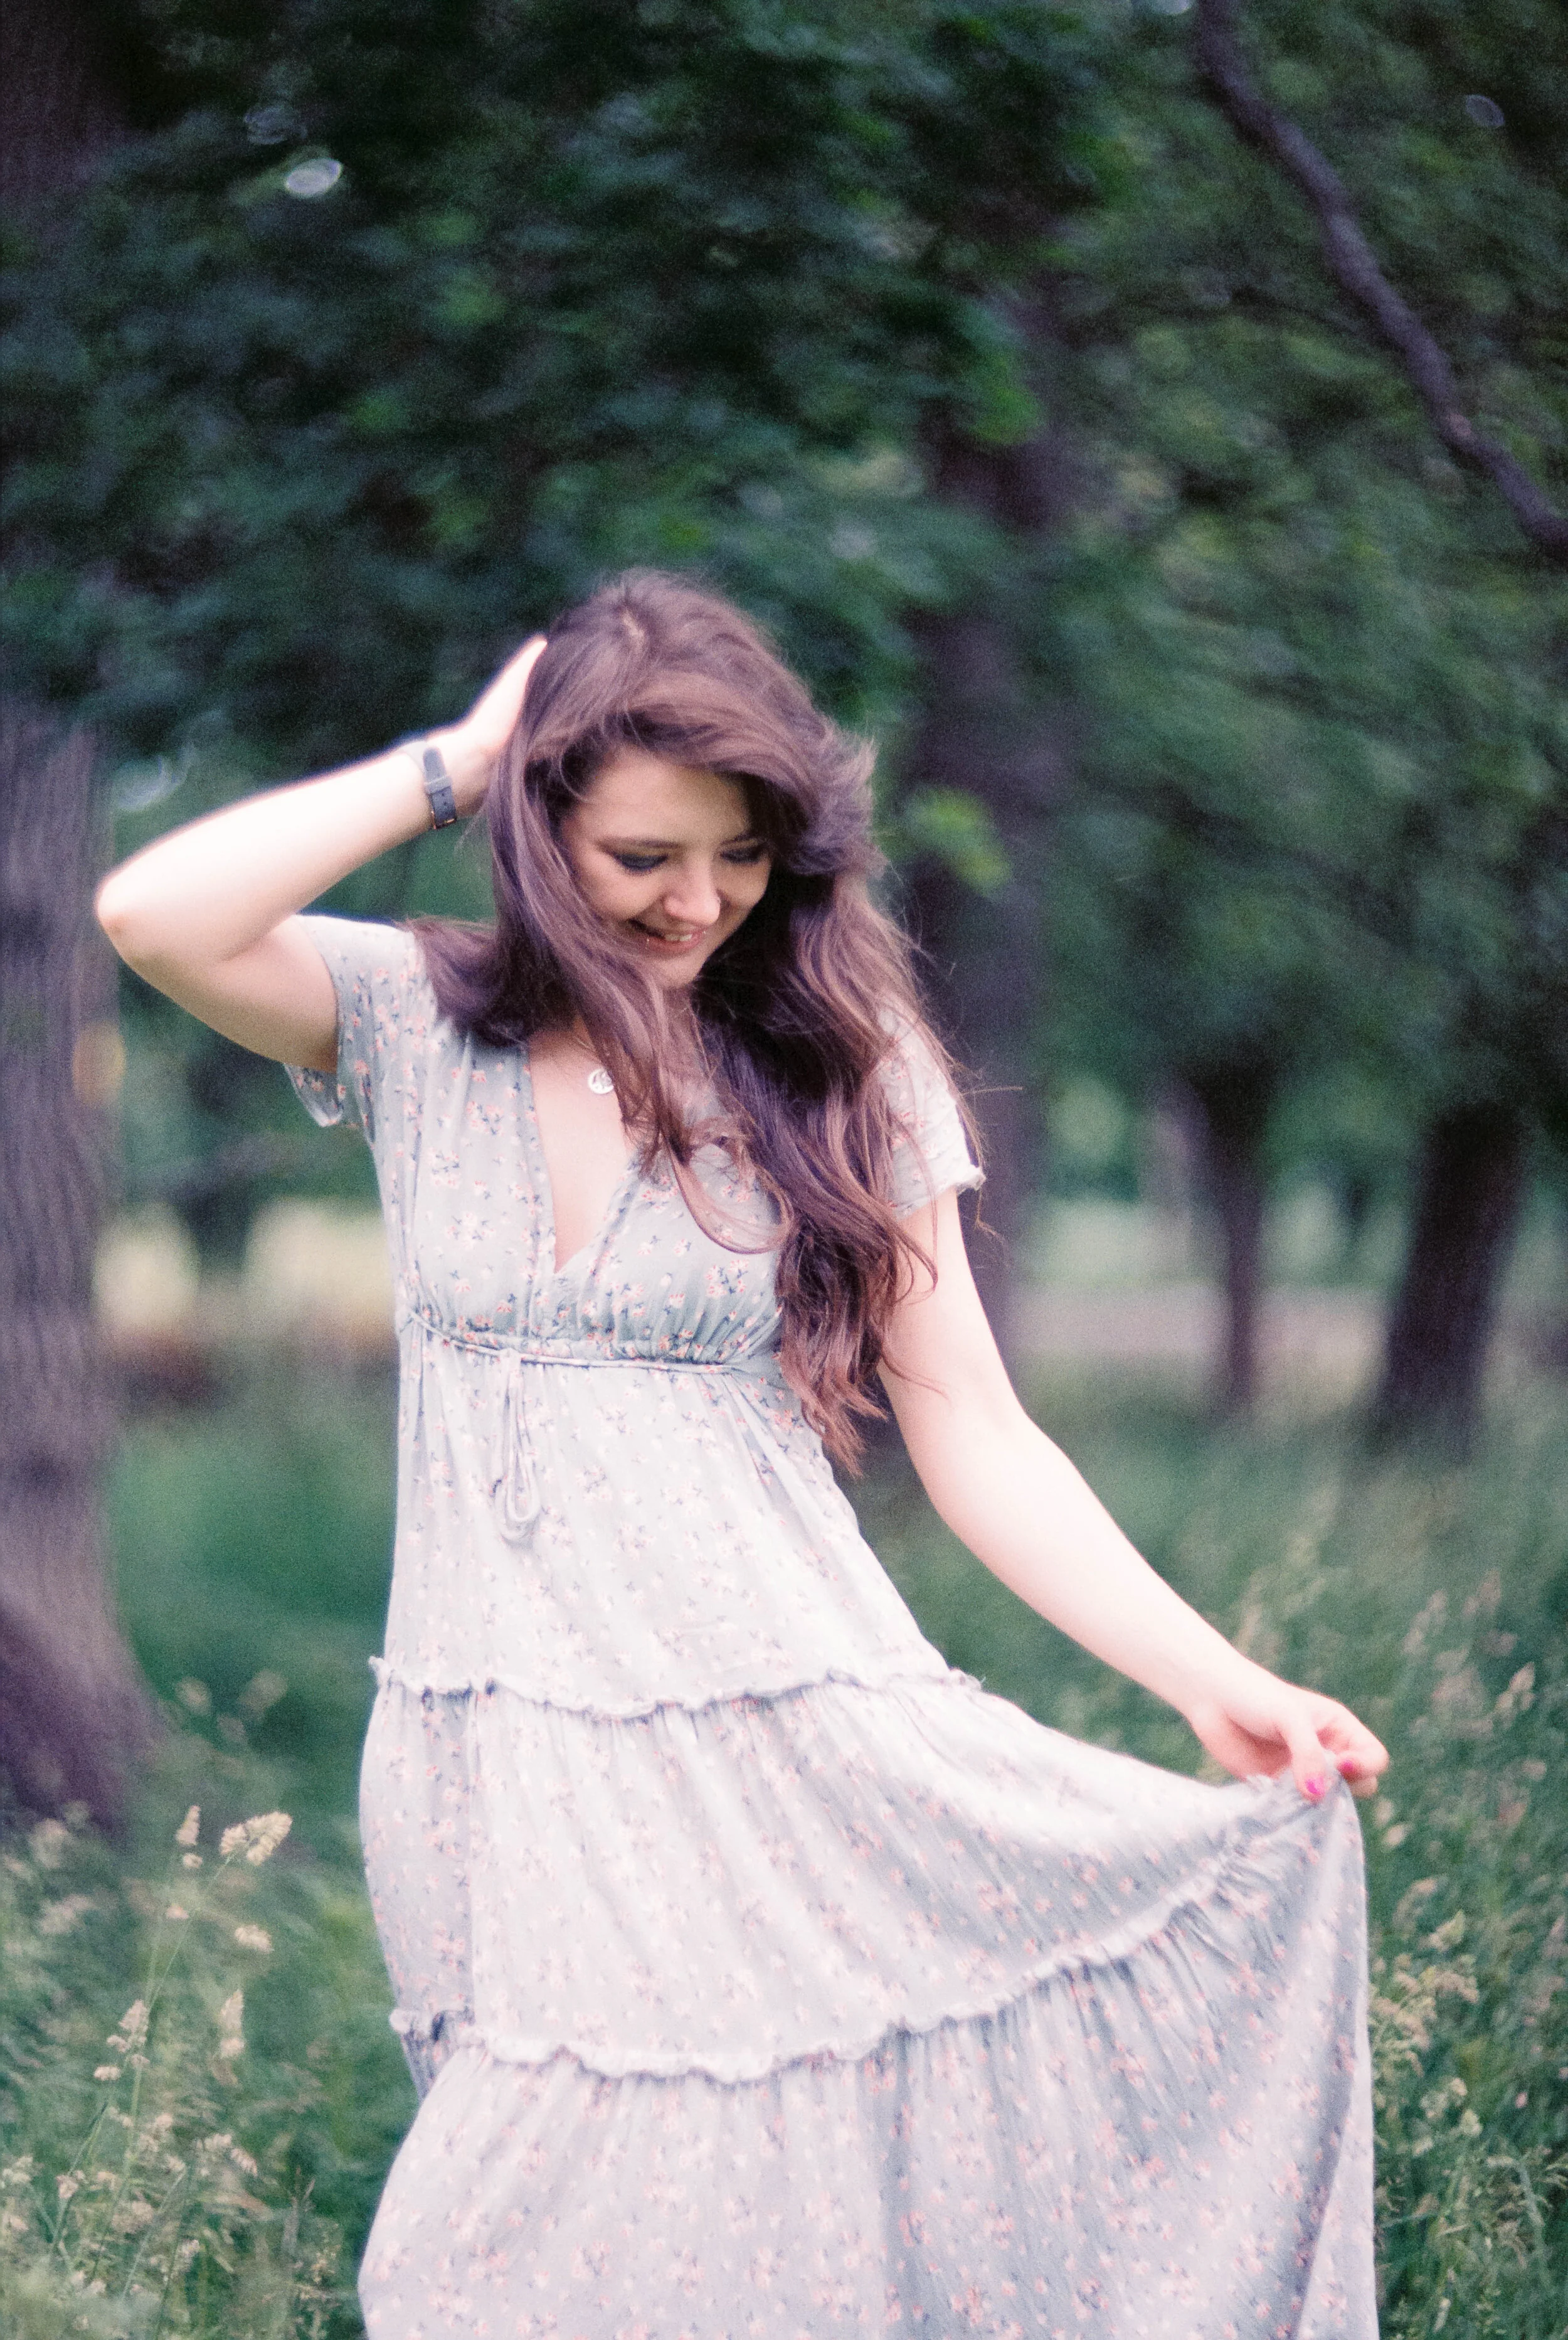
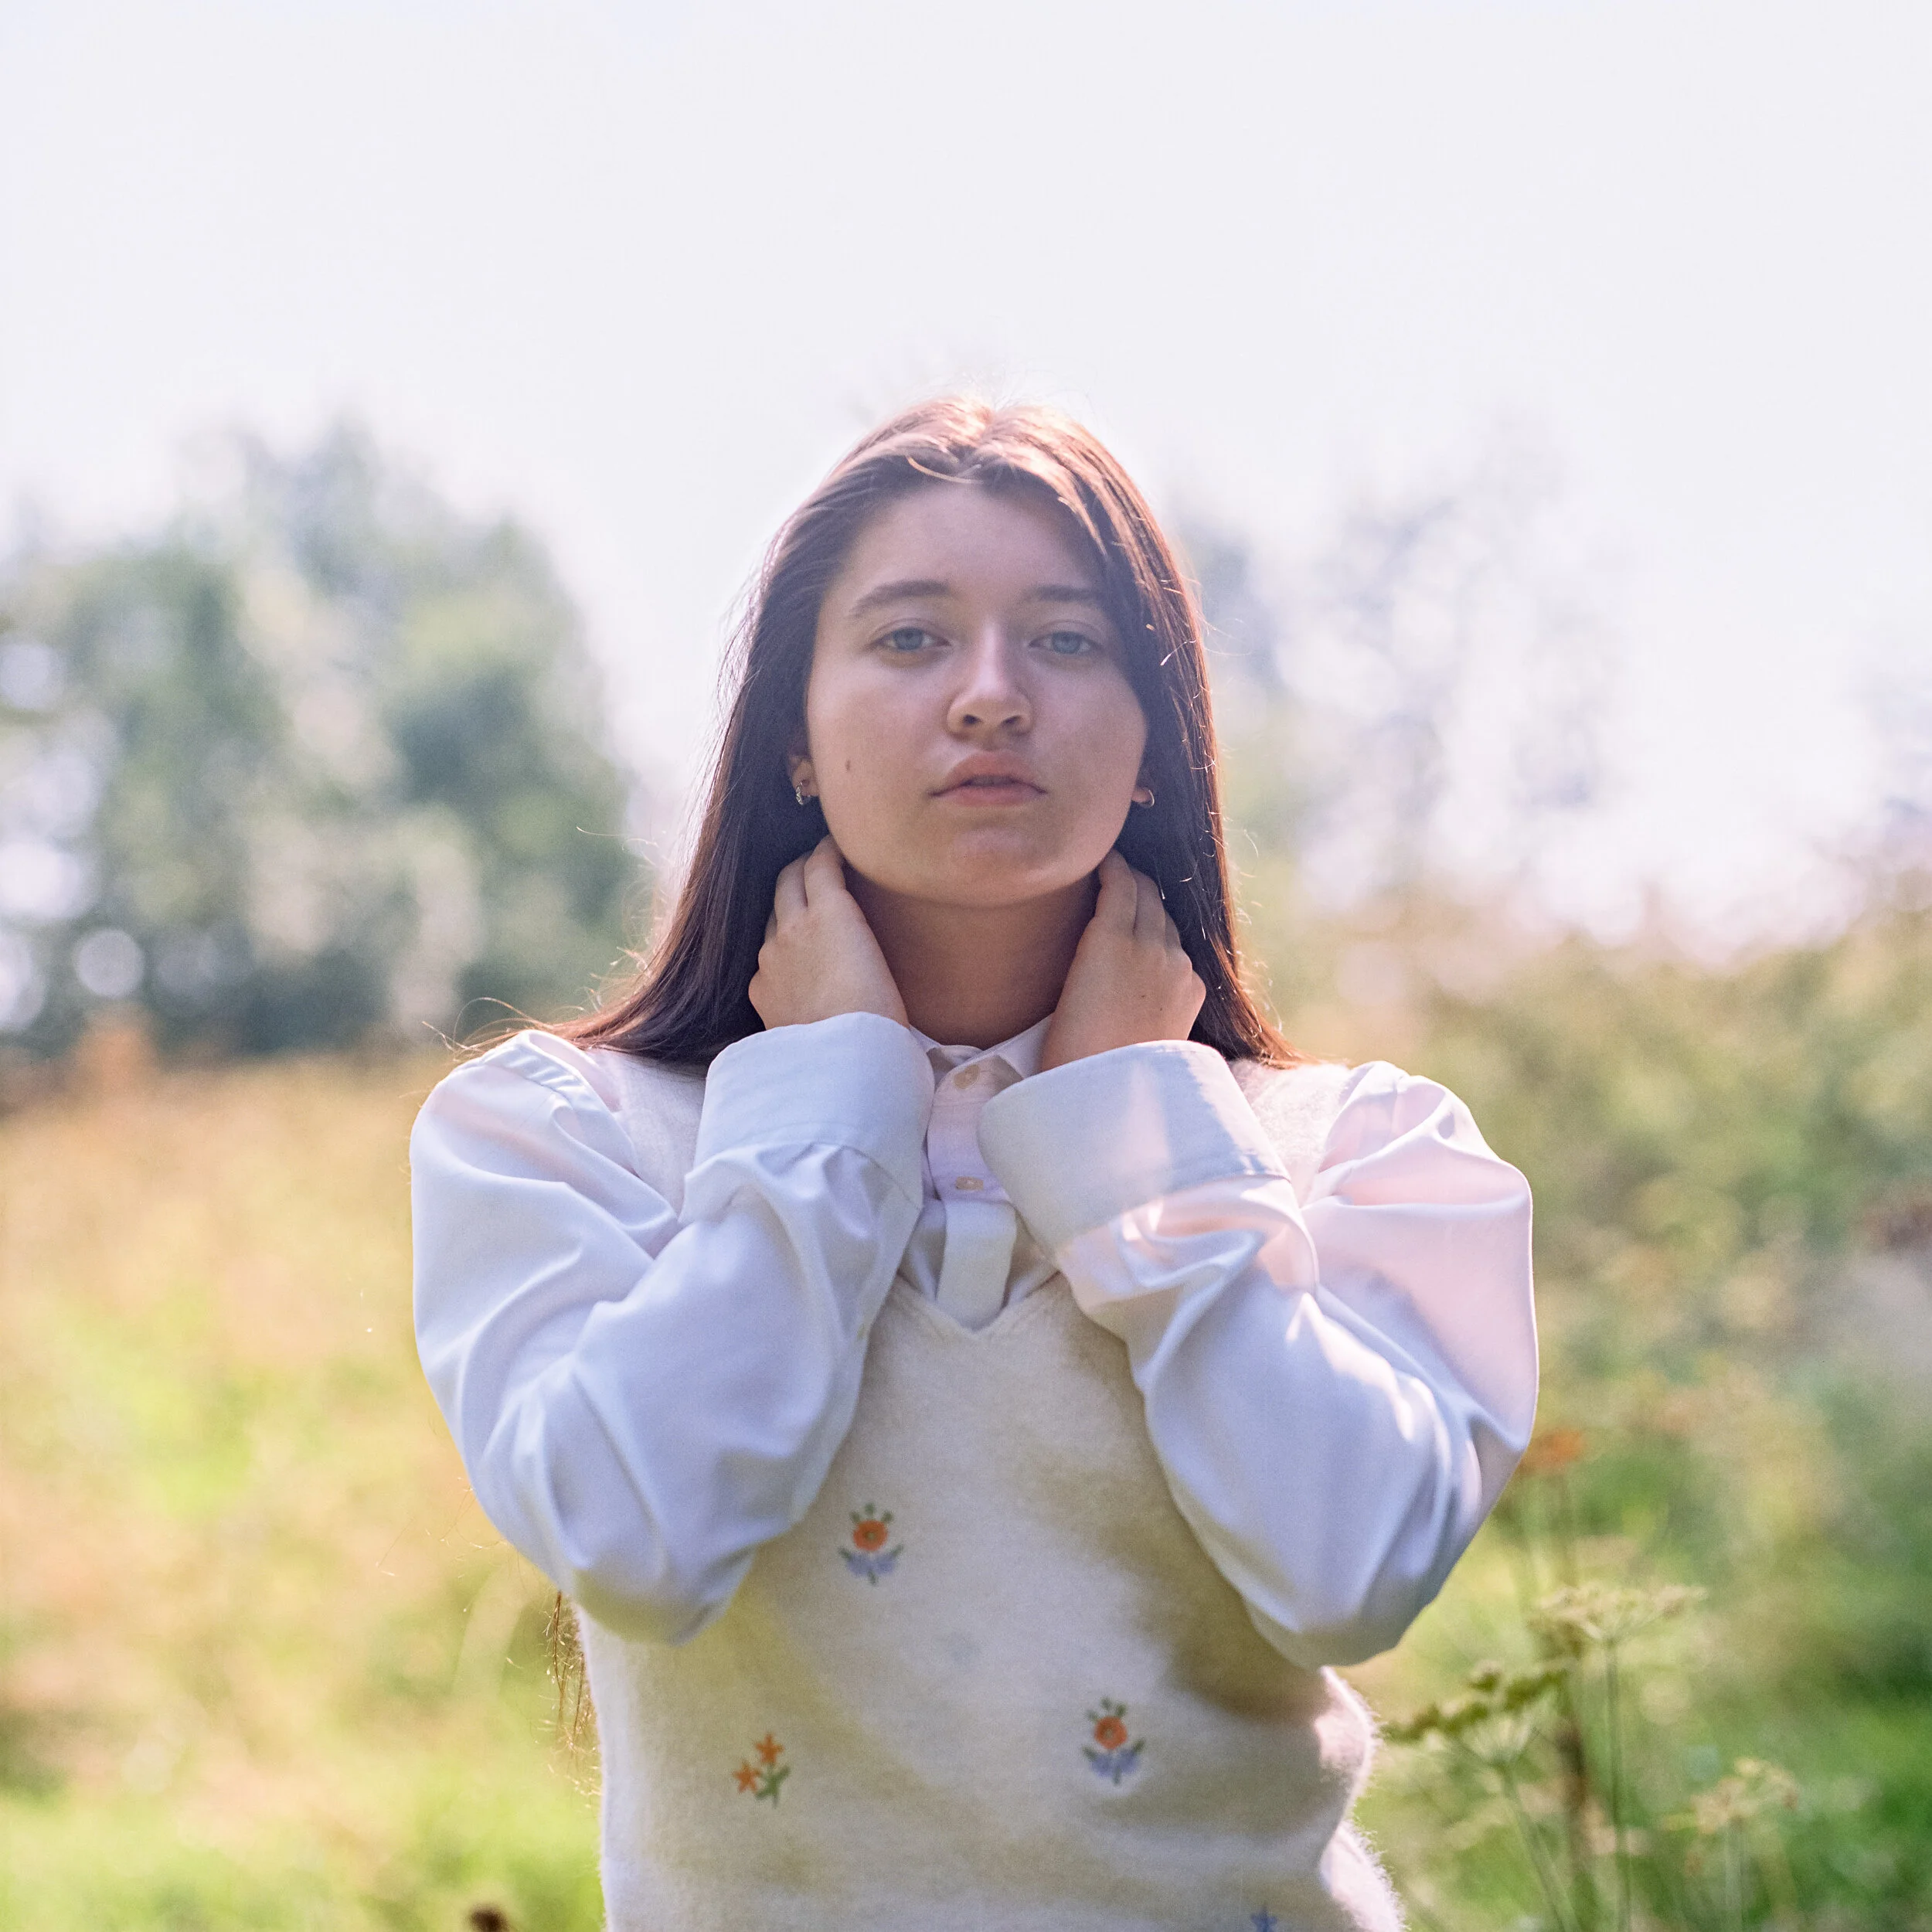
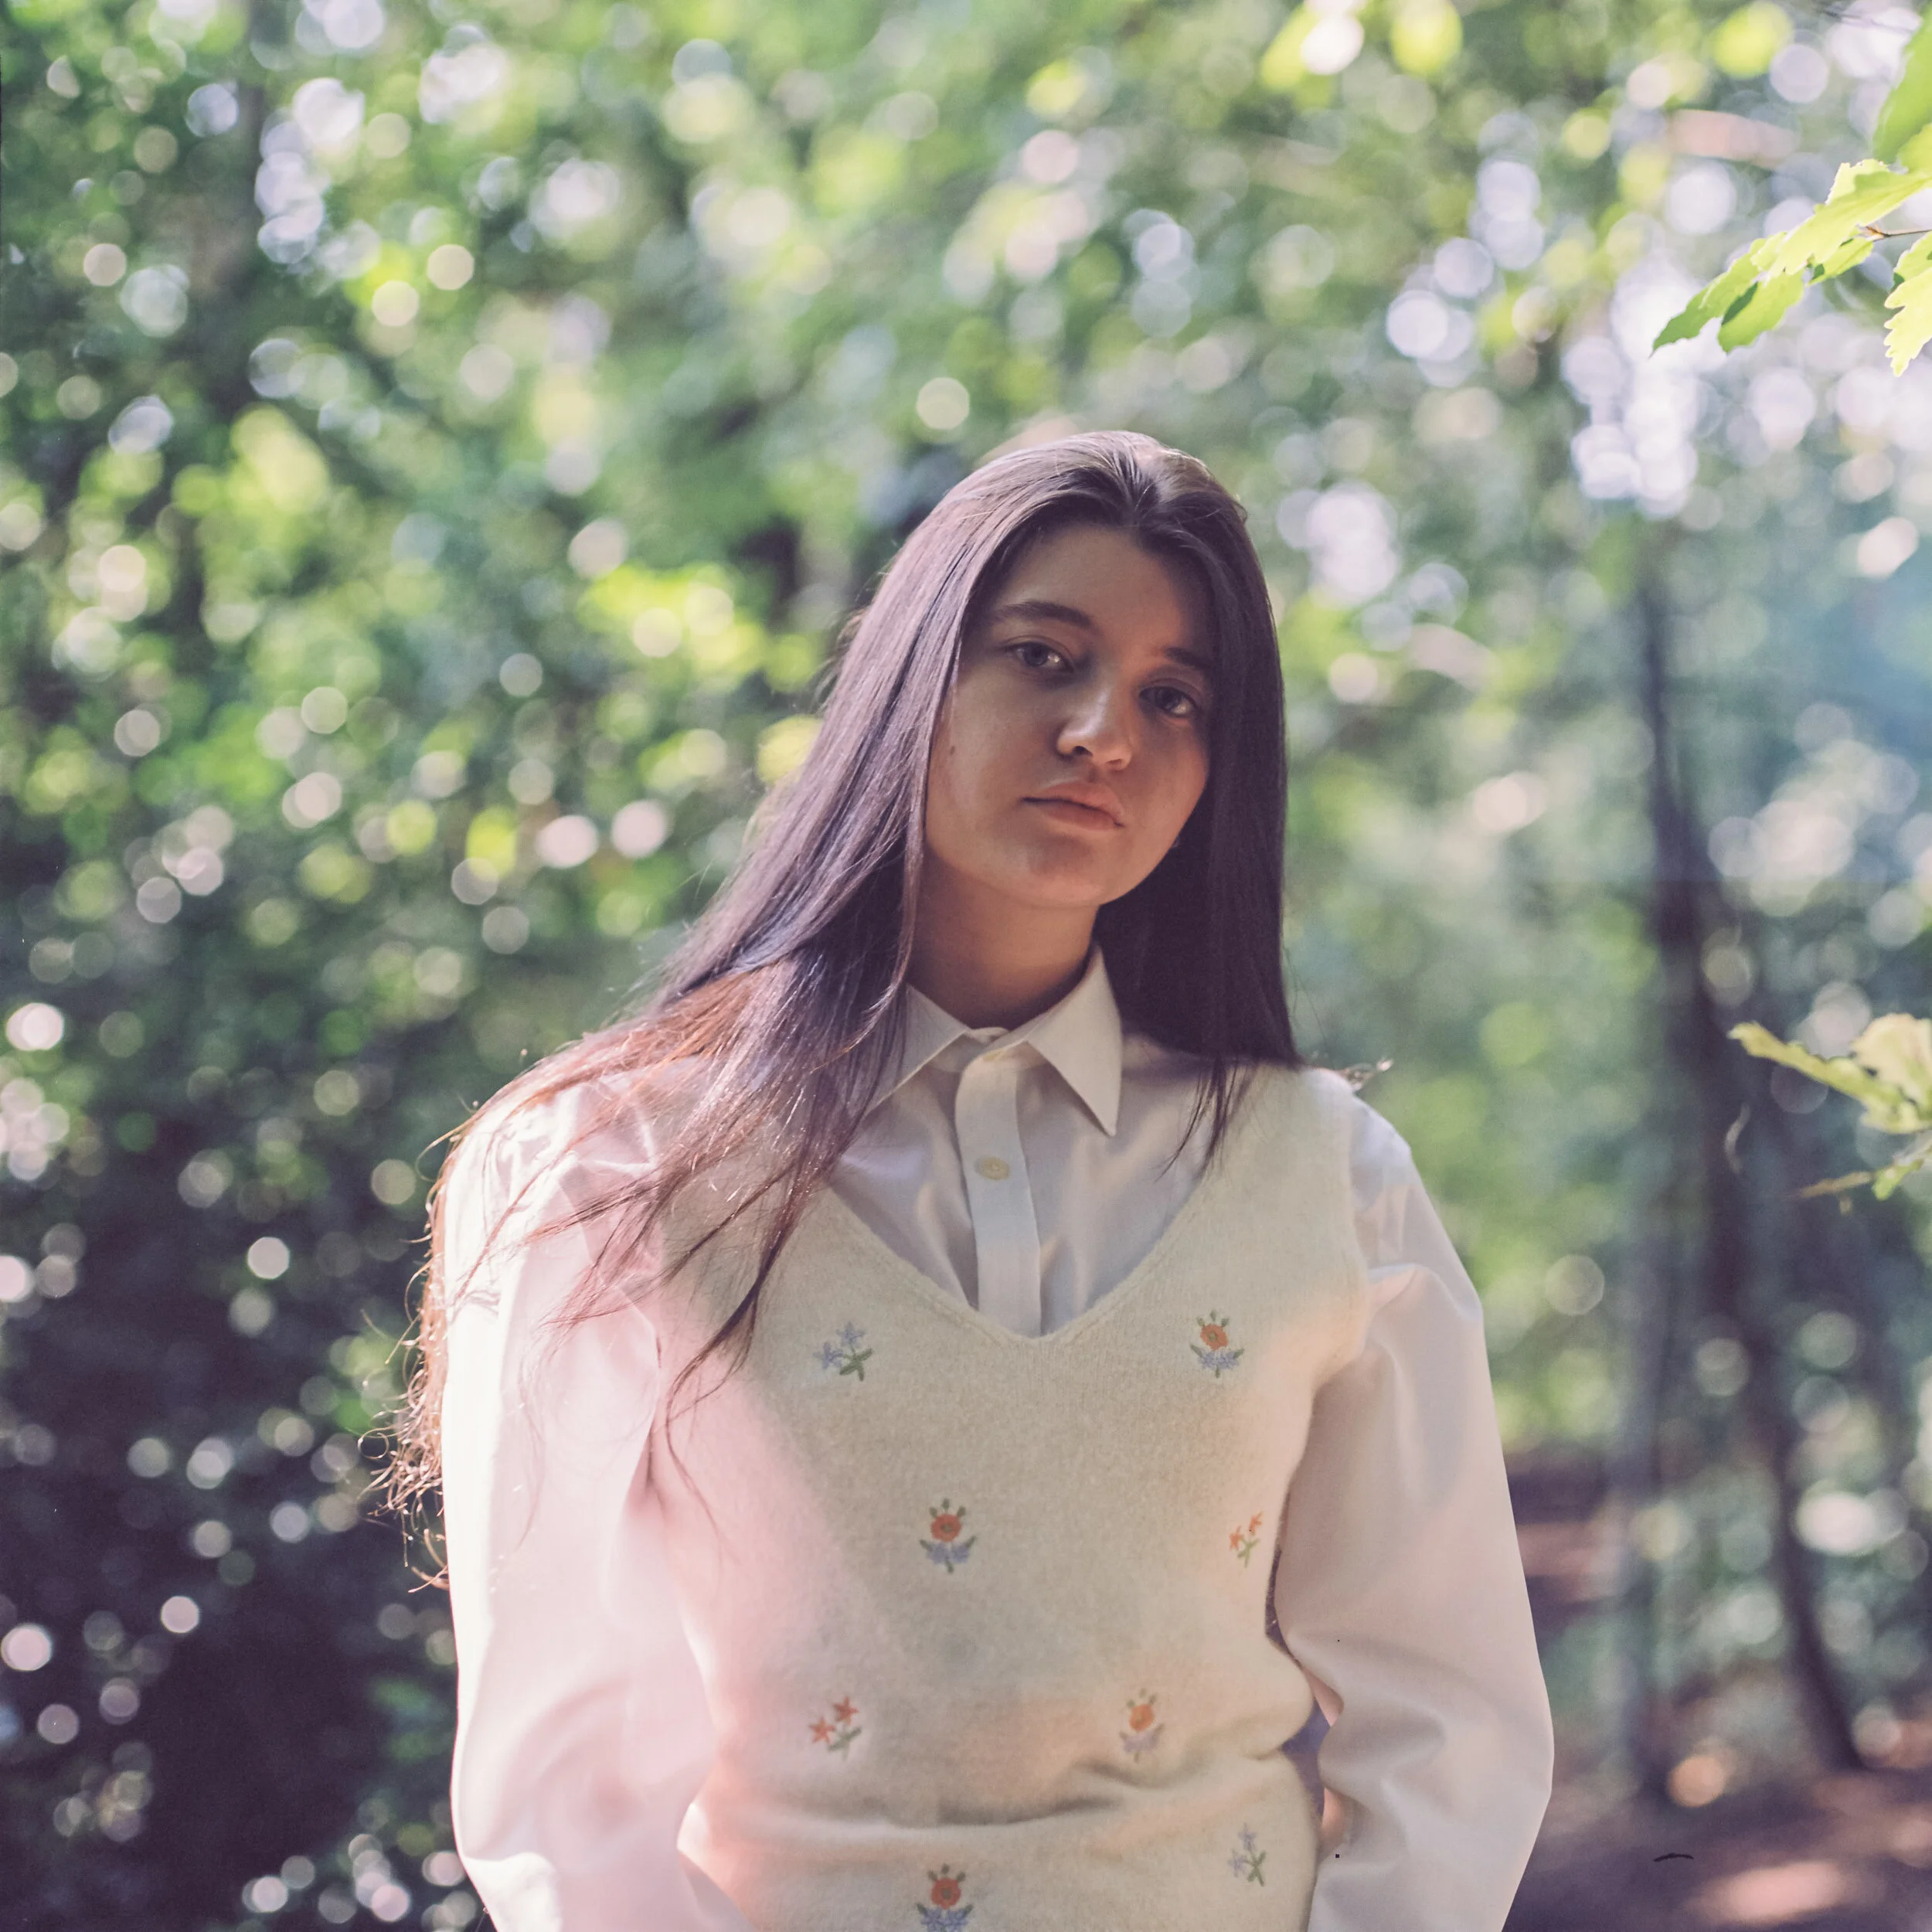
It’s a tricky lens to handle because its quite heavy, it has a pre-set aperture control and being an f1.5 lens if you want to shoot wide open that is some thing DOF you are dealing with, also did I mention that it’s quite heavy….BUT I absolutely adore what this beast of a lens does with light…. it can be contrasty, super sharp and crispwith really punchy colours or if you shoot with a light source in your frame suddenly you get blurry, glowy, dreamy low contrast images instead.

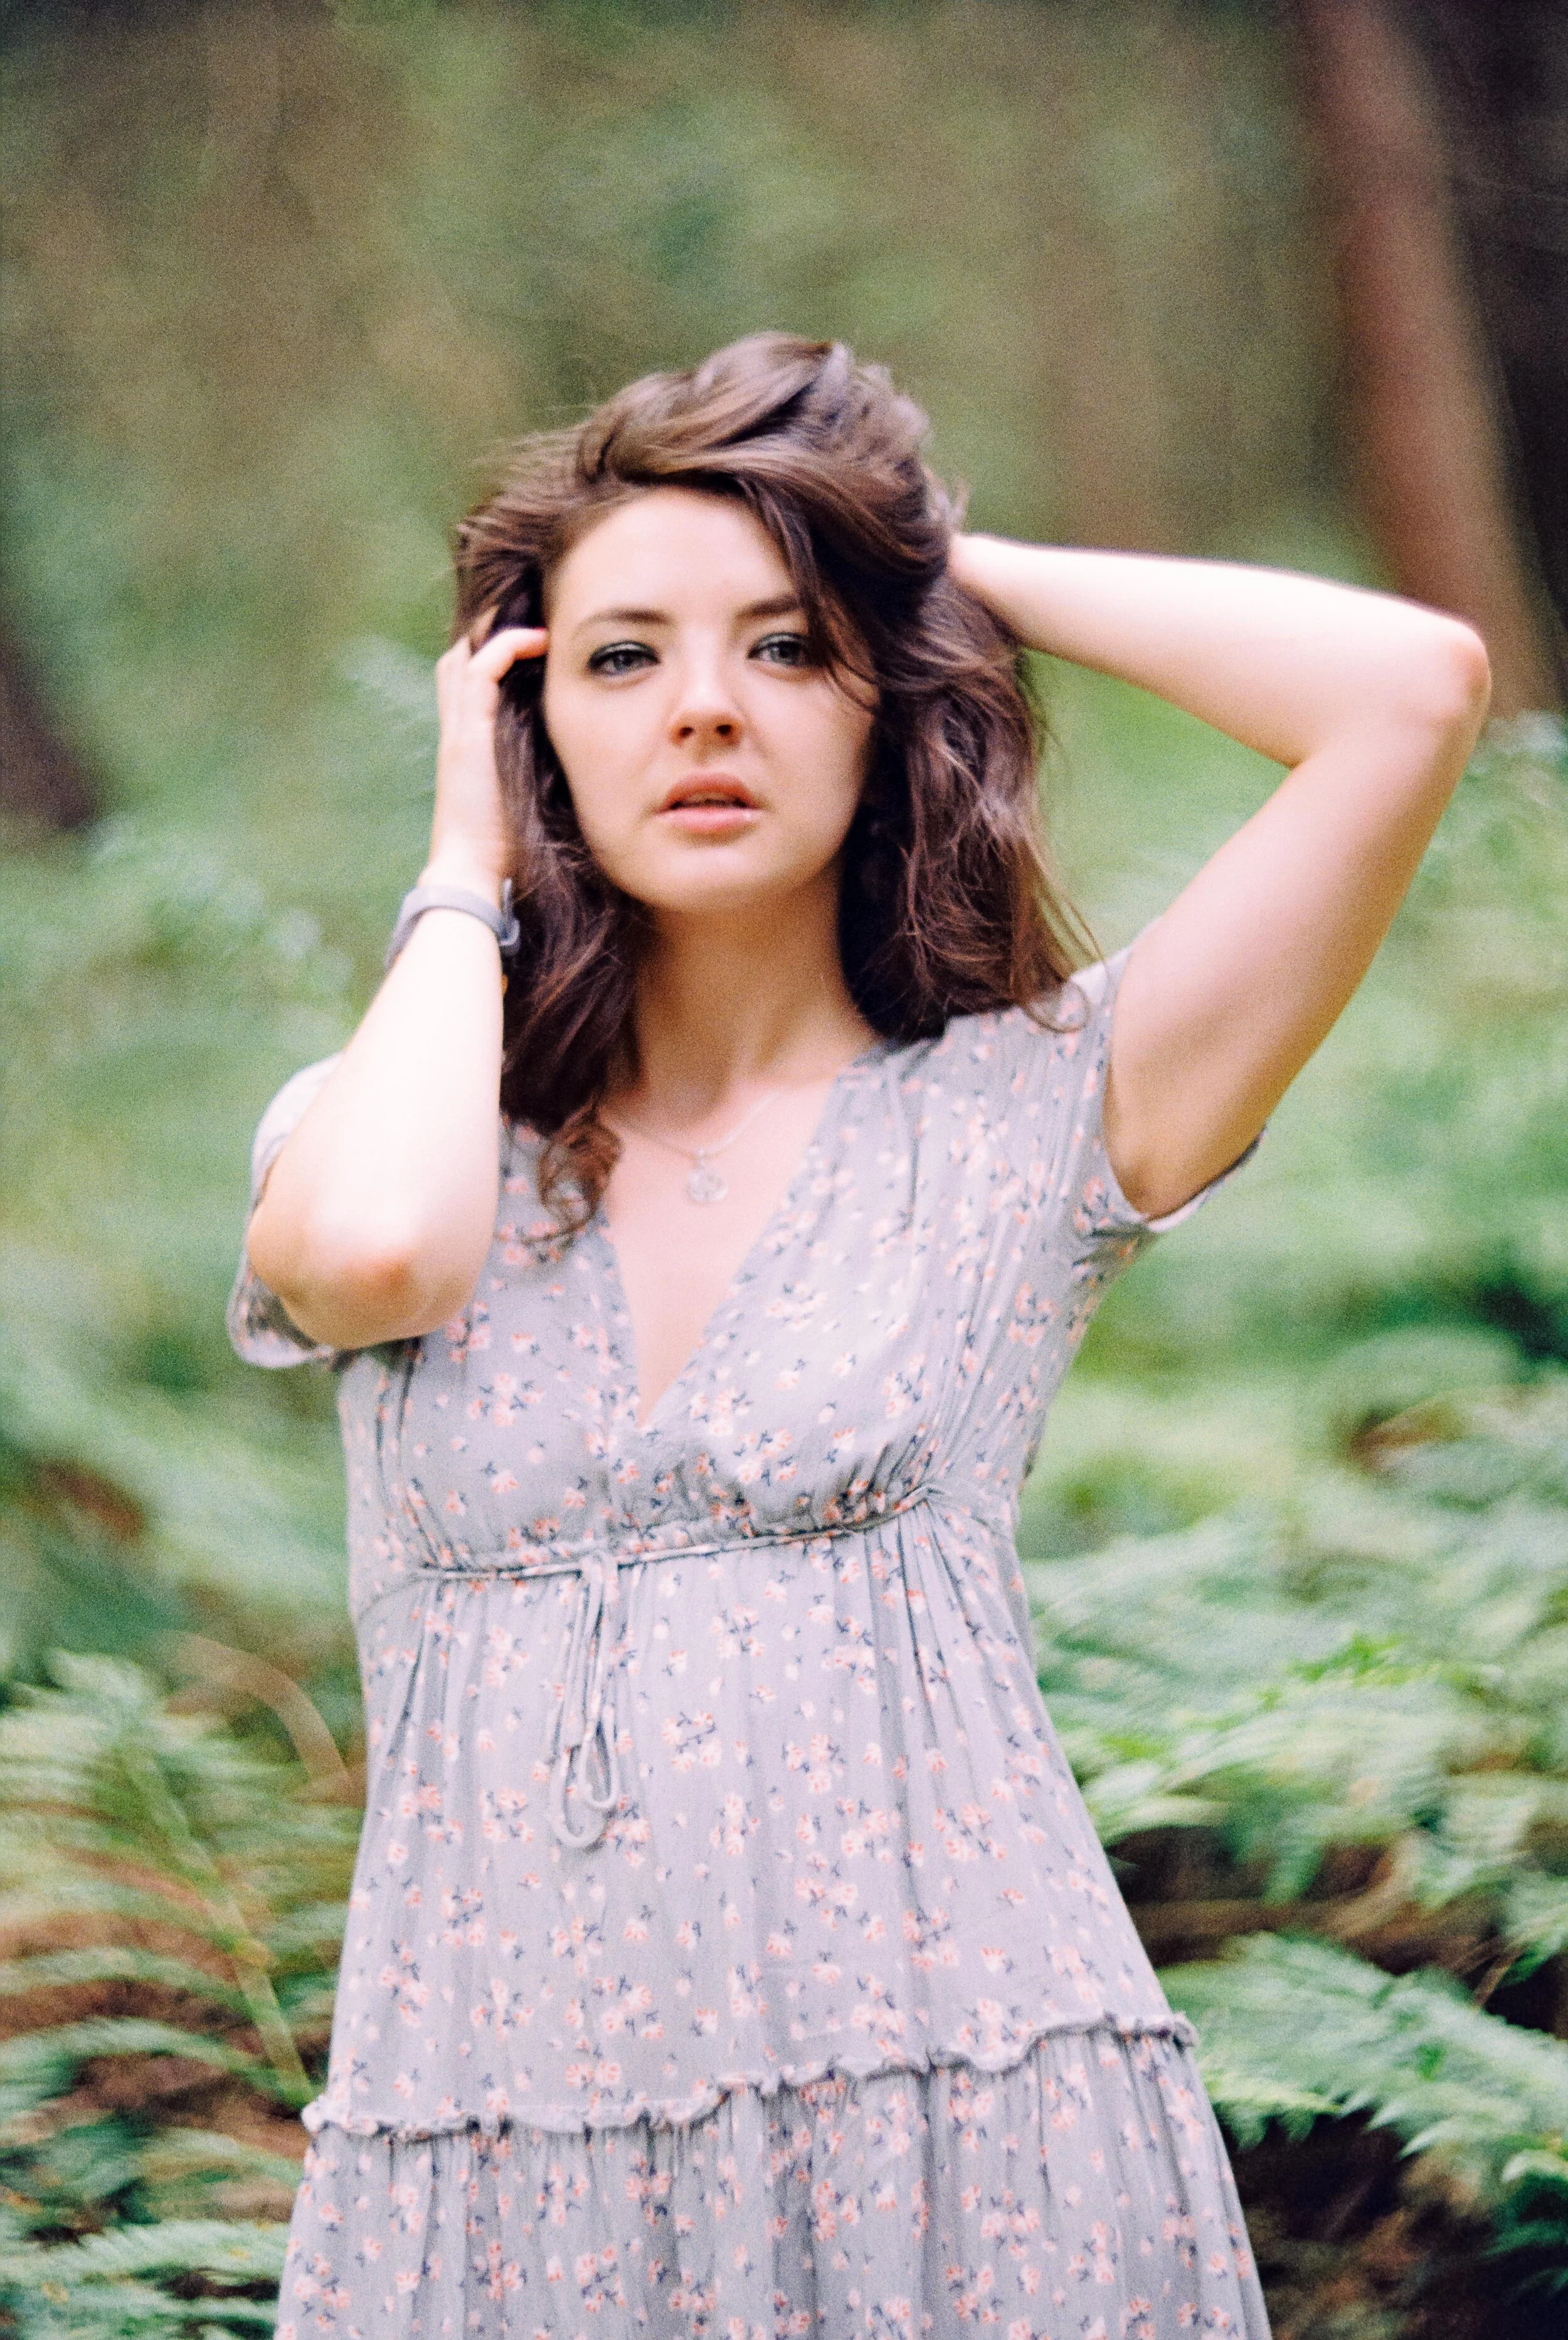
DSC_9924.jpg

The Helios 40-2N is an old Soviet design which is often only talked about for one thing: Swirly Bokeh and it sure does do that but I think this lens has much more to offer the thoughtful photographer than swirly bokeh - it is definitely NOT a one trick pony! Its manual focus of course despite being a native F Mount lens and this definitely suits me anyway, I can’t shake the feeling that AF is just cheating :D nothing slows you down more than trying to manually focus a lens at f1.5!

I am hugely grateful to Sophie for a lovely portrait shoot and for giving me the opportunity to get creative again! Anyway enough ramble from me - suffice it to say that I am really enjoying shooting a mix of film and digital and I guess that’s all that matters right?
Helios Dreams - Shooting Portraits with the Helios 40-2N


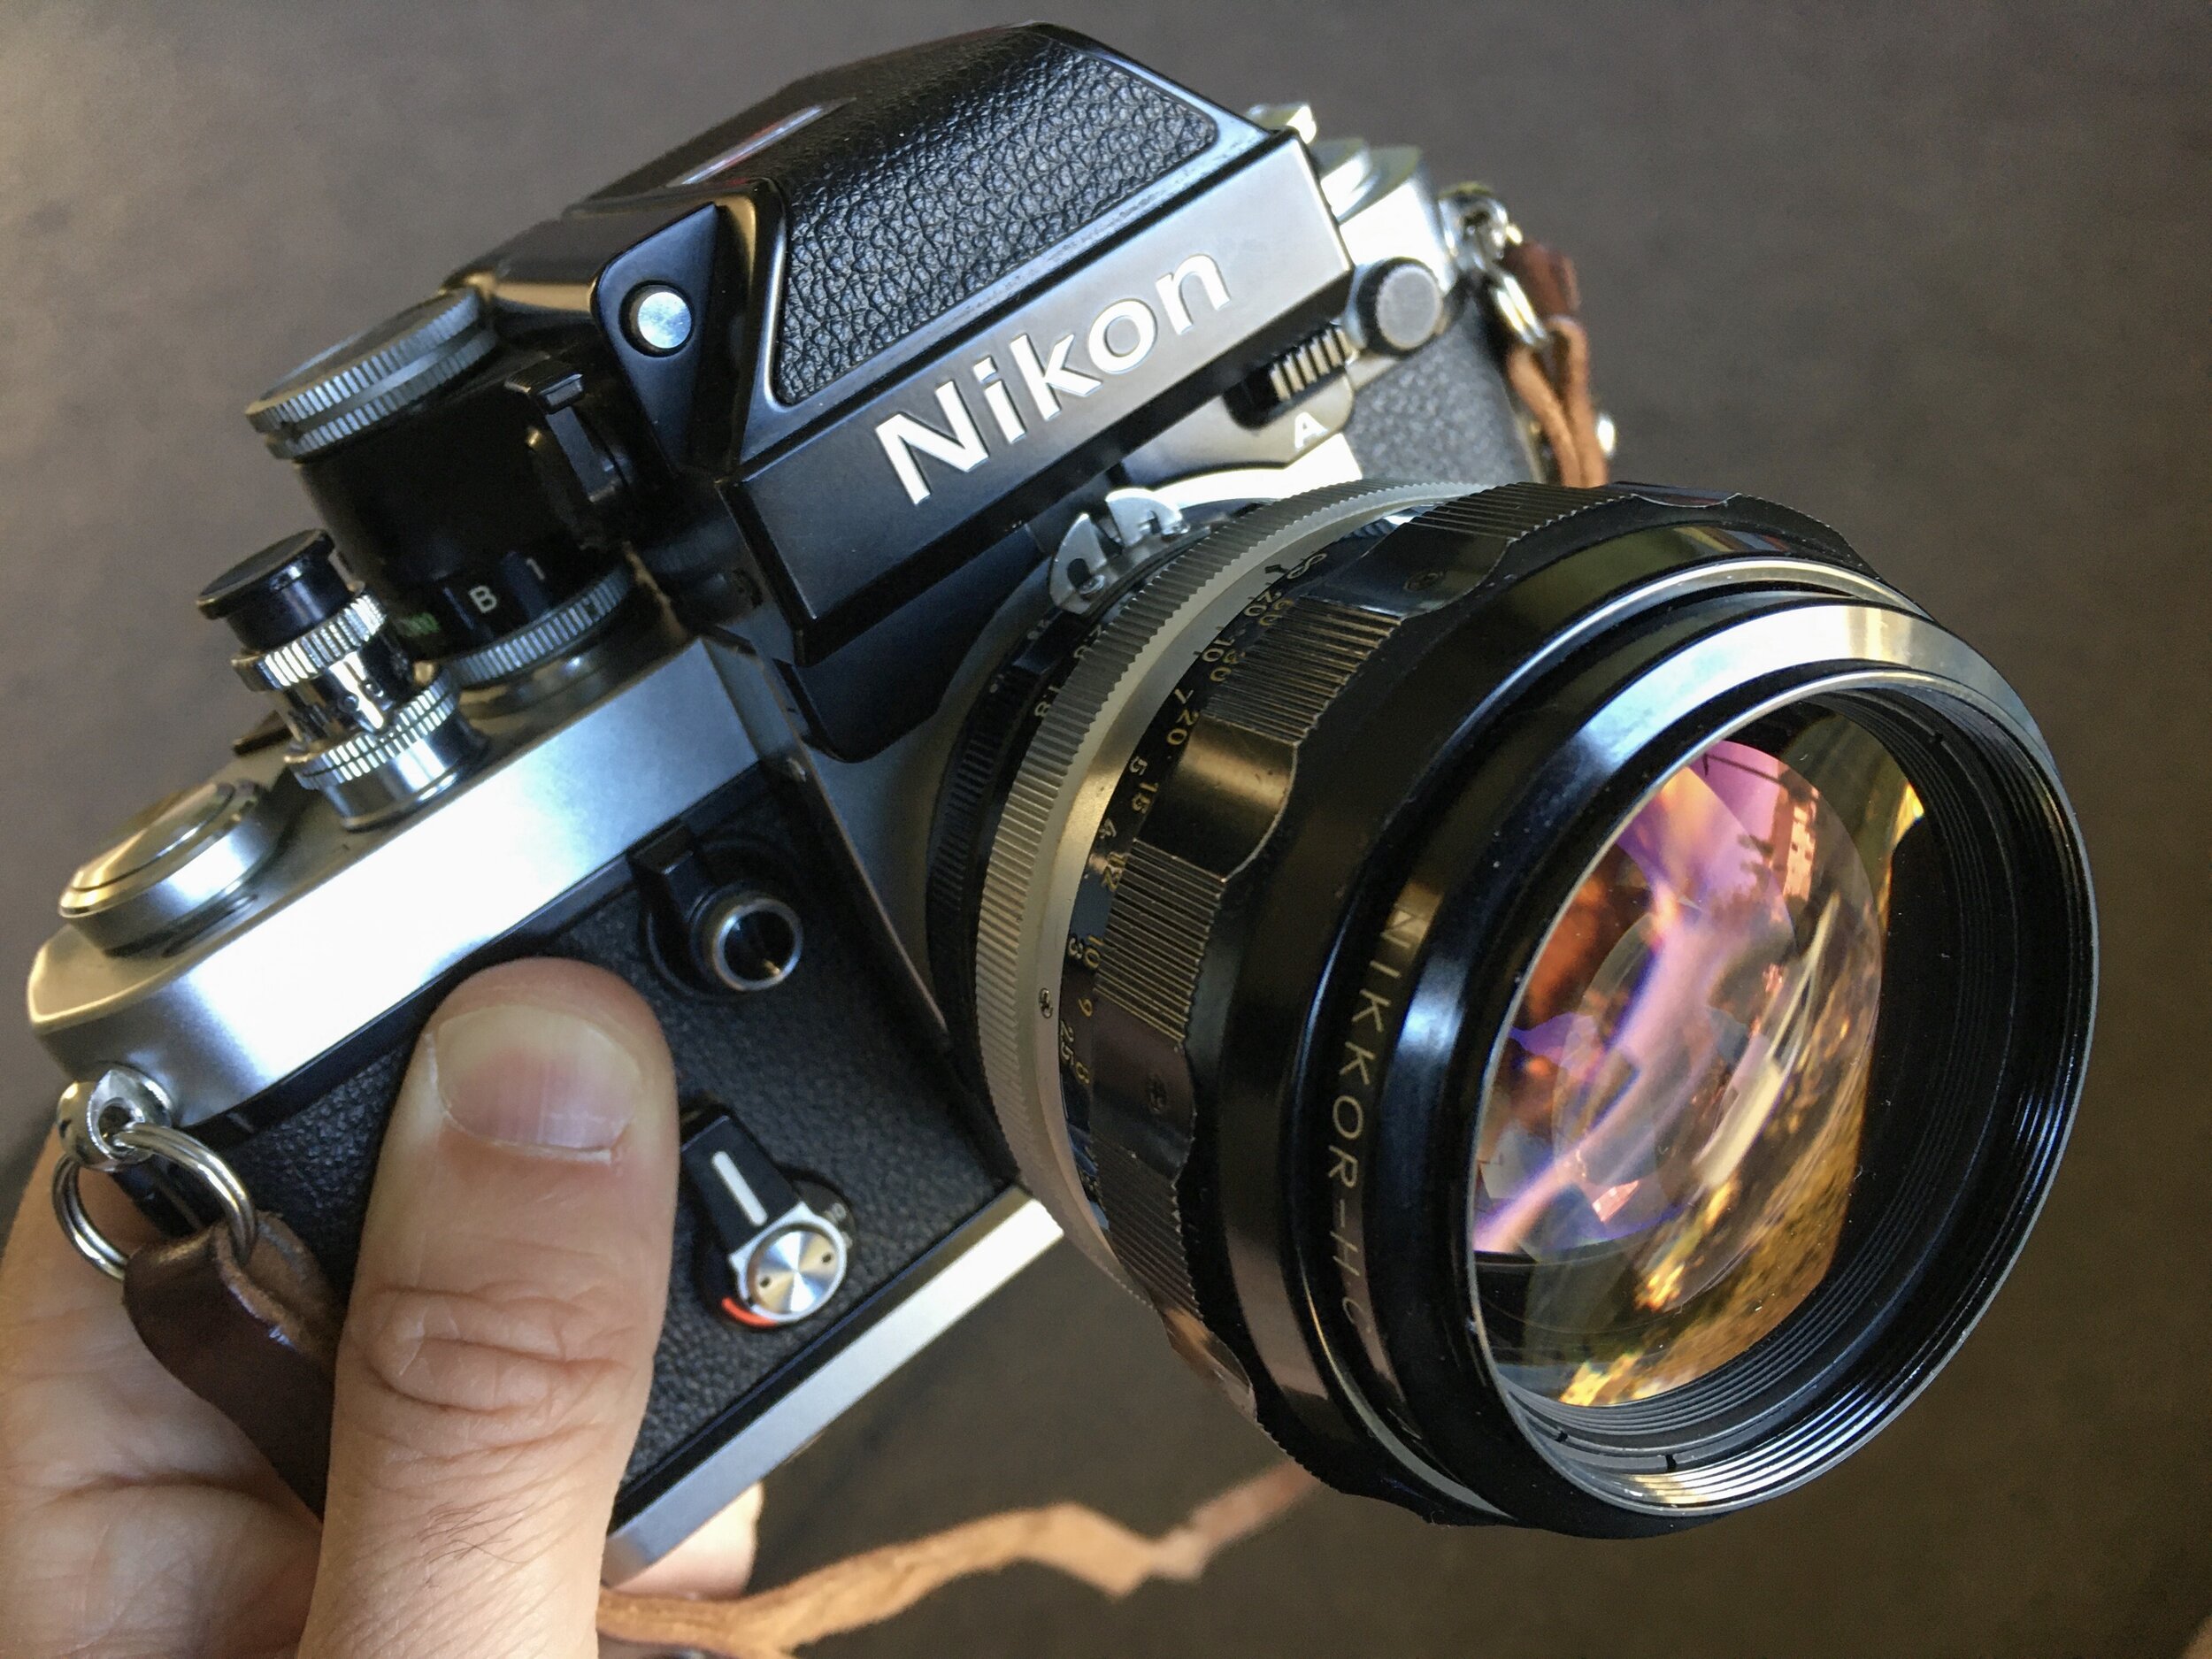
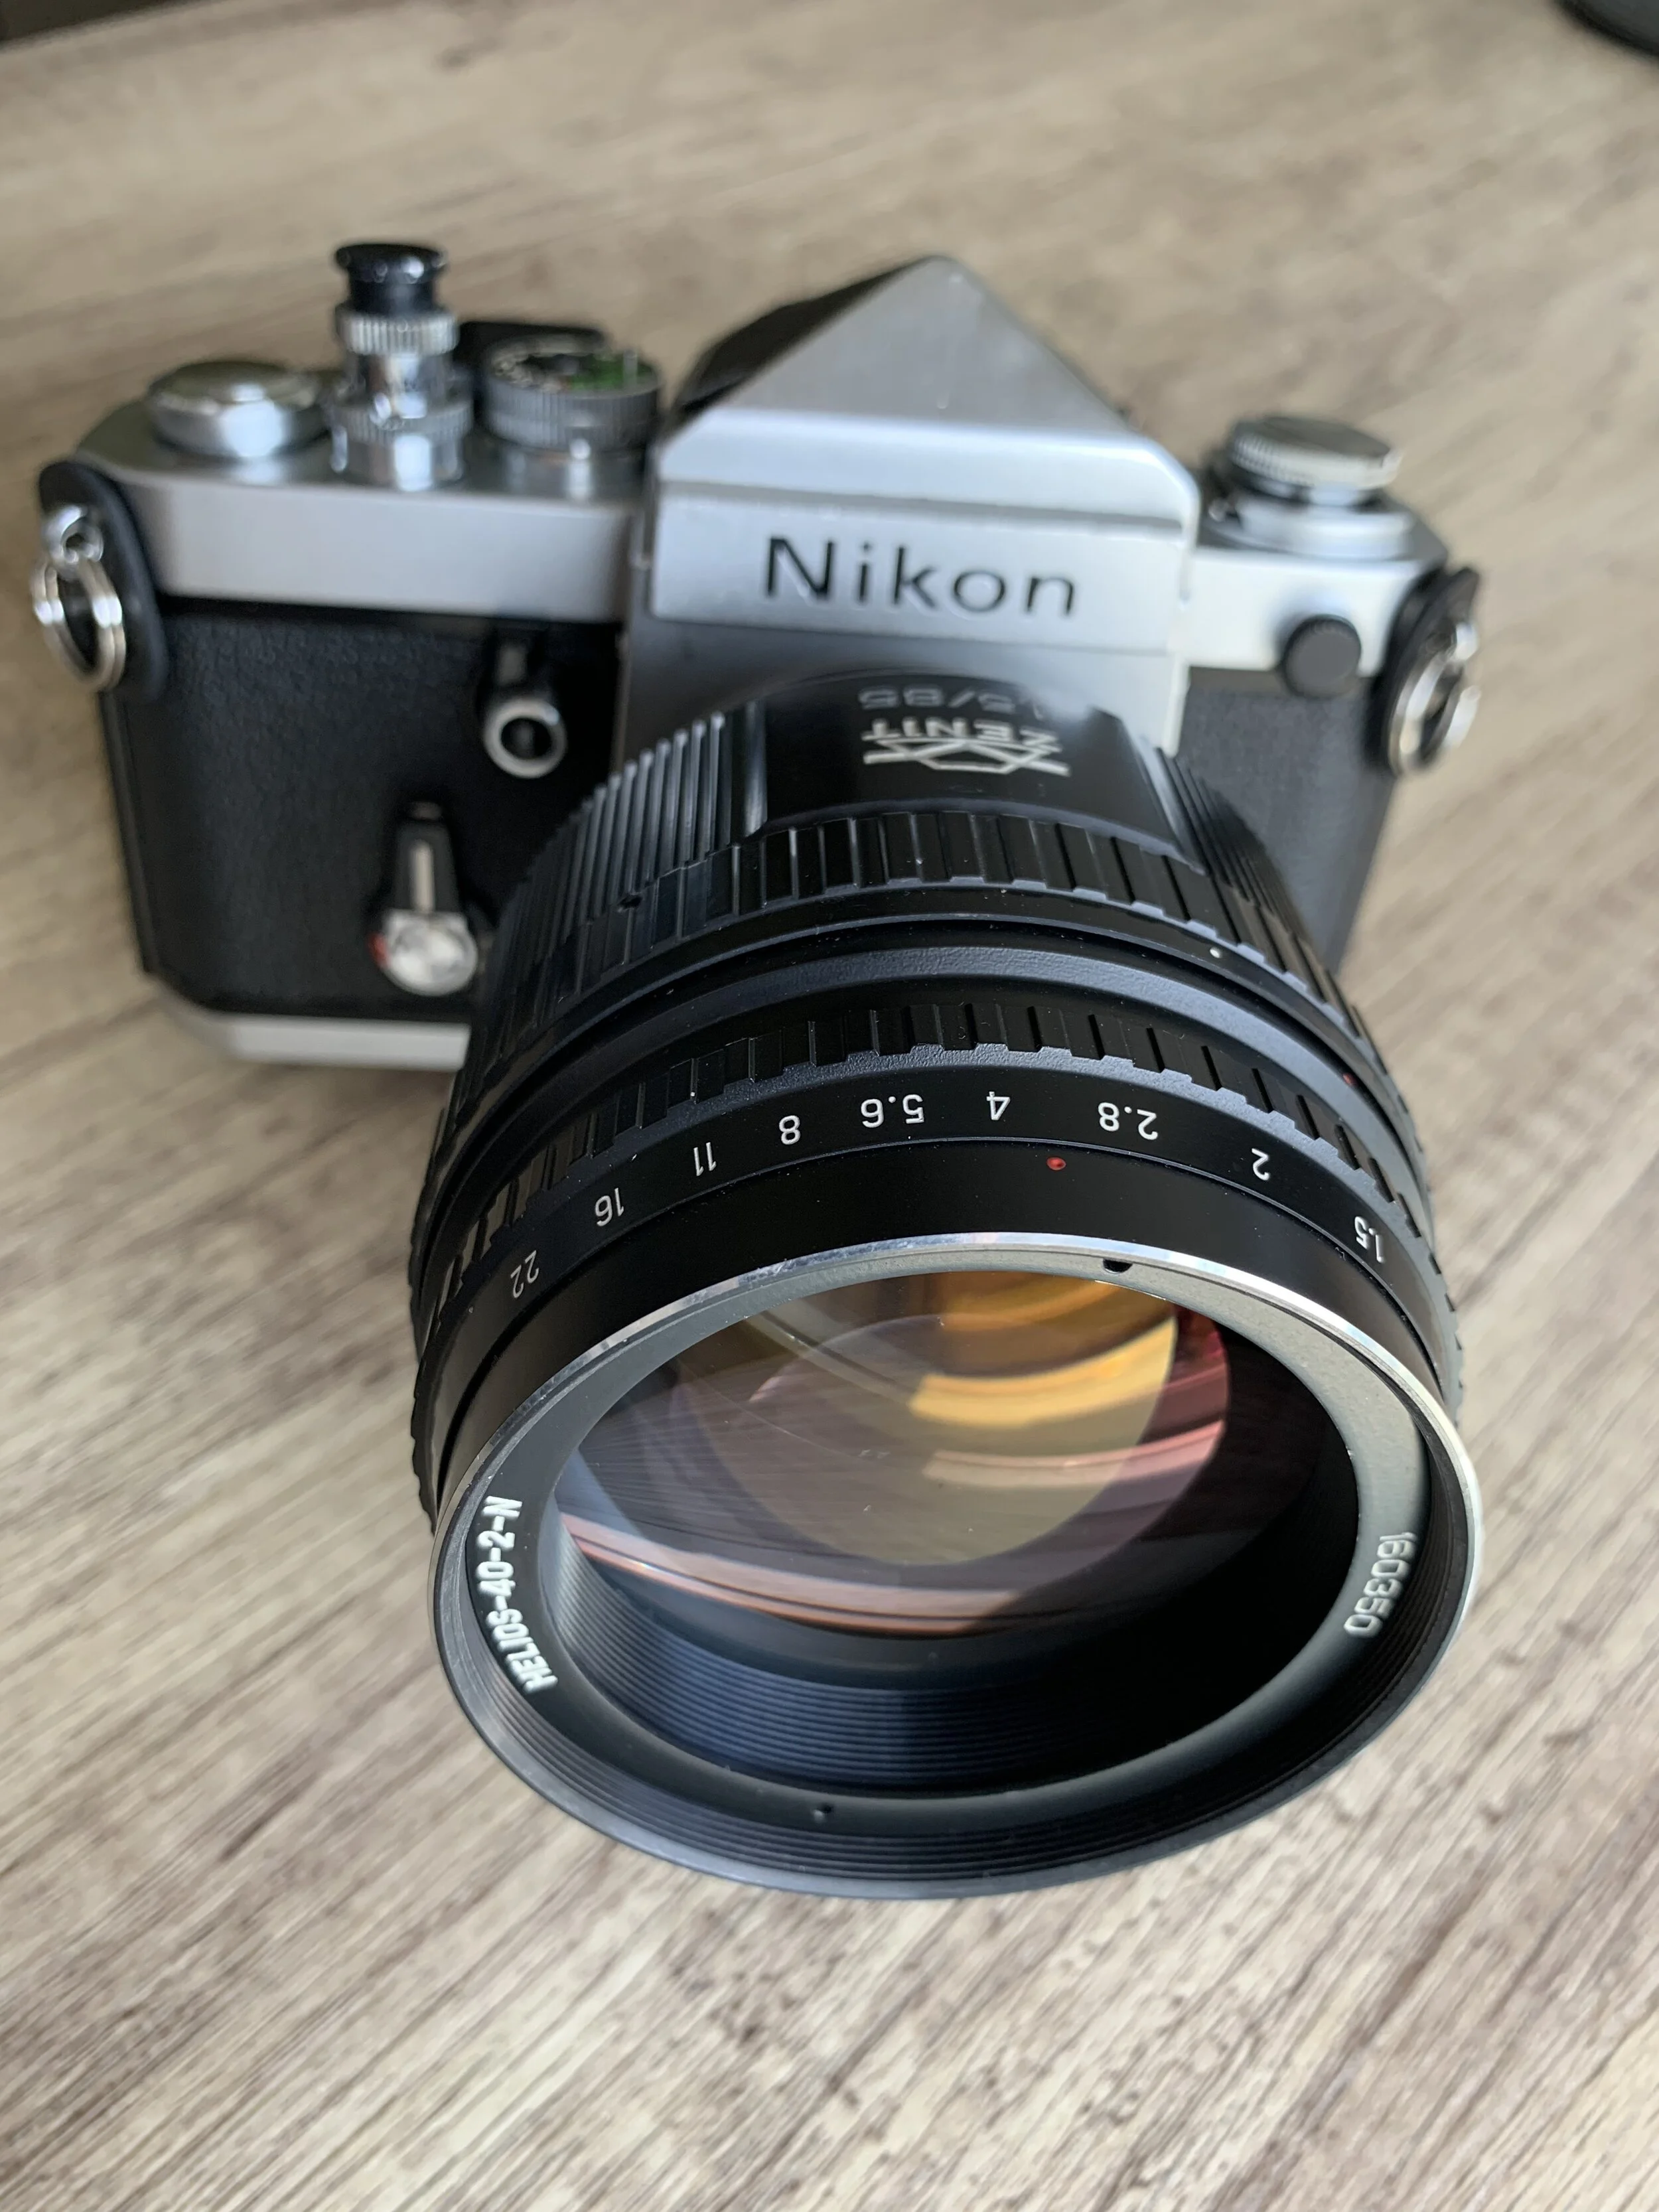
There really aren’t that many lenses left on my “flipping heck I really really really want to own that” list - I am fortunate to have owned / sold on some pretty amazing glass in my time! That being said there is one that I have finally managed to tick off the list - the Helios 40-2! I’ve had one in my sights for a few years now - just casually waiting for the opportunity to bag it at a price that made sense - and that time has arrived my friends! Behold the Helios 40-2N 85mm 1.5!

You will probably have heard about the Helios 44 series of lenses, they are small, cheap and plentiful - easy to obtain and every photographer should own (at least) one! I’ve written about these sovet era lenses previously HERE and HERE But the Helios 40-2? This is a different beast all together! It’s big, heavy, relatively rare and unless you get very lucky they can be quite expensive too.

The eagle eyed among you will note that it is mounted on to my Nikon F2 - that’s right, this ‘N’ in the name Helios 40-2N stands for Nikon - although strangely enough it won’t quite make infinity focus…. I haven’t seen any othe reviews mention this but it definitely doesn’t focus to infinity, nearly but not quite. The good news is that this first and foremost a portrait lens and in that role it’s not often you’ll want infinity focus, but even still. Anyway with that minor gripe out of the way let’s dive into some lens geekery shall we?

I could quite easily write a whole blog post about the history of post world war two lens design and manufacture in the USSR and fellow eastern bloc/satellite country the DDR (but I won’t)!

Suffice it to say that this lens is based on a 1930’s German Carl Zeiss design and then WWII happened and long story short it didn’t end well for Germany in lots of ways, one of which was having large swathes of their industrial and technological knowledge taken as reparations - optics and lens design being one these technologies. And so not long after that the Soviets started churning out lenses that were strangely similar to those 1930’s German designs…. any who…enough with the history lesson because while there is certainly a long heritage to this lens’ design, my version is actually my most modern lens (by quite some margin) using the serial number to date it this Zenit Helios 40-2N was built in 2016! Yep that’s right - they still make them in Russia to this very day! This late version has a redesigned housing (and IMHO a more user friendly lay out) than the older versions - its also cheaper to buy than the classic versions.

Some folks like to shoot the older style perhaps because this has an aesthetic appeal or it complements their other camera gear, but me I’m a shooter first and foremost and I love this more modern looking lens, not just that but the handling is very good, the focus ring is smooth as silk - some of those older versions are more than 50 years old so it’s a bit of pot luck whether you’ll have a nice smooth focussing action after all that time!

The Helios 40-2 is well known for creating wonderfully swirly bokeh and heck yeah - it certainly does do that well, but it’s more than a one trick pony, I think there are several stand out features which make this lens a must for your camera bag.

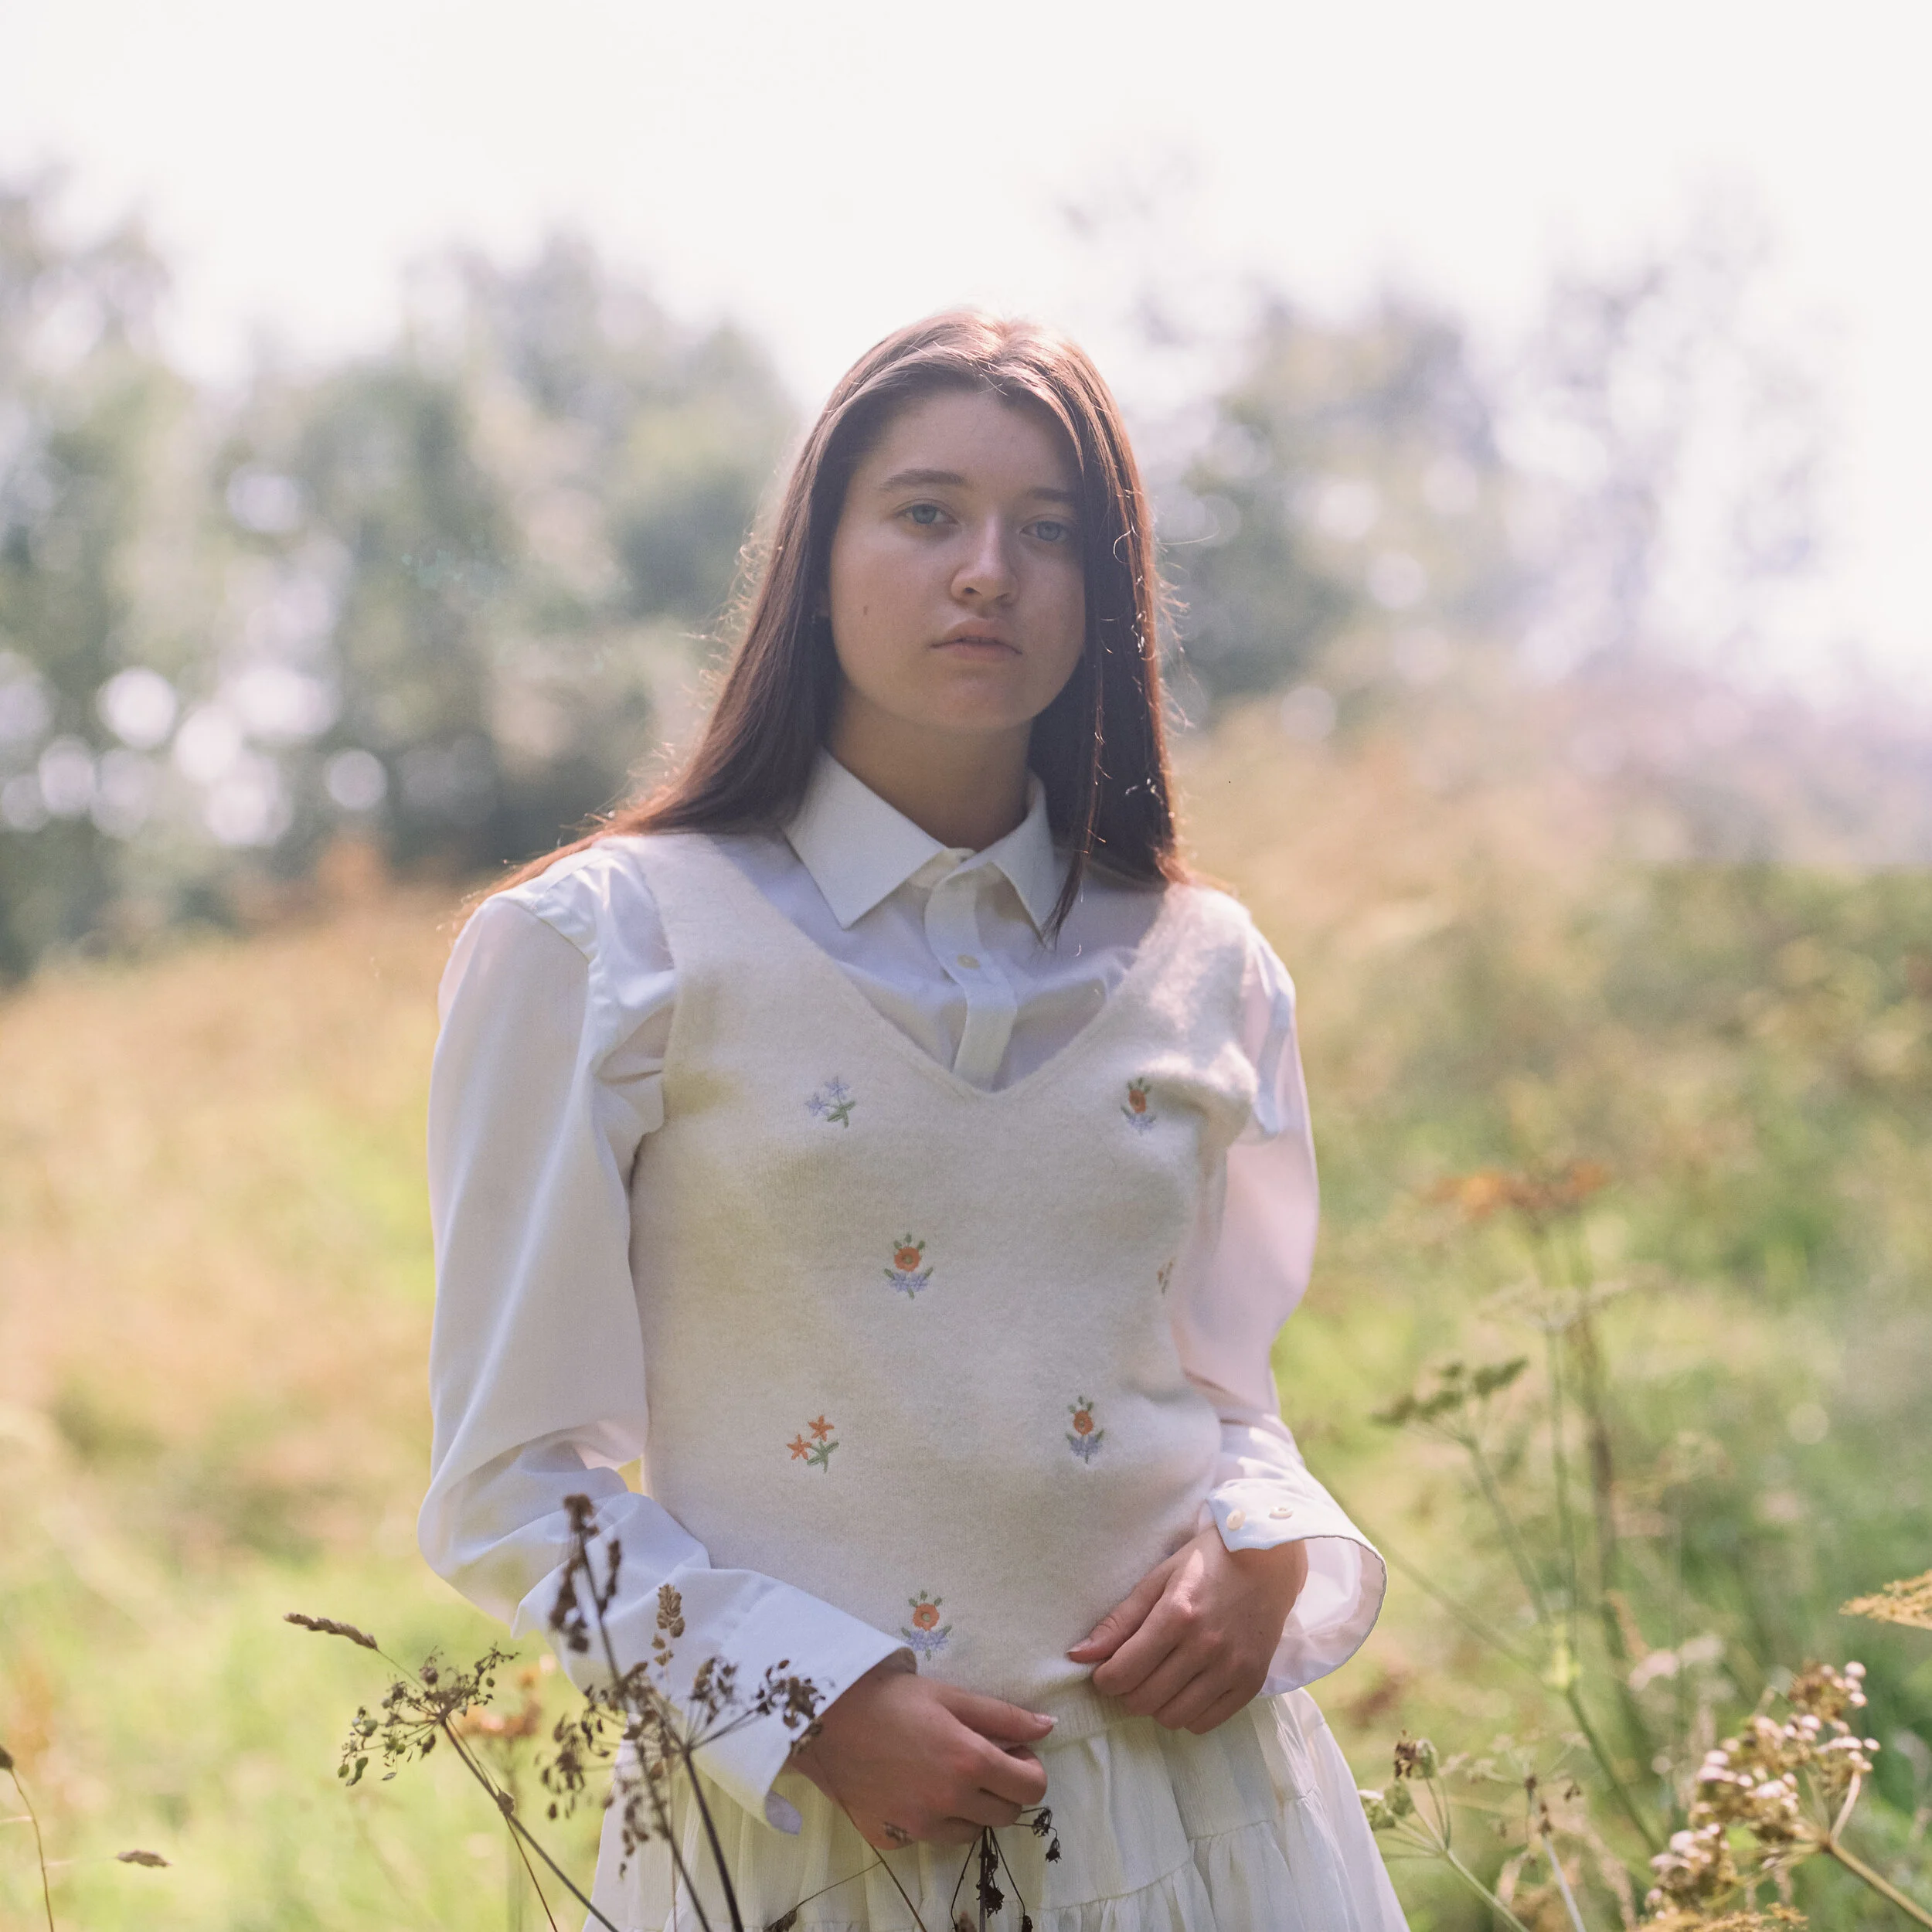
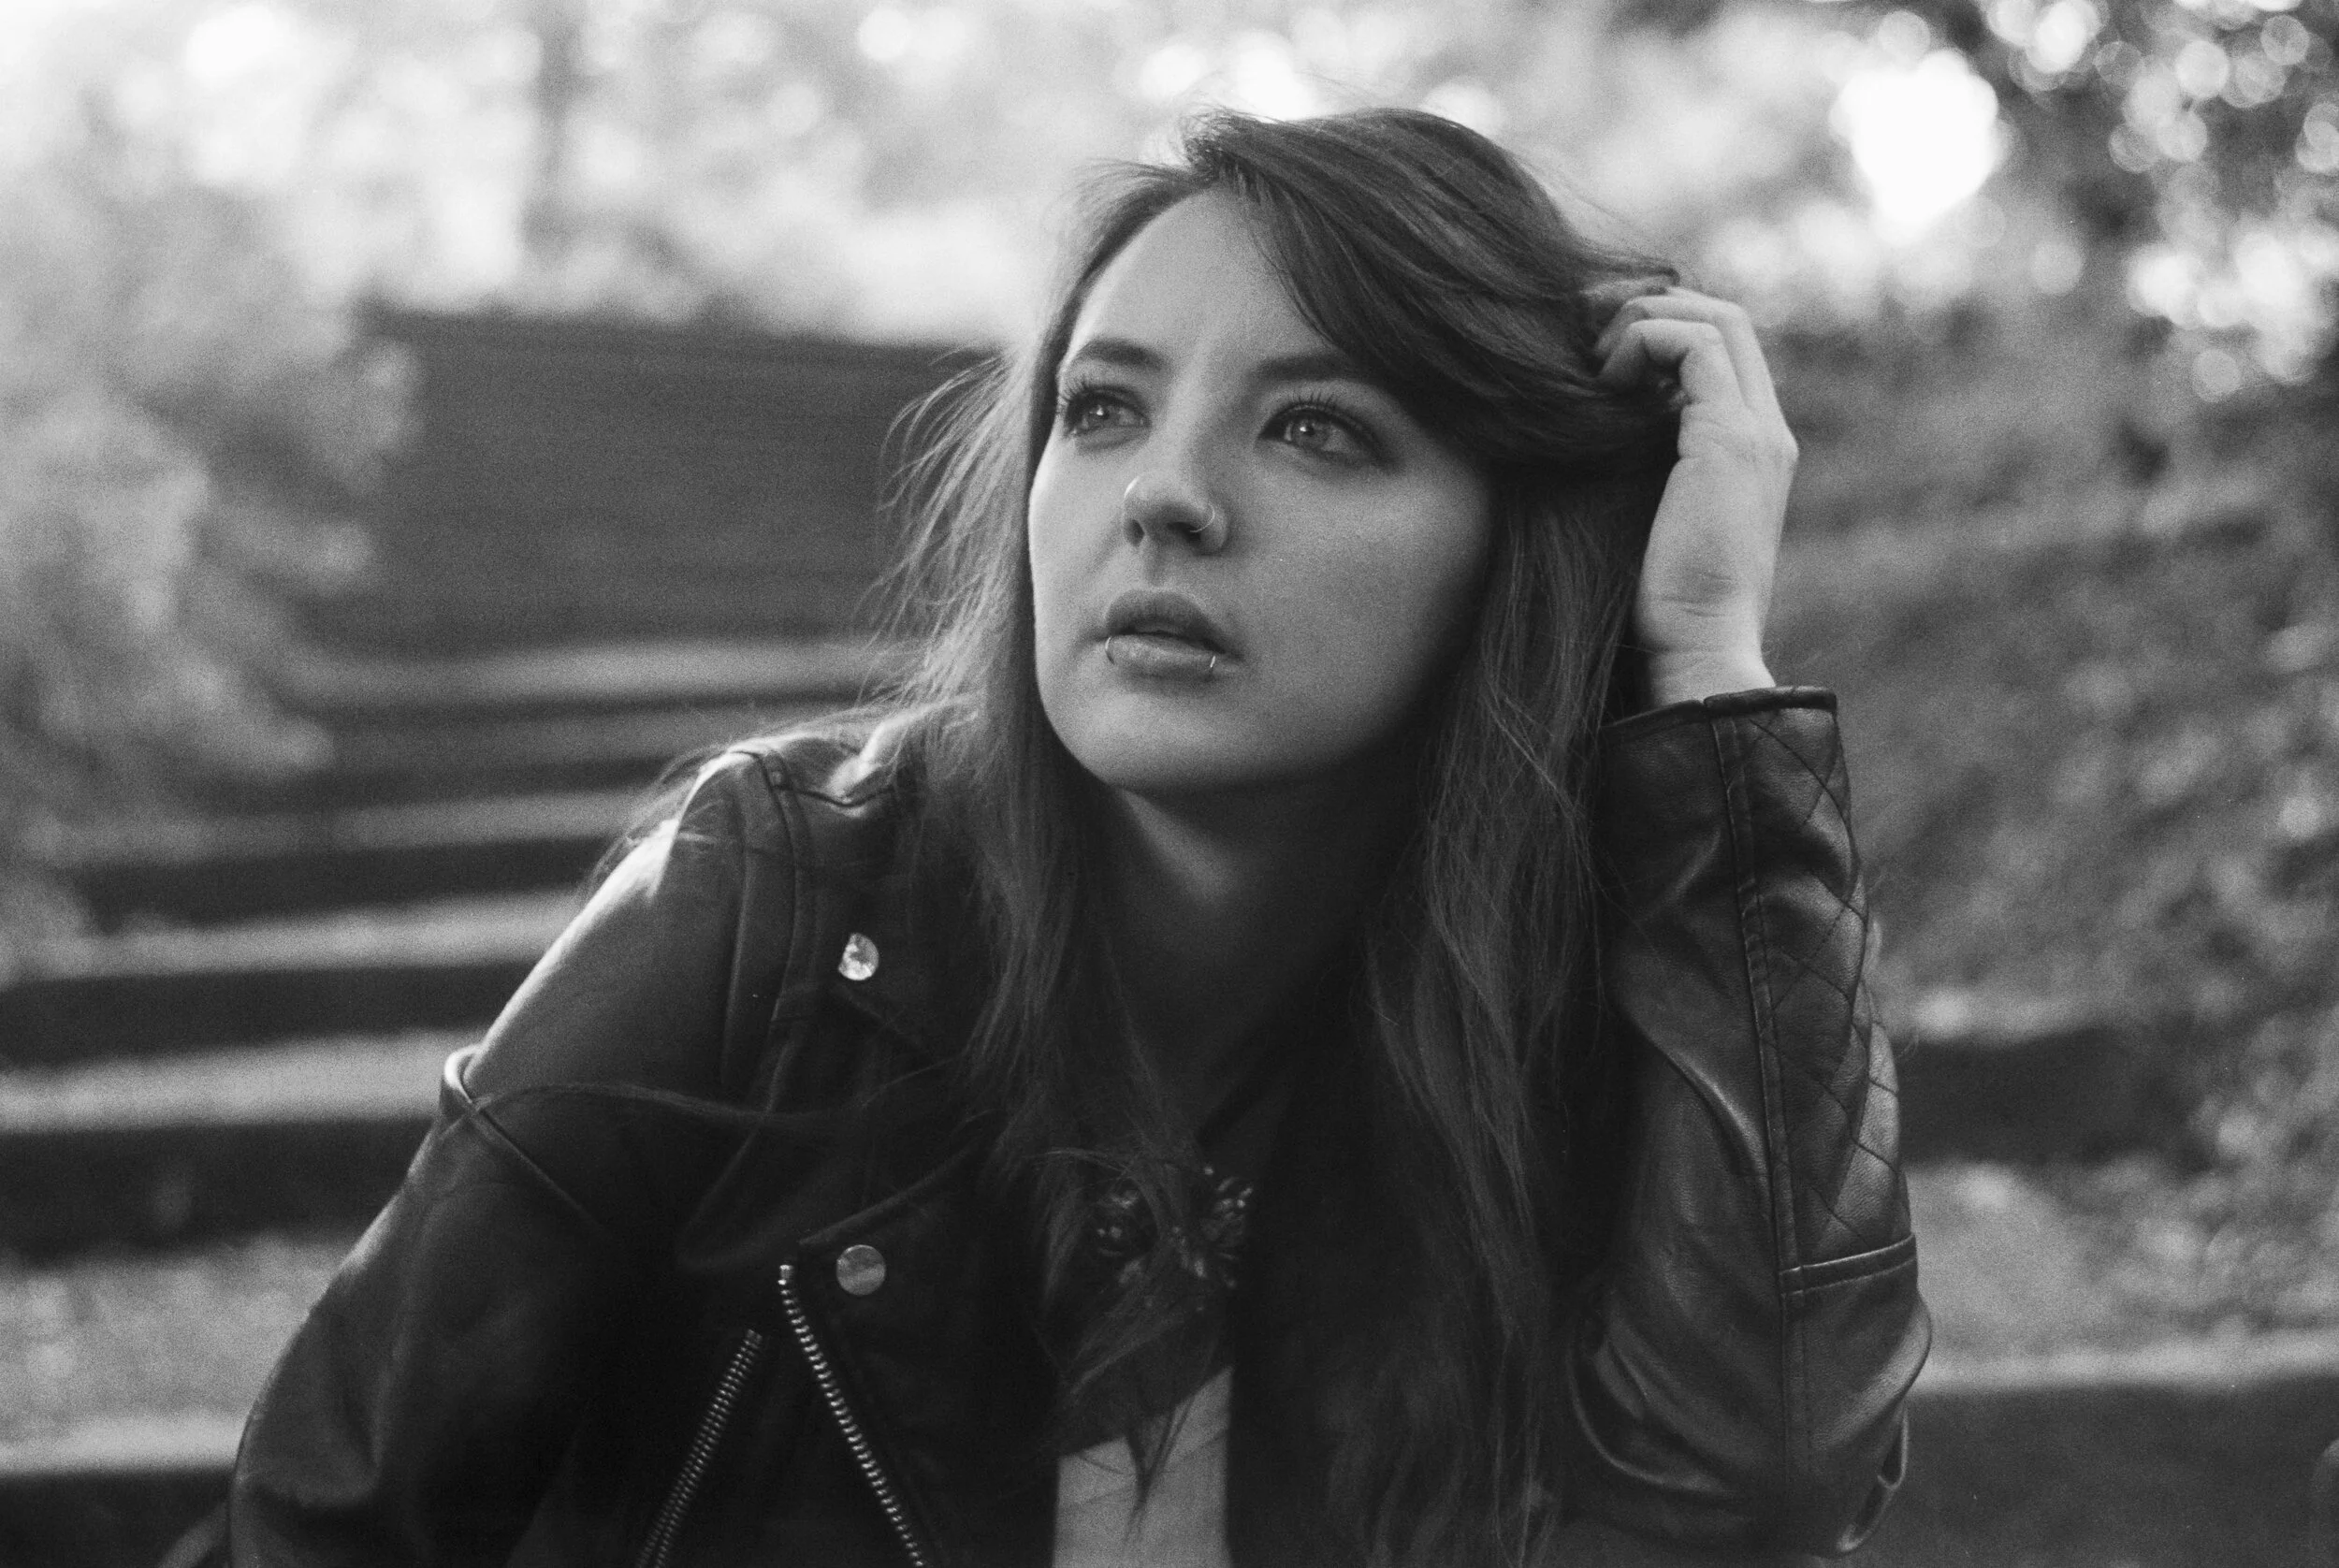
I took it for a spin on a portrait shoot with the lovely Danni and the Nikon F2 - I shot two rolls of 35mm film that these first images are from a roll of expired Konica Pro 160 which I have to say I like VERY much, it being expired at least 10 years ago I gave it an extra bit of light and rated it as 100. In an unusual move for me I tried my best to shoot all of these wide open at 1.5 or very occasionally stopped down to f2 - reasons for this are that those wider apertures play to the dreamy charachteristics of this lens and I wanted to make the most of them.

0-27.jpg

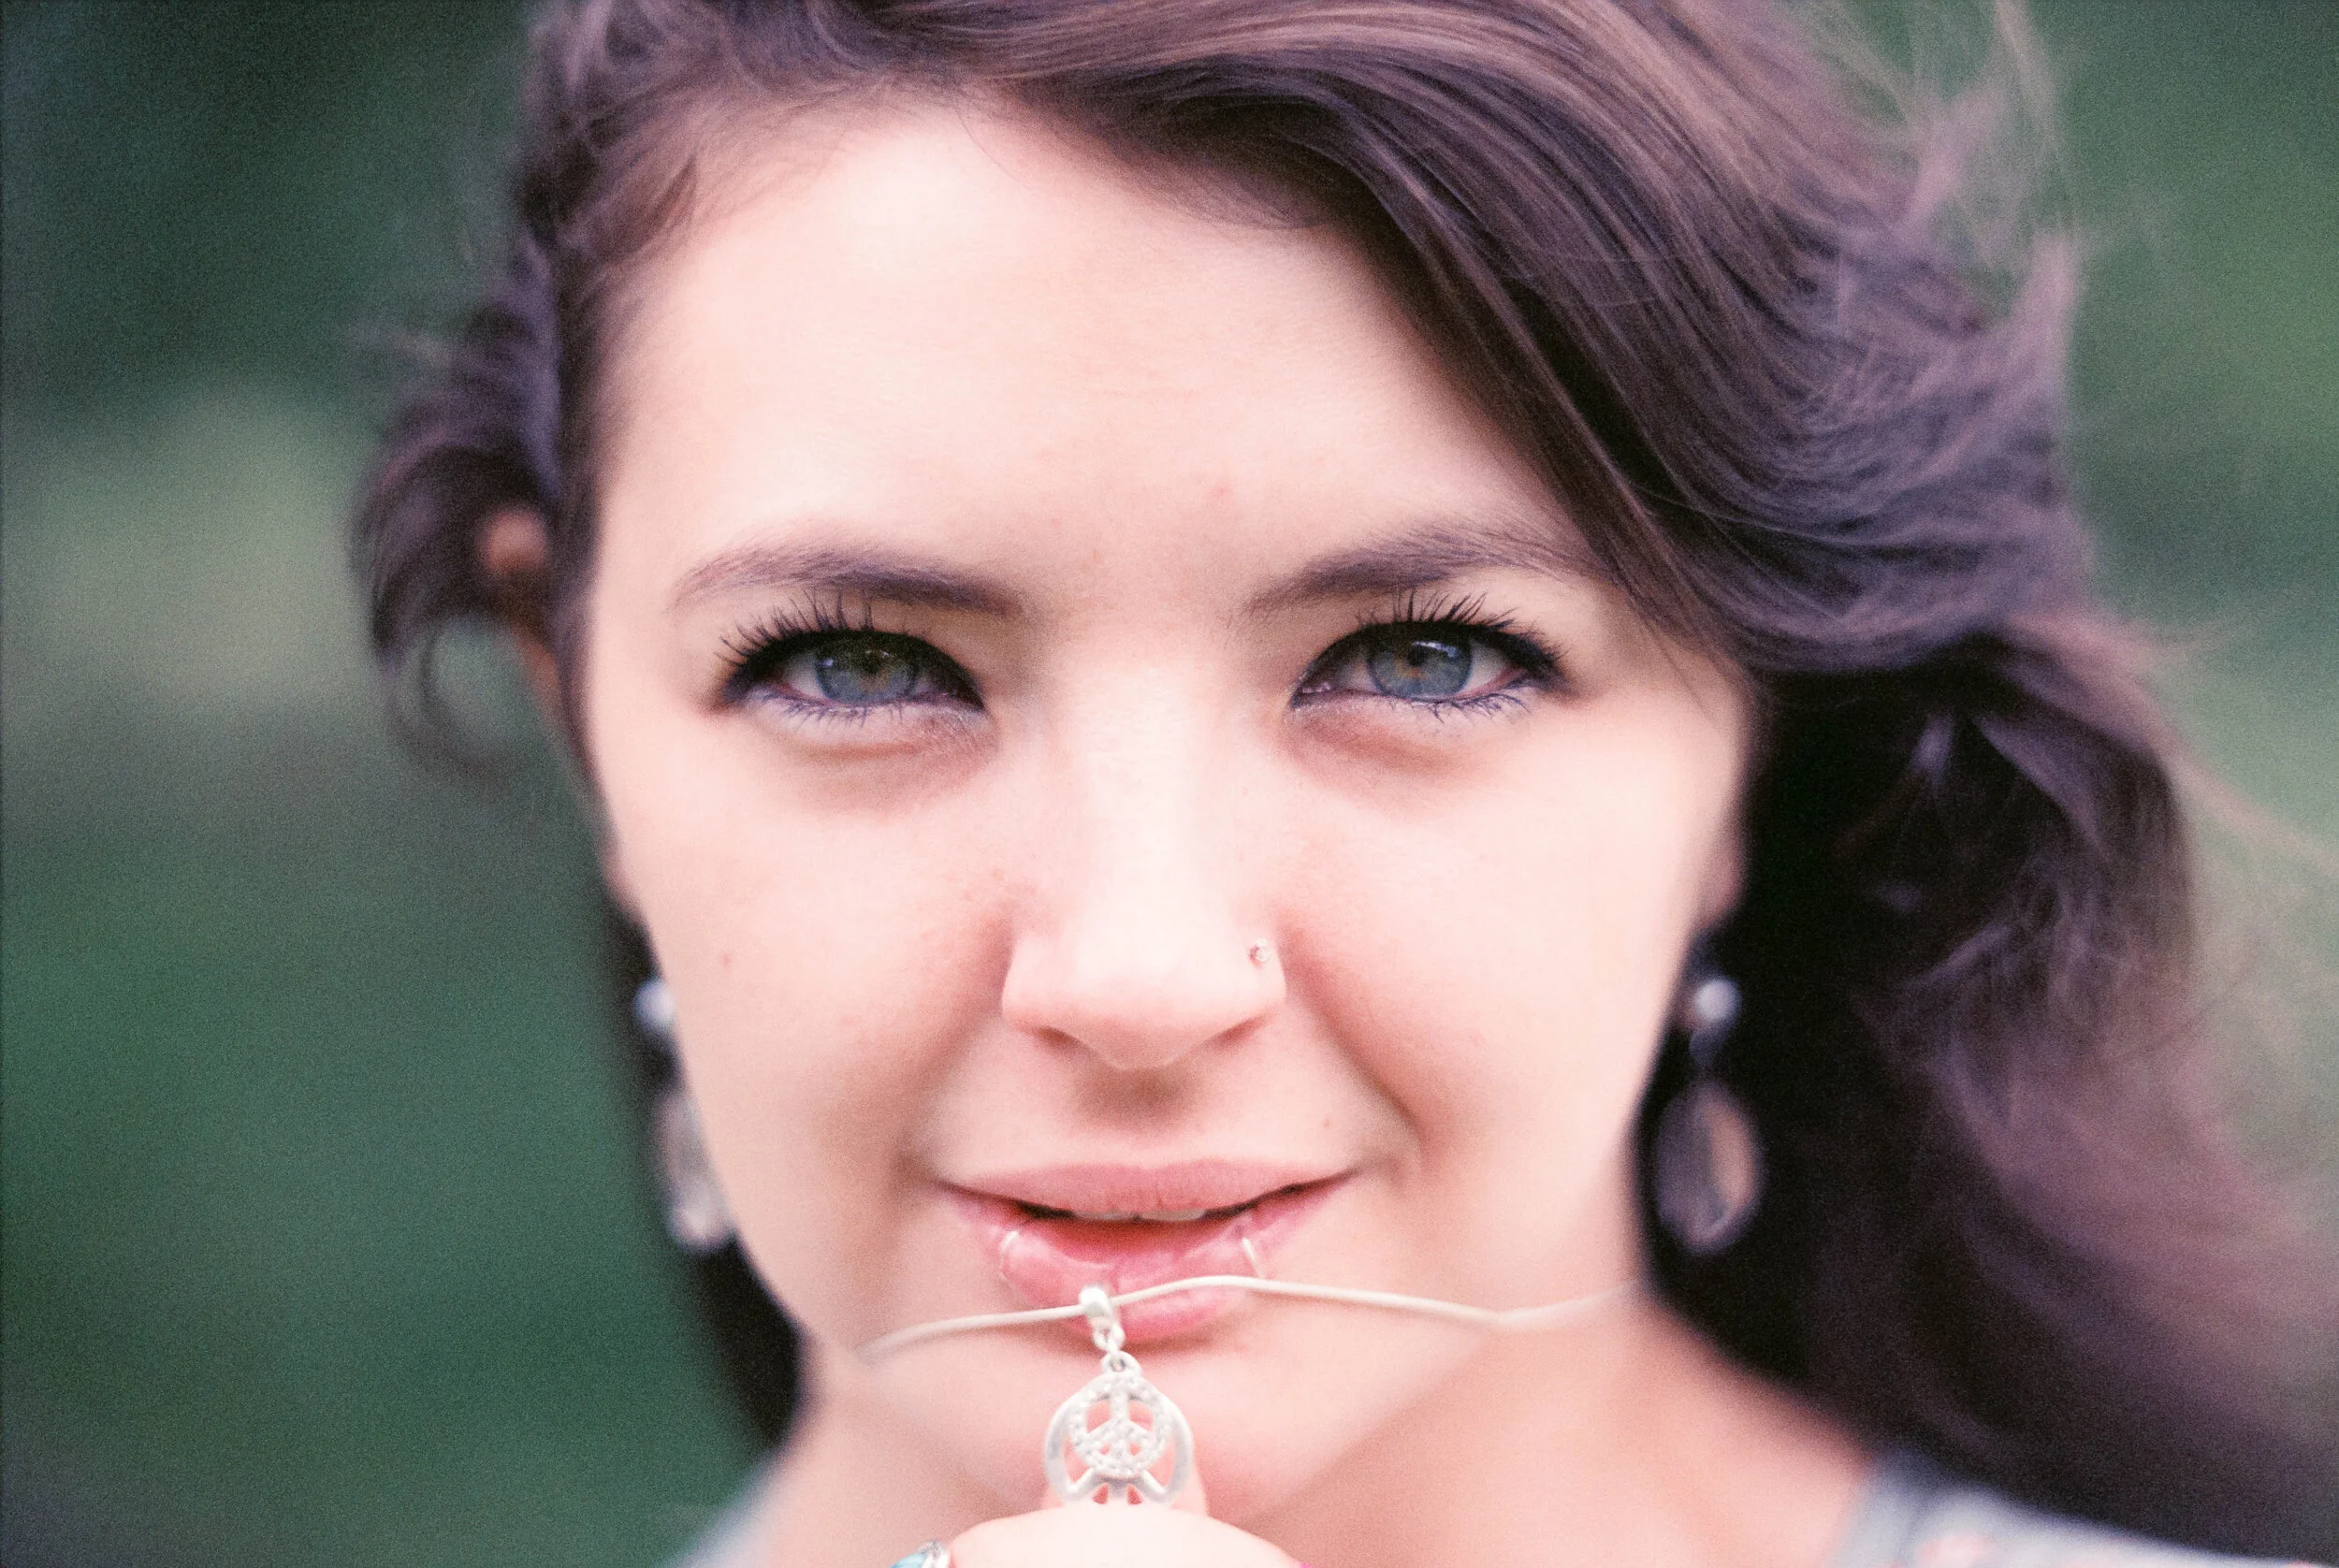
The image above was the very last frame on the roll and it’s probably my favourite of the whole shoot! Shooting wide open - especially with a manual focus camera like the F2 presents a challenge and even though the depth of field isn’t quite even across both of Danni’s eyes - I actually don’t care! I am coming more and more to the idea that critical sharpness is not that important when it comes to overall image quality, and yet some folks obsess over it! I’m much more into the overall look and feel of an image, what kind of textures are at play - you can see that the Helios 40-2 is capable of critical sharpness but as with many great portrait lenses it isn’t so sharp as to be unflattering. Things dissolve into a lovely dreamy mush out towards the edge of the frame - again this is perfect for framing your subject in the centre and giving them a little more POP!

0-12.jpg

The trees lined up in the distance caught my eye for this composition and I really love how this shot came out - the out of focus areas have a painterly feel, plants in the bottom right corner doing that melty/dreamy thing again and there’s a bit of refined swirl going on in the background. I’ve read that you need to have the correct distance between you, your subject and the background to really make the swirls appear - I’ll definitely be trying it out again next time!

0-11.jpg

Again more melty/dreamy bokeh and a hint of the swirly stuff in the background - there’s some motion blur and a bit of glow around Danni framed in the centre which is another nice effect of this lens, some people might say that these features of the lens are weaknesses but to me this is all part of the point. The Helios 40-2 is like an art lens - sure when you photograph test charts wide open it’s not the best performer but where’s the fun in that? I love how the lens resolves light!

0-13.jpg

Now let’s take a look at some of my faves from the 2nd roll, this was Kodak Gold 200 - technically expired but it’s been on ice since fresh - I shot these at 100 too as I find Kodak Gold really does respond well to a bit of over exposure.

0-5.jpg

Dreamy dreamy dreamy dreamy…. love it!! I would have loved to have nailed critical focus on Danni’s eyes for the shot above but that’s the joy of film over digital innit! No instant replay - you just gotta do your best to nail it right there and then! I still really like this shot - you can get pretty close up with the Helios!

0-20.jpg

These two shots are among my faves too - I love the tones and the grain, that melty/dreamy background is doing it’s thing again and on these two occasions I even managed good focus on Danni’s eyes - whatever next?!

0-16.jpg

I like the overall look and feel of the shot below although I’d have liked (and was aiming for) good focus but it wasn’t to be….I’m including it here to demonstrate a couple of things, first: look at those bokeh balls of light in the background! Yum! Secondly: This was shooting pretty much directly into the light - the lens handled it with aplomb! Another reason in my view to go for the more modern lens as it has modern coating

0-9.jpg

Is this lens technically perfect? No. Is it the sharper than a really sharp thing? No. Do I love it anyway? YES! One of the many things I love about shooting film is that so many of your creative decisions are made up front - choice of film, lens and then of course exposure, composition and use of light, you have to commit to that moment and work with what you have at hand. Digital invites you to spend more time after the fact bringing your creative vision to life - and sitting at a the computer moving sliders around in lightroom just isn’t my idea of fun! I’ve said this before many times in these blog posts but it bares repeating as this lens really does illustrate the point - the Helios 40-2 is a creative tool, it can add a dash of dreamy, swirly, melty goodness to your shoot and that my friends is worth the price of entry!

NIkon L35 AF Review

I’ve had this blog post half written in draft for over 12 months! I bought the Nikon L35AF just before COVID intending to use it as a travel camera (hah). I did manage to take it on a couple of trips before lockdown hit but I’ve only used the camera a couple of times since then, most recently on a portrait shoot HERE.

This a wonderful little camera that packs a big punch but I should tell you that as I write this to you now the L35AF sits wrapped in a parcel ready to wing it’s way to its new owner (hello if you’re reading this)! :) Anyway - enough pre-amble…

I am a big fan of the compact travel camera – so much so that I’ve had a few in the collection over the years and some of my favourites I’ve blogged about HERE (OLY 35RC) and HERE (ROLLEI 35S)

Freah out of the box (of old knacered cameras in which I found it)

Freah out of the box (of old knacered cameras in which I found it)

Before the pandemic I spent a large part of my working life on the road/rails and sometimes in the air! Travelling far and wide for work meant that I required something fairly small and light but without compromising on quality.

It's worth saying at this point that I am quite at ease lugging fairly large amounts of kit and caboodle around with me on a shoot but when it comes down to travel (and I used to get to travel quite a bit) I like to travel light so for me personally I consider a ‘travel camera’ to be something that will fit in a coat pocket! I have friends who consider a Large Format camera to be an acceptable travel camera but not for me! 

IMG_4505.jpg

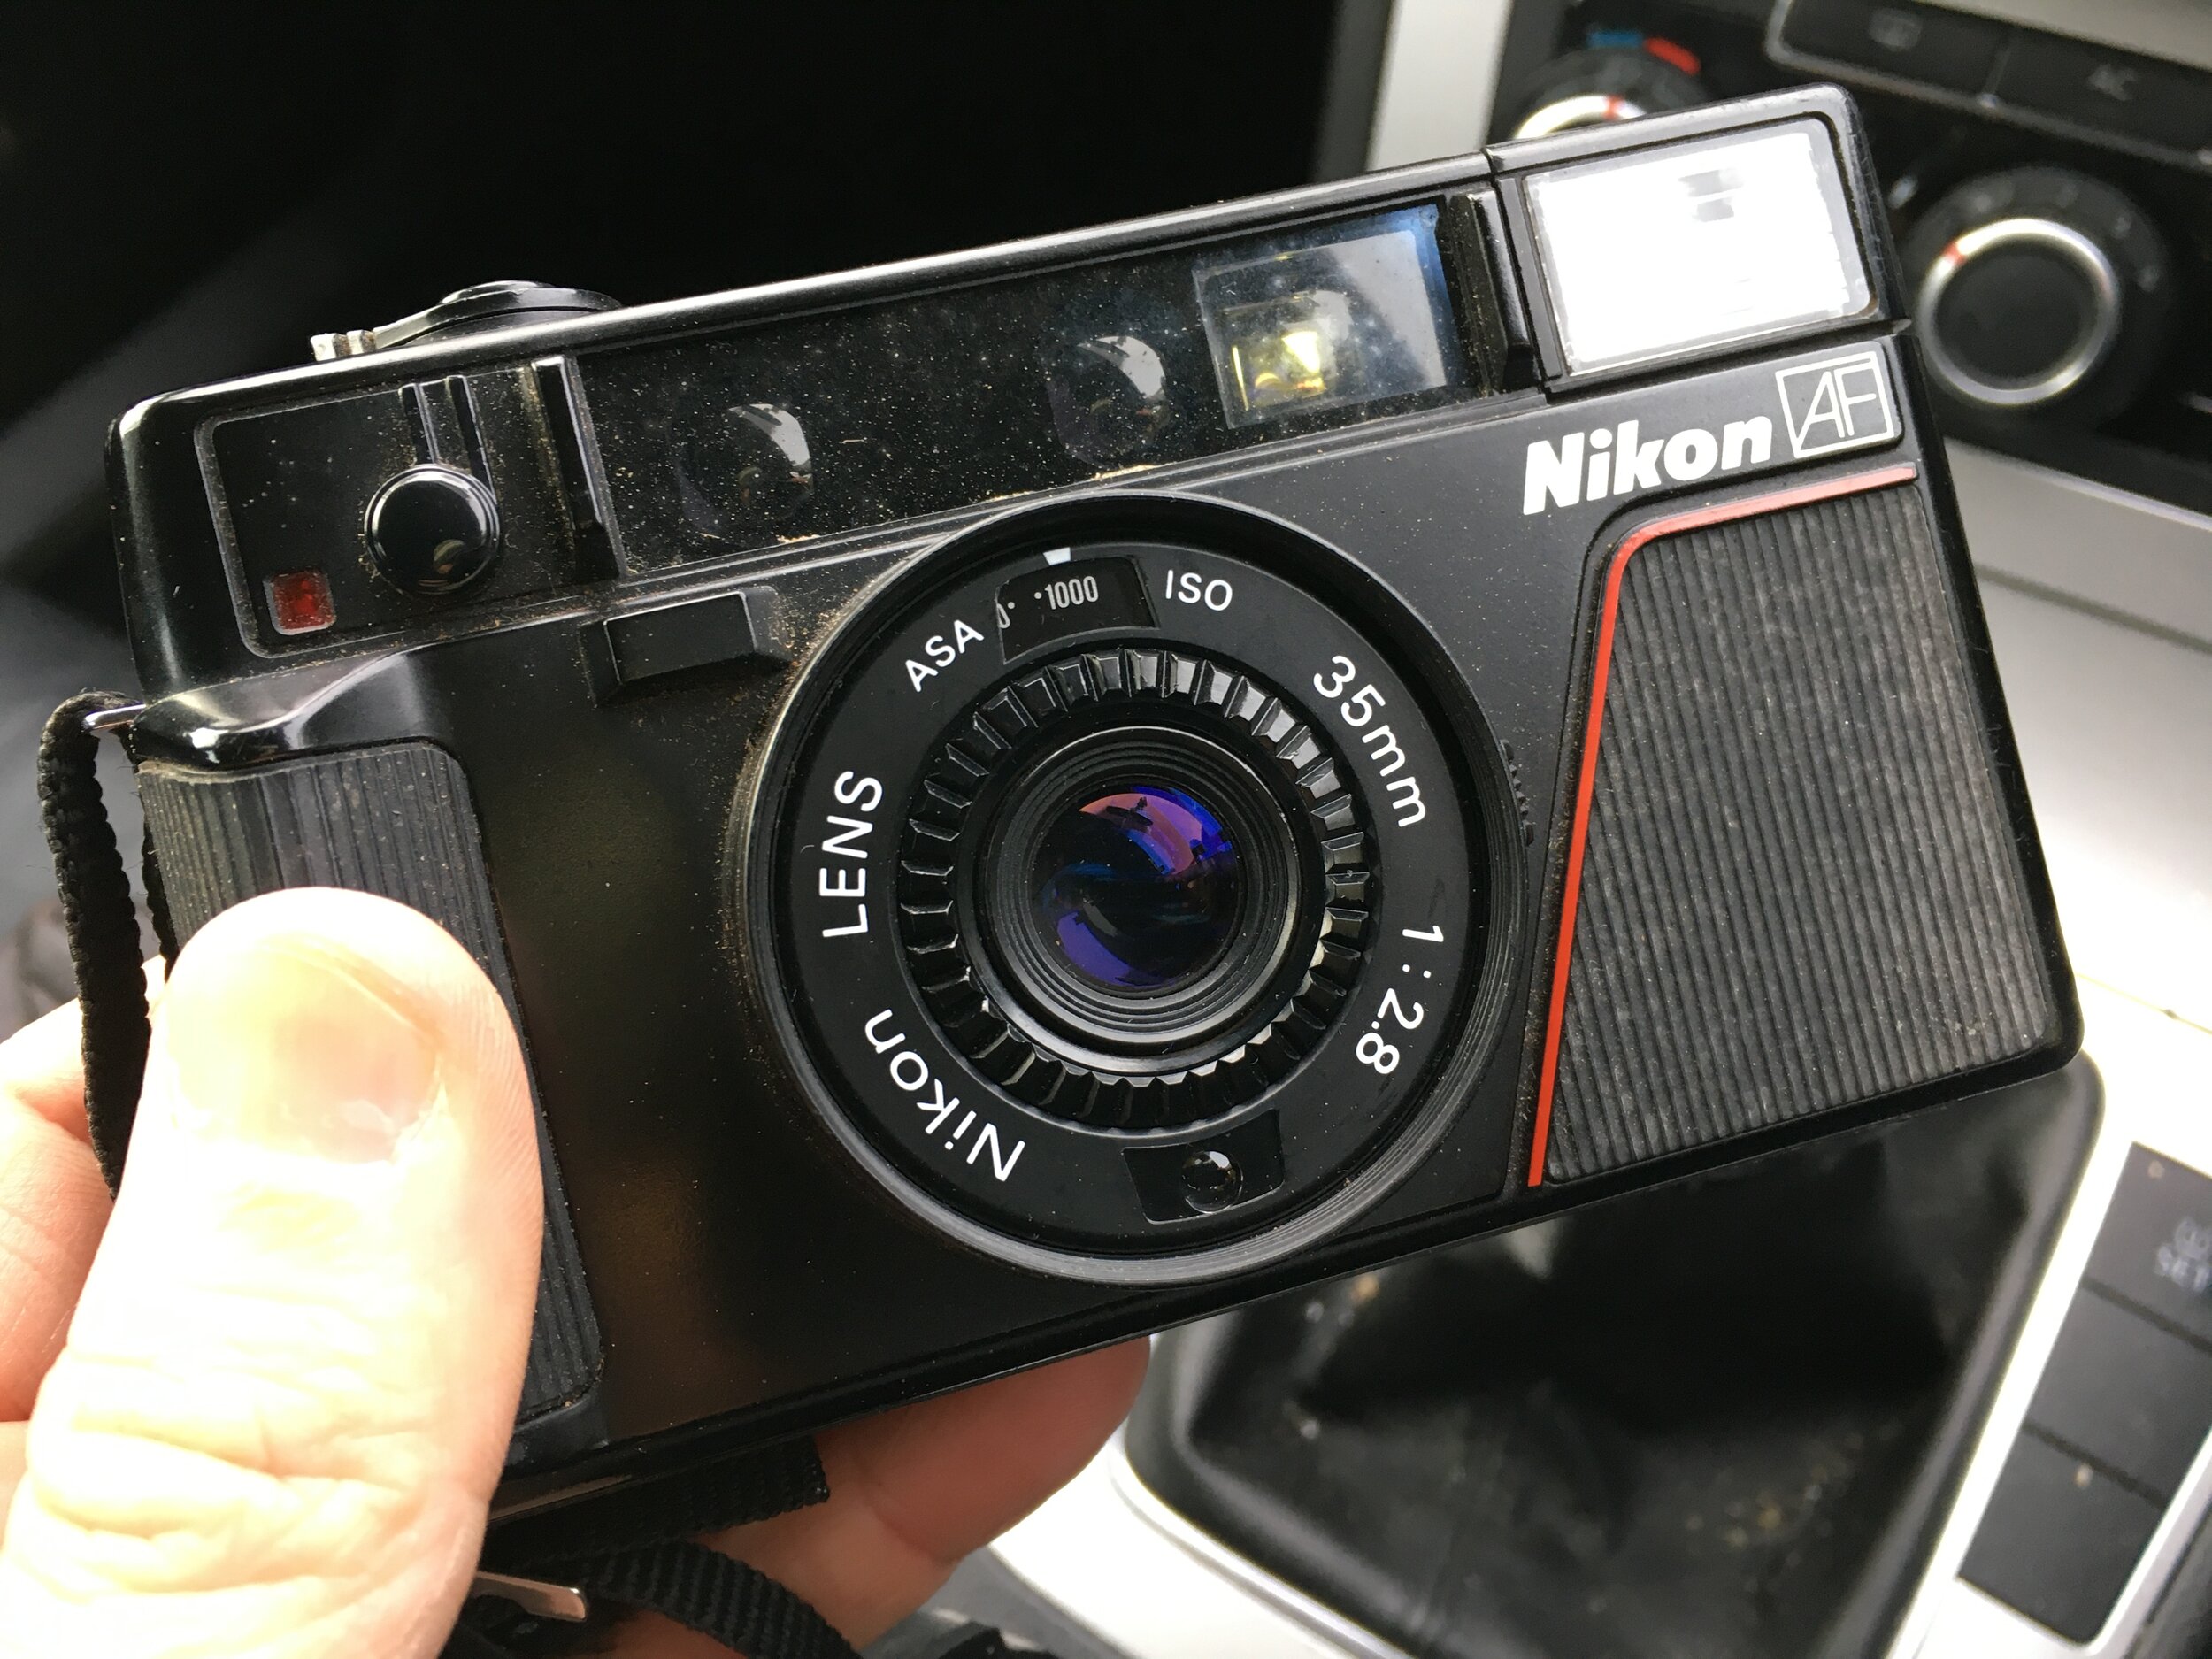
So let me introduce you to the Nikon L35AF – unusually for me and my adventures in film so far it’s a fully auto everything point and shoot camera, and I love it! 

I wasn’t even looking for one of these (honest) when I came across it, randomly scrolling fb marketplace I bought a bunch of untested/sold as seen cameras on a whim and lurking at the bottom of the pile was this Nikon L35AF – to the untrained eye I guess it looked like one of those throw away consumer holiday cameras that are ten a penny, but I knew better!

On inspection it was clear that the camera was in good cosmetic condition but without batteries it was impossible to check whether I was just buying a useless plastic box….luckily for me it was a risk that paid off as the camera jumped into life with a couple AA batteries fitted!

I’ve had a couple of point and shoot/auto-everything cameras before but have never really been that moved by them – they’ve either been quite bulky and not well suited to travel or have been kind of noisy/clunky things again or have had fairly naff lenses.

IMG_1197(1).JPG

The little Nikon’s auto focus is really fast! I am most impressed - it puts some more modern cameras to shame! We really must talk about the lens – on my particular camera the previous owner had stored the camera with a UV filter on and I will thank them to the end of my days for doing this because as a result the lens is totally mint!! Having looked it up on line this little gem of a 35mm 2.8 lens is a very well regarded and highly sought after design – Nikon built this tiny little camera around an exceptional piece of glass.

 Ok so we get it! You like the camera – now show us some gosh darned images will you?! OK Ok my friends!! Here we go! ALl these images were shot on a roll of Ilford HP5 which I rated at 1000 and if I remember correctly (it was over a year ago - get lost) I think I developed these in rodinal in a semi stand process 1:100 for 1 hour.

img395.jpg

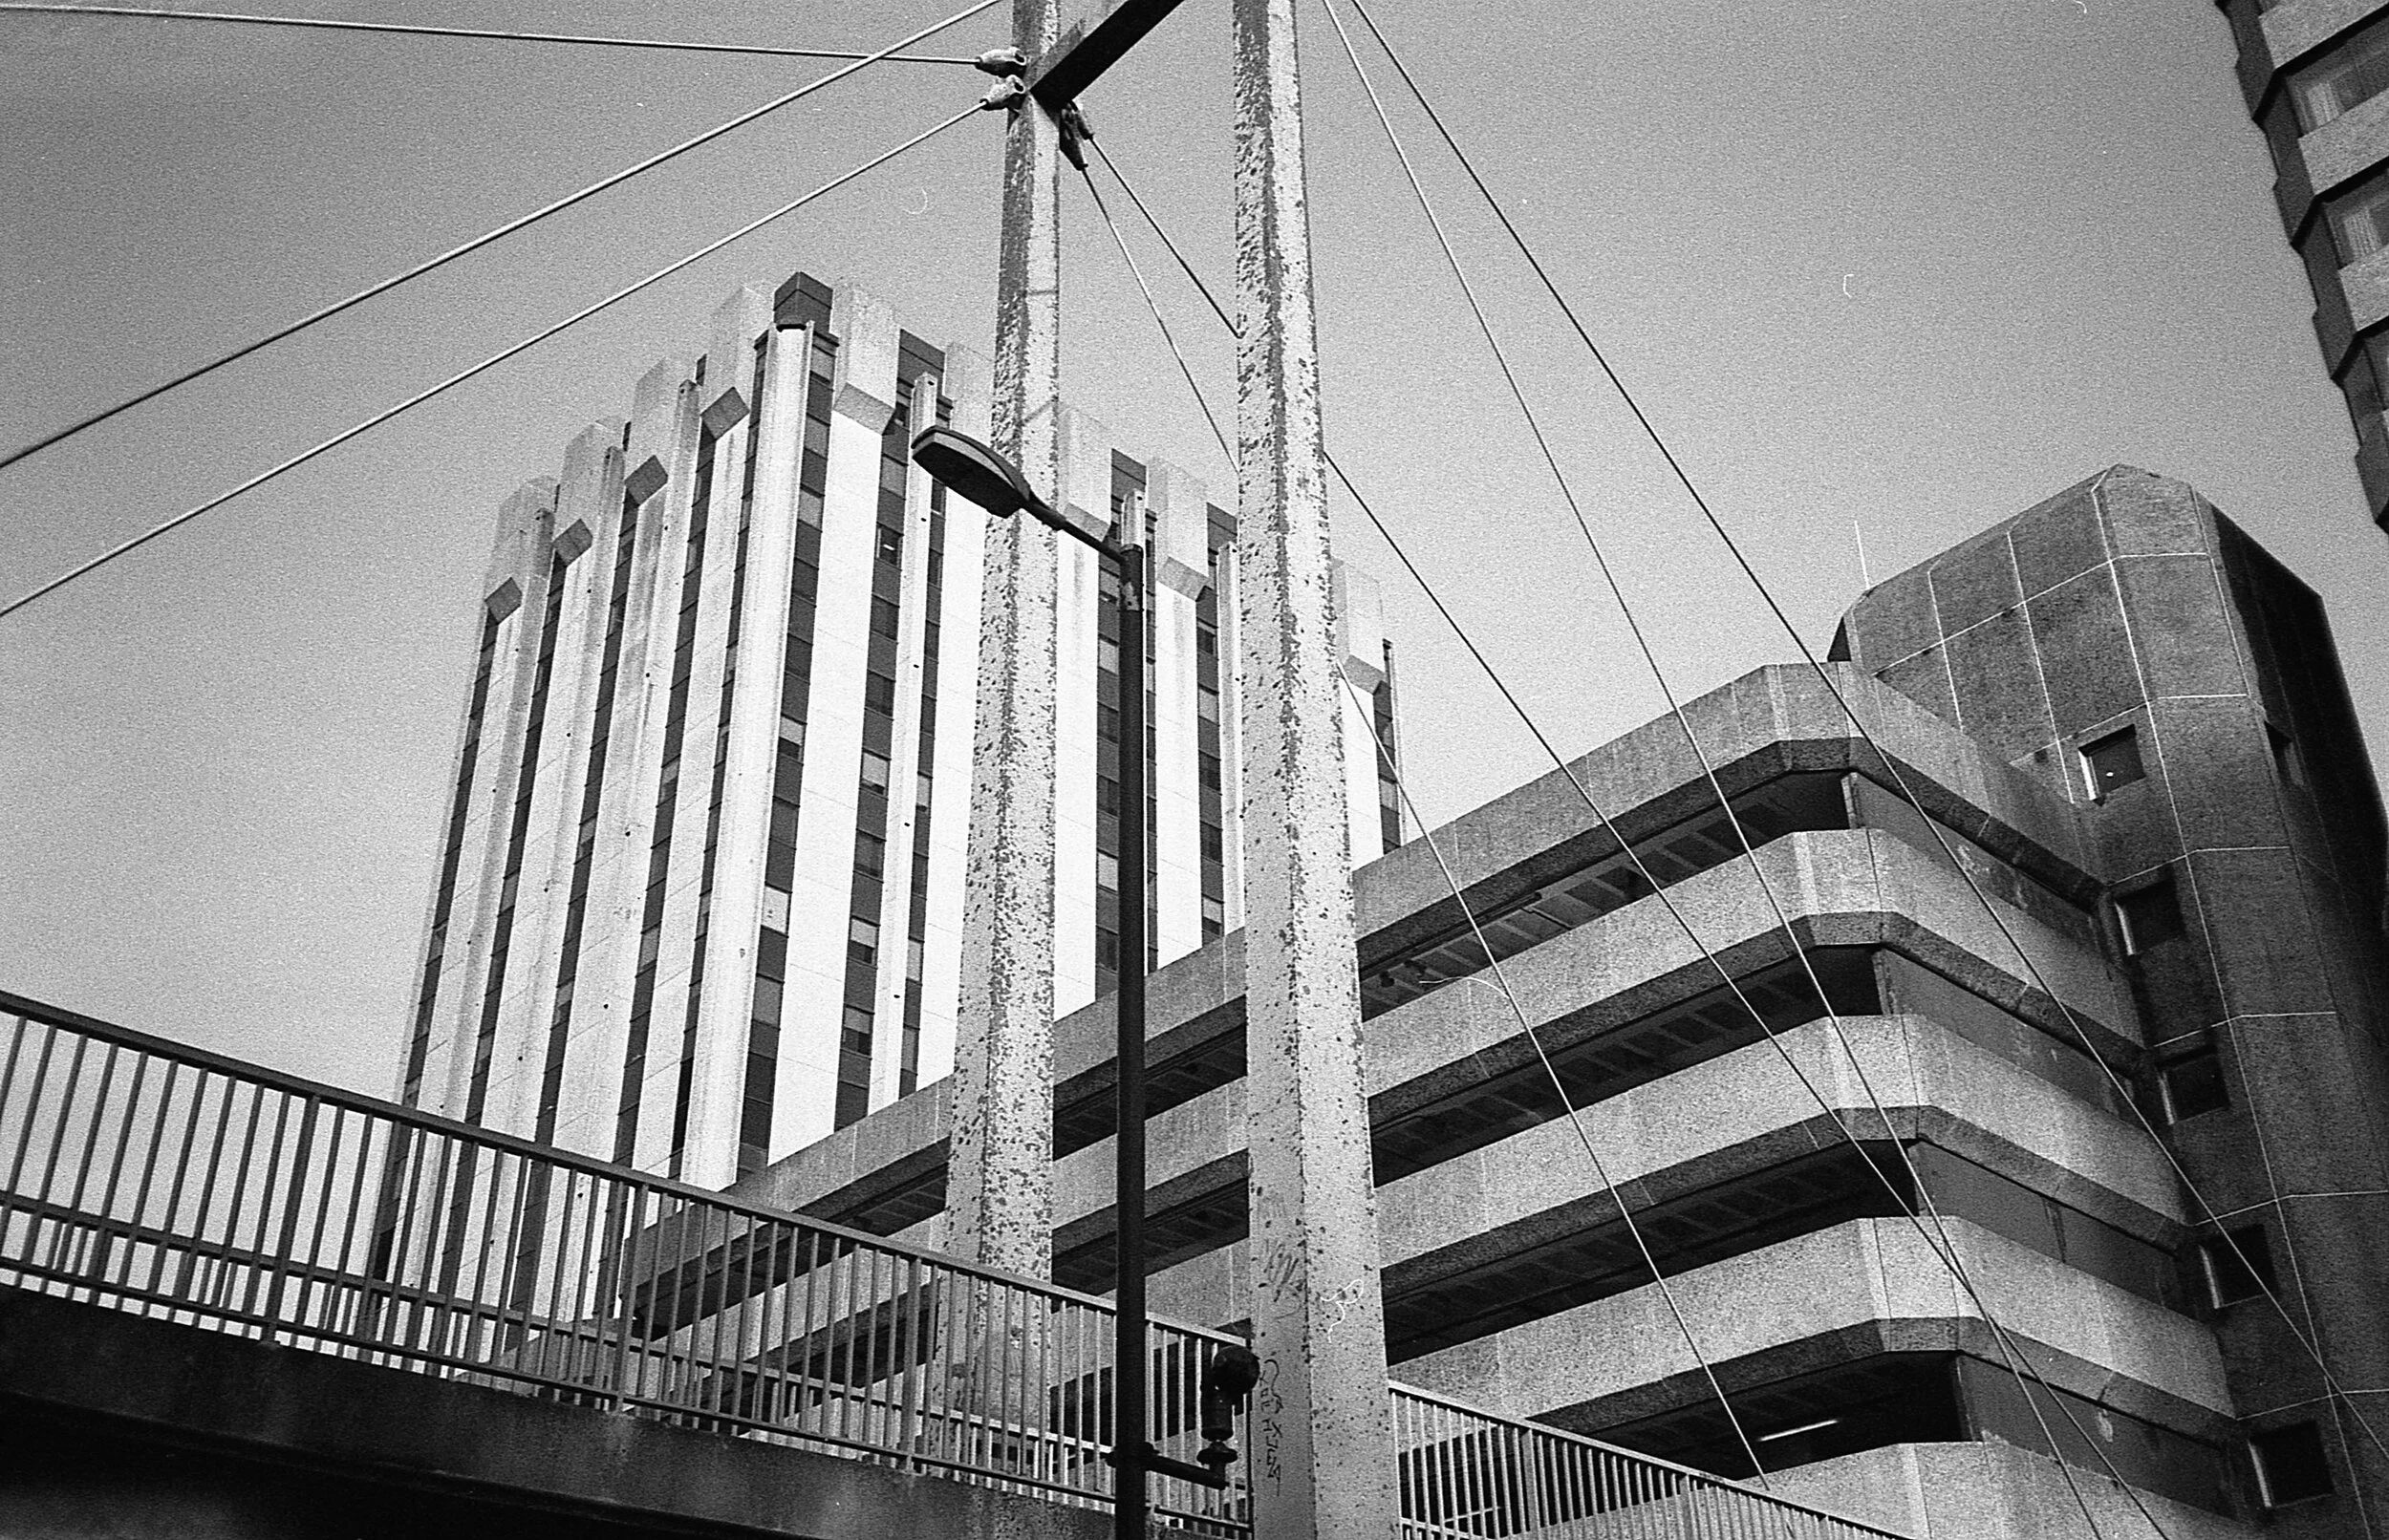
A work trip to Bristol in early 2020 - shooting the worlds most brutal carpark…

img396.jpg
img398-2.jpg

More Bristolian Brutalism…

img411.jpg

And then the next shot is from a work trip to Birmingham - grabbed this shot quick as these people abseiled down the side of the Bull ring shopping centre - or is it a space ship… hard to tell…

img413.jpg

A Birmingham streetscape - snap shot grabbed literally seconds before I arrived at my work destination - I guess these shots in particular speak to one of the L35AF’s strengths, that fast auto focus plus a great lens and accurate metering allow you to grab quick / action shots on the fly. There’s even a little exposure compensation lever on the front so you can compensate for backlit scenes where the light might throw your exposure out.

img414.jpg

And then…. Wales! Port Talbot in early Feb 2020, I think this was my last trip away before lockdown. As a midlander by birth and now resident in land locked West Yorkshire, whenever I am near the sea I have to go and have a look at it. This was a very frosty but clear early morning walk along the beach and this composition just jumped out at me - possibly my favourite shot taken with this camera and an image that I would love to print one day in the darkroom (if I EVER EVER EVER get around to setting it up)!

img408.jpg

So there we go, I’m feeling somewhat whistful now contemplating these images and the topsy turvy train of events that have happened in the intervening year and a bit since they were taken… anyway, back to the camera review right? Well I think these images speak for themselves - the Nikon L35AF is rightly admired - it has a wonderful lens, fast and accurate auto focus, a very reliable and accurate metering system too, if you get the chance give it a try you wont be dissapointed!

Can you dig it? Shooting Rollei Retro 80S with an Orange Filter

 
0-20.jpg

A few weeks ago I scheduled in some much needed time to get out and about with my camera and shoot some film - the existence of this blog may give you the false impression that is literally all I do - gadding about awash with film and film cameras - don’t believe the hype my friends!!

In fact of late I’ve been finding it very difficult to make time to get out and shoot - I am very pleased therefore to present these images as proof that I recently carved an hour out of my busy schedule to do just that. These images represent a much needed reminder to myself to make space for creativity for the pure sake of it, to stretch my legs - literally and metaphorically.

F2.jpg

This little micro adventure on film (it literally lasted about an hour) was a stroll through Magwoods just outside Huddersfield - a beautiful stretch of woodland along the edge of a valley, I had no particular goal in mind except that it was a sunny day and having spent far too long staring at a computer screen I grabbed my Nikon F2 and the Nikkor 24mm 2.8 lens, an orange filter and a roll of Rollei Retro 80S film and set off on my expedition!

0-3.jpg

Rolle Retro 80S is a film I have shot quite a bit over the last few years I’ve travelled with it HERE and shot Portraits with it HERE and I’ve always been really pleased with the results - it’s a super contrasty film which absolutely sings in good sunlight - I was very interested to see what effect an orange filter would have and I was not dissapointed!! Using an orange filter with black and white film gives you even more contrast, the blue sky shows as more dark and contrasty and if there are clouds present it will make for a bolder and more dramatic sky - the image above is a good example!

0-10.jpg

As well boosting contrast and making the sky look AWESOME an orange filter when combined with a film like Rollei Retro 80S will also give a look verging on the infrared - with lots of bright whites and deep dark black tones, I love it! Rollei Retro 80S is such a finely detailed film in the first place and the orange filter has just dialled everything up to 11 (how much more black can the shadows get? None. None more black) ;)

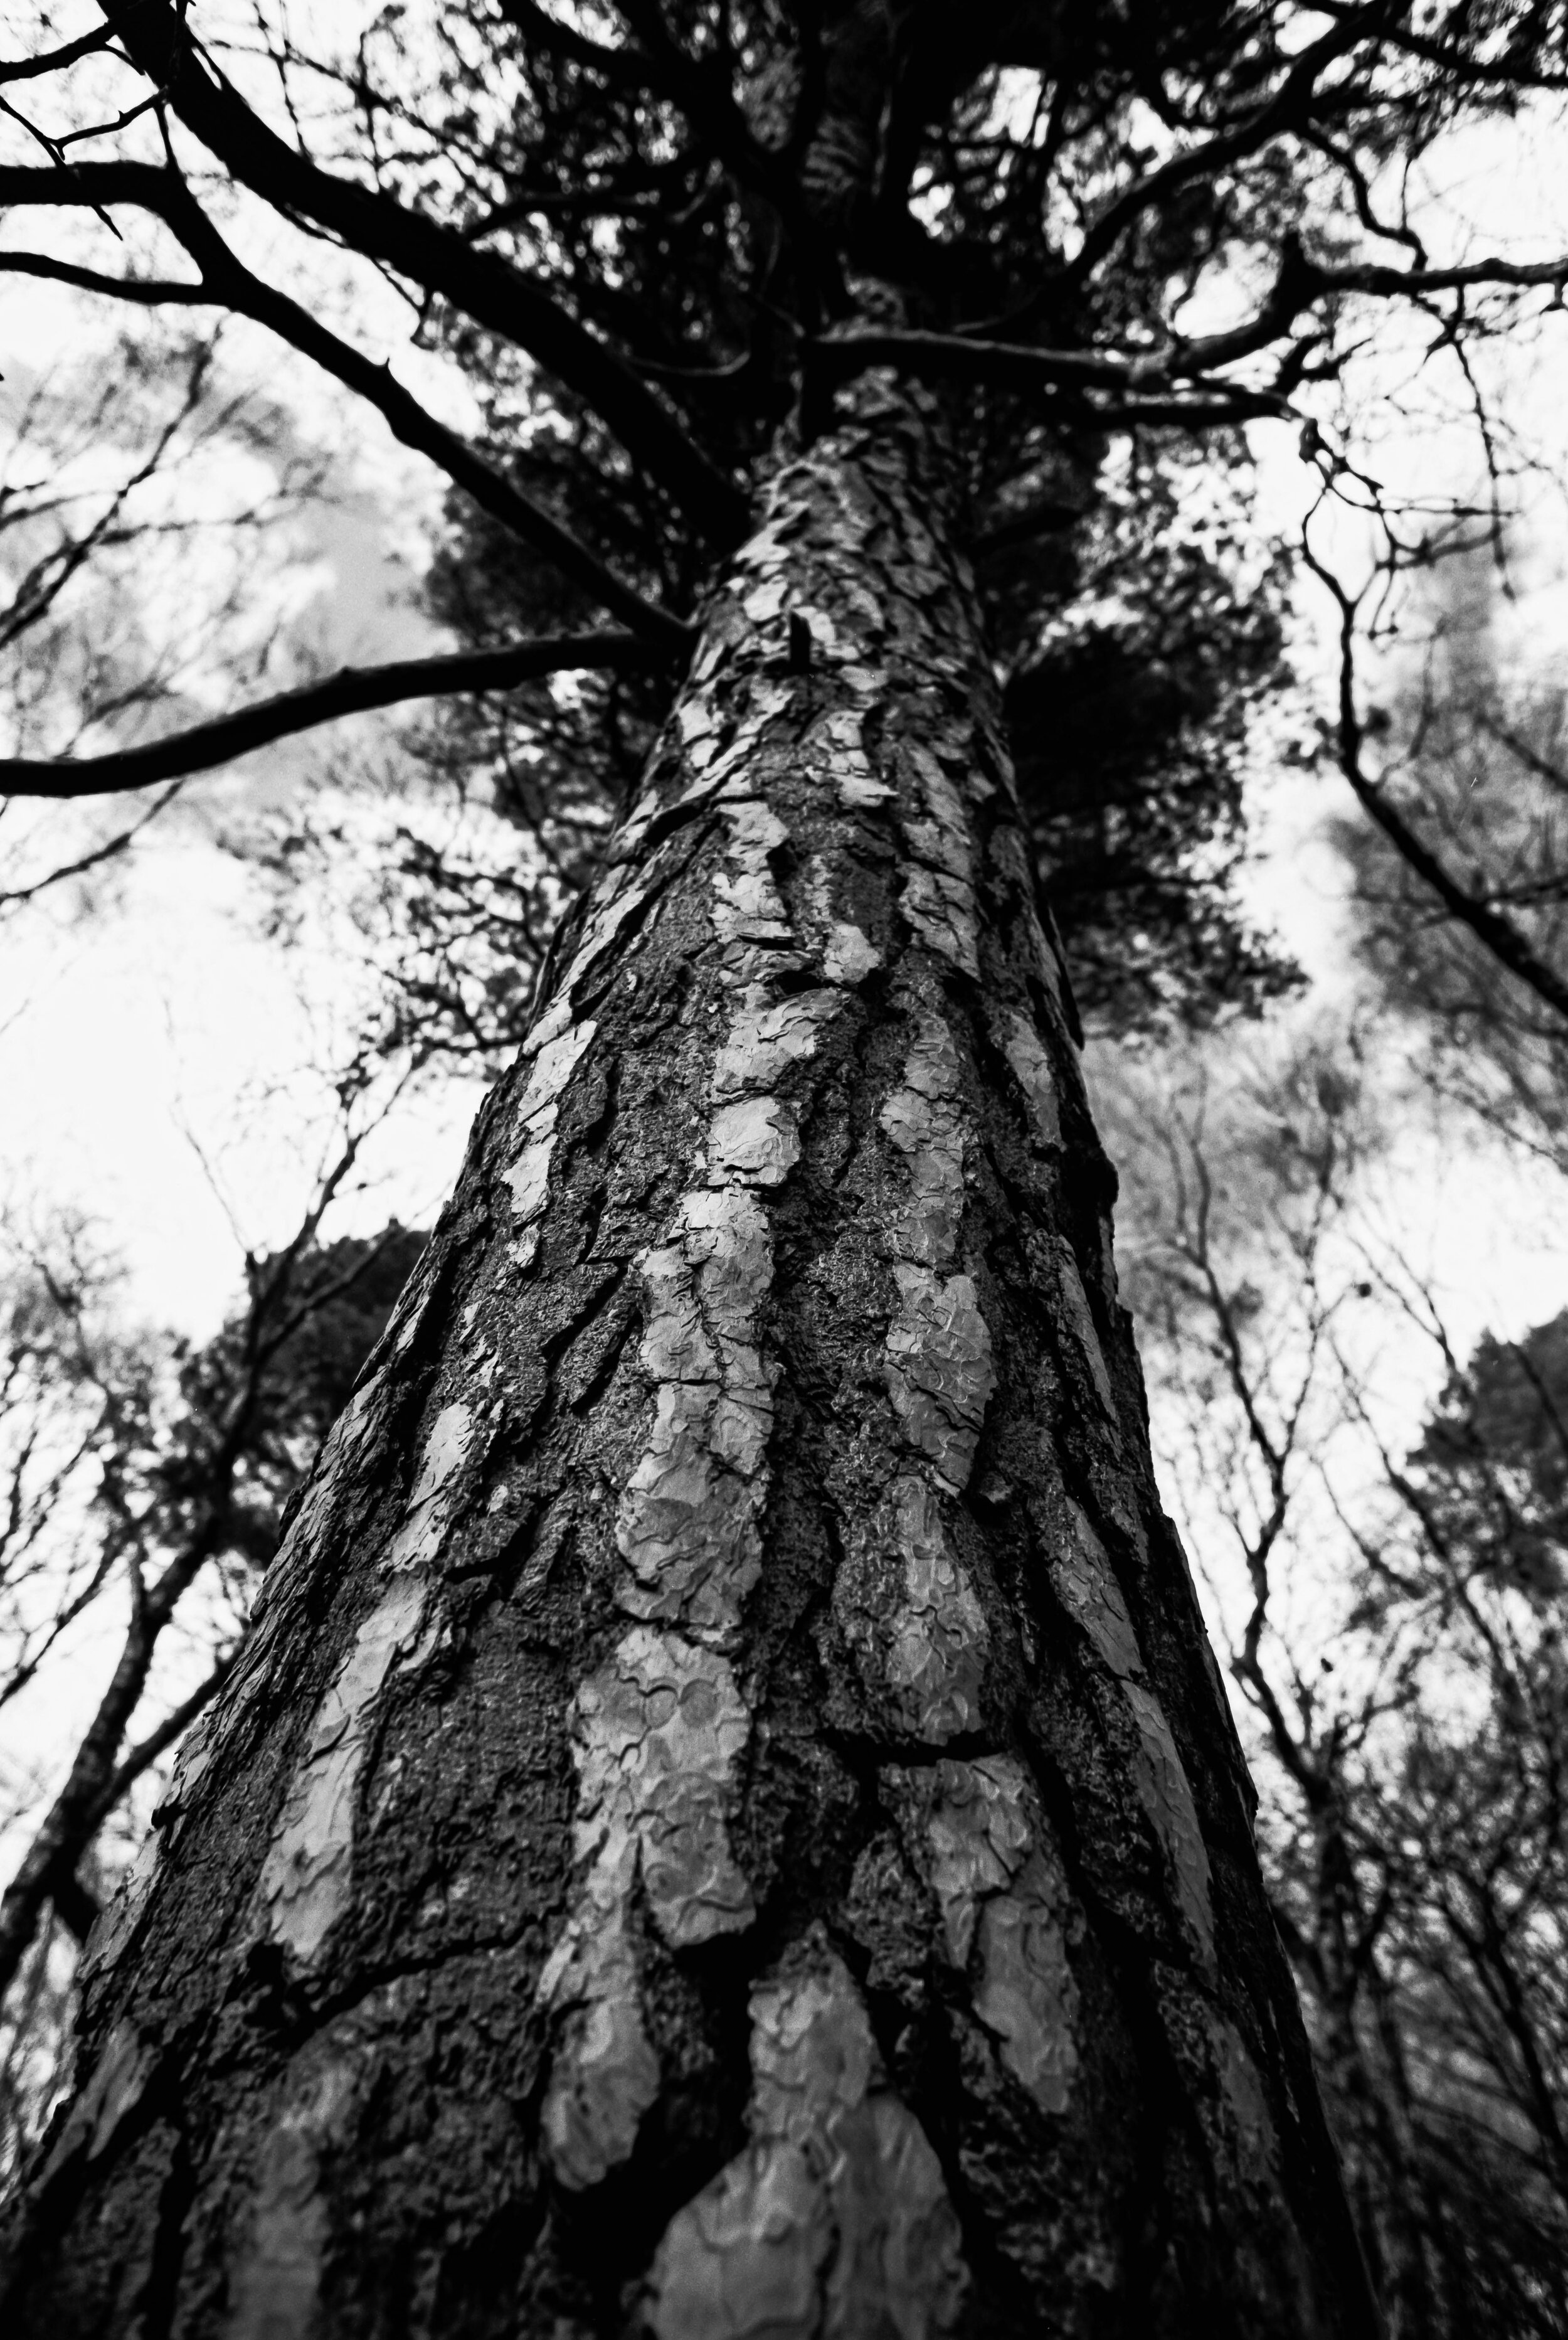
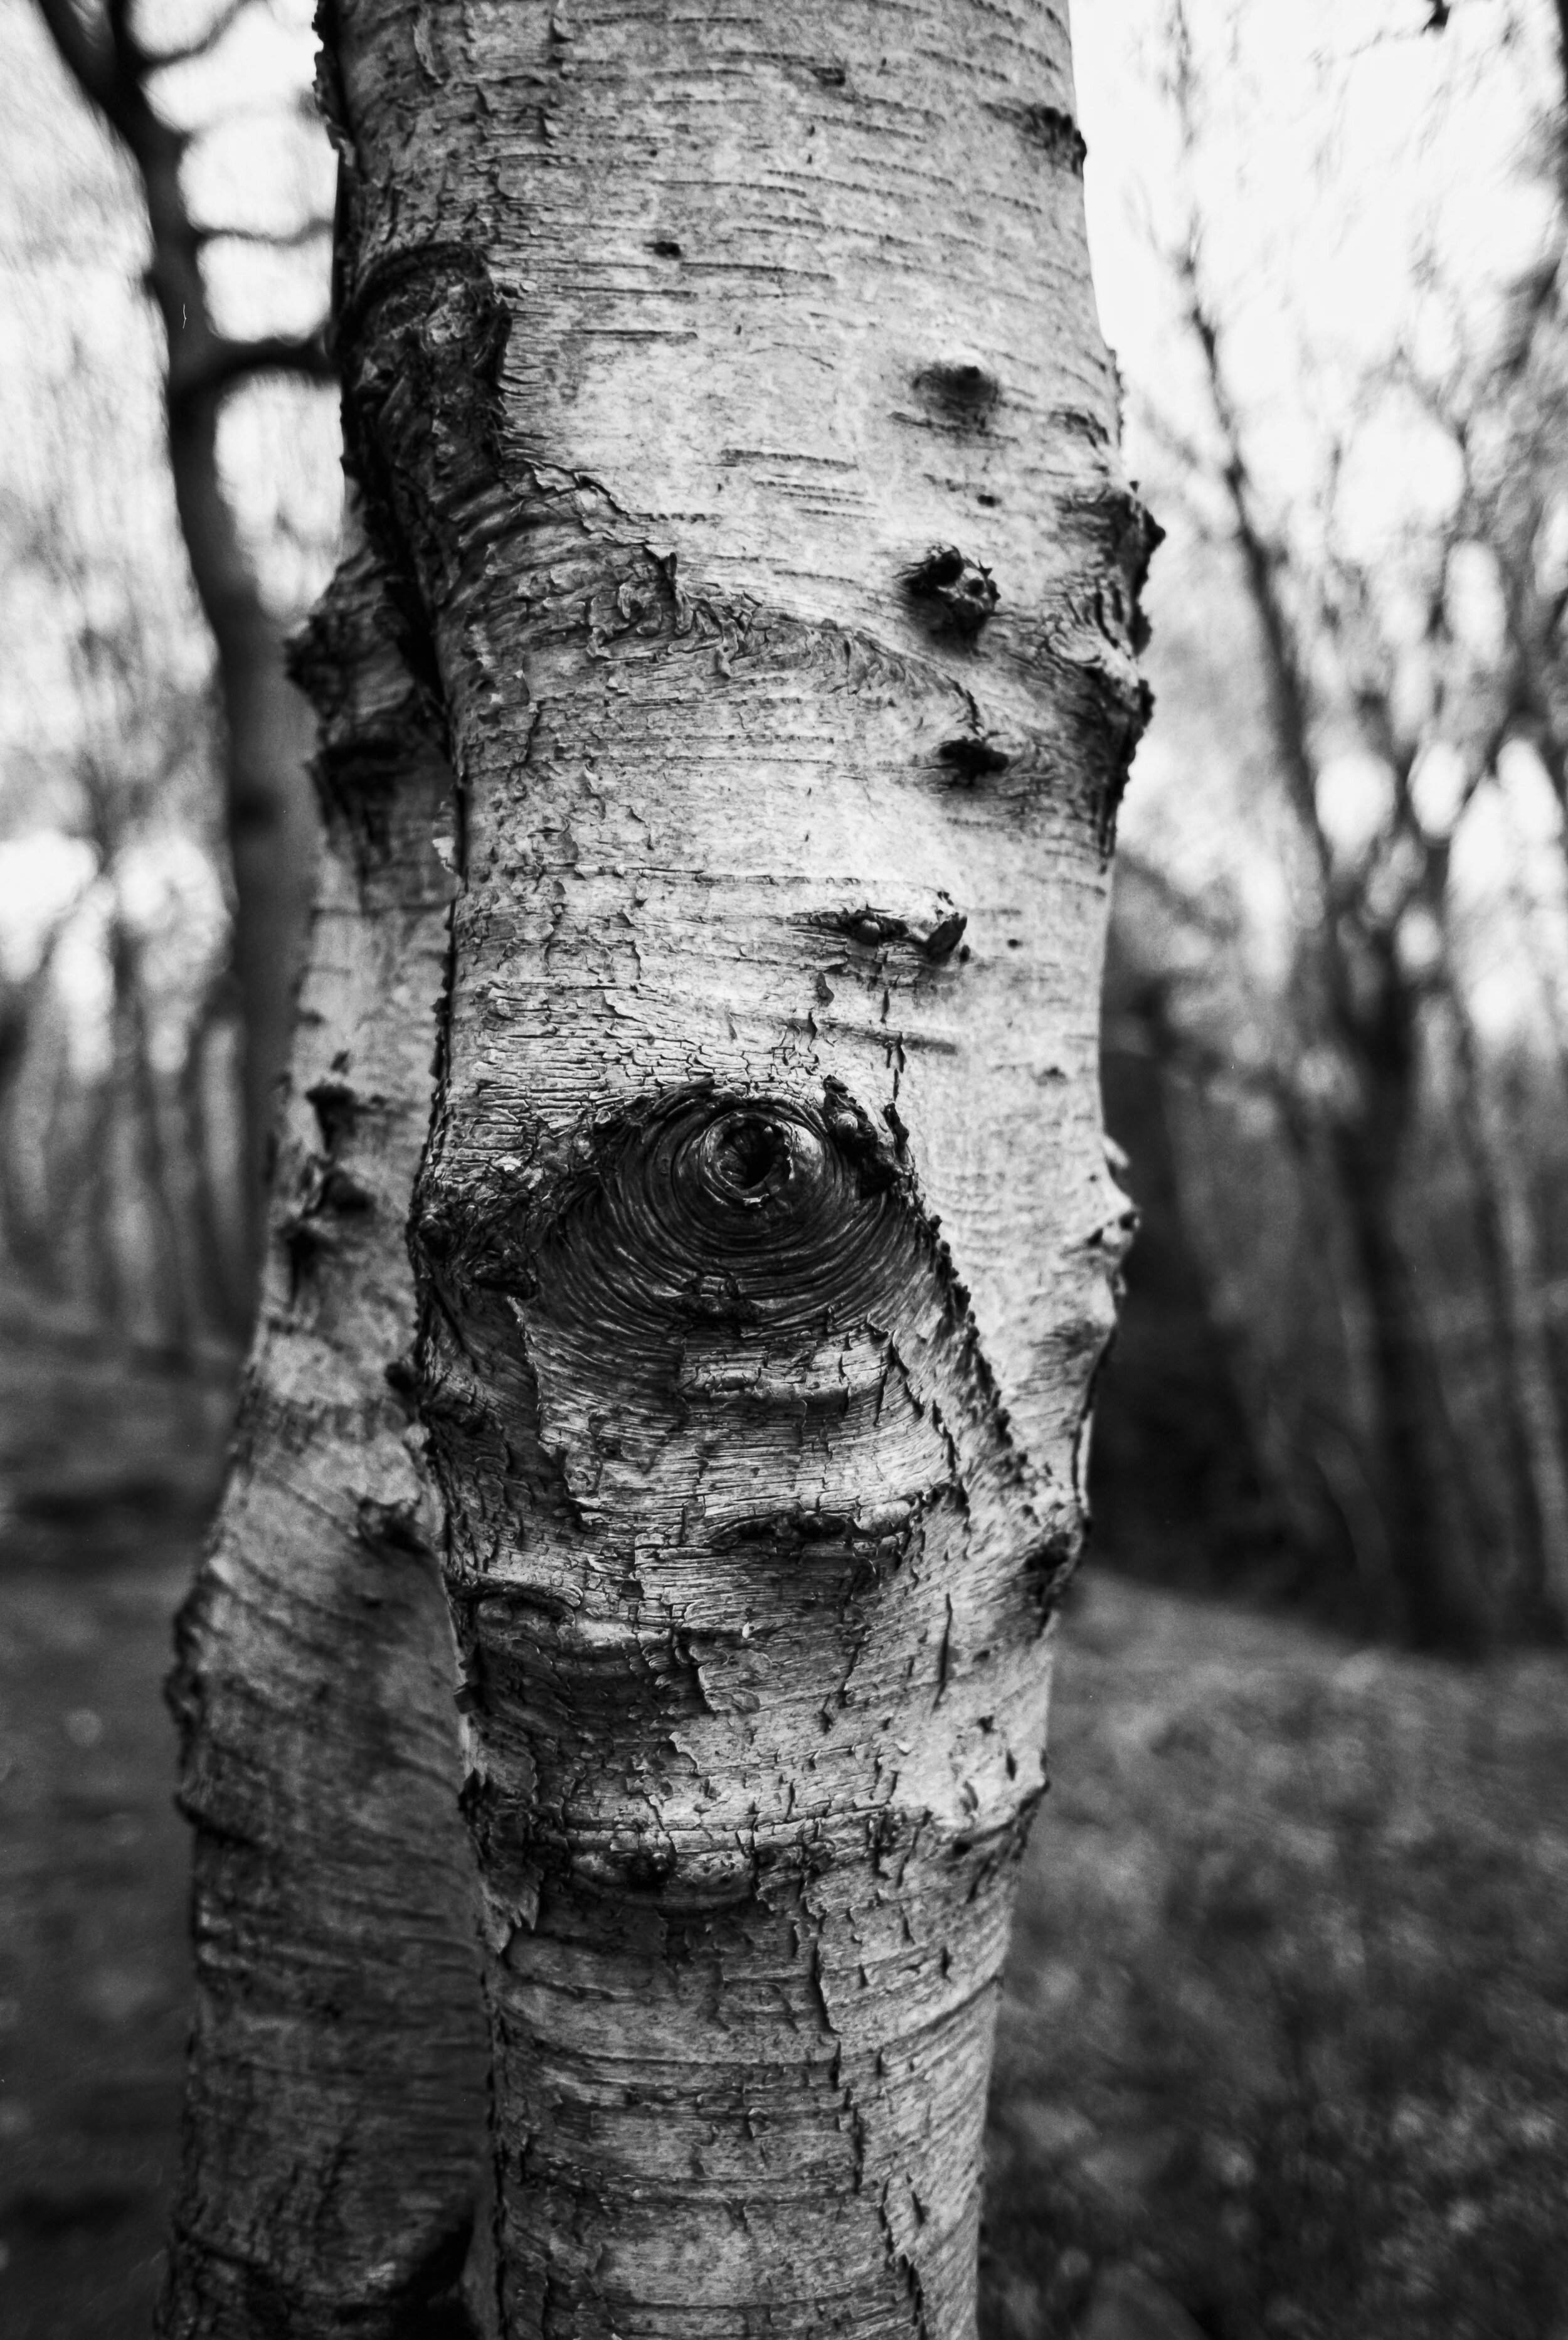
Gone are the days when in my working life I would travel up and down the land, thus having plenty of opportnities to shoot some street/travel/casual day to day shots - in fact aside from portrait shoots I can’t remember the last time I went out and just shot a roll of film for fun! It was great to just be present and focus on my surroundings - allowing my eye to be drawn where it may - as it turned out I was particularly drawn to the texture and details of the trees (well I was in a wood so it’s not too surprising) I love the punchy contrast in these images which works great with the textures of the wood.

0-14.jpg

After strolling through magwoods and along the valley I remembered that there’s a derelict mill along the route (to be fair - in this neck of the woods you are never too far away from a derelict mill) but I had completely forgotten about the derelict digger that rests near by (or maybe it just wasn’t there when I last came this way a few years back) either way my attention was completely taken with this mechanical monster.

0-25.jpg
0-21.jpg
0-22.jpg

I have a thing for abandoned things. Is it just me or do you feel it to? The ineffable pathos of ruin…The machine stops….amidst a tangled mass of weeds, slowly being engulfed by the twisting tentacles of branches…. great innit?!

I proceeded to cover the scene like some CSI photographer covering all the angles, looking for clues to this long forgotten crime!

0-24.jpg
0-26.jpg

I’m trying (and failing) to come up with a snappy metaphor or analagy or something to end on - I was hoping I could think of something smart and (moderately) funny to link the difficulties I’ve been facing in making time to get out and shoot and discovering this burned out digger - so instead I’ll just say this: making time to do creative stuff just for the heck of it gives me great joy…it doesn’t matter one bit whether the resulting images are any good (although to be fair I really like these shots) the satisfaction comes from spending a short bit of time not distracted by this or that, not thinking about the past or what is to come but just being present, keyed in to my surroundings, focussing (literally) on the details, being open to whatever is around the corner and making the most of whatever I find there (especially if it is a burned out digger) hang on a minute - was that a metaphor, similie or analogy??? I need to check google and find out! Until next time friends - stay safe out there! :)

Lomography Colour 100 medium format review

 
0-7.jpg

Here we are with part two of a three part series featuring films from a recent portrait shoot with Monika! If you haven’t already, check out part 1 HERE but if you’re not bothered about that then read on and welcome to this review which is focussing on yet another new to me film stock - Lomography Colour 100, which I shot in medium format 120 flavour on the mighty Pentax 67!

0-8.jpg

I’ve shot a few rolls of different Lomo films over the years (and predictably enough blogged about them too) colour 400 in 35mm HERE and Colour 800 in 120 HERE. So what’s this Lomo colour 100 like then?! I hear you cry! Well first of all just look for yourselves - I think it looks great!

0-4.jpg

As you can see this was a sunlit location shoot which presented the Lomo film with an opportunity to shine! In good light it’s a clearly very fine grain film, with strong contrast and rich colour balance - it’s punchy which I like and gives plenty of fine detail too. The 120 format certainly helps in that resolving power, as does the Super Multi Coated Takumar 105mm 2.4 lens on the P67 on which it was shot.

0-2.jpg

I think it has a slightly different look and feel to portra films which can be a little more muted and if I’m honest a little more to my taste. Don’t get me wrong though Lomo colour is a lovely film stock - I haven’t tried it out in poor/mixed lighting yet so I can’t speak to it’s flexibility but if it bears anything in common with the Lomo 800 film I imagine it will hold highlights well but lose the shadows fairly quickly in poor lighting. So it’s all sweetness and light then is it? Not exactly…

0-10.jpg

I would be remiss dear reader if I didn’t share the shortcomings of this film stock, in fact I think it’s worth saying up front that I have a bit of an issue with Lomo films in general - I don’t know whether it’s how they’re packaged or what but they are VERY prone to light leaks and/or having half a frame burned away for no good reason, I can forgive this when shooting 35mm because with 36 exposures to play with I can spare the odd one or two but when it comes to 120 film and something like the Pentax 67 which only gives me 10 frames per roll if one or two frames are frazzled then that’s a big chunk out the roll - I’m 99% certain it’s not an issue with loading as it only ever seems to be Lomo films that I have this issue with…. what the heck LOMO?!?!

0-9.jpg

Anyway back to the good stuff, aside from issues with the occasional random light leak/burned frame I really like this film stock - I was going to say that it’s a good budget choice but actually prices seem to be on the rise across the board and prices for a three pack of this film are £22 and upwards which is bonkers really - honestly I’m definitely starting to feel the ‘burn’ pardon the pun with film prices and after this shoot where I shot only colour film stocks I think my next few will be black and white only affairs and develop at home!

0-3.jpg

So that’s it for this review! I hope you’ve enjoyed the images and my ramblings about Lomo 100 and if you didn’t well - tough! :) Stay tuned for the final thrilling instalment in this trilogy of colour film stock reviews when i’ll be sharing my thoughts on yet another (yes another) new to me film stock!

Film Photography Workshops - Start your Adventure on Film!

I am delighted to announce the launch of my in person film photography workshops! Whether you’re a newcomer to the world of film photography or an experienced shooter looking for a new creative challenge - my film photography workshops are built around your specific requirements.

IMG_9673.jpg
 
IMG_9252.jpg

I can tailor a workshop to suit your requirements, examples of topics covered include:

  • The fundamental principles of photography

  • Metering and working with light

  • Create stunning portraits using natural and artificial light

  • Choosing the right film for the right occasion

  • Developing and scanning your negatives

  • Printing your negatives in the darkroom

Sign up to recieve updates about my in person and online workshops and get access to your free ‘Adventures on Film’ guide to film photography which is packed with my top tips for shooting with film and making every frame count!

Lomography Lomochrome Purple Review

 
0-9.jpg

Hello friends!! It’s been a little while since I did an out and out film review but fear not!! Today I shall make amends for this by giving the first of THREE (that’s right THREE) film reviews - gosh aren’t you lucky (don’t answer that)! These were all brand new films to me that I hadn’t used before each with their own unique look, so while they may have been shot on the same shoot they definitely have their own story to tell. First up we’ll begin with some purple otherwordly strangeness in the form of Lomography Lomochrome Purple XR 100-400 (my goodness what a mouthful)!!

IMG_1197(1).JPG

I’ve had a couple of rolls on ice for some time and so with Lockdown restrictions easing here in the UK making photoshoots ‘a thing’ again I defrosted one roll and loaded it up into my Nikon L35AF point and shoot which accompanied me on a shoot with Monika.

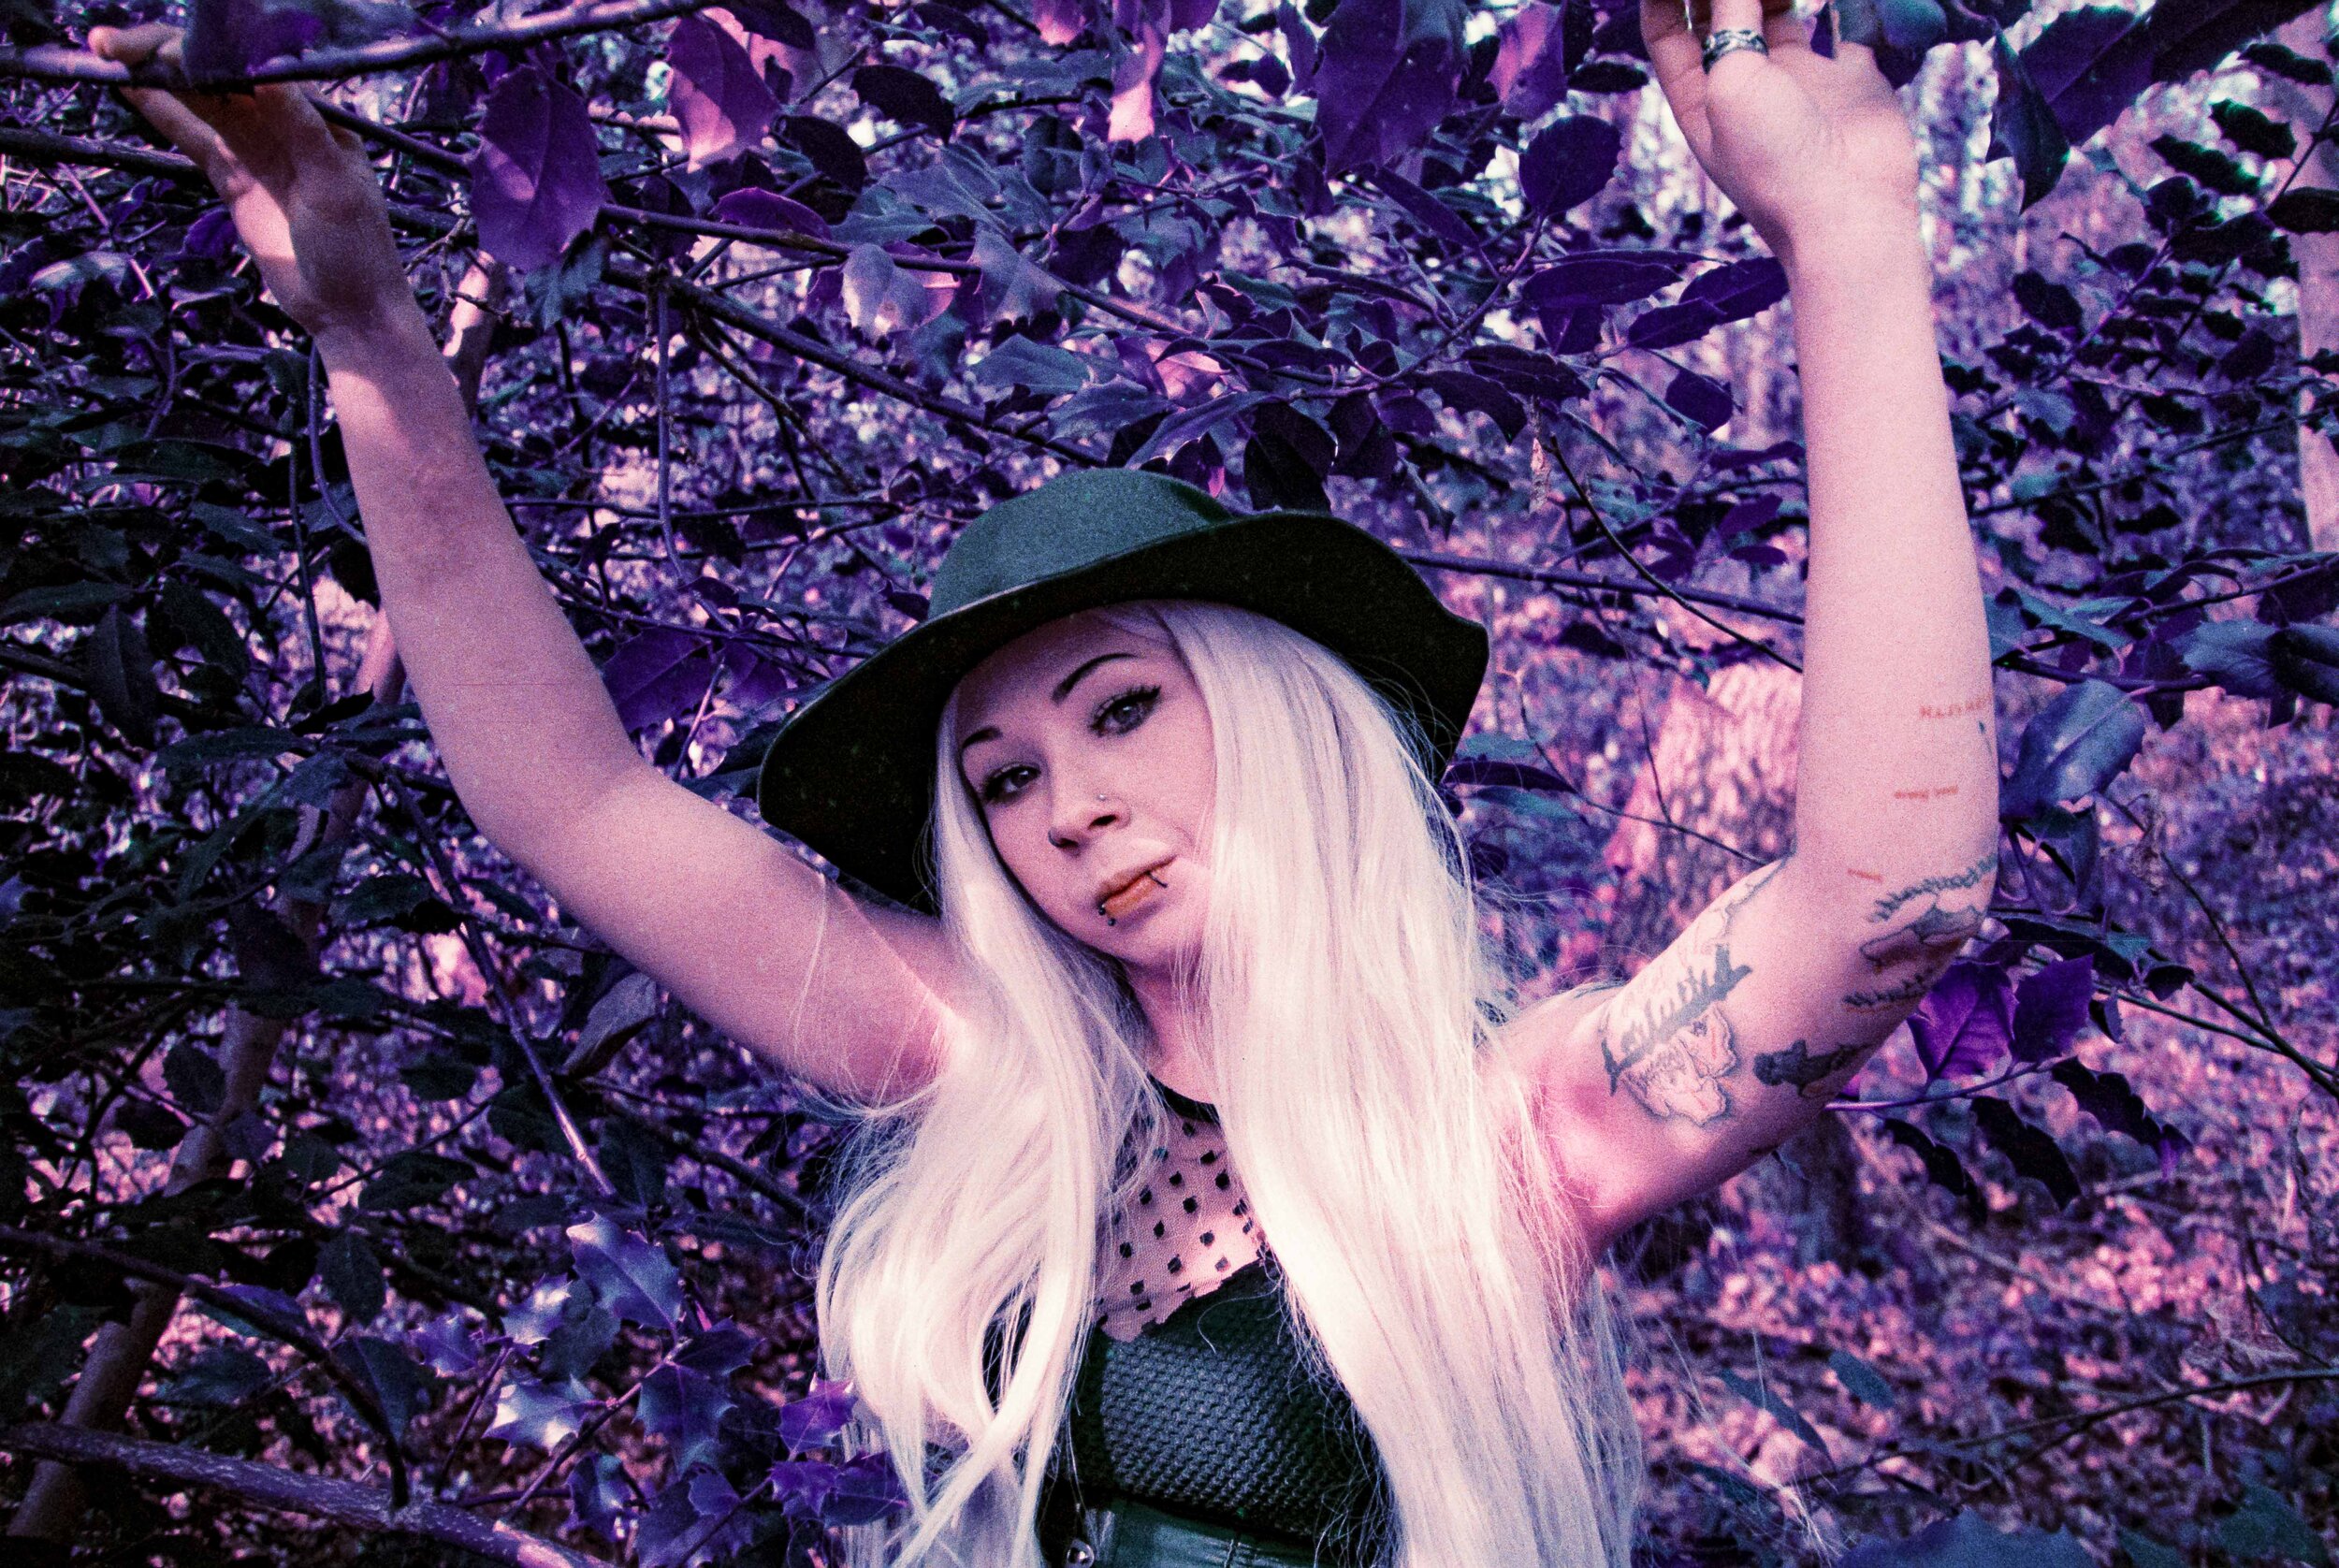
As you can see Lomochrome Purple does exactly what it says on the tin - Blue becomes green, green becomes purple, yellow becomes pink! It’s an effect that is possibly as near to shooting old school aerochrome colour infrared that us mere mortals will get these days (proper colour IR film is STUPID expensive) what I love about the film is it can introduce an entirely new angle on a shoot - alongside the Lomochrome I shot some ‘normal colour’ film stocks but it was great to have this additional creative film along for the ride.

0-5.jpg

According to the box this film can be shot anywhere between 100 and 400, but looking around online I think it’s best to stick to the 100 side of things as this will give you the most pronounced purple colour shifts, of course your mileage may vary but this film isn’t cheap and I very definitely erred on the side of caution with my metering!

0-11.jpg

These were taken on a very bright sunlit day - in fact I had a reflector with me that I didn’t use and I wish that I had for one or two of these a: to balance the hard shadows and b: to give the film some extra light to work with - as you can see this film does not record shadow detail very well and the drop off is quite pronounced, that being said but I do kind of like the effect in the background elements as it gives you quite a punchy, contrasty look but I thinkI’d have liked to have kept some more detail around Monika as my subject!

0-13.jpg

The grain structure is visible and I quite like it. The film resolves quite a lot of detail especially in the highlights and where it does fall off the grain has a gritty feel - this is most definitely not a smooth film so be prepared to embrace the grain! What I did notice in the film scans and I confirmed this with Exposure Film Lab who developed the film for me was quite a few thin lines across the image possibly from dye running off through the development, it was easy to remove in lightroom but certainly expect to do a bit of post processing removing weird artefacts in Photoshop or Lightroom (I felt like a digital shooter for a minute)! UURGH!

0-35.jpg

I picked the above image out as it shows a few things worth taking note of:

1: This was probably the most extreme example of the lines that were apparent on more than a few frames

2: My sadness at the big bloody STUPID line spoiling the shot was lessened because clearly the little Nikon L35AF wasn’t feeling the strong backlighting here (even though it has a little lever to compensate for back lighting) clearly there are limits to what you can expect - and in this situation you can expect to see a big increase in grain and lack of contrast

3: Which moves onto point number three - The lomo purple clearly didn’t enjoy this lighting either - you can see the purple shifting to a more muddy, muted, brownish colour, and the grain structure kind of falls apart a bit too and loses contrast - meh!

0-8.jpg

I tried my best to make the most of the greenery around, at the time of the shoot most of the trees were still bare but there was enough evergreen ivy around for us to work with and Monika did a great job of diving into the spiky Ivy branches! Skin tones were very much on the pinky/red side of things despite Lomographys assertions that this film keeps skin tones looking natural but to be honest my advice is to just embrace the colour shifts and go with it, I really love how these shots came out - Lomochrom Purple is a great way to add an instant creative edge to a shoot and works well when shot alongside some more traditional colour/black and white stocks.

0-14.jpg

So in conclusion then what can we say about Lomography Lomochrome XR 100-400 (aside from the ridic long name) well my completely subjective and unscientific analysis is: I absolutely love it! (‘What a fucking surprise’ I hear you cry)!! Fair comment - I am yet to meet a film stock that I didn’t fall in love with one way or the other…. although with this one I was especially uncertain with it being such an unusual film to begin with and then first time shooting it.

One of the things that I enjoy about film photography is that many of your creative choices are made up front when it comes to choosing films stocks etc Lomo Purple gives you a really ‘out there’ trippy vibe right off the bat. It’s not a cheap film and based on my experience it really does need good lighting so while I have another roll on ice, I’ll be waiting for the right opporutnity to bring it out. I have to say that it was great shooting the little Nikon L35AF loaded up with this bonkers film - a great little camera that will have a blog of its own one day I promise!!

Would i use Lomo Purple as a stand alone film stock for a portrait shoot? No… I feel it’s more of a creative addition to your colour pallete rather than the main focus or at least that’s how I used it, which brings us nicely to a reminder to watch this space for parts 2 and 3 of this film review trilogy - I’ll be bringin you another Lomo film this time a more traditional stock Lomography colour 100 in medium format! I bet you can’t wait…. but you’ll have to, I haven’t written the damn thing yet…

Holga 120N - the all weather camera!

 
0-1.jpg

Living in the North of England you have to get used to the idea that there is no such thing as bad weather, only bad clothing. In the case of todays blog we’ll be having a look at the Holga 120N - the ideal all weather camera!

0-2.jpg

I’ve already showcased the Holga’s mysterious wares in a few other blogs HERE and HERE. Having shot with it on quite a few occasions I have a good feel for the look and feel of the images and it remains a firm favourite of mine in the collection (but you know already that I say that about all my cameras)!

0-4.jpg
0-3.jpg

First port of call on this dank and dreary day is Bank Bottom Mill in Marsden - tt’s quite a brooding structure, especially when shrouded in mist and rain. One of those buildings where it’s hard to decide if it’s derelict or not… I suspect not, but every time I visit there’s not many signs of life or activity you’d associate with a factory/mill… answers on a postcard please!

0-5.jpg

And so leaving the stereotypical ‘dark satanic mill’ behind us, we venture up towards Butterly reservoir which sits on the edge of Marsden and the Moors up above.

0-6.jpg

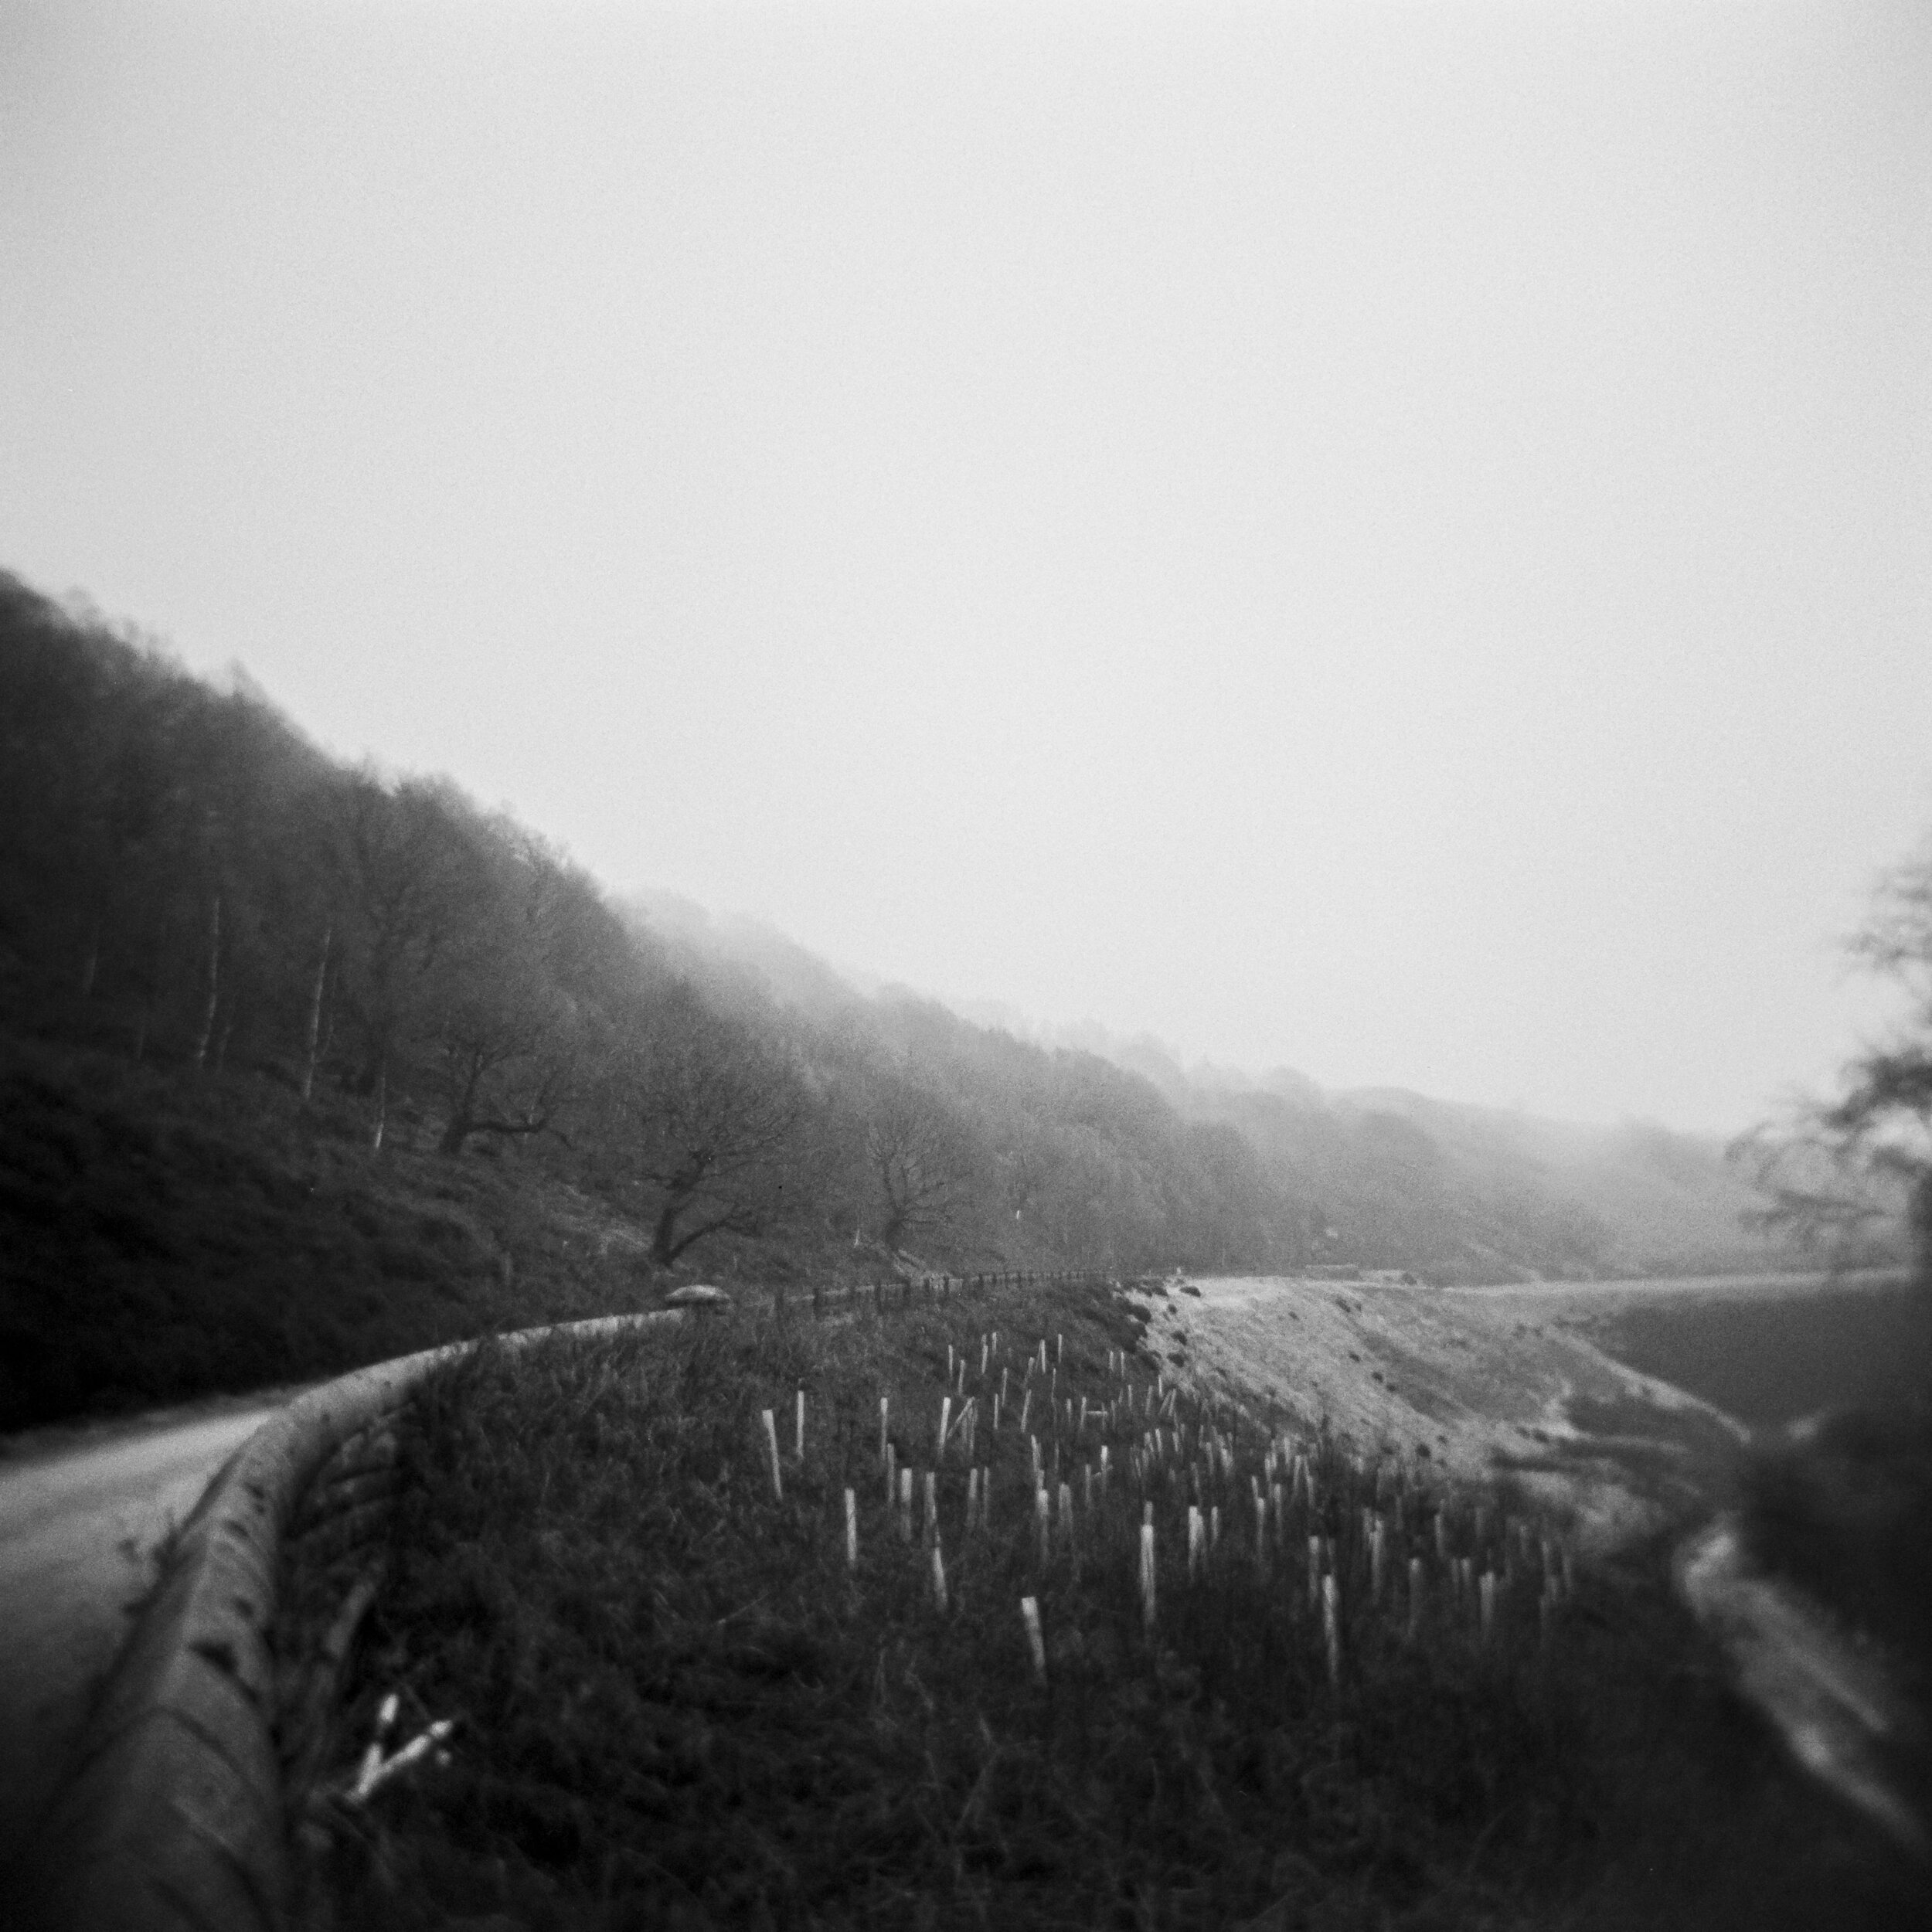
The rain was really starting to pour down at this point and the mist was sweeping in too, making for some dramatic scenery - enhanced by the dream like qualities of the Holgas ‘optical lens’

0-7.jpg

Being on your own in a place like this, watching the far distance dissolve into the mist with the sound of the rain intensifying was a deeply satisfying experience - an assault on the senses! I shot these back in February when Lockdown 3.0 was in full swing and I very much needed a blast of ‘fresh’ air to clear my head.

0-9.jpg

The flooded track along the edge of Butterly reservoir winds up Wessenden Valley and into the mist. I am a sucker for a leading line and a bit of symmerty to boot!

0-8.jpg

The intensifying downpour of rain and my contemplative mood got me trying a couple of ‘creative’ shots - neither of which worked the way I’d intended if I’m honest… For the shot above I forget now what my ‘creative’ concept was aside from - hey look! It’s raining… the one below I was very definitely aware of being ‘alone’ on this trackway seemingly leading to no where… I wanted to create a self portrait which reflected this (literally) - but since the viewfinder is not coupled to the lens didn’t noticed the camera strap hanging in shot or my two big clod hopper boots in frame too - oh well! I’m sure the art world will survive this catastrophic loss…

0-10.jpg

You get 12 shots on a roll of 120 film with the Holga - and you’ve got 12 shots here in this blog post - I like every frame! Sure some are better than others, and I walked for quite a while beyond the point where I ran out of film - changing film in the Holga is a bit of a faff at the best of times (the biggest job being peeling back all the electrical tape - I mean ‘weather sealing’ that holds the back of the camera on) never mind in the pouring rain (note to self buy another Holga for such an occasion)

0-11.jpg

Using a Holga there’s never too much to say about the technicalities - you load your film, guestimate the distance to your subject, point it in the general direction and hope for the best! I tend to use Ilford HP5 in my Holga - its so flipping reliable that it’s one less thing to worry about! The holga’s shutter (read: bit of spring loaded wire) is fixed at a vague point somewhere about 1/100 of a second and the lens aperture can be set to either wide open (about f8) and stopped down (about f11) so really you’re only variable you have control over is at what speed do you rate your film at - I sent my film off to the good people at Exposure FIlm Lab as I have no time or space for home developing at the moment, I asked them to treat it as shot at 1600 ISO this gives a little lee way in the shadows and provides lovely punchy contrast as you can see!

0-12.jpg

After walking a little further up the track, I stood on top of a wall to grab this final shot and was more than a little surprised when two people walked past me - I’d been so wrapped up in my own thoughts, and the rain had masked sounds of their approach that it startled me at first. But watching them ascend into the clouds ahead of me, I felt glad of their presence. Even when we think we’re alone - theres always someone near at hand. (And they usually manage to walk into your frame just as you’re taking the flipping shot…) Bless em…

New Topographics - finding the extraordinary in the every day world

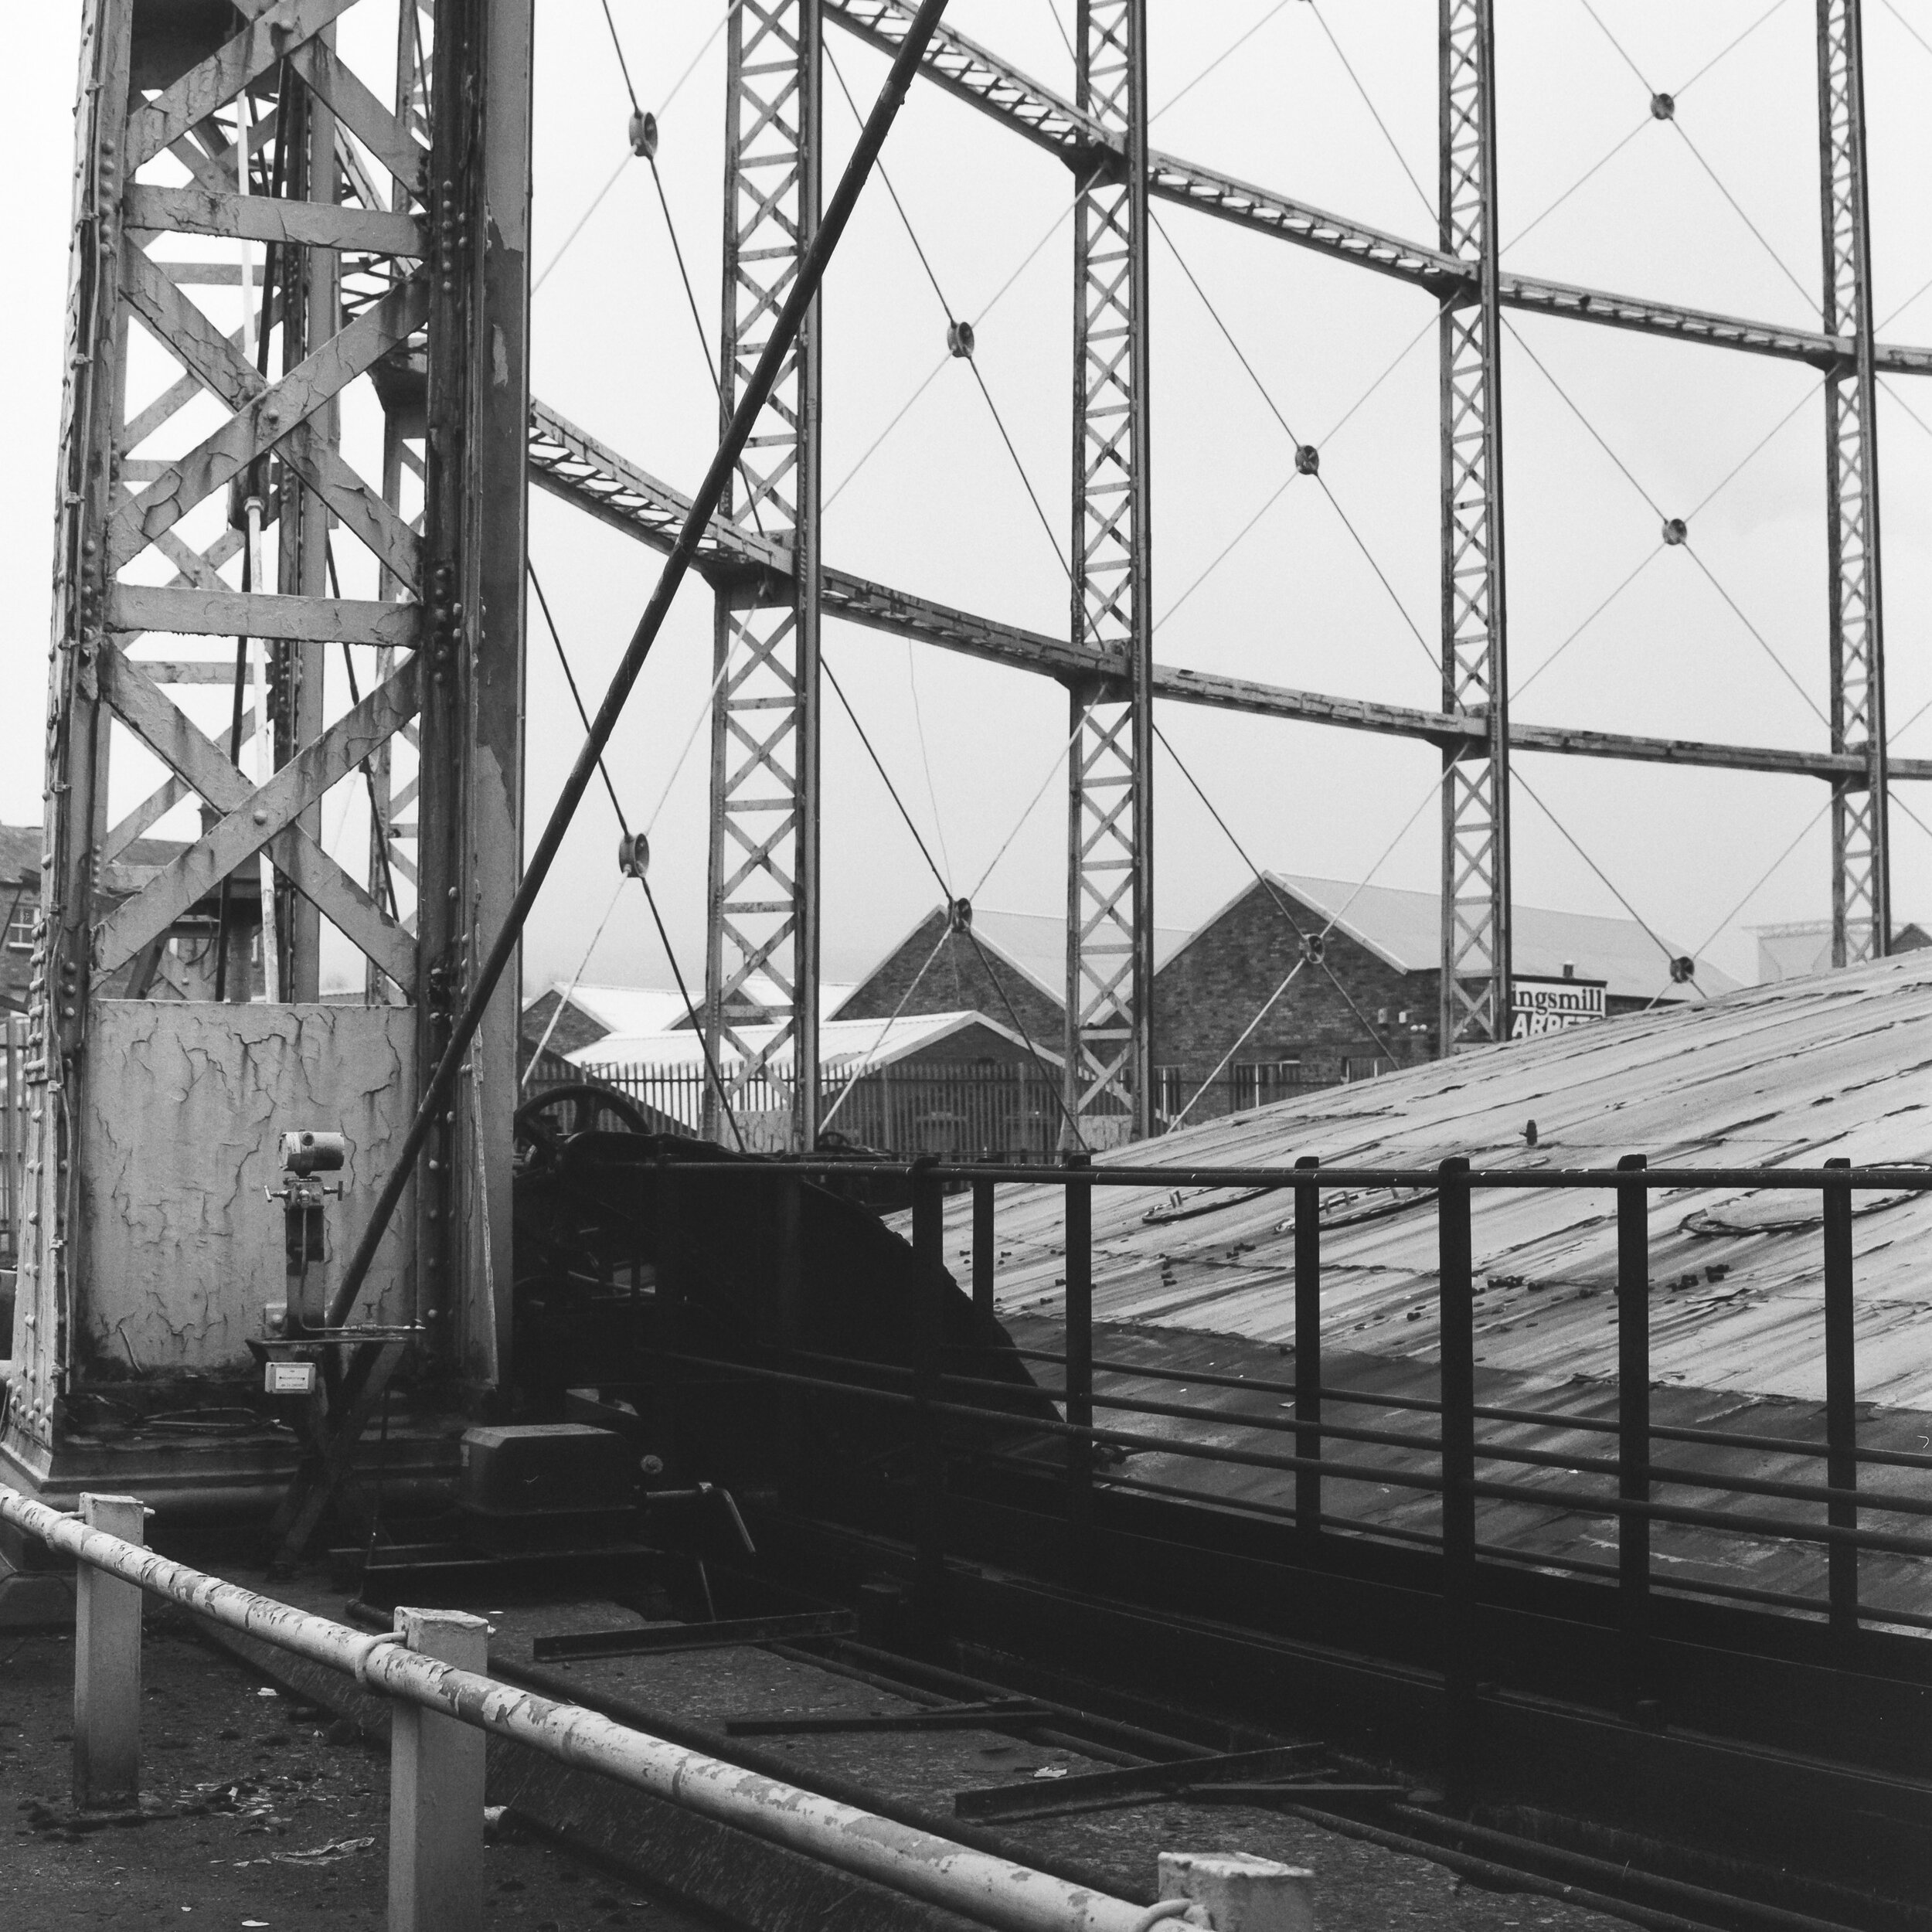
I don’t know about you but I’m definitely feeling the burn with Lockdown 3! Hope you’re all doing ok out there! One thing I’ve been doing with my time (time?what’s time?) Ok on the rare occasions that I have time… I’m checking off some of those “I really must take some photos of that one day” places that I have listed in my brain. Do you do this too? These are places which you might pass once or twice or maybe it’s somewhere you visit everyday and something about it speaks to you…. well on more than one occasion I have been caught out when these places have been demolished/rebuilt or otherwise spoiled (photographically speaking) and one such place which has been on my ‘to shoot’ list was this old gas works just outside Huddersfield Town centre - oh the glamour!!

0-1.jpg

I recall seeing quite a few of these things knocking around in my youth - but not so much these days, and this one certainly has the air of a place that if it’s not too careful could end up on the literal scrap heap of history! It’s certainly an enjoyable architectural/structural subject which inspired me to shoot it in a ‘new topographic’ style - finding the beauty in the banal and the extra-ordinary in the ordinary!

arax.jpg

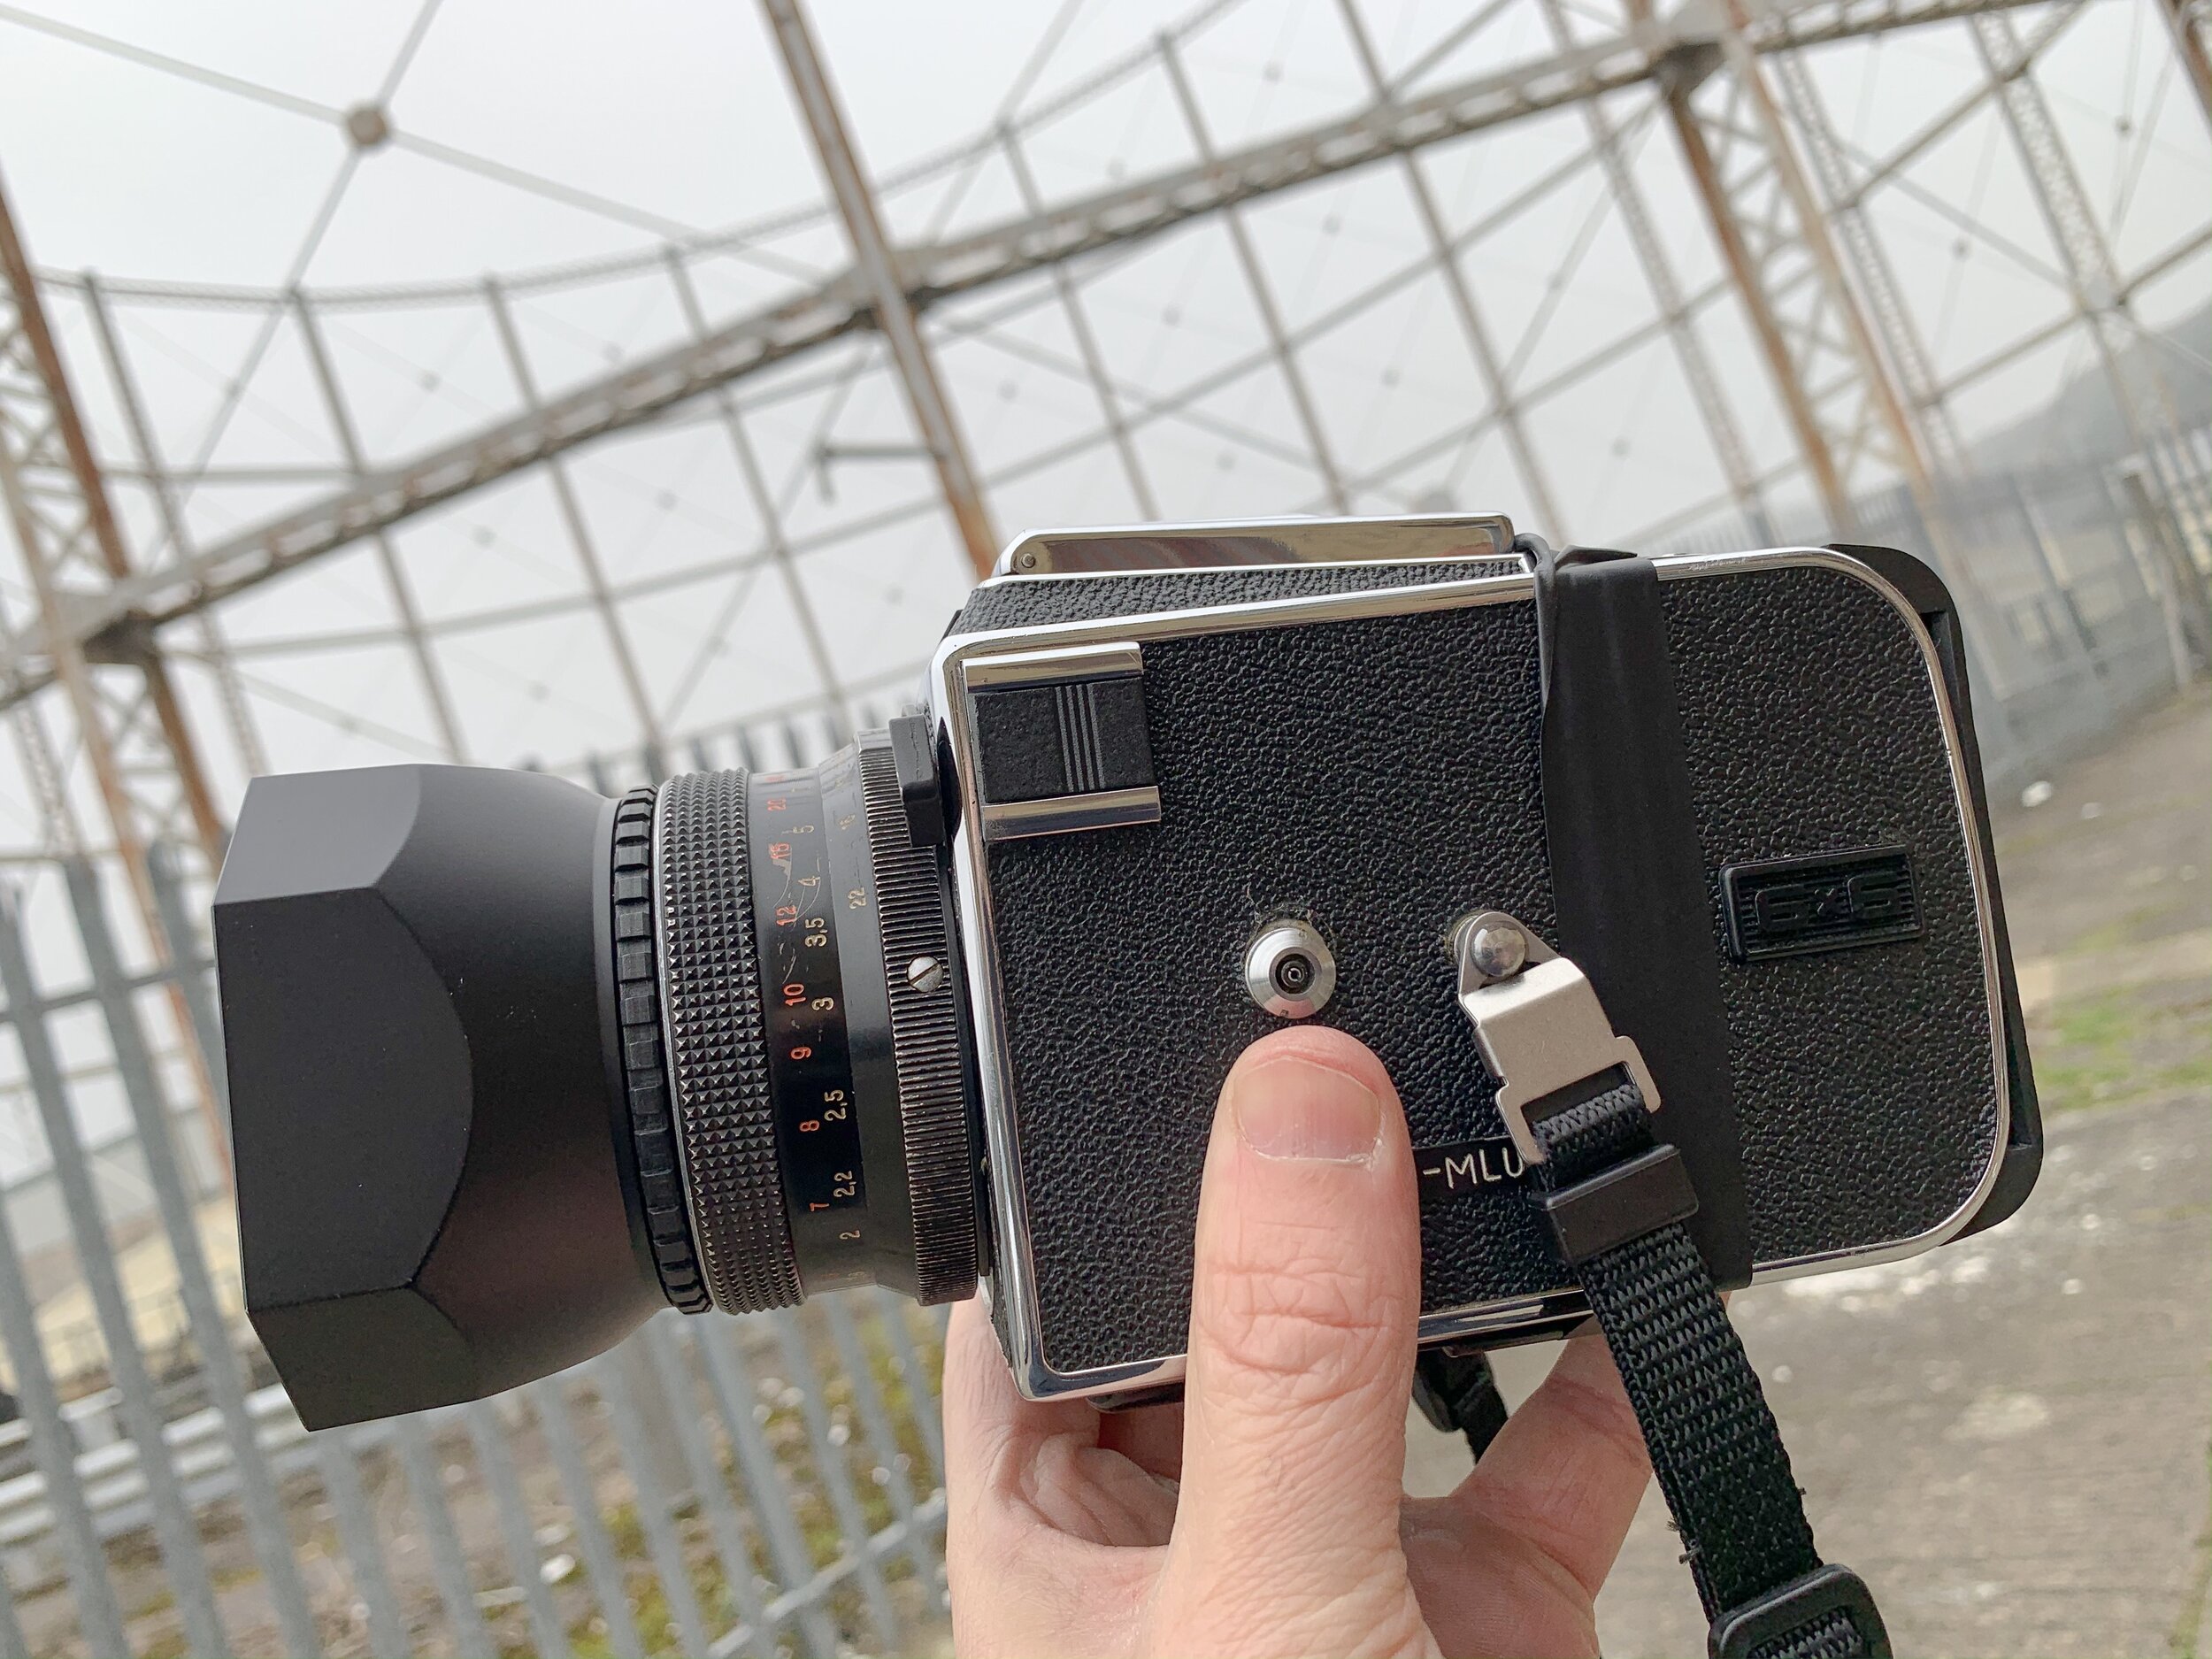
I was keen to take my ARAX CM out for a spin, in part because I just love shooting with the thing, also I thought that 6X6 square format would suit this subject and I wanted to undertake a very technical test…. I’ve been experiencing some annoying light leaks with this camera, most likely source is where the interchangeable film back joins the body, so to be doubly sure I used some black electrical tape around the join to make sure - and voila! No light leaks! I’ve ordered some replacement seals and time permitting (ha) I might write a ‘how to’ on the repair job (assuming I don’t knacker it further in the process of course)!

0-2.jpg

I shot 1 roll of Ilford HP5 rated at 1000 ISO - it was an overcast day with even and plentiful available light, perfect conditions really! So why did I want to push the film to 1000?? I hear you cry! Well two reasons, firstly that extra speed allows me to stop the lens down whilst still maintaining a reasonable shutter speed, this allowed me to get more of the structure in focus which I think suits this subject better (I know that the ‘I only shoot wide open’ brigade will recoil in horror at this idea but hey - fuck them)!

I don’t think a blurry background would suit this subject and in some of these frames I want the backdrop to form a part of the composition too. Secondly - HP5 just sings when it’s pushed! It’s such a flexible film stock I very rarely shoot it at 400 it’s usually around 1000 or 1600 I find it works best for me.

0-3.jpg

And just look at the details! Beautiful!! That pealing paint work in the foreground, the decaying dome in the middle distance and the framework forming the background - I love these shots!

0-4.jpg

Composition wise I just keep things fairly simple really - my main challenge is that the structure itself is surrounded by a modern metal fence so to shoot these I had to stick the camera through gaps in the fence!

0-5.jpg

I really enjoy shooting square format especially for subjects like this it prompts you to work the angles for an interesting composition, similarly using the 80mm Biometar lens (equivalent to a standard 50mm) was another compositional prompt to isolate elements of the scene - I was tempted to bring a wide angle lens with me too but on reflection I’m glad I didn’t - less is definitely more! (Says the man who owns too many cameras)

0-11.jpg

I’m very happy with how these have turned out - I’d like to try printing some of these in the darkroom (yes I am planning my very own darkroom - watch this space)!

0-9.jpg

So there we are, finding the beauty in the everyday! I hope that this structure remains a part of the skyline in this part of town for a long time to come but whatever happens in the future I’ve ticked this one off my ‘must shoot it one day’ list!

Holga Portraits

 
img492.jpg

Hello there! How are we all holding up out there? Lockdown 3.0 here in the UK has definitely been a challenge - one of the things I miss most is being able to shoot portraits. Of course we have to stay safe and follow the rules until this pandemic is under control but I’m really looking forward to the day when we can re-connect and get shooting again!!

I wanted to take my Holga out for a spin! I love using the Holga for it’s quirky otherworldly randomness but I’ve never used it for portraiture and I was very excited to try it out.

holga.jpg

Given the tendency for the Holga to produce unexpected results (which is one of its major strengths and/or weakness) I wanted to hedge my bets so I brought along a trusty Spotmatic loaded with a roll of Portra 400 and sporting a Helios 44M lens too (I’ll do a seperate write up on those images) because I needn’t have worried! I flipping well love the results!

img483.jpg

The Holga has a very primitive focussing system so to help achieve something anywhere near critical focus I used a tape measure and measured out approximately 3ft for shots that were a closest focussing - this is all pretty much guesswork anyway since the viewfinder is not coupled to the lens so the less hung up about critical focus the better, but then that’s the joy of shooting Holga’s right?!

img484.jpg

I had a bit of a senior moment after the shoot when I thought that I may have nocked one of the very few controls on the Holga - the buttong which switches between ‘bulb’ and ‘normal’ shooting - so to take account of the potential variations in shutterspeed from standard issue Holga style ‘who knows what’ to literally it could be anything ‘who knows what’ I semi stand developed the film in Kodak HC110 for 1 hour in 1:100 dilution with a little shimmy shake at 30 mins.

img490.jpg

Judging by the results it looks like I didn’t actually nock the bulb button but anyway I love the results - the semi stand process gave me some extra punchy images :)

img486.jpg

Using the tape measure to get in the ball park with focussing I think is a must at least until you get your eye in and given that you only get 12 shots per roll and it’s a bit of a faff to unload/load the holga on location (mainly cos of all the black electrical tape holding it together) i would err on the side of caution. This shoot definitely made me want to rush out and buy ANOTHER Holga just so I could burn a couple of rolls without the hassle of reloading but myabe that’s just G.A.S talking!

img487.jpg

Really love these images they just have a certain ‘something’ don’t they? The Holga is an exercise in limitation and simplicity - unencumbered by dials, menus and controls it’s just you, a roll of film, a plastic lens and your imagination. Perfect!

Lens Test: Portrait shoots comparing the Helios 44 to the Helios 44-2

 
spot.jpg

If there’s one thing I know for sure it’s that I have pretty much settled on my current stable of camera bodies - these include various NIkon’s which those of you who hang around here will no I prattle on about them a lot and for M42 shenanigans I keep two very lovely Spotmatic cameras handy! This is not a review of the Spotmatic but it is fair to just say at this point that for me its the best M42 camera!

Lenses lenses lenses! That’s what we’re really here to talk about - the reason I even own the Spotmatics is to give myself access to the wonderful world of M42 lenses and in particular I love Eastern Bloc/Soviet glass. There’s some beauties available - this blog is the first in a series running some fairly subjective and unscientific tests, basically I’m just gonna shoot the heck outta these things and report back on how i get on in a fairly ad hoc manner - sound good? good! Let’s go!

We’re starting with a lens i think every photographer should own - the Helios 44. In fact we are starting by comparing two slightly different versions of this lens:

Helios 44 which is the first version of the Helios it came in M39 mount with 13 aperture blades a funky purple looking lens coating and just generally a bit more exotic (read expensive) and looks uber cool in silver.

helios.jpg

Helios 44-2 which was the next iteration now in a native M42 mount it is much more common (read cheap) has 8 aperture blades but looks pretty much exactly the same except now in black.

Helios 3.jpg

Build quality is comparable across both lenses - the aperture selector is easier to turn on my Silver Helios but the focus ring feels smoother on my Helios 44-2 so let’s call it a draw. It’s worth stating at this point that any assessment of Eastern bloc/Soviet equipment (or any vintage kit for that matter) should be seen as being applicable to ‘this specific lens’ rather than ‘this applies to every copy ever made of this lens’ time and tide have no doubt been unkind to some of this gear over the years and frankly some of the build quality out of the former Soviet Union wasn’t brilliant to start with so YMMV (quite a bit) In fact that’s one of the reasons for writing this blog - there are some many flipping (often contradictory) views on which lens is best etc etc that there really is no susbtitute for finding these things out for yourself!

Right - on with the review! The caveat here is that I didn’t shoot the lenses alongside each other (I told you this was unscientific) these shoots took place on different days, on different film, under different lighting with a different model - so you know, there are lots of differences but this feels like more of a real world comparison so let’s see how they shape up… the one thing that was the same was these were both shot on the Silver Spotmatic F.

0-2.jpg

This first set were taken back in August with Sophia - we made the most of that late summer sunshine for this one, these were shot on a roll of ever so slightly out of date Kodak Gold 200 which I rated at 100 ISO and we used a reflector to bounce some of that natural light and give the images a little ‘pop’

0-4.jpg
0-24.jpg
0-25-Edit.jpg

Next up we have a set shot with Danni - shot with the same Spotmatic F but everything else is different!! These were shot on Ilford HP5 pushed to 1600, light was fairly mixed sometimes overcast/sometimes bright.

0-35.jpg
0-29.jpg
0-30.jpg
0-34.jpg

So what do we think? Is the more expensive (and cool looking) Helios 44 worth the extra cash? Do those extra aperture blades make any difference in real life use? What about lens coatings? Sharpness? Bokeh? Contrast?? Should you just stick with the cheap 44-2 and move on with your life?

Let’s just agree that ‘sharpness’ as a concept is massively overrated OK? OK! that being said…looking at the images my initial reaction to the colour shots with Sophie was that they are acceptably sharp but I wasn’t blown away with the sharpness, I am usually pretty good at nailing critical focus but felt like I consistently just missed it with some of these shots, not so much that it detracts from the image but I noticed…. ya know? Maybe it’s because the focus ring was a little more stiff on the Helios 44 I don’t know.

helios1.jpg

I definitely felt that with the Helios 44-2 / HP5 shots with Danni that the shots were more crisp and sharp where they needed to be - obviously film and development/scanning is a factor here too folks so these are just my thoughts but I do feel like in this completely subjective and unscientific test I have to give this round to the 44-2!

When you consider that I paid £10 for the 44-2 lens and about £60 for the Helios 44 then it’s really a no brainer!! In fact I have now sold the Helios 44 for £70 (£10 profit)!! And I’ve invested the proceeds into acquiring a Carl Zeiss Biotar lens - basically the grandparent to the Helios line! I paid exactly £70 for the Biotar and when it arrives I’m going to run a similar non scientfic test to see how that performs! Either way I’ll be keeping the Helios 44-2 when it comes to bang for your buck it cannot be beaten!

Nikon F3HP review or If at first you don't succeed buy another Nikon F3

 
IMG_4192.JPG

Hello! How are we all doing? It feels like a long time since I wrote my last blog (and it is) it also feels that in this time of global pandemic and upheaval that the world is crying out for something - and obviously in this moment I feel that that something is….. a completely subjective review of the Nikon F3!! Of course! I hear you cry!! Just what the world has been waiting for! ;)

Well well well, here’s a turn up for the books… gone and bought myself ANOTHER Nikon F3, in fact I’ve owned it for about a year now but you may recall that a couple of years ago I sold the F3 I owned at that time because it was literally giving me a headache when looking through the viewfinder and that kickstarted my love affair with the glorious F2.

F3.jpg

I’ve always felt like I had some unfinished business with the F3 and so in November 2019 I bought another one - the small matter of a global pandemic has definitely put a dent in the amount of use the F3 has seen in the last year but I have been shooting with it quite a bit lately and really enjoying the experience - so much so that I decided I needed to do an updated review of this camera one which explains why I now own another one and how I managed to get over the issues that caused me to sell my previous one.

Charlie - in space no can hear you scream!! Portra 400 @ 1600 Nikon F3 / 85mm 1.4

Charlie - in space no can hear you scream!! Portra 400 @ 1600 Nikon F3 / 85mm 1.4

First things first I am not above just being drawn back to this thing because of how it looks - I mean LOOK AT IT - a thing of beauty! It’s a fantastic piece of industrial design, penned by the genius Giorgetto Giugiaro! I recently got hold of the MD4 battery grip for the camera which I really just bought on a whim, but I love it! I haven’t taken it off the camera since - it makes it heavier but it’s very well balanced in the hand.

0-9.jpg

I was drawn back to the F3 almost by a process of elimination - I tried an F4… too big, too bulky and festooned with features that I wouldn’t use… F5 too modern (I don’t own any AF lenses) F6… too expensive… I bought an F90X for a cheap auto wind on body and I like using it but I was still looking for something… I considered the original F body but I wasn't feeling that so if I wanted another top spec Nikon body that only left the F3…. and here we are! (it still amazes me that I can write a paragraph like that and not even question myself as to WHY i would want ANOTHER camera…. we humans are complex creatures aren’t we?!

In my original blog post about the F3 I named it the best camera I’d ever used at that point but my main issue was the viewfinder, specifically the (to me) awkward placement of the shutter speed LCD readout - and it can’t just have been me because Nikon released an updated viewfinder the HP (High Point) which was designed ostensibly for people who wear glasses but I have always wondered if this HP viewfinder would solve the issue I had, turns out - it has… a bit…

Isiasha - Nikon F3 / 85mm 1.4 Portra 400 @ 1600

Isiasha - Nikon F3 / 85mm 1.4 Portra 400 @ 1600

Truth be told i still find the placement of the meter / shutter read out awkward - but I found a great work around…. just ignore it! :) My main passion is portrait photography and for portraits I always use a handheld meter anyway, so now it matters not that the read out display of the F3 is in a stupidly awkward position as I just my handheld meter, set the controls on the camera accordingly and happy days!! It does mean that I’m unlikely to choose the F3 as the camera I’ll use for casual / day to day / travel photography when having an onboard meter is pretty helpful but I have other cameras for that anyway (Hurrah!! at last a valid reason for owning the F3 AND the F2)!!

0-22.jpg

Functionally the experience of the F3 is a bit more slick and sophisticated than the F2 (Im sorry fellow F2 fans - but it’s true) The F3 feels slightly more refined all round from the shutter sound to the film advance action - plus the MD4 motor drive can be had for a very low price giving you super fast fps should you require it (you probably won’t but hey… details schmetails).

Enough of this babble! I hear you cry! Very well compadres this concludes my rambling on the Nikon F3 I think you can tell I like it very much and I can say for certain that this time it’s for keeps! All of the shots here were taken with the F3 using a Nikkor 85mm 1.4 AIS lens and all shot on Portra 400 .

It's hip to be square: Kiev 88 / ARAX CM review

7A2834DF-8A13-4D65-A826-14C48379E9F4(1).JPG

If you’ve been around here before then it’s most likely you’ll be aware of my penchant for eastern bloc/soviet lenses, you may also recall that I am less inclined towards cameras made behind the iron curtain because I’ve had bad experiences with a few clunky, poorly functional Zenits and practikas in the past. So when it comes to 35mm I’ll use a trusty Spotmatic to mount my Communist lenses. All when and good you might say but what about medium format? Im glad you asked! step right this way and let me introduce you to a new comrade of mine - in a previous life it was called a Kiev 88 but now goes by the name of ARAX CM.

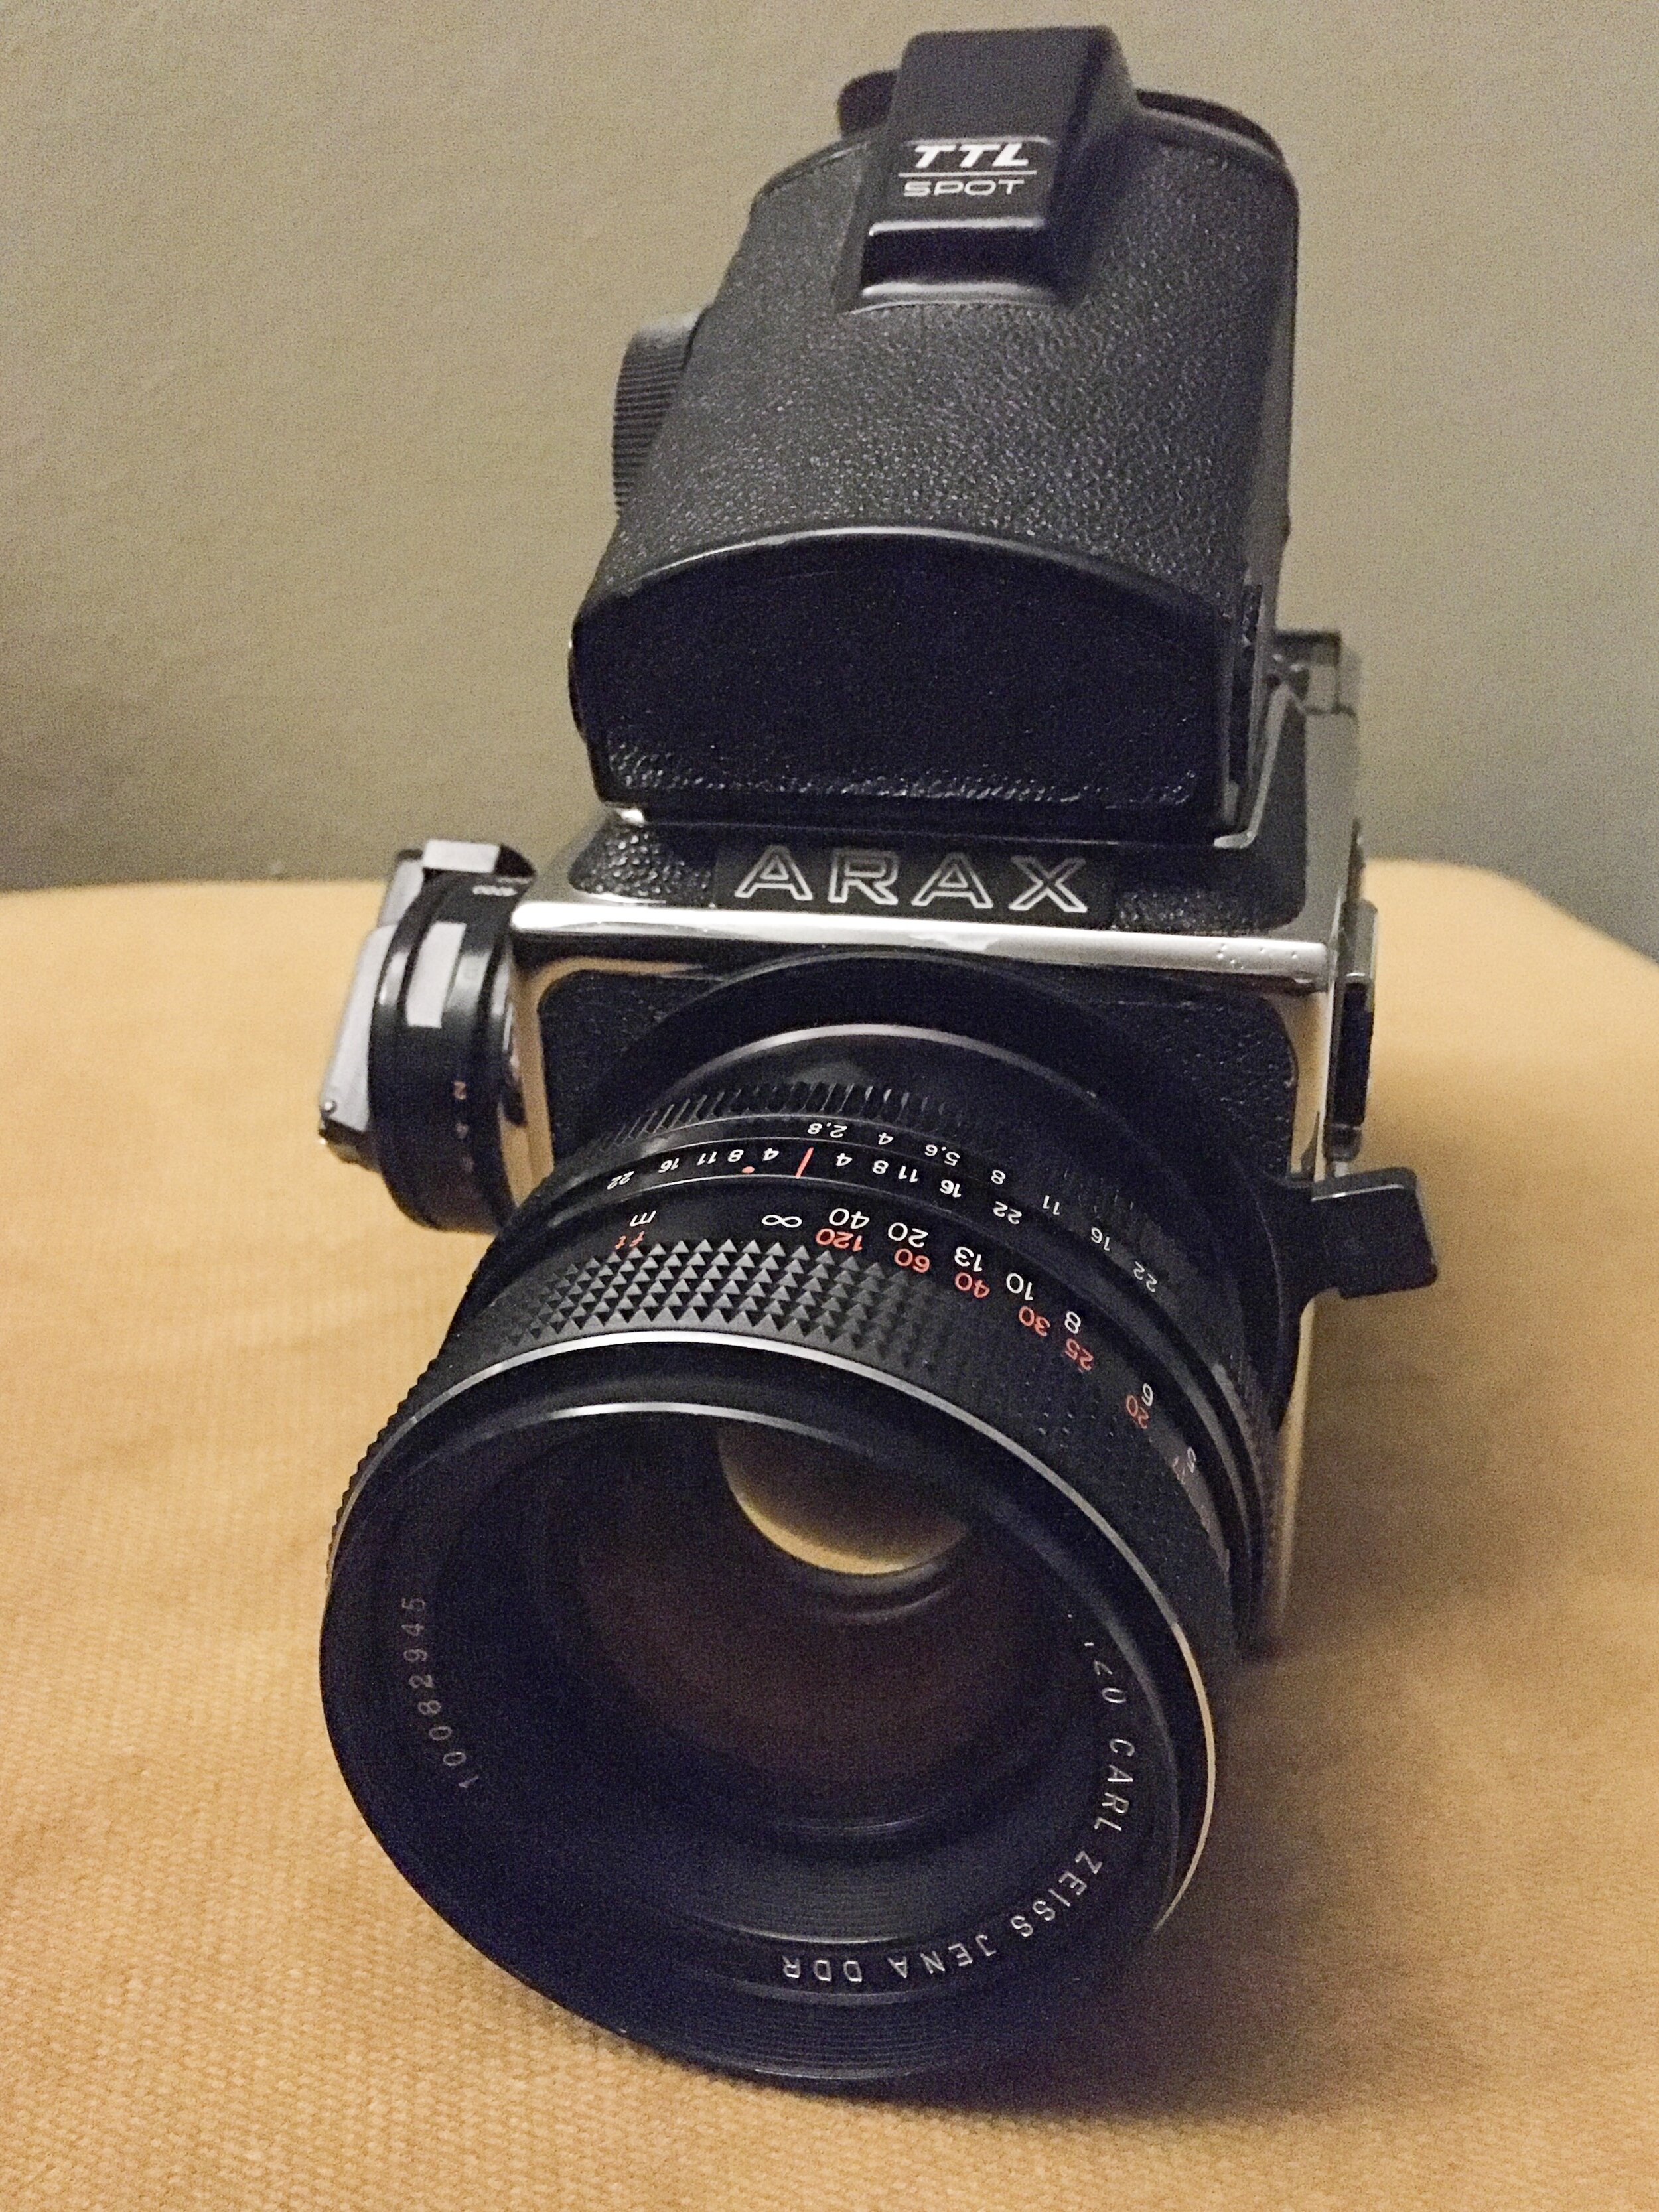
Ah yes the Kiev 88… a camera with a very mixed reputation, a camera which demands you pay close attention at all times in order that the beast from the east doesn’t spontaneously combust!! The Kiev 88 is a camera that is often derided by the uninitiated, however these cameras are genuinely loved by those who shoot with them (myself included)! My copy is actually an updated/improved version of the Kiev 88 made by a company called ARAX - it’s had a few of the original Kiev’s idiosyncracies ironed out. Even though I bought mine used from a private seller I like the idea that buying into this system means you also have the support of the good people at ARAX when needed. My cameras full title is the ‘ARAX CM MLU’ a snappy name! ‘CM’ means it has Pentacon 6 lens mount and MLU means Mirror Lock Up (one of the functions that ARAX added to the camera)

Note Pentax 67 lens hood! :)

Note Pentax 67 lens hood! :)

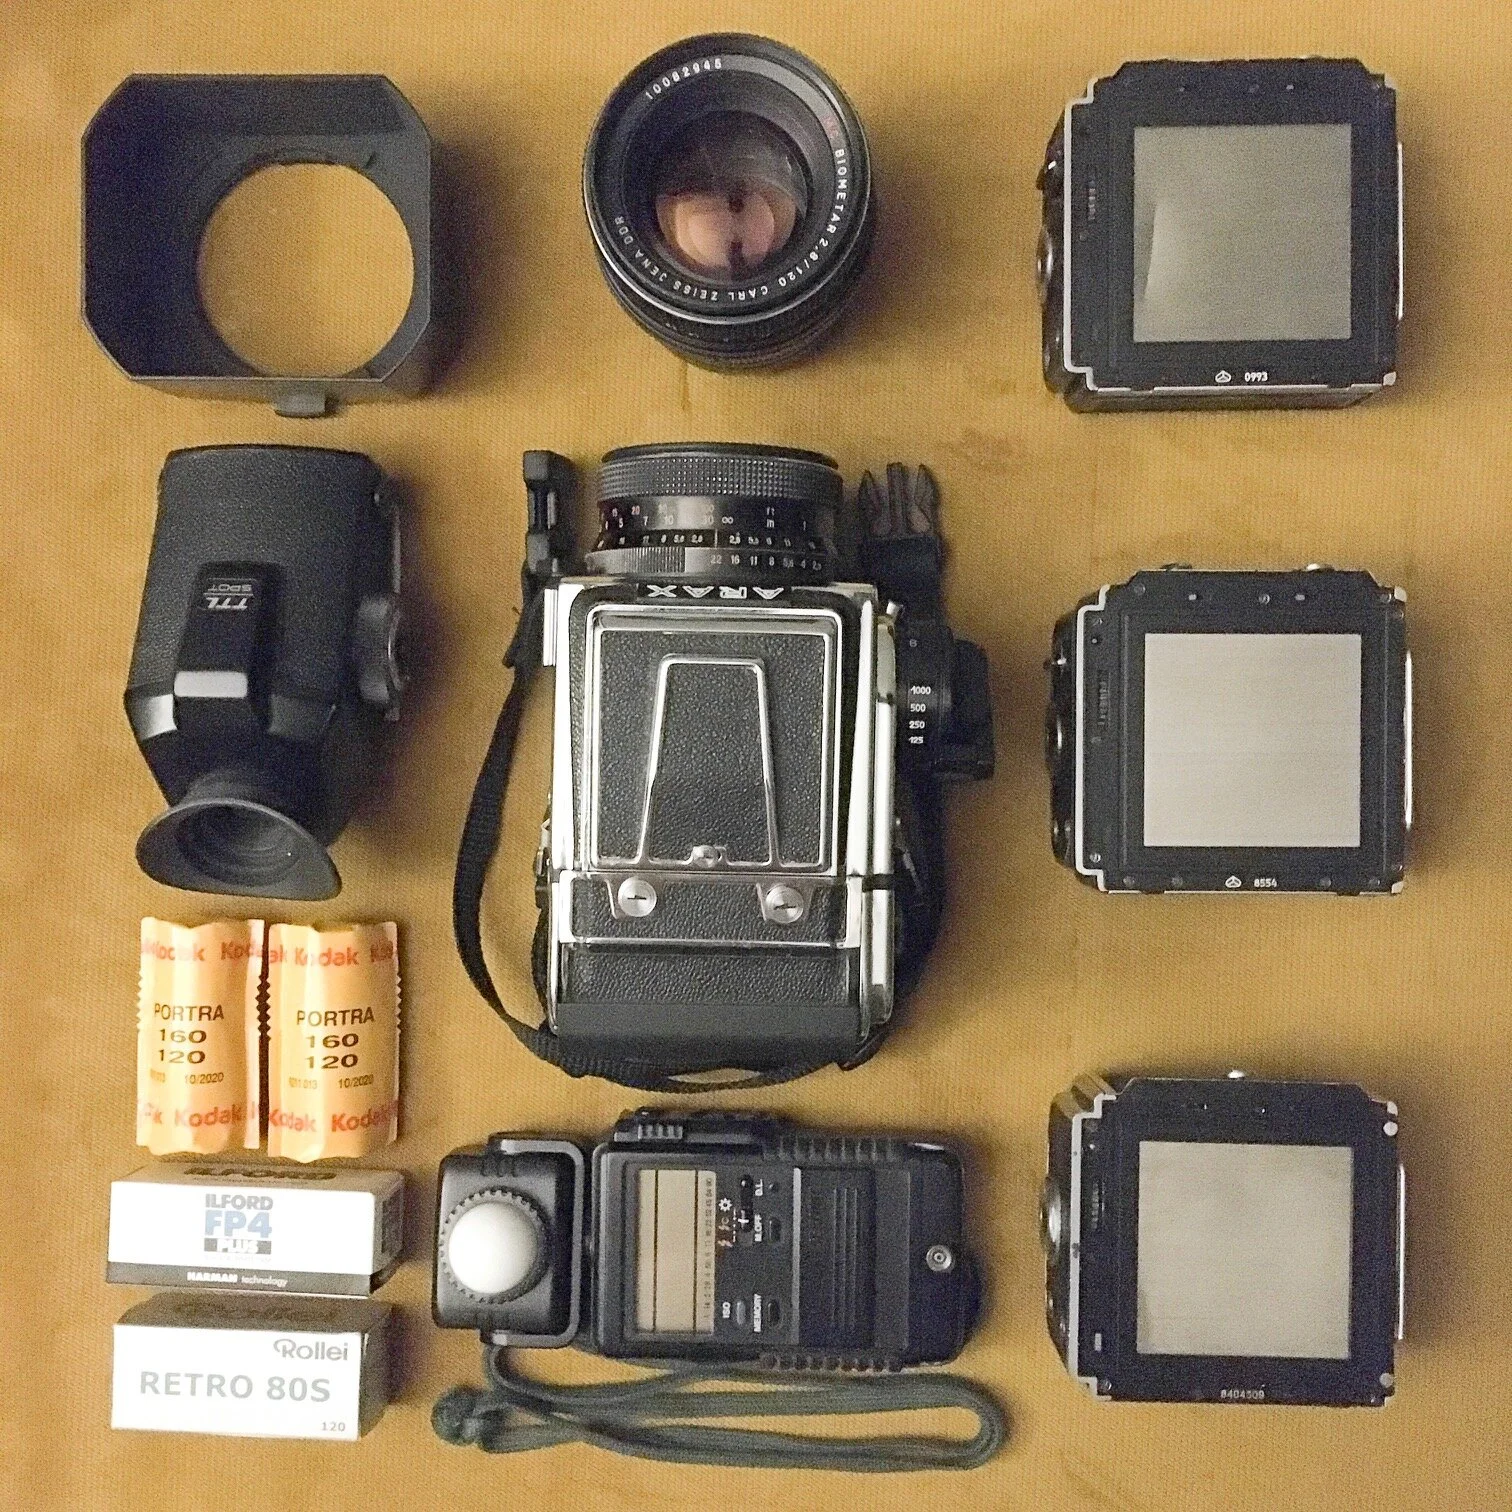
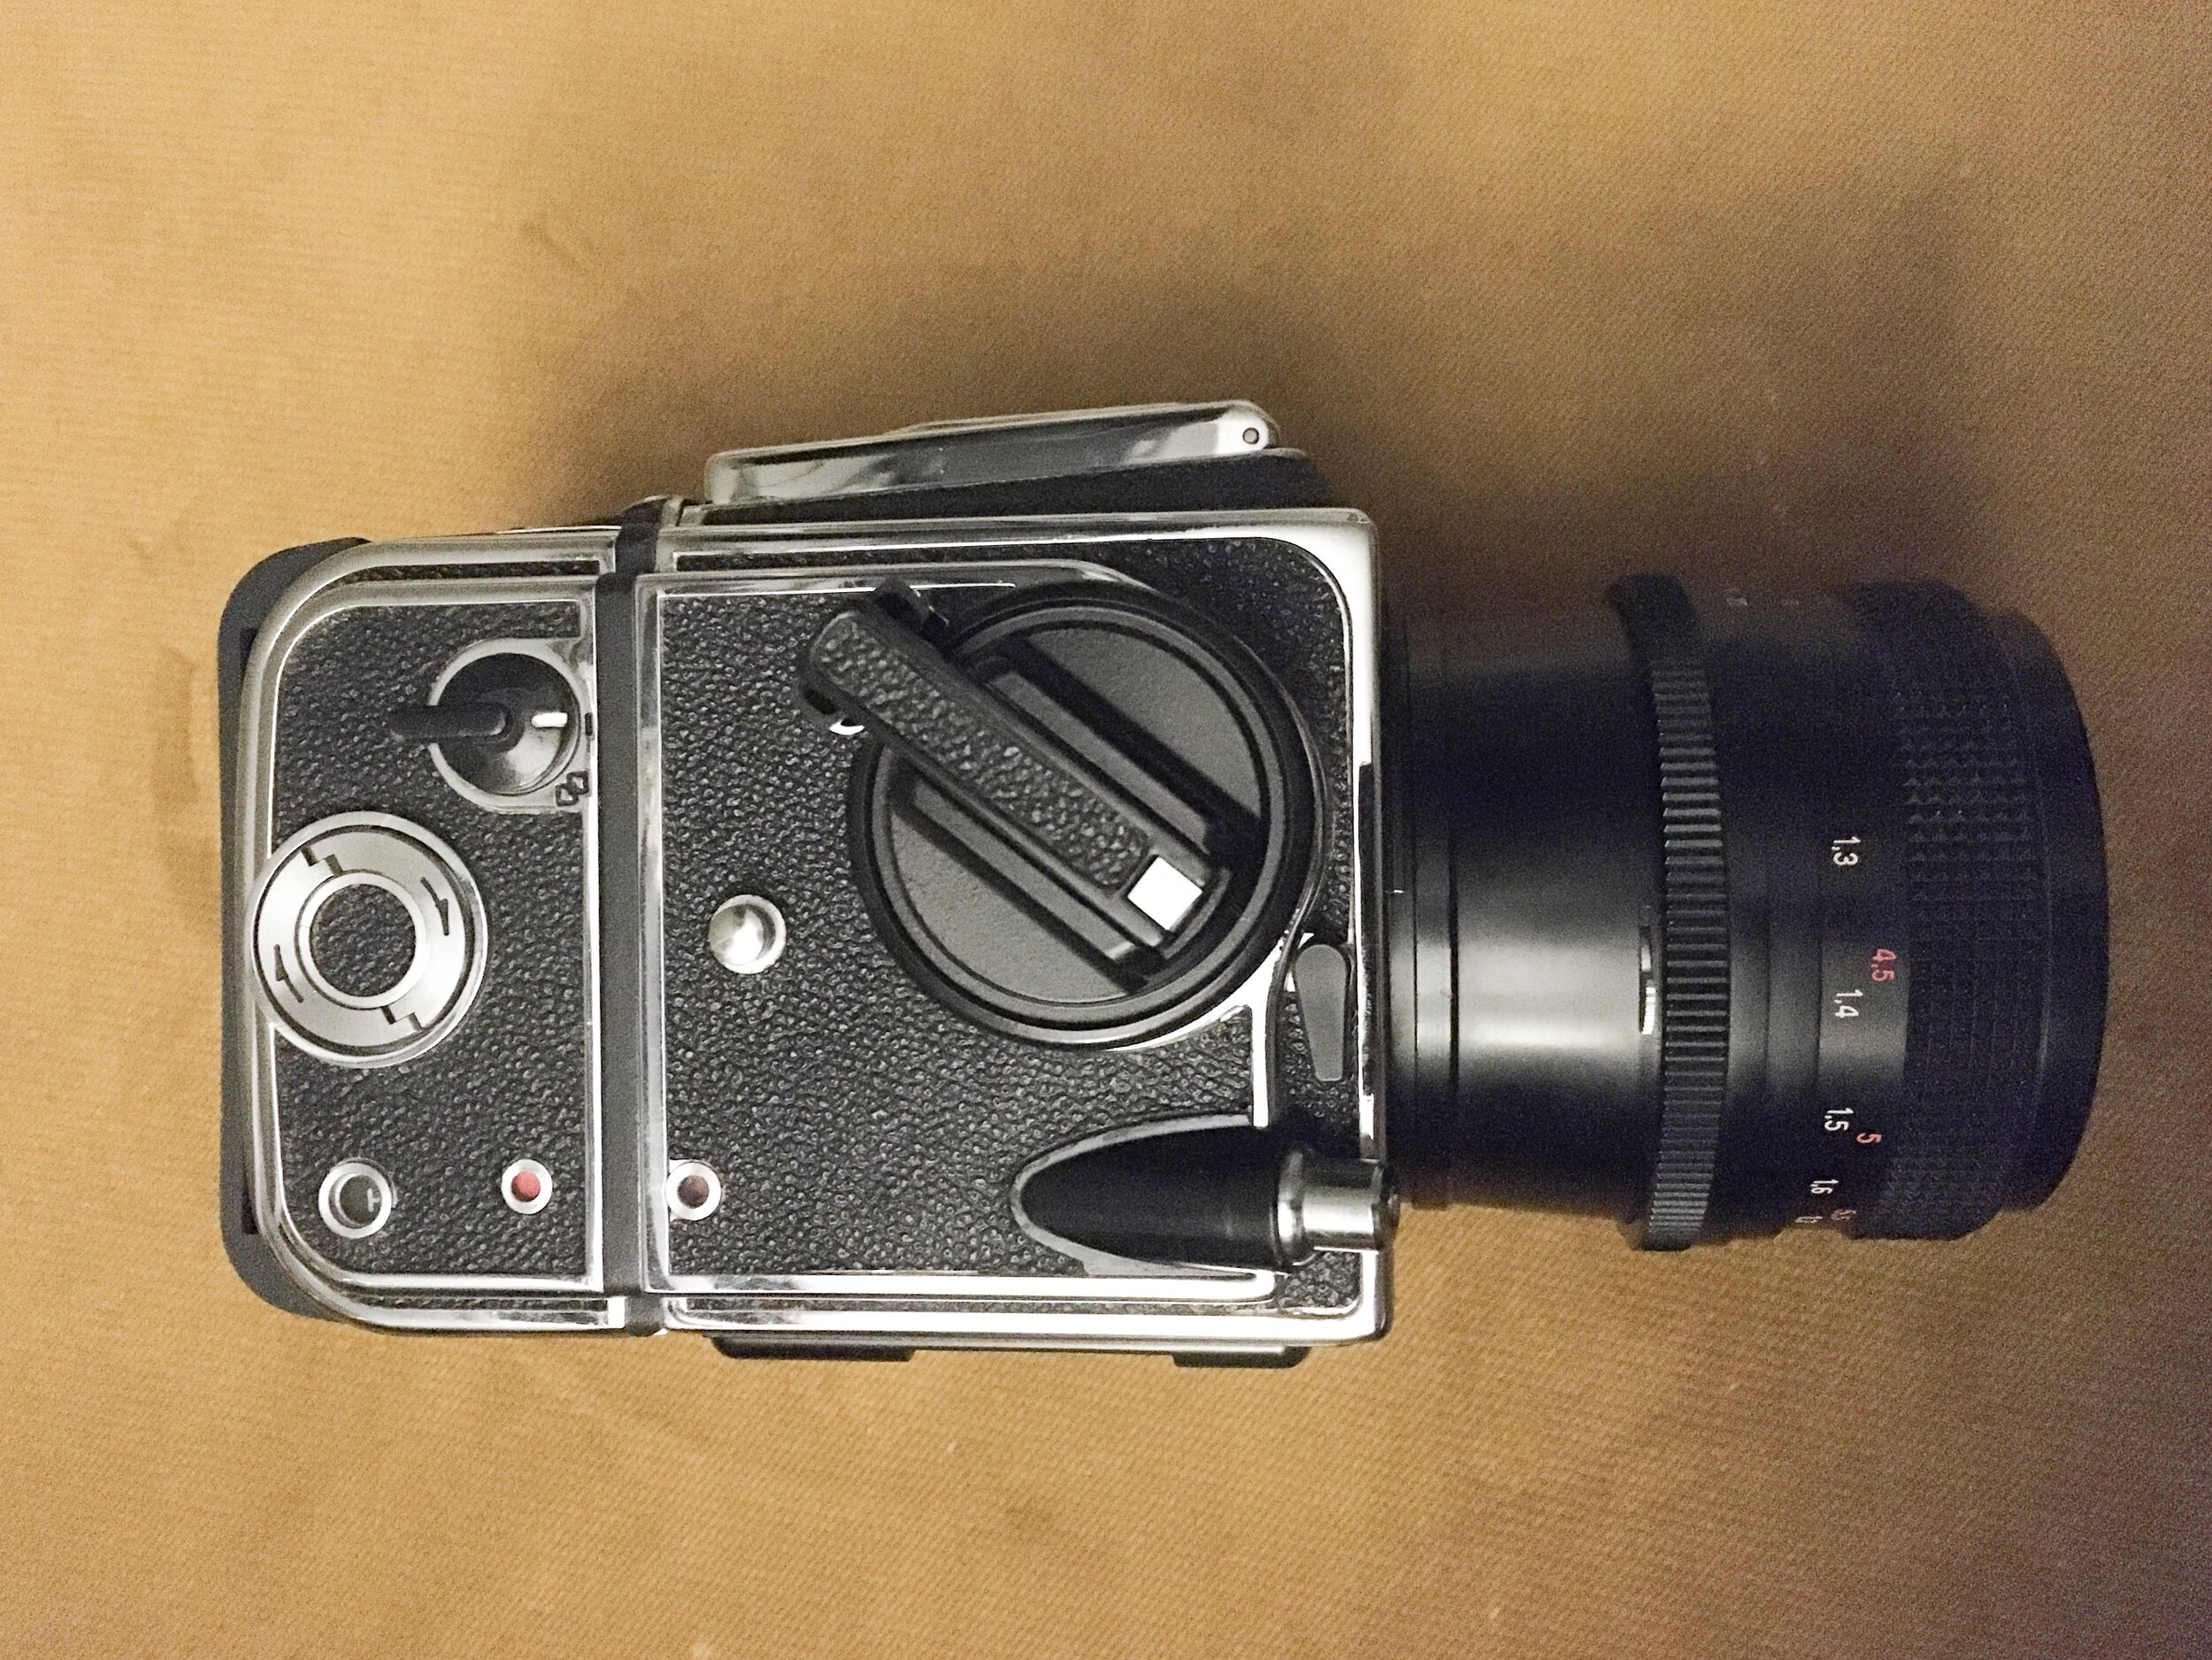
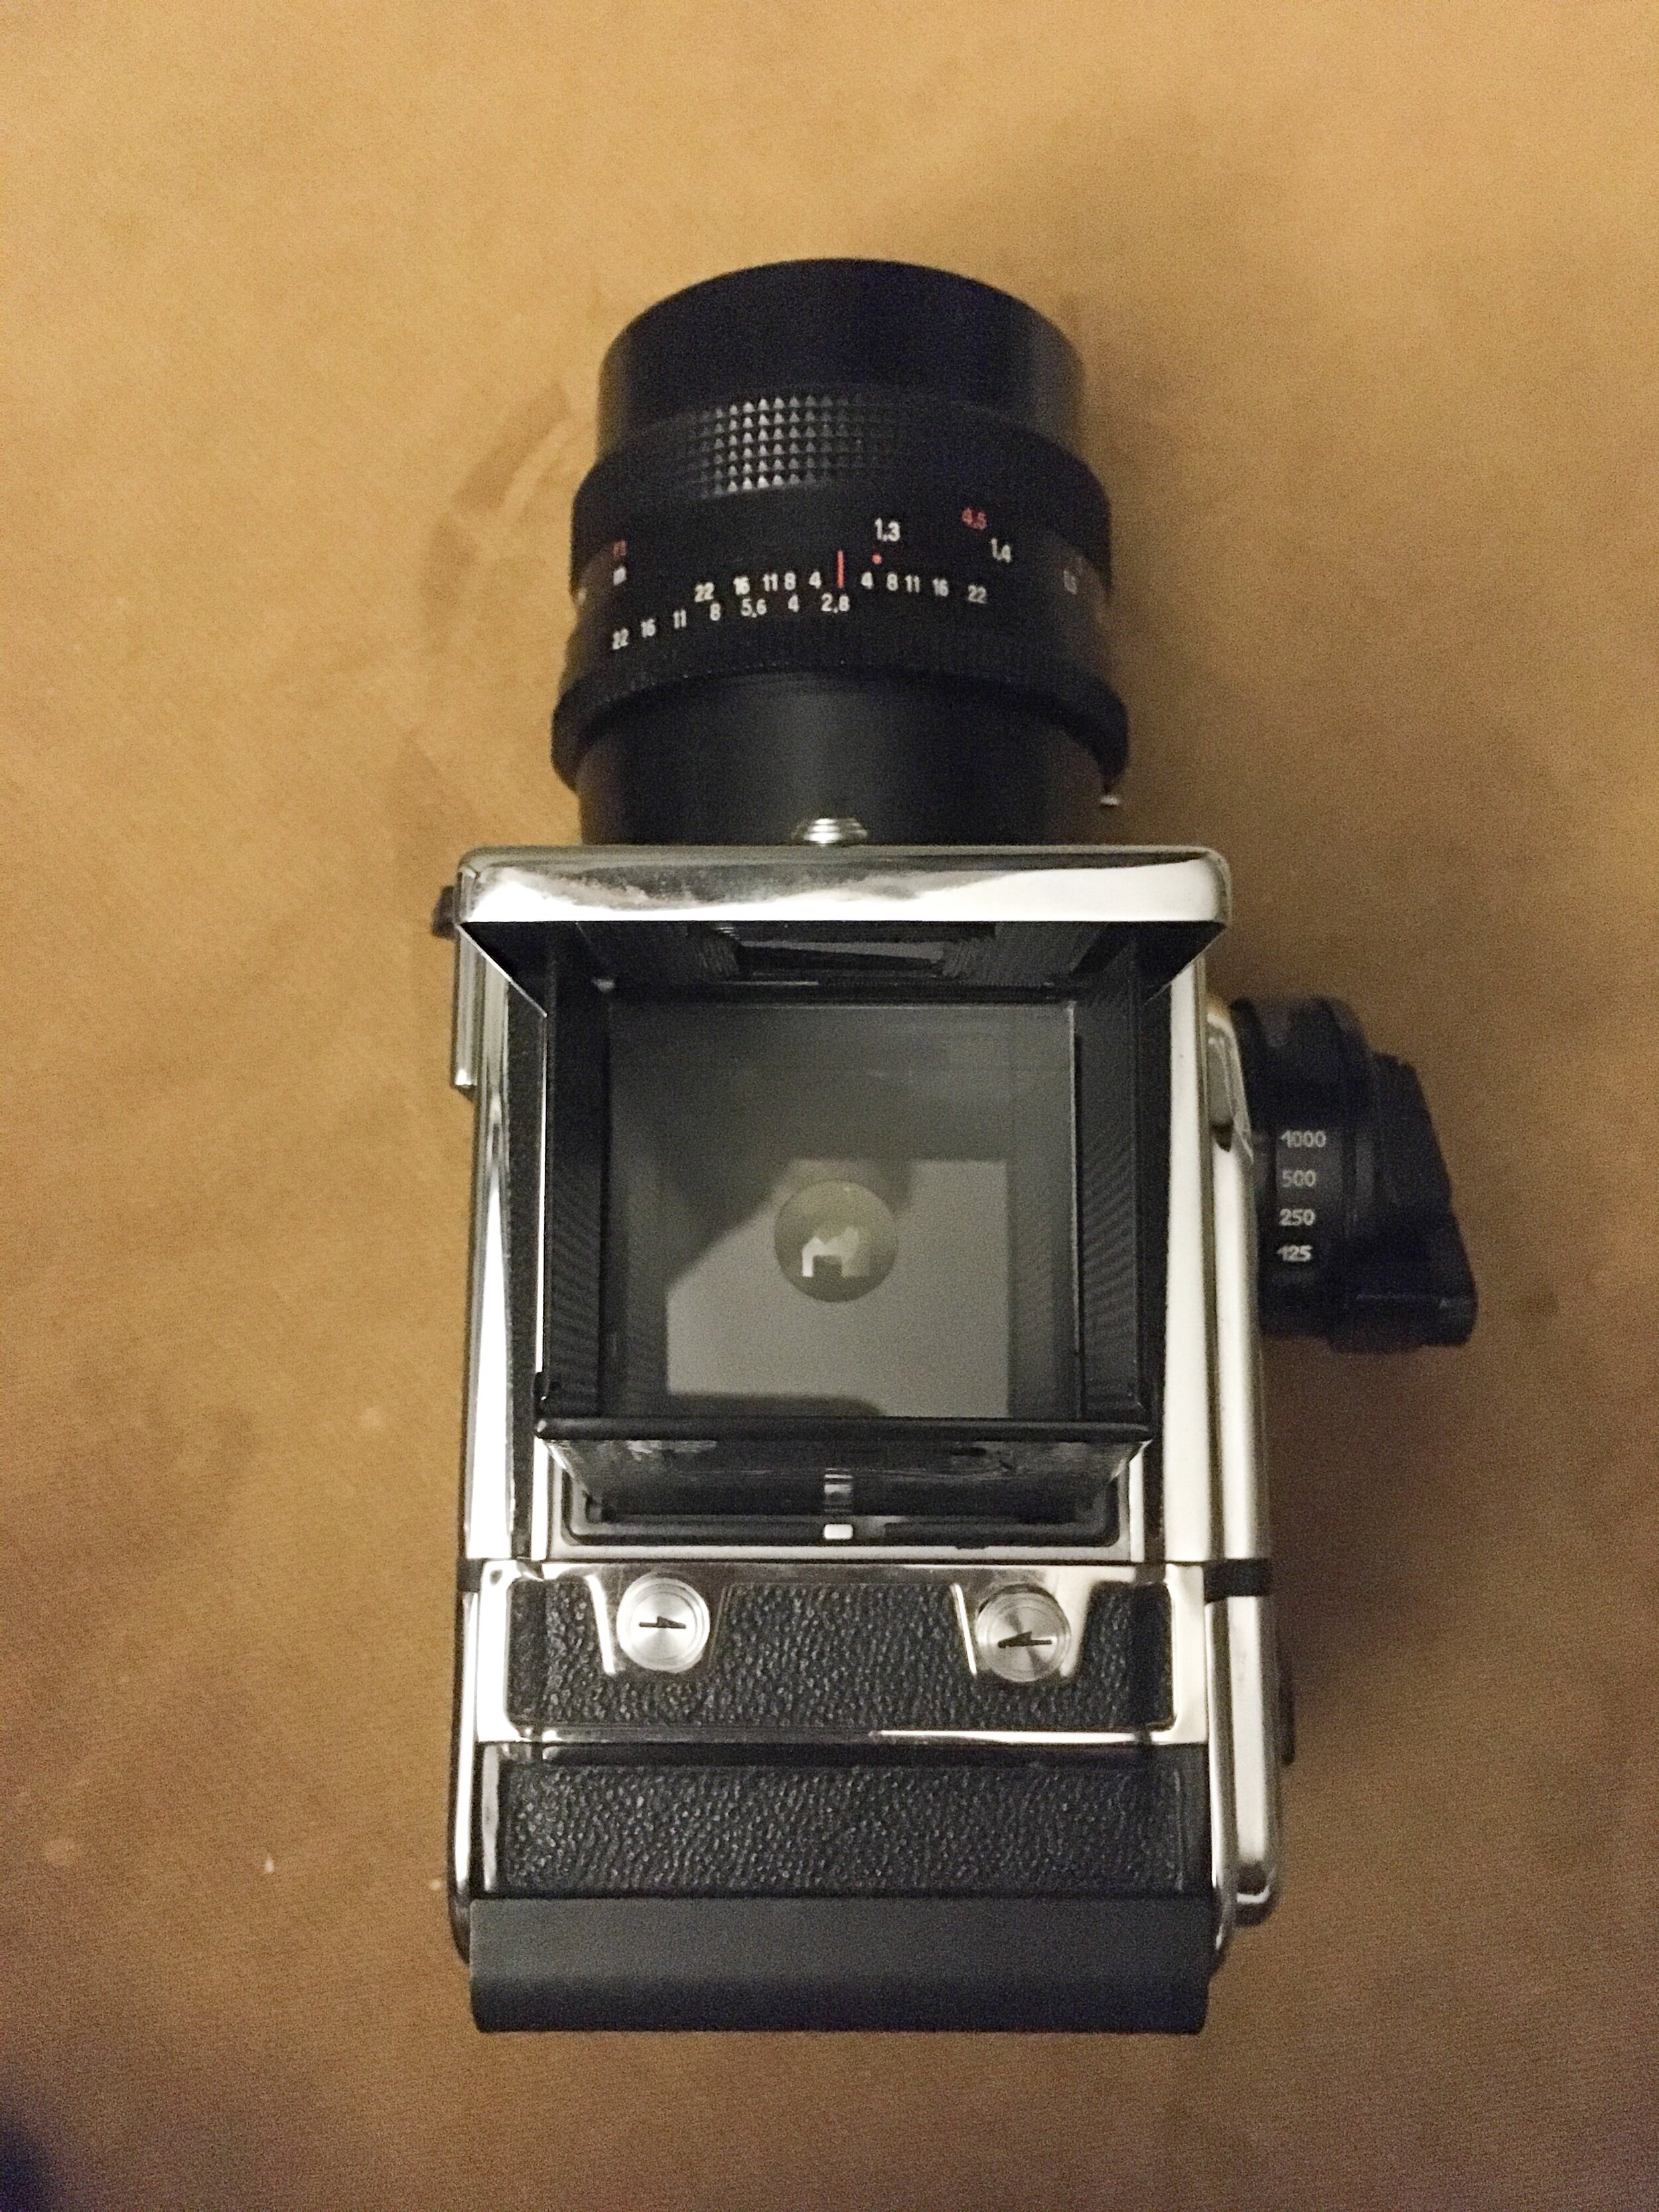
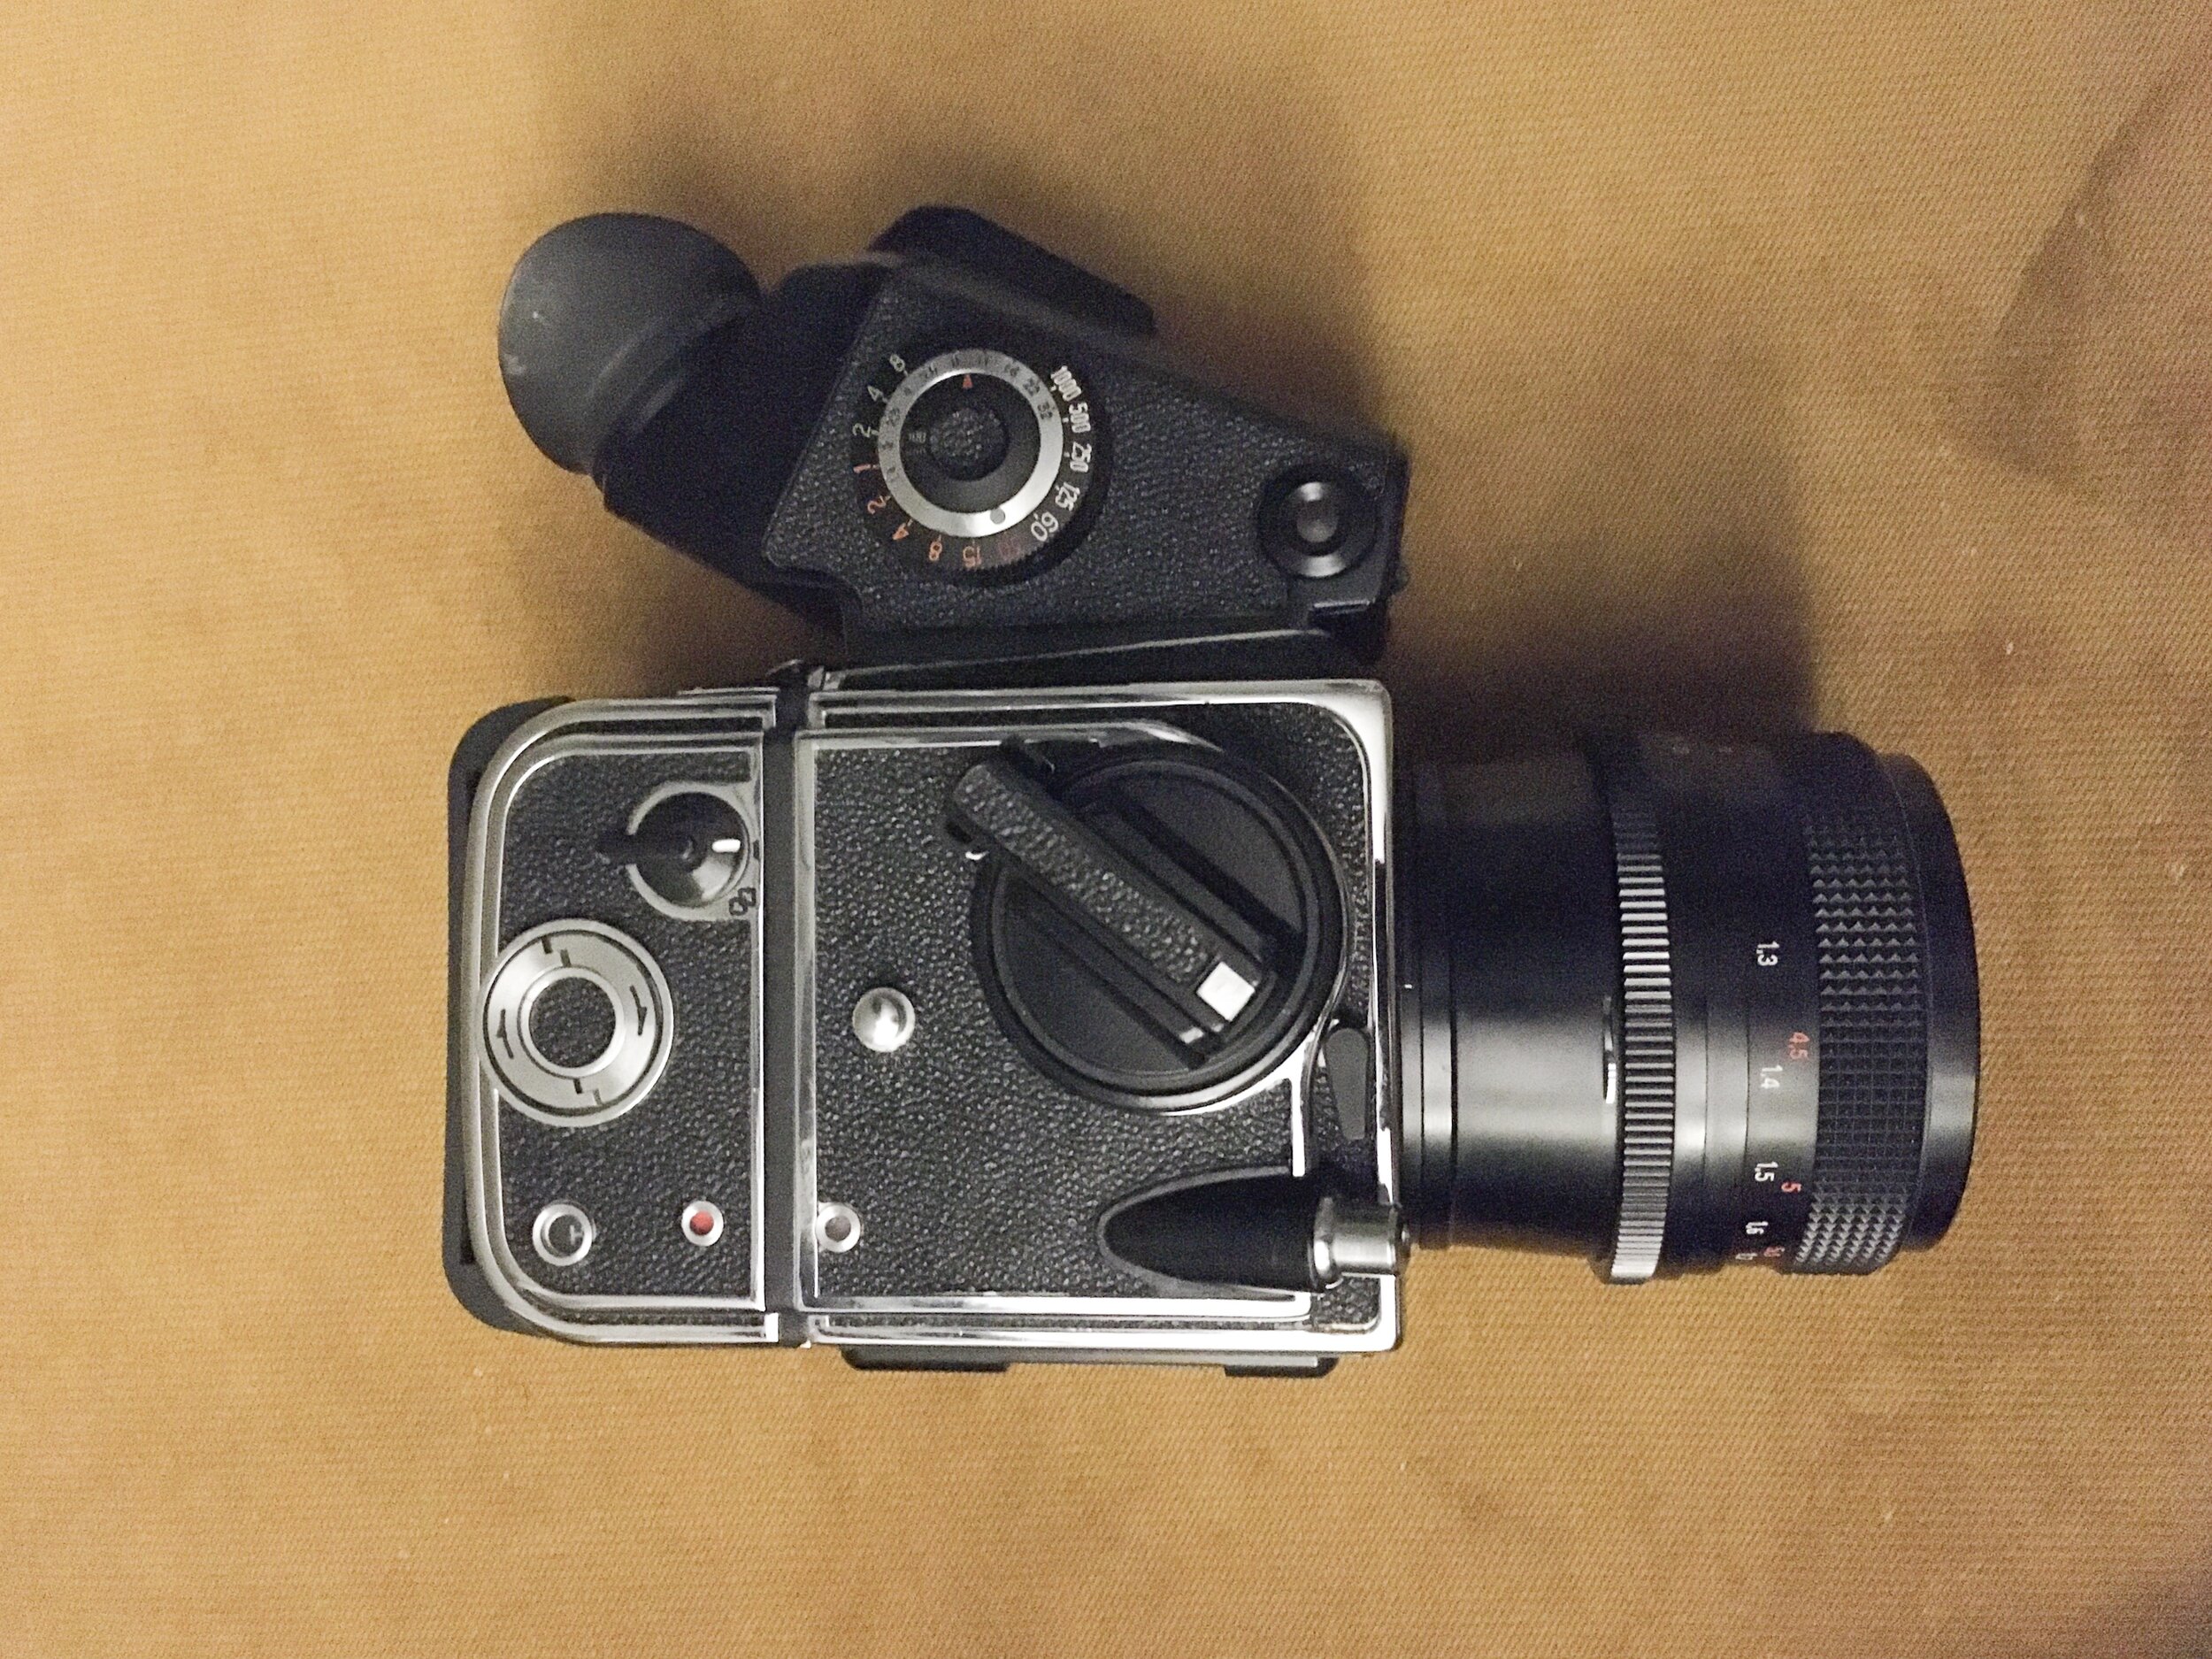
So here she is in all her glory! What a beaut! As you can see from it’s aerodynamic brick shape the design is a direct copy of an early Hassleblad. The ARAX is a modular 6X6 square medium format camera with interchangeable film backs, a waist level and prism finder - this makes it a really flexible system and able to adapt to different requirements. My ARAX version has a Pentacon 6 mount (earlier versions had a proprietary screw mount) this is what drew me towards the ARAX as there are some phenominal Carl Zeiss Jena lenses available in Pentacon 6 mount - in fact I have gathered together a little selection of them as you can see pictured above. Wait a minute?! Did you just say ZEISS?! as in CARL ZEISS? As in SUPER MEGA HIGH QUALITY (AND EXPENSIVE) lenses ZEISS….. yes! Yes I did!

ARAX sent me a Ukrainian choco back with my camera from repair - it’s the little things that count! :)

ARAX sent me a Ukrainian choco back with my camera from repair - it’s the little things that count! :)

Although to be exact I said ‘Carl Zeiss JENA’ (CZJ)…..The history of CZJ and indeed the story of how the Soviets began churning out copies of Hassleblad like the Kiev 88 is fascinating. It’s all tied up with the end of the second world war and could take up the whole blog just explaining the details - suffice it to say that when it comes to these Zeiss Jena lenses the original Zeiss factory was located in the town of Jena in what became the East Germany after the war and while some managers and employees managed to escape to the west and set up a seperate company also called Zeiss, the original factory remained - for legal purposes lenses made by the East German company had to be labelled Carl Zeiss Jena to differentiate them. Putting the (albeit fascinating) history to one side - shooting a Pentacon 6 mount camera gives you access to stunning Carl Zeiss Jena lenses which can be had for a very reasonable price and a LOT cheaper than their western counterparts.

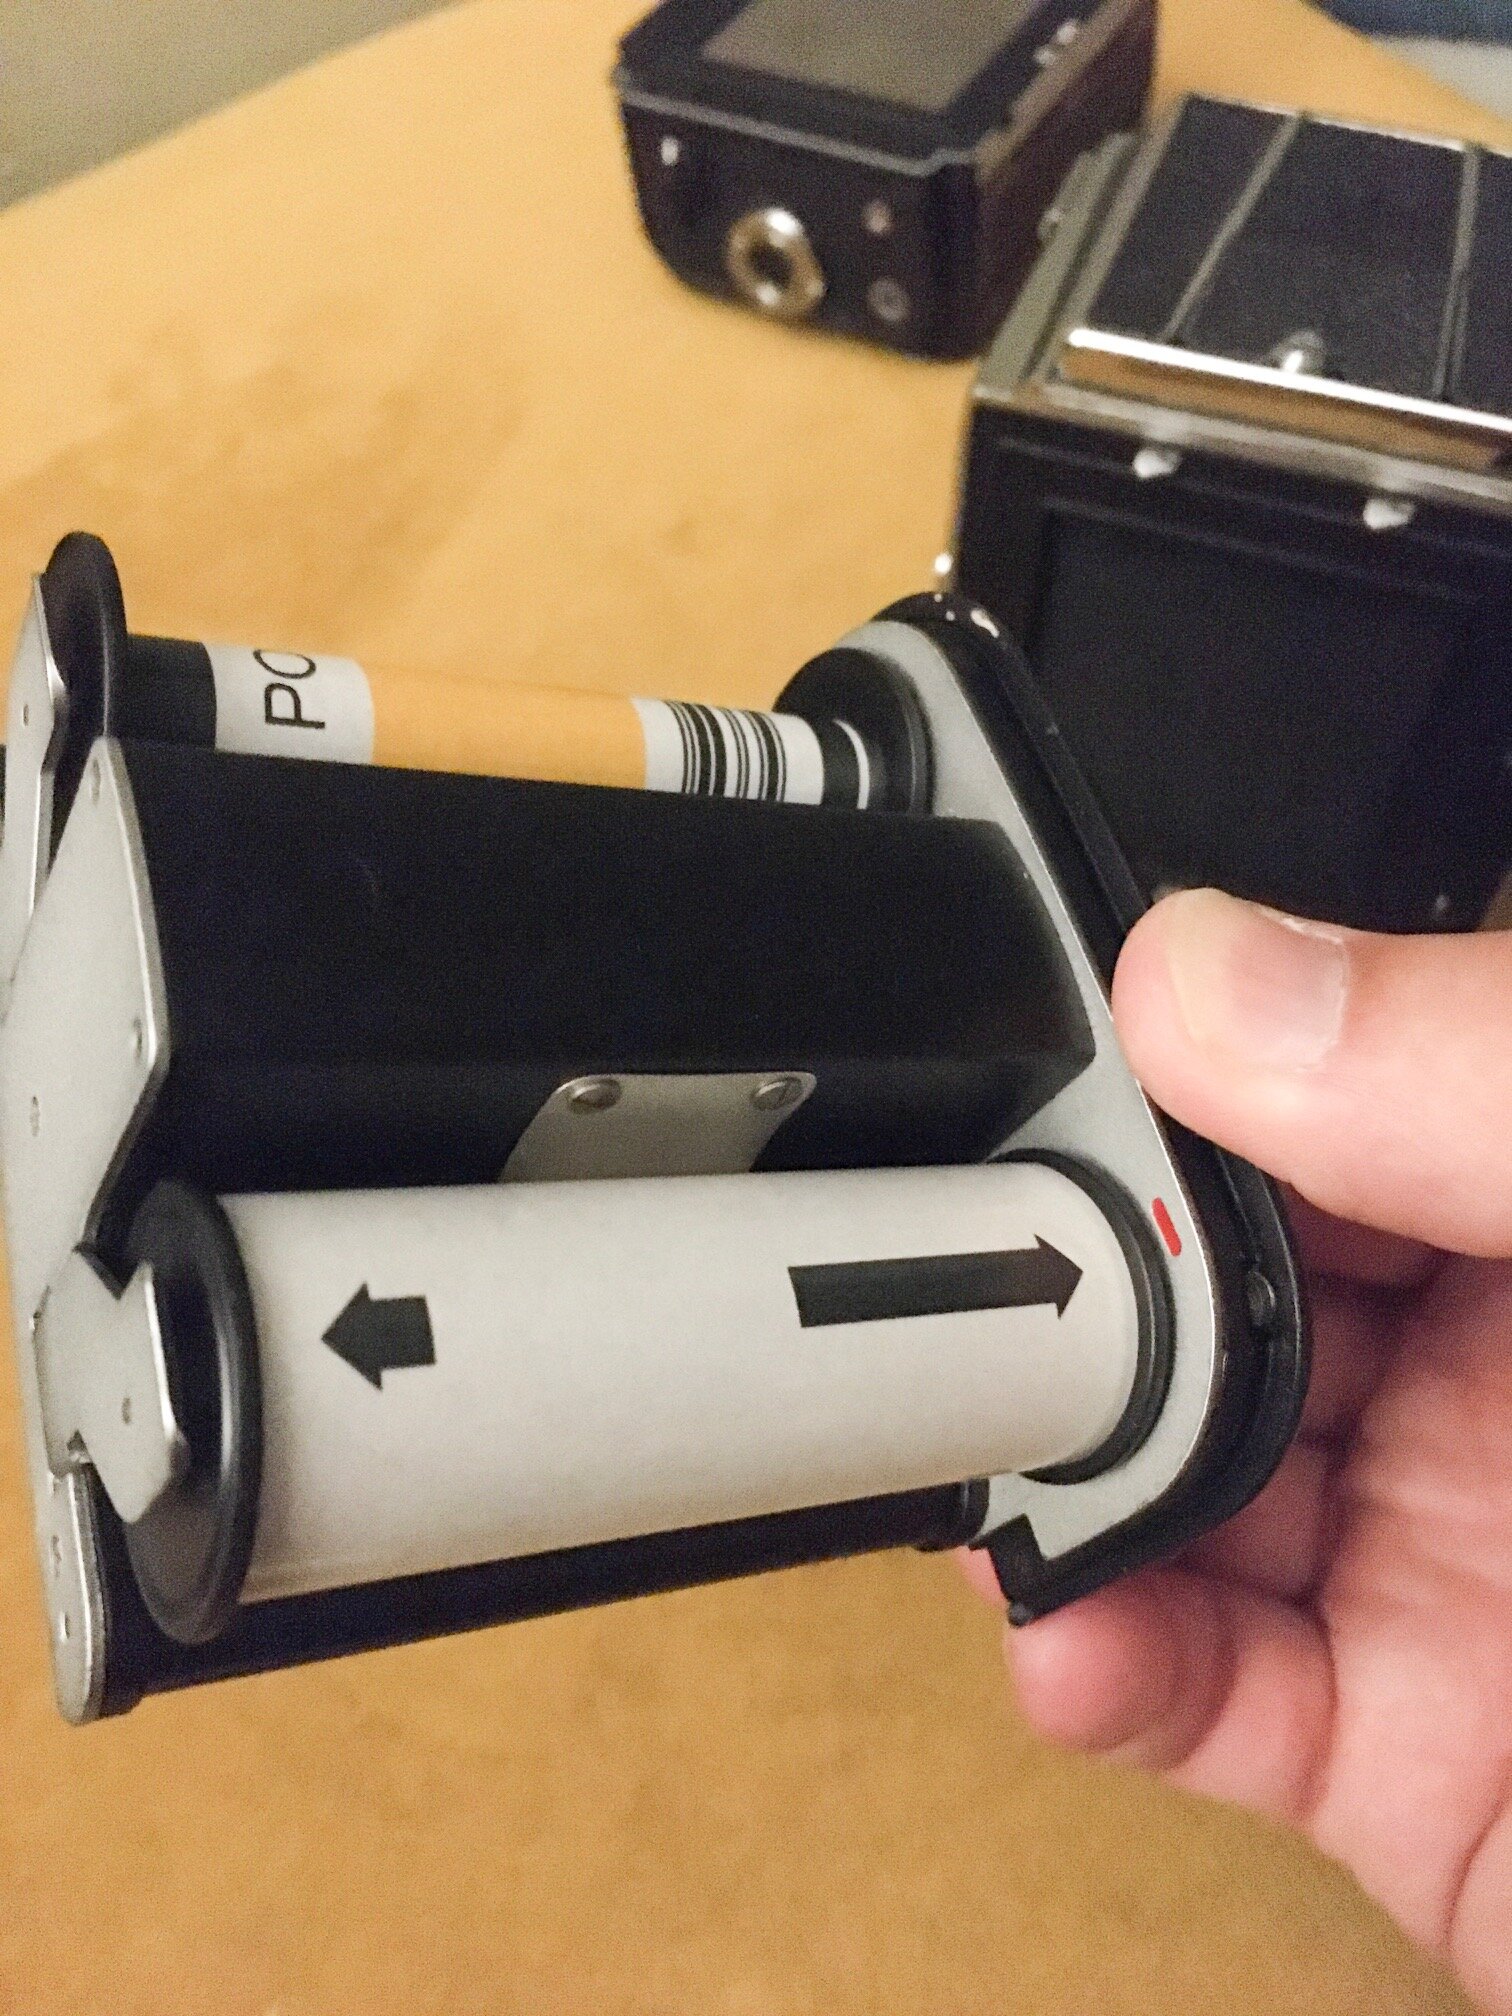
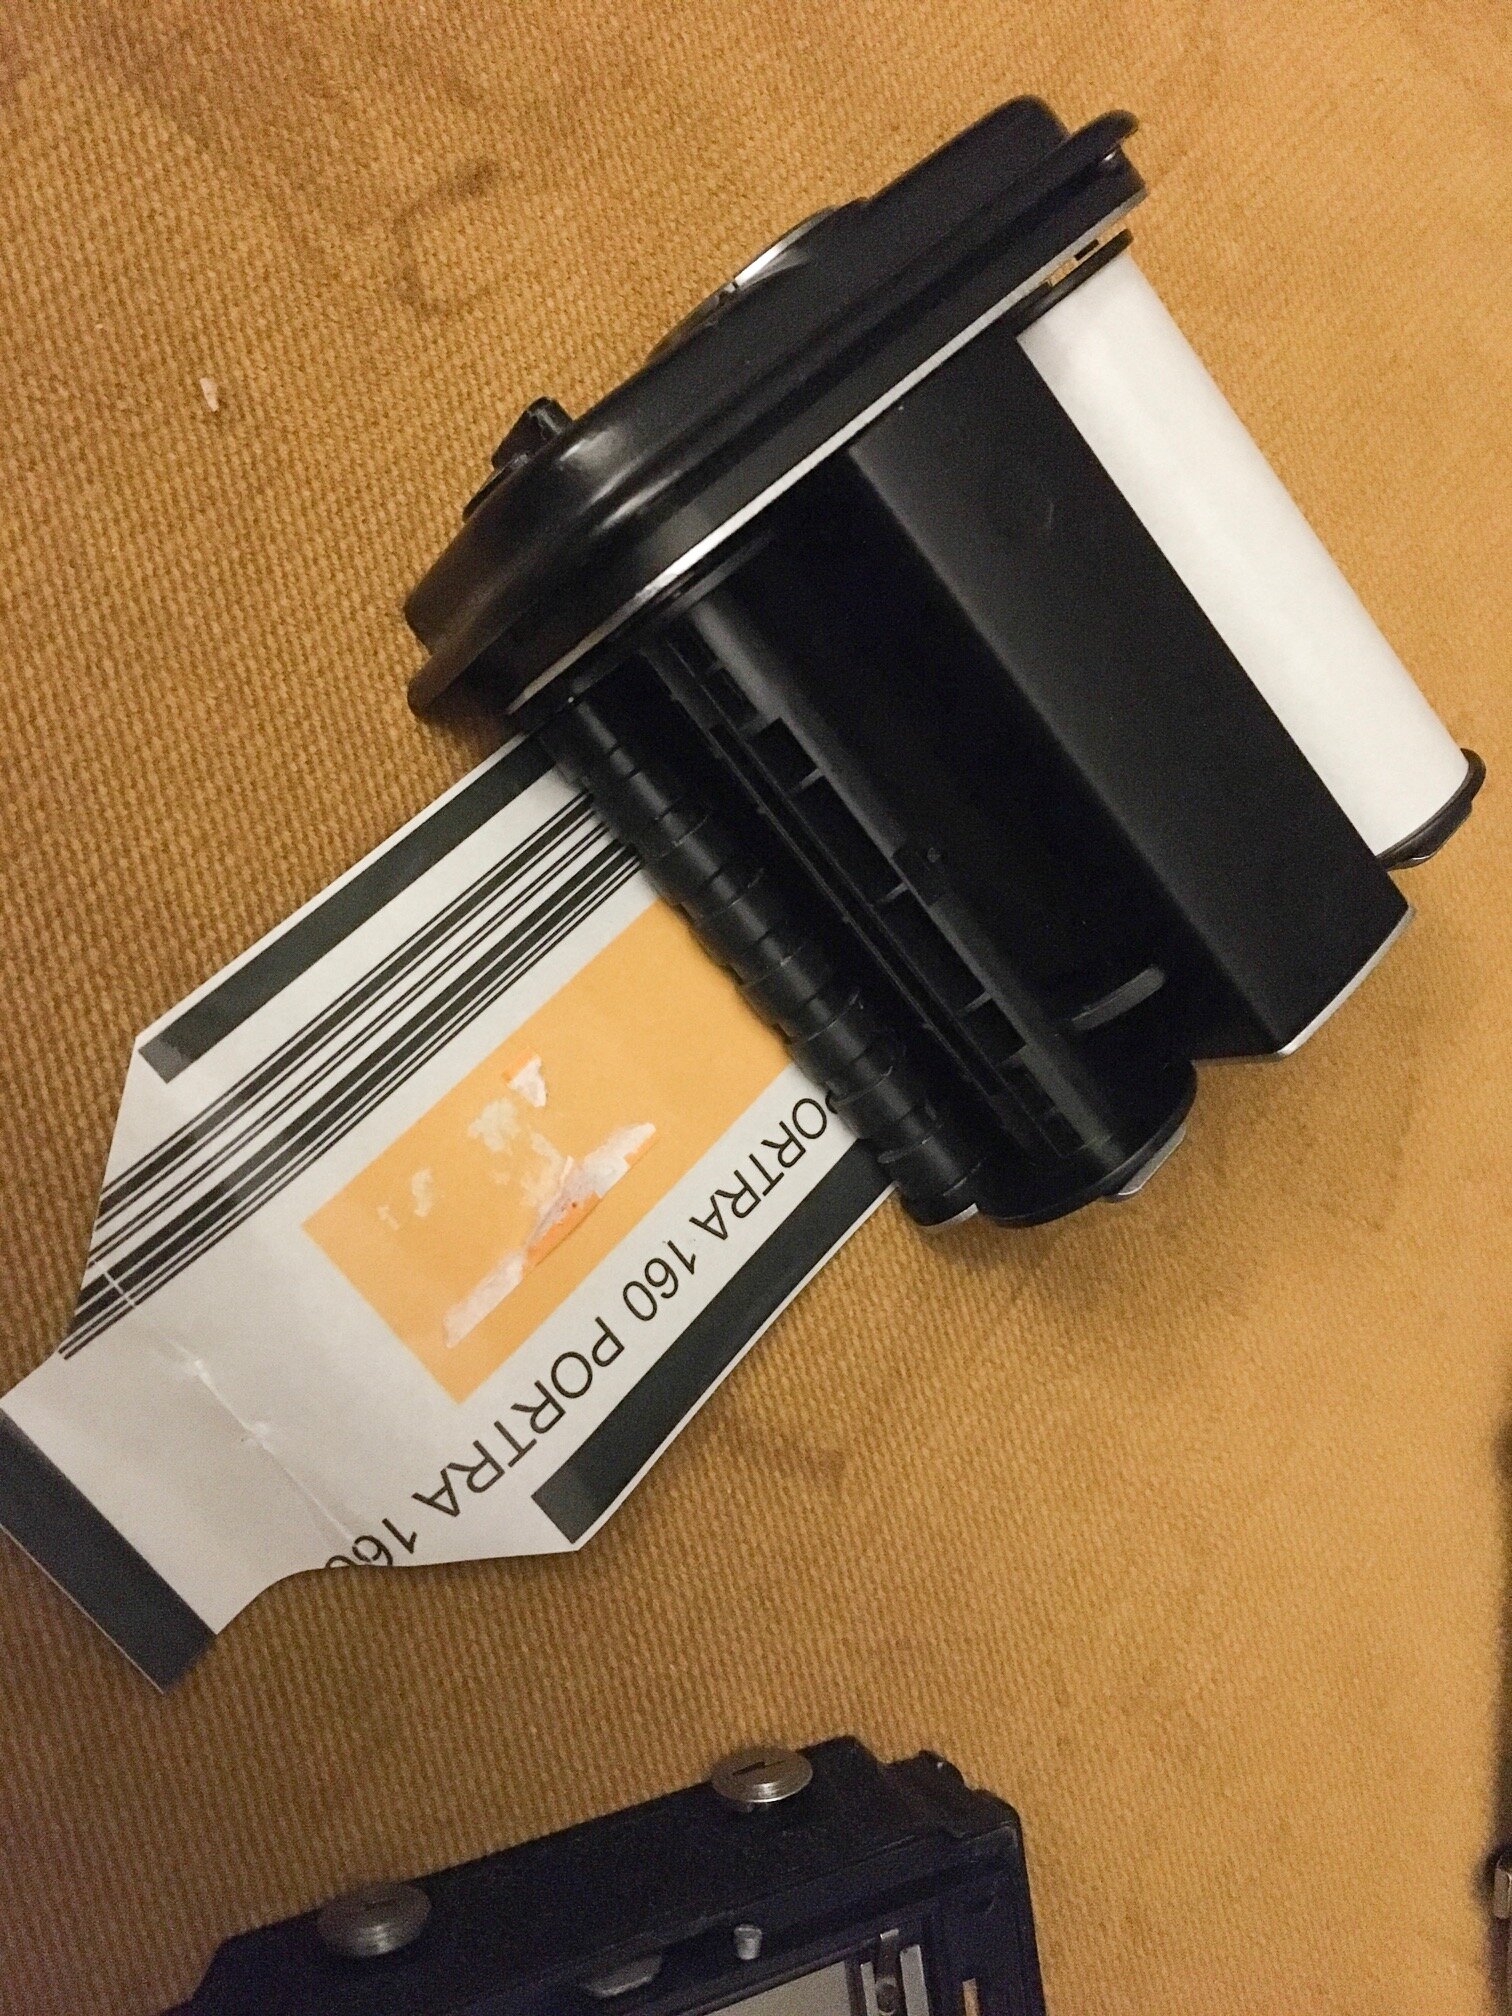
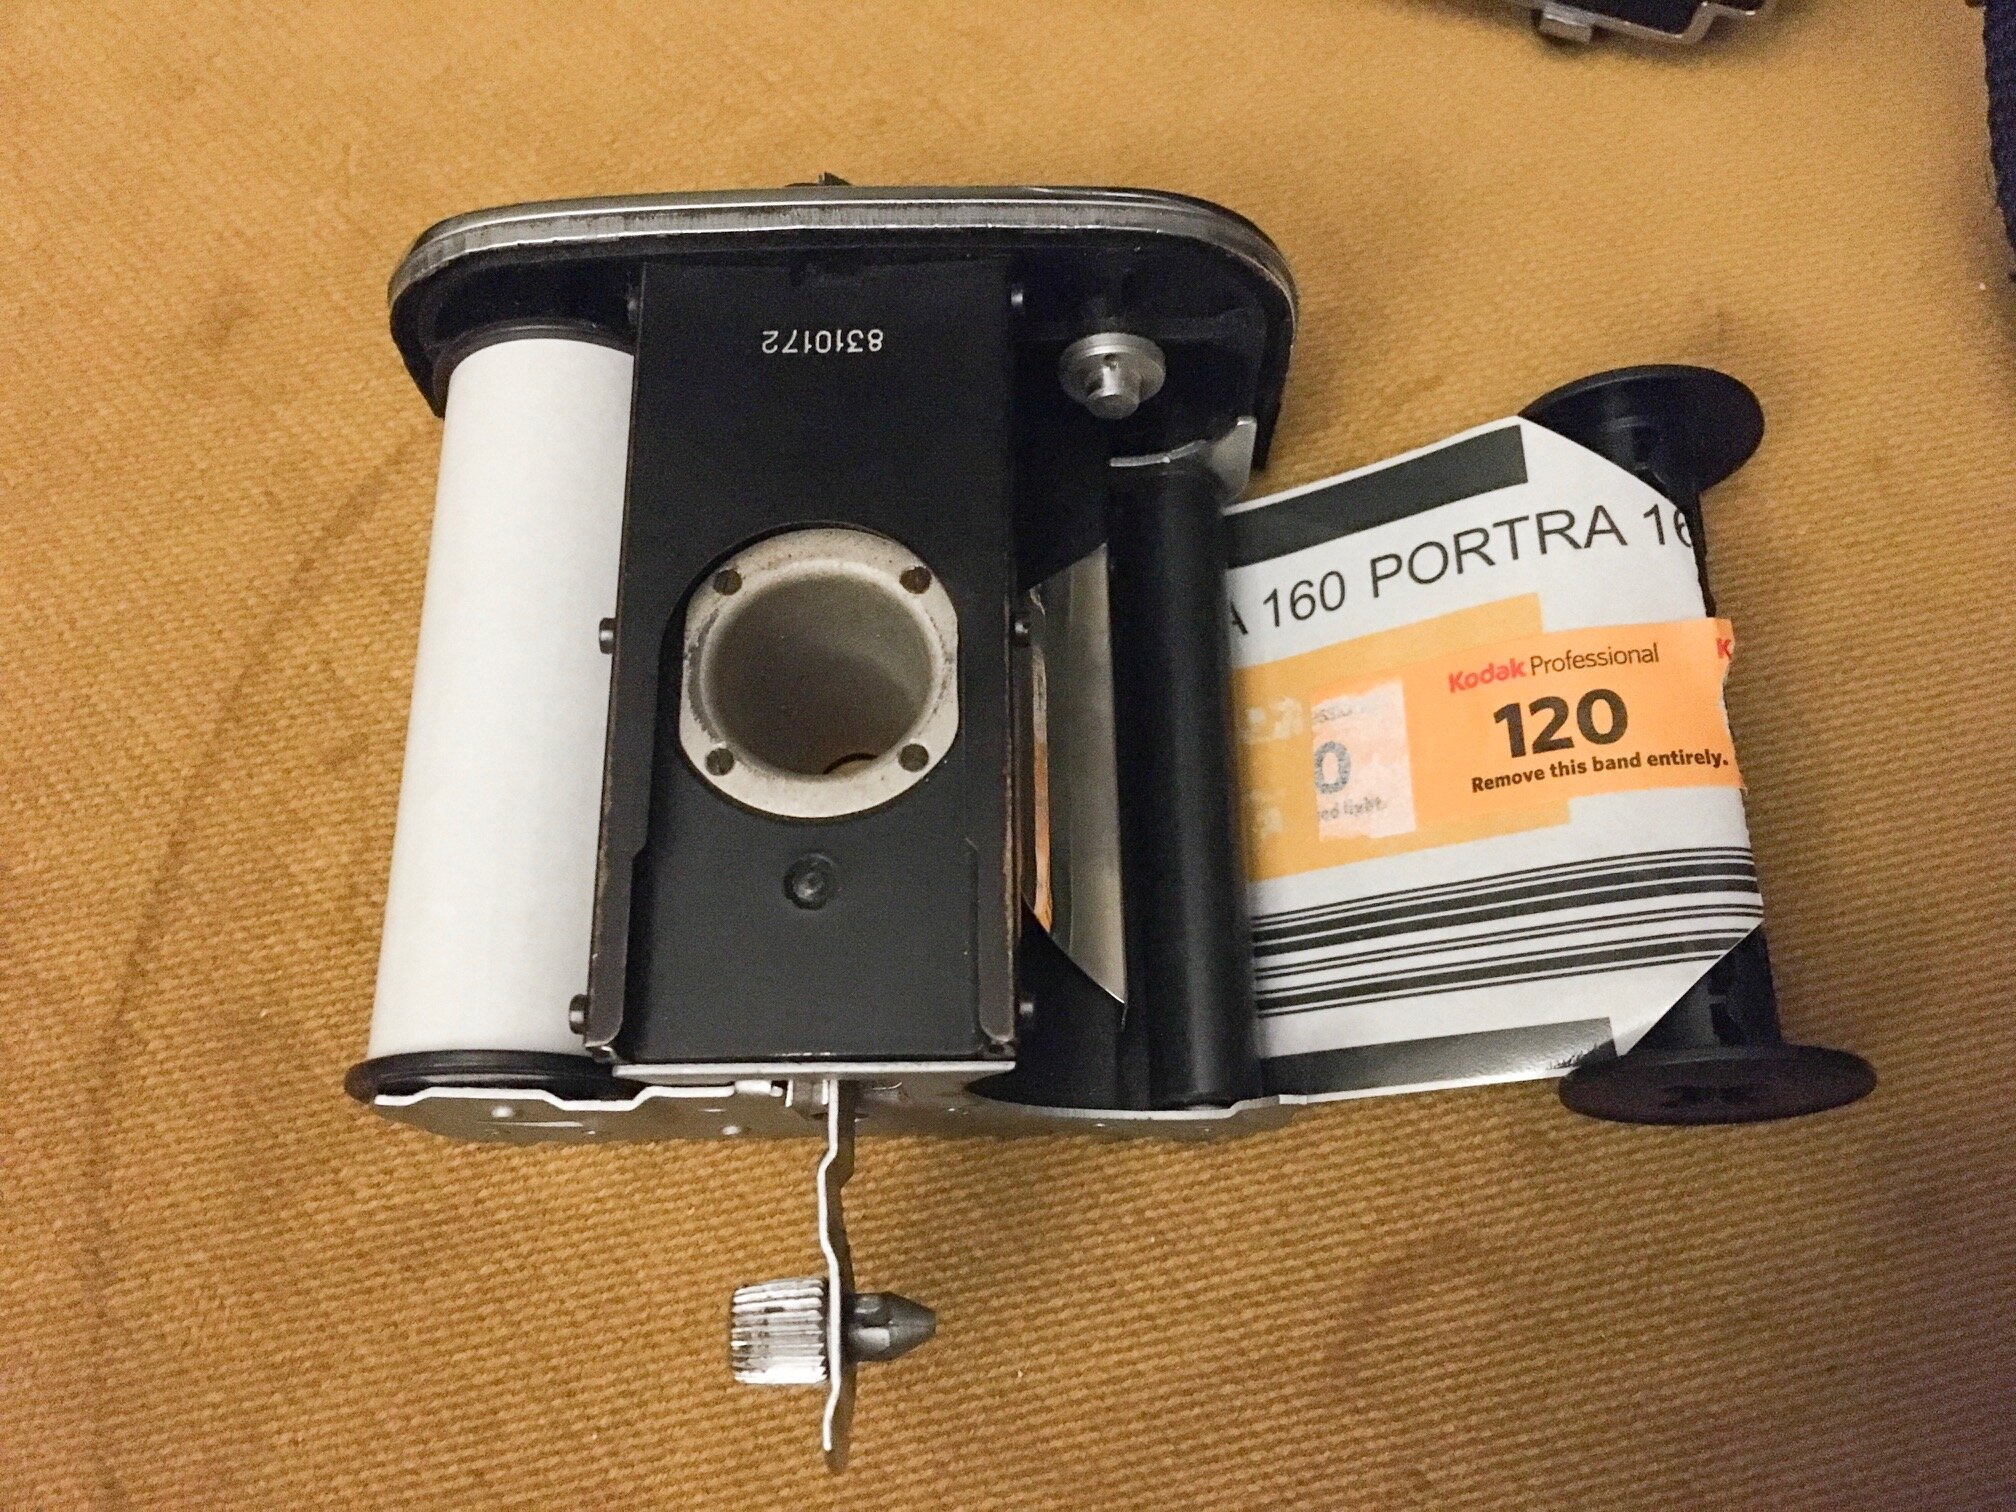
History lesson over, let’s get back to the camera. The main feature that appealed to me was interchangeable film backs - mine came with 4 film backs when I bought it, three newer style and one older style (pictured below right) this flexibility is a real plus point for me, I like to shoot on location and with medium format cameras you are limited to the number of shots per roll - in the case of the ARAX it’s 12 shots per roll of film, loading, unloading and reloading film can be a challenge when shooting on location, the ARAX solves this problem by allowing me to pre load my film backs and then swap between them whenever I like!

The backs themselves work very well, the older back requires a bit more thought to load but it’s not difficult - in fact this task is made much easier thanks to resources like KIEVAHOLIC a website full of information and tips for loading and shooting these cameras. I’ve also had lots of good advice and support from a fb group dedicated to ARAX and Kiev photography its a testament to the old KIEV 88 and this ARAX that they inspire such devotion amongst those who shoot them!

So far it’s all been sweetness and light but I would be remiss dear reader if I didn’t make it clear that the ARAX is a pernickity camera to operate - you absolutely MUST MUST MUST cock the shutter before doing anything - abide by this rule and all will be well…. ignore/forget this rule at your peril! you have been warned! One day during lockdown I was messing about with my camera (as you do) and even though I knew not to do it I accidentally half cocked the shutter and then adjusted the shutter speed - DISASTER! I’d ruined the mechanism!! Fortunately I was able to post the body off to ARAX in Ukraine who repaired and serviced it for me! :)

OK that is MORE than enough camera geekery for one blog I hear you cry! Very well! Let’s take a look at some images…. First up are some shots from my most recent shoot ostensibly to test the ARAX after it’s repair and I am delighted to report that it is fully functional! I organised a shoot with Millie who was looking for some shots for her Modelling portfolio, the forecast all week was for rain but a small window of sunshine appeared so we made the most of it!

0-11.jpg

Most of these were shot with the CZJ 120mm 2.8 lens and it really is an excellent piece of glass! Equivalent to about 70mm focal length in 35mm terms so definitely a nice portrait length.

0-10.jpg
0-2.jpg
0-3.jpg

Experienced a few pesky light leaks but actually i quite like them…. they look kinda cool… the shot below was on the CZJ 80mm lens. I absolutely LOVE this set of images! It was great to shoot with Millie and really appreciate the opportunity to test out the ARAX with her.

0-1.jpg

I thought we’d revisit some images taken at the beginning of this year on a lovely shoot with Becca, this was from before the ‘incident’ when I knackered the shutter and also before the ‘incident’ which knackered civilisation as we know it…. all shot with the CZJ 80mm Biometar lens

0-11.jpg
0-12.jpg
I missed focus on this one but i actually don’t care - i still really like it!

I missed focus on this one but i actually don’t care - i still really like it!

0-6.jpg

All of the above shots with Millie and Becca were shot on my fave film Kodak Portra 400 and developed by my fave lab Exposure Film Lab. Just to prove that the ARAX isn’t just a great portrait camera my first outing with it was a landscape shoot - loaded up with some Ilford FP4 which I developed and scanned myself I shot the following images with the CZJ 50mm f4 Flektogon lens which is a wonderful wonderful lens!

img380.jpg
img384.jpg
img383.jpg
img382.jpg

So there we have it! The ARAX CM is an awesome piece of kit - yes it has it’s idiosyncracies and you really must handle it with care and attention, but for the money you get a very flexible and capable bit of kit with access to some wonderful lenses - there are many scare stories out there about the Kiev 88, I cannot speak for the original model but so far I’ve managed to break the shutter on my ARAX through foolish operater error and I happily sent it back to ARAX for repair and a service THATS how much I like this camera!!

Rollei Retro 80S - Portait shoot

Sometimes you have a shoot and it ends up exceeding your expectations and becomes the new benchmark from which all other shoots must now be measured.

IMG_7650.JPG

To continually create images which you are proud of, which showcase your vision in it’s best light - this is what I strive for. But it’s never a given! We cannot take these things for granted and they most certainly do not just ‘happen’ it requires the alignment of many factors!

And what better medium to explore those factors than a blog?! Huzzah! I hear you cry! What’s that you say? You want me to tell you about the background to the shoot, the creative process and to dabble in some film photography technobabble and geekery?? Well if you insist dear reader… if you insist..

0-3.jpg

I was very fortunate to work with Theresa Terzonie AKA ‘Tree’ on this one- she’s a Songwriter, Vocalist and Guitarist based in Leeds.

I have to say that Tree was an absolutely amazing person to shoot with - she has great energy and together we were able to create some of what I believe to be my best work yet.

0-34.jpg
0-8.jpg

The three images above are my absolute picks from the shoot - in fact I think they work really nicely as a Triptych. It’s given me some ideas for incorporating more of a ‘short story’ element into some future shoots. I love that about stills photography, even when constrained by a single 35mm frame you still have the scope to convey a sense of story - definitely something for a future project.

0-22.jpg

We really wanted to incorporate some movement into some of these shots - remember I’m shooting a manual everything Nikon F2 so I’m manually focussing and only have enough time to take one shot during these jumping moves - no spray and prey around here thank you very much (some might say I’d have been better off with a rapid fire camera but you know what? I properly enjoyed the challenge and I love the results).

0-32.jpg

Shot on location in Leeds city centre I wanted to make the most of the bright sunny conditions that day so brought along a roll or Rollei Retro 80S - one of my favourite films which I’ve shot on quite a few occasions but always for travel/architecural stuff never for portraits. I love shooting portraits in an urban environment, by paying attention to your composition you can really incorporate the strong architectural features of your surroudings into your image, also working with someone like Tree helps as she is just great in front of camera, really relaxed, comfortable and creative.

0-20.jpg

A HUGE thank you to Tree for this shoot - absolutley some of my favourite images and it’s been amazing to get back shooting after the lockdown! For the static images like the one below I shot with the Nikkor 85mm 1.4 which is fast becoming my favourite lens - this combined with the wonderful sharpness, detail and contrast of the film just blows me away, who needs digital?! not me!!

0-1.jpg

Let’s get the camera geekery out of the way shall we: My set up for this shoot is pictured above I used everything except that roll of pro image 100 in fact! My Nikon F2 is fresh from a service/overhaul (read about that HERE) so I was uber keen to shoot with it. I’ve gotten into the habit of taking two cameras with me (often having one colour and one black and white) on most portrait shoots but just using the one body and swapping lenses worked really well for me so I think I’m going to stick with this format for a little while.

IMG_7645.JPG

Lenses chosen for this shoot are some of my favourite in my collection the Nikkor 85mm 1.4 AIS, 50mm 1.4 and 24mm 2.8 AI - I was slightly concerned that I’d pull my usual trick of taking a few lenses and then only shooting with one of them but not on this occasion! I actually used each of the lenses equally (maybe the 85 got a bit more use). The observant amongst you will notice a roll of Ektachrome too - my first time shooting slide film, I’m saving the images from that roll for a film review blog coming soon!

Creating colourful dramatic portraits with LED lights on film

 
0-18.jpg

I’ve been experimenting with LED lighting and coloured gels in my portraiture, in particular I’ve been exploring new creative themes taking inspiration from some of my fave Sci fi movies as a way of experimenting with lighting to evoke the mood of the original films and it’s also been wonderful to play around with characters, settings and stories.

0-25.jpg

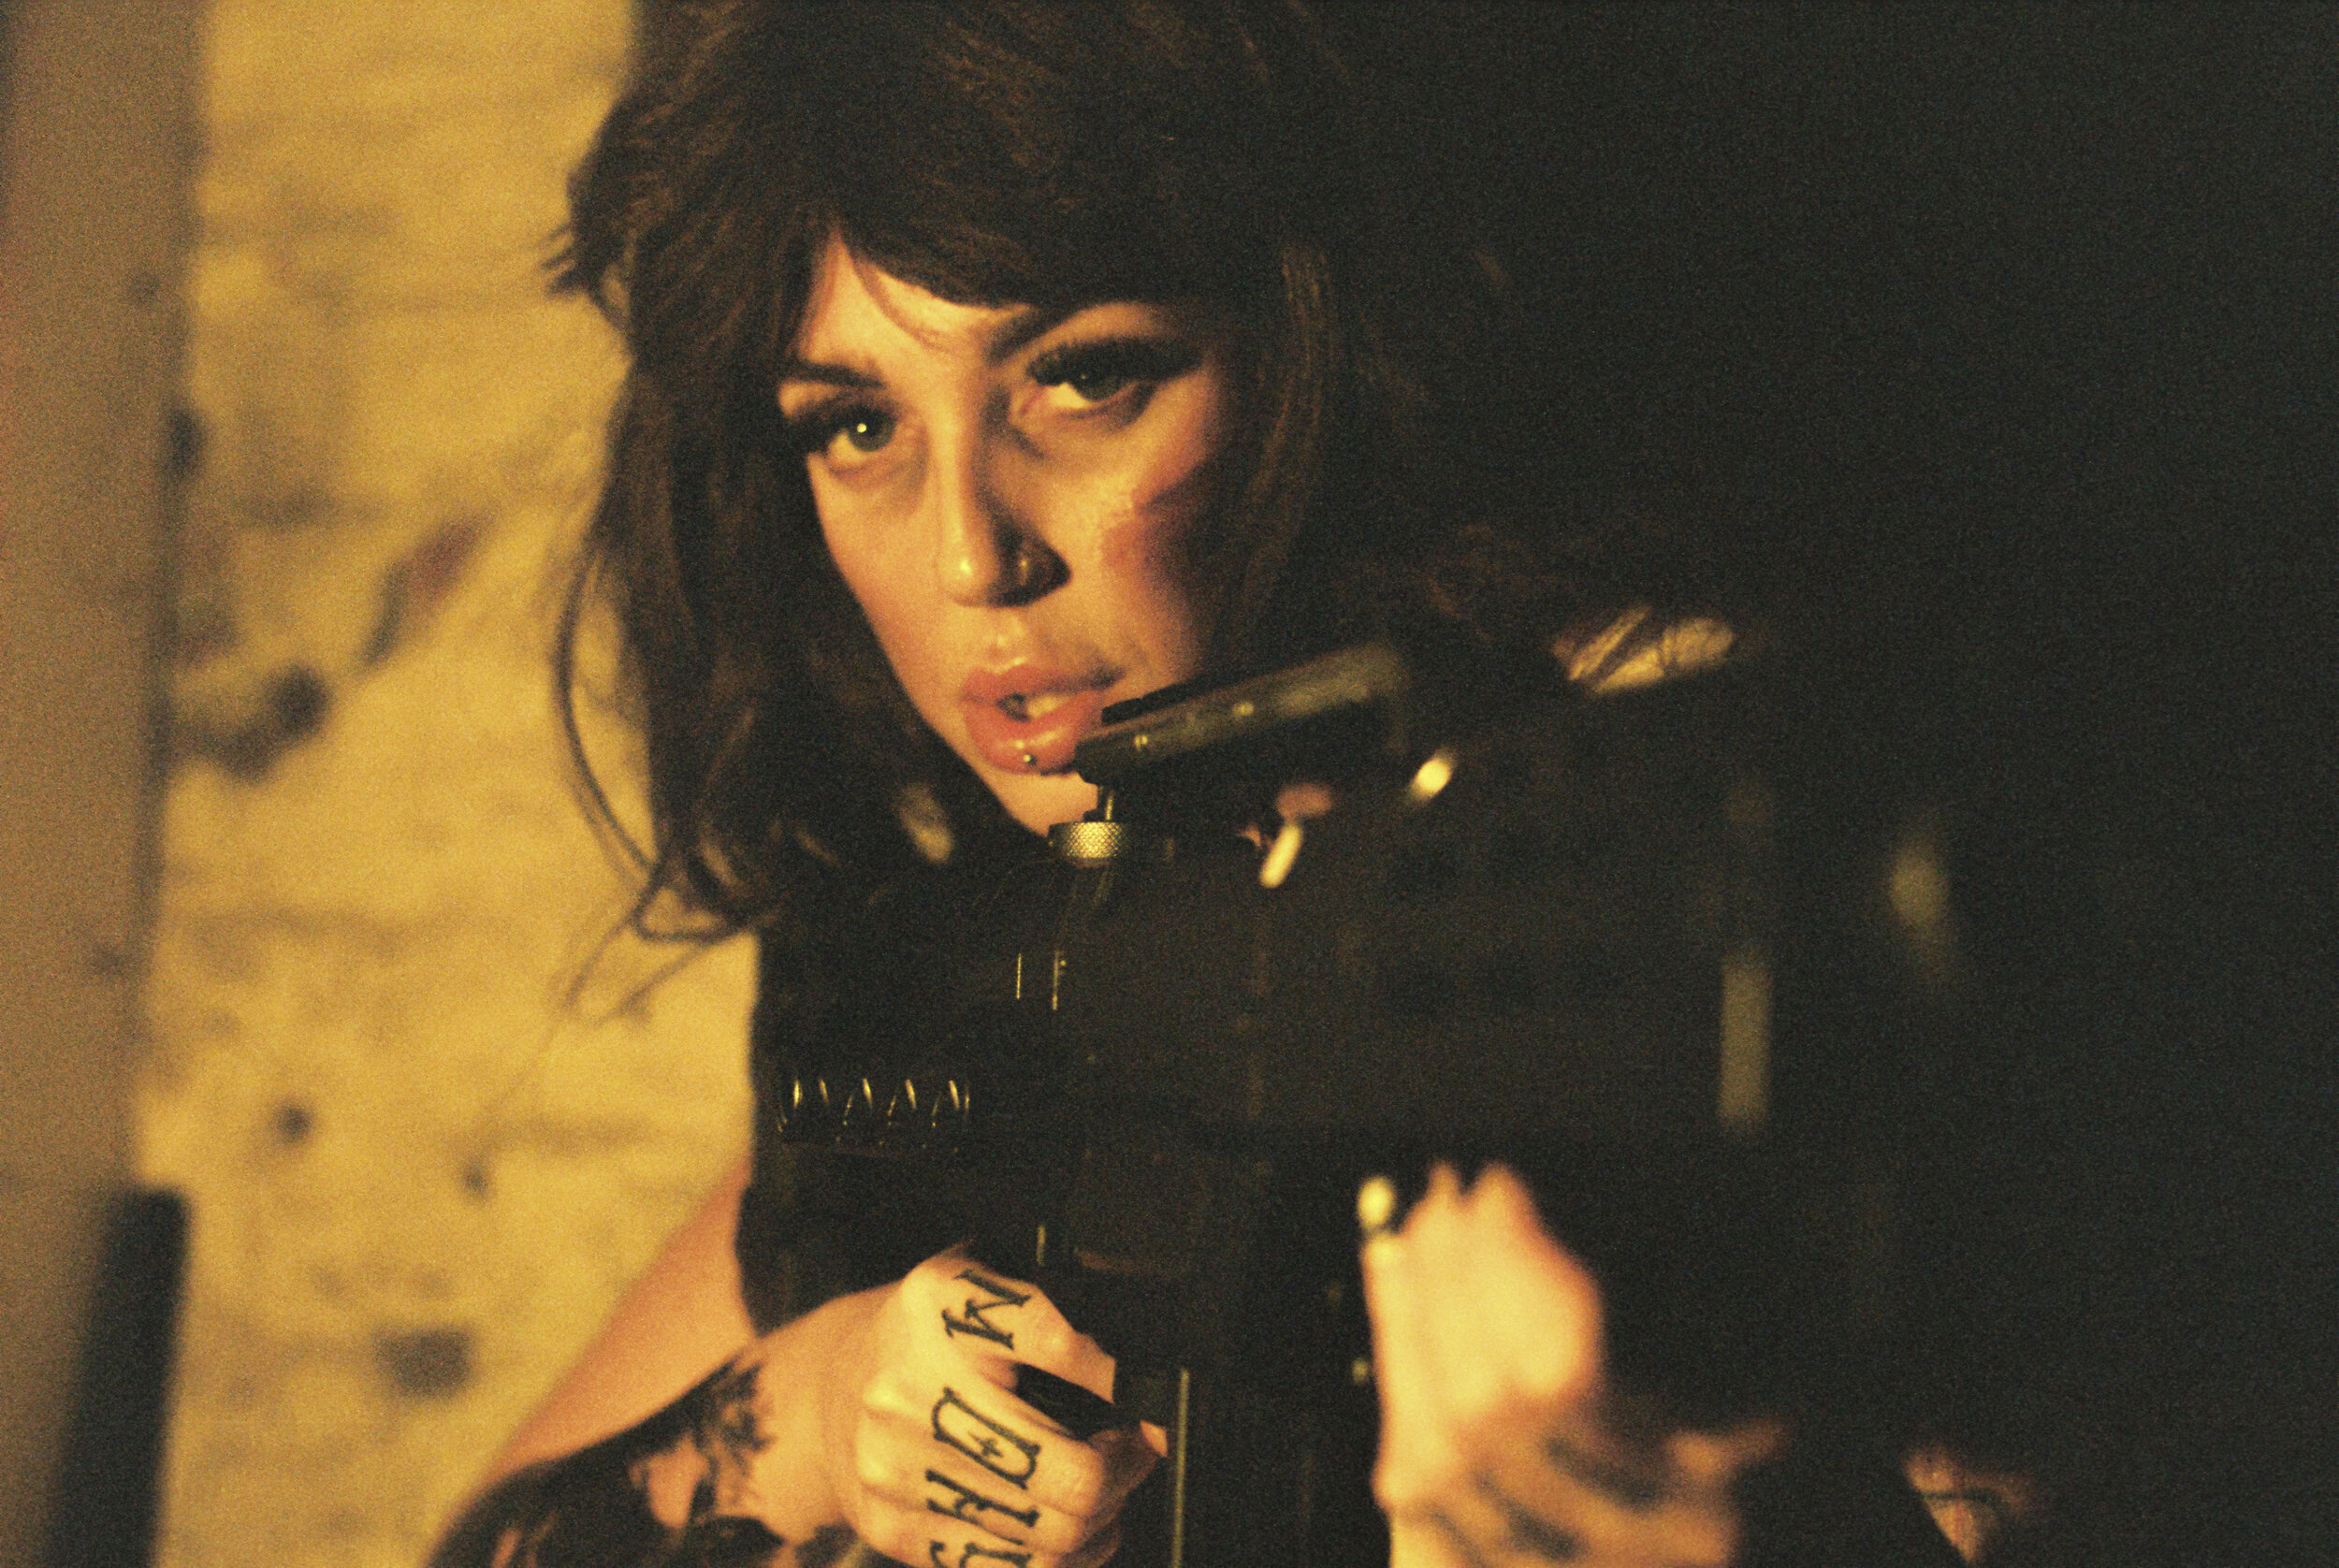
I was fortunate to collaborate once again with Charlie and Jony to create two really distinctive looks. Firstly Charlie channelling her inner ‘Ripley from Aliens’ and Jony doing an amazing job with a ‘Deckard off of Bladerunner’ look. We finished the shoot with Charlie joining Jony in a Dark Future Dystopia by reprising her role as ‘bad ass Terminator Cyborg’ from our previous shoot HERE.

Once again this was an all Kodak Portra 400 affair, I rated the film at 800 and had the lovely folks at Exposure Film Lab push development two stops. Camera gear used:

  • Nikon F3 / 85mm 1.4 / 50mm 1.4

  • Pentax 67 / 105mm 2.5

We shot both of these looks in their cellar using a simple lighting set up involving one LED panel light and two small LED pads with some coloured cellophane for ‘gels’. Jony provided extra atmosphere by streaming the background music to Aliens during the Ripley shoot too!! ACE!

0-19.jpg
0-3.jpg

For inspiration I rewatched Aliens which is one of my favourite films paying particular attention to the lighting and colour pallete used in the film - I picked out blue/green and yellow as the main colours and then tried to replicate that multi million dollar budget movie with a few cheap LED lights and 99p worth of coloured Cellophane! You know what? I absolutley love the results!!

I searched out a suitably sci-fi looking rifle for ‘Ripley’ and Charlie did an absolutely stellar job creating the look with an awesome outfit, hair and make up - she really is one of the most creative souls I have had the pleasure to work with, she’s amazing! :)

0-10.jpg

Interestingly (well i think it’s interesting and it’s my blog, so get lost) for the Ripley images the 35mm frames look the best, they have a grainy/grittyness which is very appealing and truth be told I missed focus quite a bit on the Pentax 67 shots for Ripley and even those shots which I didn’t just don’t have the same feel as these 35mm shots.

IMG_4192.JPG

Now we move on to a look inspired by Deckard from Bladerunner another of my all time fave movies!! For inspiration I watched both the original film and the recent 2049 movie and actually took my lighting inspiration from both films - I decided I wanted to combine the darker/noir feel of the original movie with some of the colour palette of the later film.

0-8.jpg

Jony did an awesome job not only with his outfit but also bringing that noir detective/bladerunner vibe - very very cool! I was so happy with how the lighting worked out giving a very dramatic effect.

Interestingly (yes! it IS interesting - now shush) the Pentax 67 shots look best on this look (if I do say so myself) I was shooting this handheld at 1/30 and wide open at 2.5 so Depth of Field is razor thin and there is a little bit of camera shake creeping in on one or two frames but I care not! Love these shots! Huge thank you to Jony for absolutely nailing the look here!

0-1.jpg

Props wise I bought a custom nerf gun and also some ‘neon bullets’ which are actual (empty) bullet casings but with a blue LED light inside! There really are some randomly specific/amazing things available in the internet aren’t there?! I think they look great on the shot - definitely add to the sci fi vibes.

In fact the whole Dark Future look is created by the lighting on this one as without the LED lights or the neon bullets then Jony’s look could be from any time period - this is one of the things I love about experimenting with coloured lighting, it really is transformative!

0-6.jpg
0-3.jpg

As if that wasn’t enough creativity for one shoot using the exact same location we then stepped it up a gear and brought Charlie and Jony together for a few final images. On these I really wanted to push the lighting to see what was achievable - and wow!! We created a set of promo images for an imaginary Sci-fi Cop show!

0-9-2.jpg
0-6-2.jpg

With Red light as the main lighting and blue just in the background and picking out little details and reflections - the high grain just adds to the lo-fi/low key appeal! An awesome end to an awesome shoot! It was a real pleasure to work with Charlie and Jony again, such lovely creative folk to work with :)

As for the lighting, I am really enjoying exploring the creative possibilites which coloured lighting brings to my photography. LED lights are a game changer for the film shooter because what you see is pretty much what you get which allows you to control and adjust your lighting by eye. I continue to be amazed at the flexibility of Kodak Portra 400 it really is wonderful stuff! I would urge anyone reading this to introduce some dramatic colour lighting into your film photography and push your creativity to the limits! It is such an enjoyable experience!

From the USSR with Love: Portrait shoot with Soviet lenses on 35mm film

IMG_7510(1).JPG

I’d be lying if I said that I didn’t enjoy the process of preparing for a photo shoot almost as much as the shoot itself! The anticipation of all those endless creative possibilities to come, the excitement tinged with a nervousness that naturally accompanies these thoughts: Will everything work? Am I up to the task? Will it piss it down with rain like it has done all day today....

Film photography invites you to make creative decisions up front (not all of course as development, processing and printing are large factors too) but your choice of film, camera and lens are important considerations. Perhaps more so on film than digital as each film has different characteristics and vintage lenses have their own unique qualities that they bring to the table.

My main 35mm set up is an all Nikon affair but I also have a thing for Soviet lenses, there is just something about them that I am drawn to which allows for some interesting creative possibilities (or maybe it’s because they’re cheap)! While I love Soviet glass I’ve found that Soviet cameras on the other hand can leave a lot to be desired - in my experience they aren’t that reliable and since (annoyingly) M42 lenses won’t easily adapt to Nikon mount cameras I have added a couple of Pentax Spotmatic bodies to my collection which I use for my M42 shenanigans, I’m not going to go into a big review of the Spotmatic F because I’ve already done that HERE suffice it to say that it is a very very fine camera indeed and an absolute joy to shoot with.

So let’s talk lenses then, we’ll start with the Helios 44-2 which you can see at the top left of the image below - it is renowned for it’s ability to do swirly bokeh. But this is no one trick pony and it’s certainly not a novelty or toy lens. It is absolutely sharp (the caveat being that sharpness as a concept is MASSIVELY over stated) it has lovely contrast, tone and detail too and the bokeh is wonderfully smooth as well having some good swirly patterning. The best part? Mine cost me £10! I bought it attached to a broken Zenit camera for £25 - kept the lens and sold the zenit body for £15 :)

IMG_7475.JPG

There are loads of versions of the Helios 44, I’ve had several later versions all of which had really stiff focussing rings, I tried out this earlier 44-2 version and it’s my fav so far. The build quality is very good, focus is smooth and it has a preset aperture control so you choose which aperture you want using a ring on the front of edge of the lens, you can then adjust the aperture manually so you focus while it’s wide open and then stop it down to shoot (it takes longer to explain than it does to actually do it) this works well for me as I have a Spotmatic F which won’t mount non Pentax lenses with auto aperture pins (note to anyone reading this wanting to use a spotmatic for Soviet glass - if you have a Spotmatic F then stick with preset lenses or if you’re looking to buy just get an older Spotmatic).

The Lens attached to the Spotmatic in the image above is the lovely Jupiter 9, it’s an 85mm f2 lens - this focal length is one of my faves to shoot, especially portraiture. Slightly more rare than the Helios (but that’s only because they made literally a kabillion Helios lenese) the Jupiter 9 is a very very lovely bit of glass indeed - build quality is excellent, focussing is lovely and smooth. I bought mine via evilbay from a seller in Russia for £70. There were several versions of this lens, this is the single coated version dating from the mid 80’s i think - later multicoated ones seem to be at a premium far above any real world advantage you might expect. One of the most impressive things about the Jupiter 9 is it’s size- it’s almost the same size as the Helios!! It looks like a 50mm prime lens which is amazing! It makes for a very compact and portable portrait combination.

A few words about the shoot itself and then I’ll let the images do the rest of the talking: I chose ilford HP5 for this shoot because it was kind of overcast and we were shooting under tree cover so I wanted something flexible enough to handle any situation, I shot it at 800 and I love the results! HP5 absolutely sings when it’s pushed and I think these have a lovely tone and feel to them. A huge thank you to model Danni.

Jupiter 9

Jupiter 9

Jupiter 9

Jupiter 9

Jupiter 9

Jupiter 9

Jupiter 9

Jupiter 9

Jupiter 9

Jupiter 9

Helios 44-2

Helios 44-2

Helios 44-2

Helios 44-2

Helios 44-2

Helios 44-2

Helios 44-2

Helios 44-2

Once again my thanks to Danni for being such an amazing model and also to Exposure Film Lab who develop and scan all my portfolio work - they’re the best!

To say that I am over the moon with the results would be an understatement! First run out with the Helios 44-2 and the Jupiter 9 and I am so happy with how the images came out - in fact I think they make a good pairing, they have similar characteristics. The Helios has a little more swirl in the Bokeh where as the Jupiter 9 is buttery smooth but they both have excellent sharpness, contrast and detail but then you already know that as you’ve just seen the images right?! I’ll certainly be using this set up again in the near future and putting and I’ve really enjoyed shooting black and white portraits for a change, i use colour a lot in my portraiture so I wanted to mix it up a little, for me casual/day to day and personal work I’ve found Ilford HP5 to be such a versatile film, but I’ve never shot portaits with it - I love the results!

Commercial Photography Project for Firstcall Photographic

 
IMG_9194.jpg

I am sooo excited to be able to share these images! My largest commercial job to date was shooting for the photography retailer Firstcall Photographic! Check out their newly updated website HERE.

I really love working with businesses so to have the opportunity to create images for a business that is as mad about it photography (and film photography no less) as I am was doubly awesome!

The brief was to create some product and lifestyle images for their new website as well as the catalogue and other marketing materials.

IMG_9234.jpg

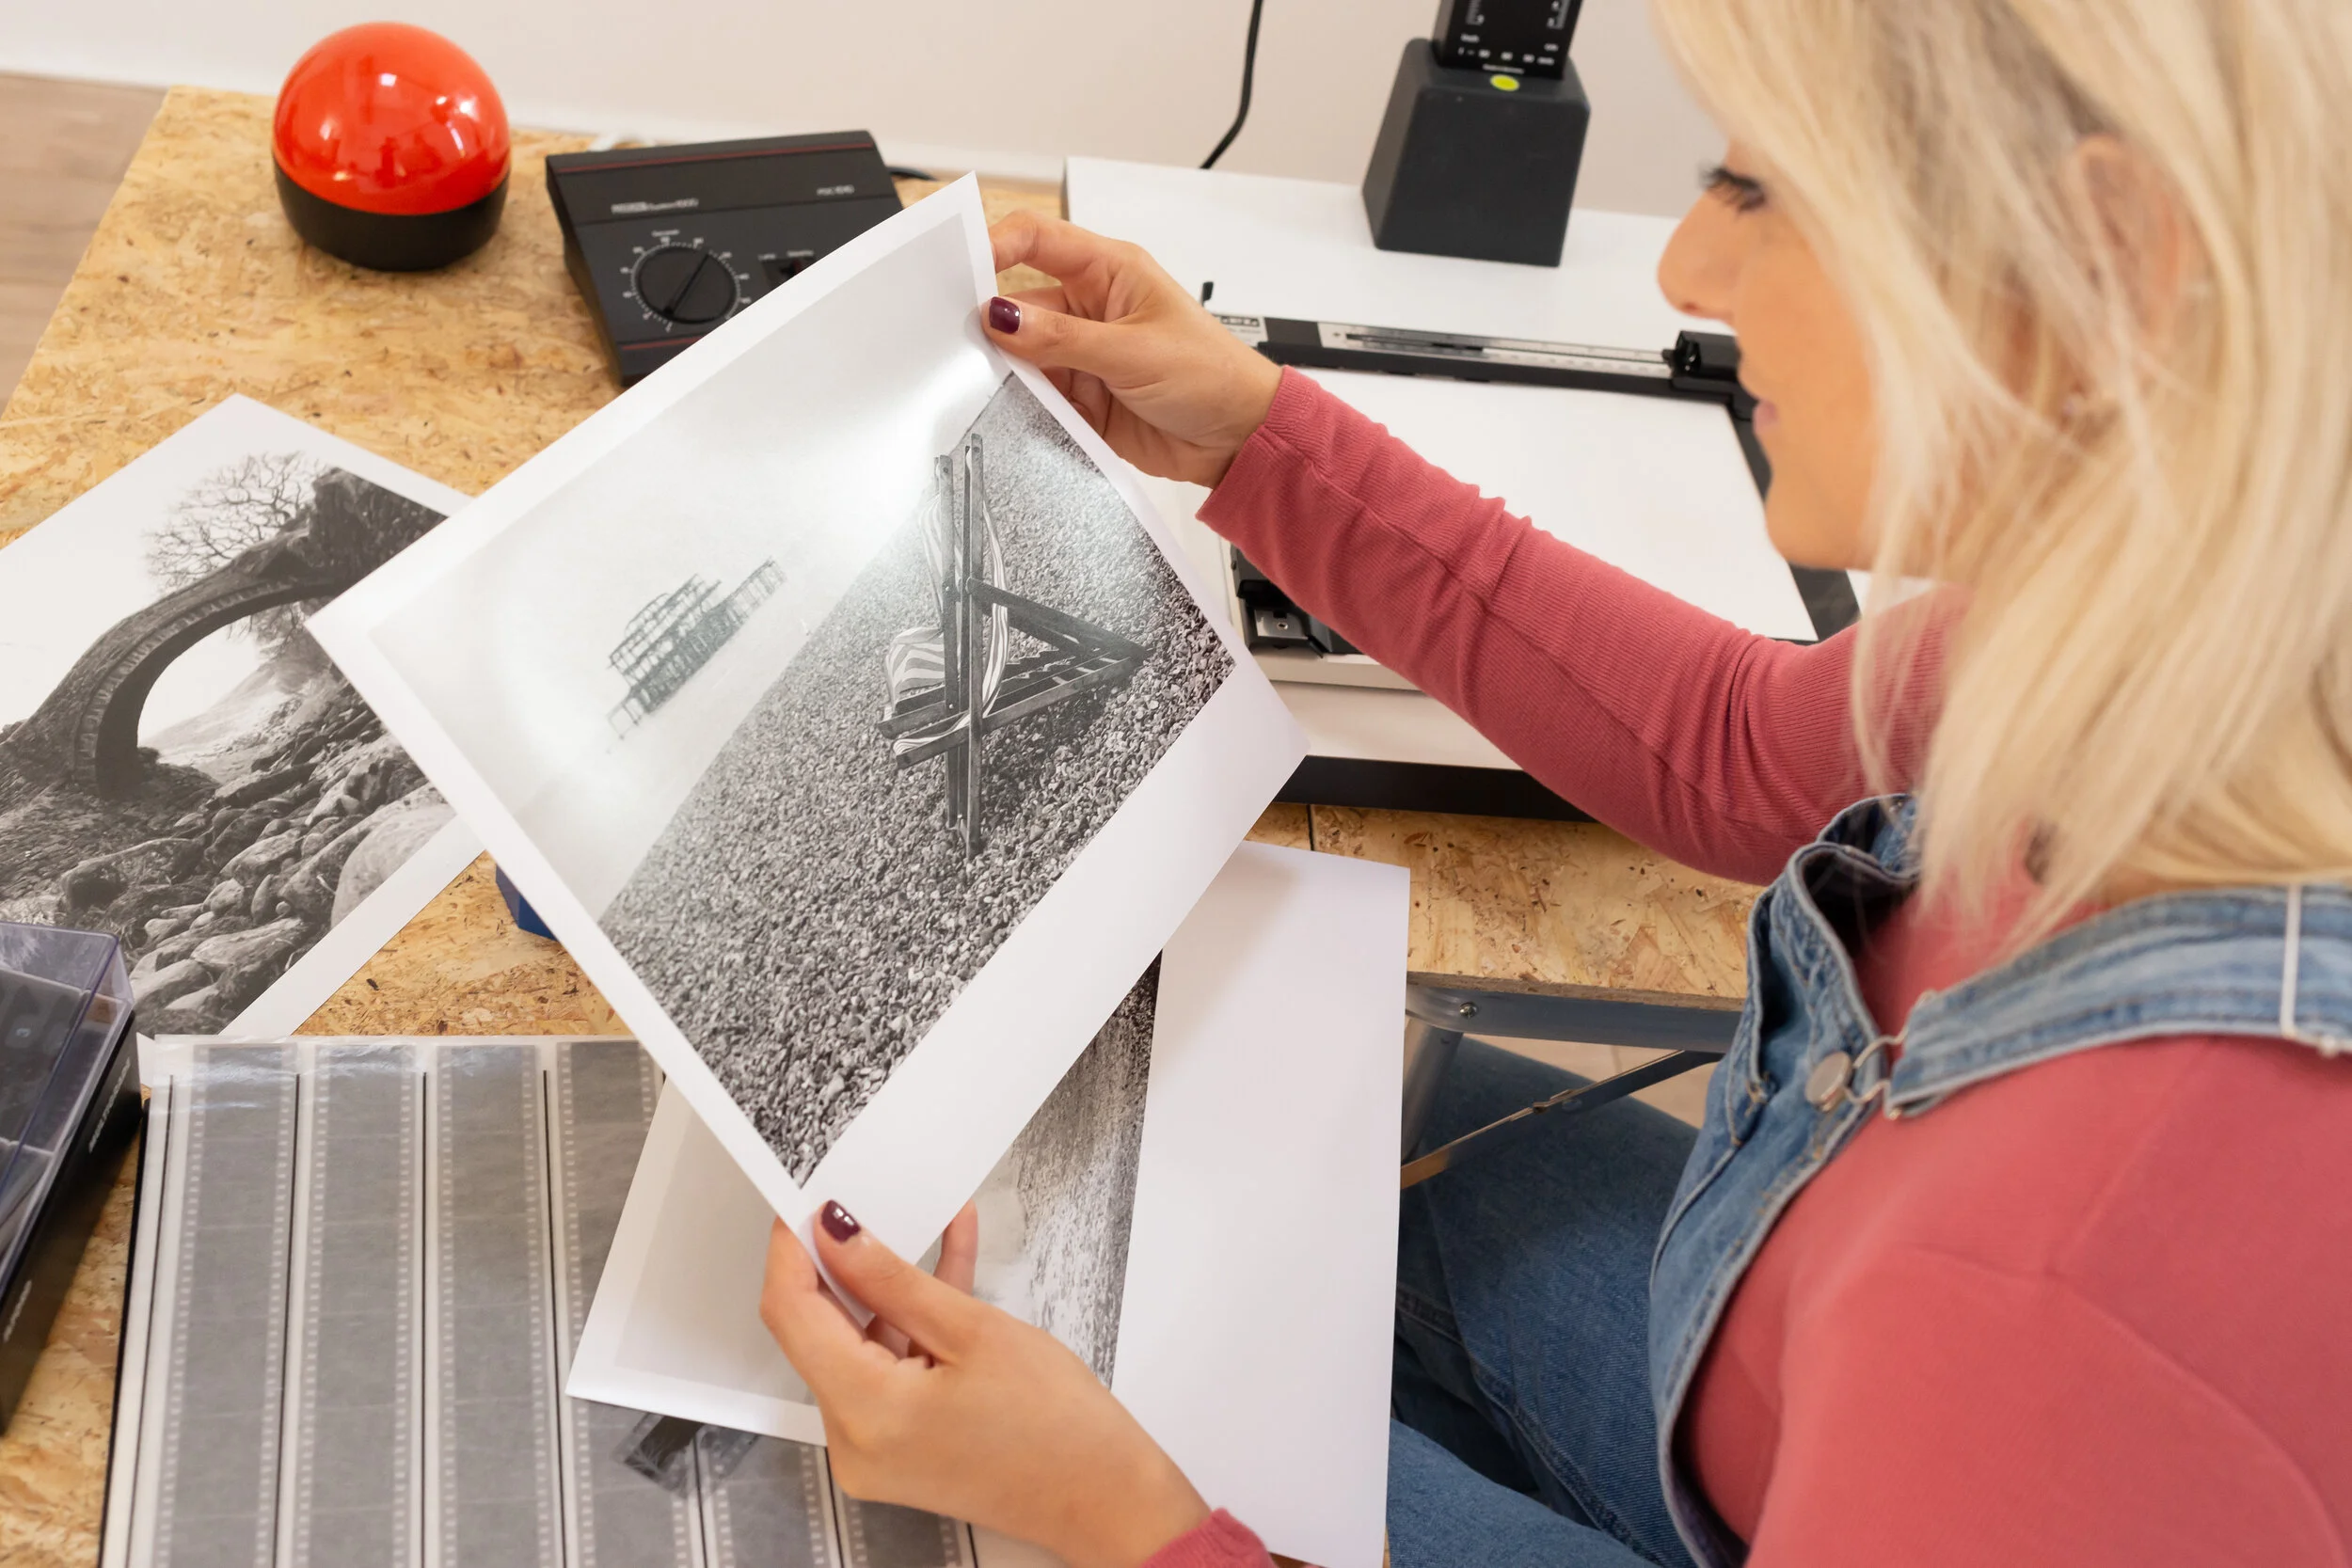
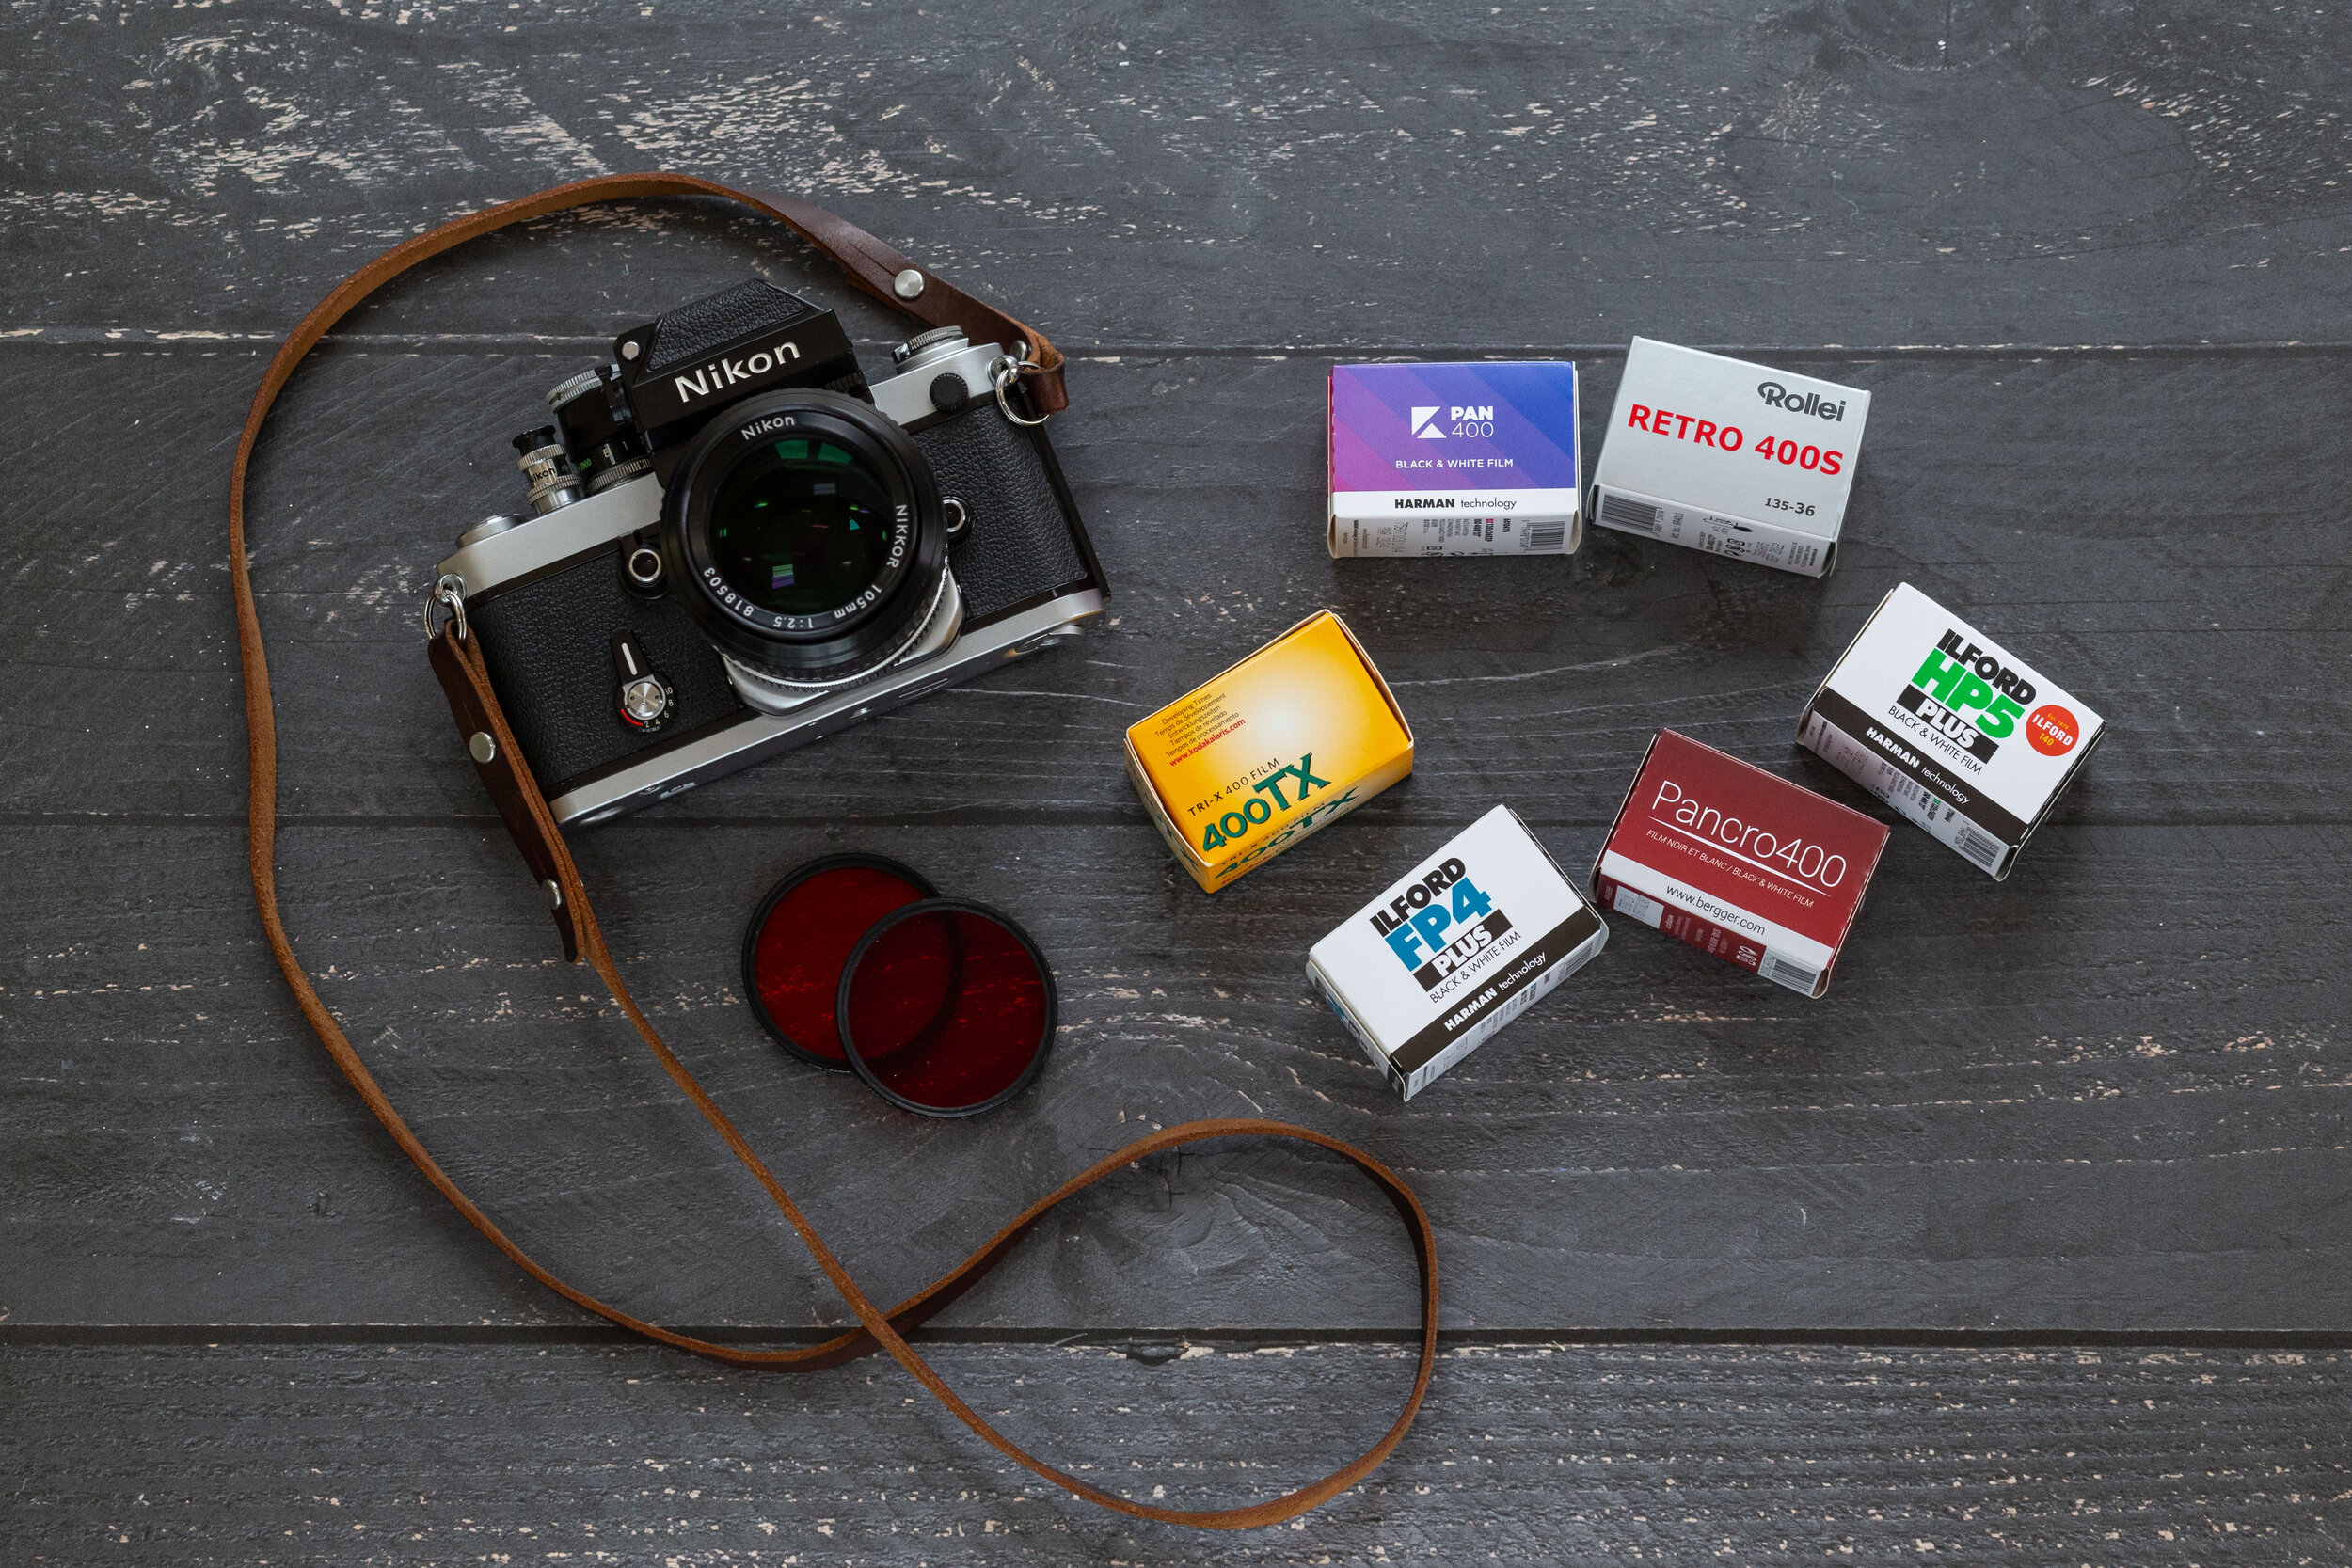
Firstcall are a major supplier in the education sector as well to the general public, using this as the inspiration for the whole shoot I came up with the idea of a sequence of images which would hang together based on the theme of a person going on a learning journey through each stage of the photographic process - from shooting, developing and printing.

For the shoot I hired a local venue ‘the room’ at almondbury - it was the perfect location with some lovely natural light and a large, clean work space it’s in a beautiful secluded spot just on the edge of Huddersfield, check them out HERE.

To help us tell our narrative I contacted a couple of models who I could trust to do a great job - I’ve worked with Jess and Becca on a few different shoots now and I knew that they’d be perfect for this project, in fact it’s fair to say that once I’d settle on the theme for the shoot I had them both in mind right from the outset and they did not disappoint! Check out Jess’s portfolio HERE and Becca’s HERE. Thank you both for being totally awesome on this shoot!

A big thank you also to my friend Ruth for assisting me with the shoot, your eye for detail and skill with lighting is second to none!! Check out Ruth’s amazing photography portfolio HERE

IMG_9398.jpg

I enjoyed every aspect of this shoot and I’m very pleased with how the final images came out - I think I am most happy with the set of images which show Jess at work in the ‘Darkroom’ this required some creative thinking and forward planning to create the sense of being in a real Darkroom - which I think we did, in fact if I hadn’t mentioned it maybe you wouldn’t have noticed…. DOH! ;)

IMG_9412-Edit.jpg

The other stars of the show are some of my very own film cameras - in particular the Nikon F2 cuts a very fine figure in our little photo narrative!

IMG_9664.jpg
IMG_9252.jpg
IMG_9178.jpg

I must give a special mention to ‘Photography Backdrop Club’ where i purchased the amazing wood effect backdrops that add so much character to some of the product images, I was really pleased with the results - I can definitely recommend their backdrops, in fact I like them so much that if you click on this link HERE you can get yourself a tasty 15% discount - sweet!

IMG_9191.jpg
That awkward moment you forget that you don’t have a warehouse for storing products for shoots… my living room after taking delivery of all the items to be photographed!

That awkward moment you forget that you don’t have a warehouse for storing products for shoots… my living room after taking delivery of all the items to be photographed!

This shoot provided me with my biggest commercial challenge to date - from developing the creative concept, to planning the shotlist and just the simple logistics of getting all the images shot within the timescale - I absolutley loved the process, to be able to bring all of this together and to give the client a set of images that they too can be proud of gives me immense joy.

It has been a real pleasure to work with Firstcall Photographic and it gives me great joy to see the final results of their website at last!! If you have a business or creative project that you think would benefit from my involvement then please do get in touch!

Post Winter portrait shoot with the ARAX CM

Over the course of winter I have been focussing my attention on some low light/LED photography to get me through the long dark winter months, but as it’s been unseasonably warm for January I wanted to get out and make the most of the weather before the dreaded snow sets in! I've recently acquired two new bits of kit which I’ll be featuring in today’s blog - some medium format goodness courtesy of the ARAX CM and in the 35mm corner I recently managed to bag myself a wonderful Nikkor 85mm 1.4 lens!

IMG_4818.jpg

Pictured above on the left the ARAX CM is a modular 6X6 format camera which means it has has an interchangeable film back and prism, it’s totally manual too which suits me just fine! It’s basically an upgraded version of the Soviet era Kiev 88. I’ve always had a thing for some of the old Eastern bloc cameras and in particular the lenses which have a character and quality all of their own, Soviet camera bodies have their own character too - although they are more often characterised by a tendency to break/leak light/seize up/plain old not work properly!

IMG_4824.JPG

I was drawn towards the ARAX as these are rebuilt and refitted cameras which (hopefully) have all of their flaws resolved - I am pleased to report that so far is so good! As well as fixing them up the good people at ARAX also give the cameras a Pentacon mount which means that they can accept the very wonderful range of Carl Zeiss Jena lenses (my main reason for getting the system in the first place).

IMG_4822.jpg

The ARAX is based on a Soviet knock off of a Hassleblad design from the late 1940’s, a design which Hassleblad dropped in favour of a leaf shutter system but Communist camera company Kiev stuck with the original design - in practice the ARAX is lovely to shoot with, there is really one main thing to watch out for (and this holds true for a lot of older cameras) you must cock the shutter before basically doing anything - never ever ever on pain of death adjust the shutter speed dial without cocking the shutter, because the world will literally implode and (more importantly) you’ll kill the camera.

As well as being able to shoot some amazing Zeiss glass (for cheap) I was also drawn to the interchangeable/modular design meaning I can swap film backs and mix up shooting colour and black and white etc mid shoot.

0-12.jpg

To put the ARAX through it’s paces I arranged a shoot with Becca a model I’ve worked with previously, we opted for a natural look and arranged to meet up at Meanwood Park in Leeds - the images kind of speak for themselves!

I missed focus on this one but you know what? I don’t care! :)

I missed focus on this one but you know what? I don’t care! :)

0-12.jpg
0-6.jpg
0-5.jpg
0-8.jpg

Ace! I flipping love the results! The ARAX is a joy to shoot with and the Zeiss Biometar 80mm 2.8 lens is awesome - my first time using a modular camera like the ARAX with a waist level finder, it was a challenge to focus but definitely enjoyable! I shot some 35mm Portra 400 on my trusty Nikon F2 with the stunning 85mm1.4 lens too - here’s a few shots from that set up :)

0-34.jpg
0-33.jpg
0-17.jpg
0-13.jpg