
It’s almost November 2019 and that can mean only one thing: we are now living at the time that the original blade runner movie was set!! While there’s certainly no denying that at times it can feel like we’re already living in a dystopian Dark Future, as with all things the reality is often less stylistically pleasing than our celluloid fantasies would suggest – to rectify this, my latest shoot was a Dark Future/Neon Noir/Blade Runner inspired look with the very awesome Charlie Hex

This shoot presented me with a number of new creative challenges – first and foremost amongst these was lighting. Having scouted out a suitable location (and a huge shout out at this point goes to The Arcade Club in Leeds for hosting us) I also wanted to have some control over the lighting too, but given that we were shooting in a public space and the fact that I also have two cameras to lug around I needed something fairly compact – enter the LED light pad! I then used a couple of sheets of cellophane to create my own lighting gels and voila!

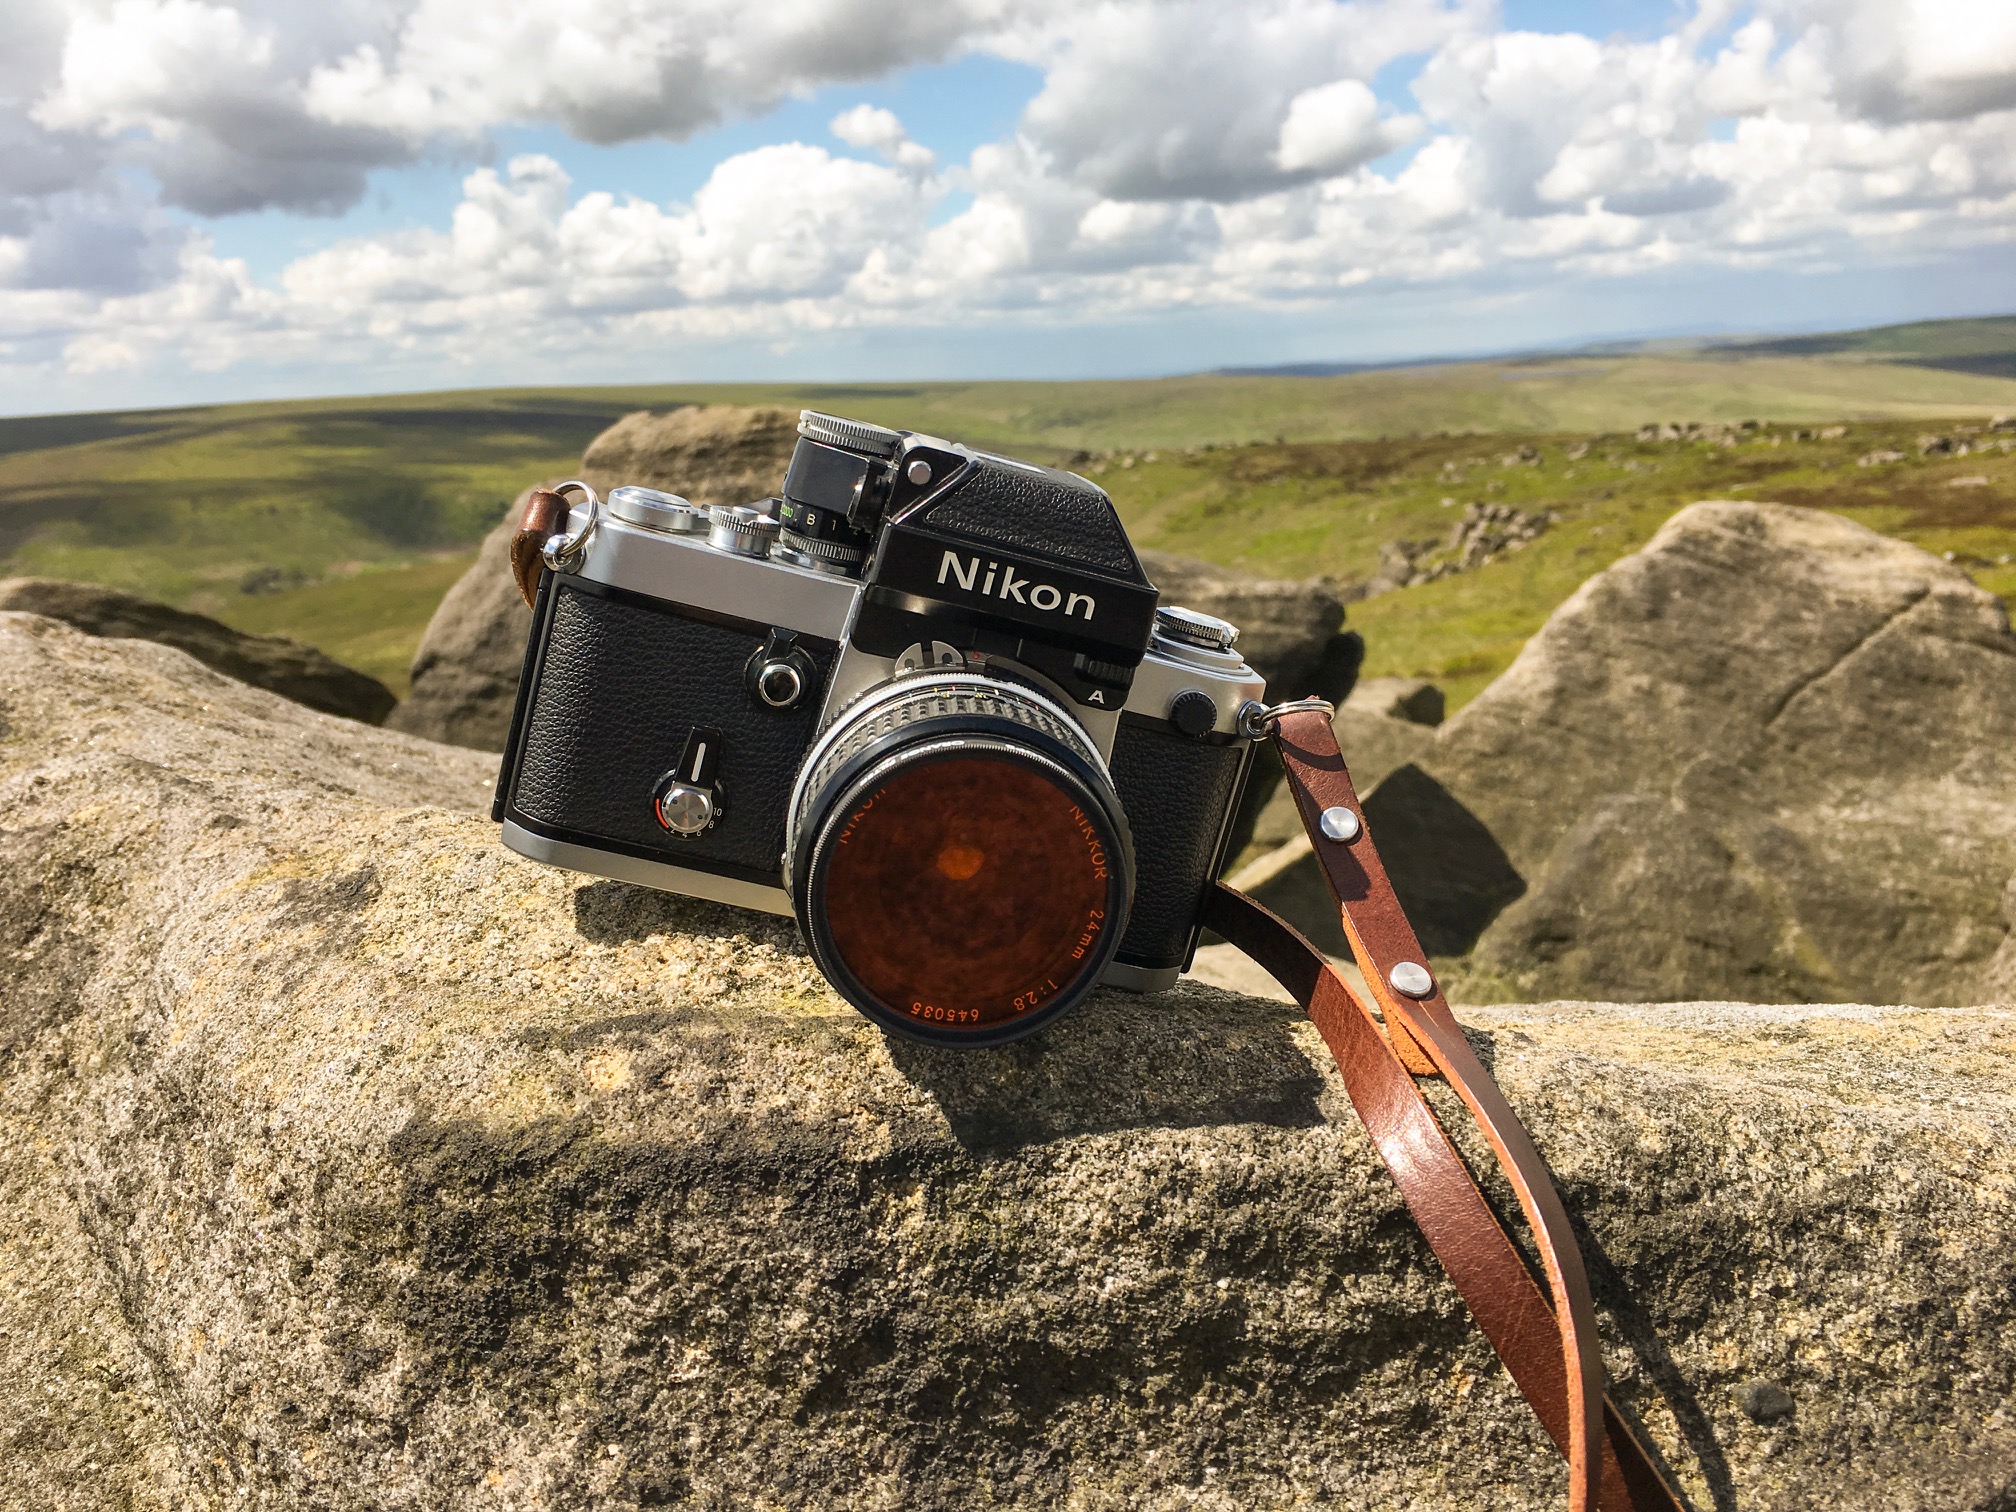
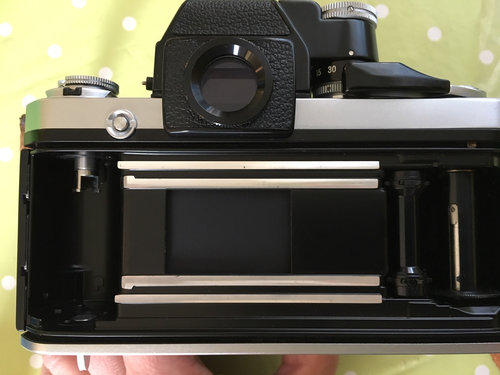
Ignore the F90X in this pic - I changed my mind at the last minute and went for the F2 instead :)
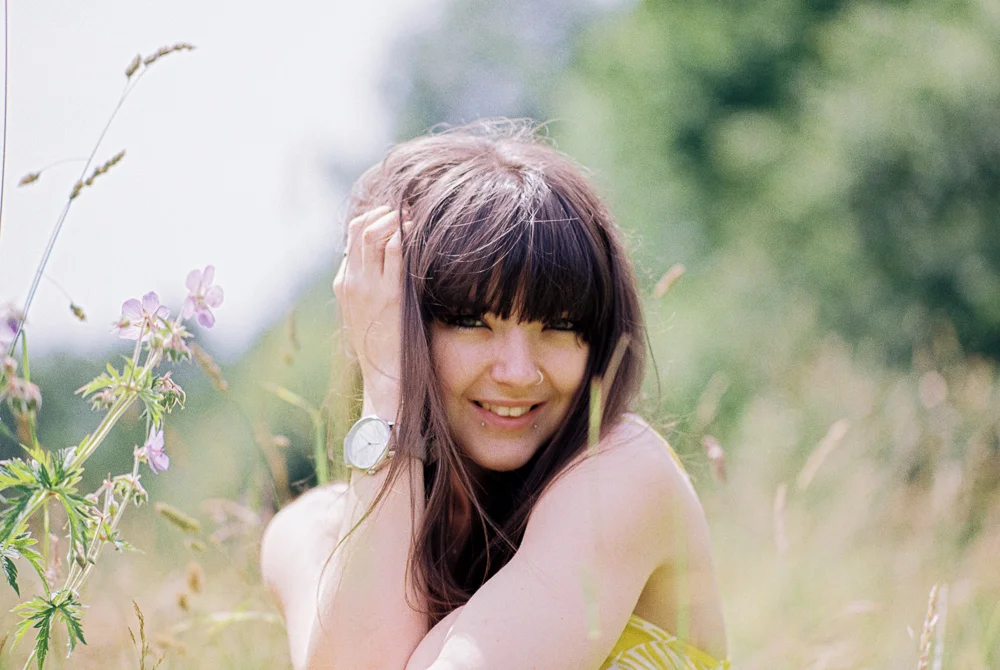
In the run up to this shoot I rewatched the original Bladerunner movie which has been a firm favourite of mine for as long as I can remember, I also re-watched the sequel Bladerunner 2049 (a film which I went to the cinema to watch when it came out and honestly thought it was a bit rubbish) what was interesting was to re-watch both movies but specifically to pay attention to the lighting and how it is used to enhance the narrative of the story – as it turned out I actually really enjoyed 2049 the second time around and one thing I took from the film as a major inspiration was the amazing colour palettes – in particular the strong use of orange lighting, obviously the creative lighting budget for both of these films far exceeds any resources I was able to throw at this project (my orange lighting gel is just two pieces of cellophane, one yellow and one red laid over each other) but as you can see here with a little thought and a cheap LED light, creative possibilities abound!

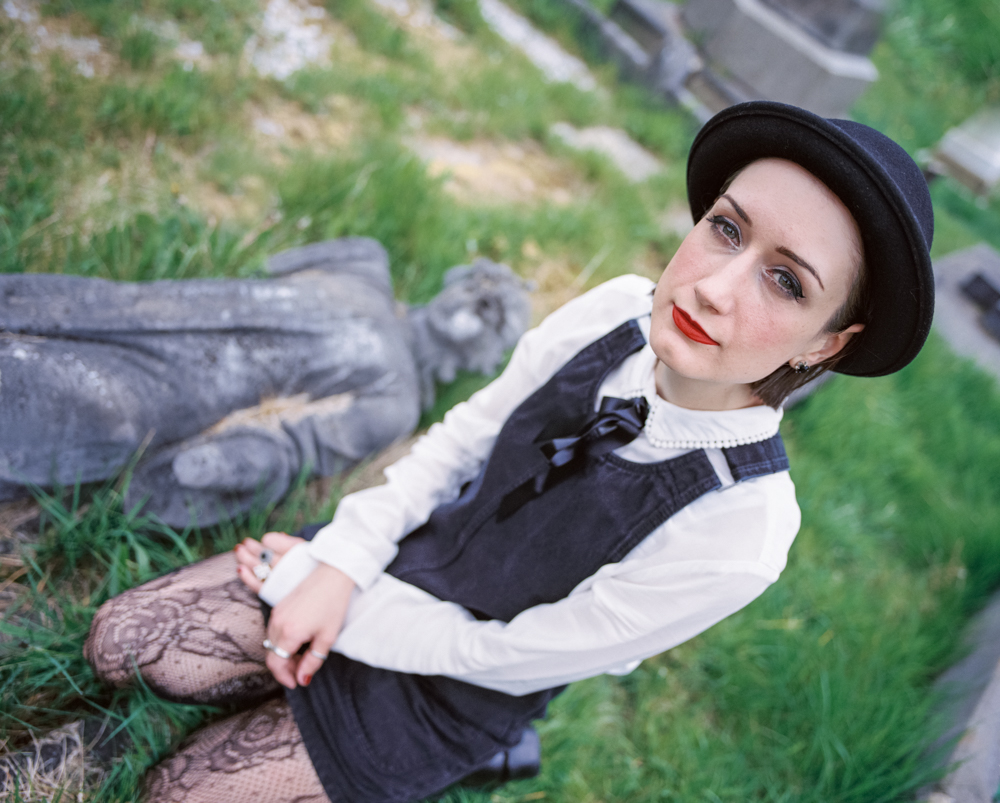
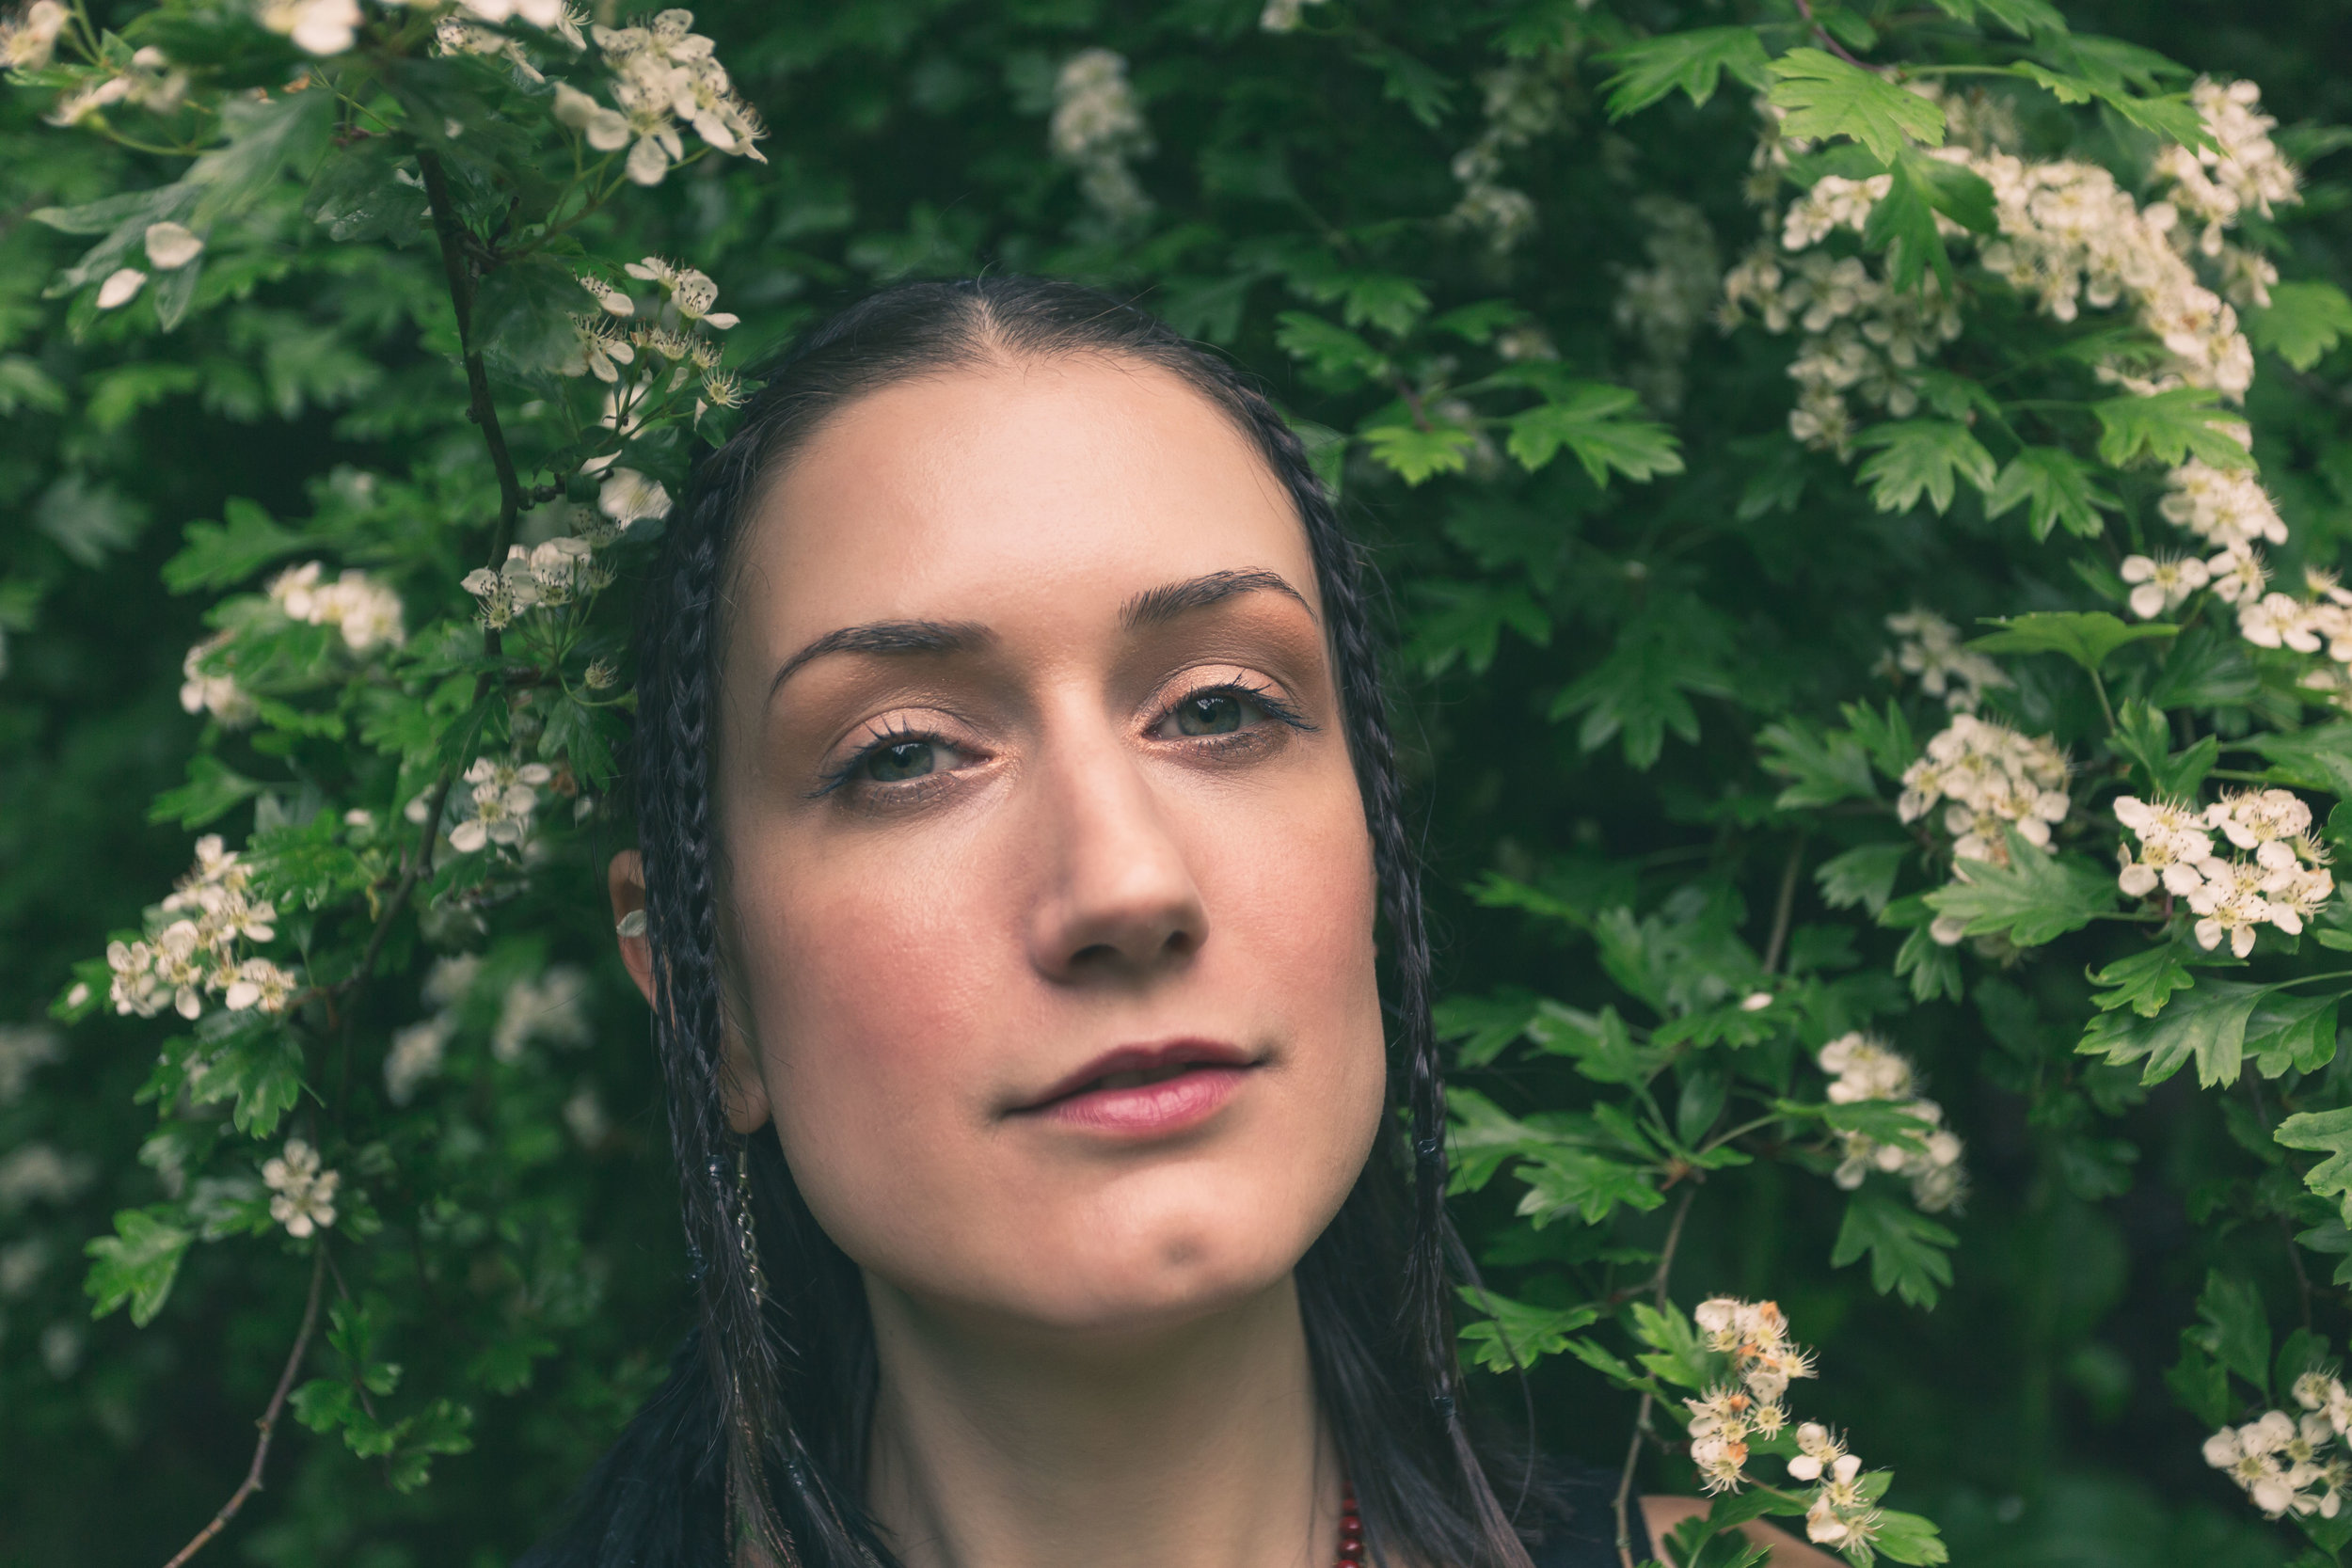
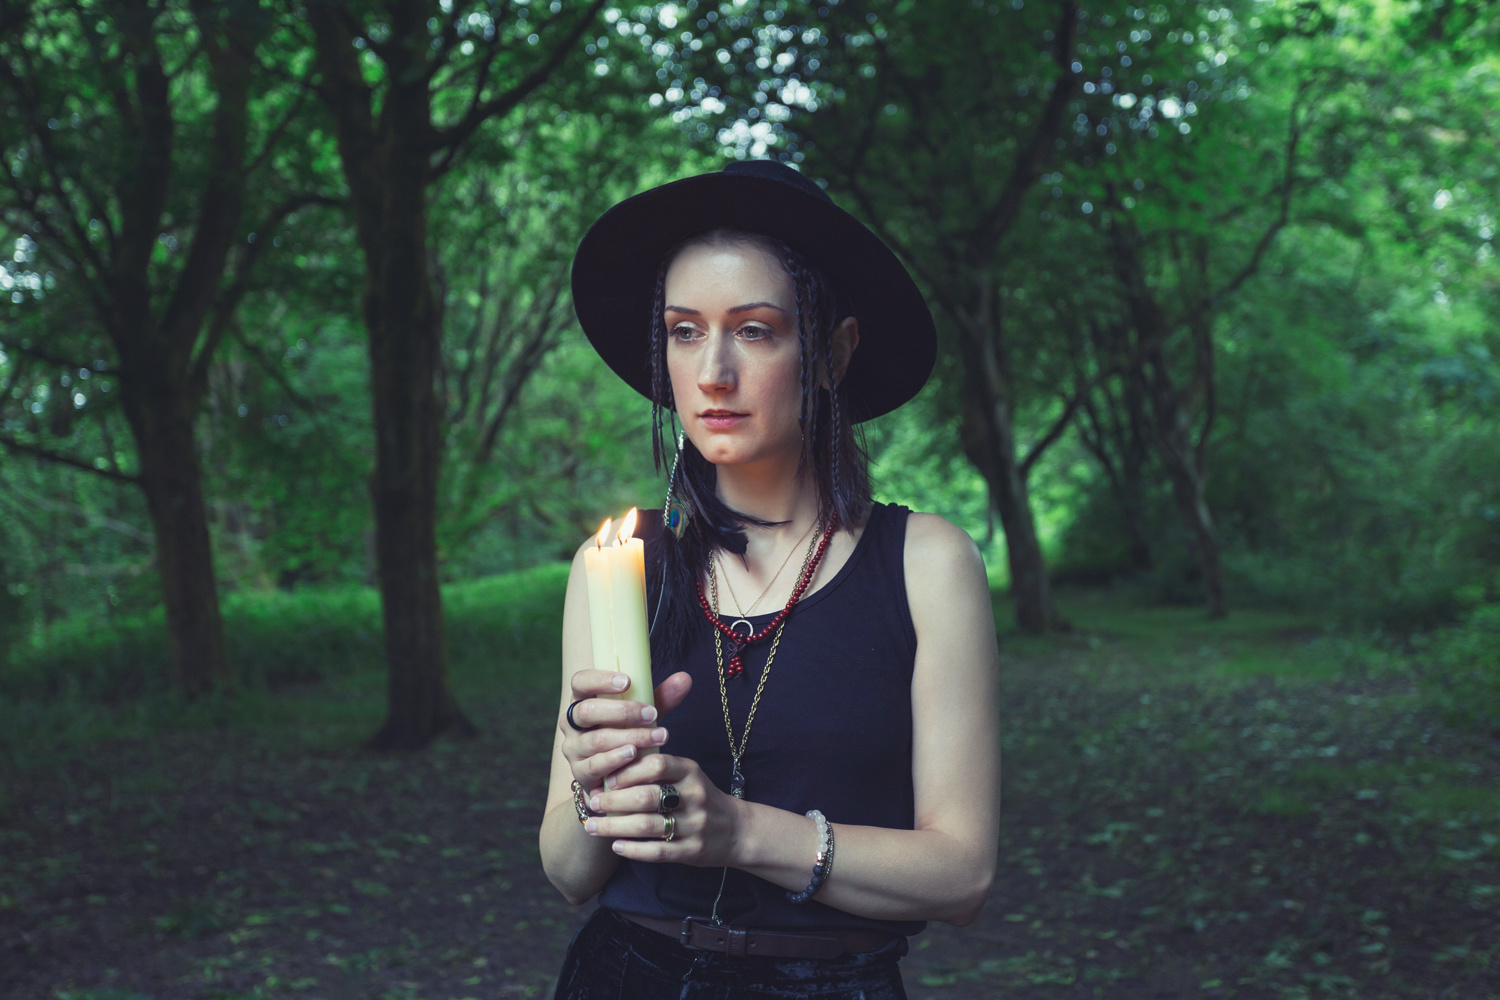
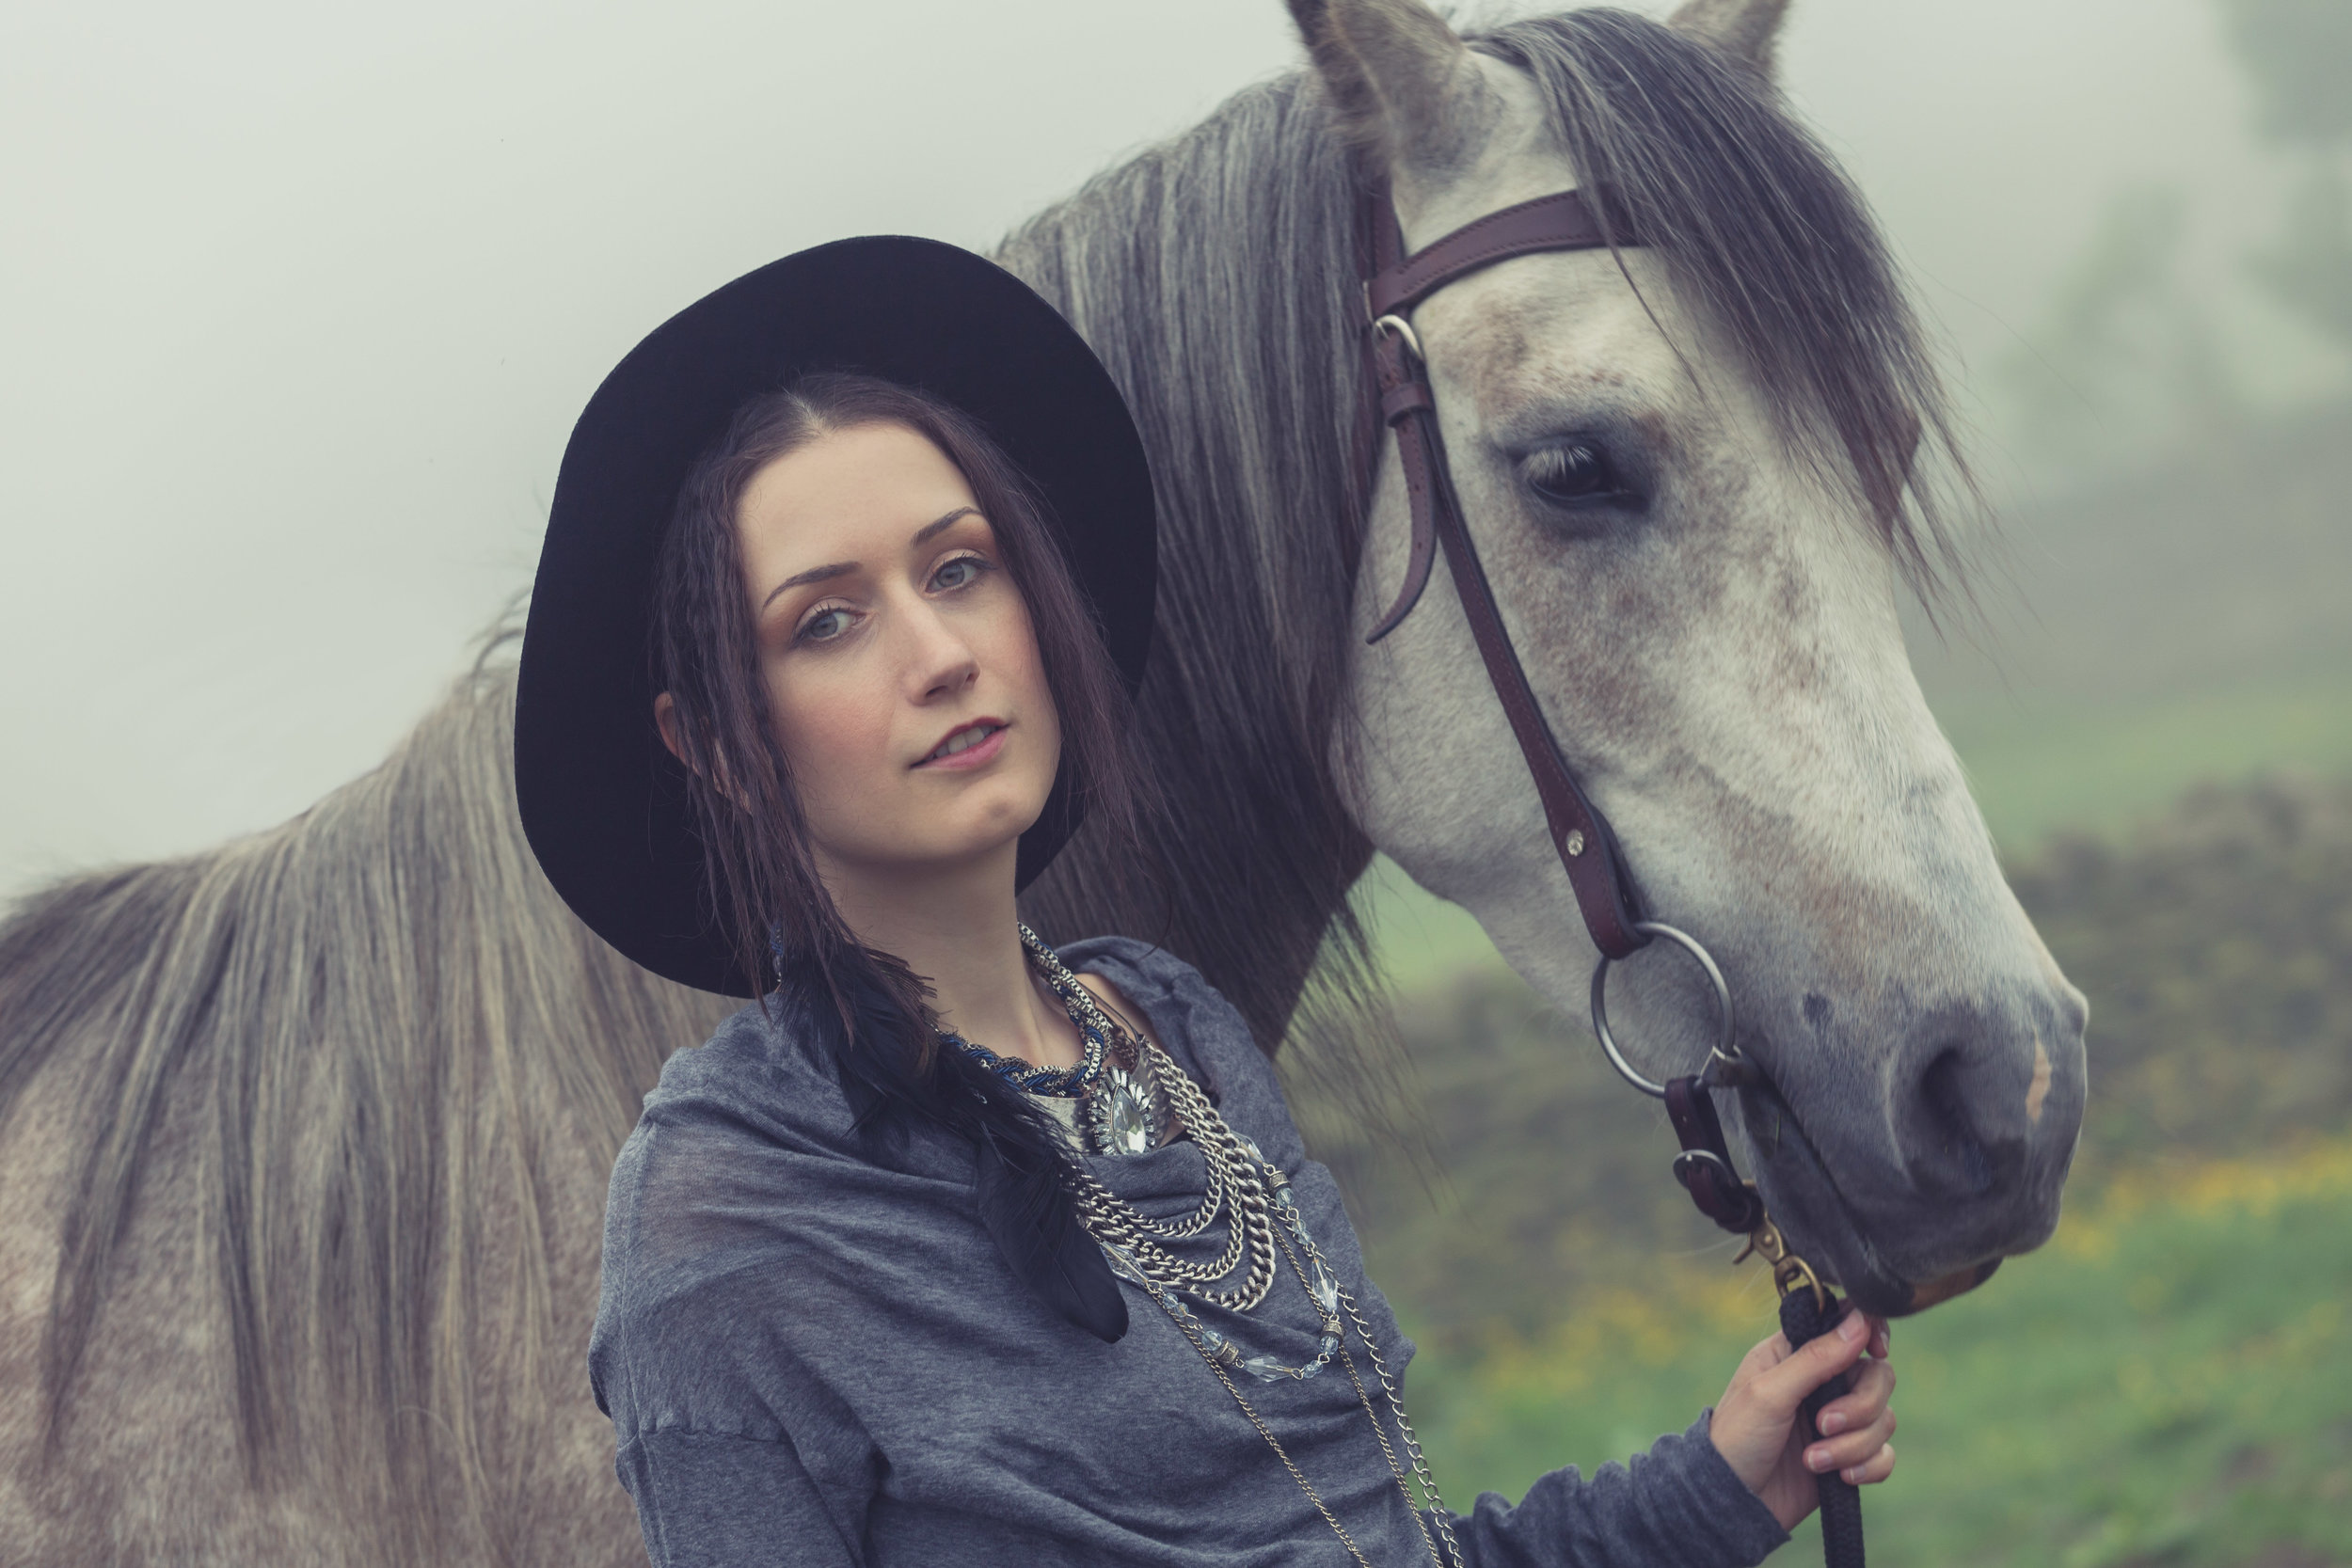
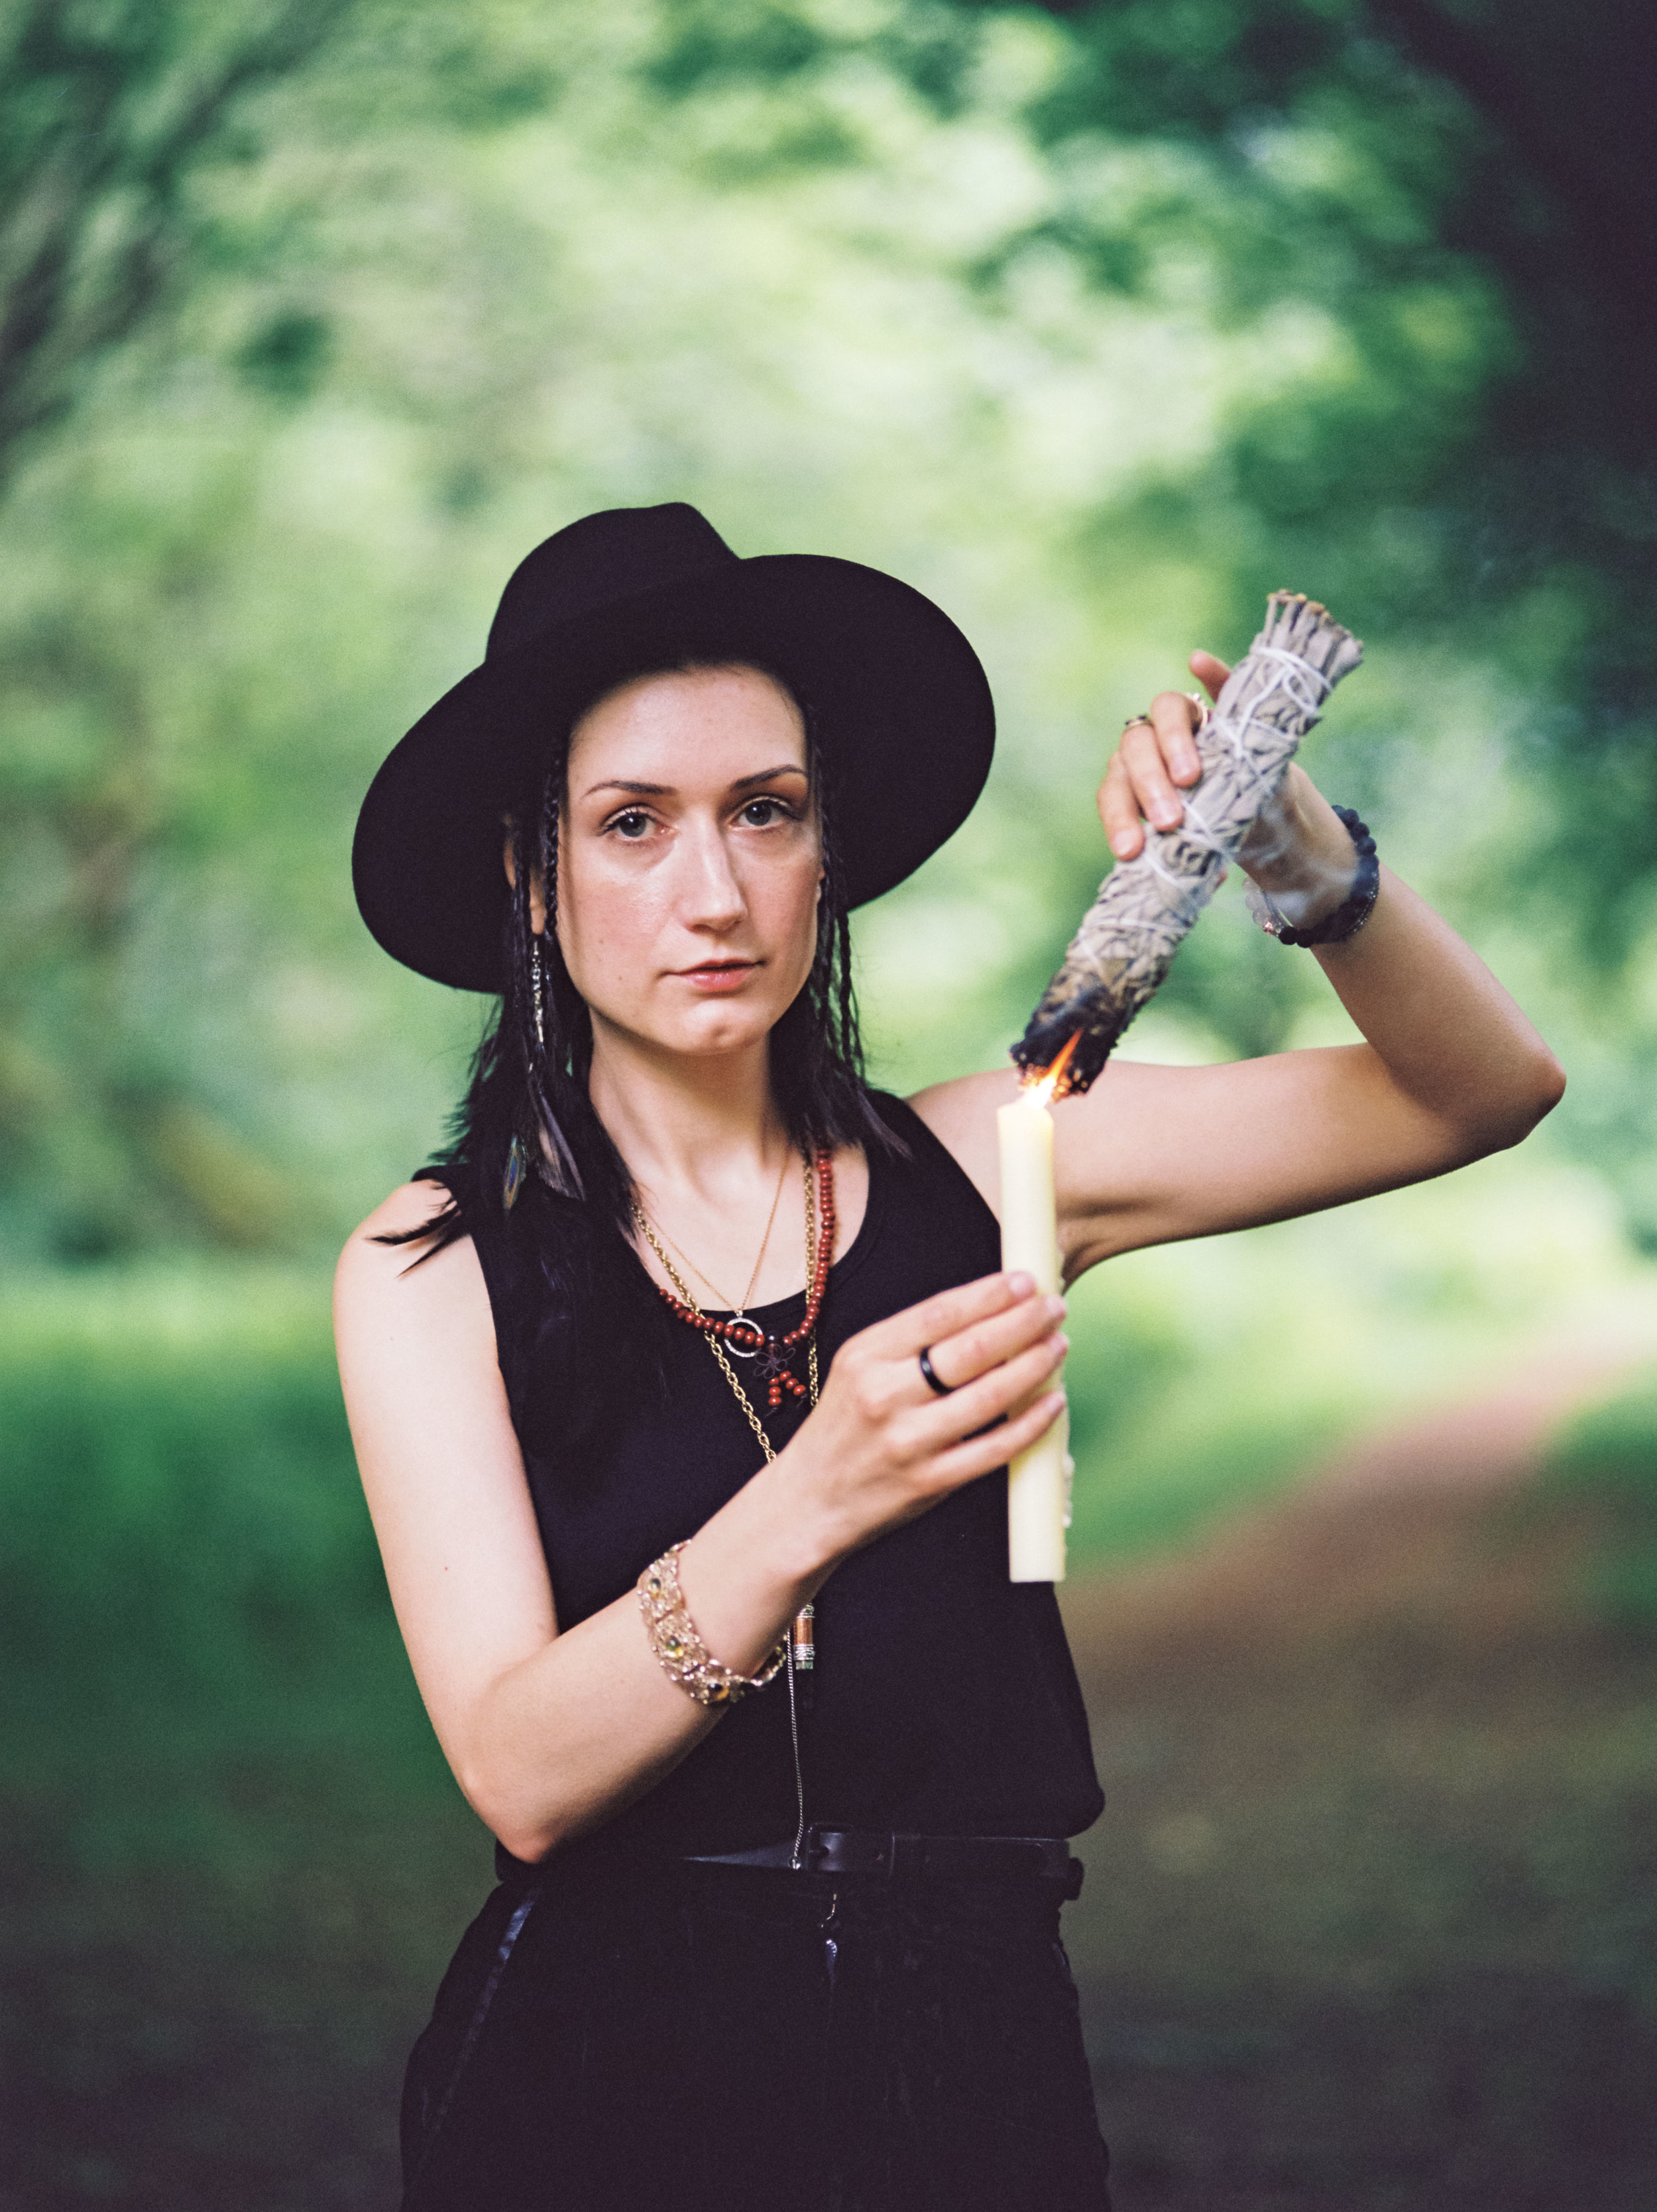
A Dark Future inspired look has been on my wish list for a long time and I was delighted when Charlie got in touch after a casting I posted on FB. The images speak for themselves of course but it’s still worth stating that Charlie absolutely smashed it on this shoot!! I shared a few mood boards with Charlie and she came back with the makeup and outfit looks you can see in these images, this combined with her being super confident in front of camera really helped to realise the vision, a proper creative collaboration! Big thanks too to Charlie’s boyfriend Jony who did a sterling job as human light stand by holding the LED light for me :)

During the shoot itself we were in the midst of a very busy Arcade location, mixed and changing lighting and I didn’t have chance to visit the space ahead of the shoot (something I had planned on doing) armed with my trusty light meter, Pentax 67 and Nikon F2 I felt confident I could handle things but as always with film you don’t know until you get the films developed how things really turned out.


Looks like my P67 still has a bit of an issue with the frame spacing with this accidental double exposure - fortunately in this case, I flipping love it!
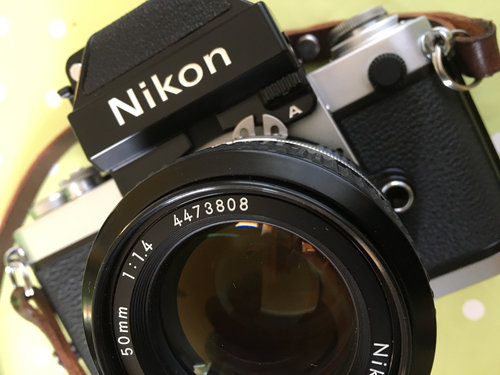
I was also using a brand new (to me) lens the amazing Nikkor H C 85mm 1.8 and wow has this lens blown me away!! It’s perfect for lowlight shooting – most of these images were shot around f2 or f2.8 and for the Pentax 67 I was mostly wide open at f2.4

The Nikon F2 and the amazing Nikkor H C 85mm 1.8
As it’s turned out I think most of my fave shots are with the F2 and the 85mm lens, given the low light and relatively slow shutter speeds (all around 1/60) I am very pleased with how they came out.
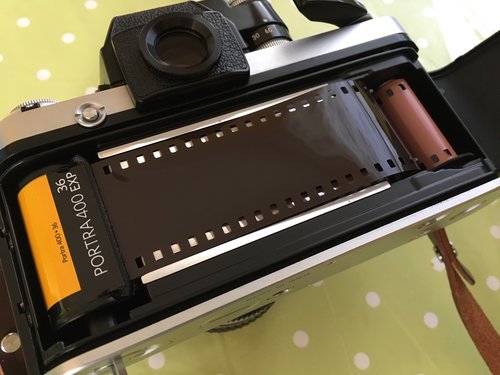
Now let’s talk about film stocks - I used Kodak Portra 400 for both 35mm and 120 formats and again, wow! I am blown away at how awesome it looks! I rated the film at 1600 and asked the lovely people at Exposure Film Lab who do all my colour developing to develop the film at 1600 (push it two stops) the results speak for themselves – colour balance is spot on and to my eye they just look RIGHT!

This is the beginning of a wider Dark Future project I’ll be exploring on future shoots mainly cos I’m a Sci Fi geek and have always loved that Neon Noir vibe ranging from Bladerunner to Akira and beyond - I Can’t wait to add some more retro futurist looks to my portfolio and to explore some more creative lighting techniques!