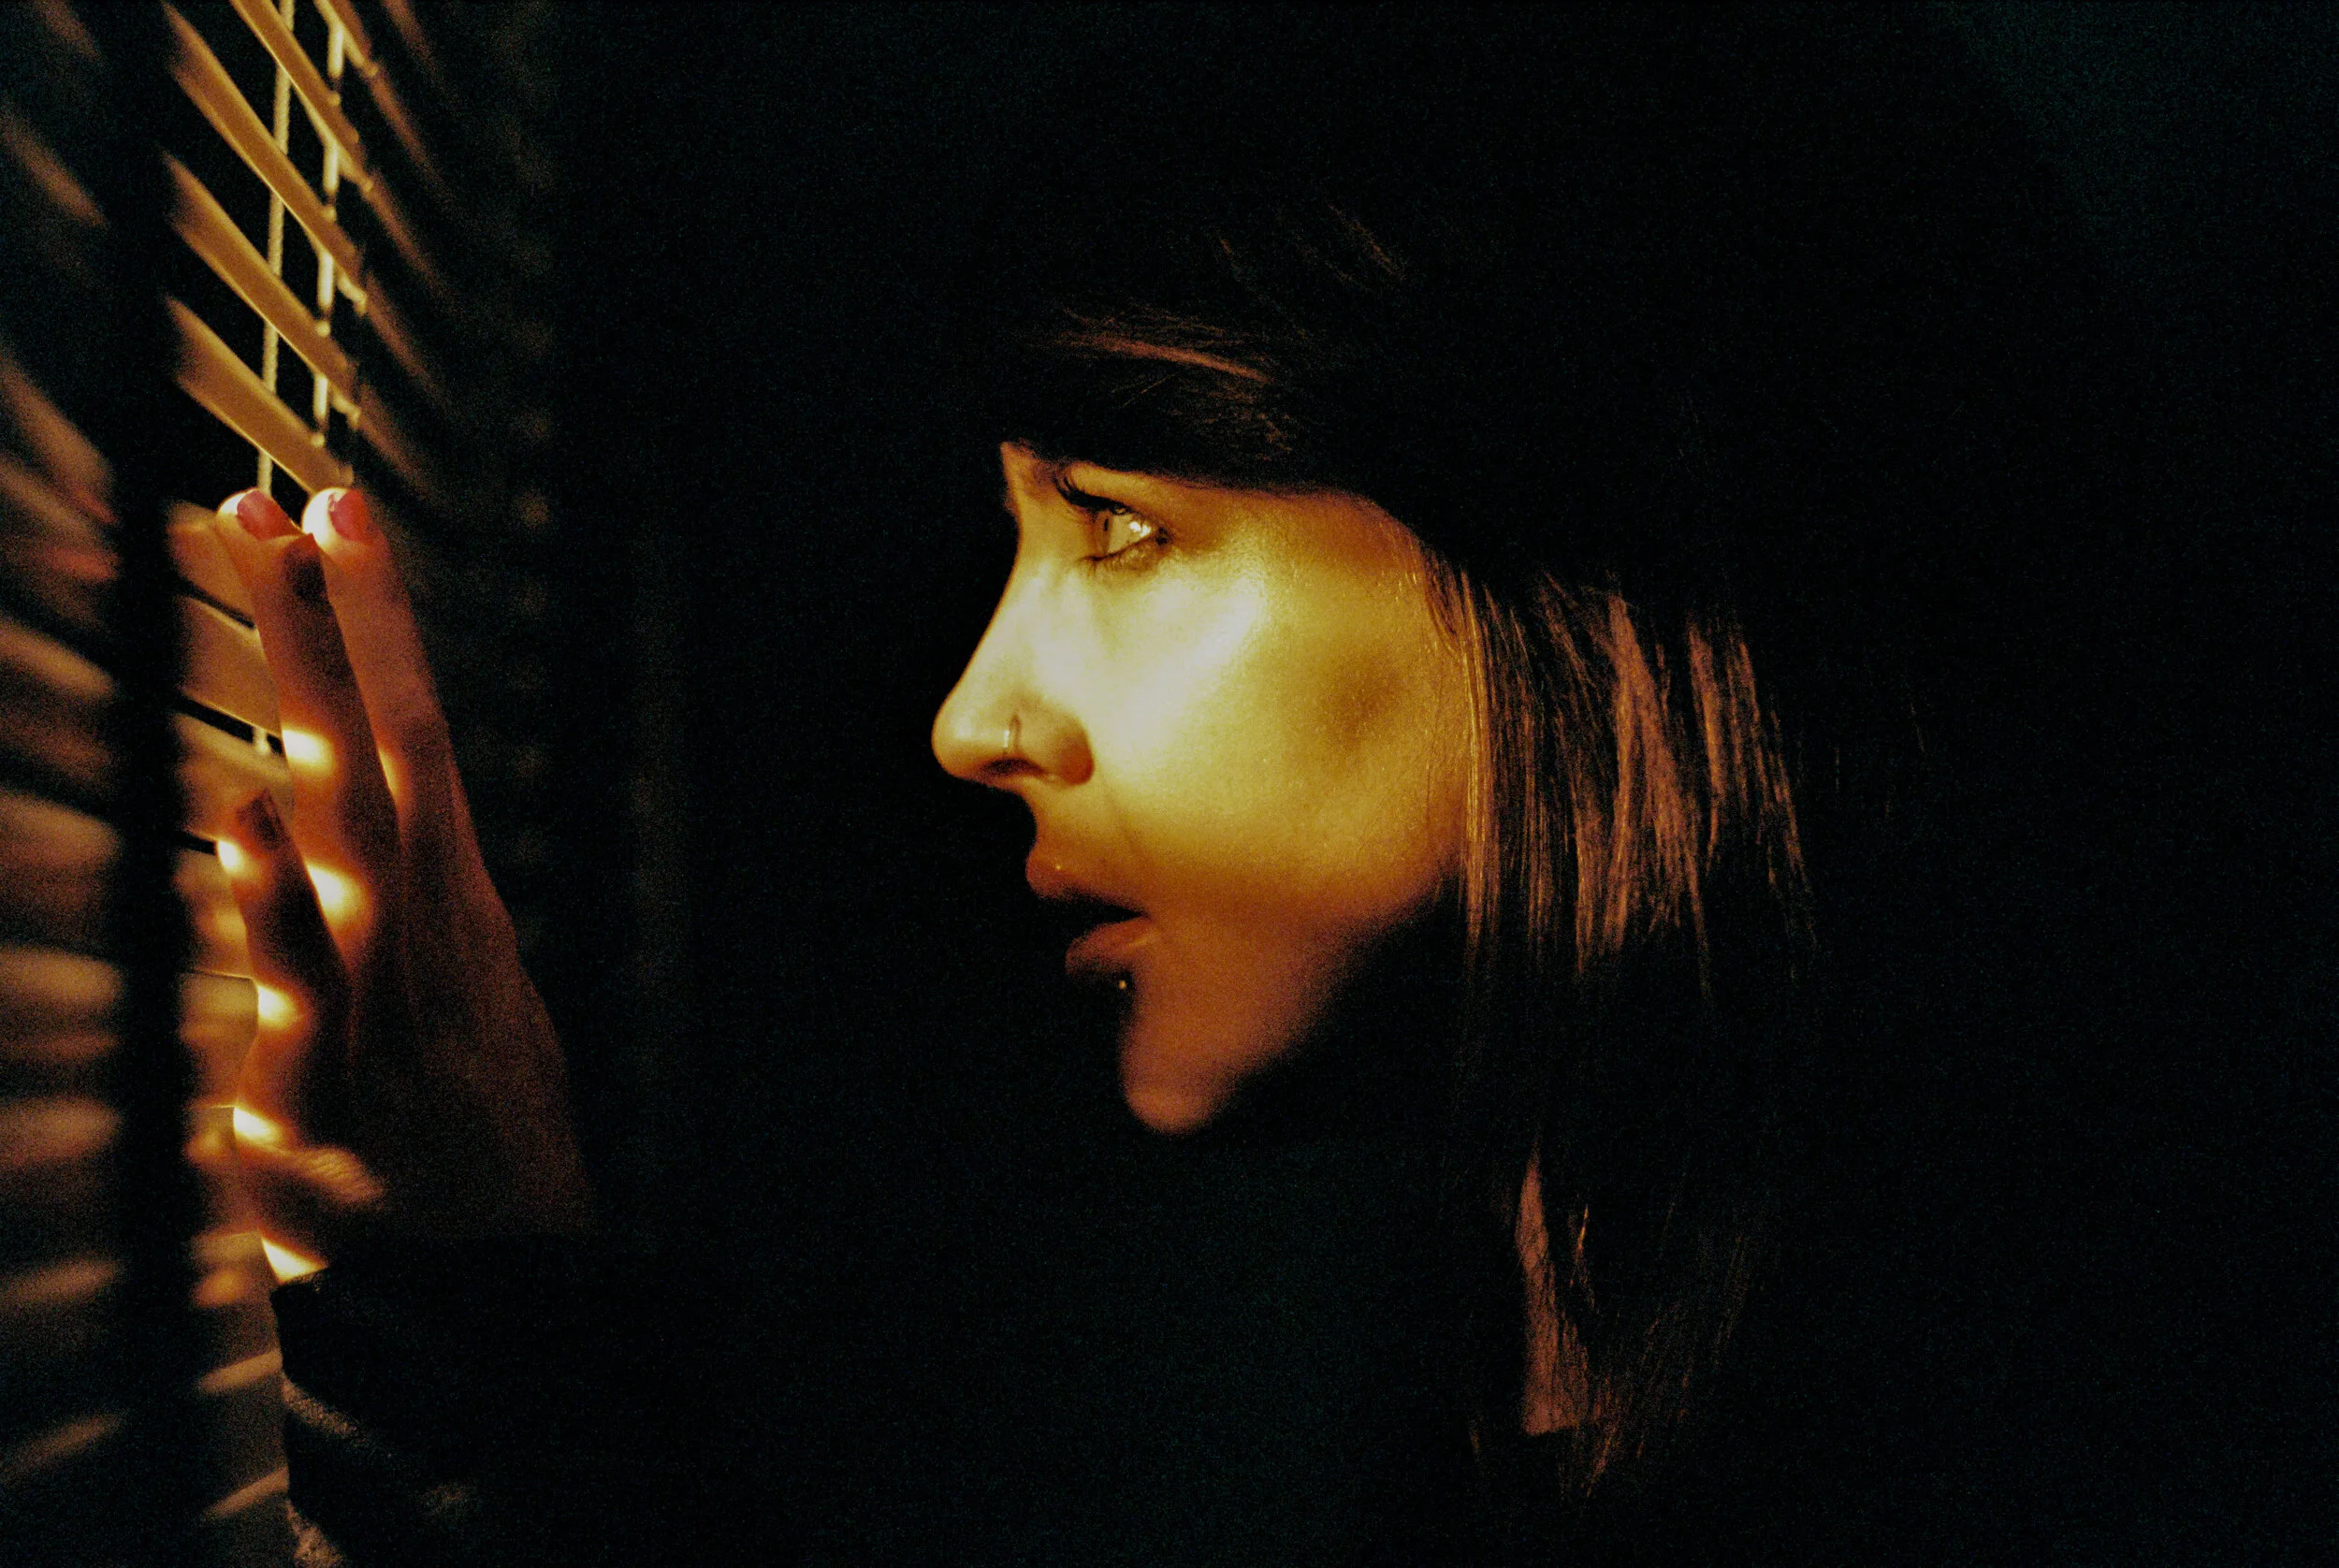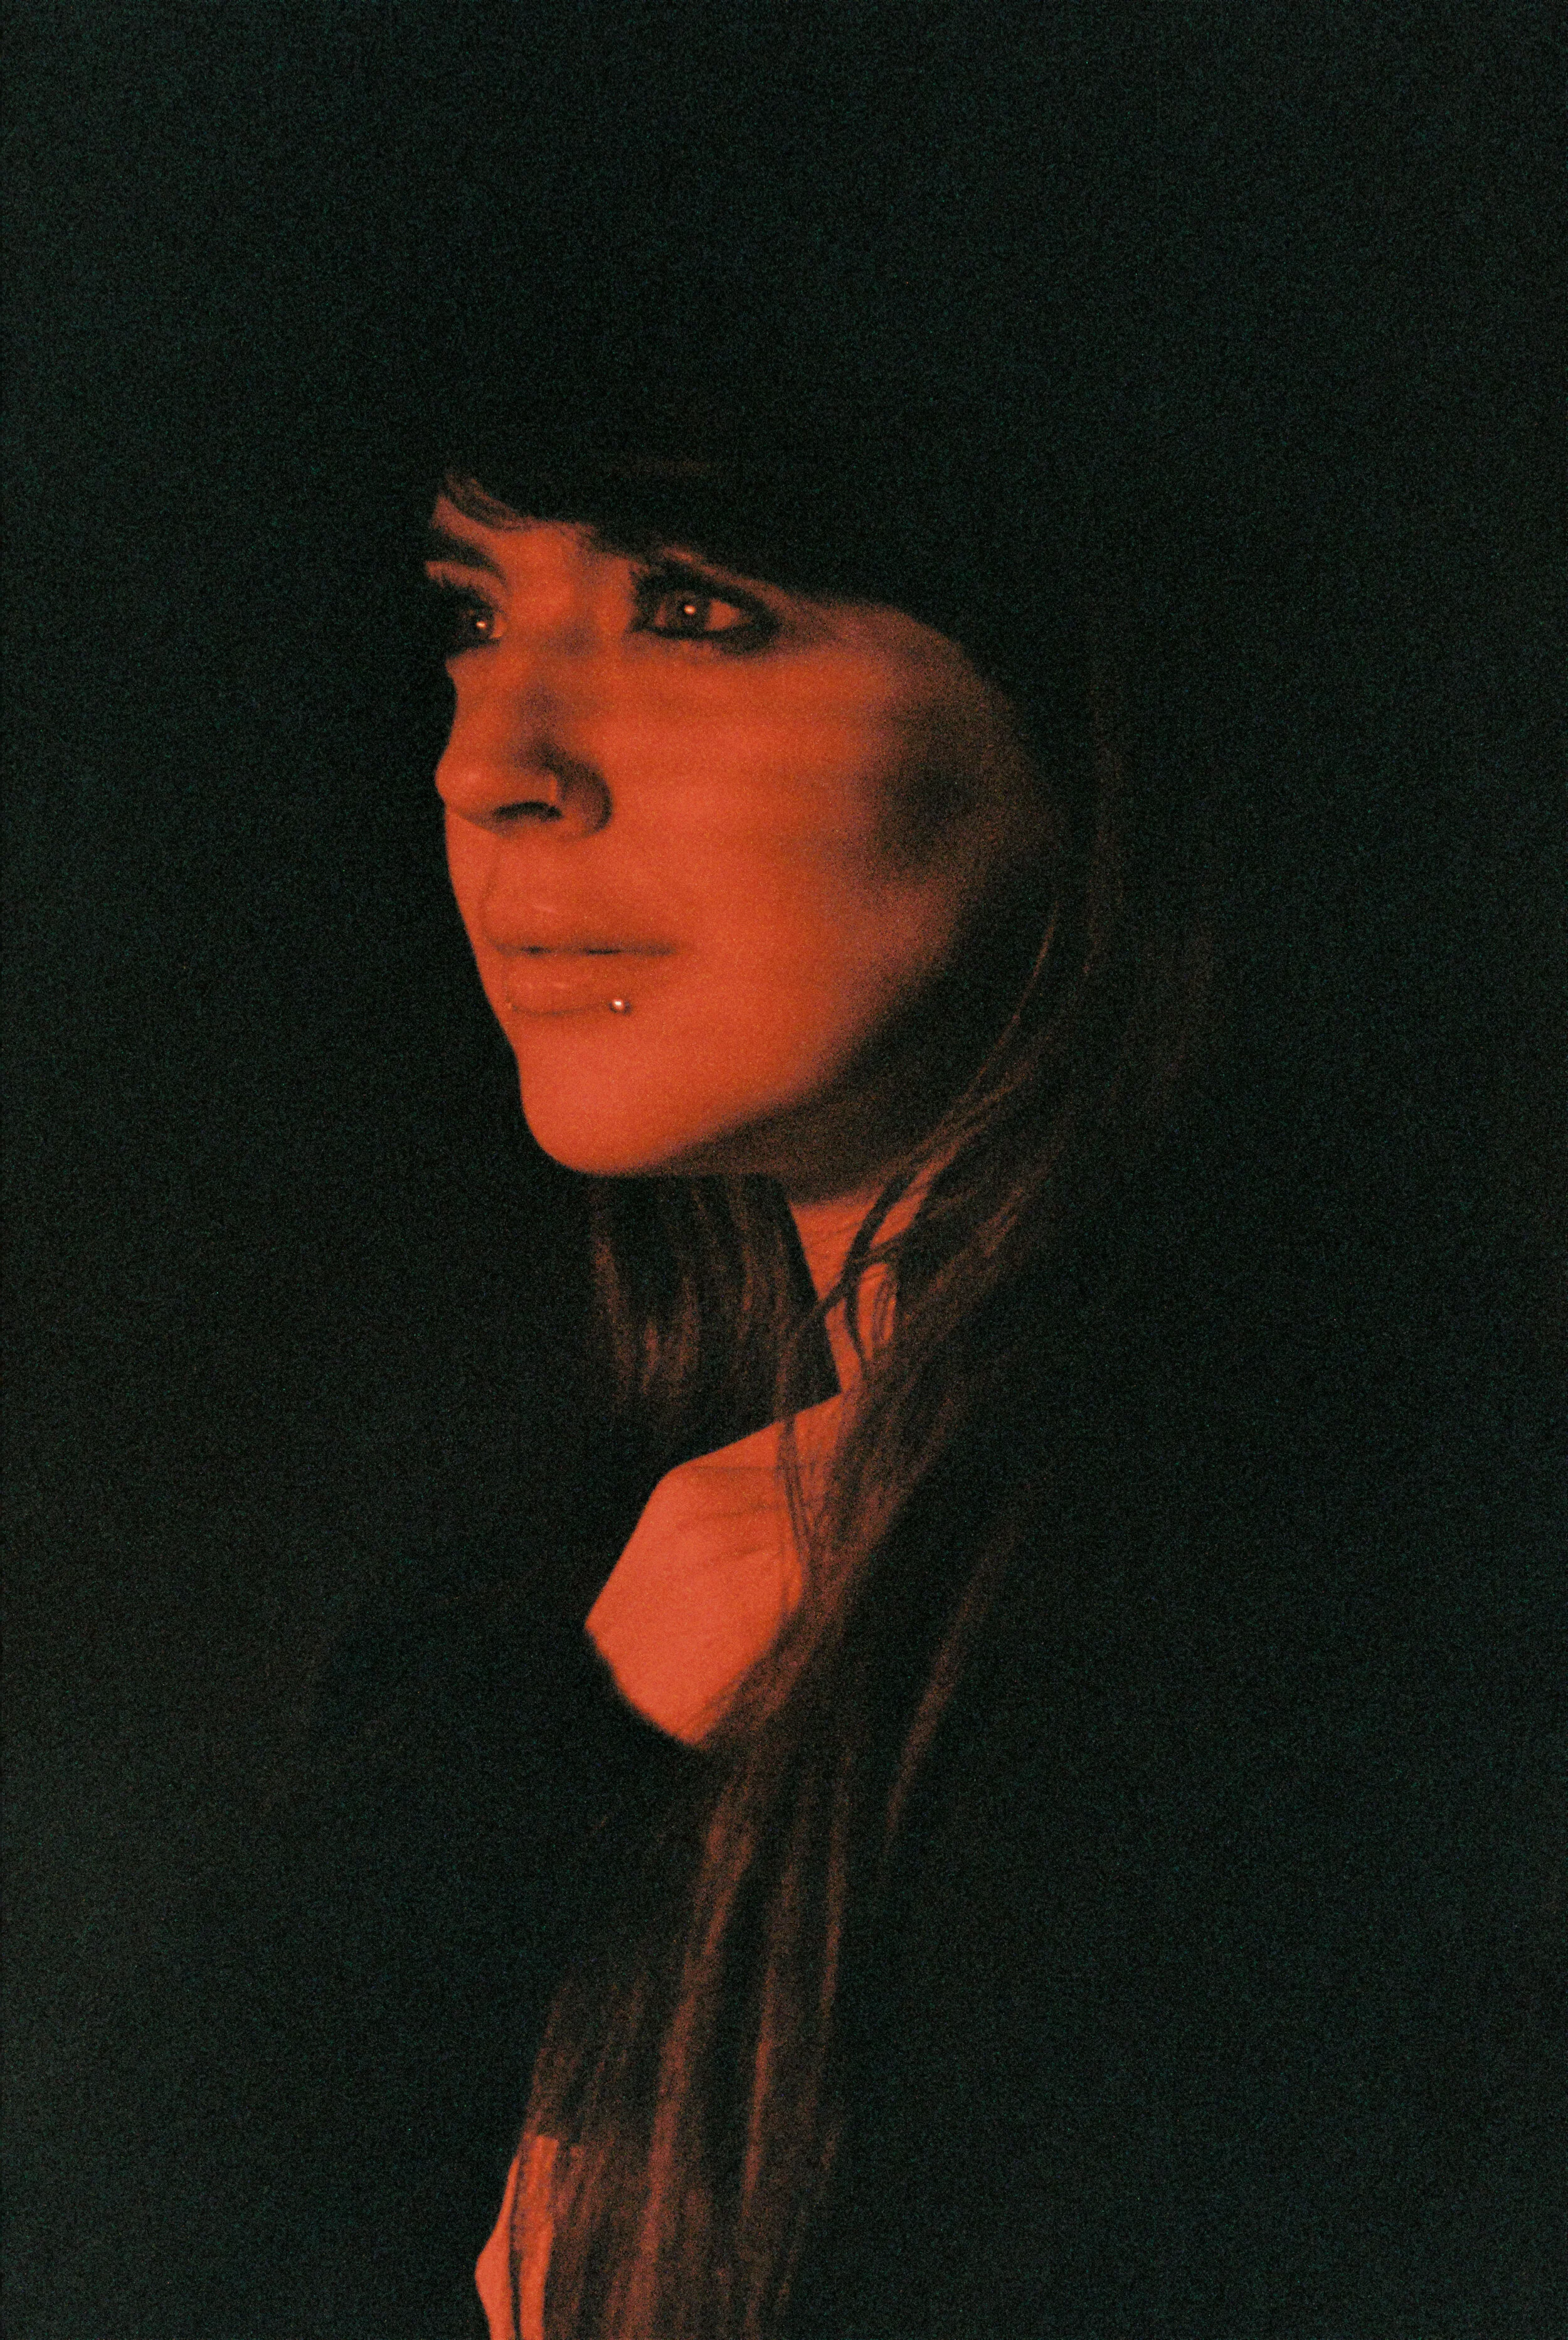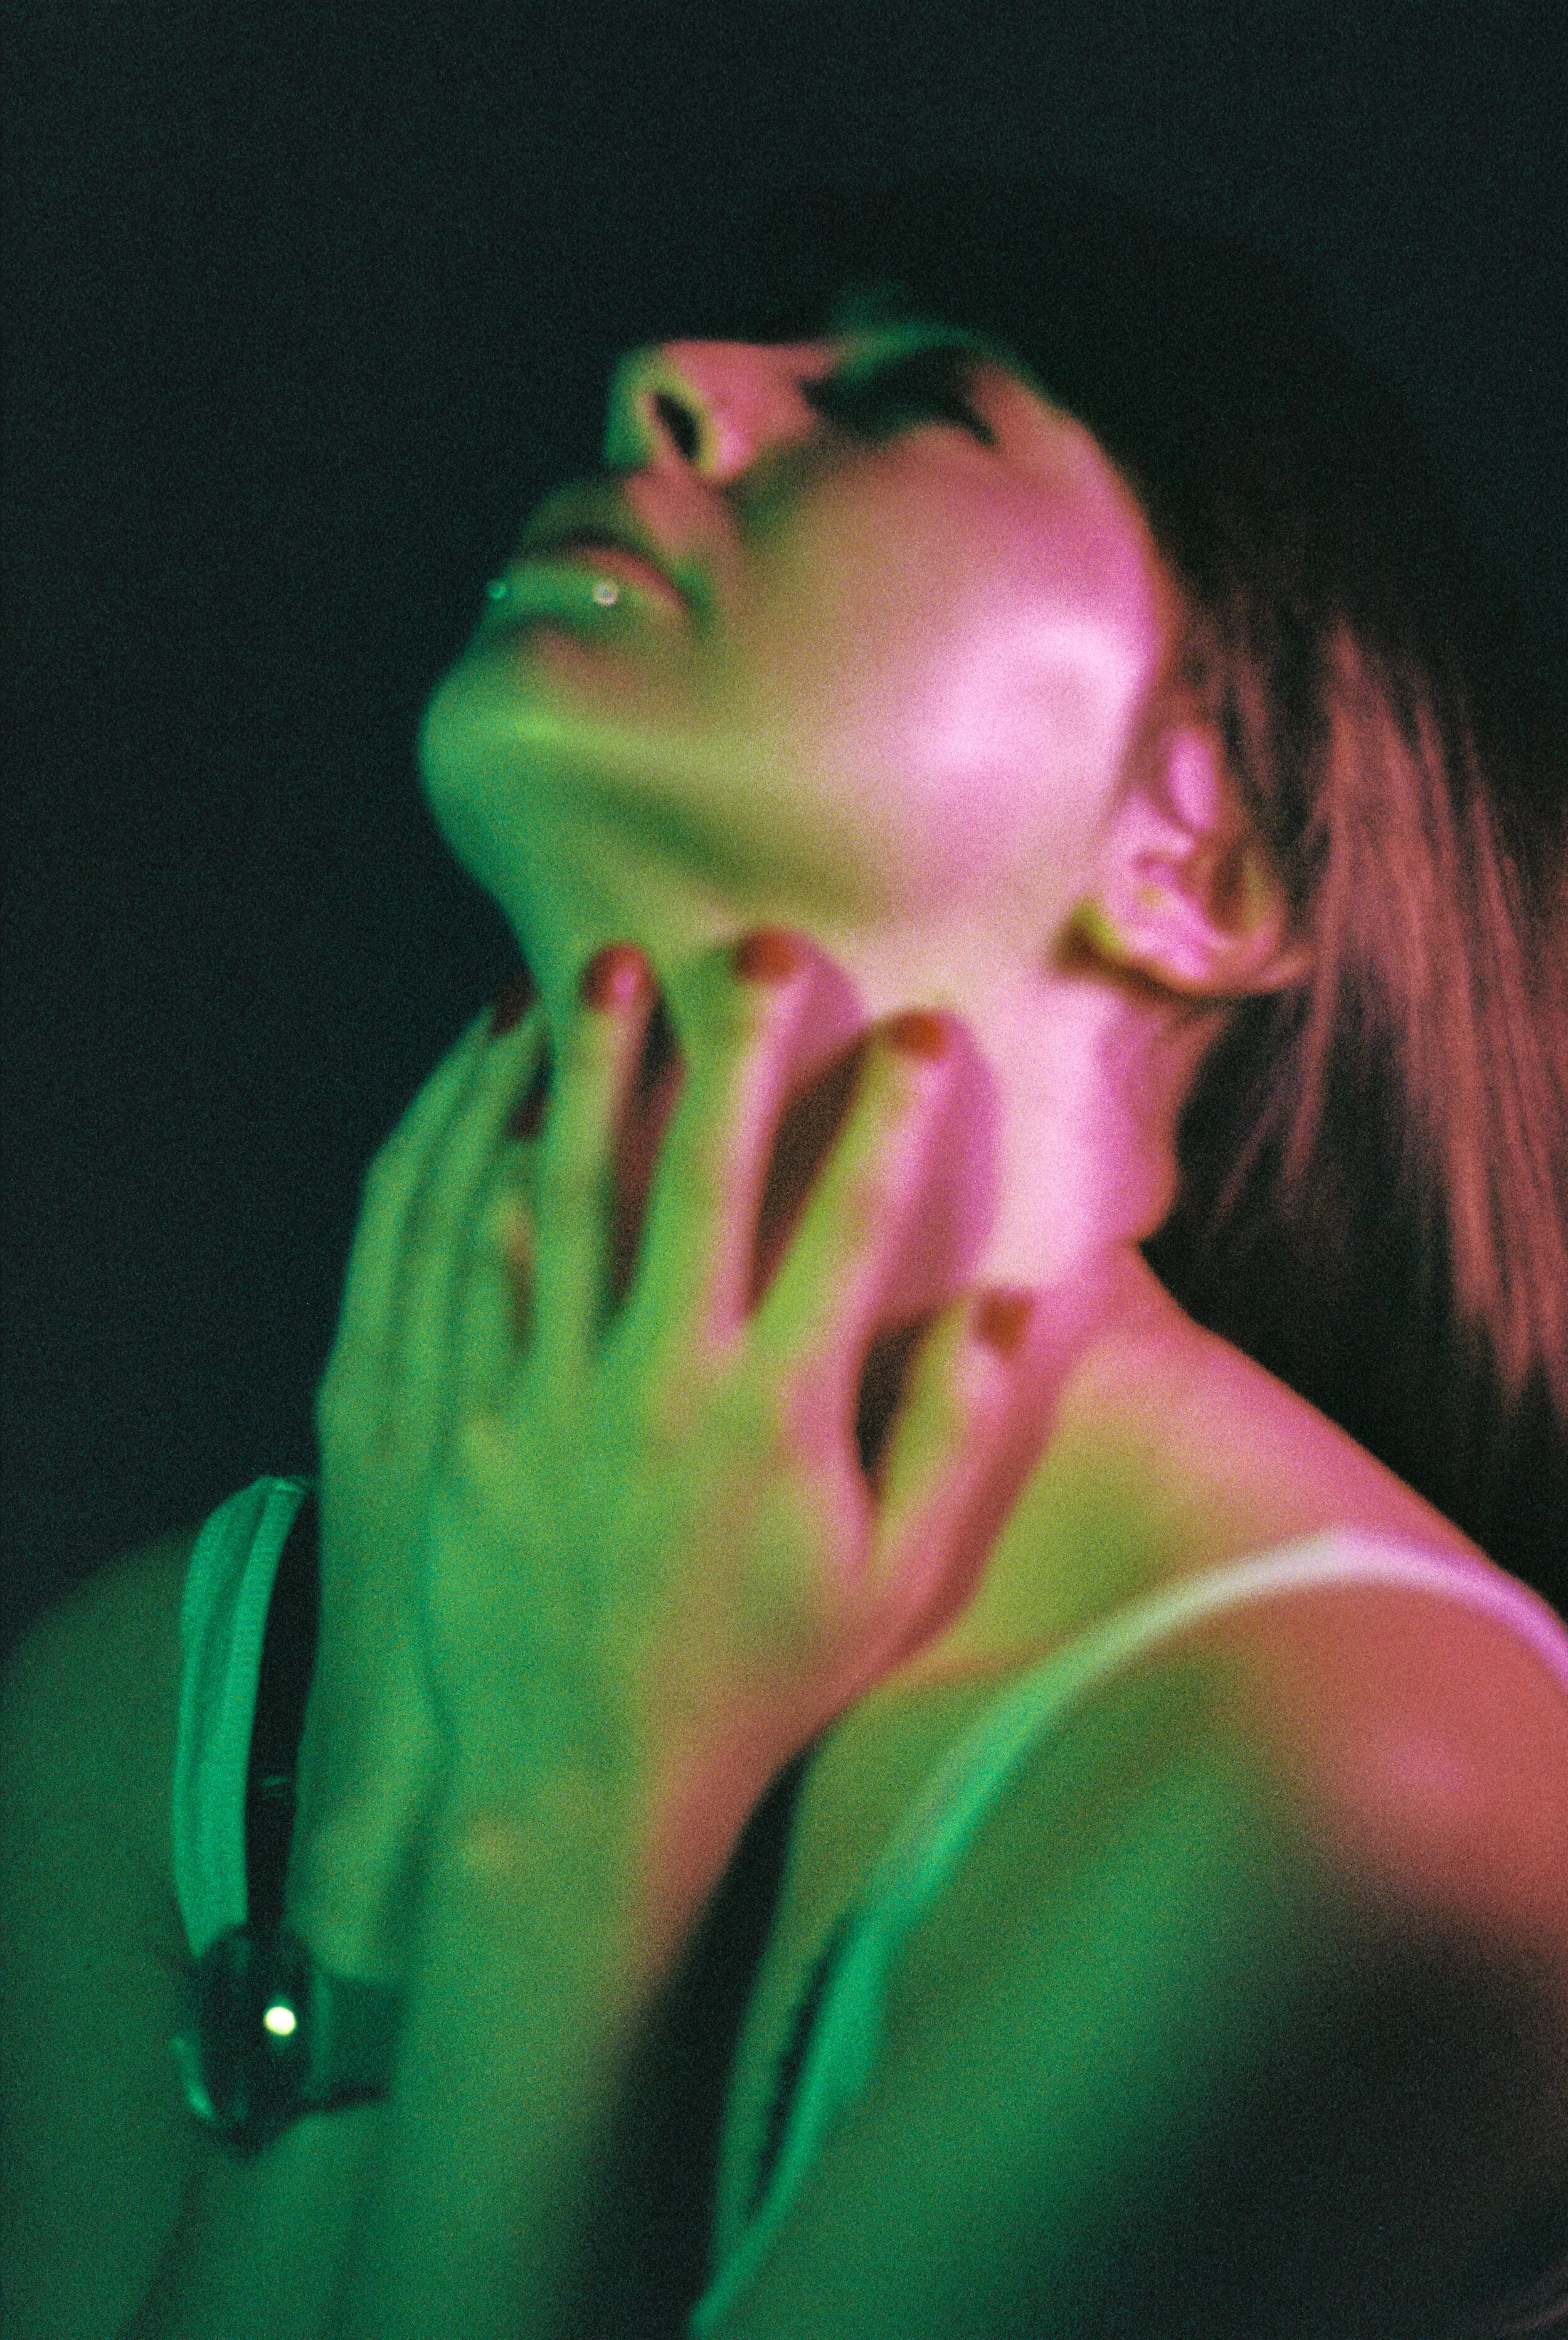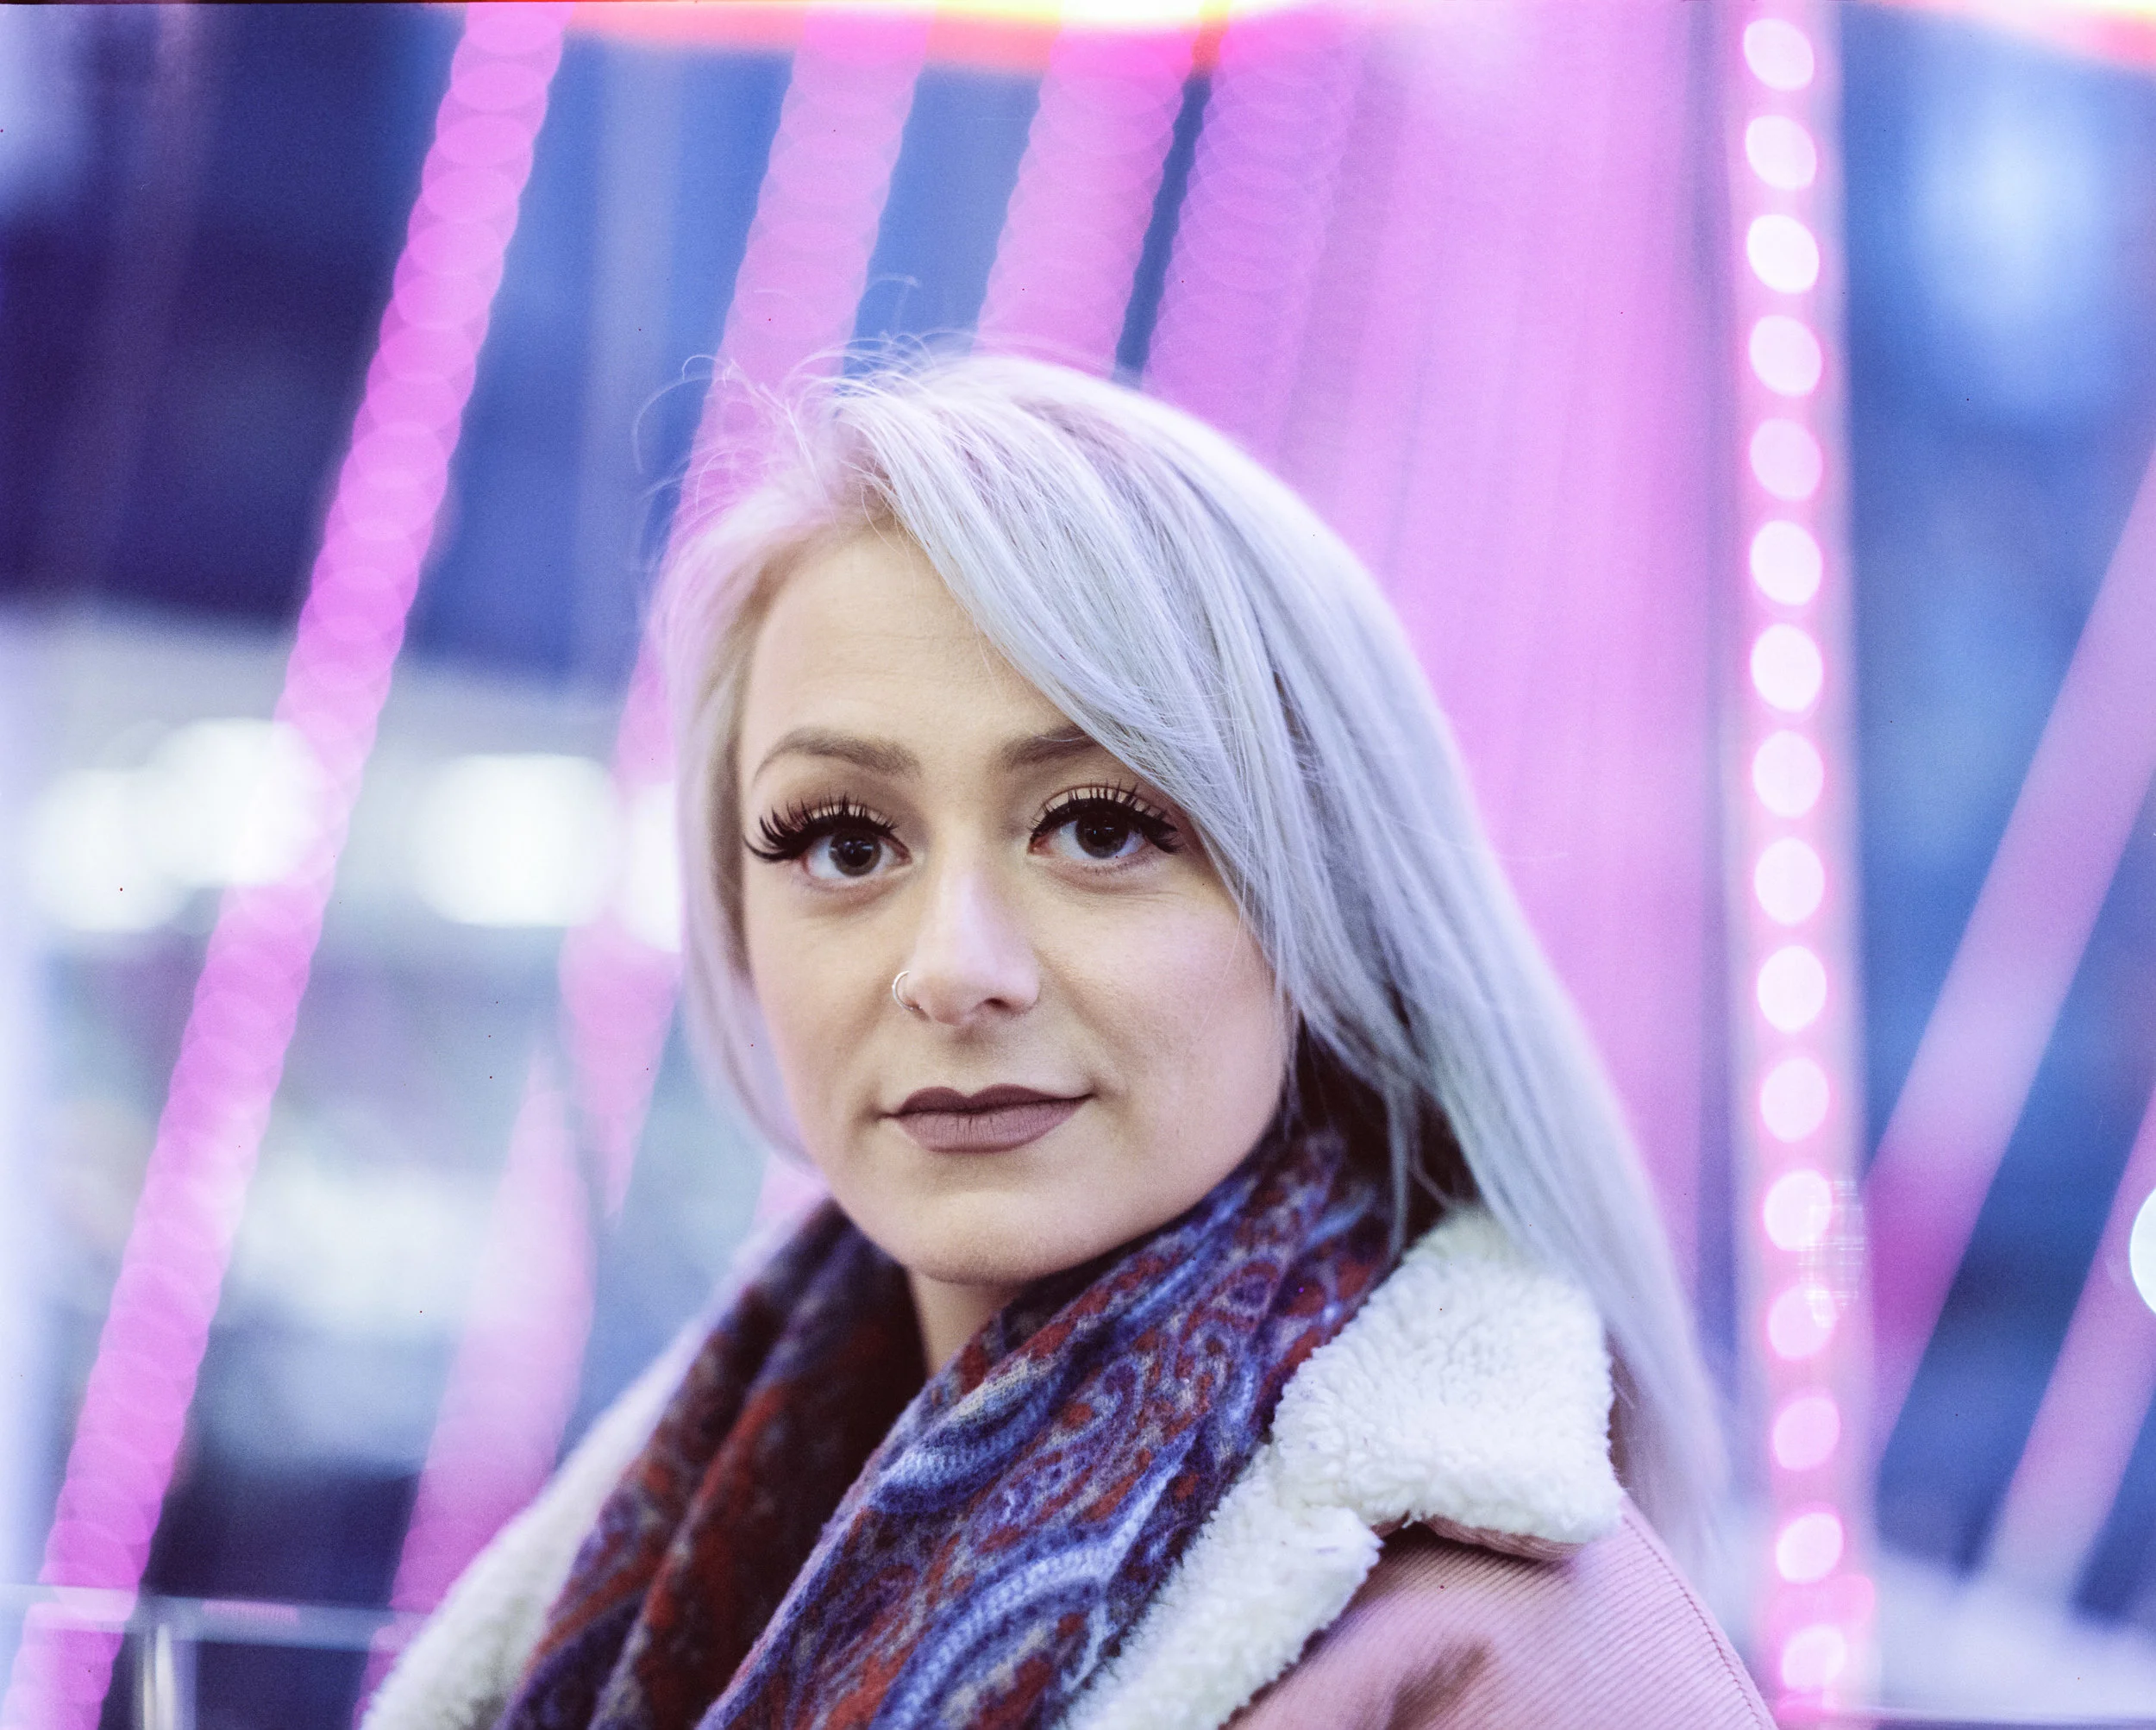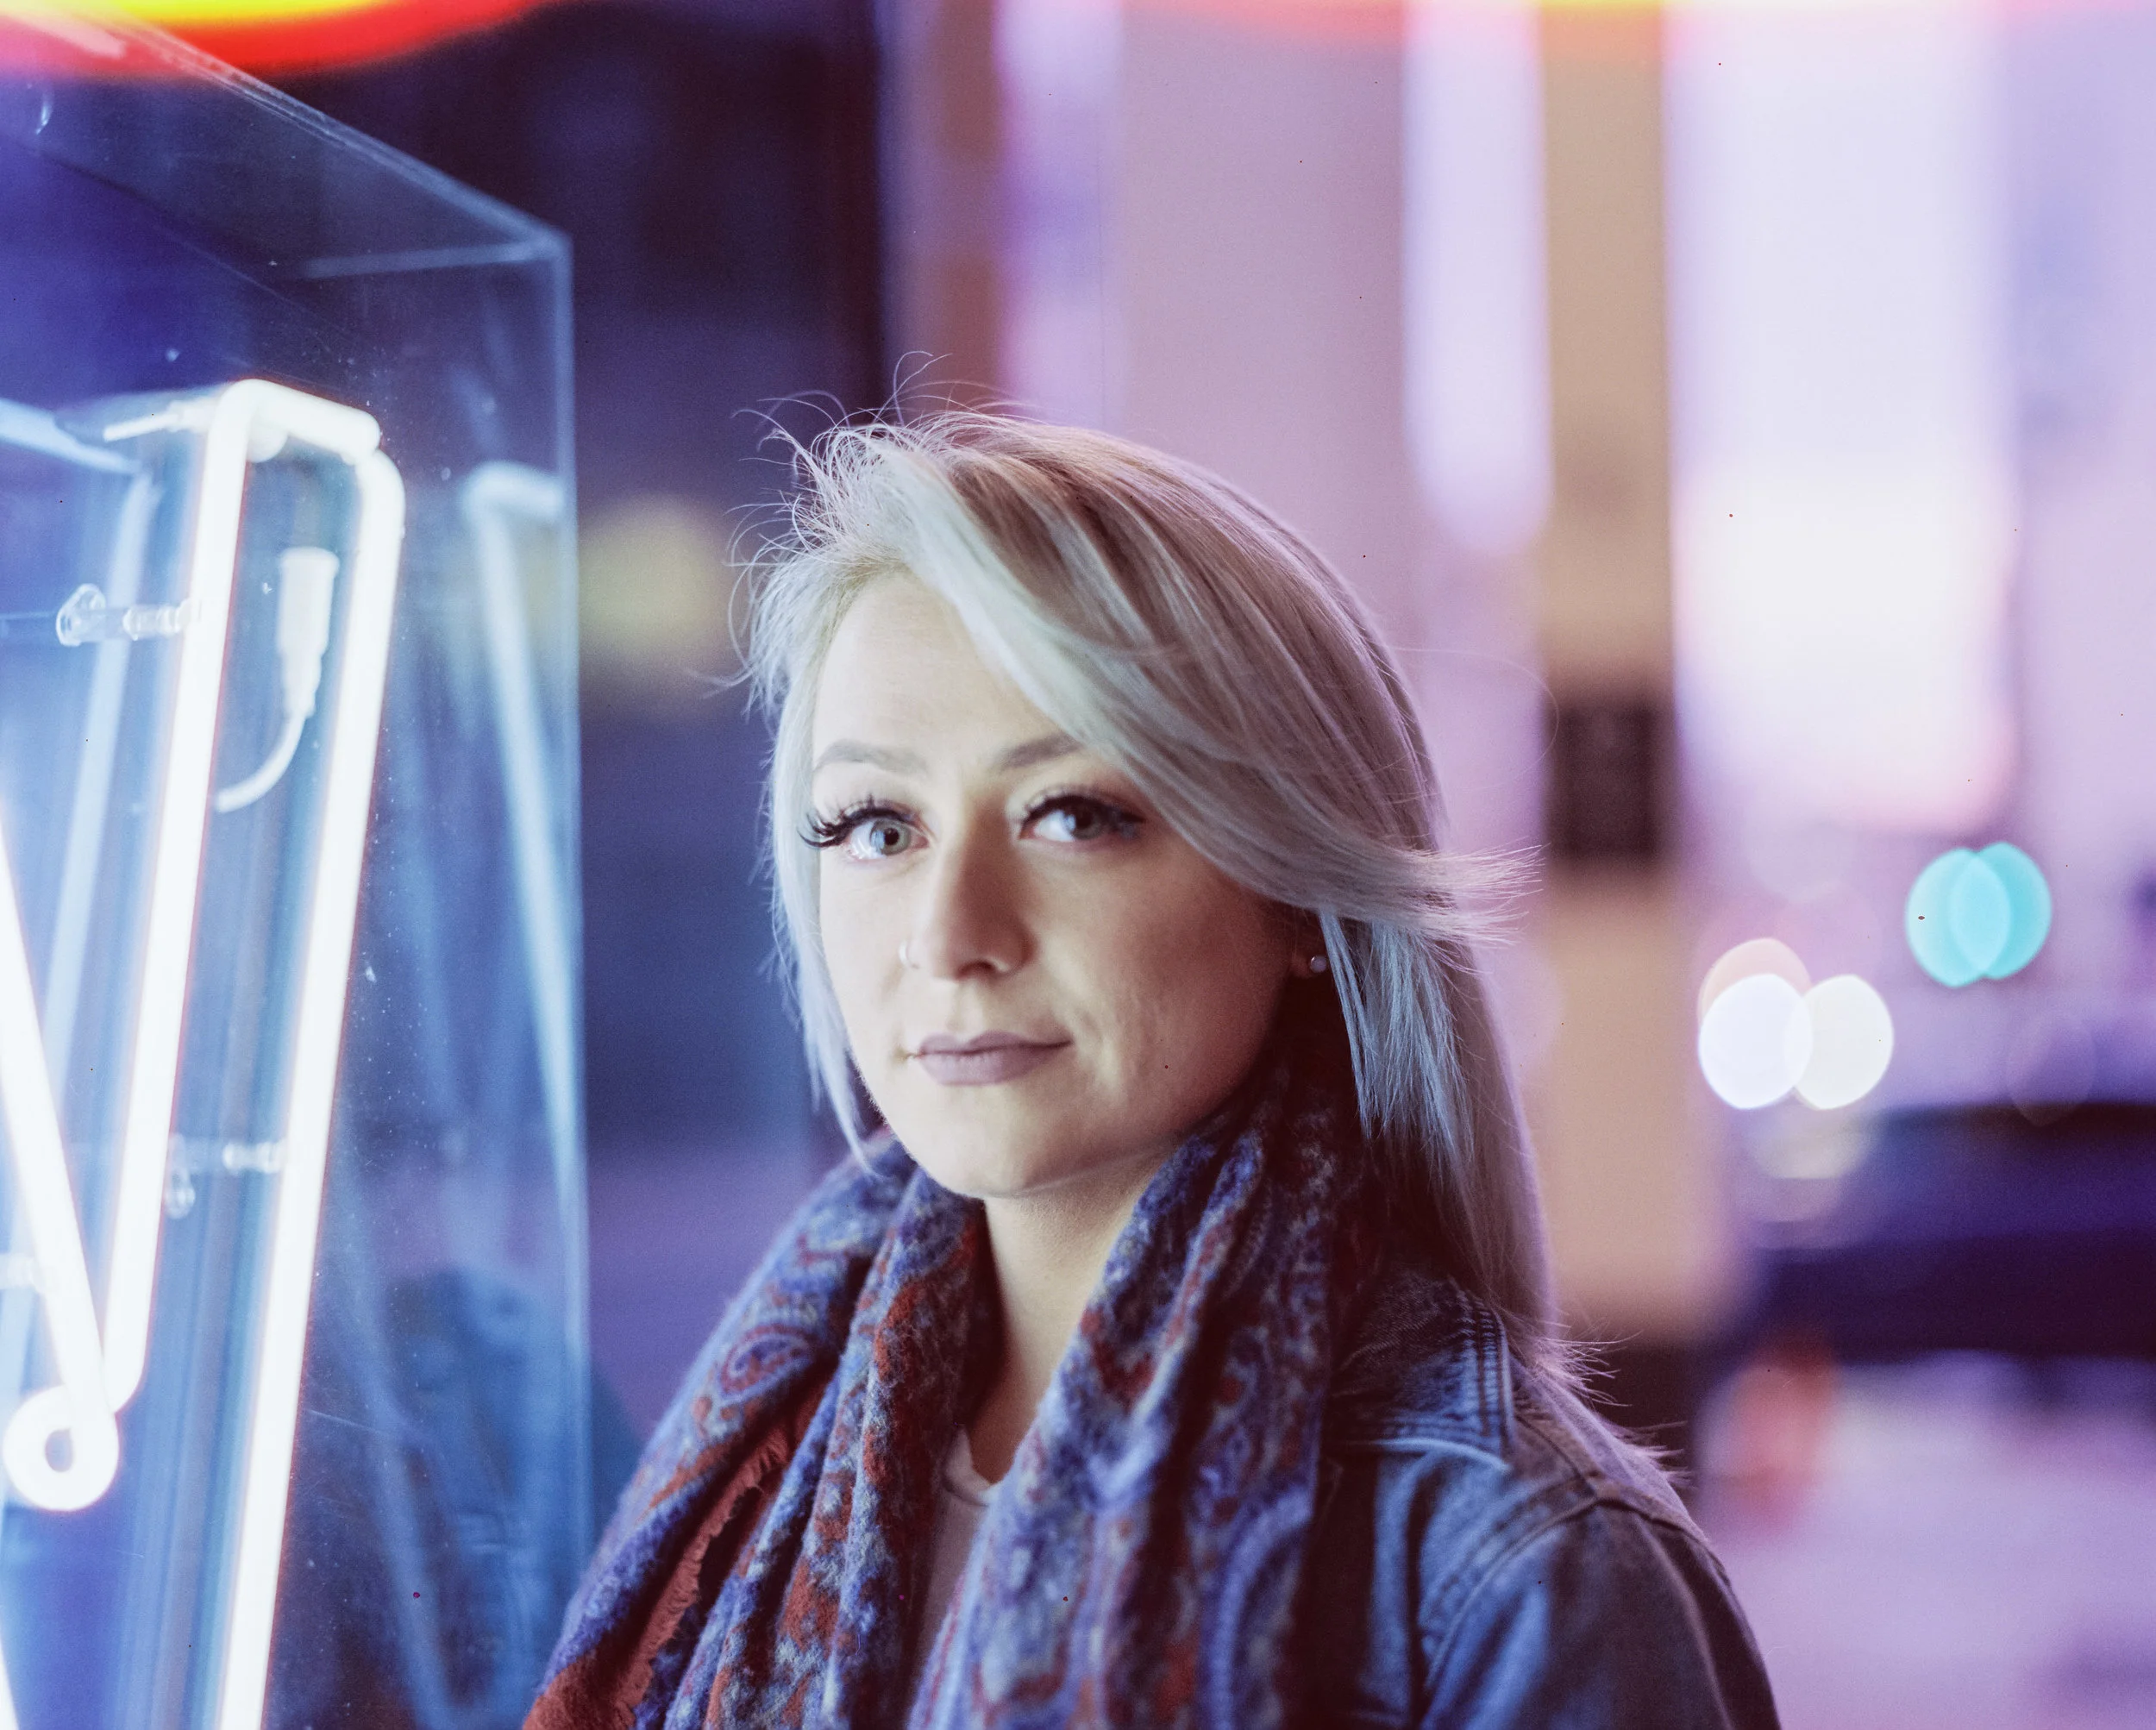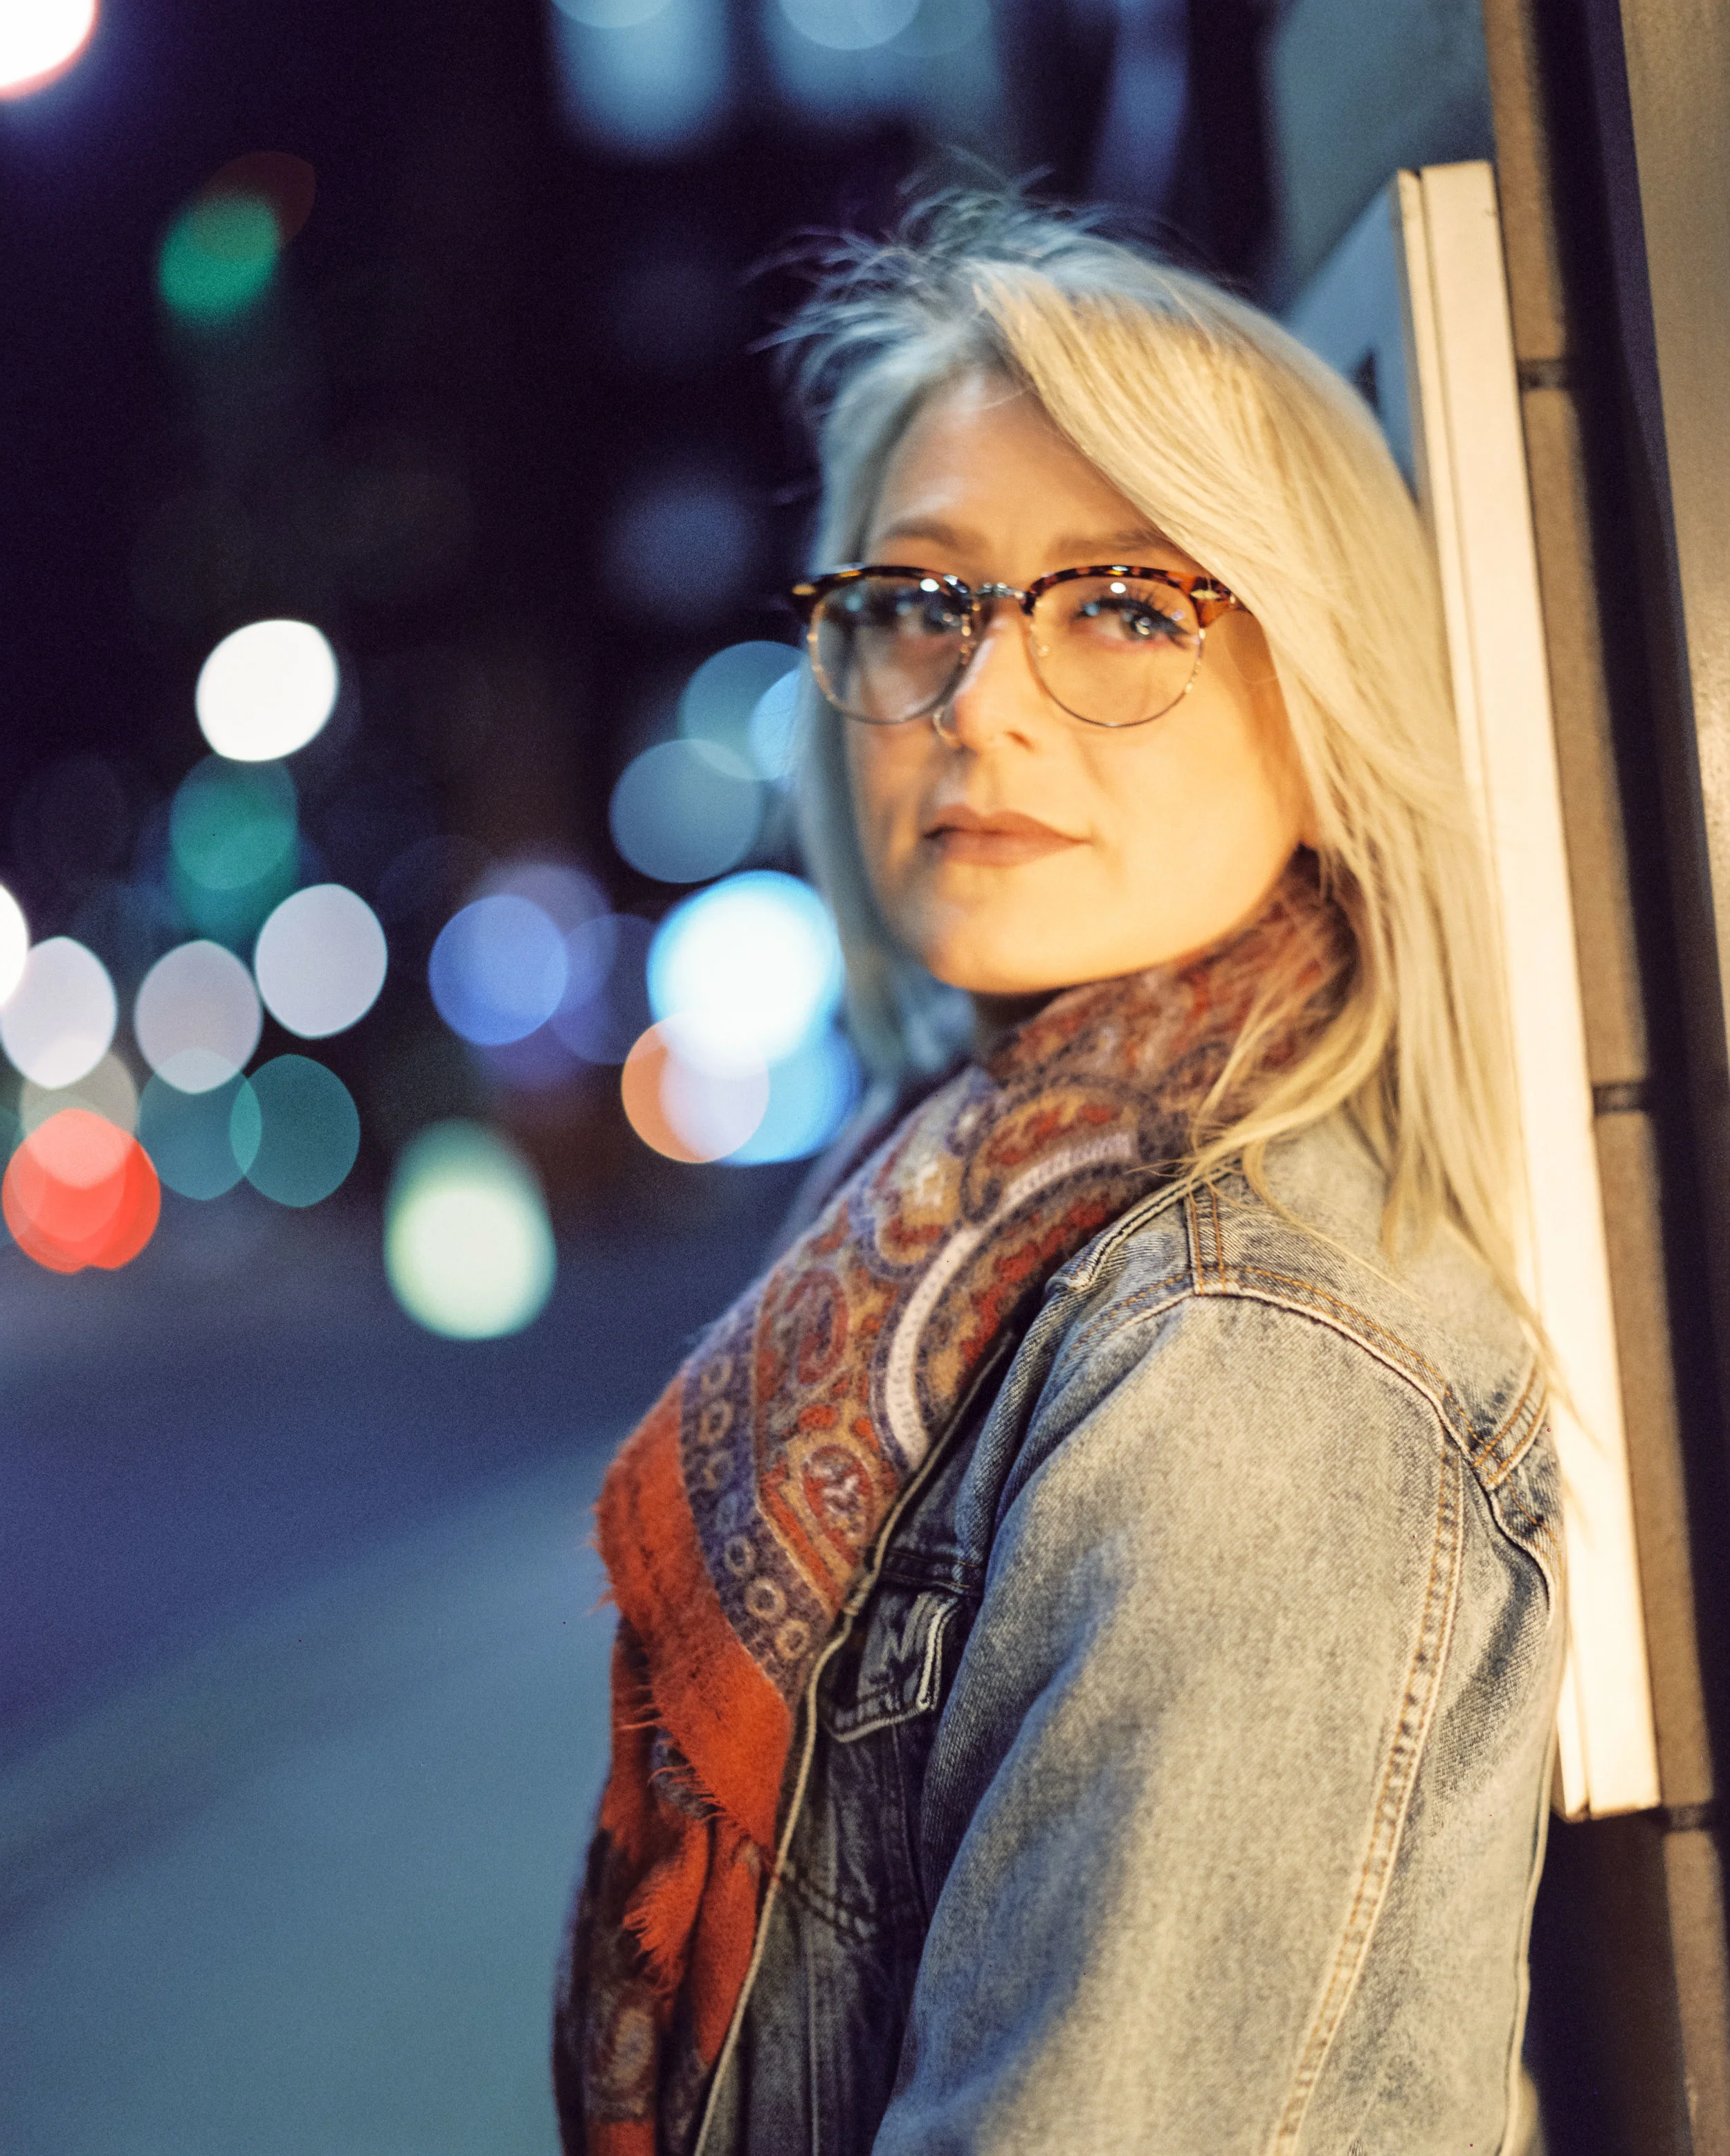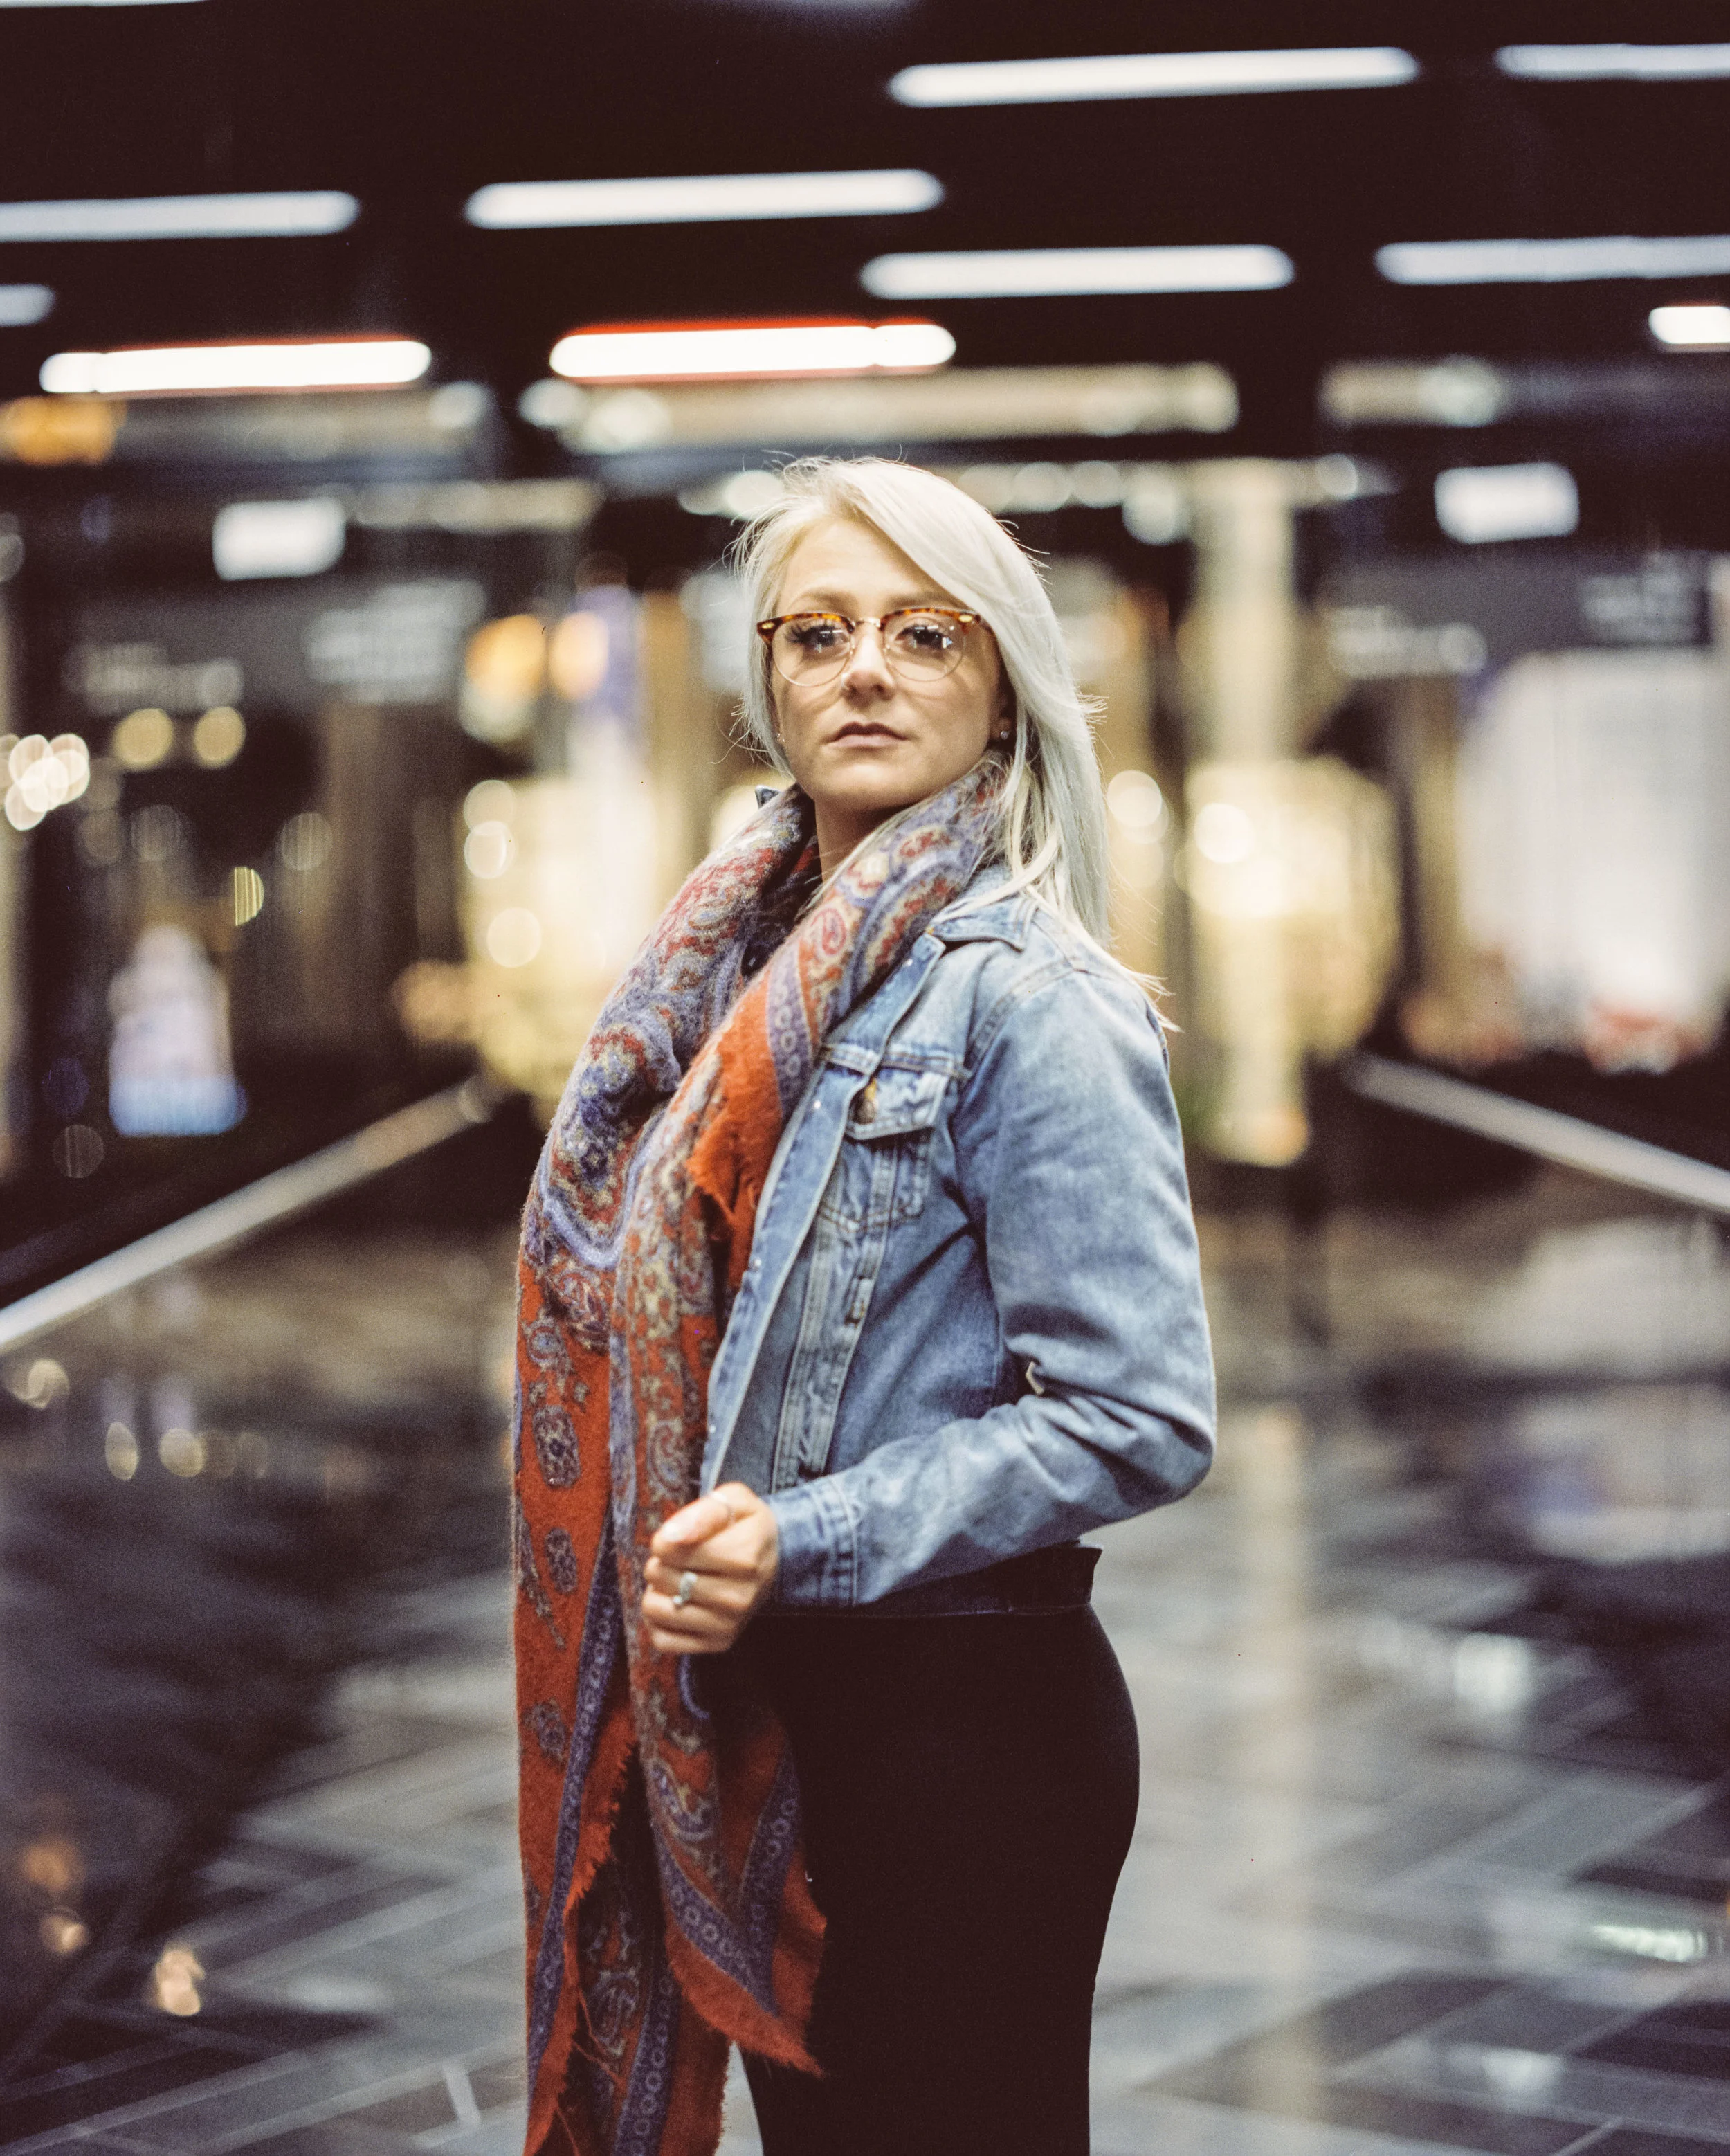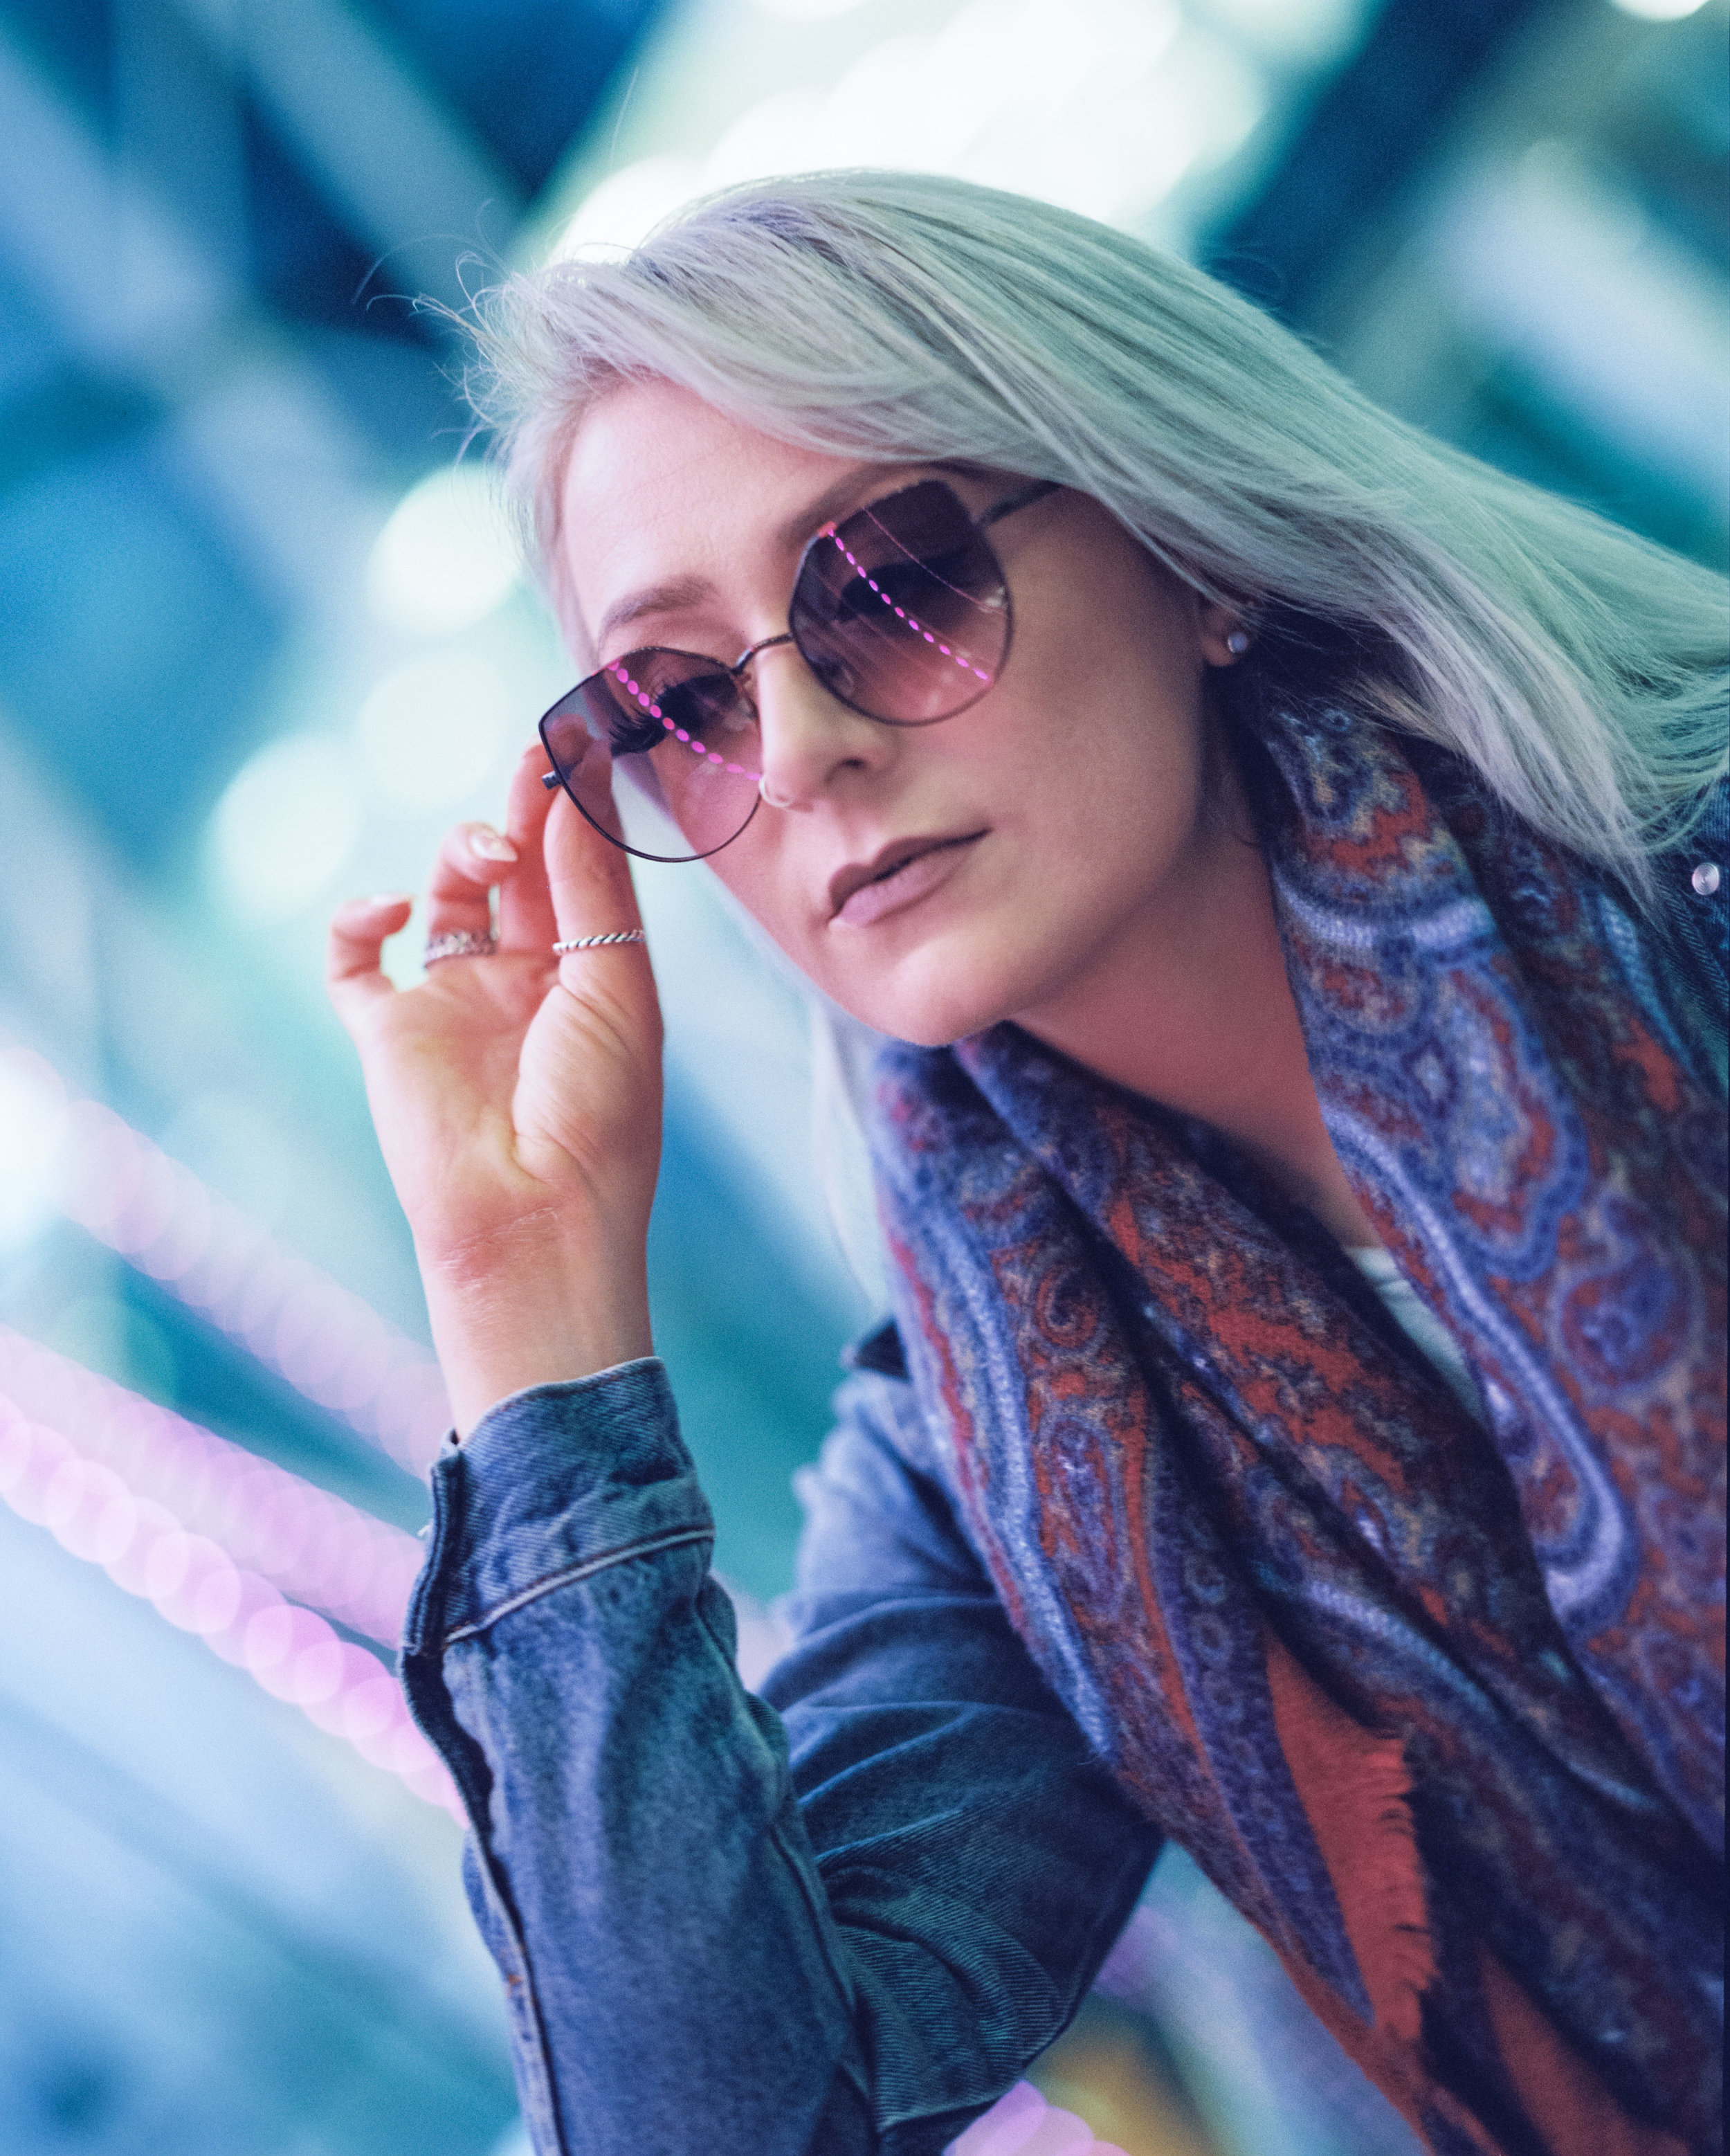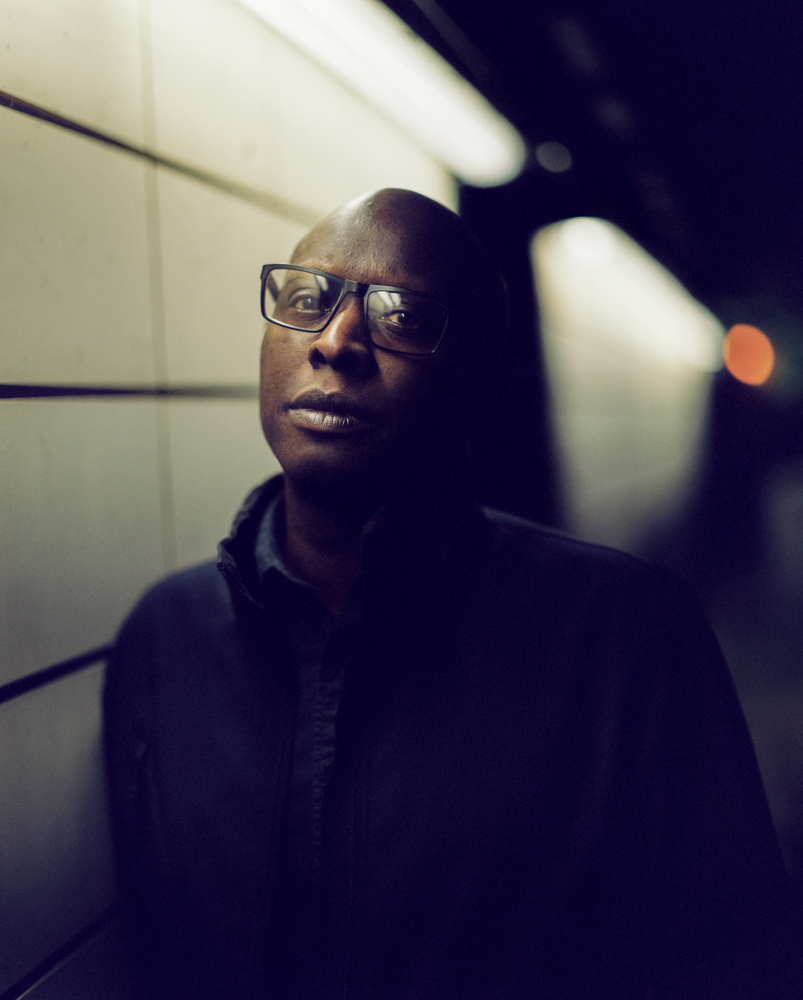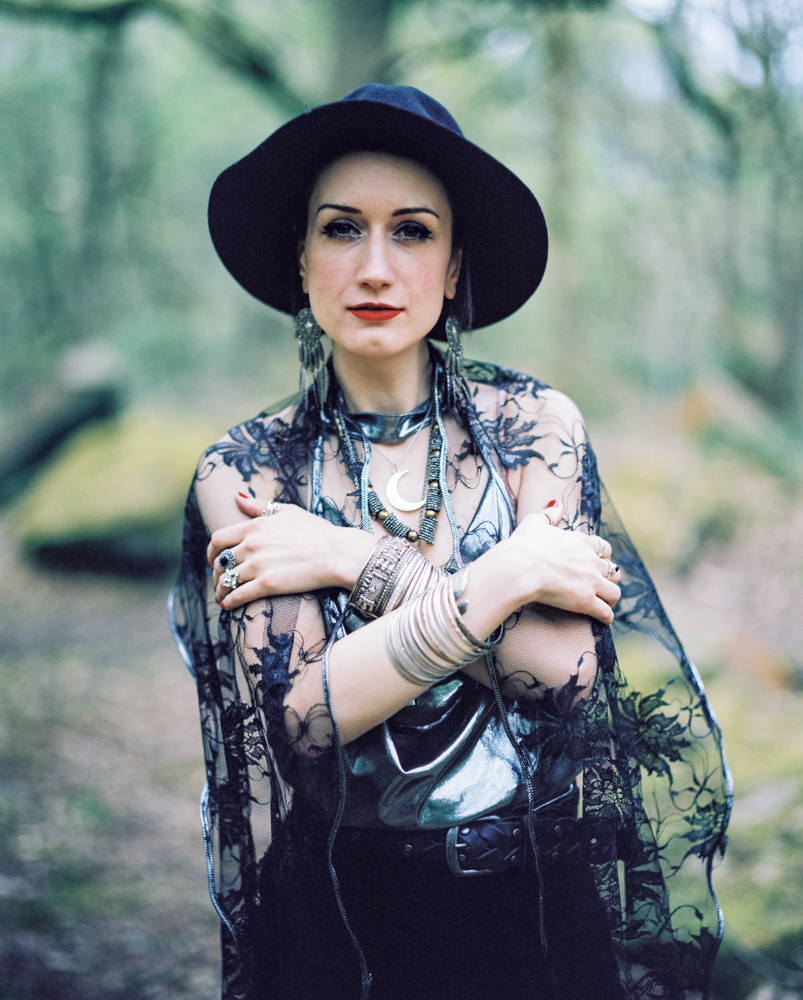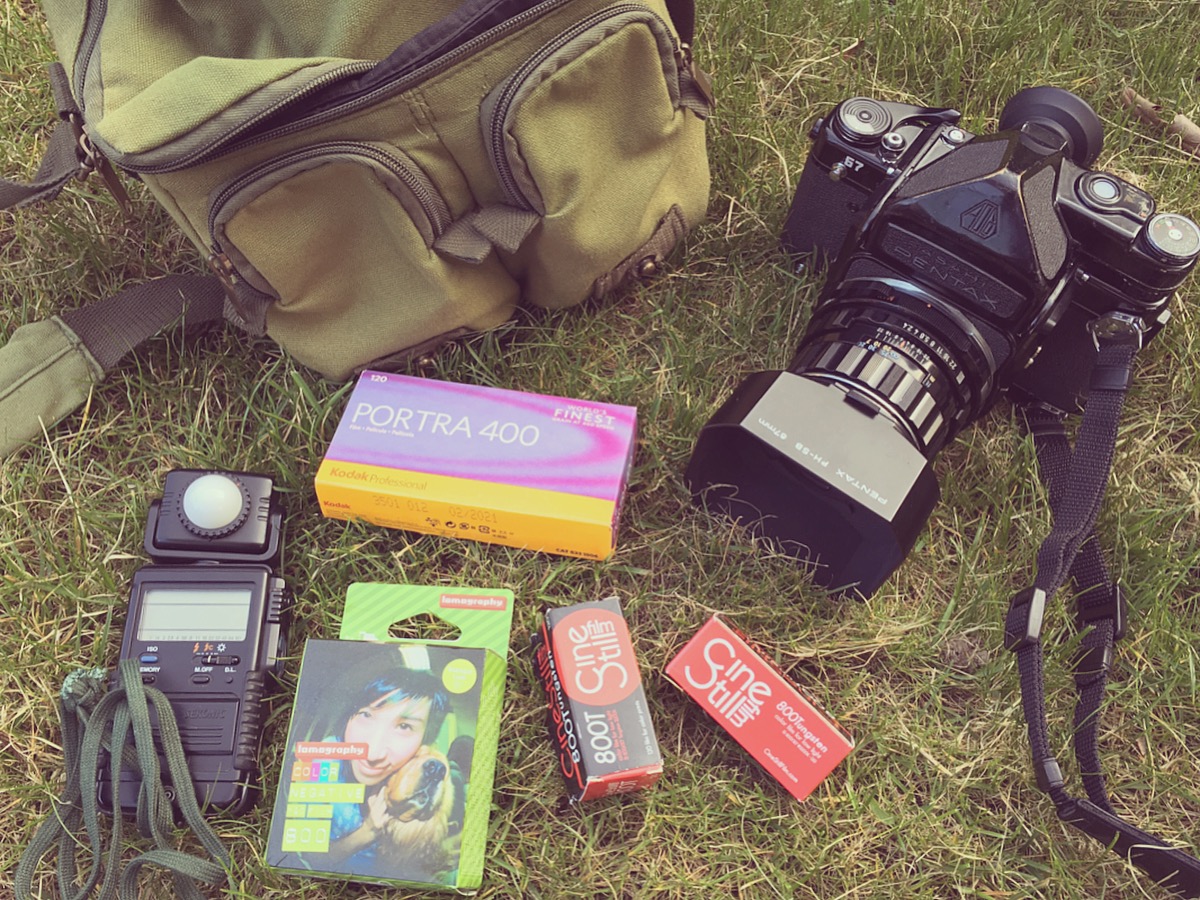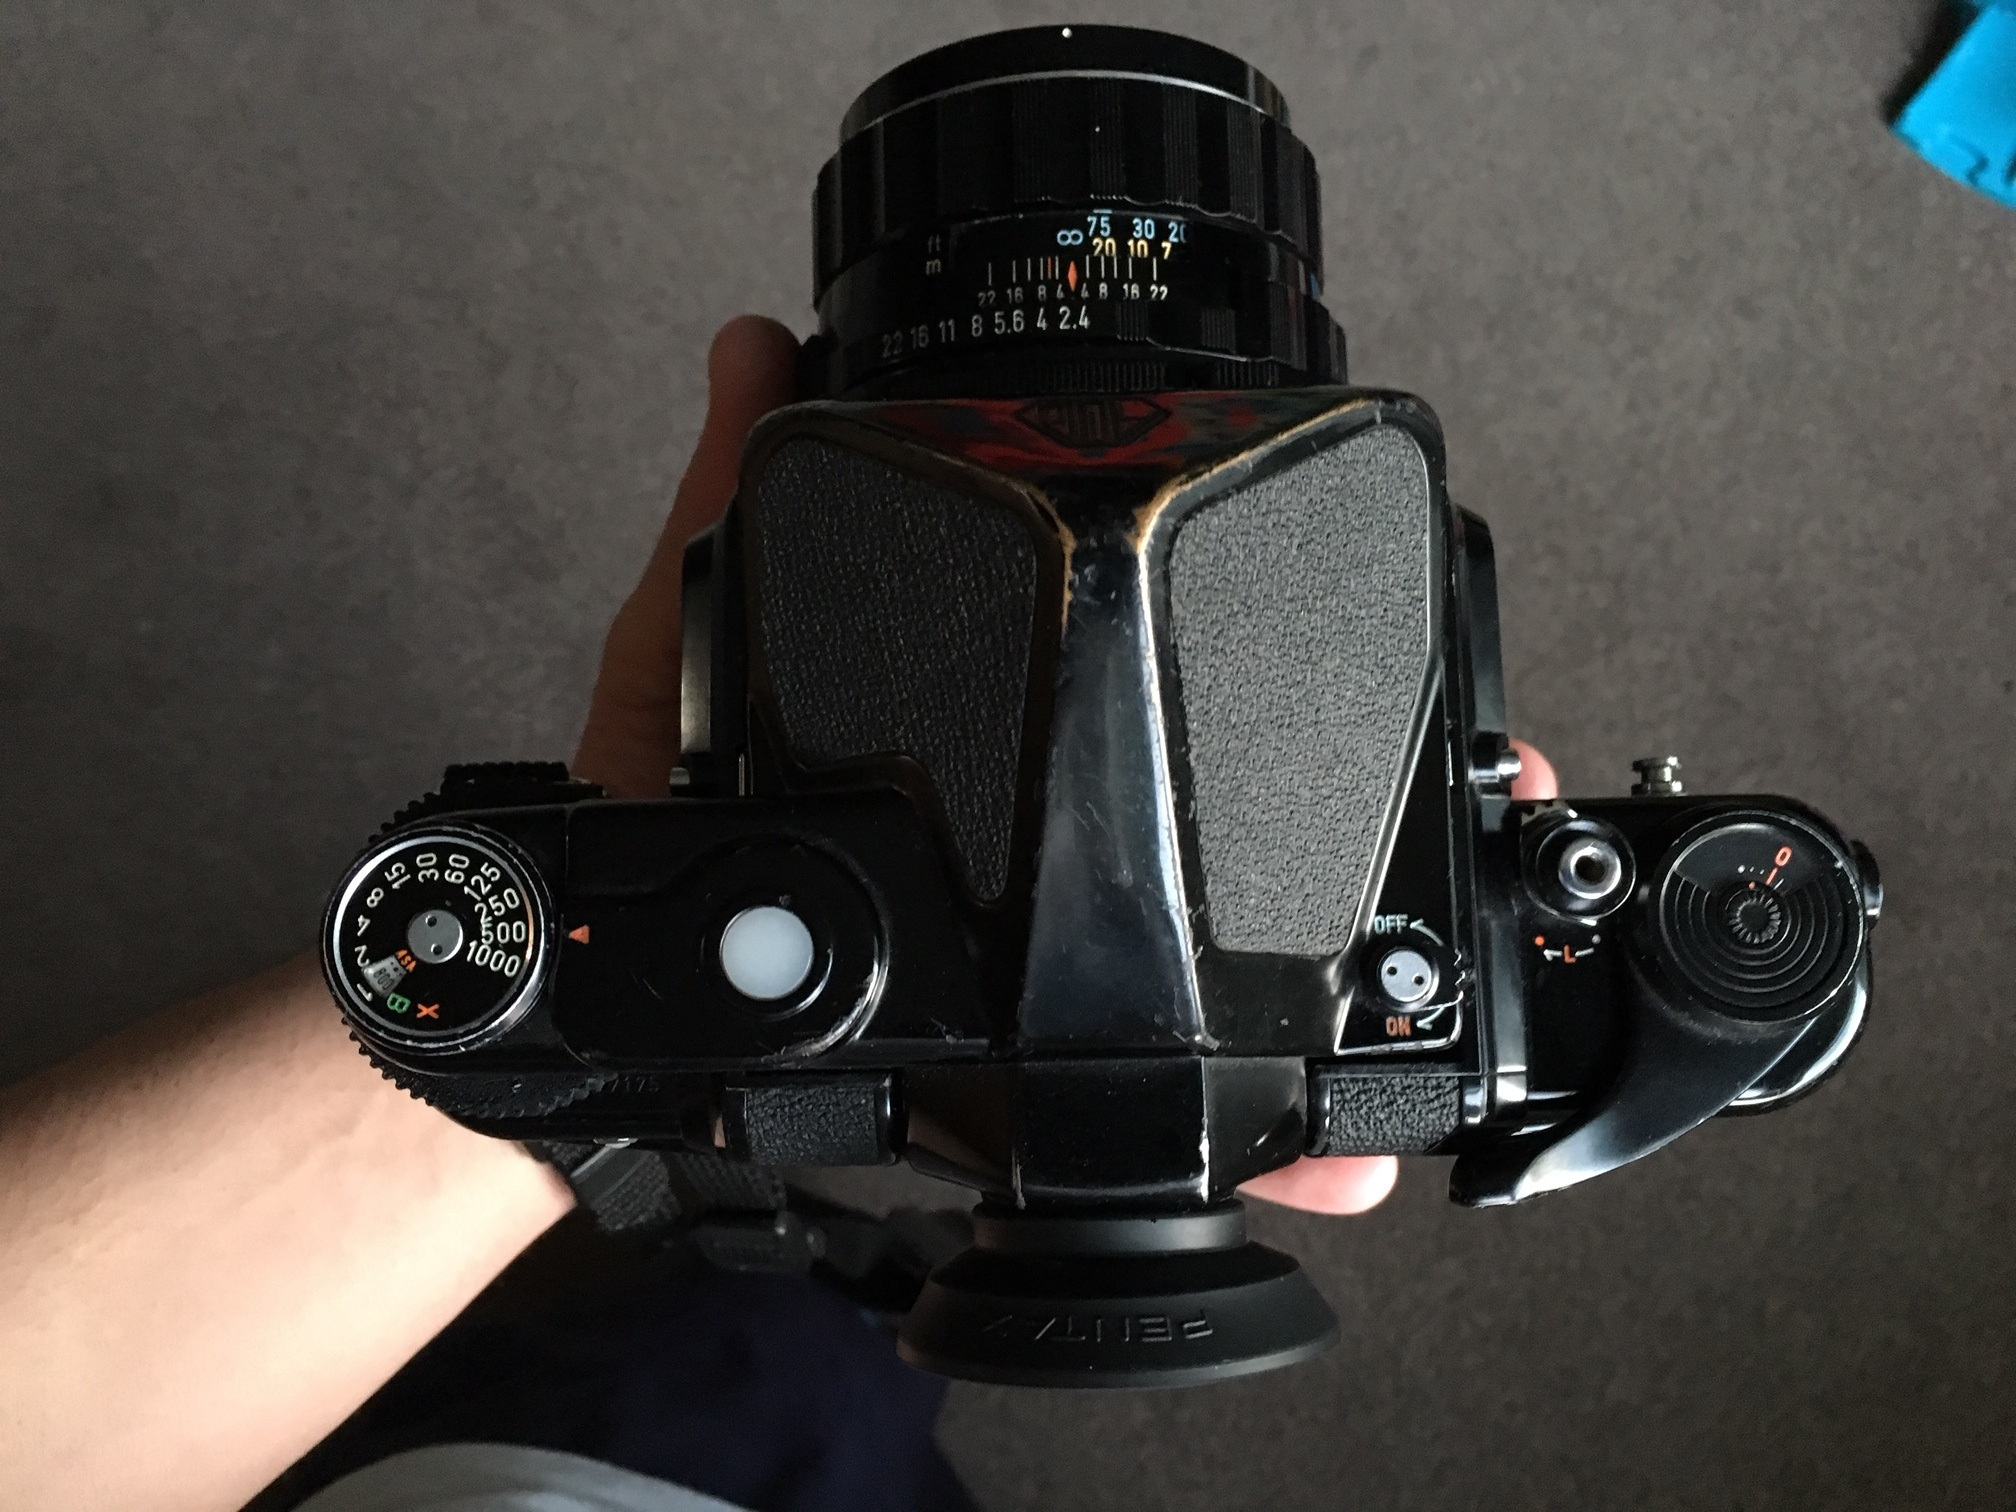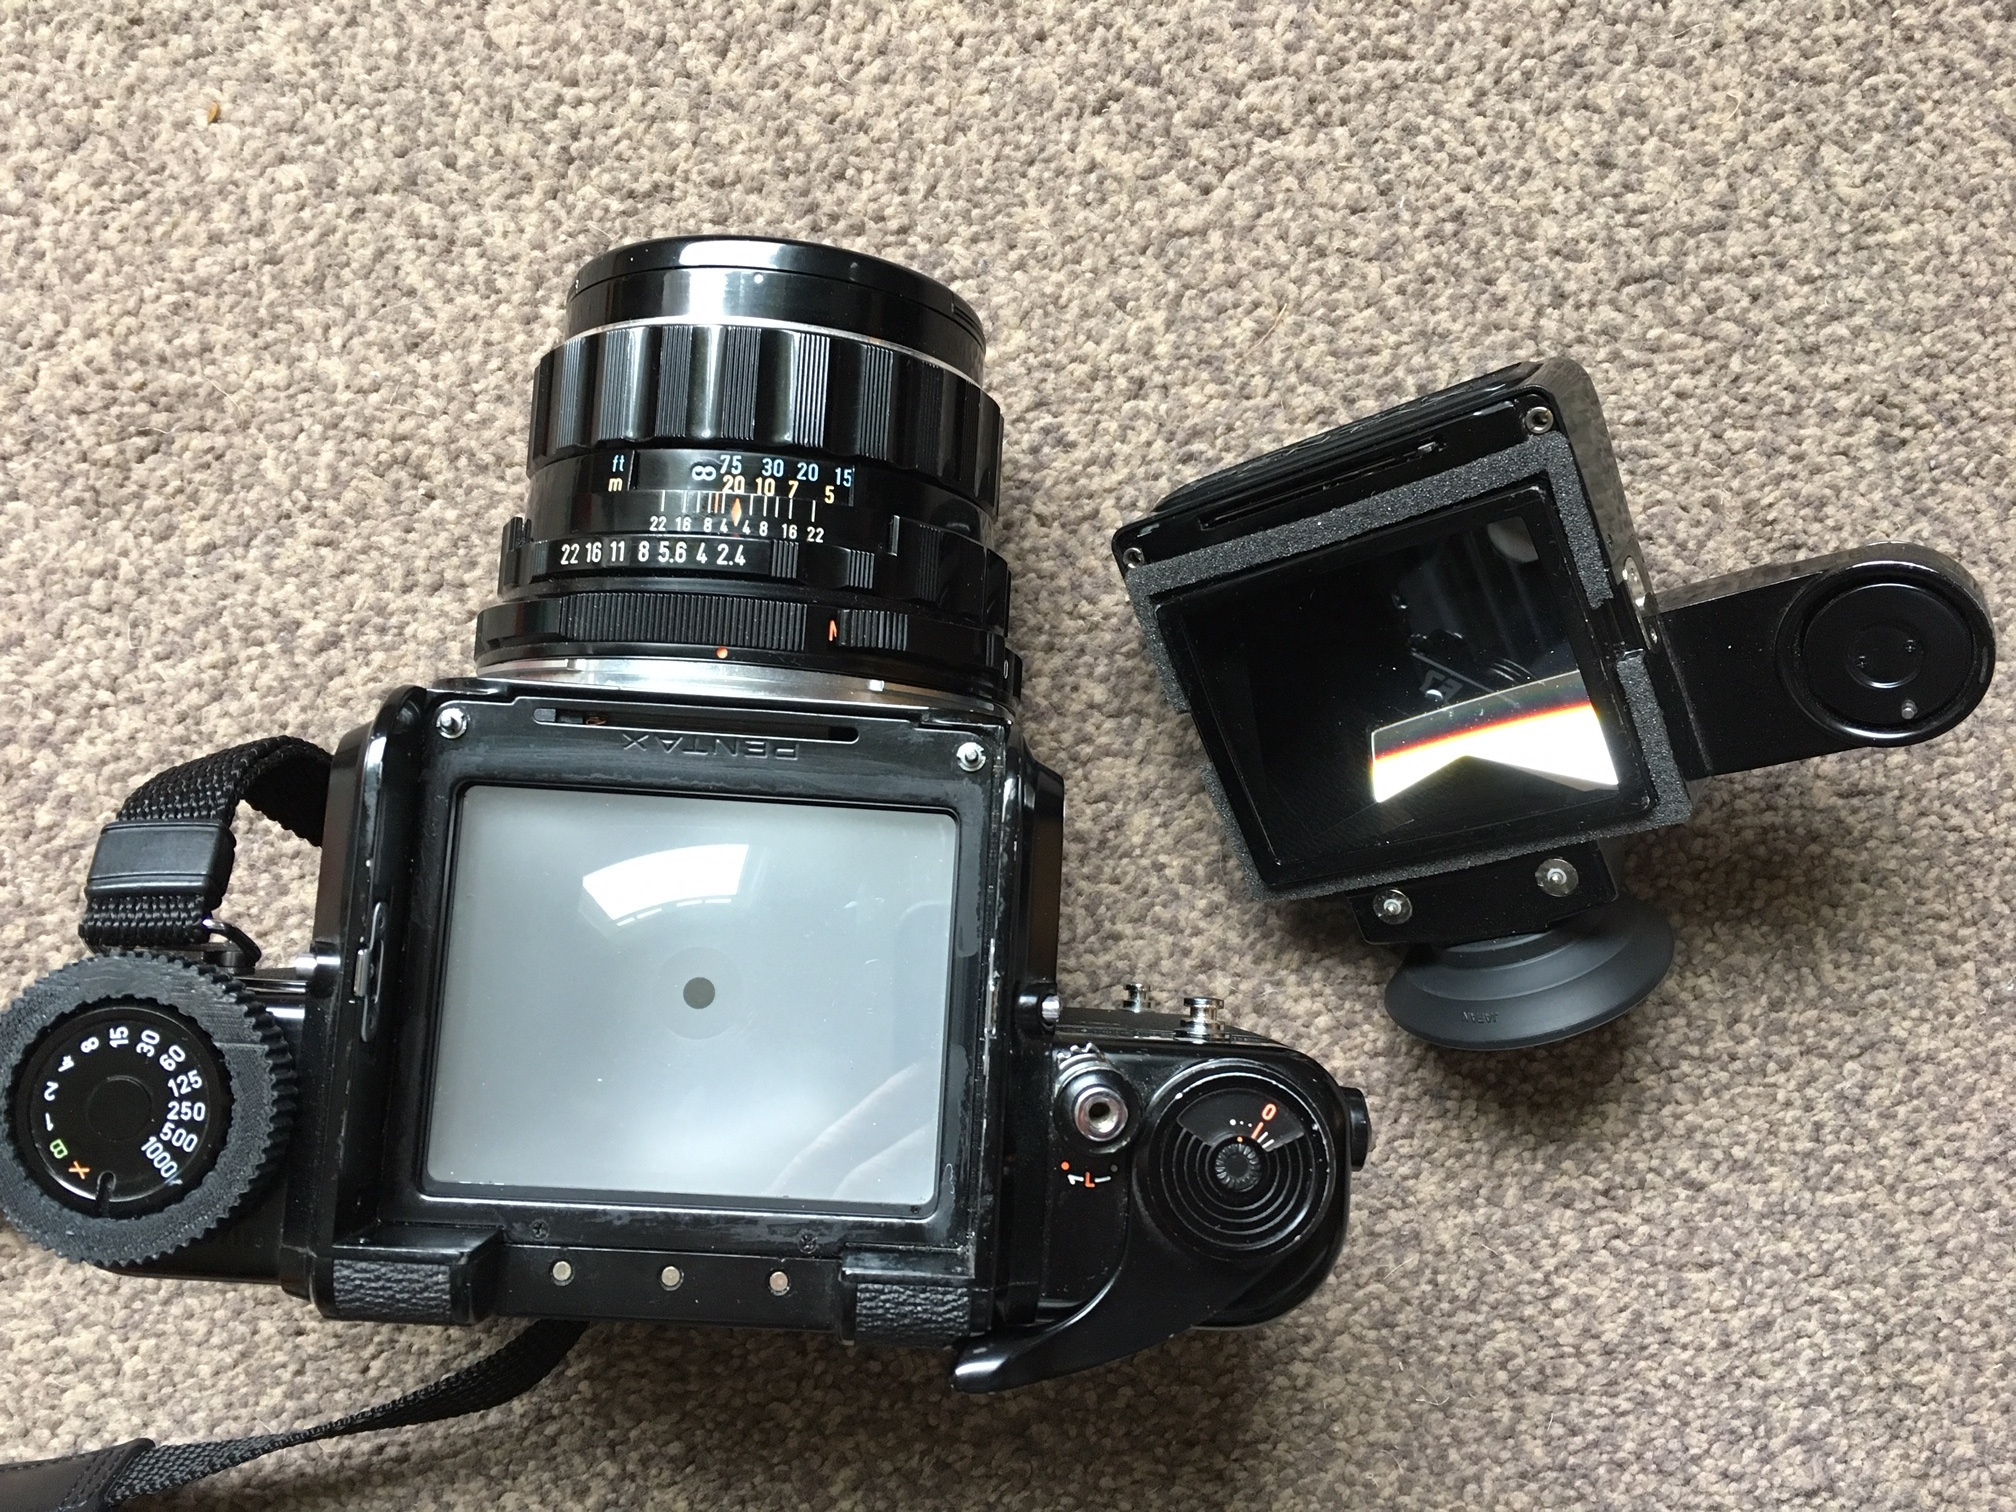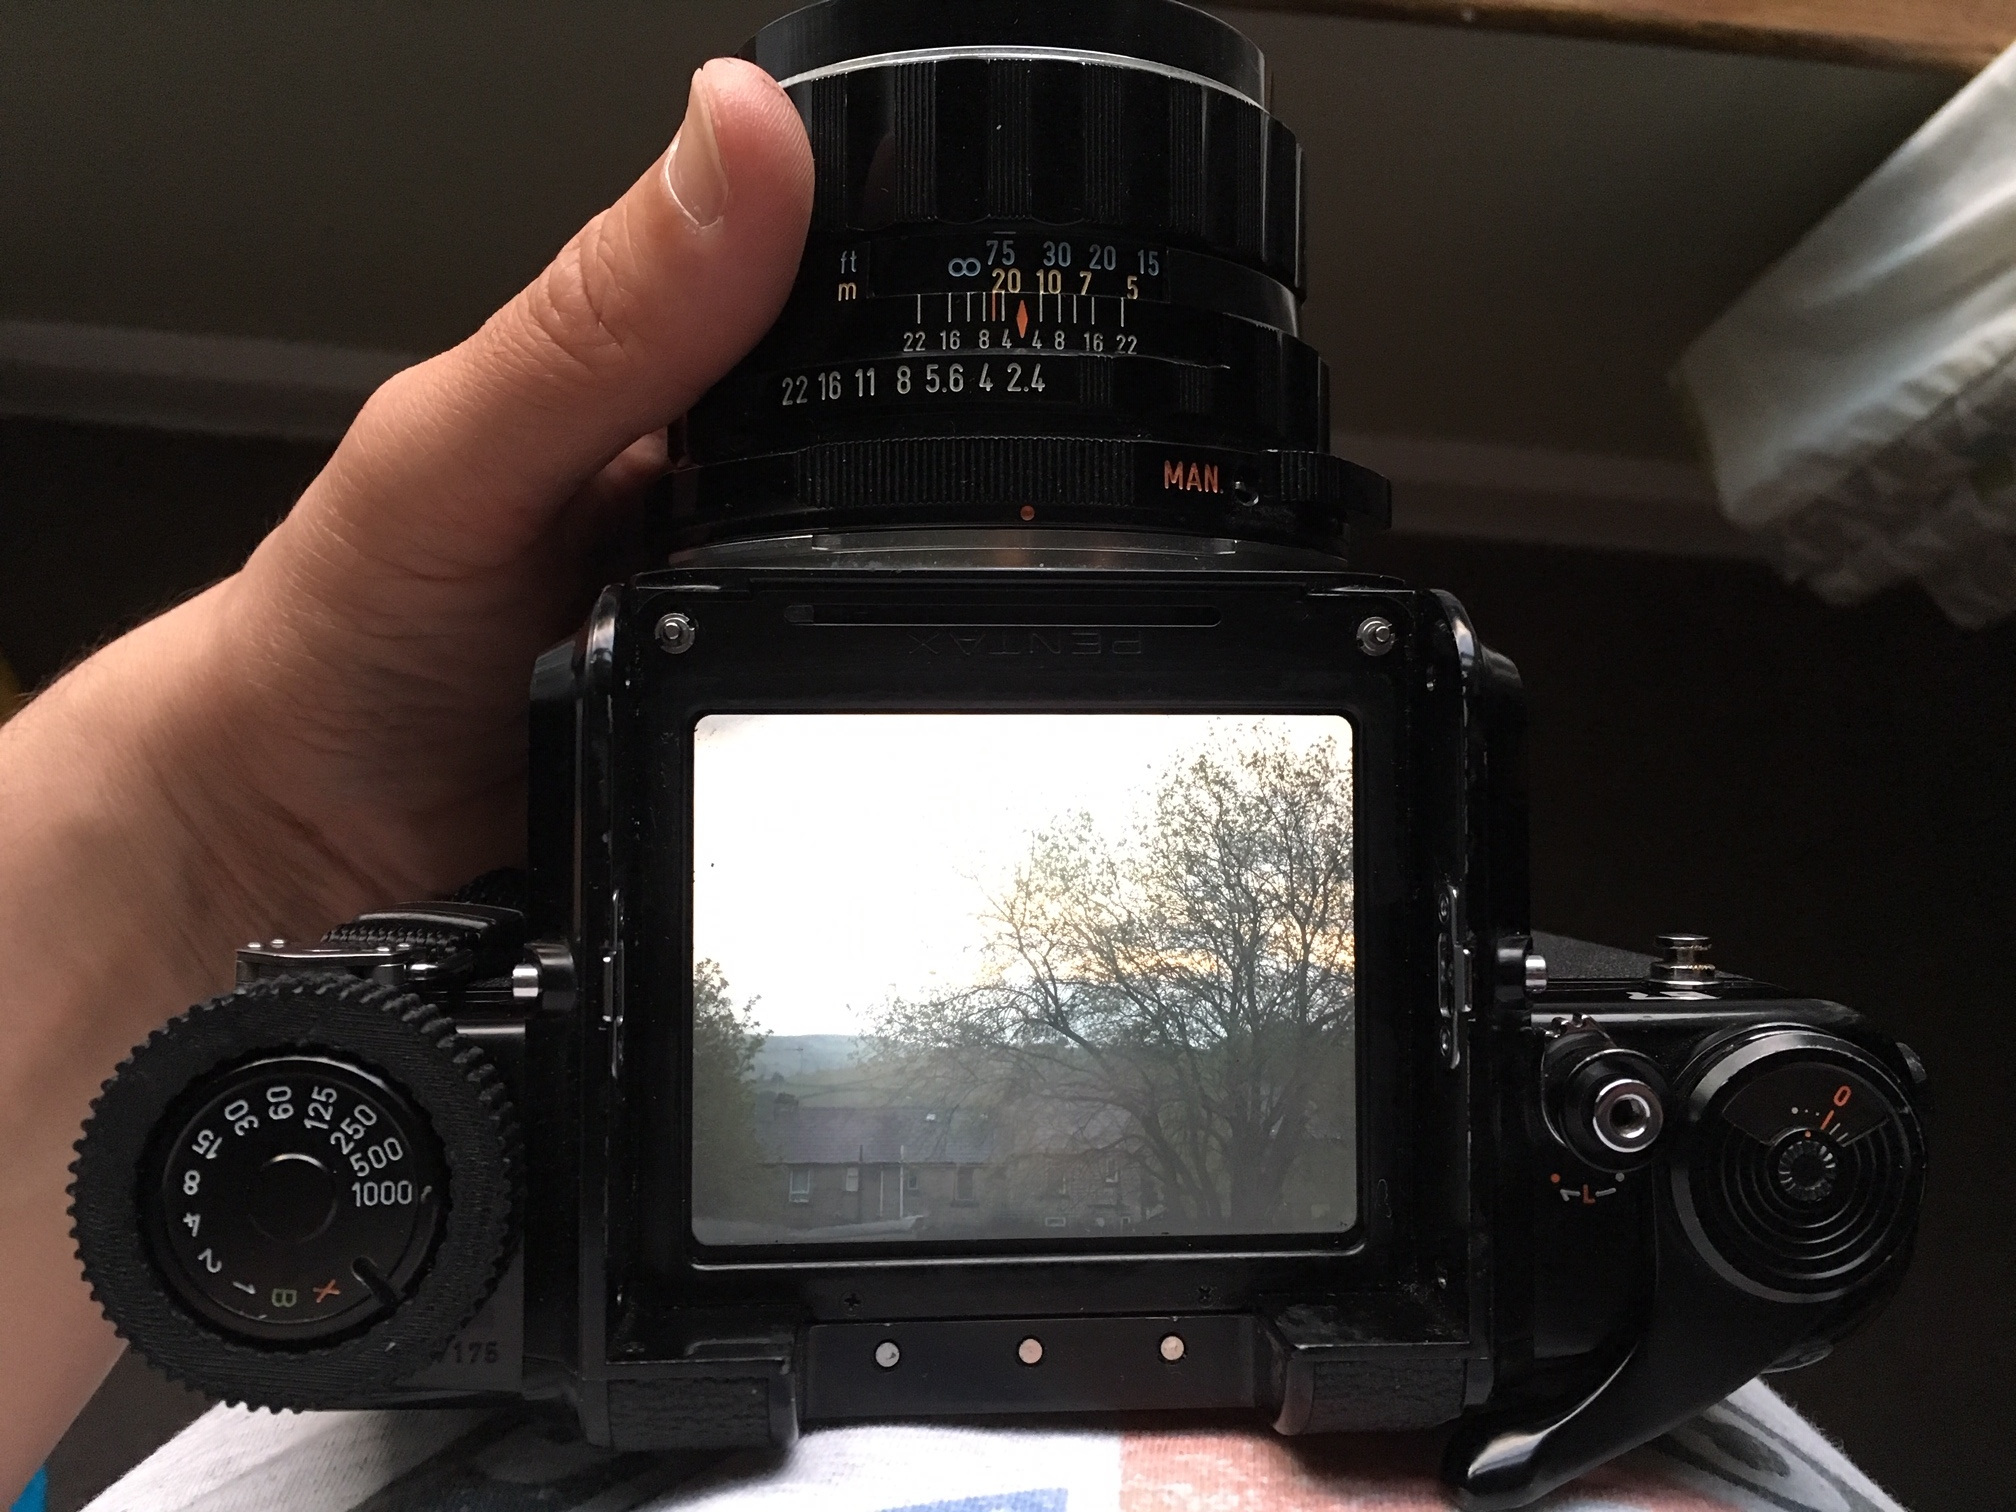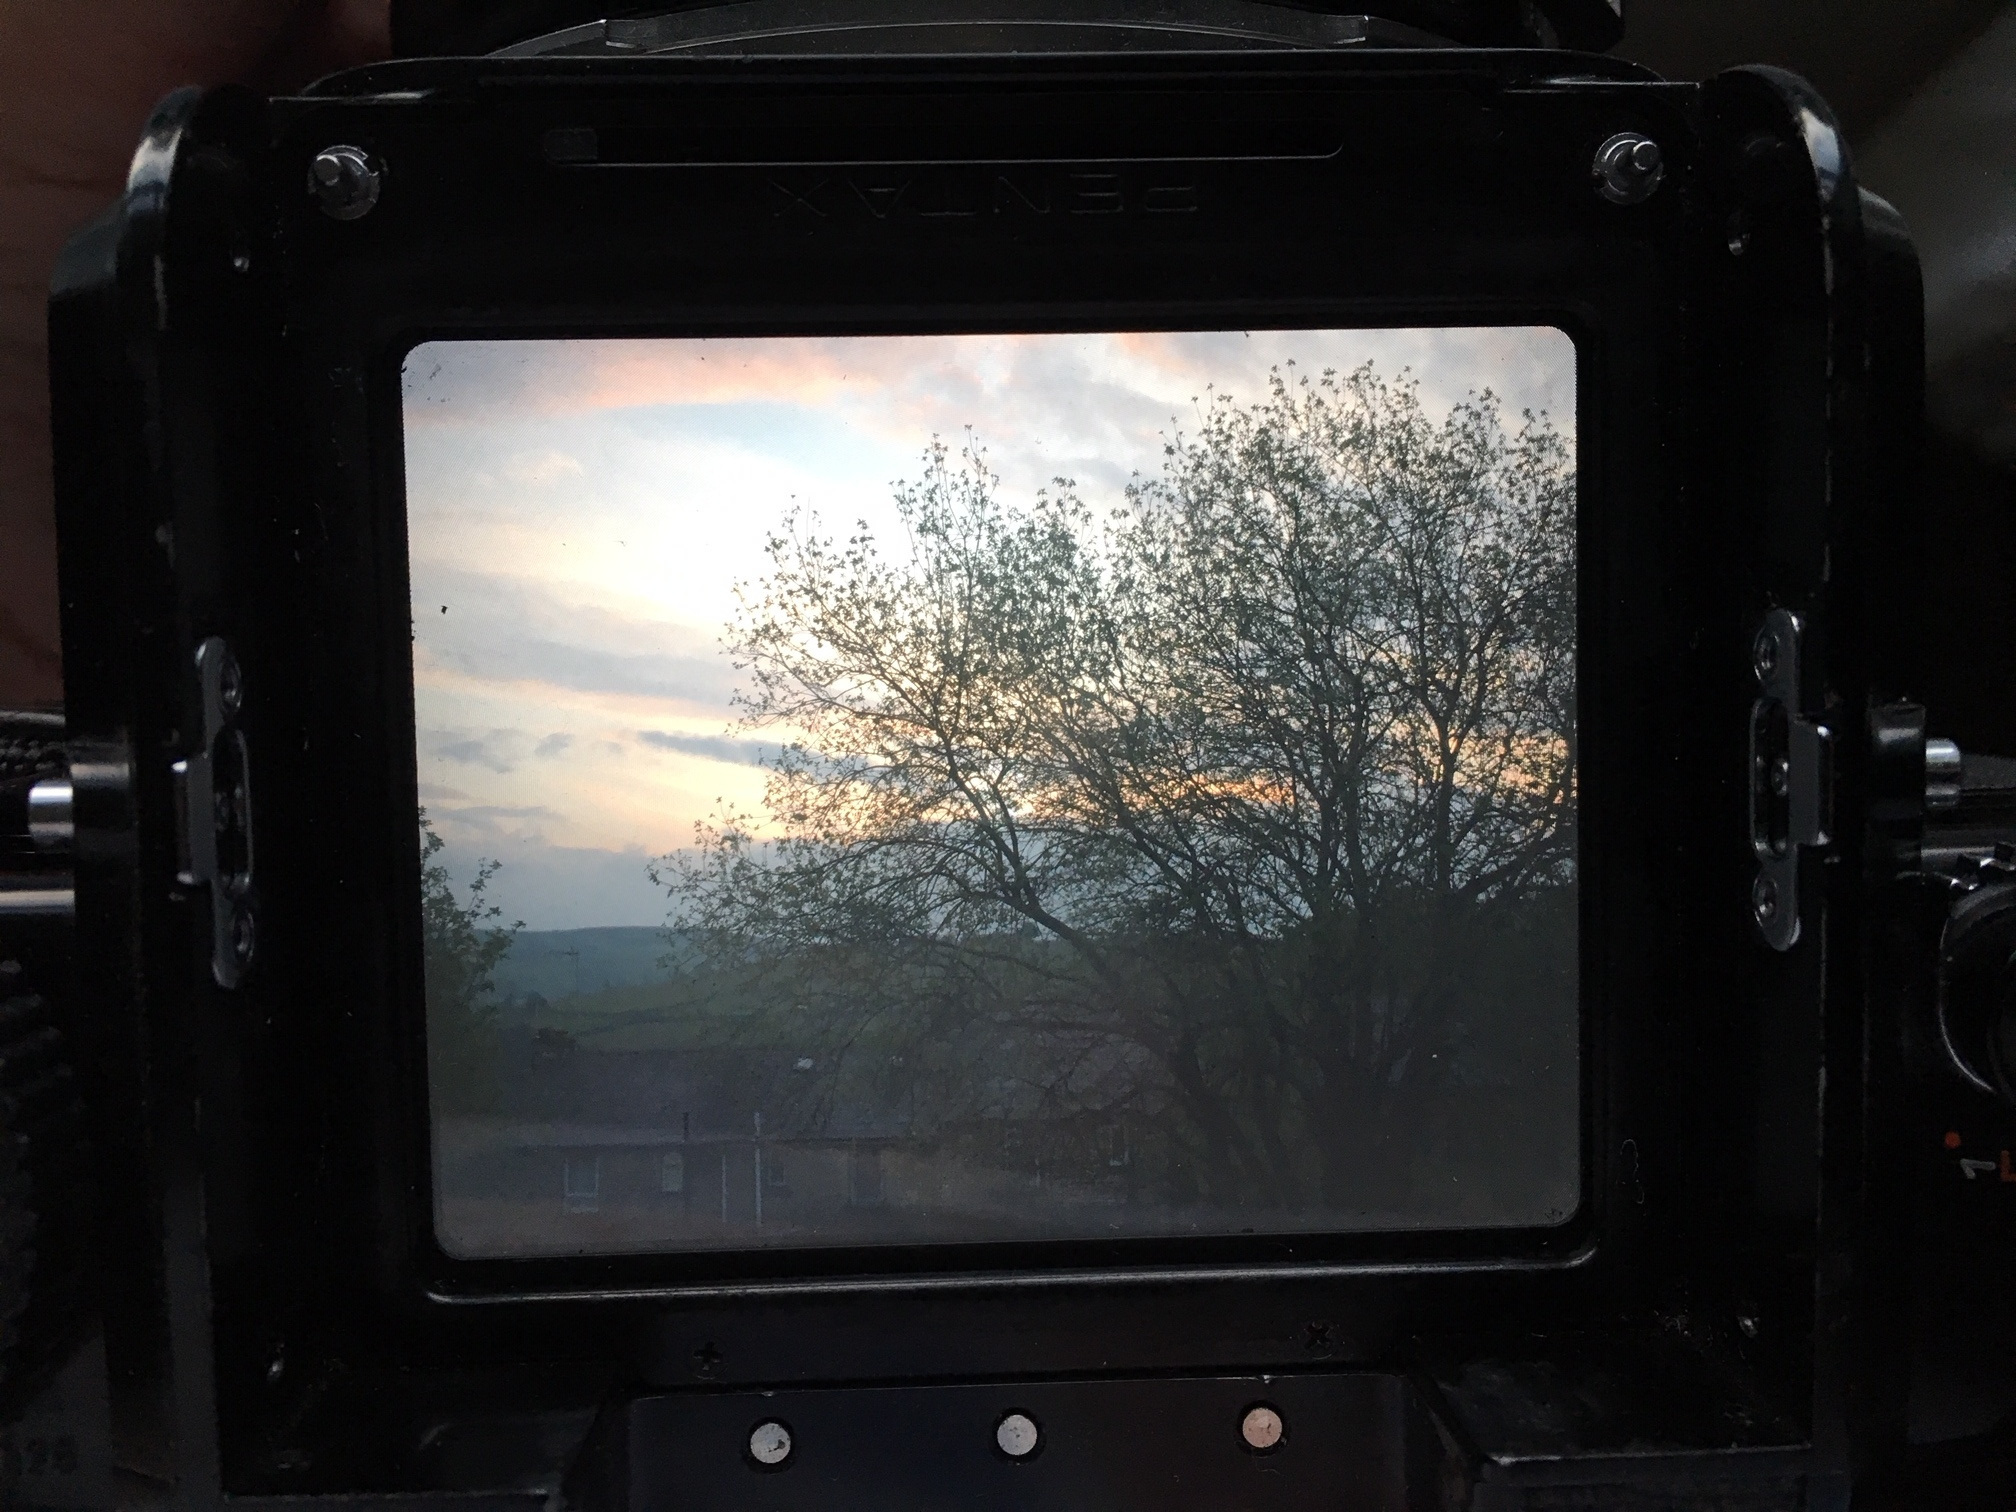
Post Winter portrait shoot with the ARAX CM

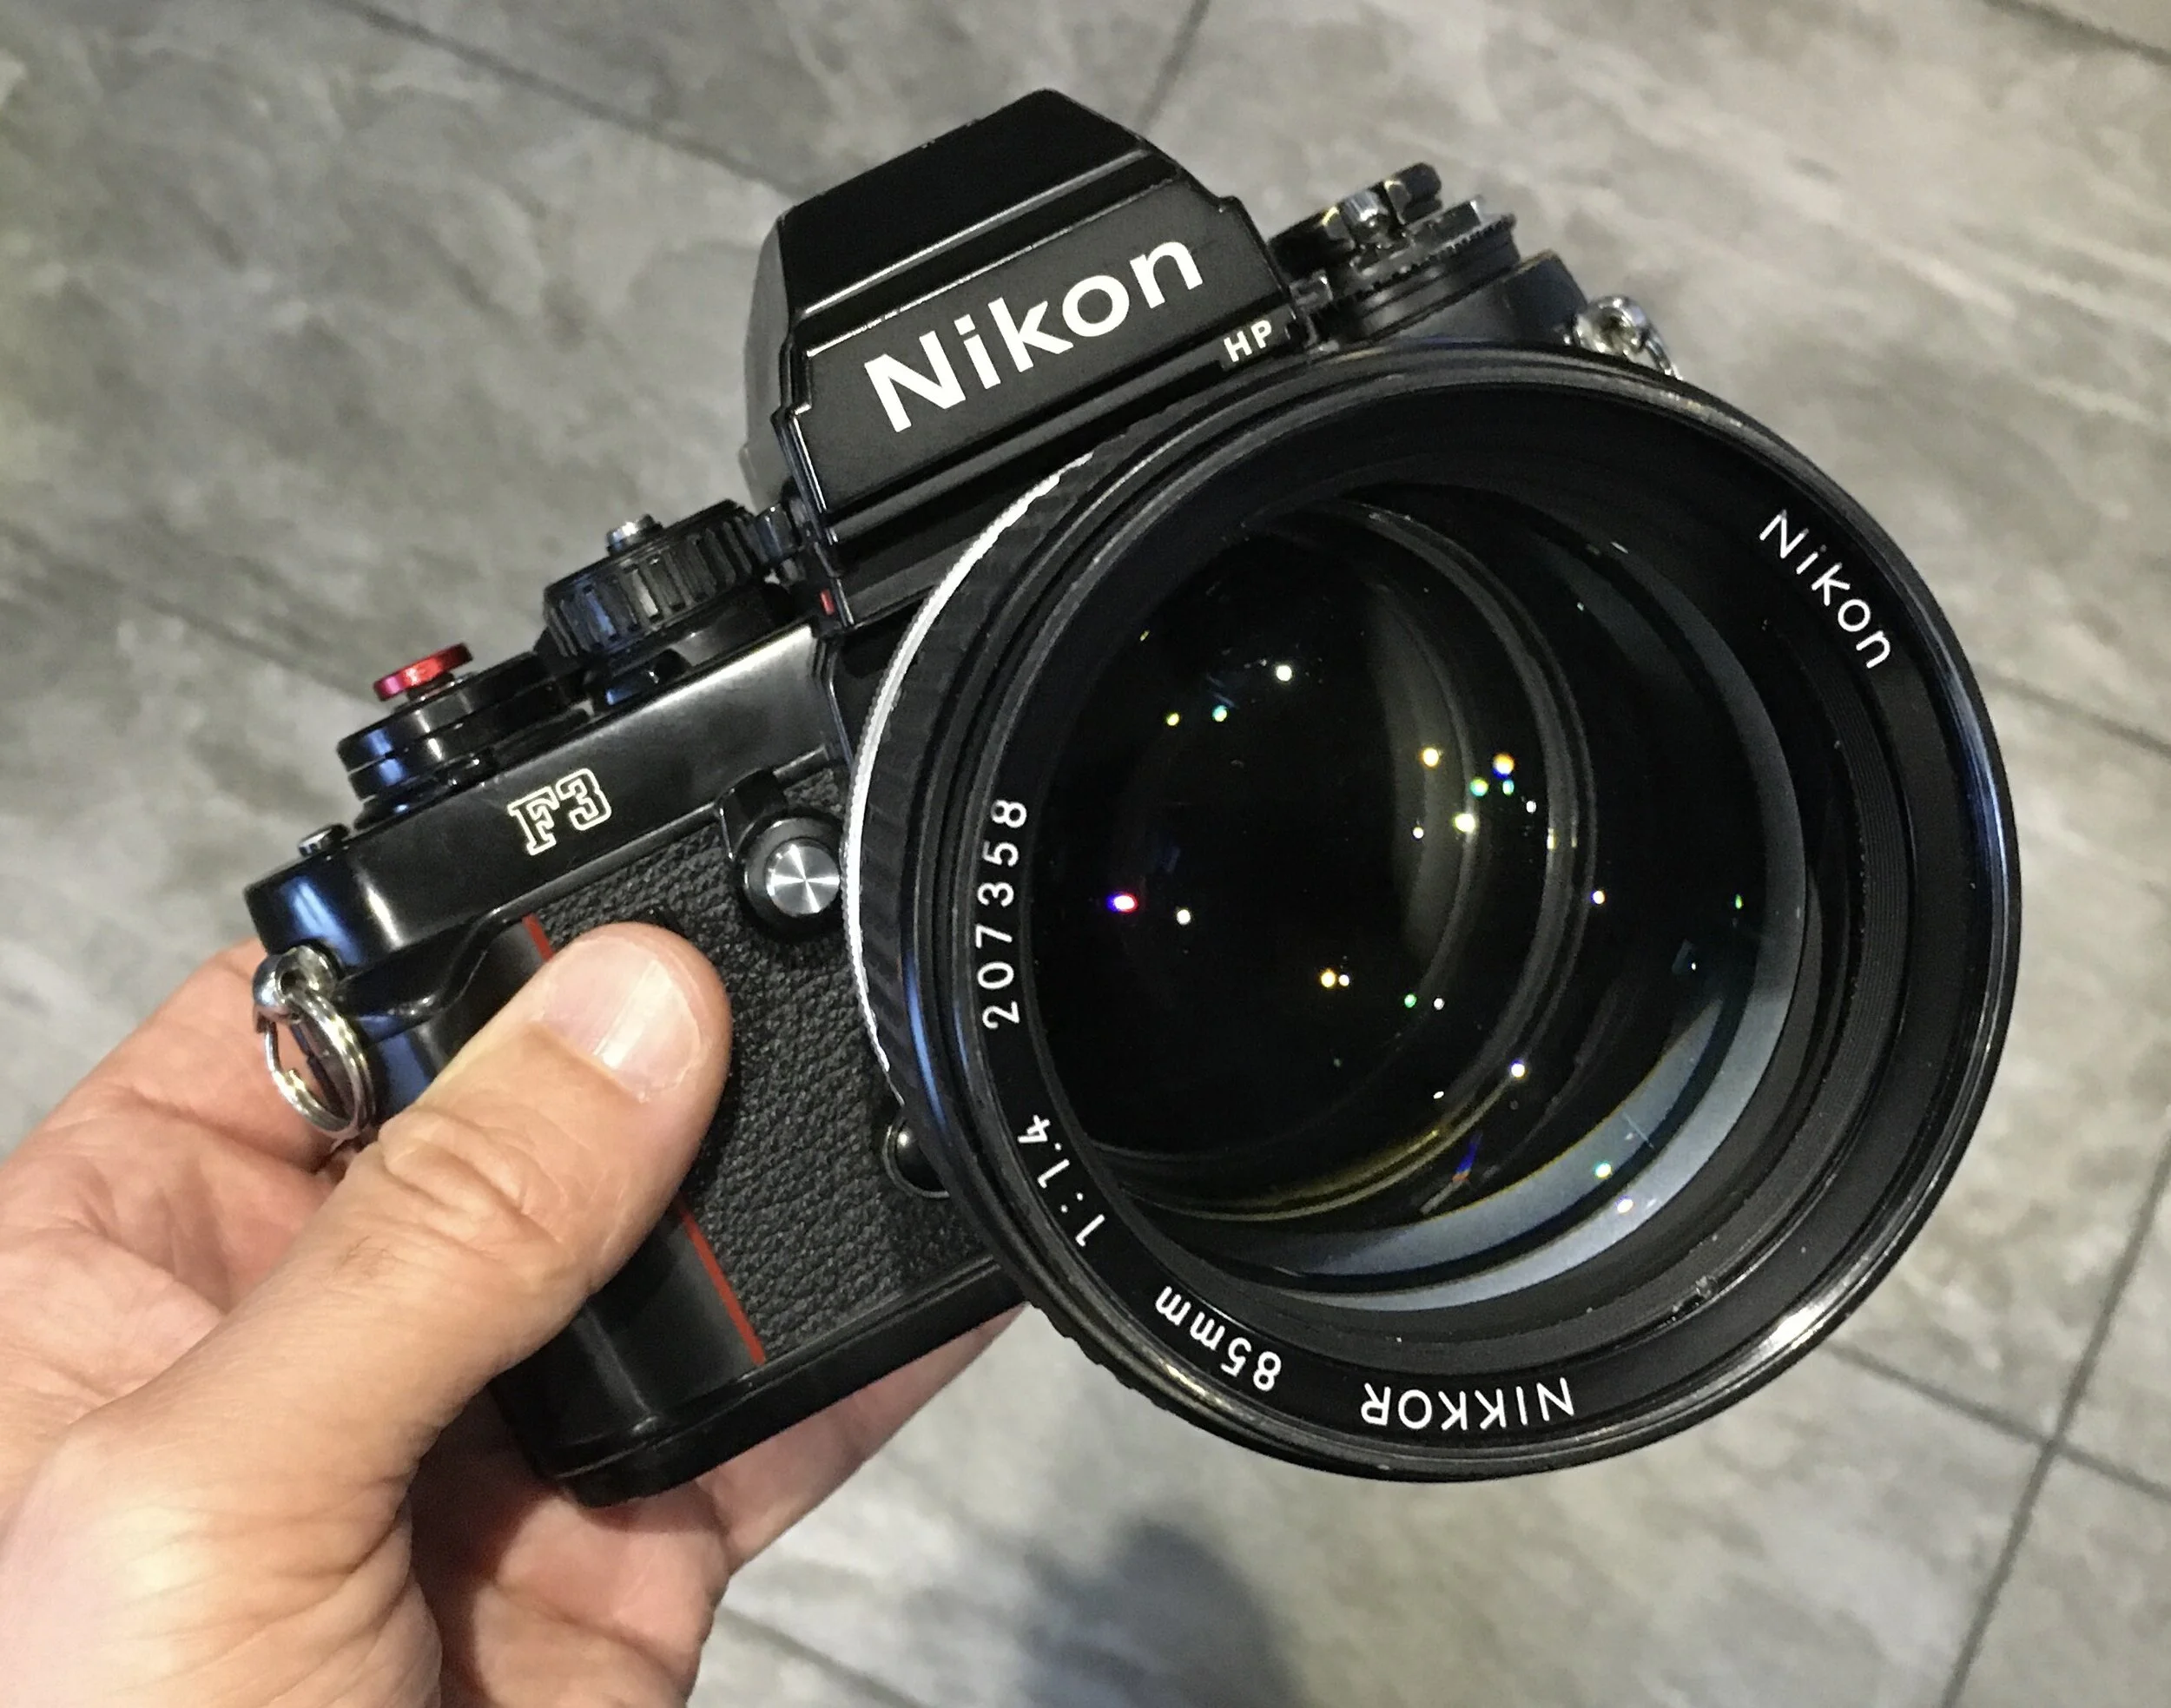
Over the course of winter I have been focussing my attention on some low light/LED photography to get me through the long dark winter months, but as it’s been unseasonably warm for January I wanted to get out and make the most of the weather before the dreaded snow sets in! I've recently acquired two new bits of kit which I’ll be featuring in today’s blog - some medium format goodness courtesy of the ARAX CM and in the 35mm corner I recently managed to bag myself a wonderful Nikkor 85mm 1.4 lens!
IMG_4818.jpg

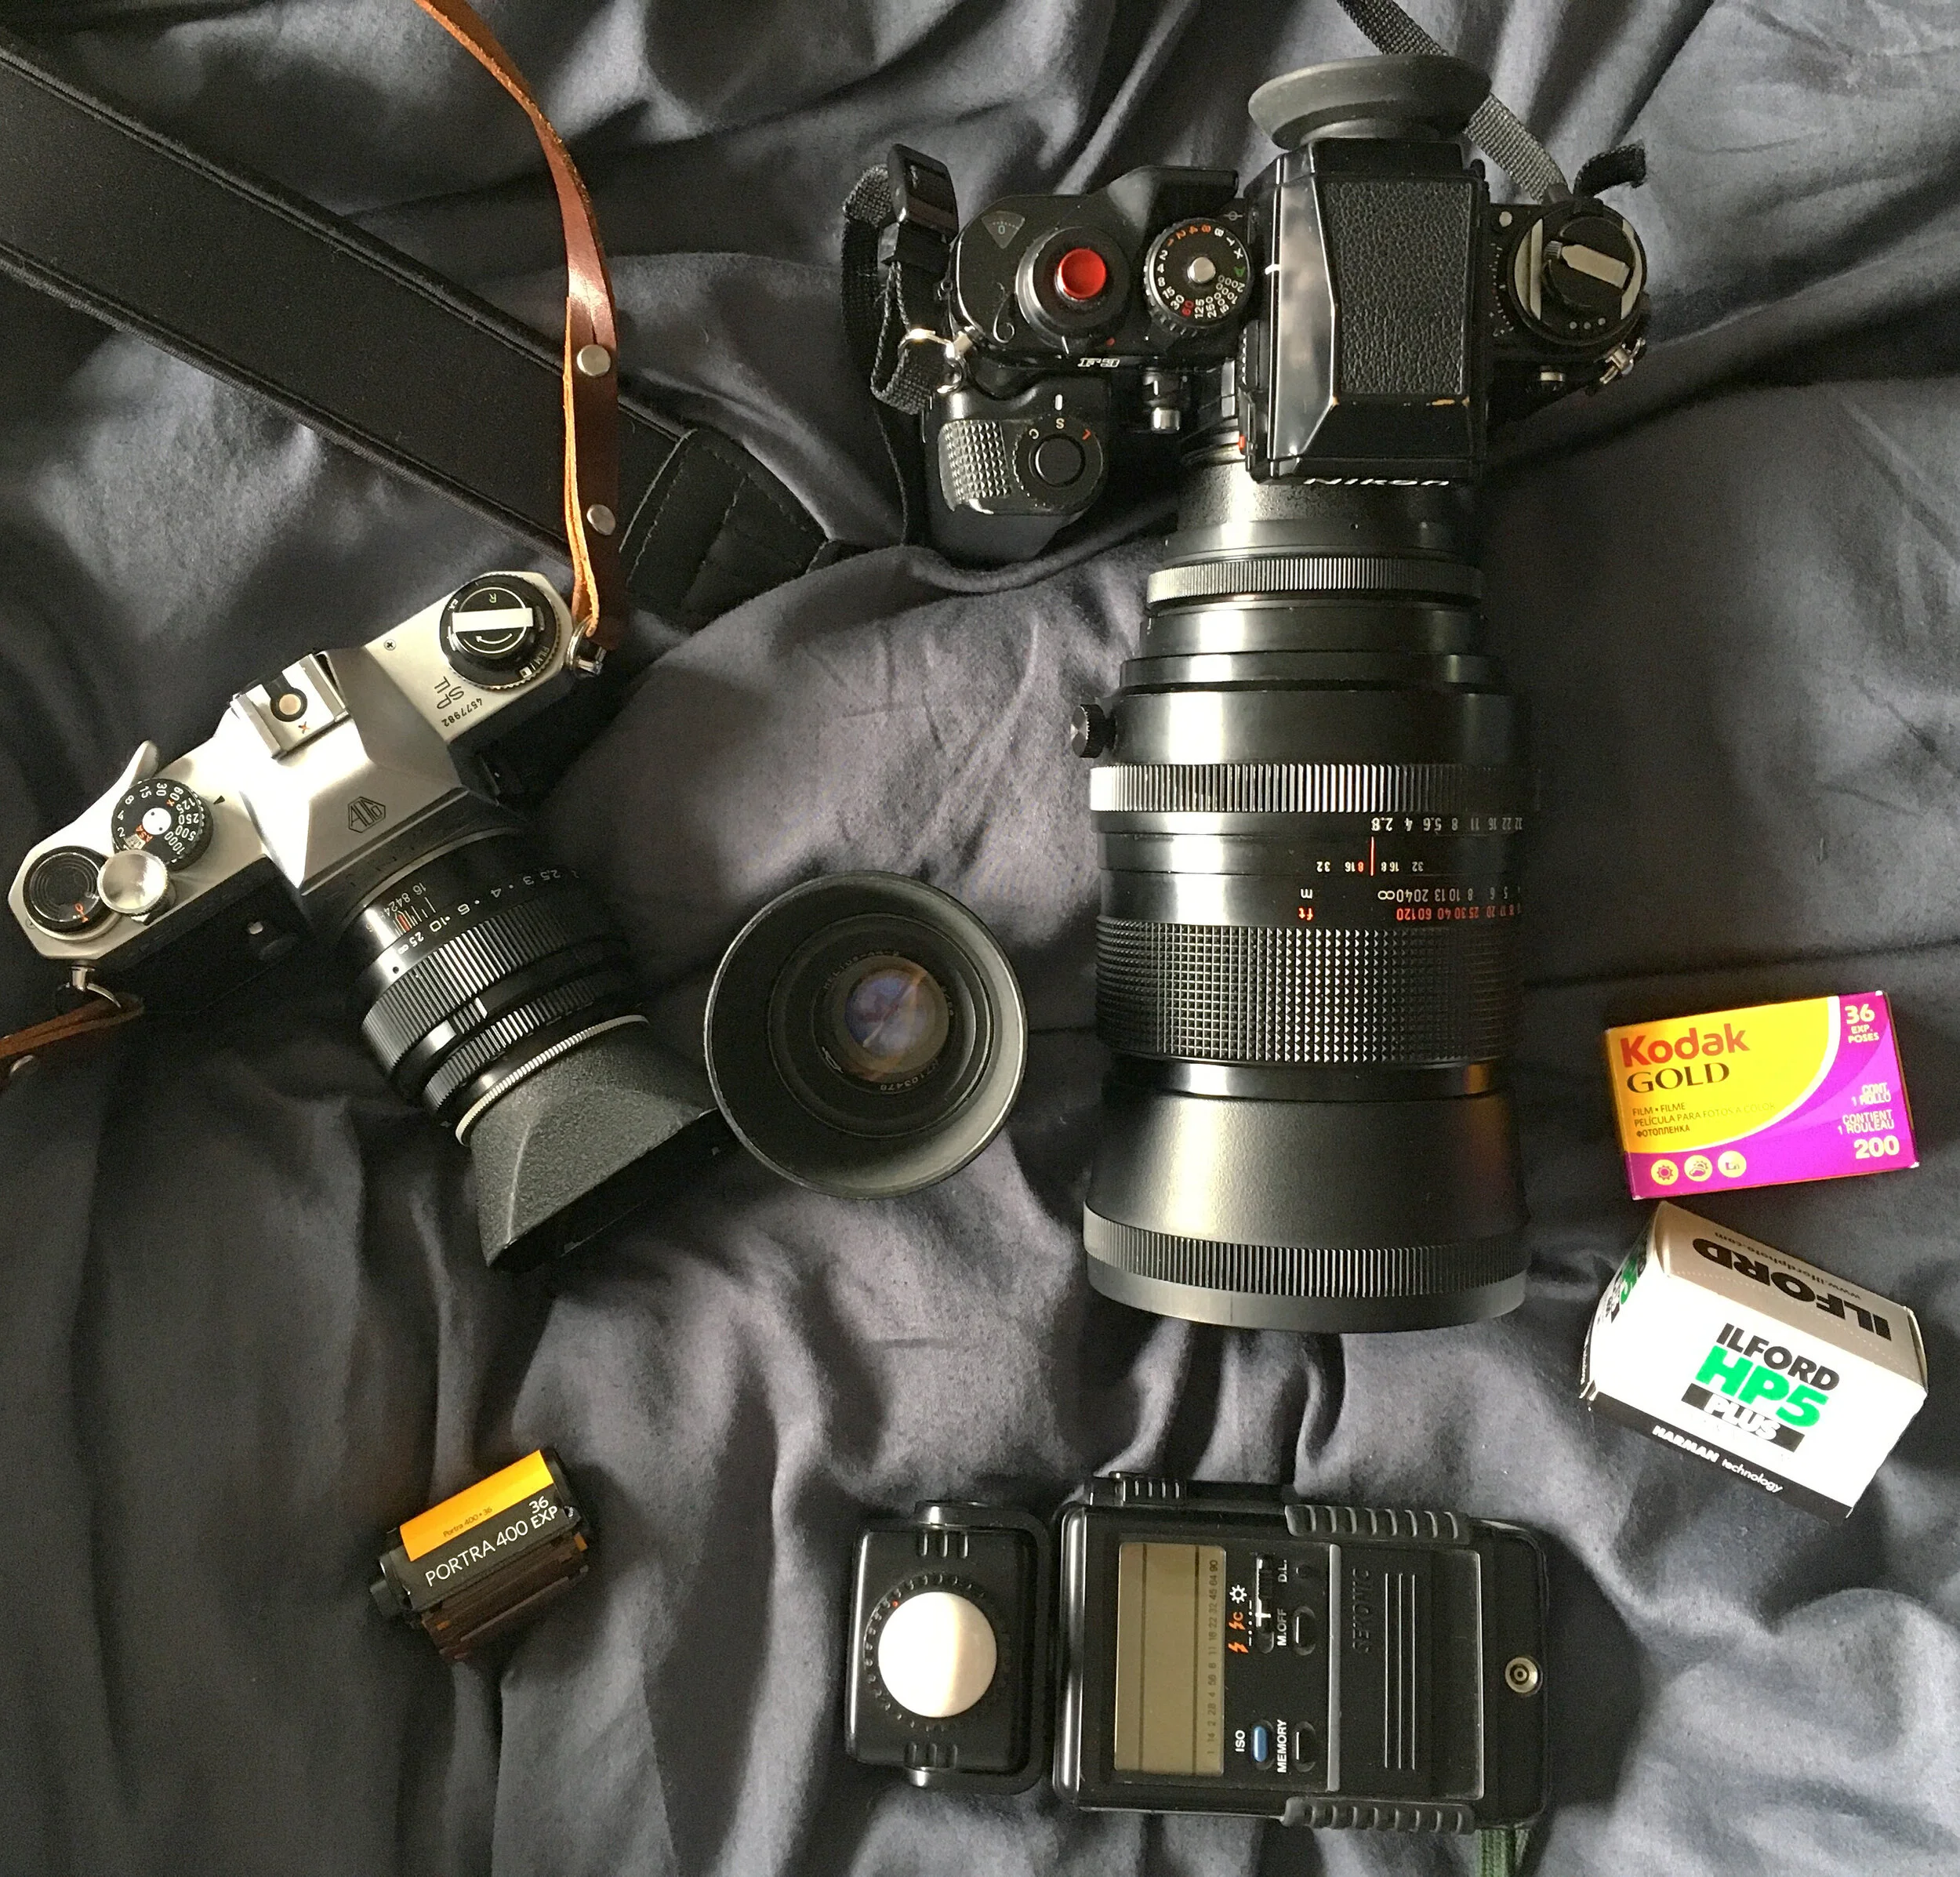
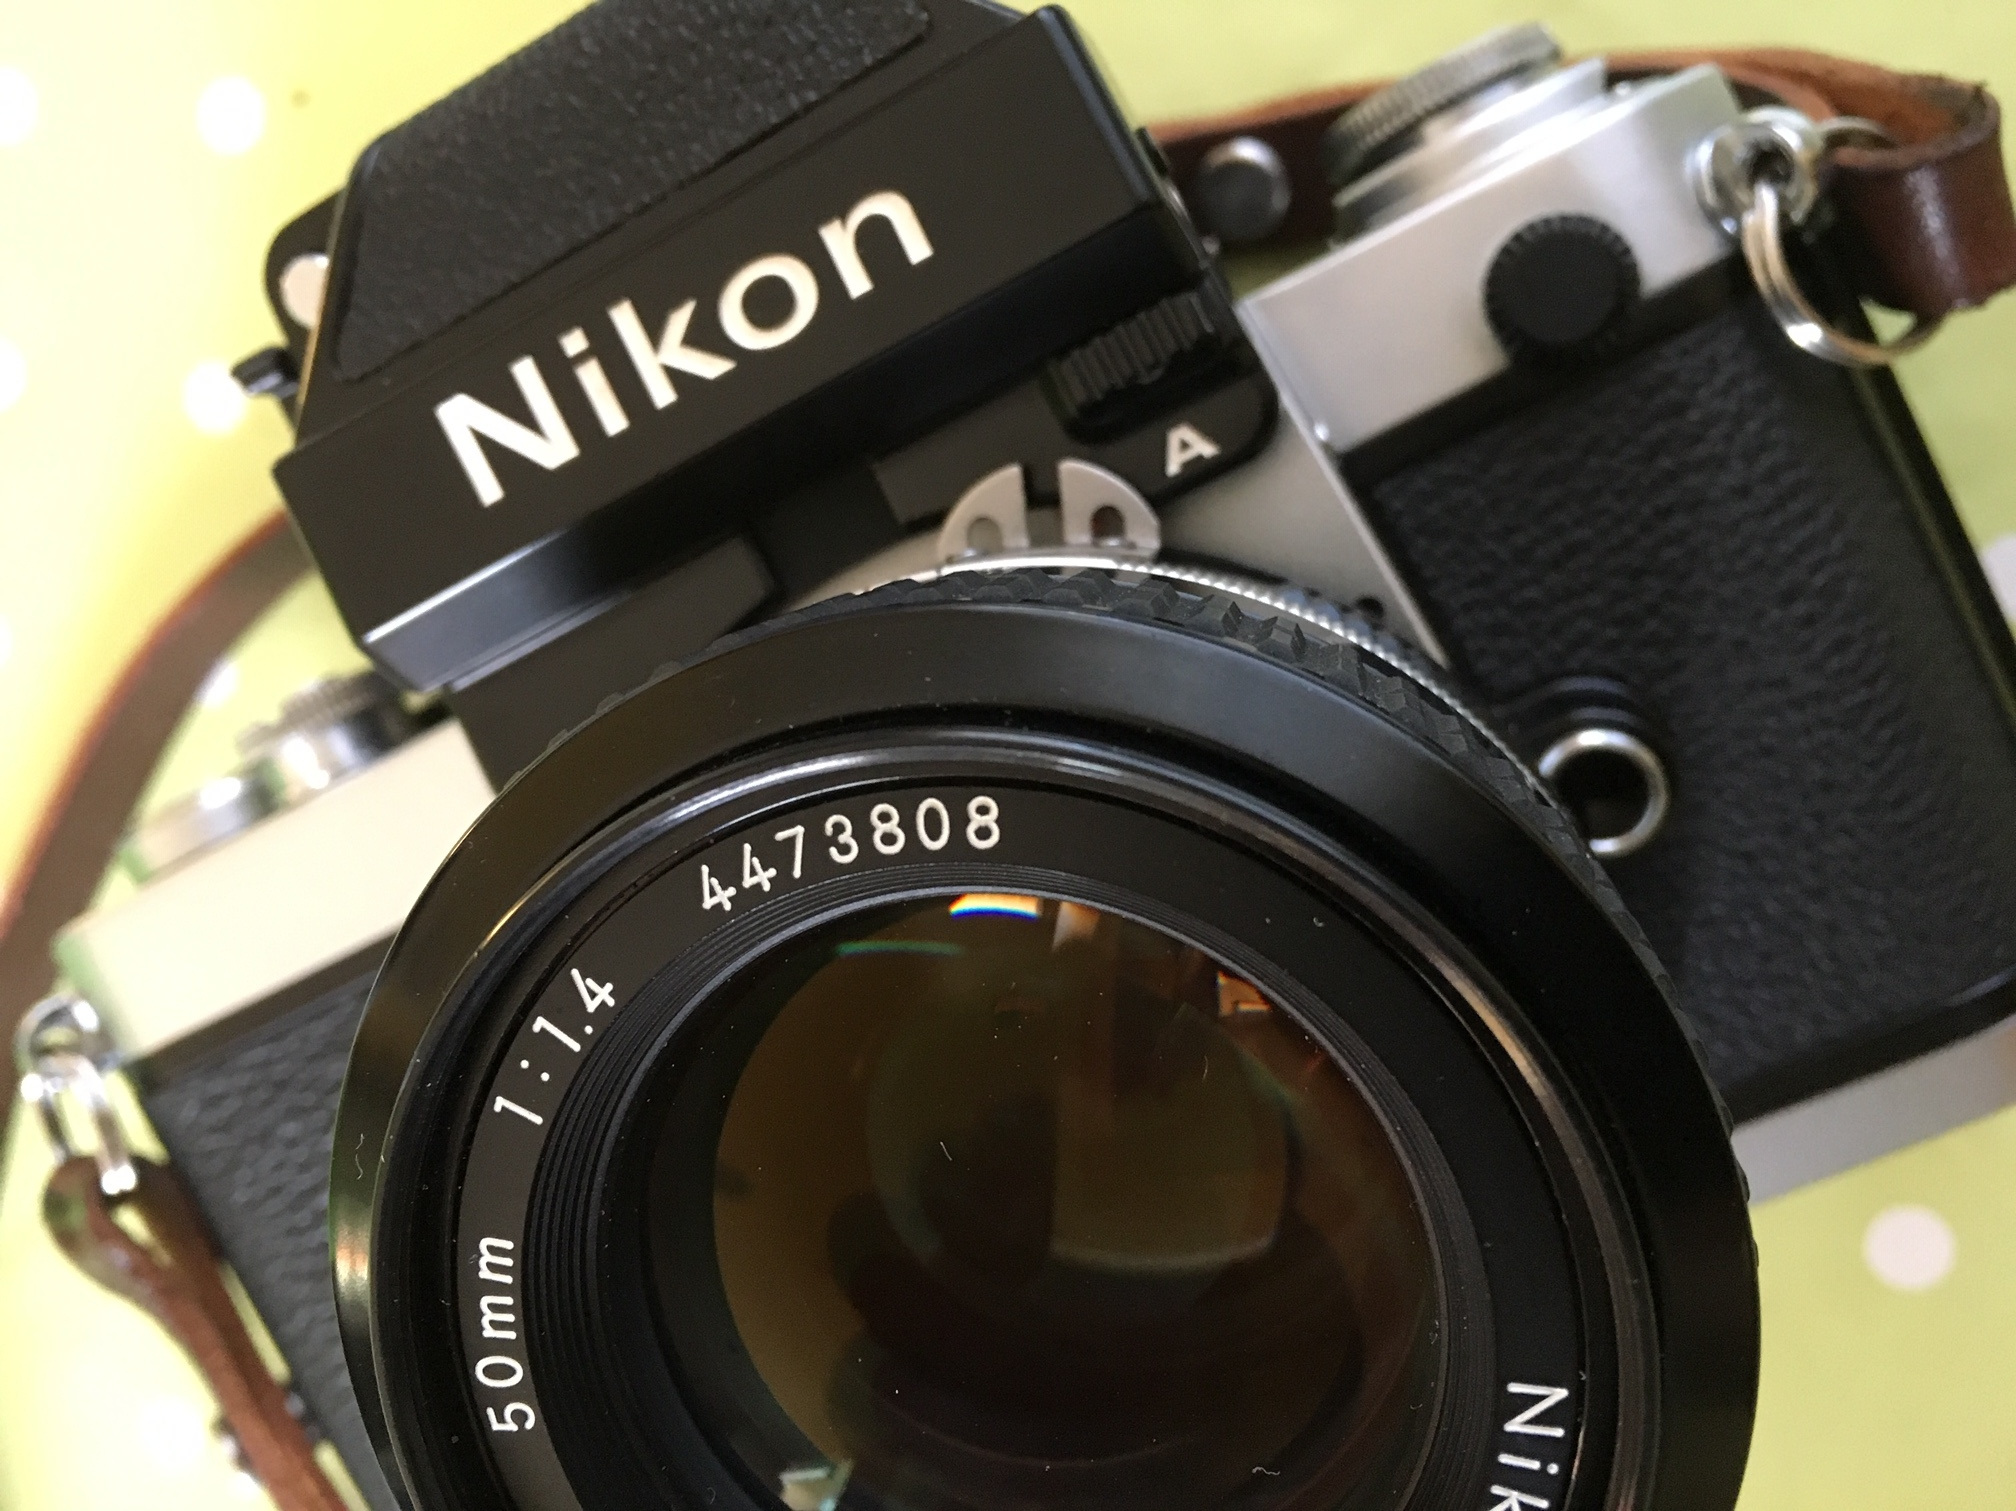
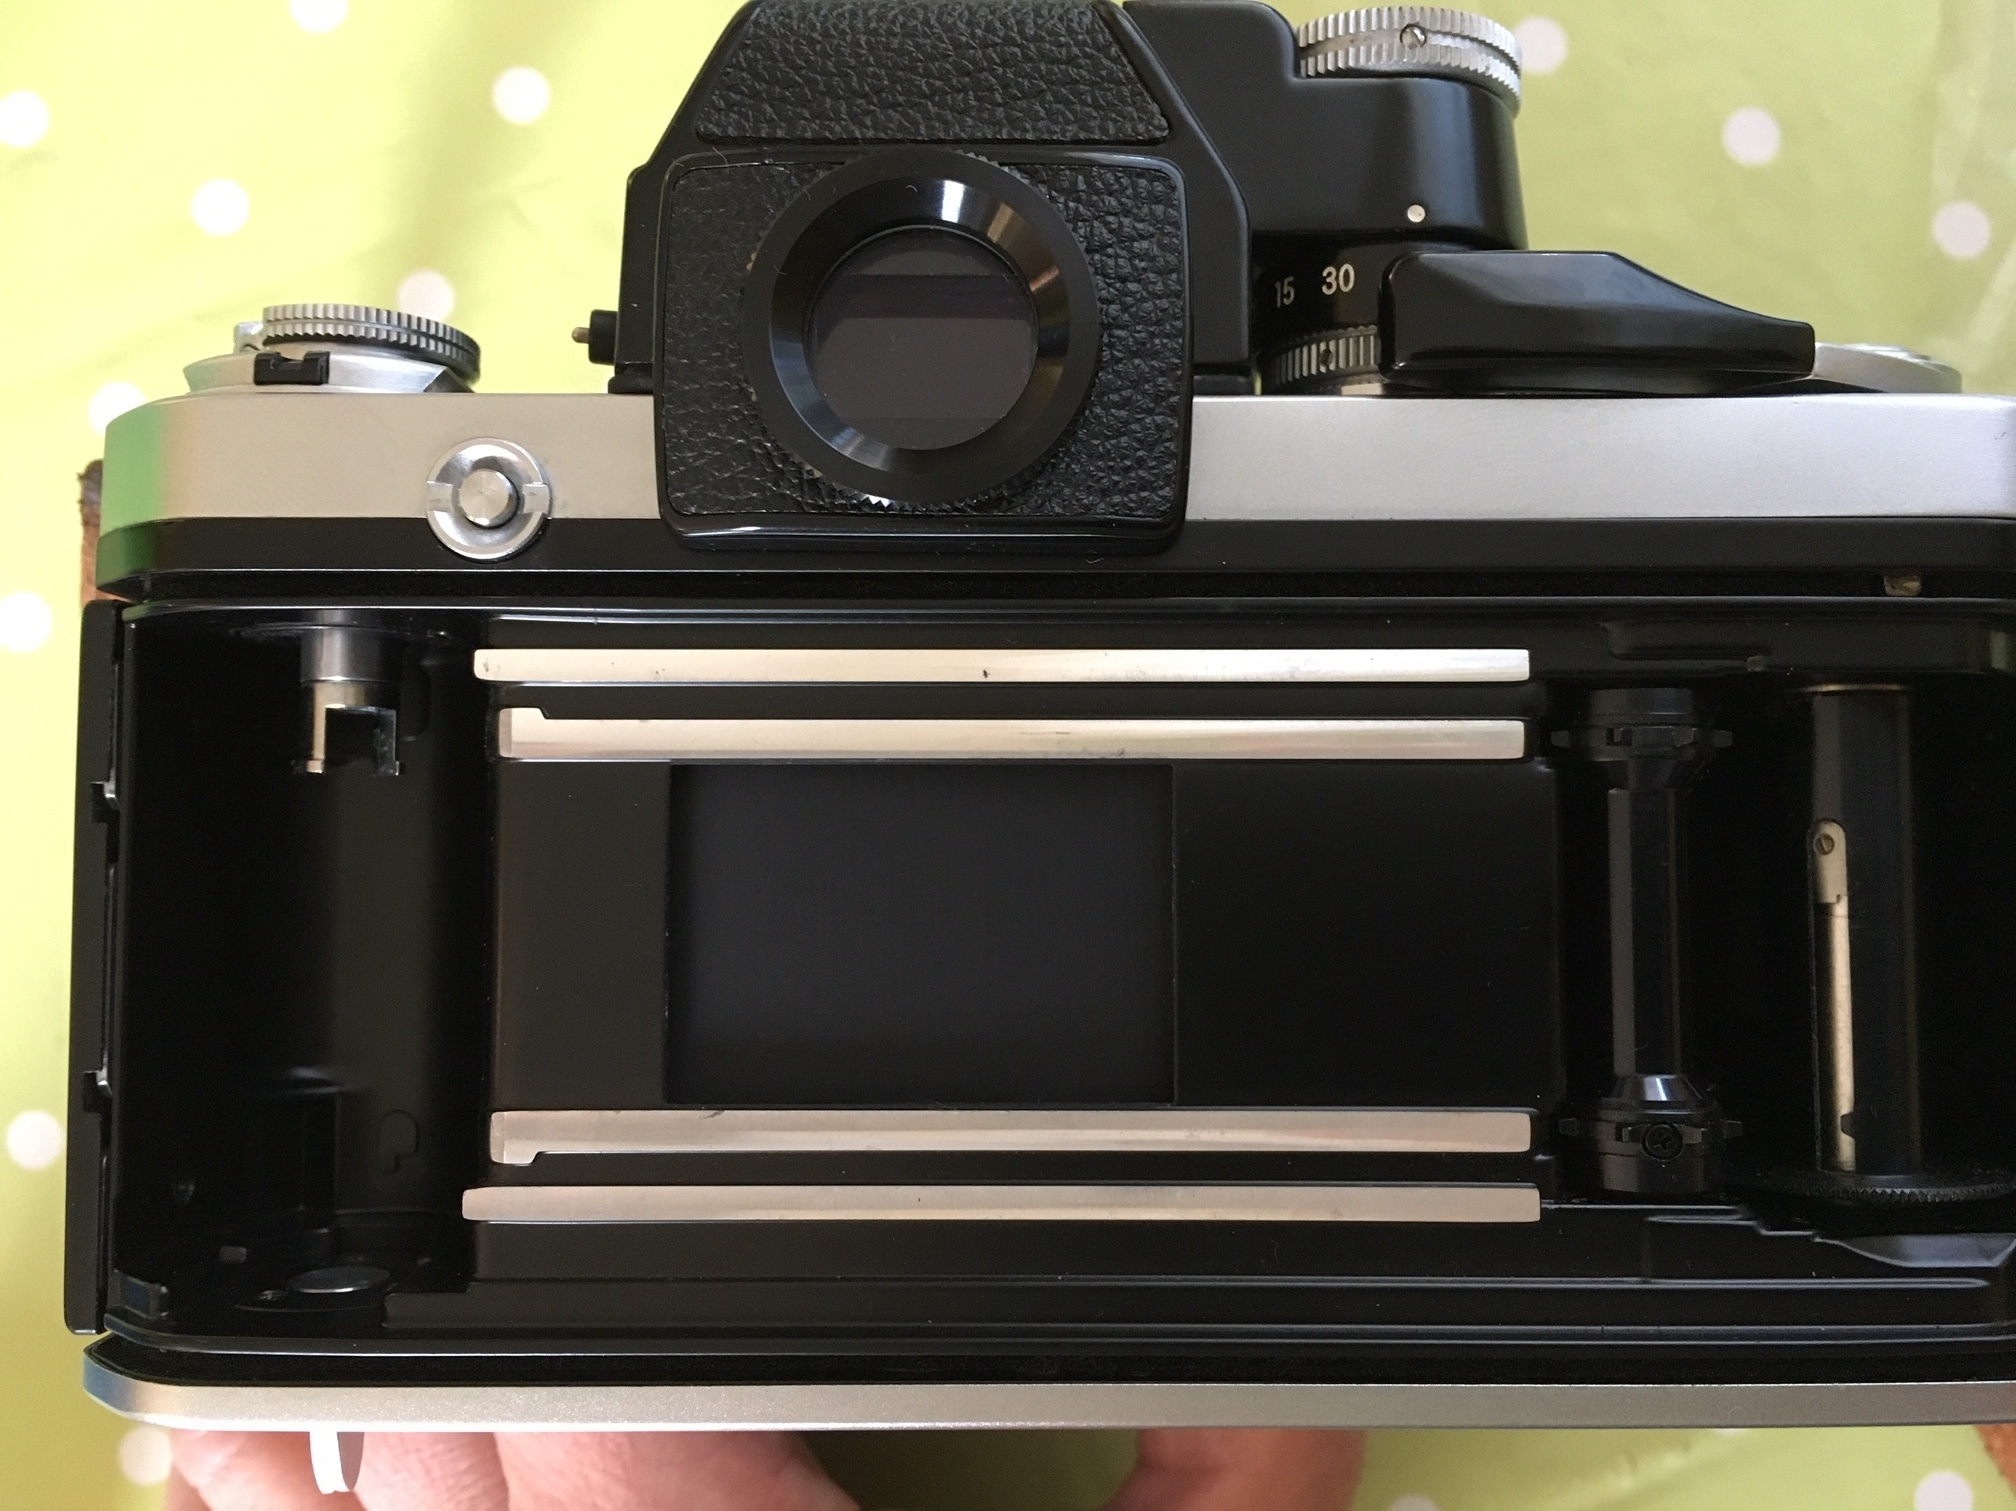
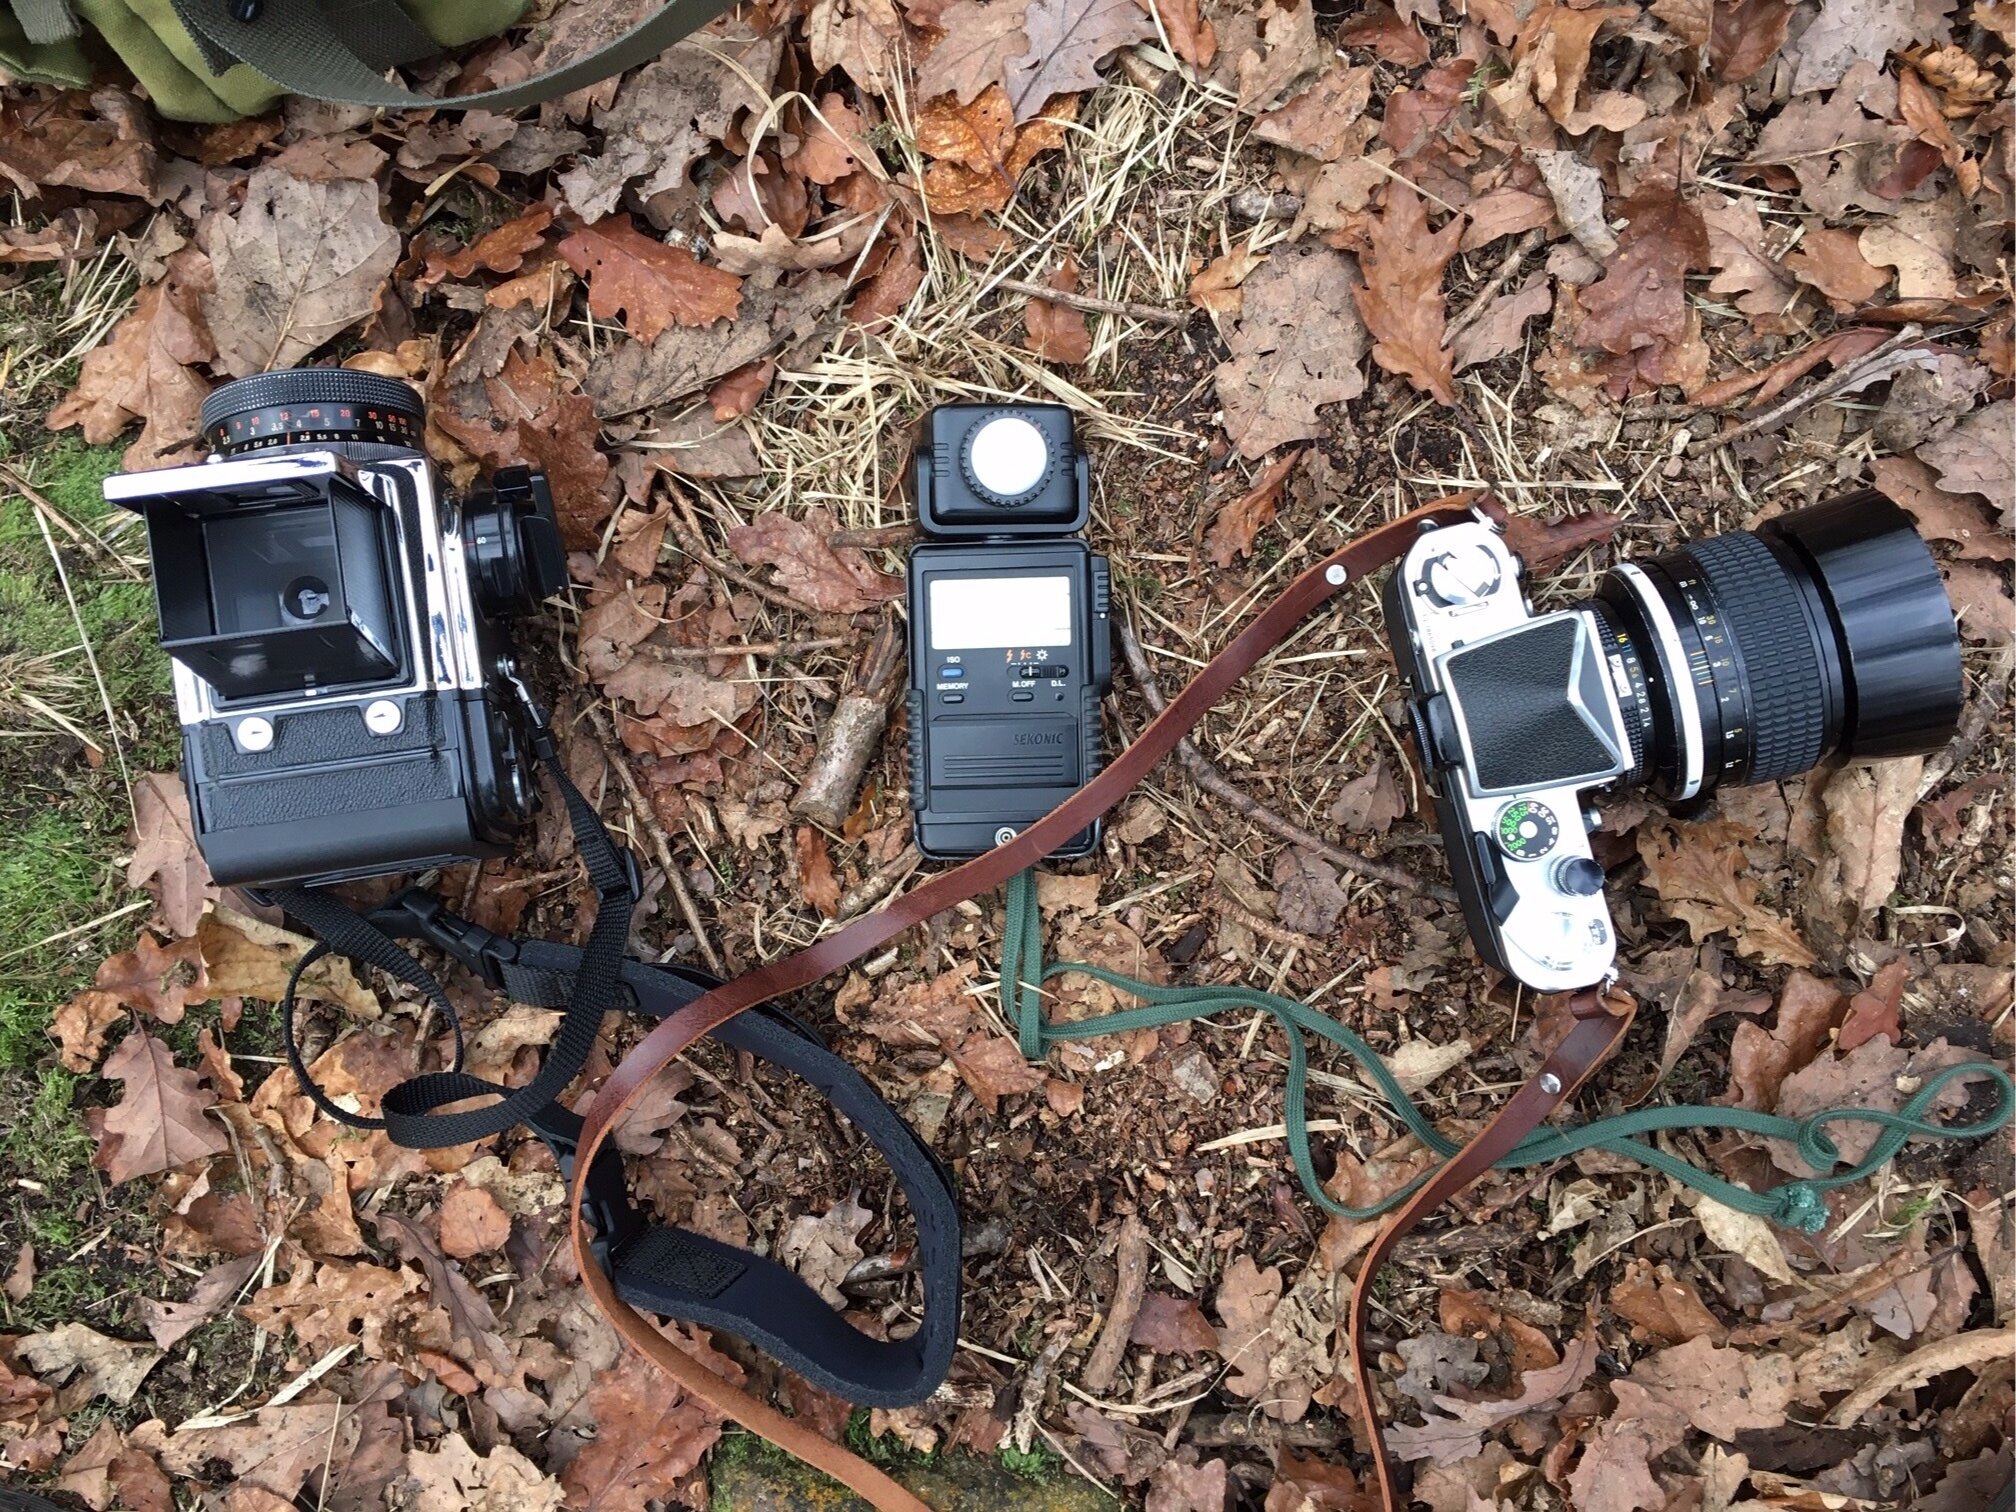
Pictured above on the left the ARAX CM is a modular 6X6 format camera which means it has has an interchangeable film back and prism, it’s totally manual too which suits me just fine! It’s basically an upgraded version of the Soviet era Kiev 88. I’ve always had a thing for some of the old Eastern bloc cameras and in particular the lenses which have a character and quality all of their own, Soviet camera bodies have their own character too - although they are more often characterised by a tendency to break/leak light/seize up/plain old not work properly!

IMG_4824.JPG

I was drawn towards the ARAX as these are rebuilt and refitted cameras which (hopefully) have all of their flaws resolved - I am pleased to report that so far is so good! As well as fixing them up the good people at ARAX also give the cameras a Pentacon mount which means that they can accept the very wonderful range of Carl Zeiss Jena lenses (my main reason for getting the system in the first place).

IMG_4822.jpg

The ARAX is based on a Soviet knock off of a Hassleblad design from the late 1940’s, a design which Hassleblad dropped in favour of a leaf shutter system but Communist camera company Kiev stuck with the original design - in practice the ARAX is lovely to shoot with, there is really one main thing to watch out for (and this holds true for a lot of older cameras) you must cock the shutter before basically doing anything - never ever ever on pain of death adjust the shutter speed dial without cocking the shutter, because the world will literally implode and (more importantly) you’ll kill the camera.

As well as being able to shoot some amazing Zeiss glass (for cheap) I was also drawn to the interchangeable/modular design meaning I can swap film backs and mix up shooting colour and black and white etc mid shoot.

0-12.jpg

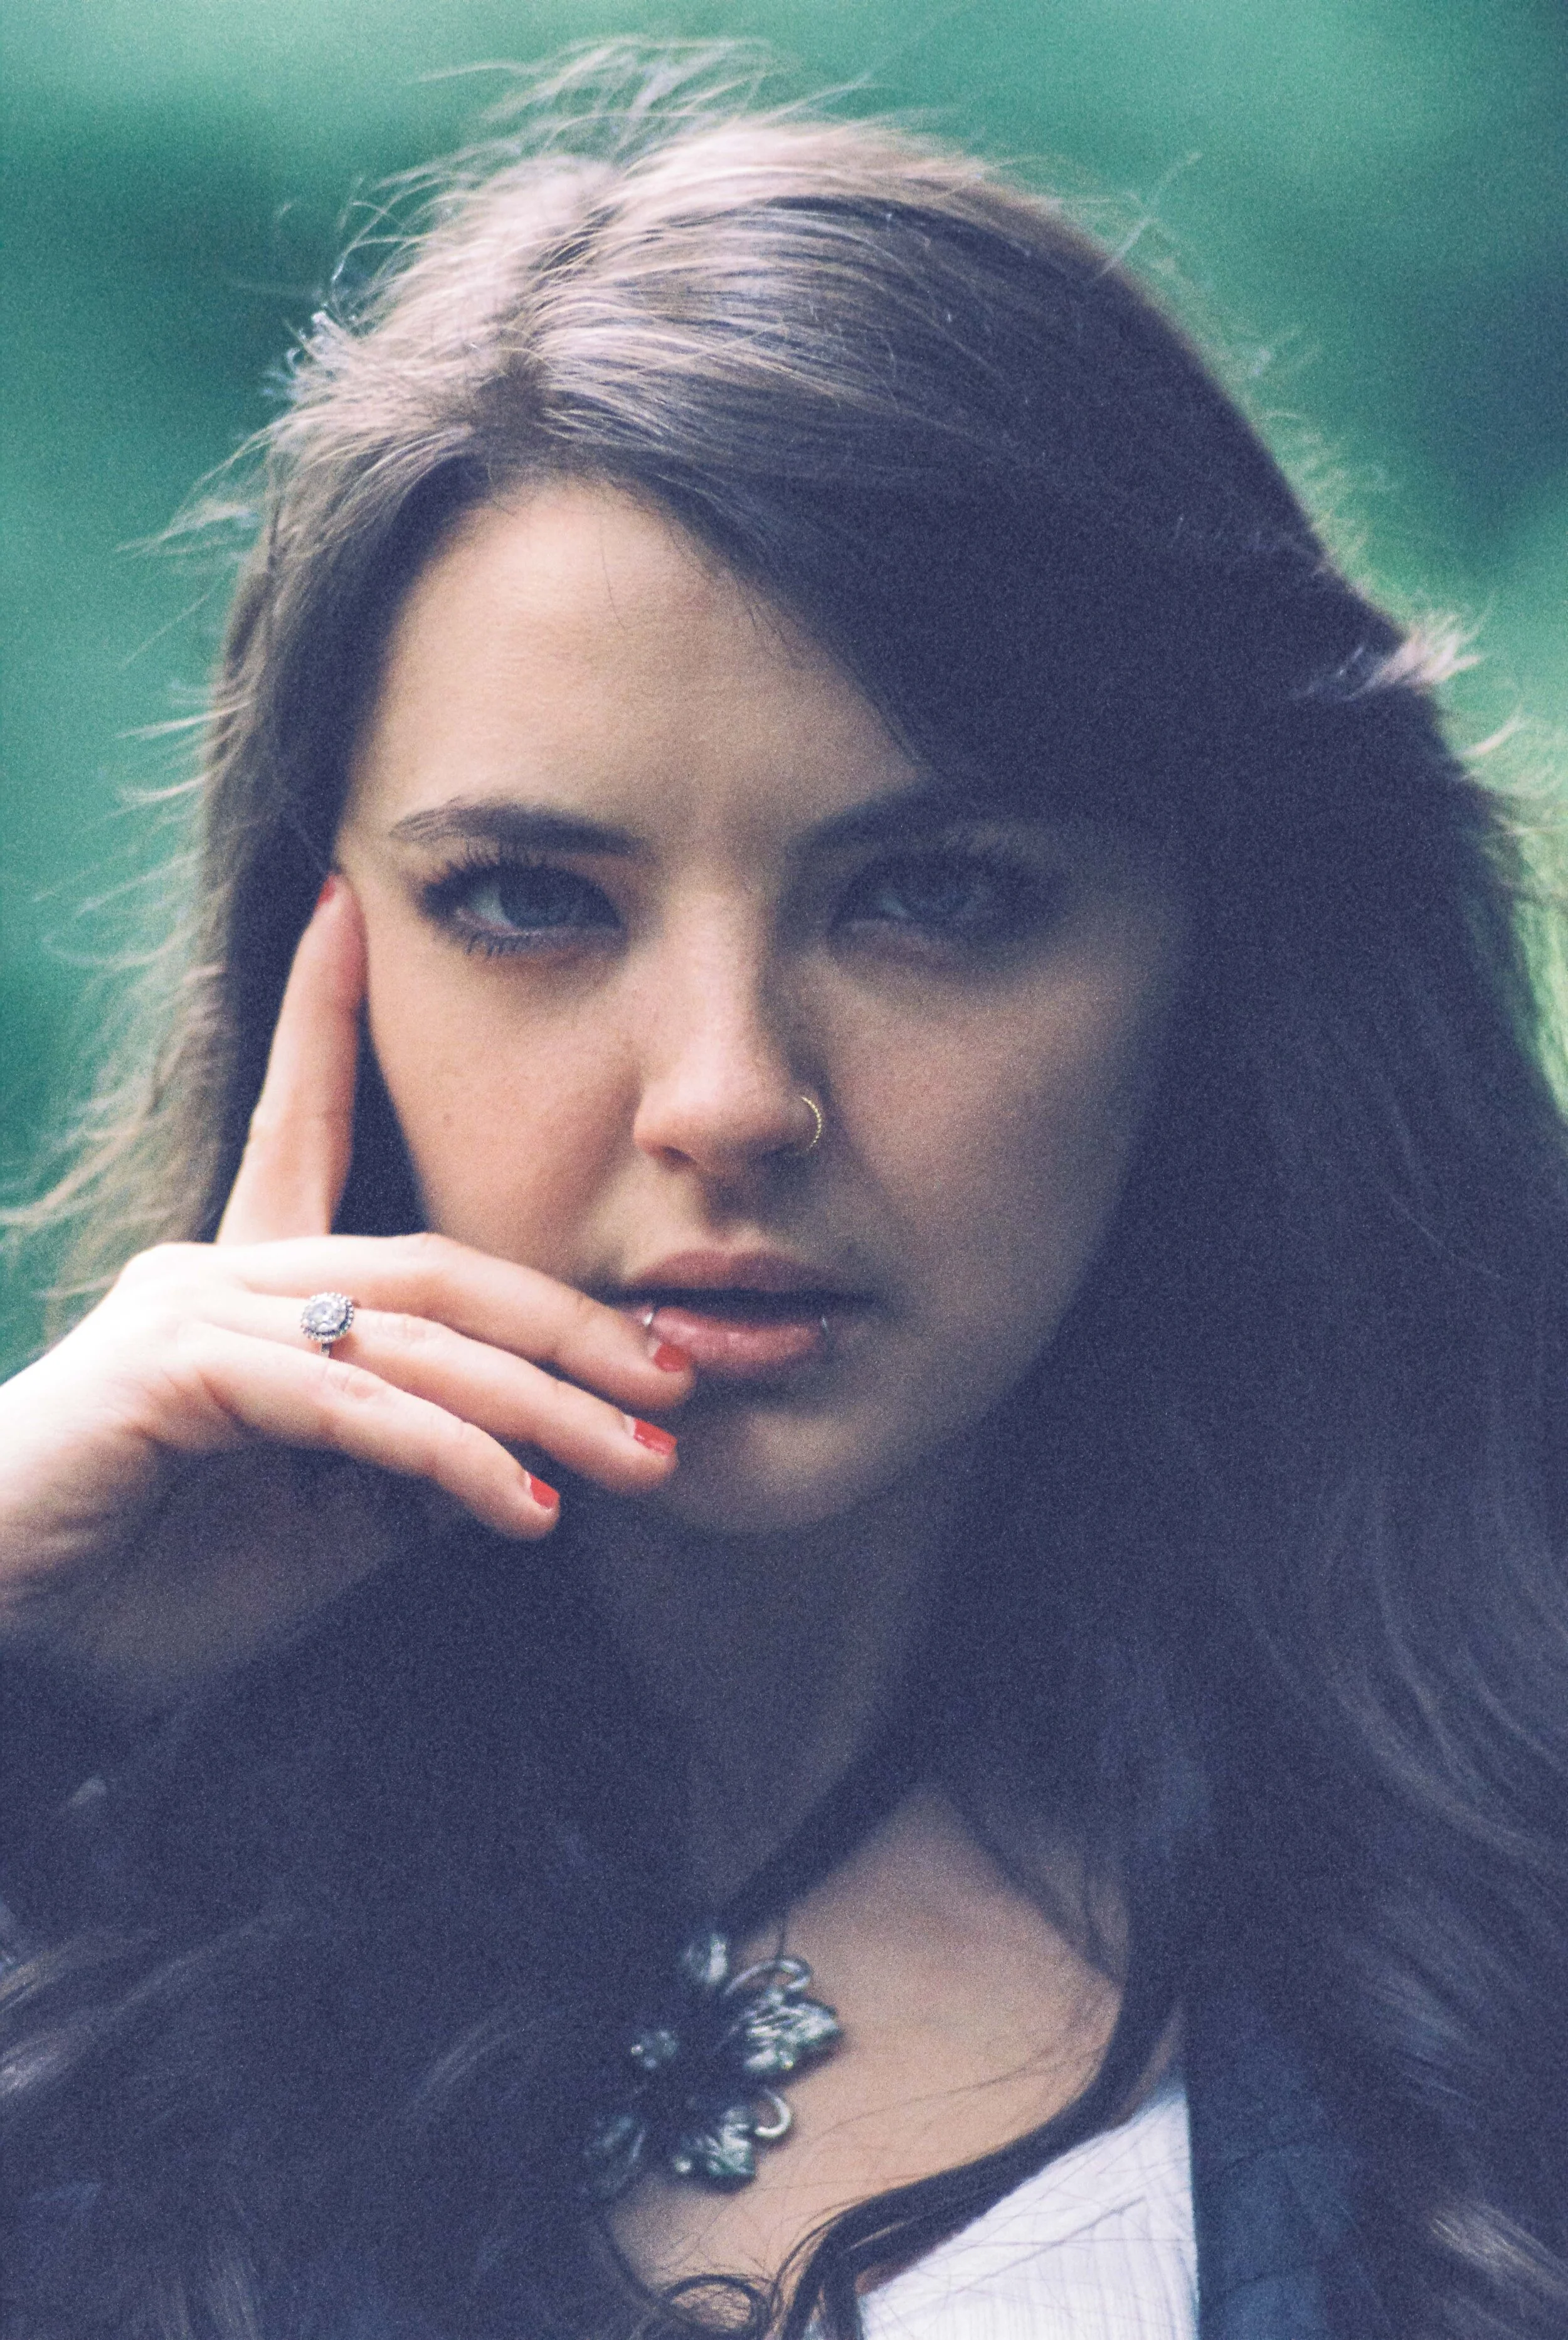
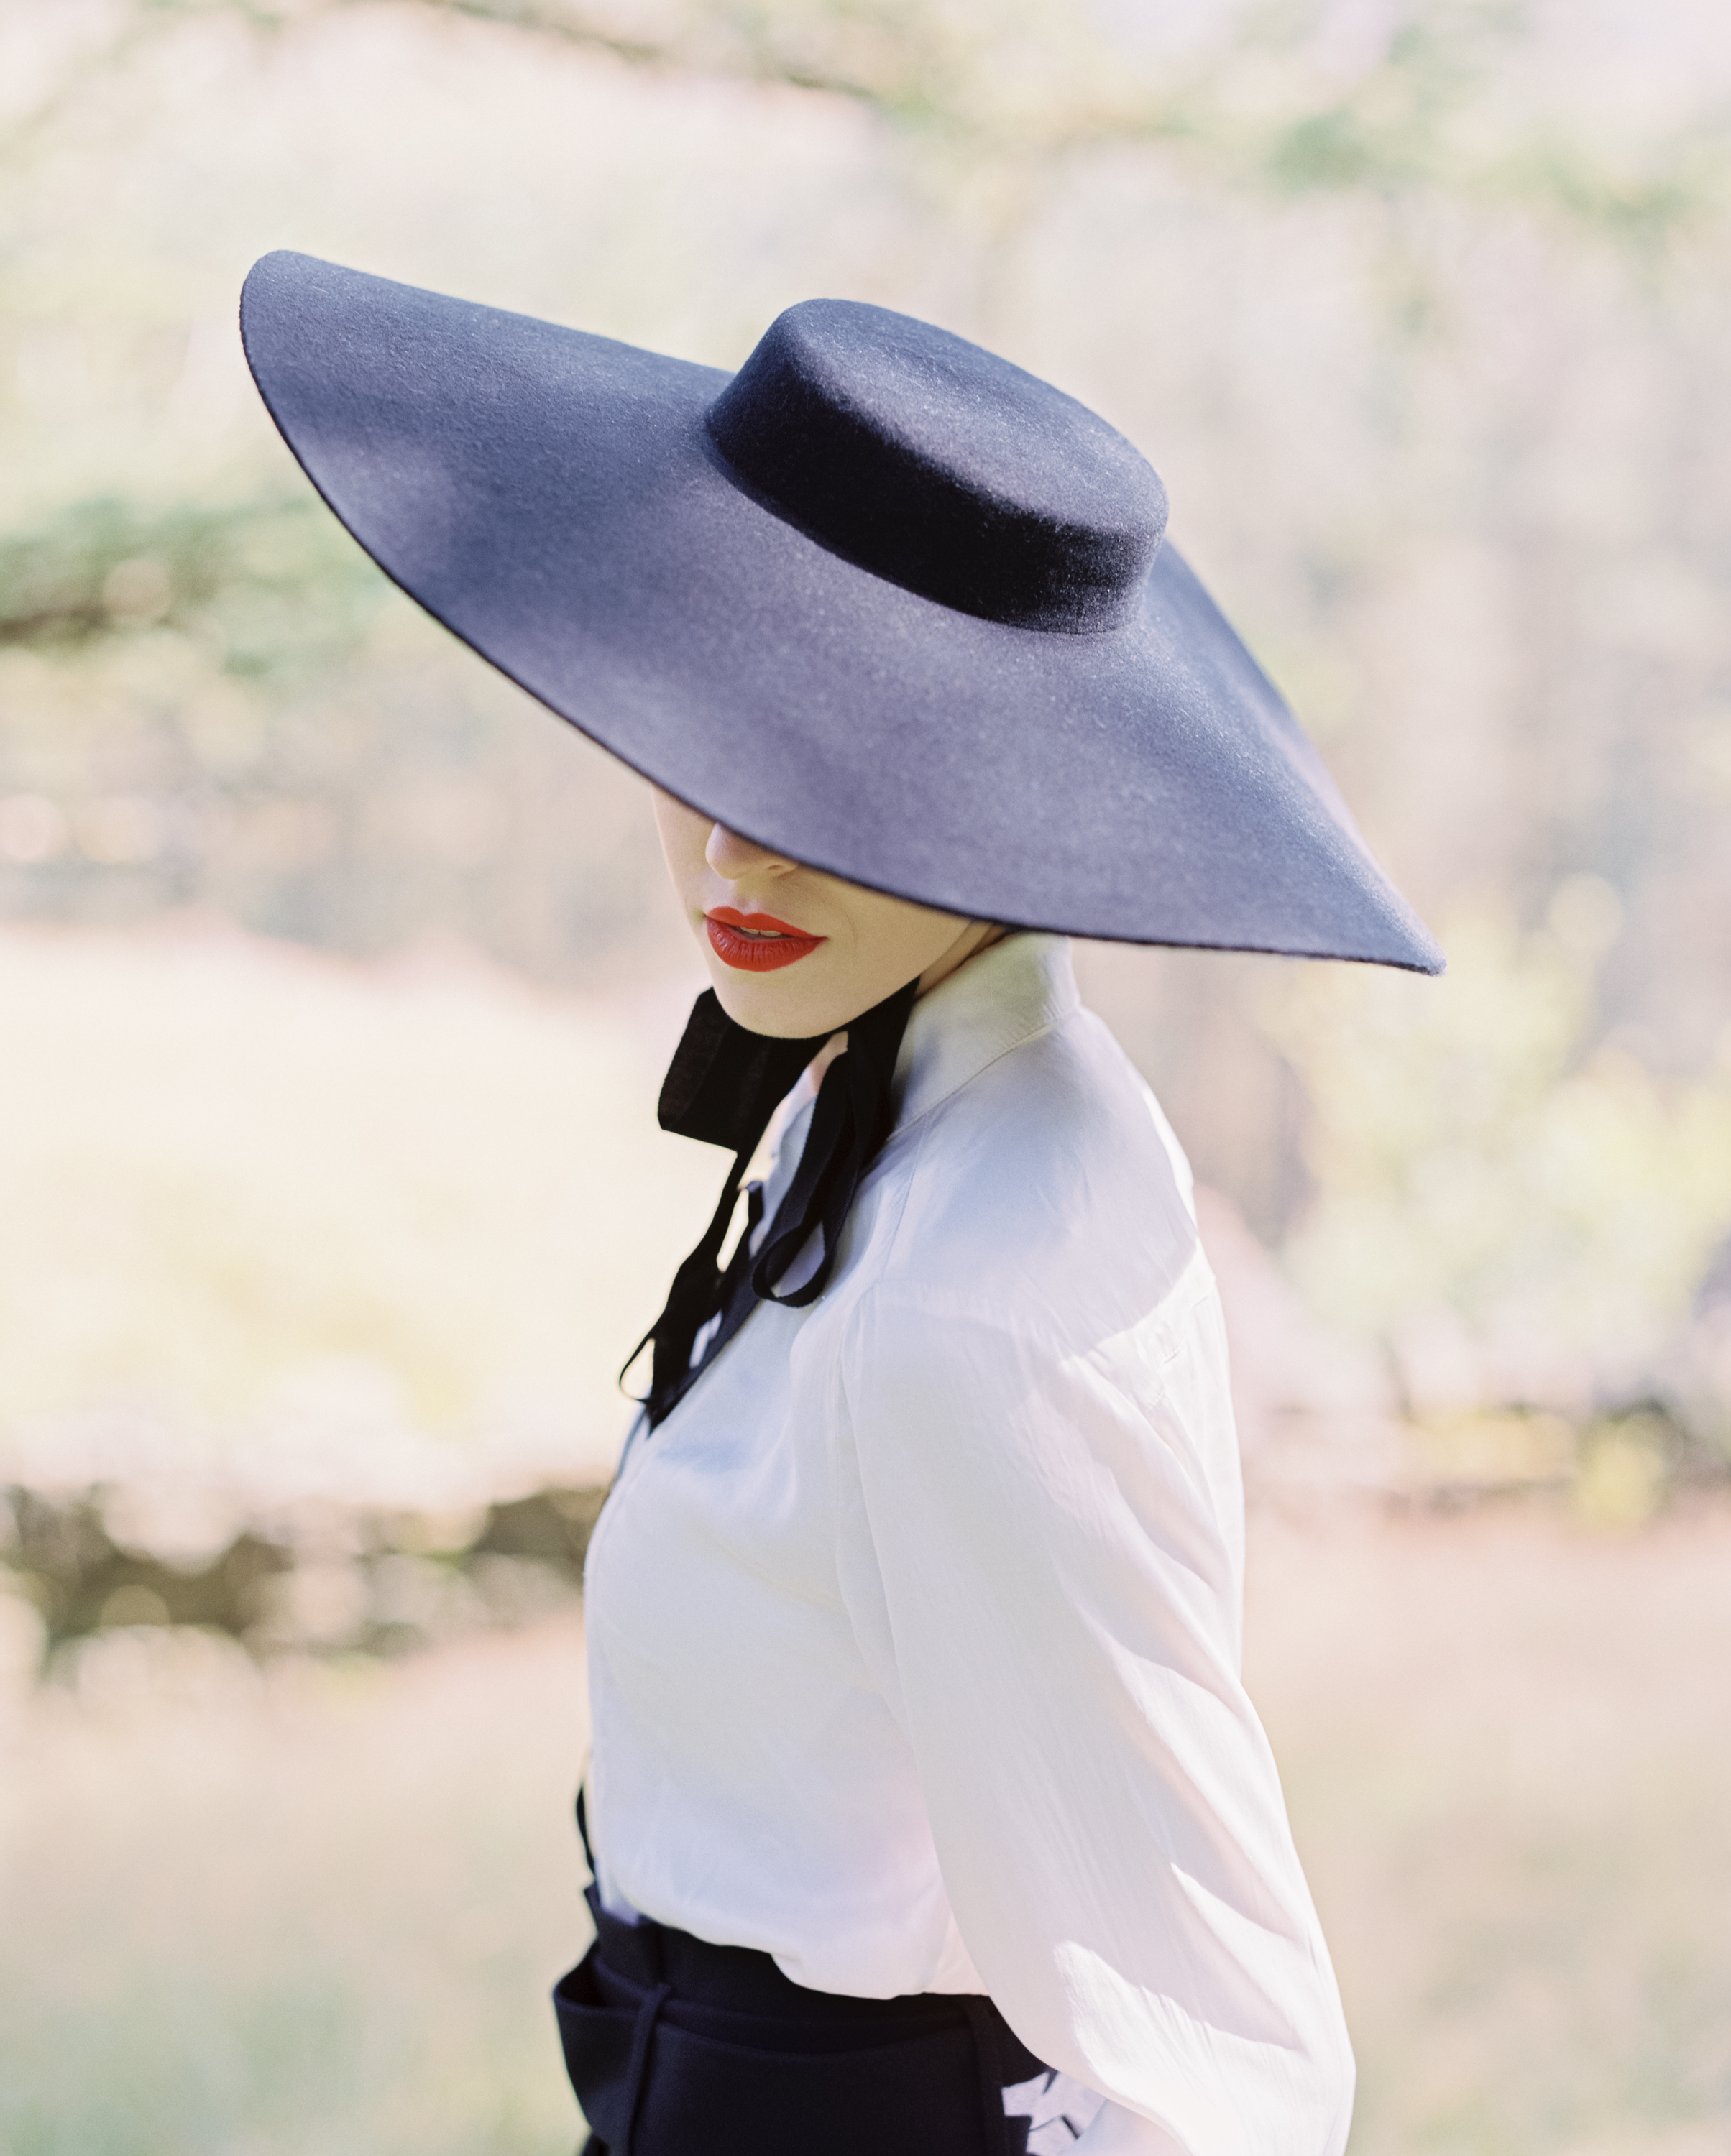
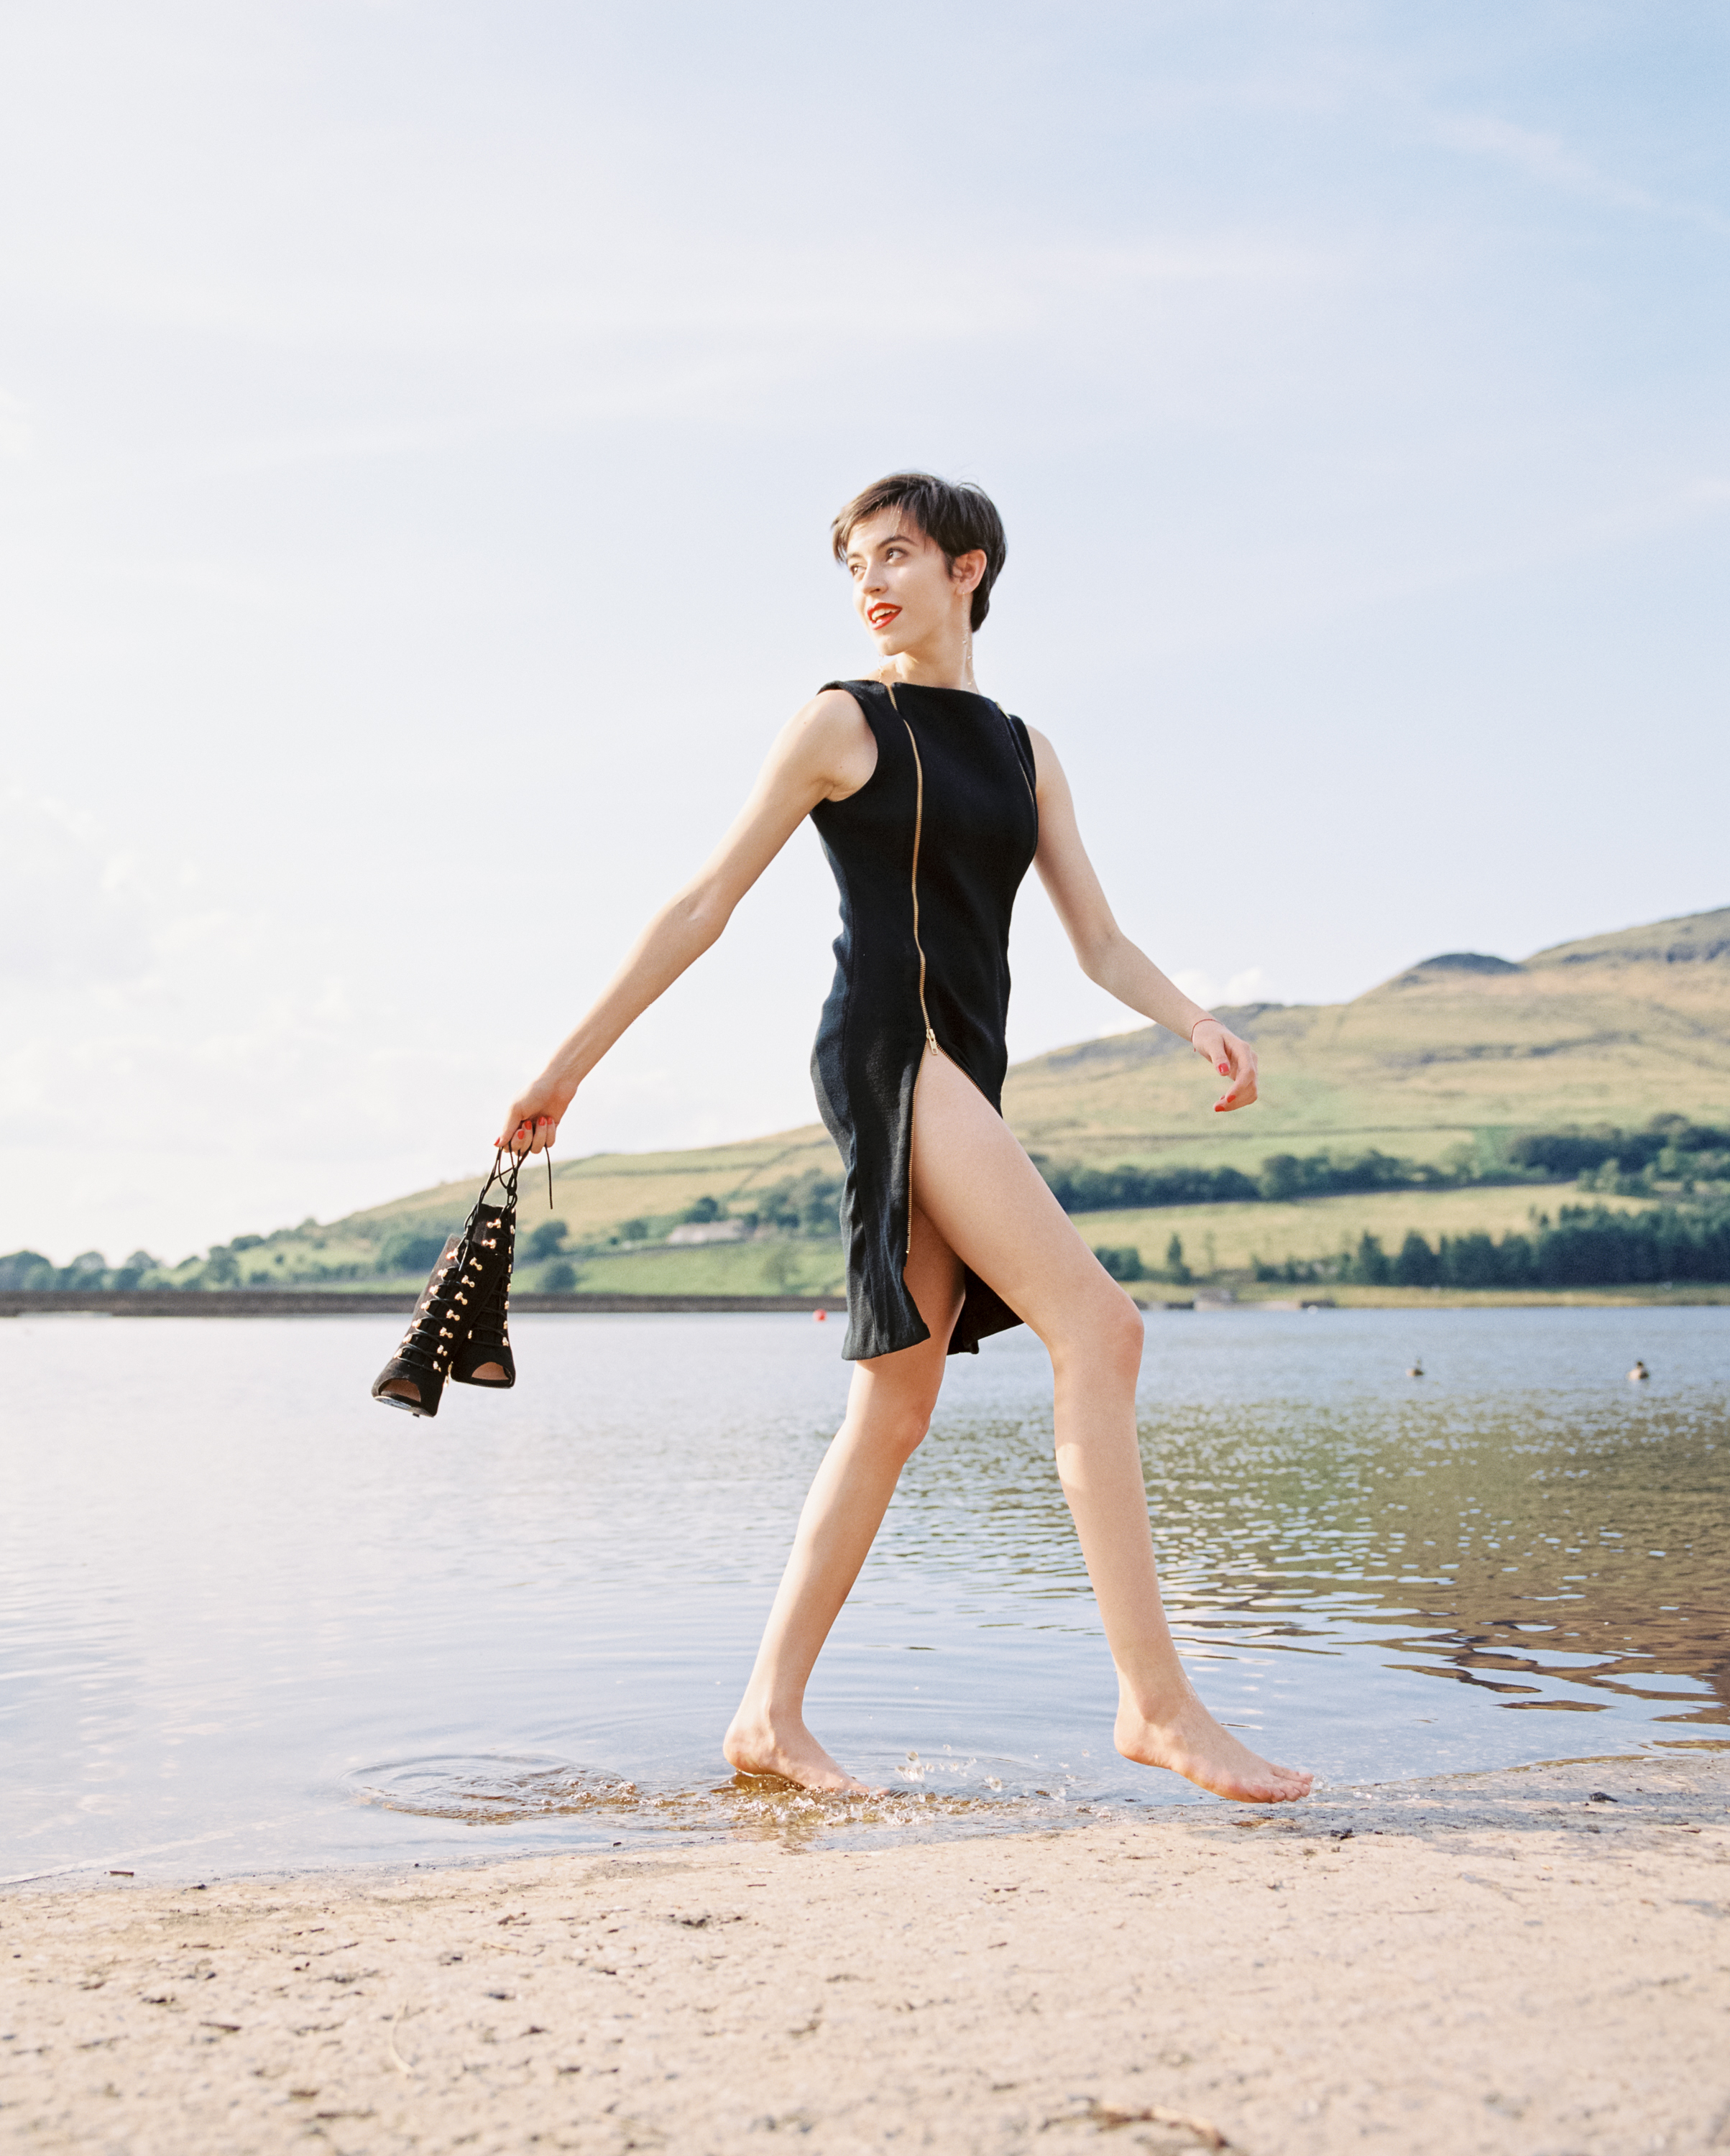
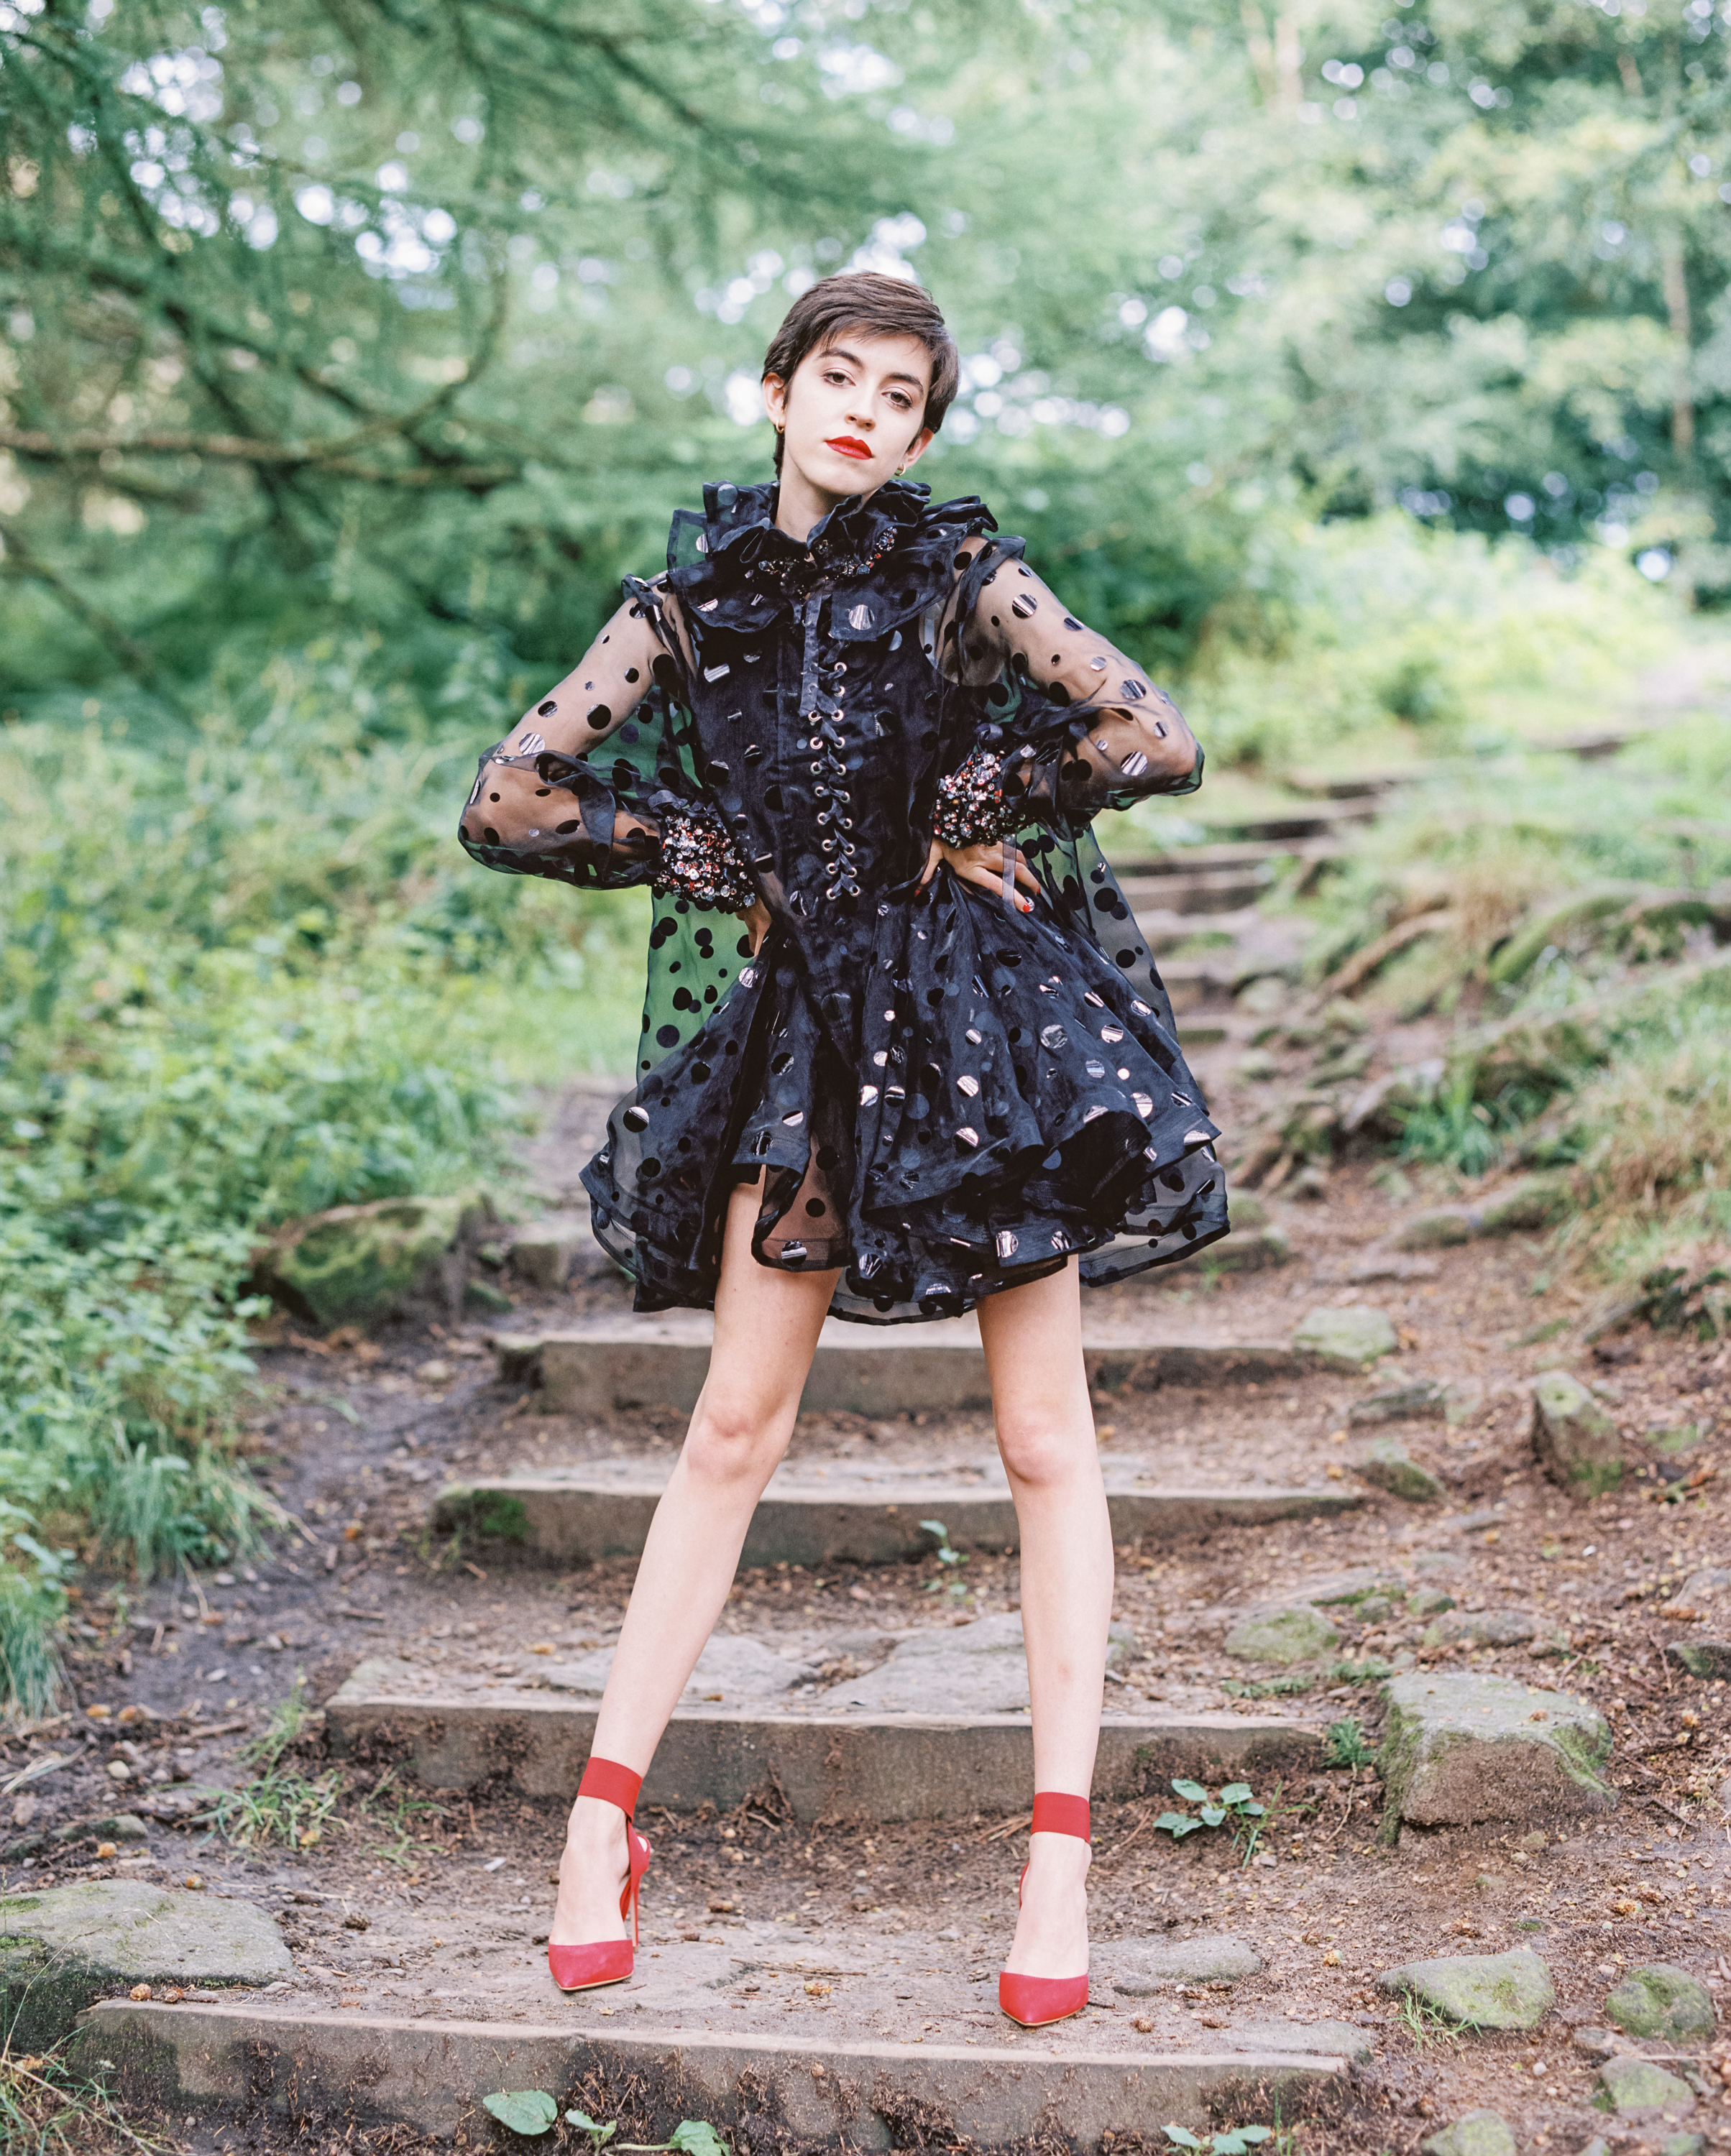
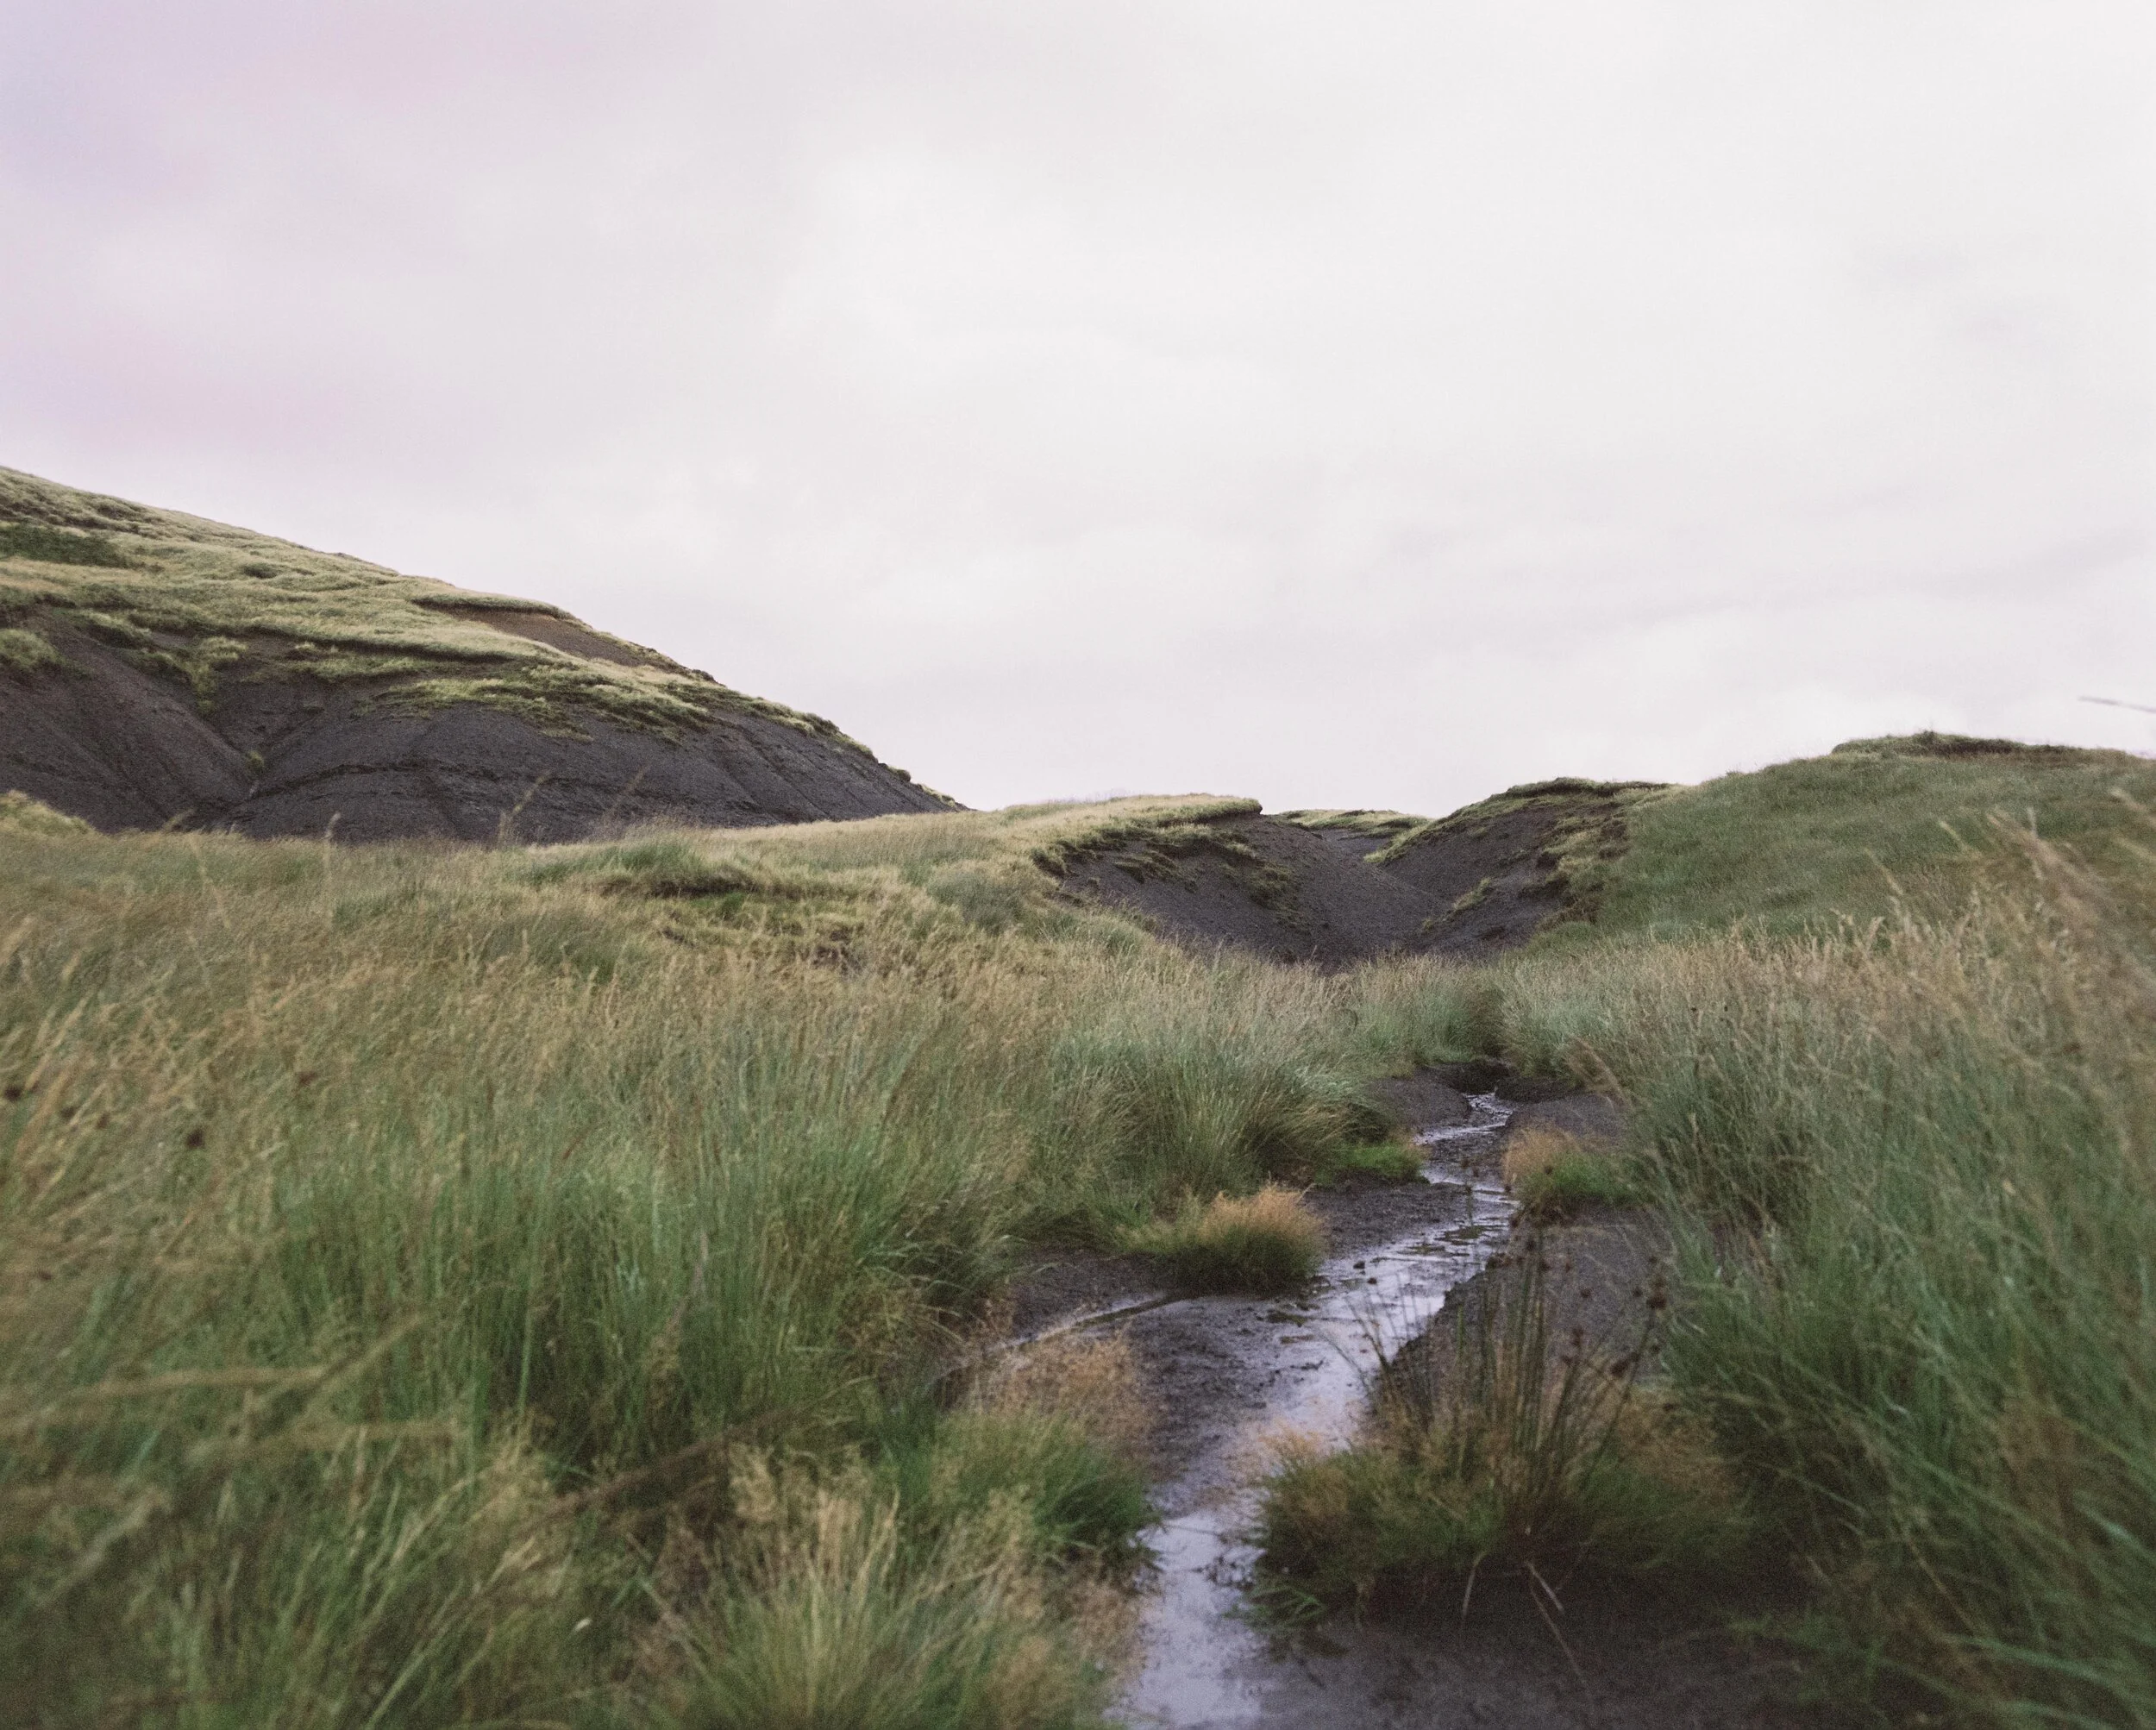
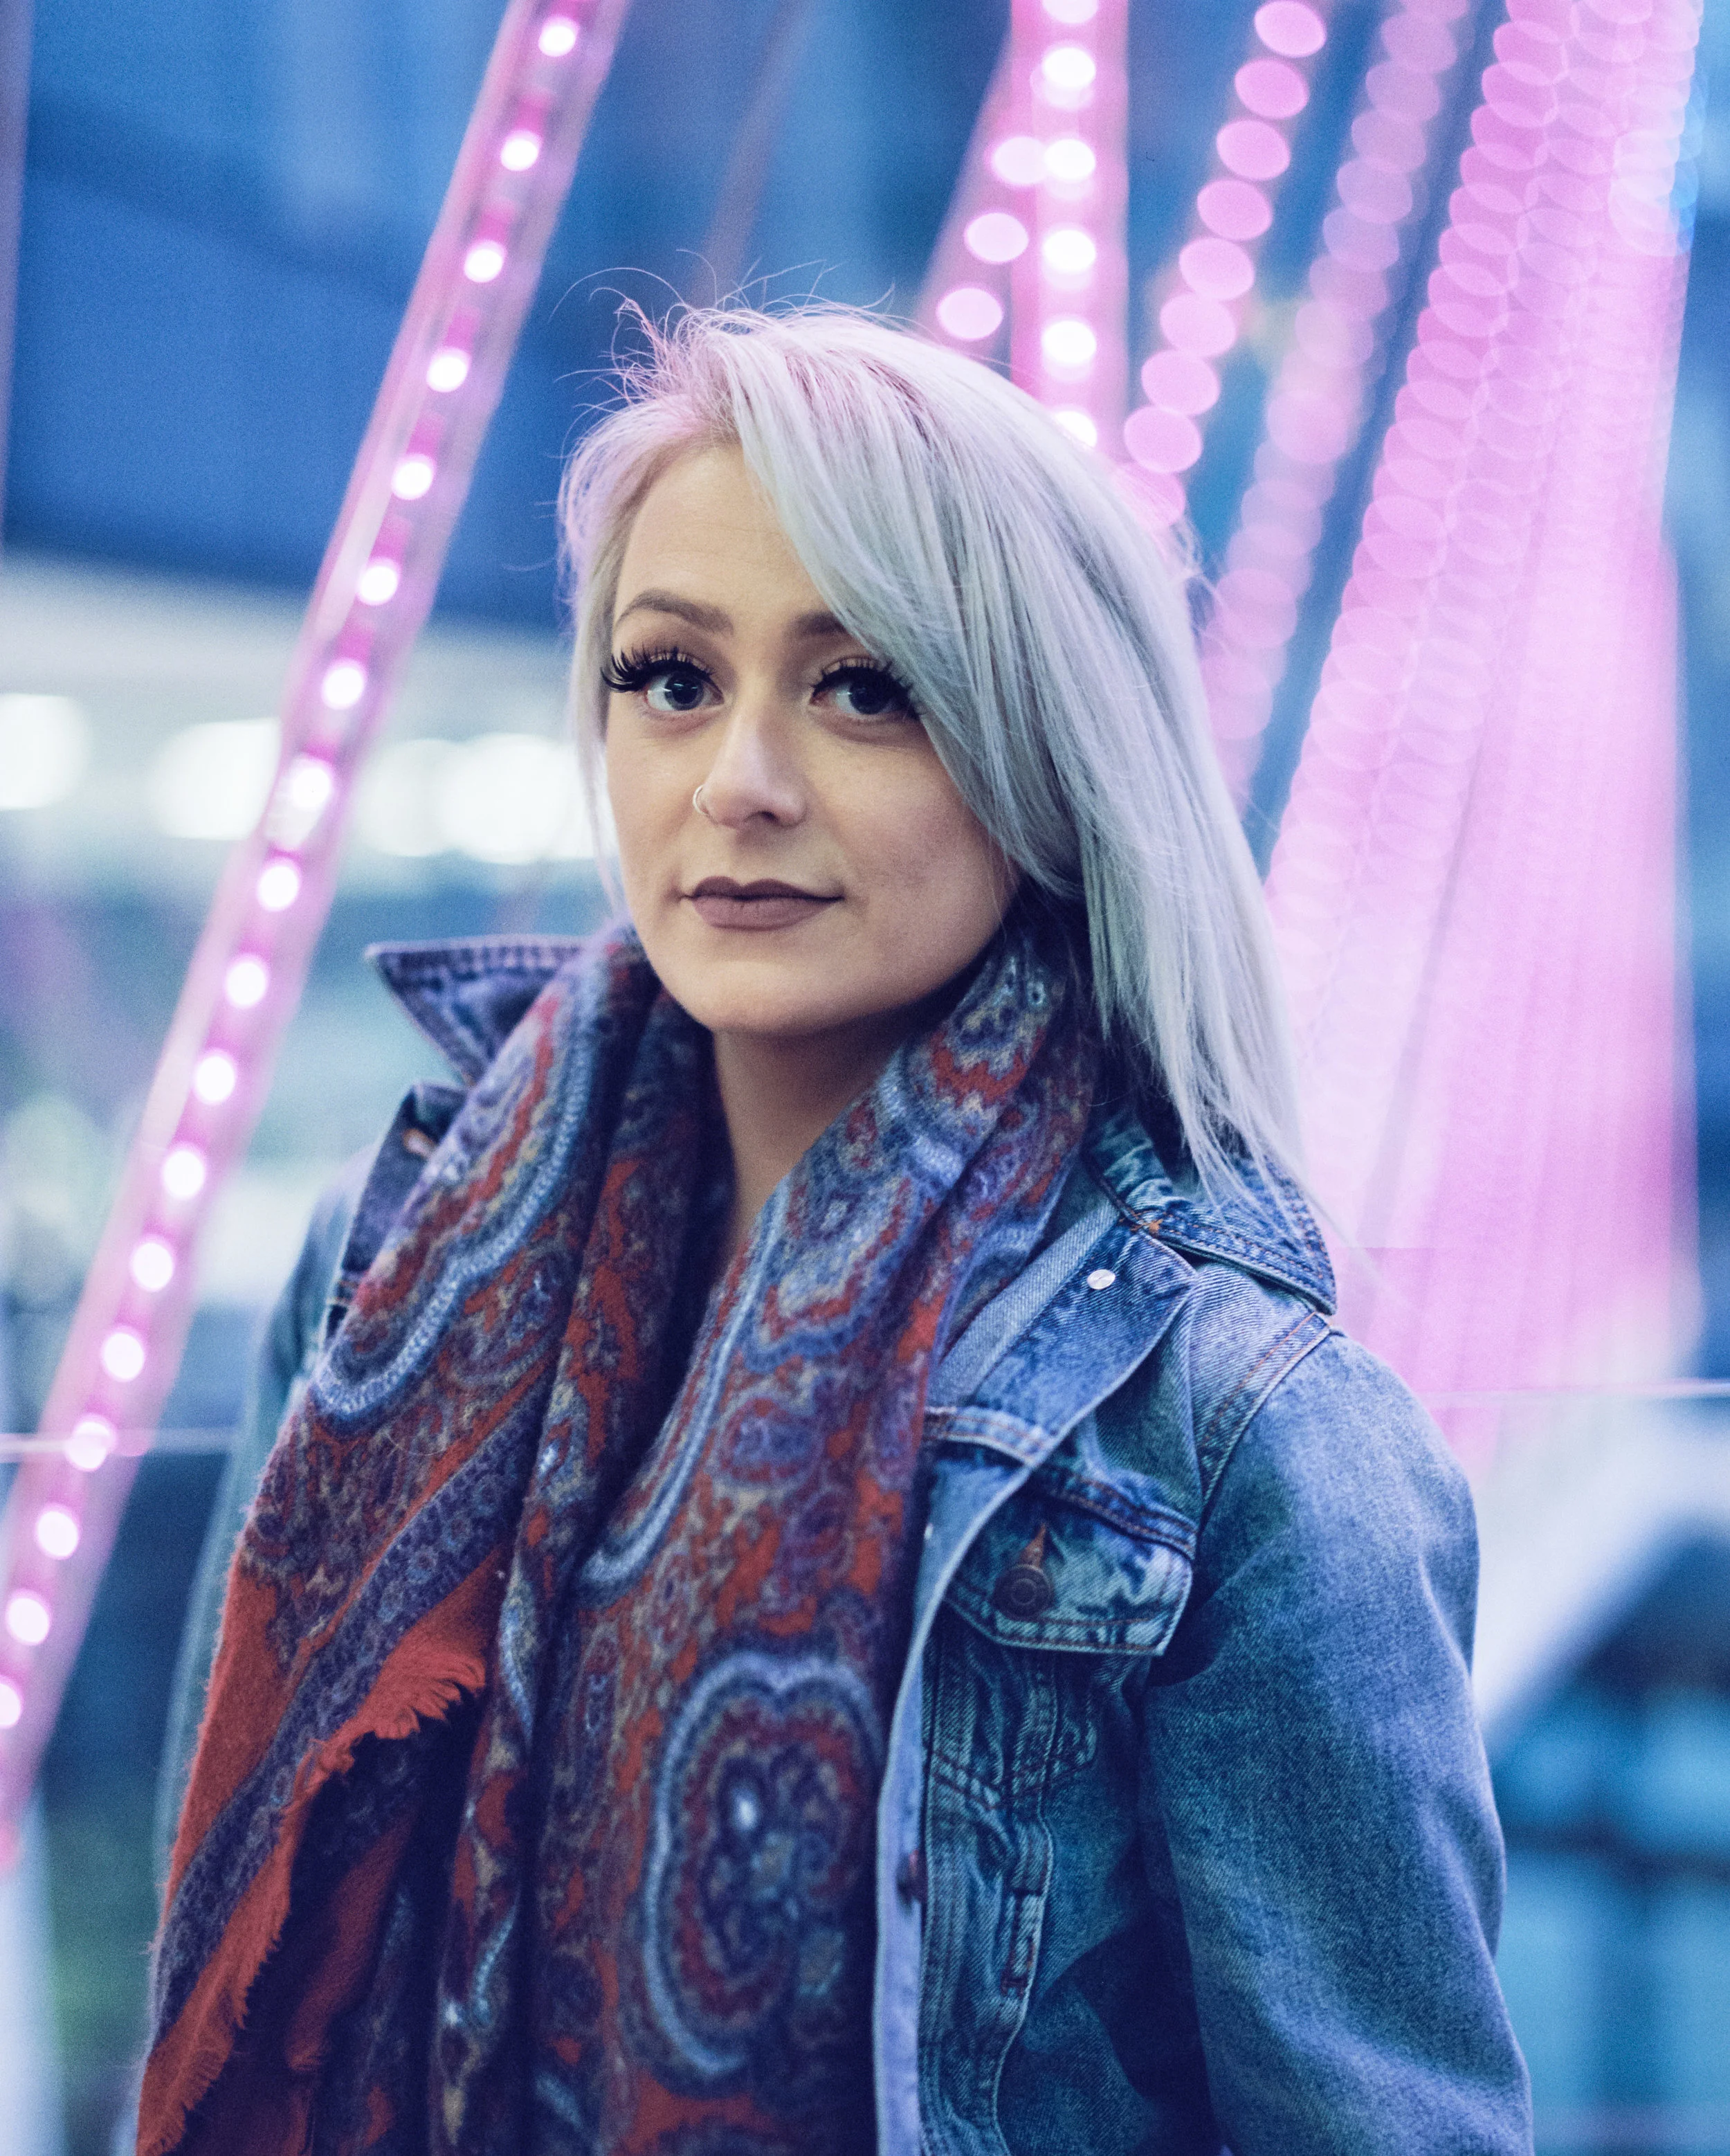
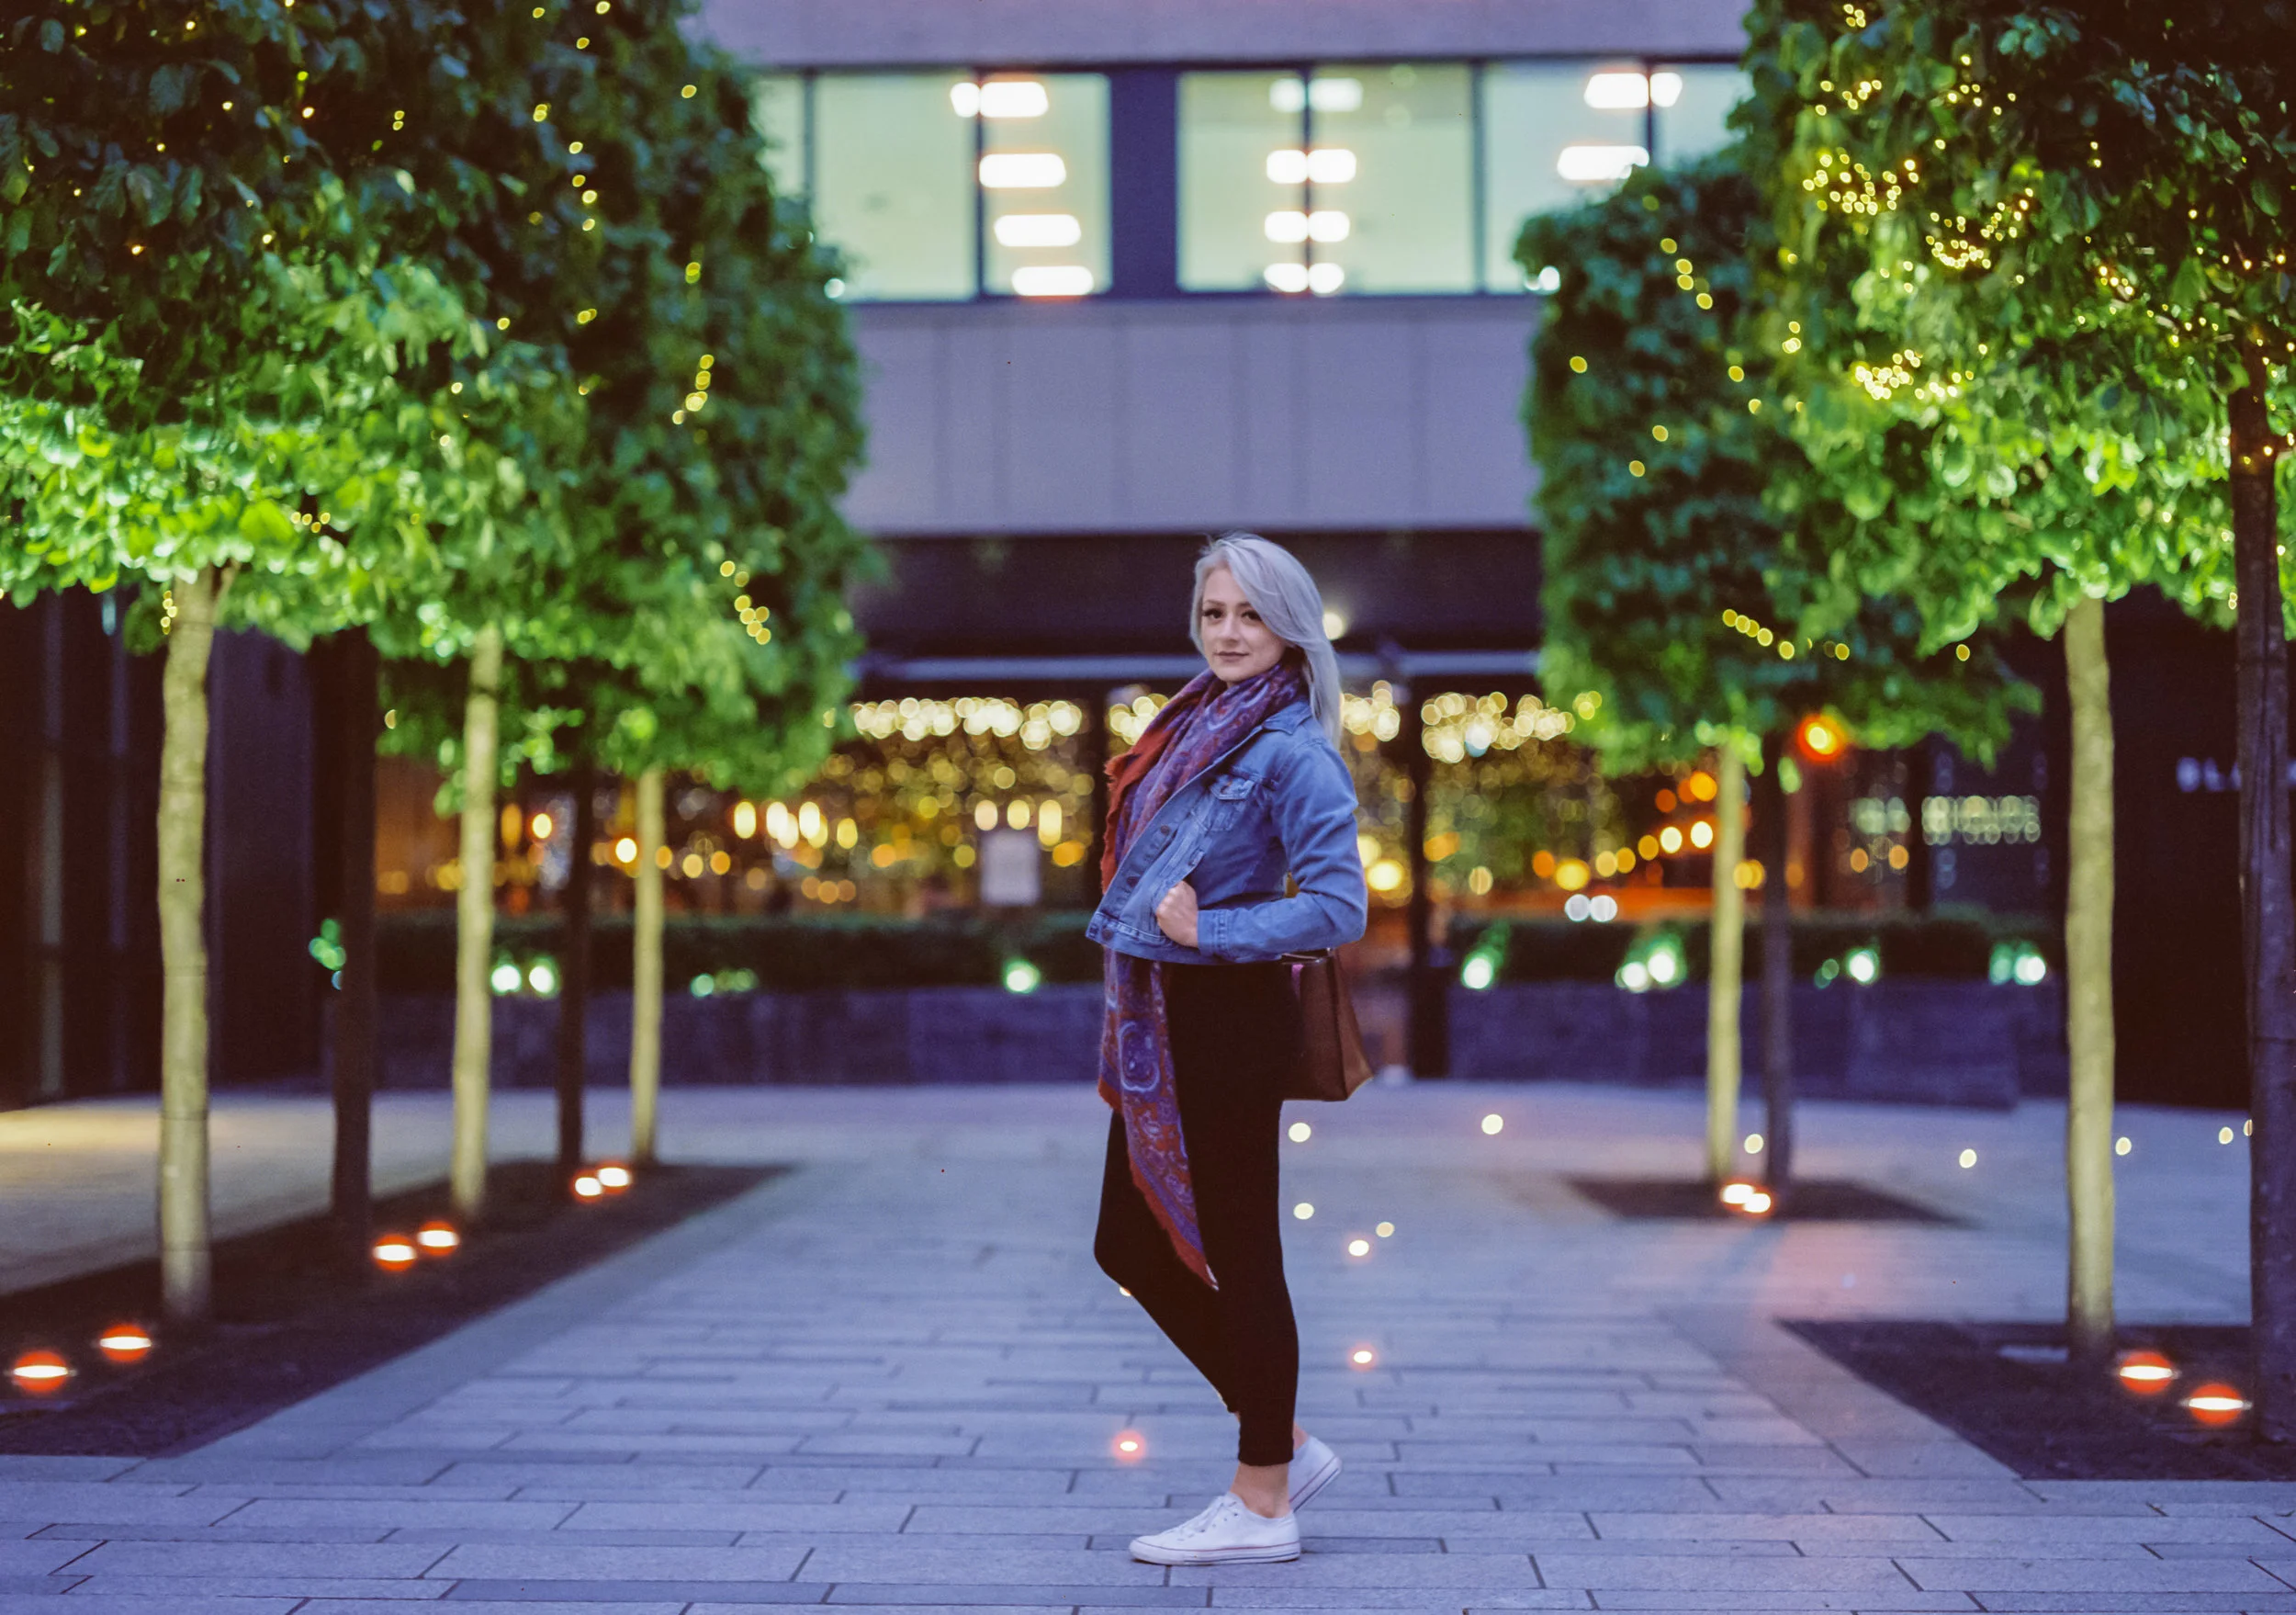
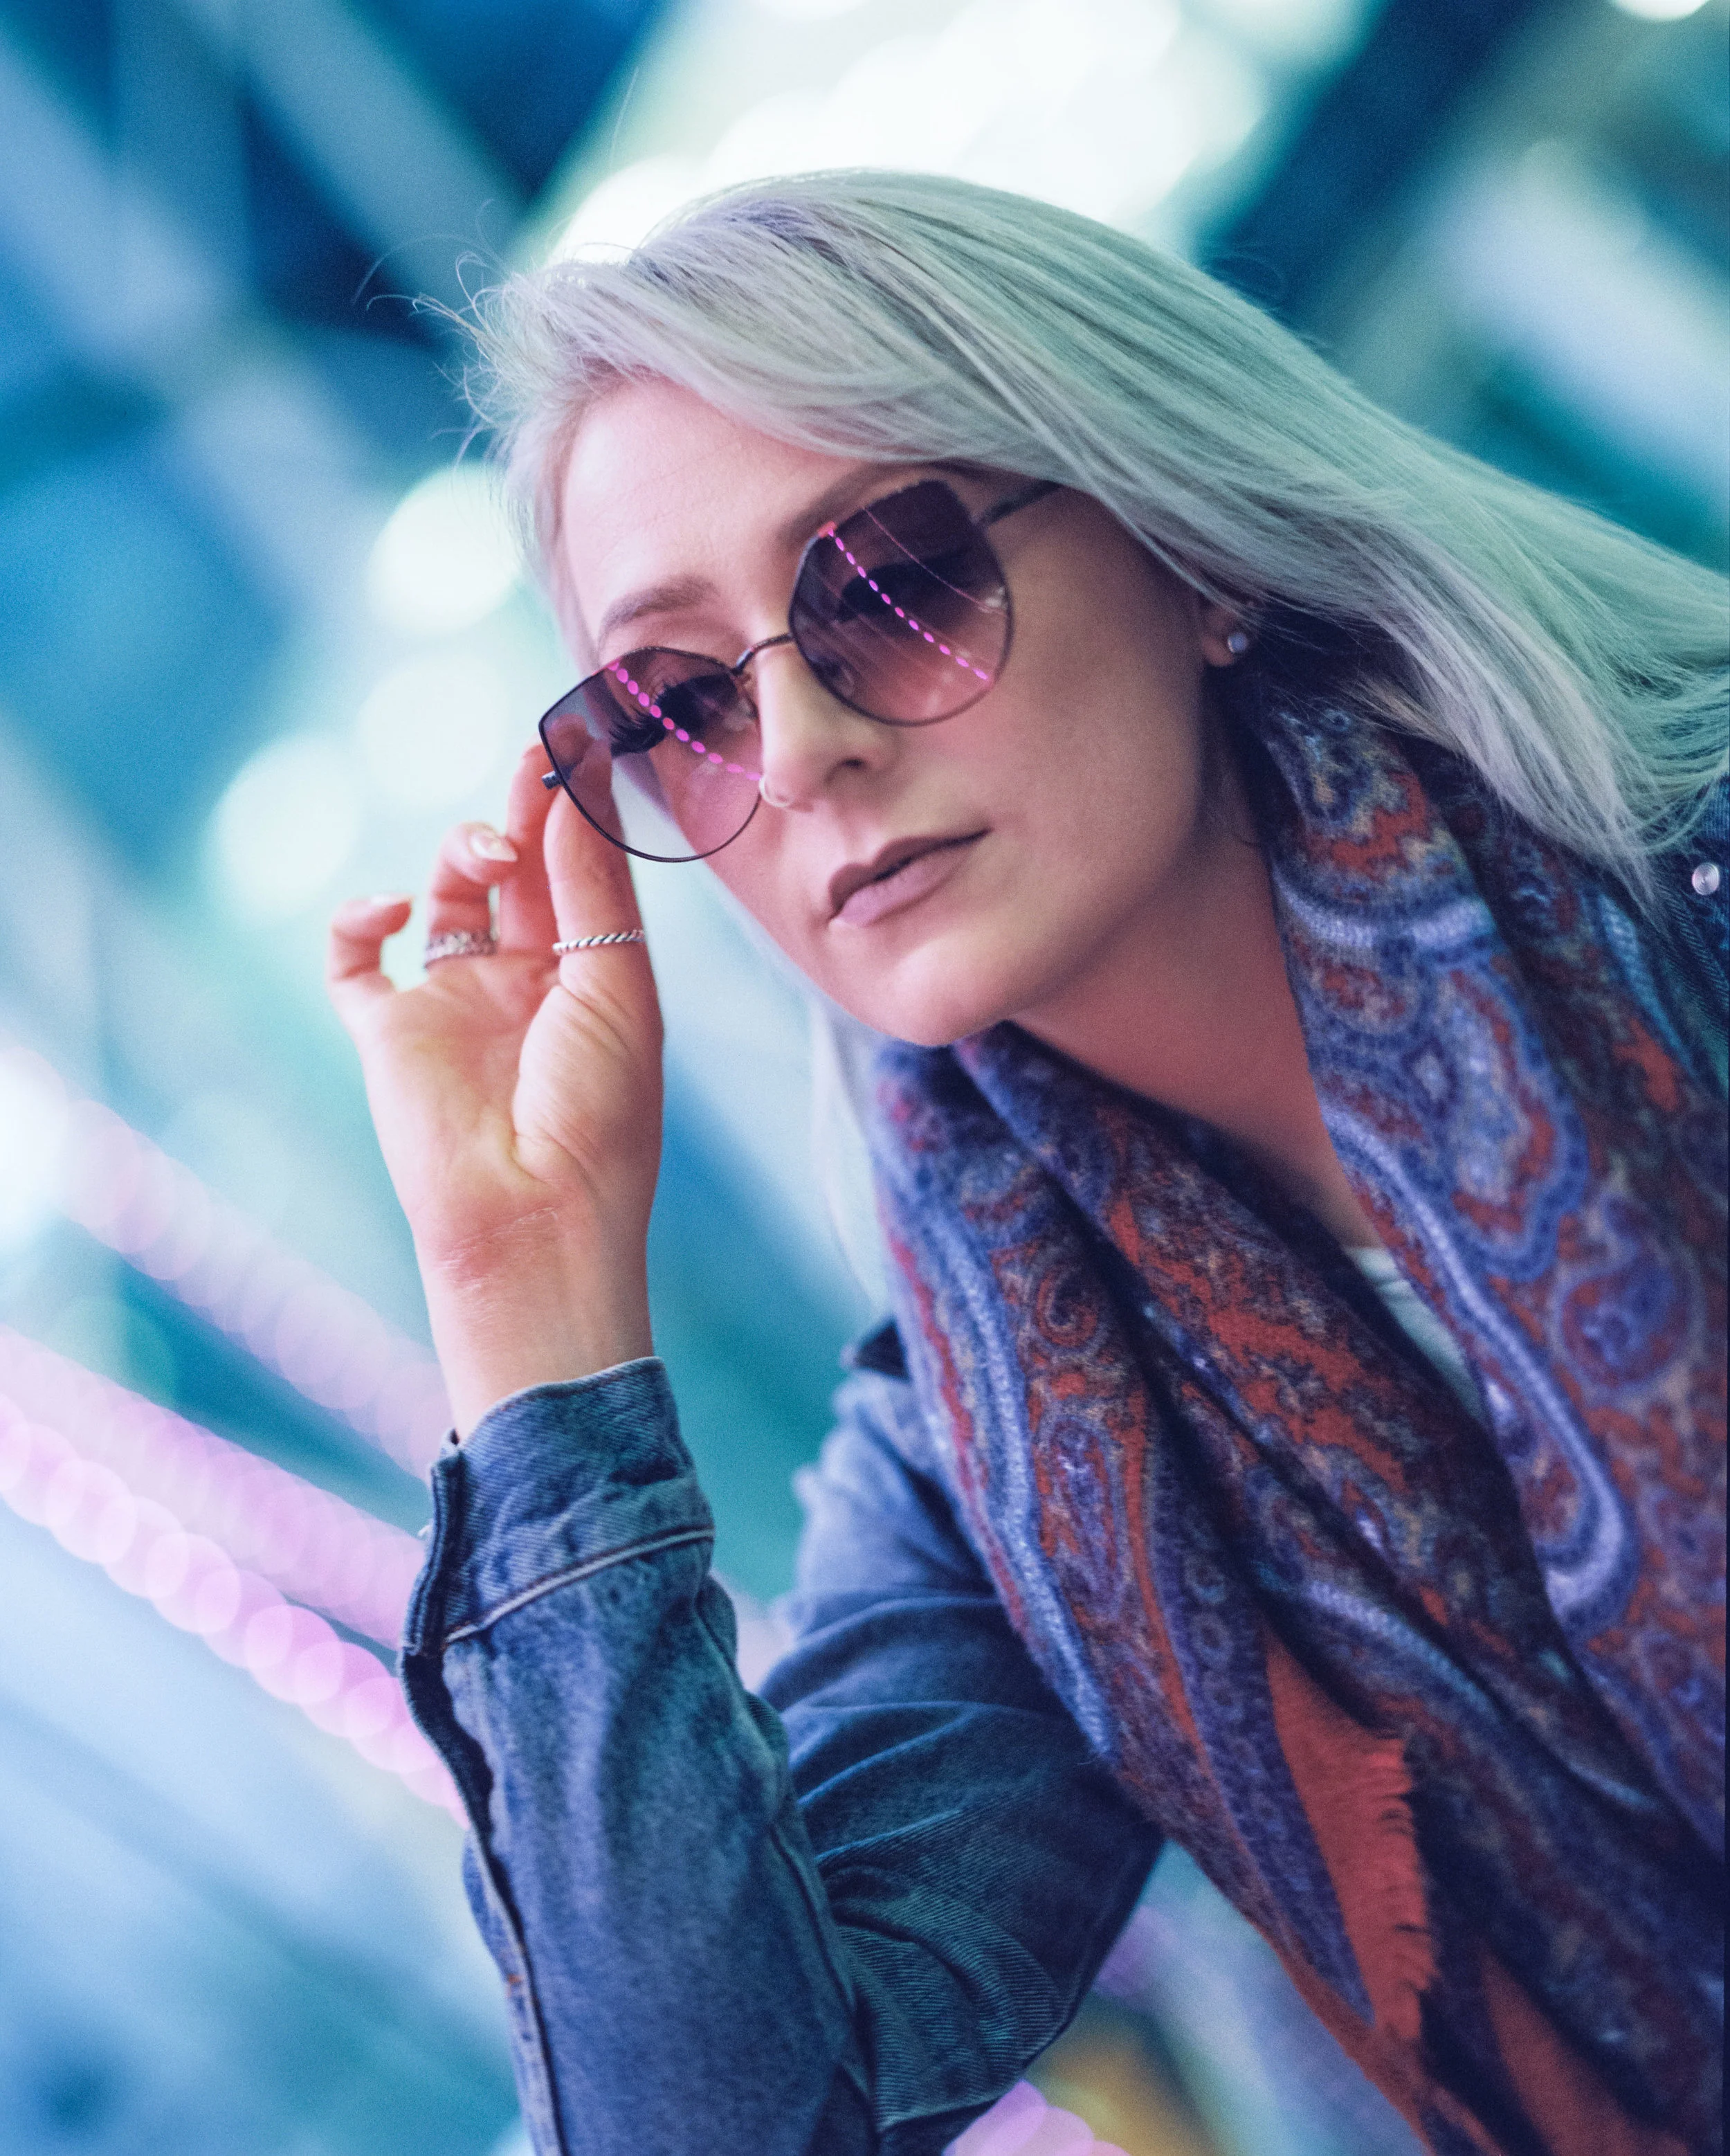
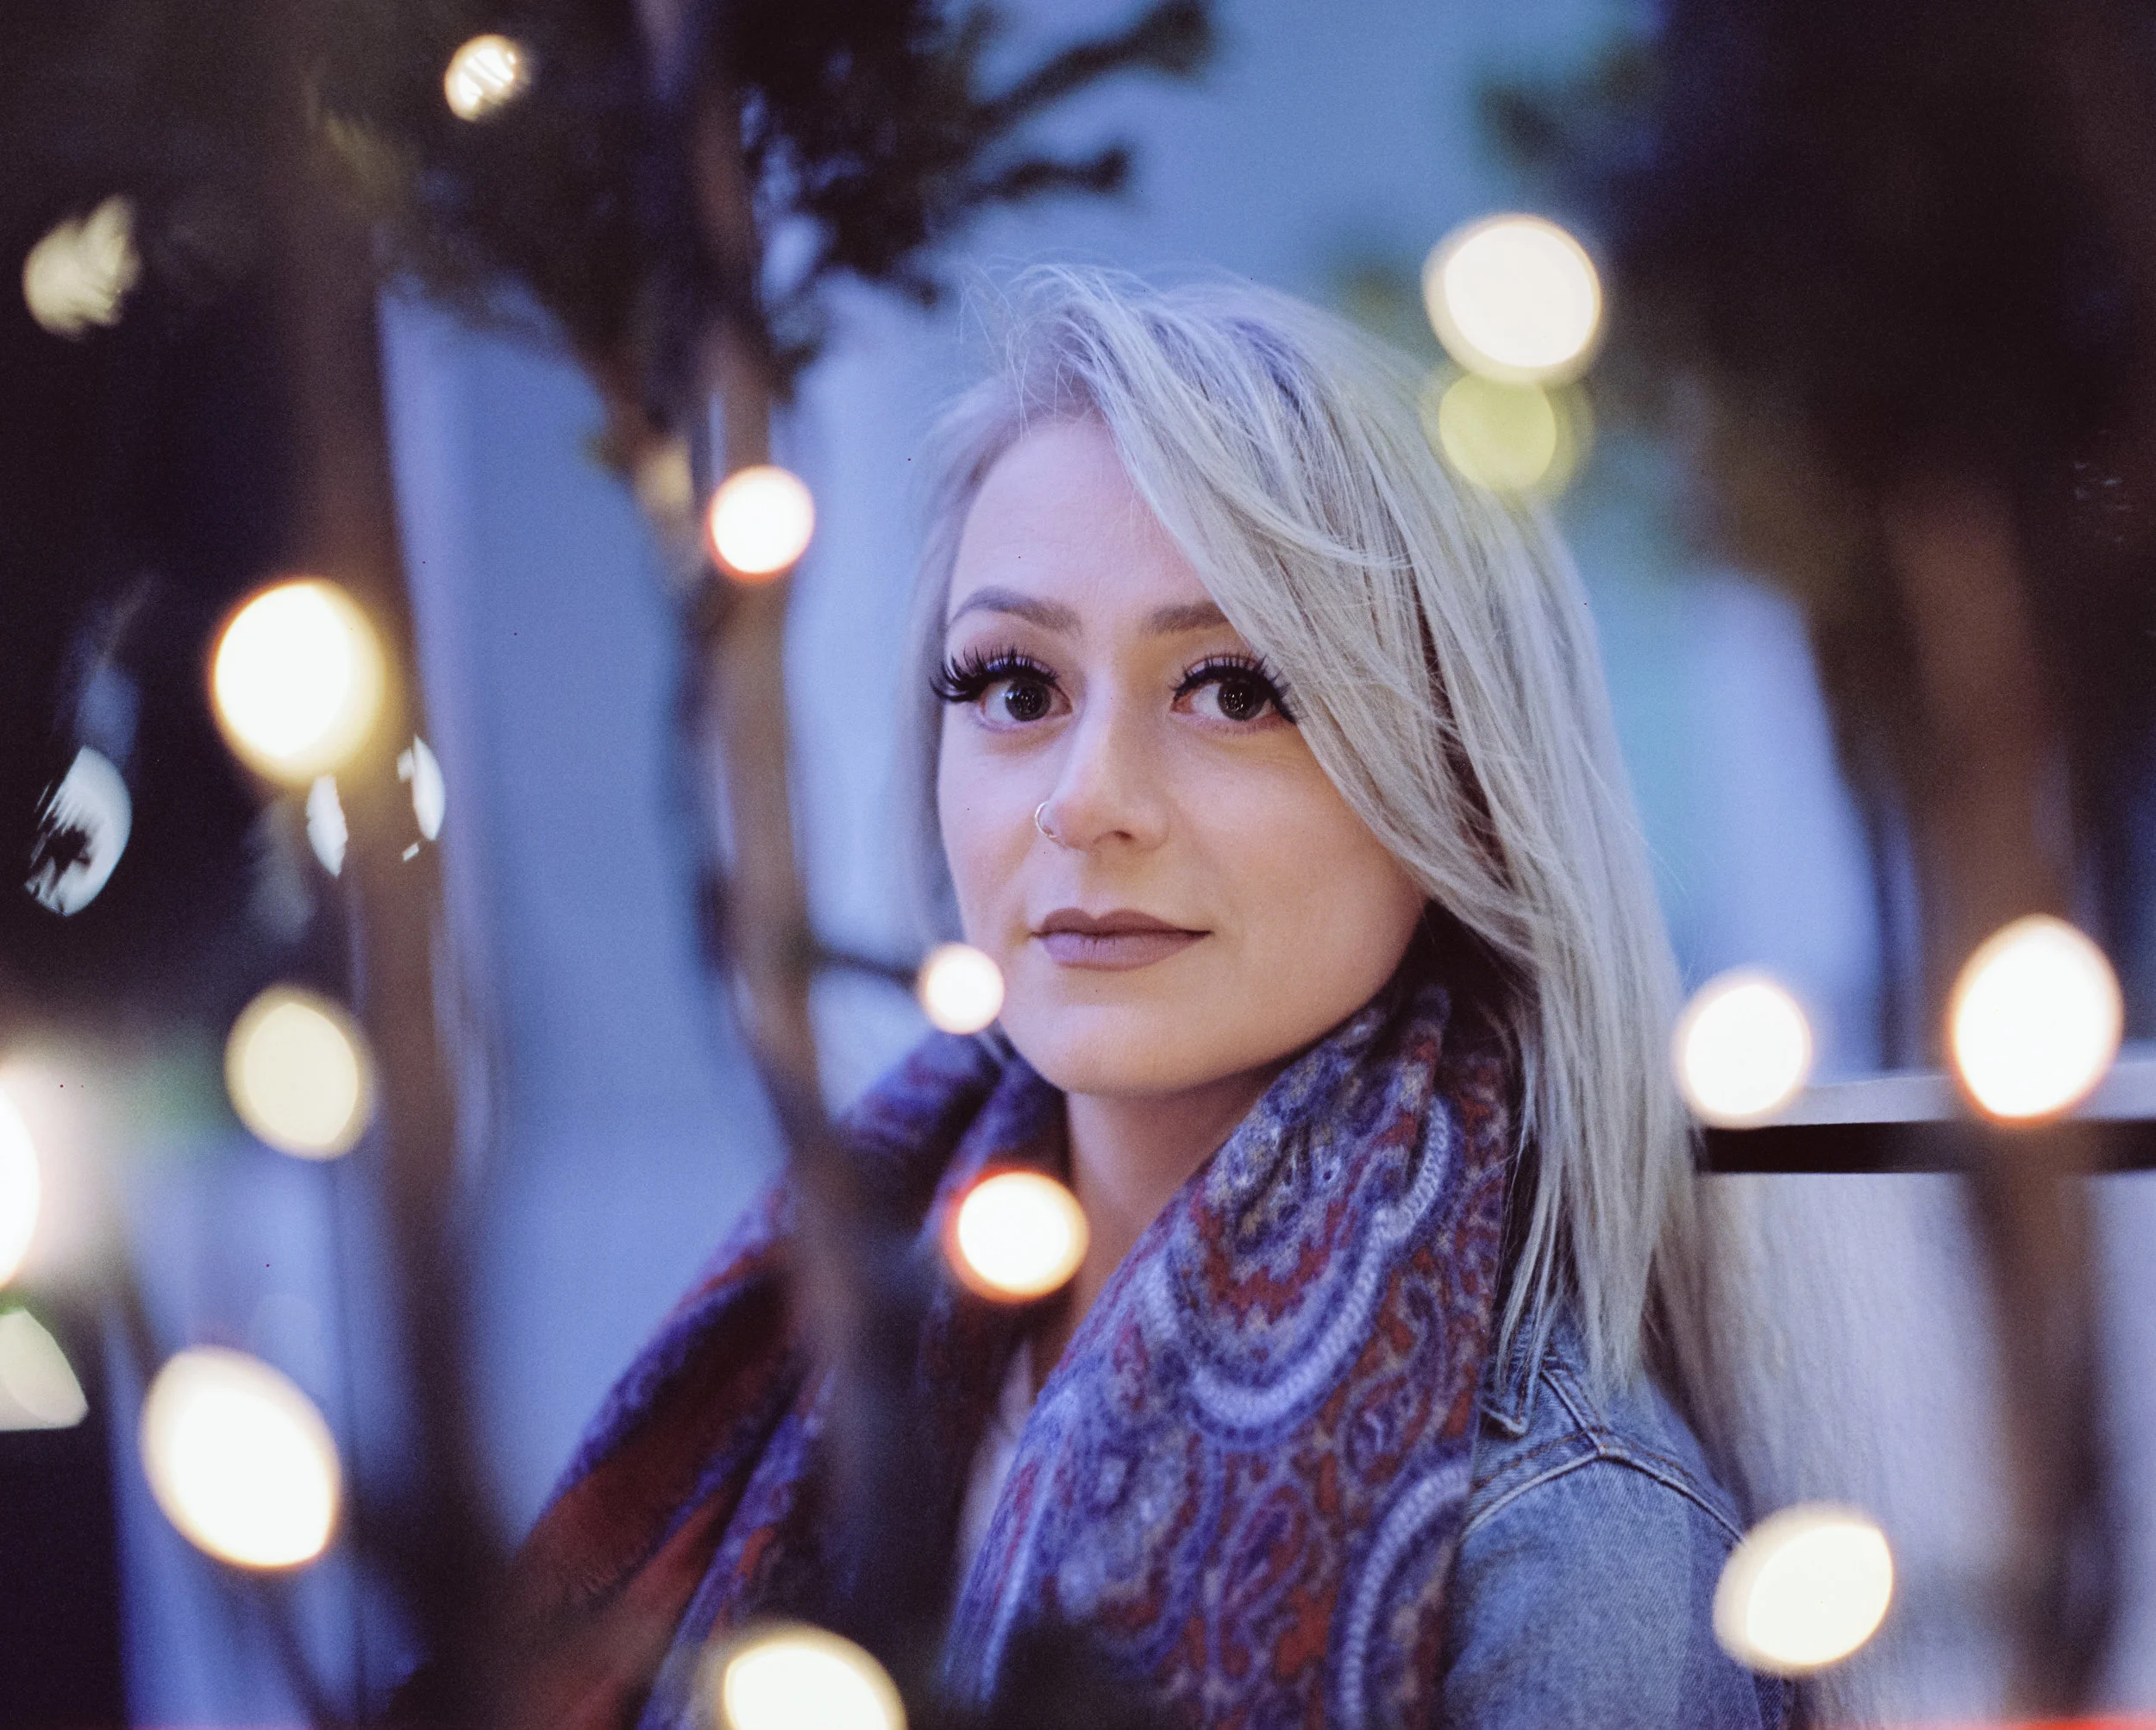
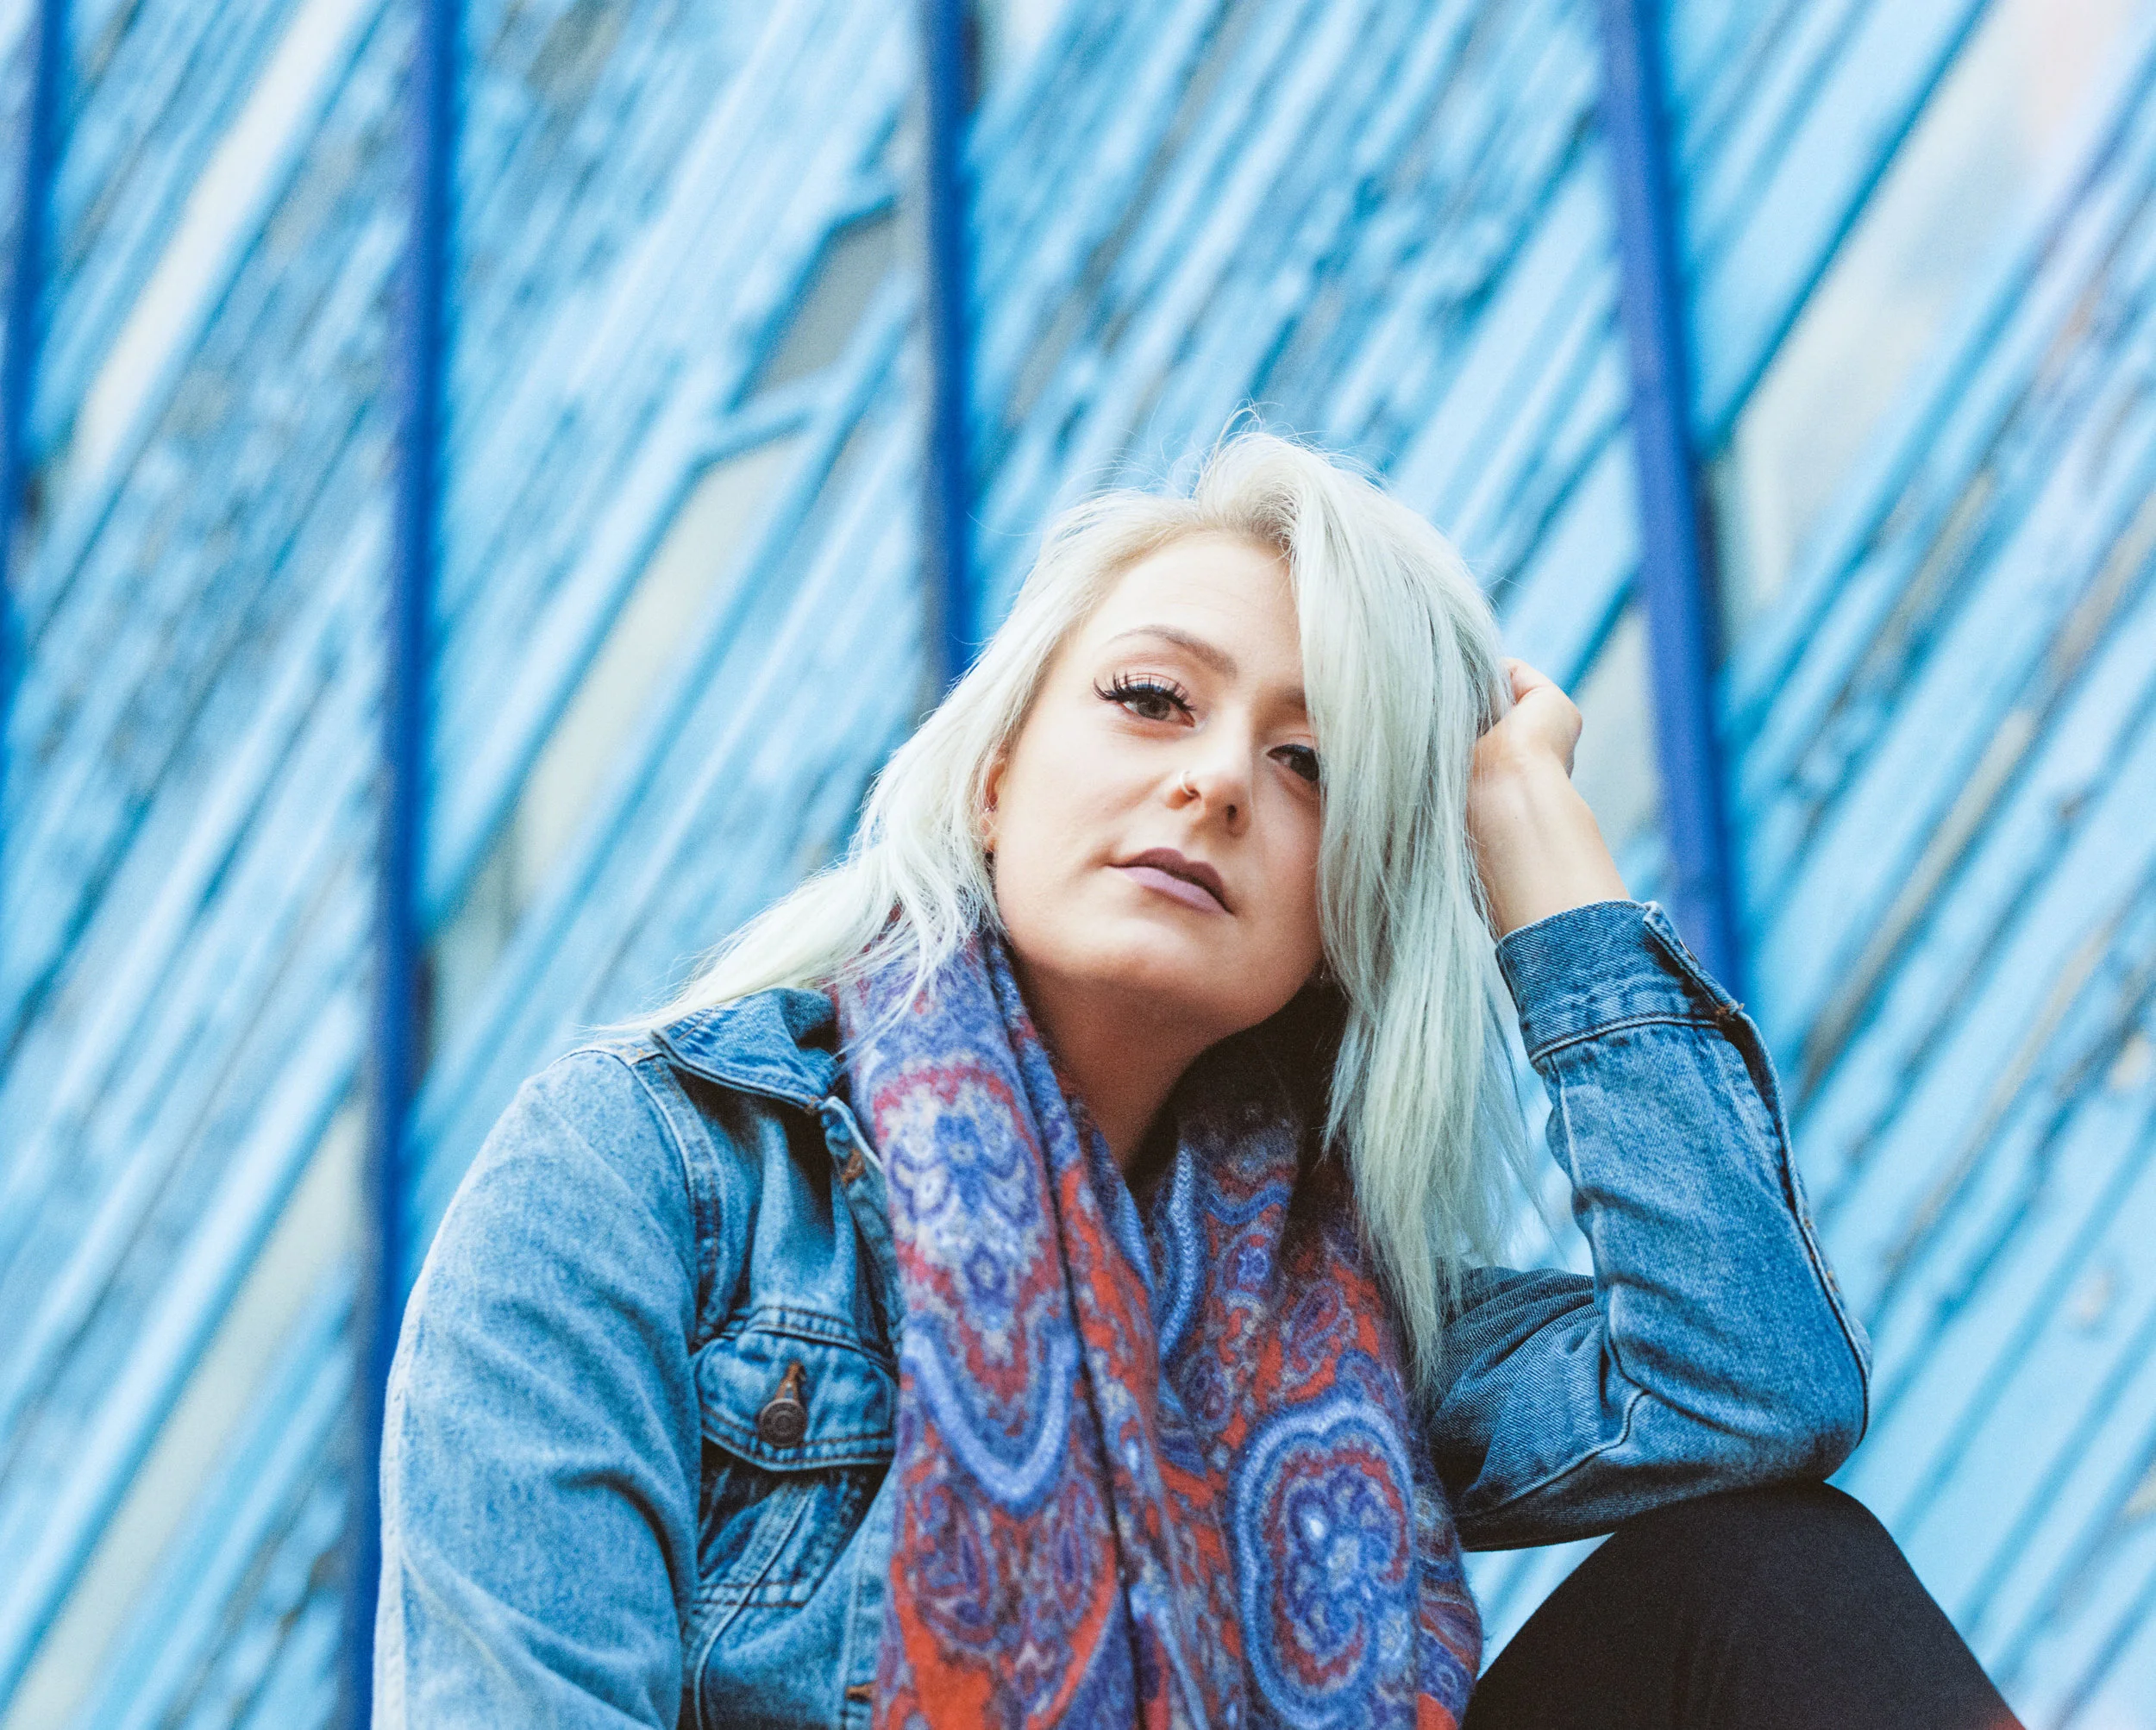
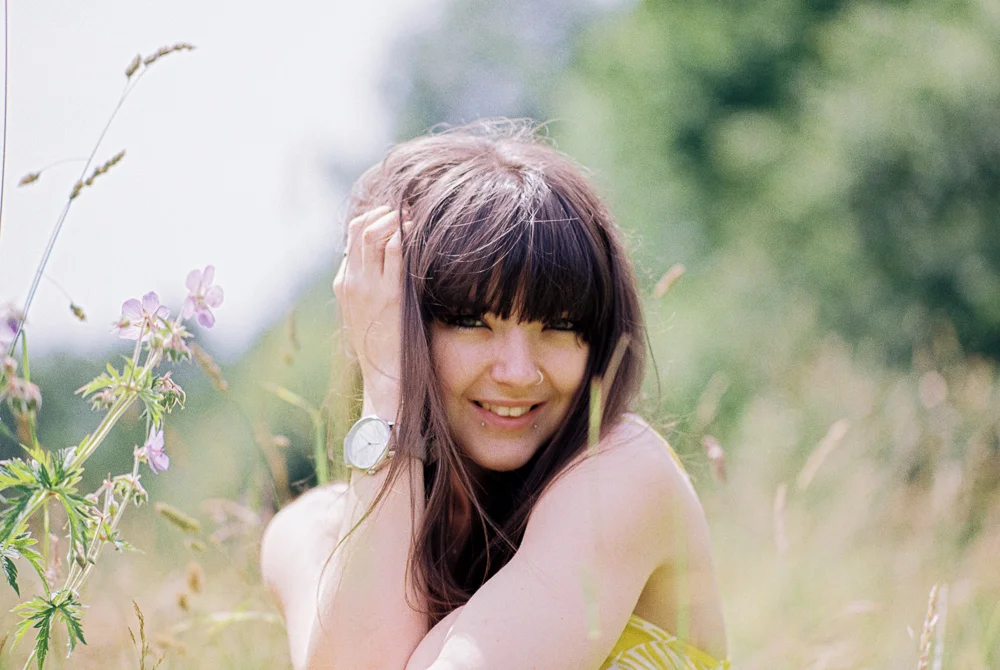
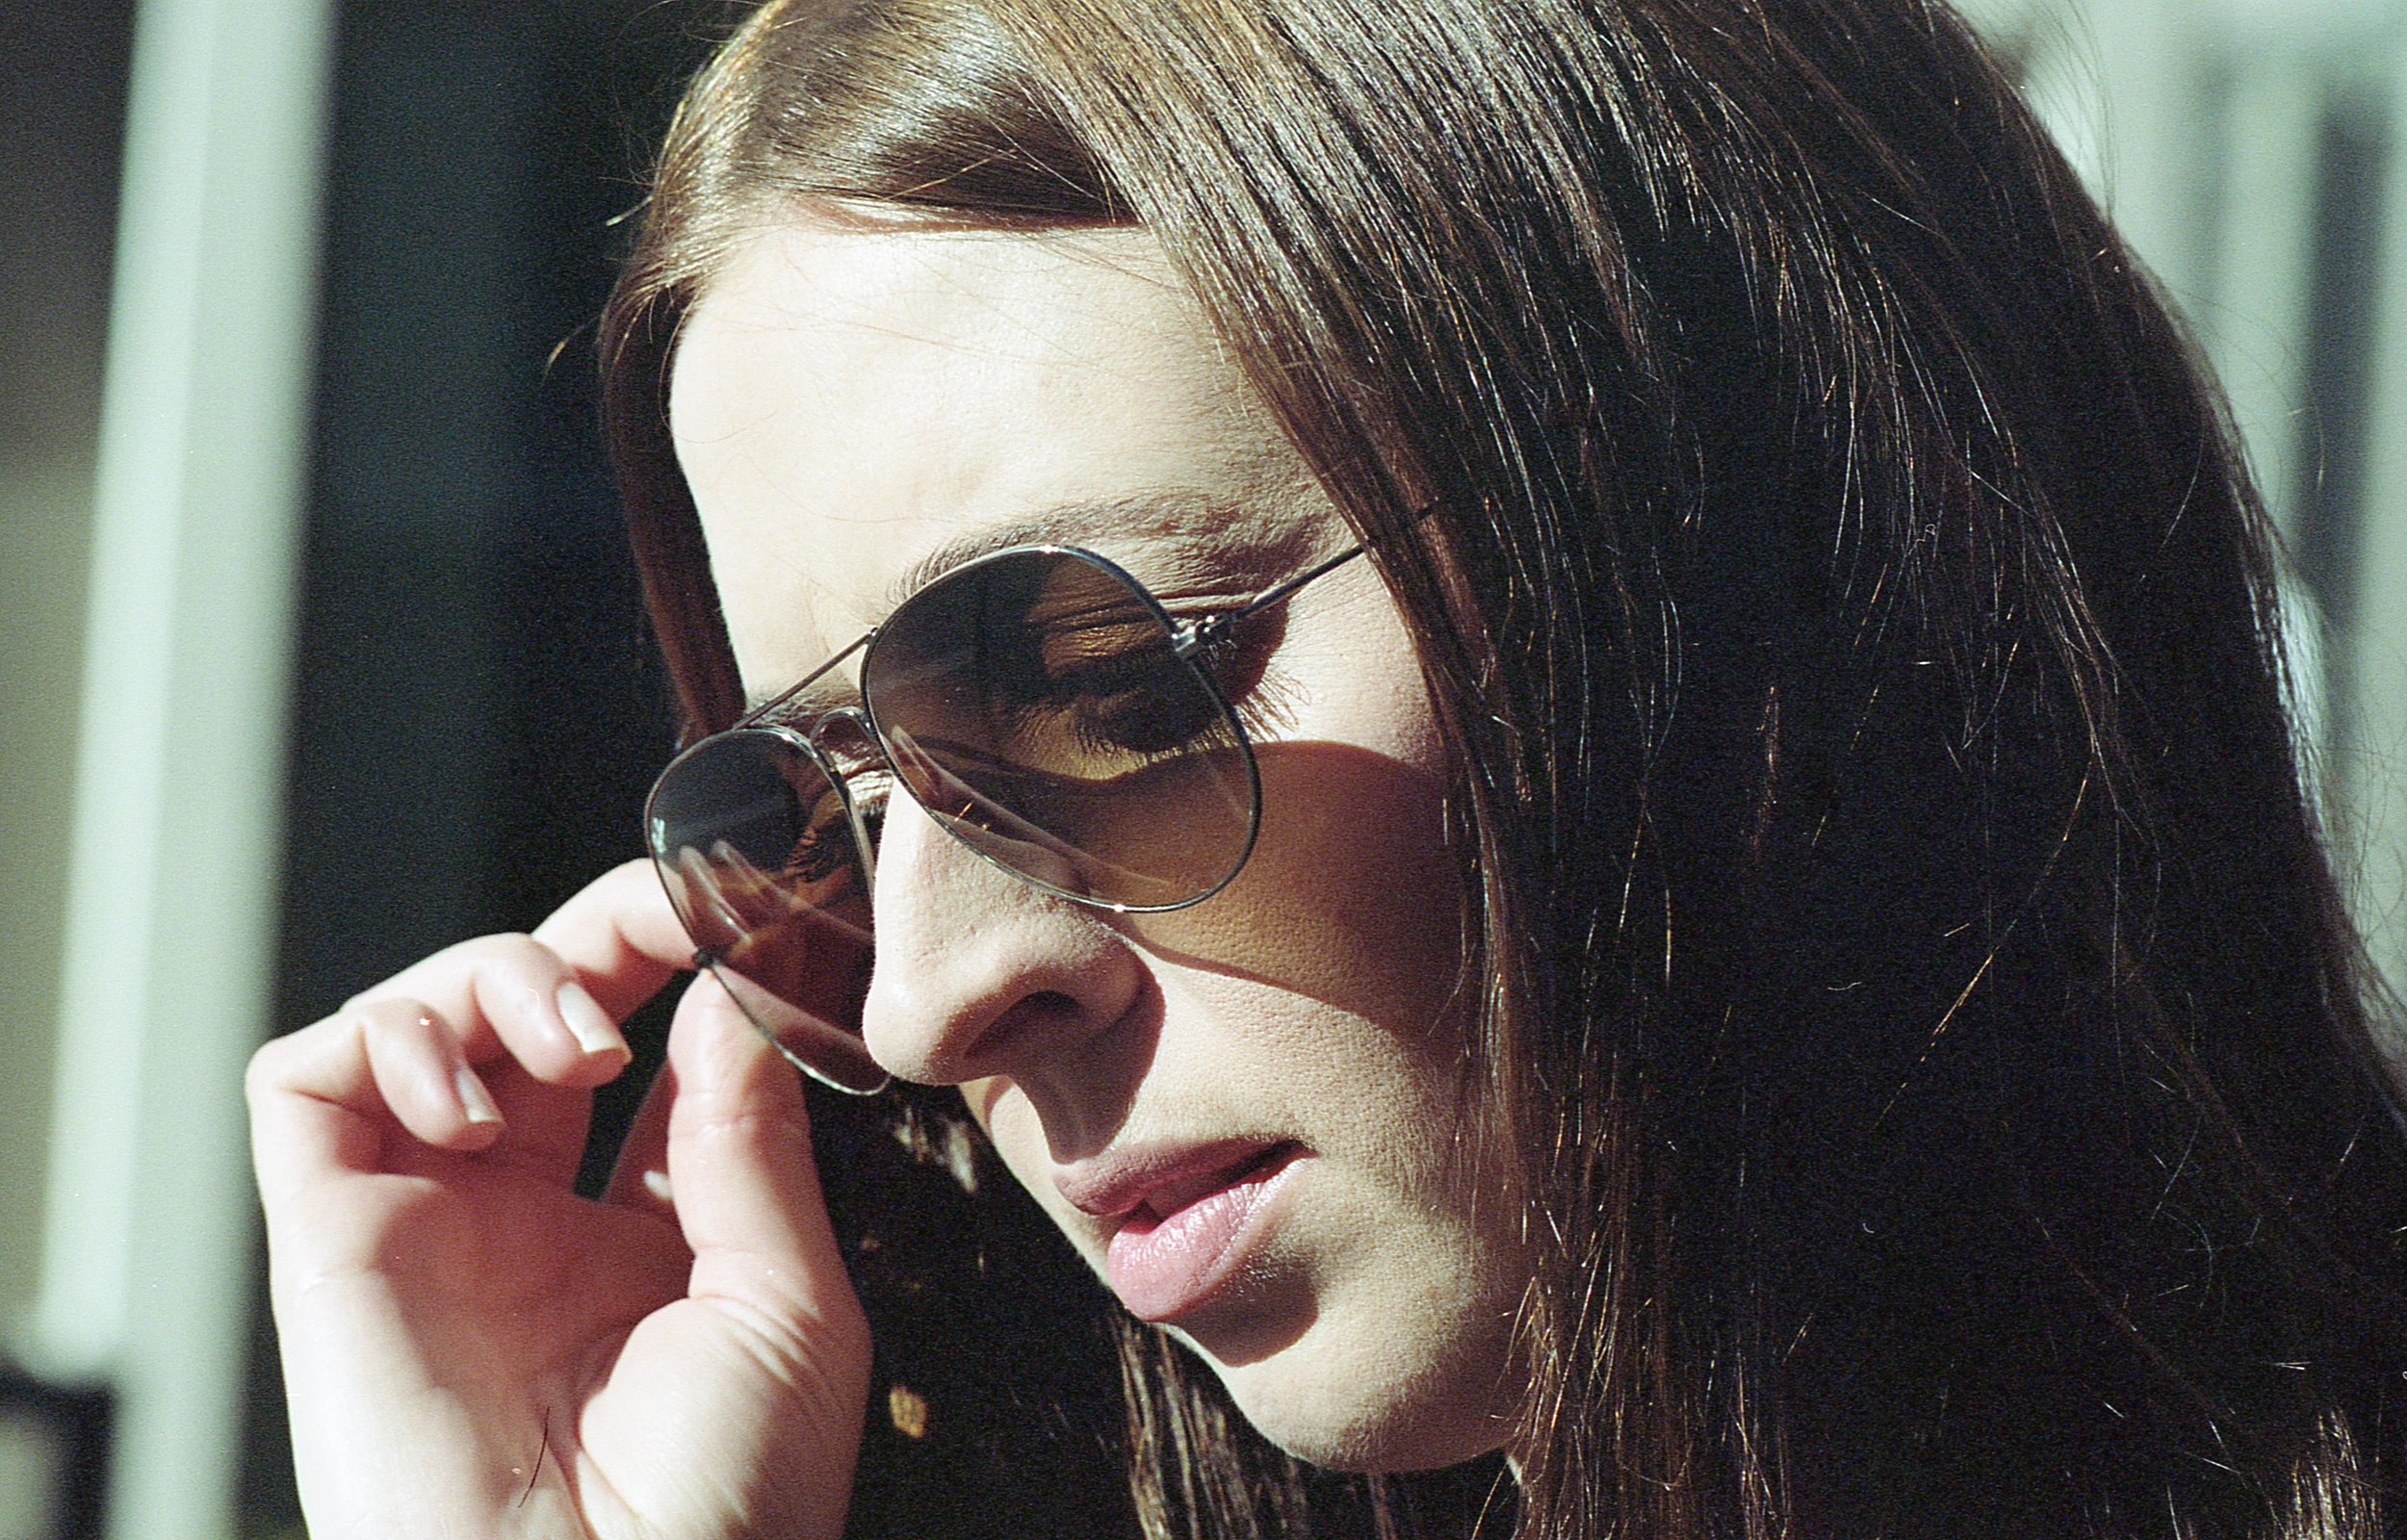
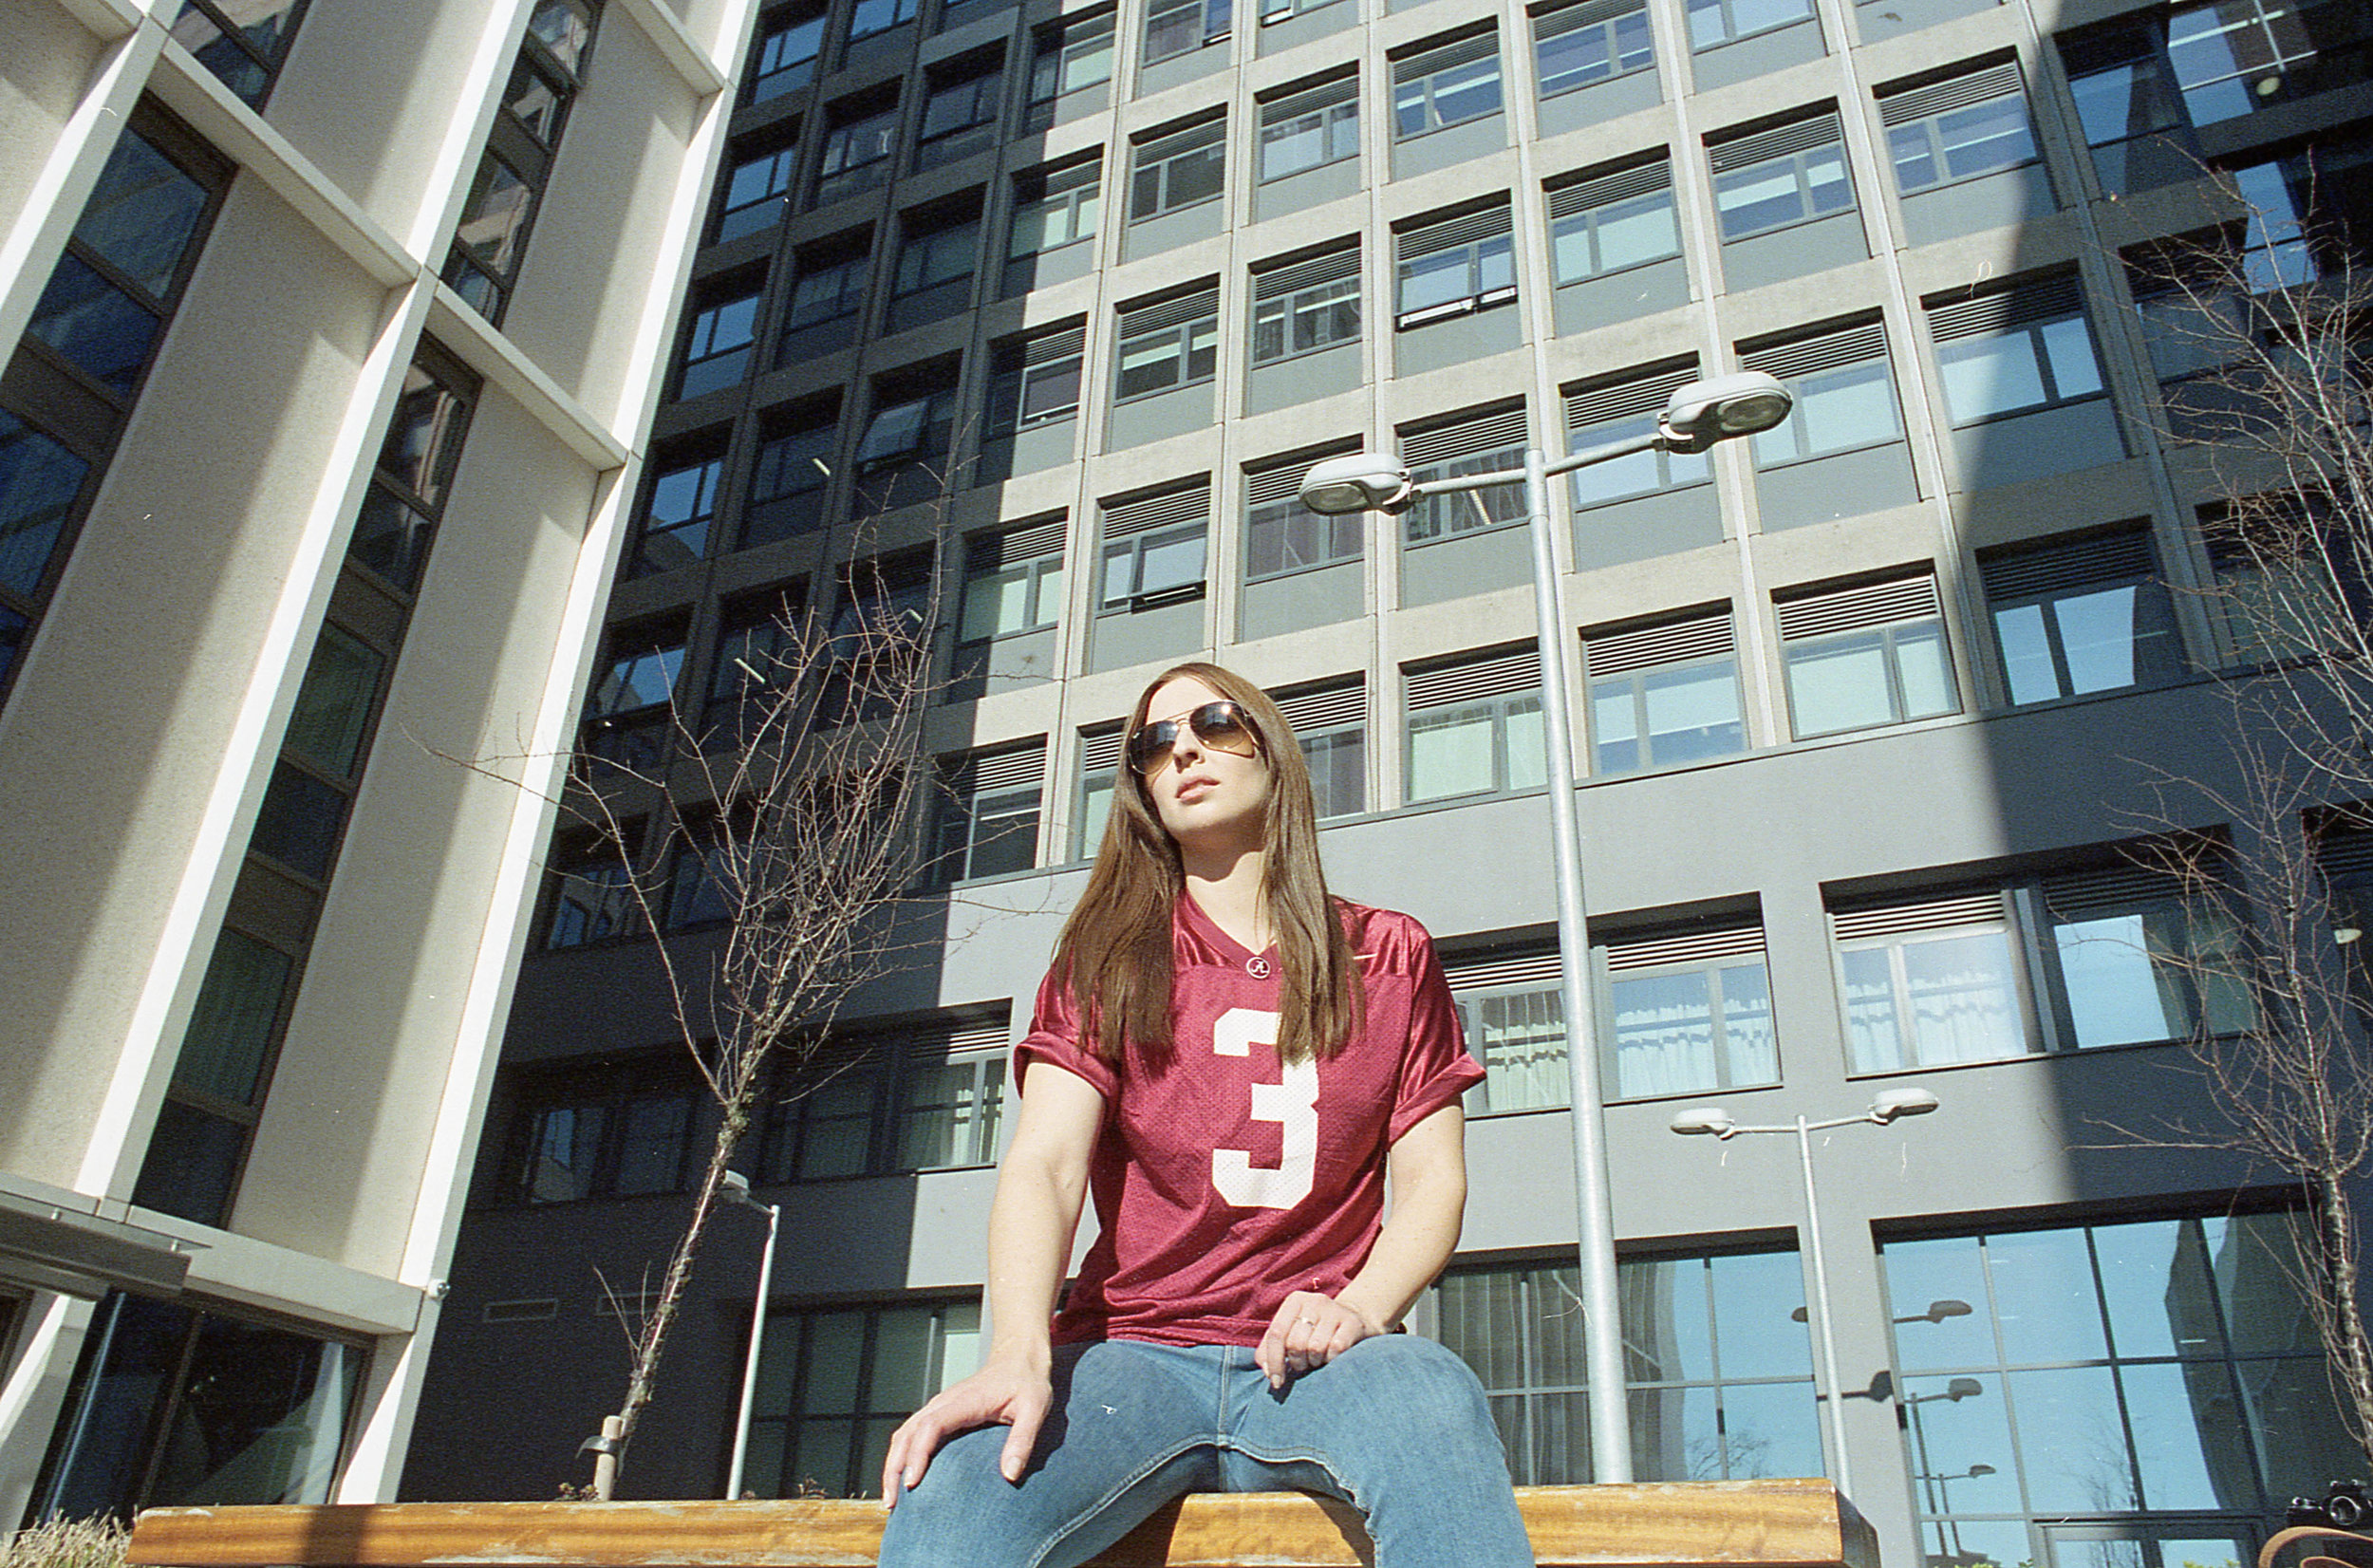
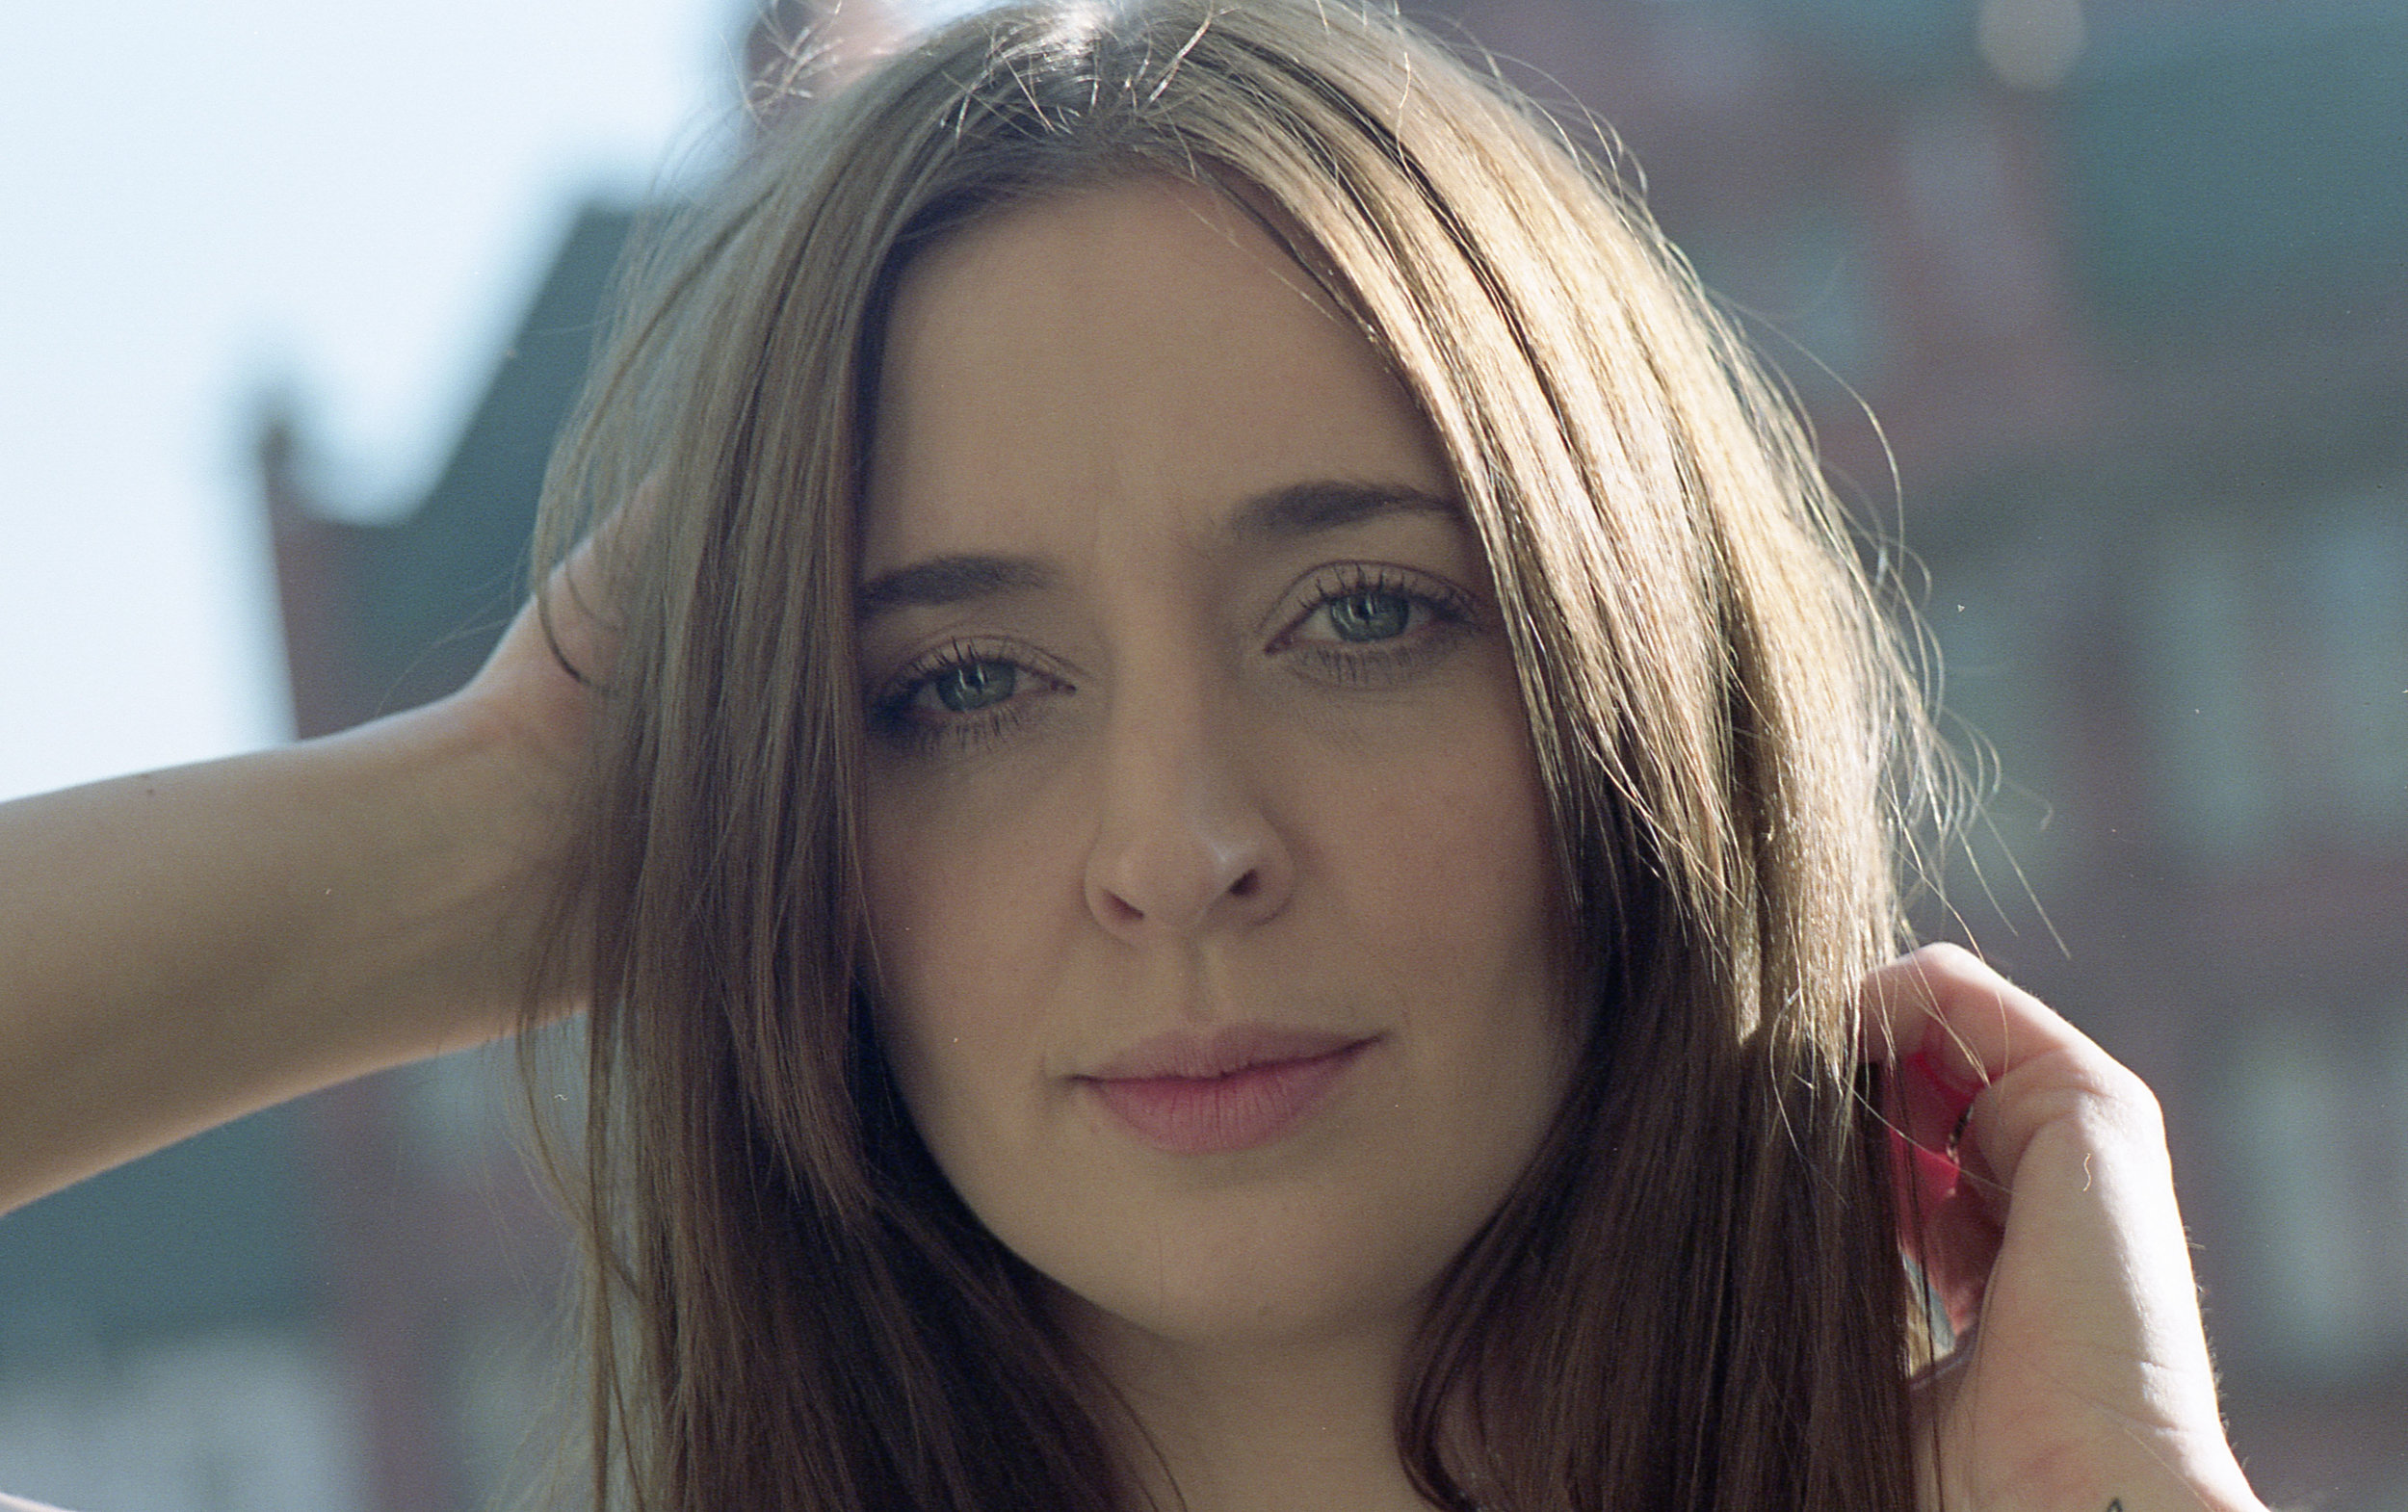
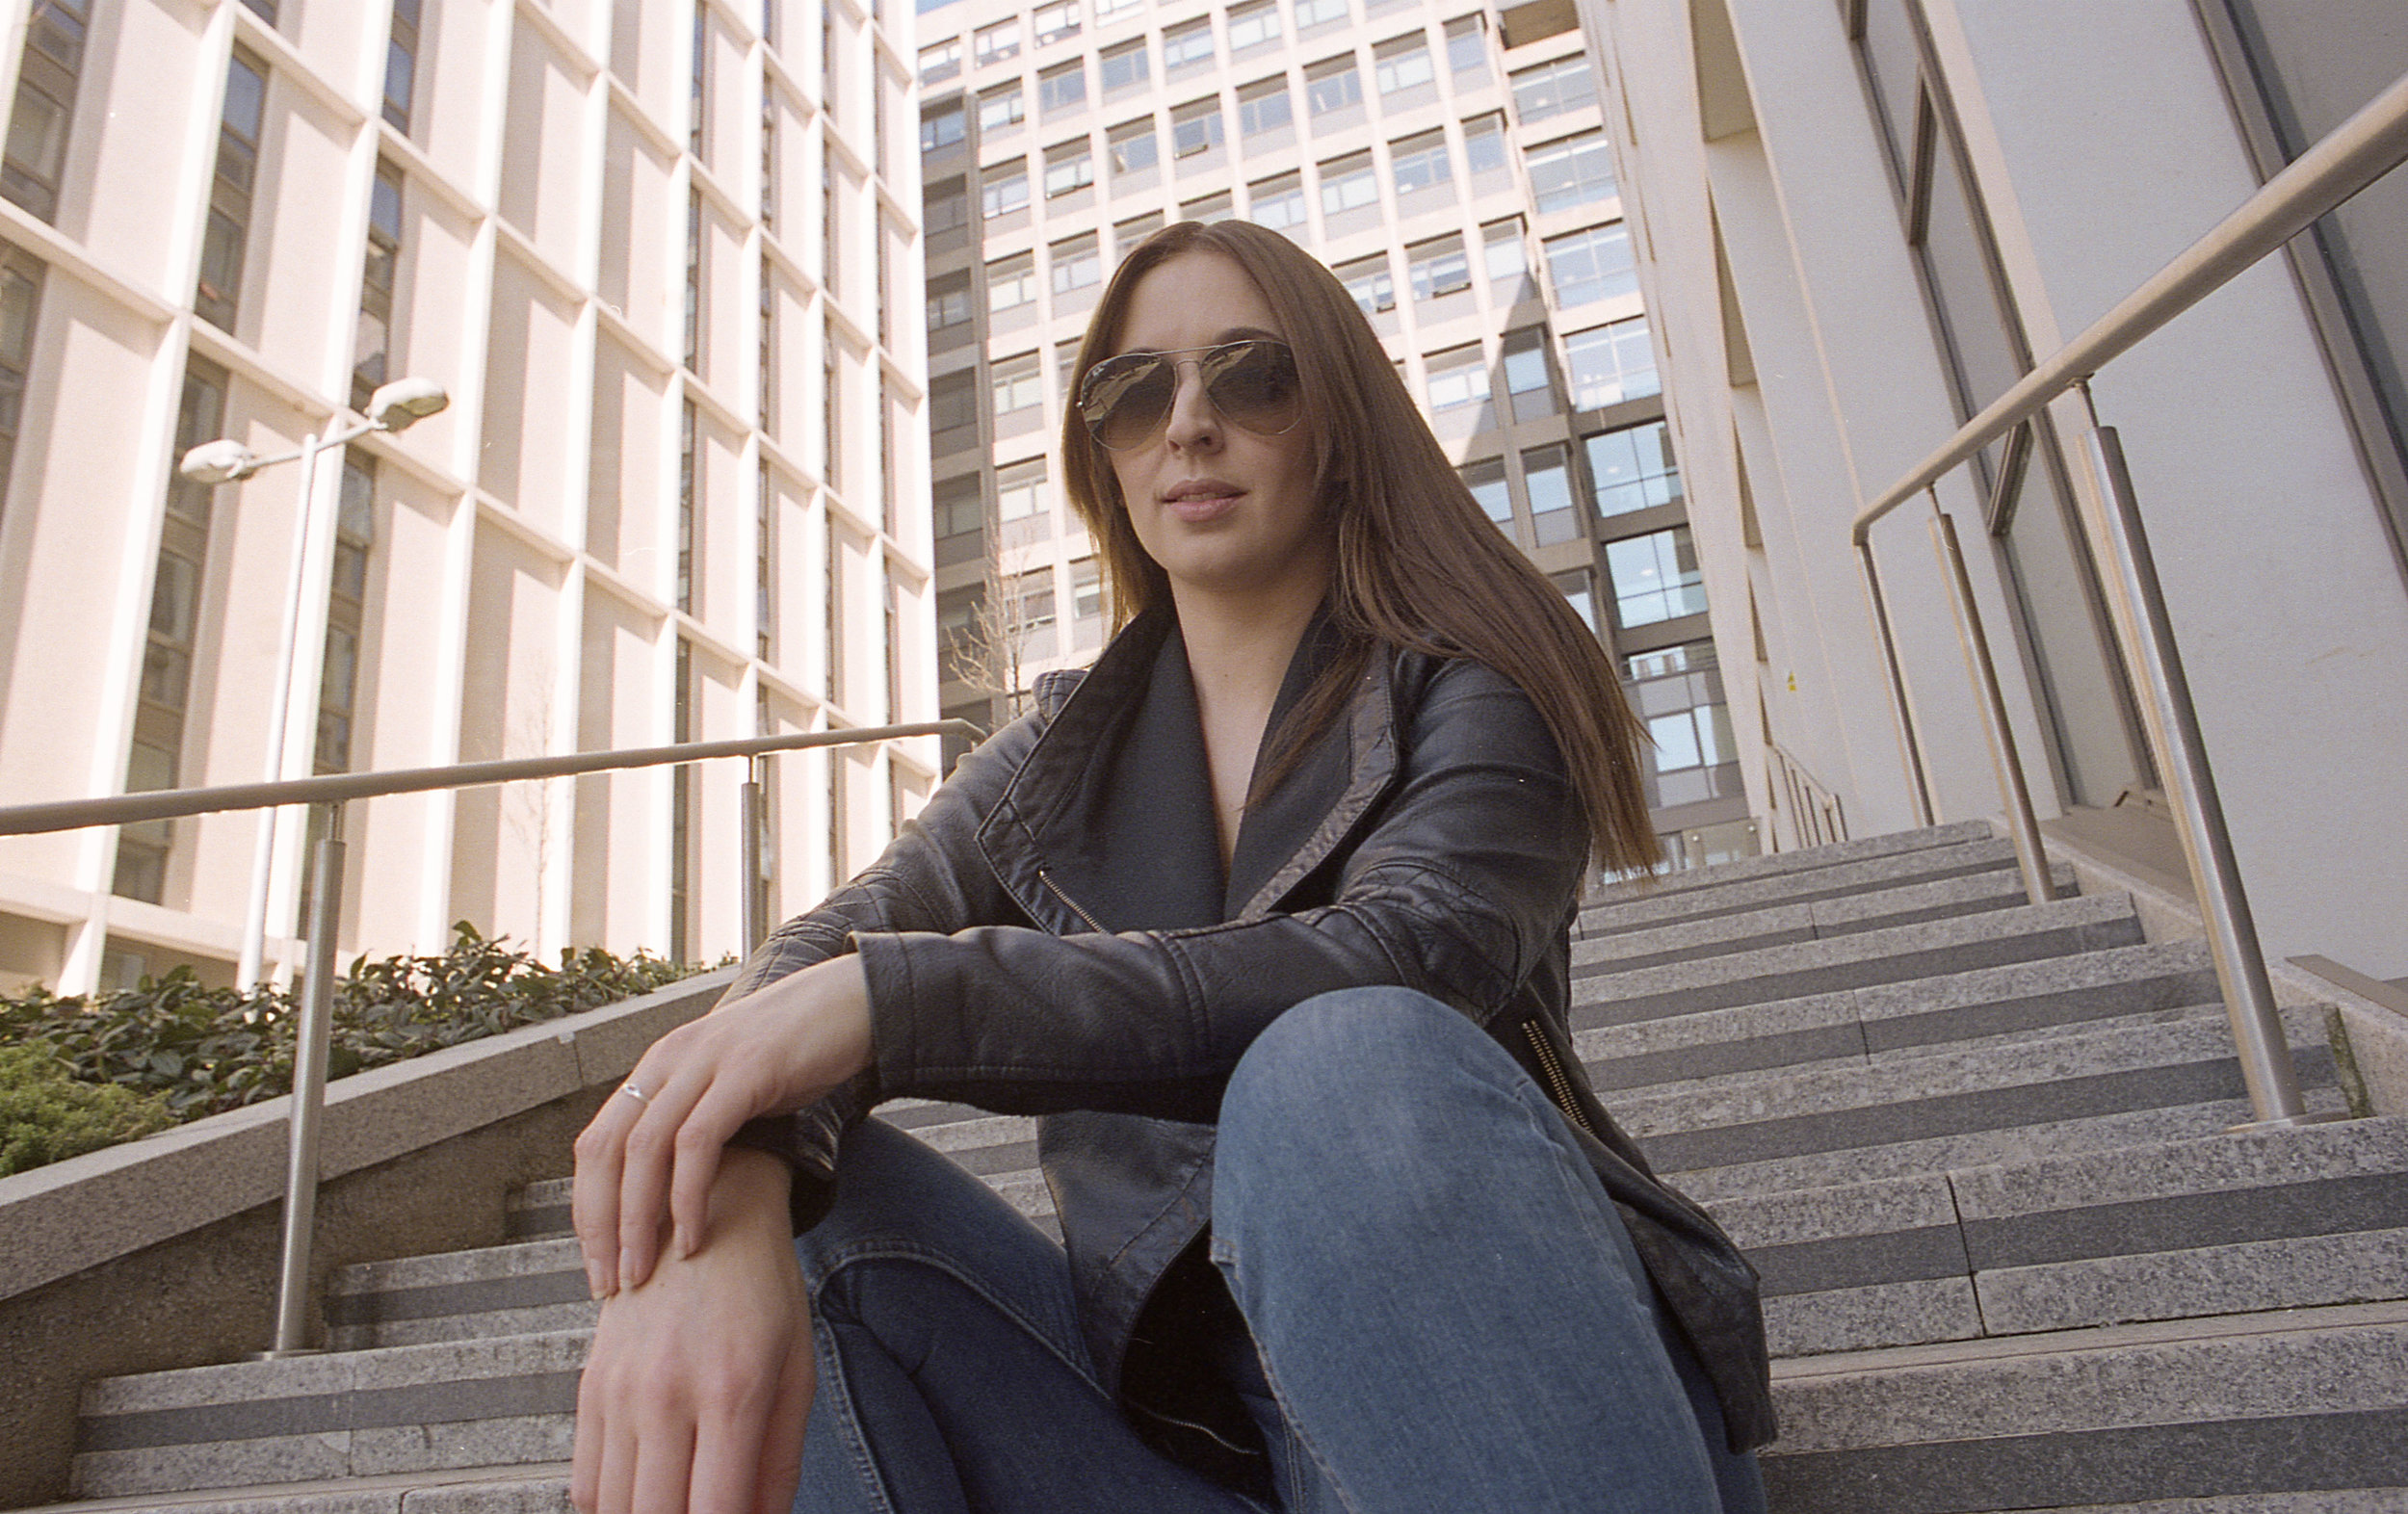
To put the ARAX through it’s paces I arranged a shoot with Becca a model I’ve worked with previously, we opted for a natural look and arranged to meet up at Meanwood Park in Leeds - the images kind of speak for themselves!

I missed focus on this one but you know what? I don’t care! :)

I missed focus on this one but you know what? I don’t care! :)

0-12.jpg
0-6.jpg
0-5.jpg
0-8.jpg

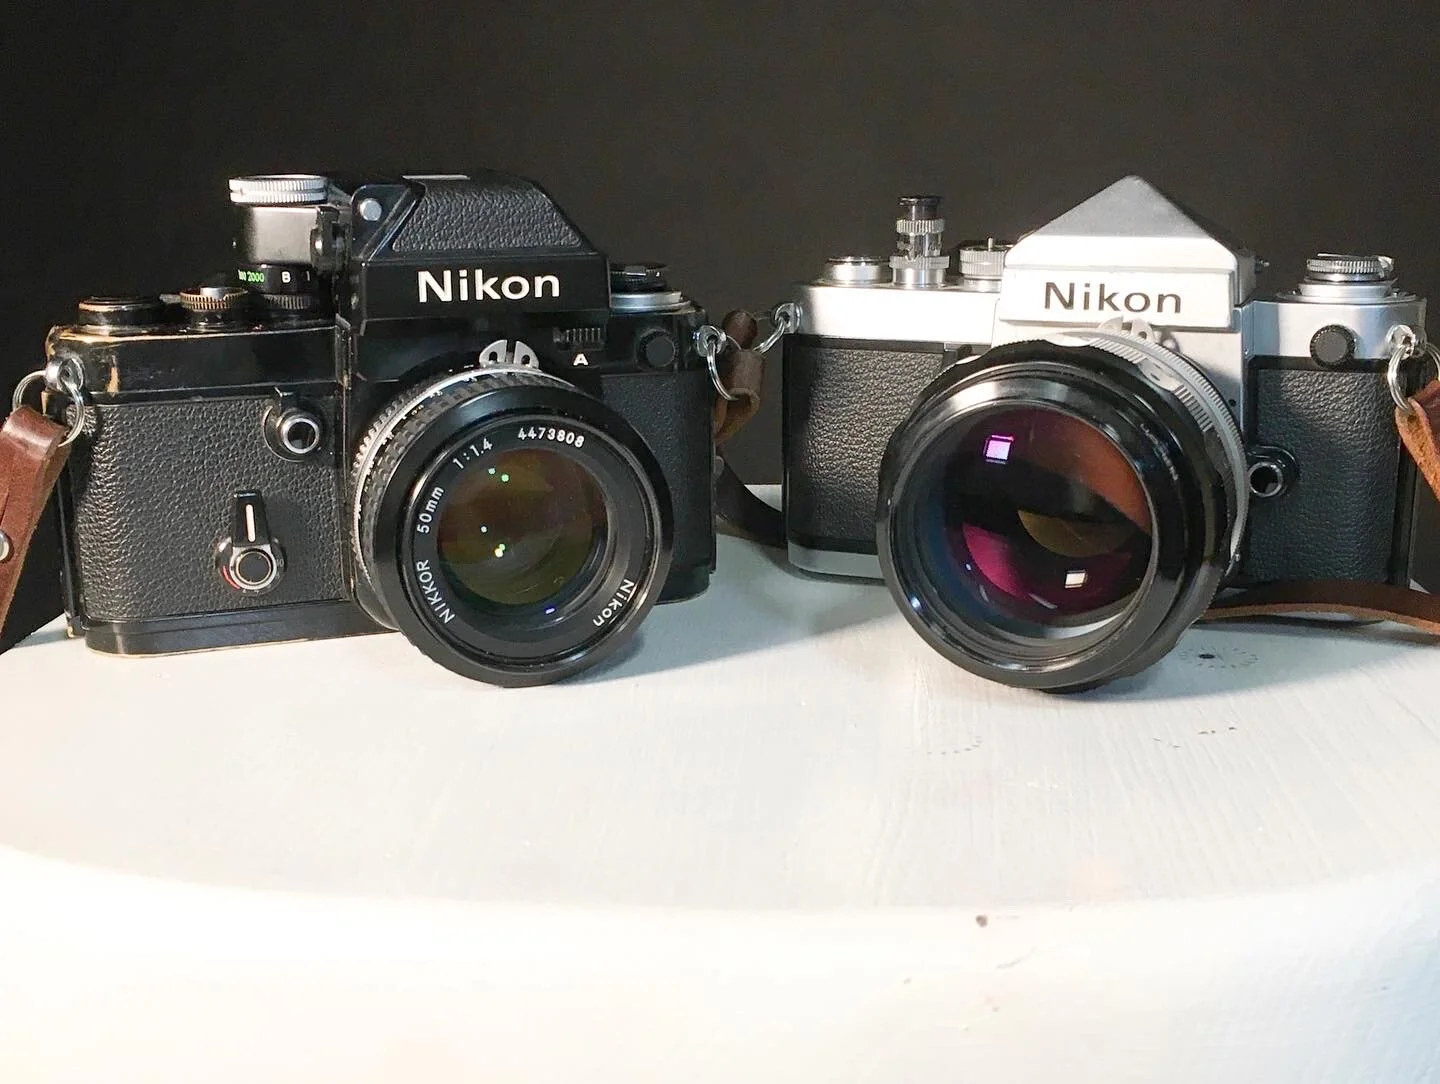
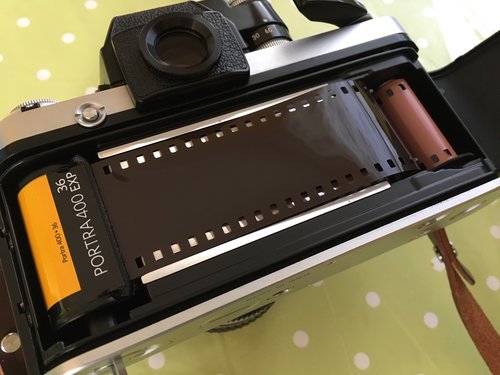
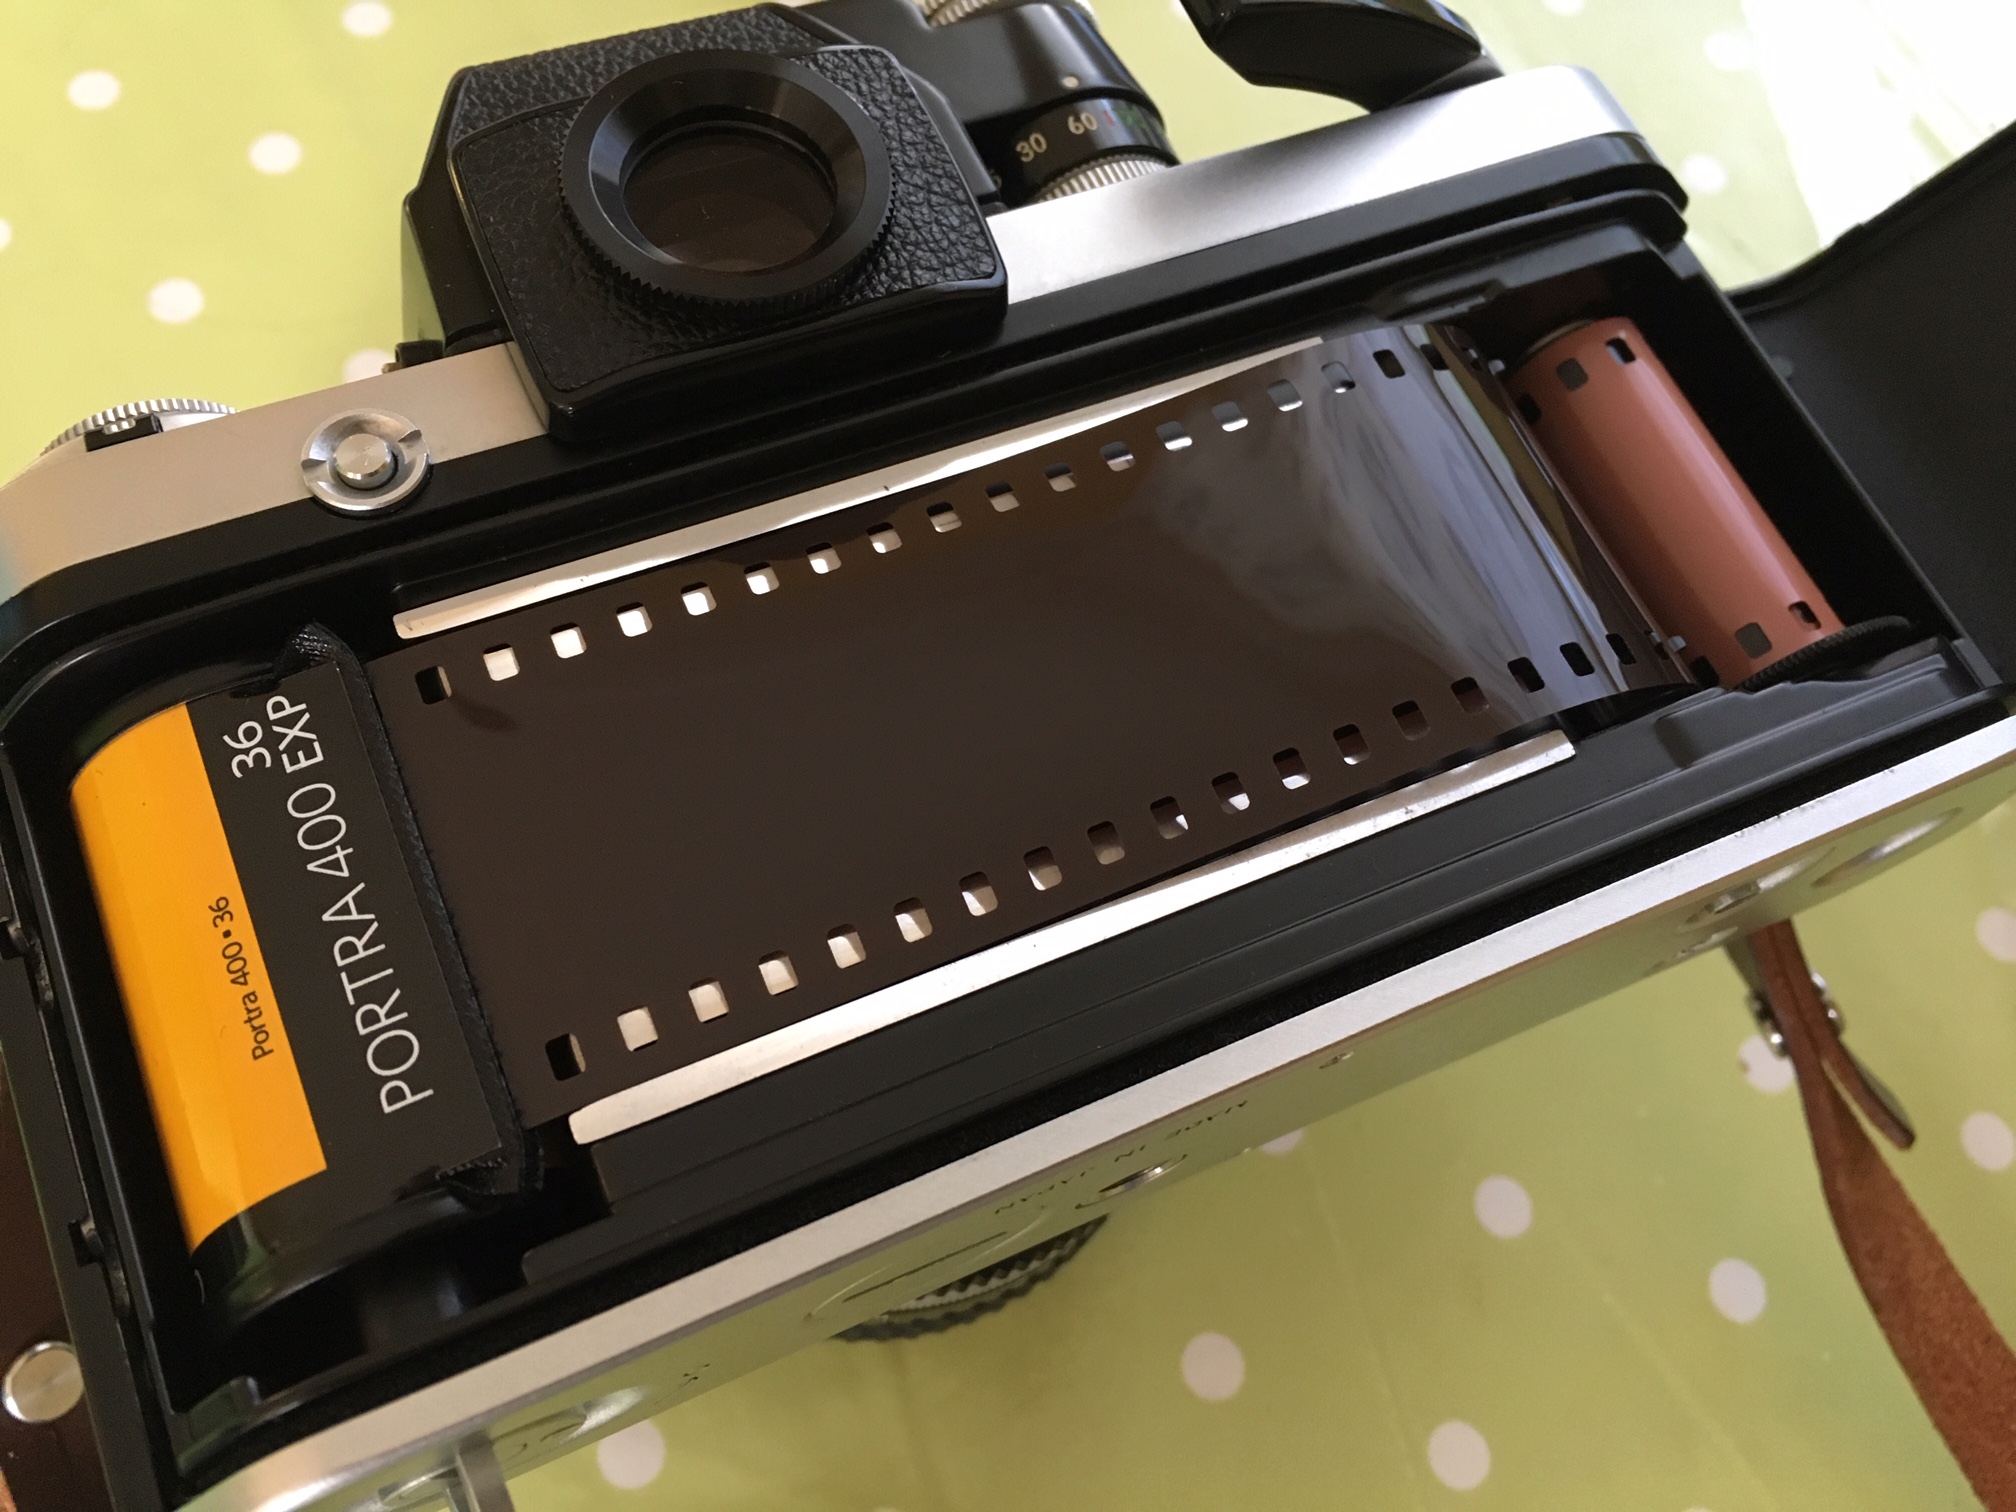
Ace! I flipping love the results! The ARAX is a joy to shoot with and the Zeiss Biometar 80mm 2.8 lens is awesome - my first time using a modular camera like the ARAX with a waist level finder, it was a challenge to focus but definitely enjoyable! I shot some 35mm Portra 400 on my trusty Nikon F2 with the stunning 85mm1.4 lens too - here’s a few shots from that set up :)

0-34.jpg
0-33.jpg
0-17.jpg
0-13.jpg

Shooting film under LED lighting - Adding Creative Colour to your film portraiture

The winter months are well and truly upon us! For someone who shoots 100% on film then this can present it’s own challenge - as nights draw in, and the opportunities to shoot in natural light become ever more fleeting I decided to set myself a challenge to see me through the winter months and to develop some confidence in using artificial lighting with film.

Back when I shot digital I had a great studio strobe set up and I was a big fan of using flash in my portraiture work - however a lot of that confidence came from the ability to instantly review, adjust and review again my images on my DSLR, a luxury not available to the film shooter!

My shooting style has changed a lot over the last 9 months of shooting film only, so when looking into options for lighting I had a few requirements which I’ll lay out below but before we do that it is worth mentioning at this stage that I also wanted to explore the creative possibilities open to me using my favourite colour film Kodak Portra 400 and to establish for myself how far this film can be pushed in terms of exposure and development.

As far as kit goes my Pentax 67 had to go back to the Drs for a check up so this was a purely 35mm affair - I shot with my two Nikon F2 bodies with a Nikkor 50mm 1.4 and a Nikkor H C 85mm 1.8.

0C41B9A9-B4D2-4CF7-AE0B-A5A0F4C655F0.JPG

My requirements then were:

1: it had to be truly portable - I love working on location and I am not one of those people who thinks portable means loading one of those daft shopping carts with huge stands and modifiers and basically wheeling a whole studio set up around! For me portable is something I can realistically carry about with me alongside my camera kit and ideally as near to pocket sized as a I can get.

2: LED lighting - What you see is what you get, the ability to prejudge and measure the light was a key factor - strobes offer much more power output but I prefer to gauge the lighting by eye, then meter and take my shot.

3: Price - I do not have a mega budget to throw at this project so I wanted to keep prices sensible.

4: Colours - I am really interested in exploring colour as a creative device in my work and referencing point number 3 above I wanted to keep price down as a low as possible.

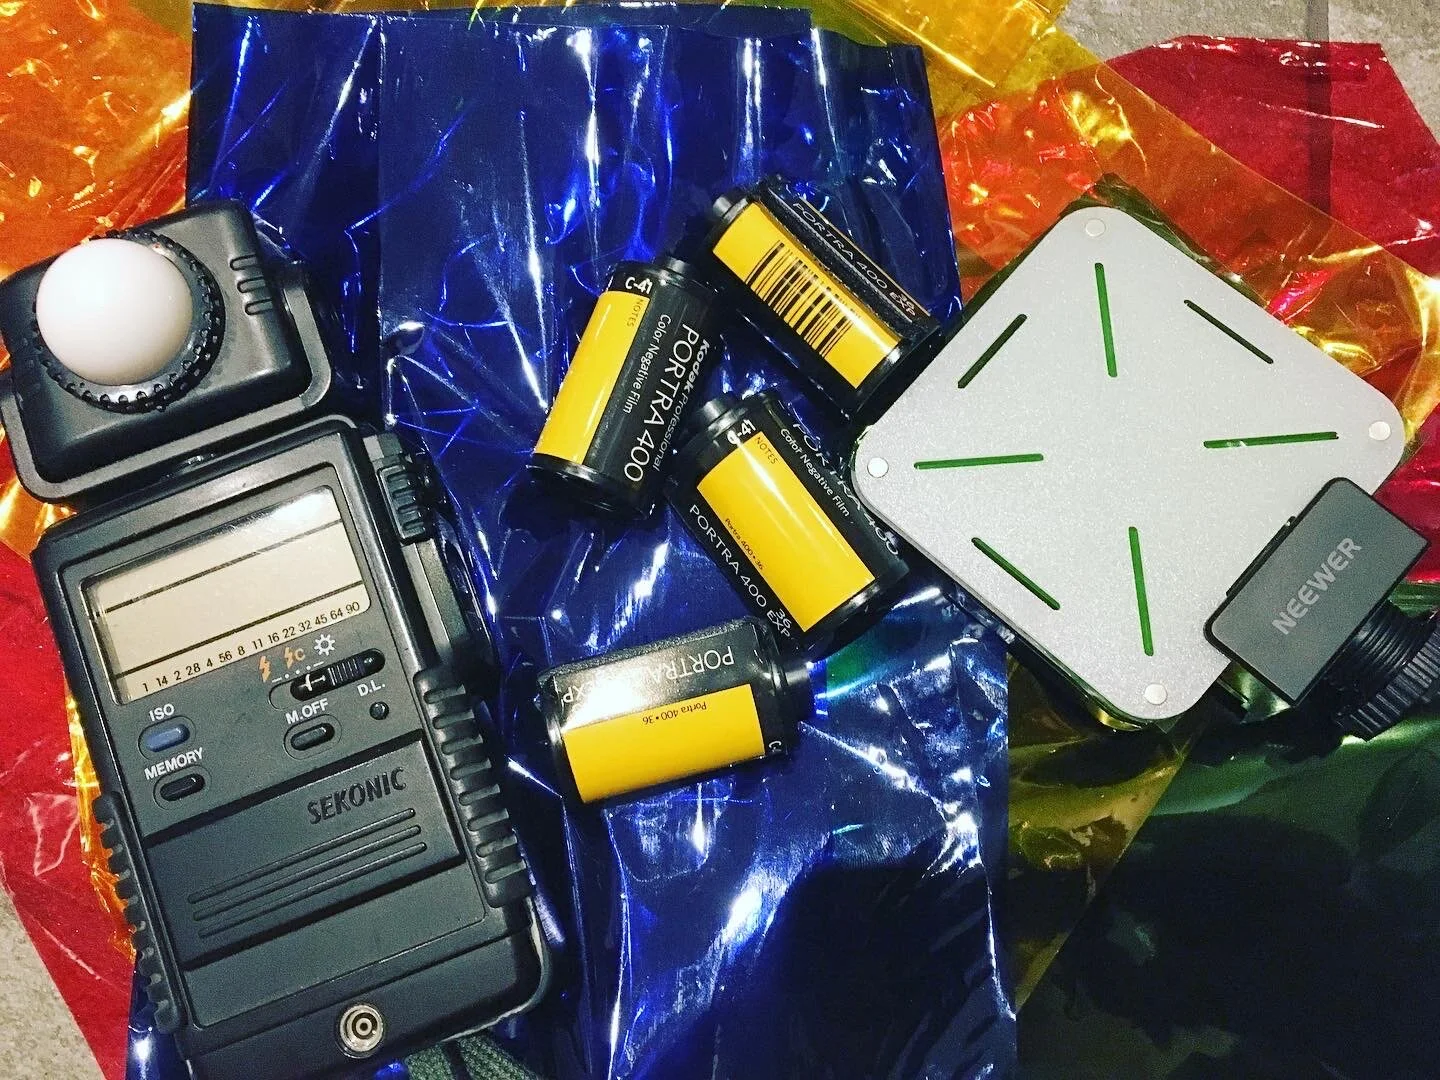
Using these 4 points as a guide my journey led me initially to one of these Neewer light pads which tick all of the above boxes - I bought one of these for £20 and a pack of coloured Cellophane for 99p to create my own lighting ‘gels’ (it is worth noting at this point HAVE YOU SEEN HOW EXPENSIVE ACTUAL LIGHTING GELS ARE?? OMFG! WHO BUYS THIS STUFF)?!!

This little light pad on it’s own is perfect for location shooting when all you are wanting to do is to add some fill lighting to your shot, it won’t light your whole scene so you will still want either another main light source - it worked great on this location shoot recently HERE.

I’ve already said that shooting on location is my fave, however it tends to be quite a fast paced process without much time to reflect/experiment as basically the whole world is going about it’s business around and through the middle of your shoot! So I decided to book some time in a local studio to play around with lighting and to experiment with using more than one light.

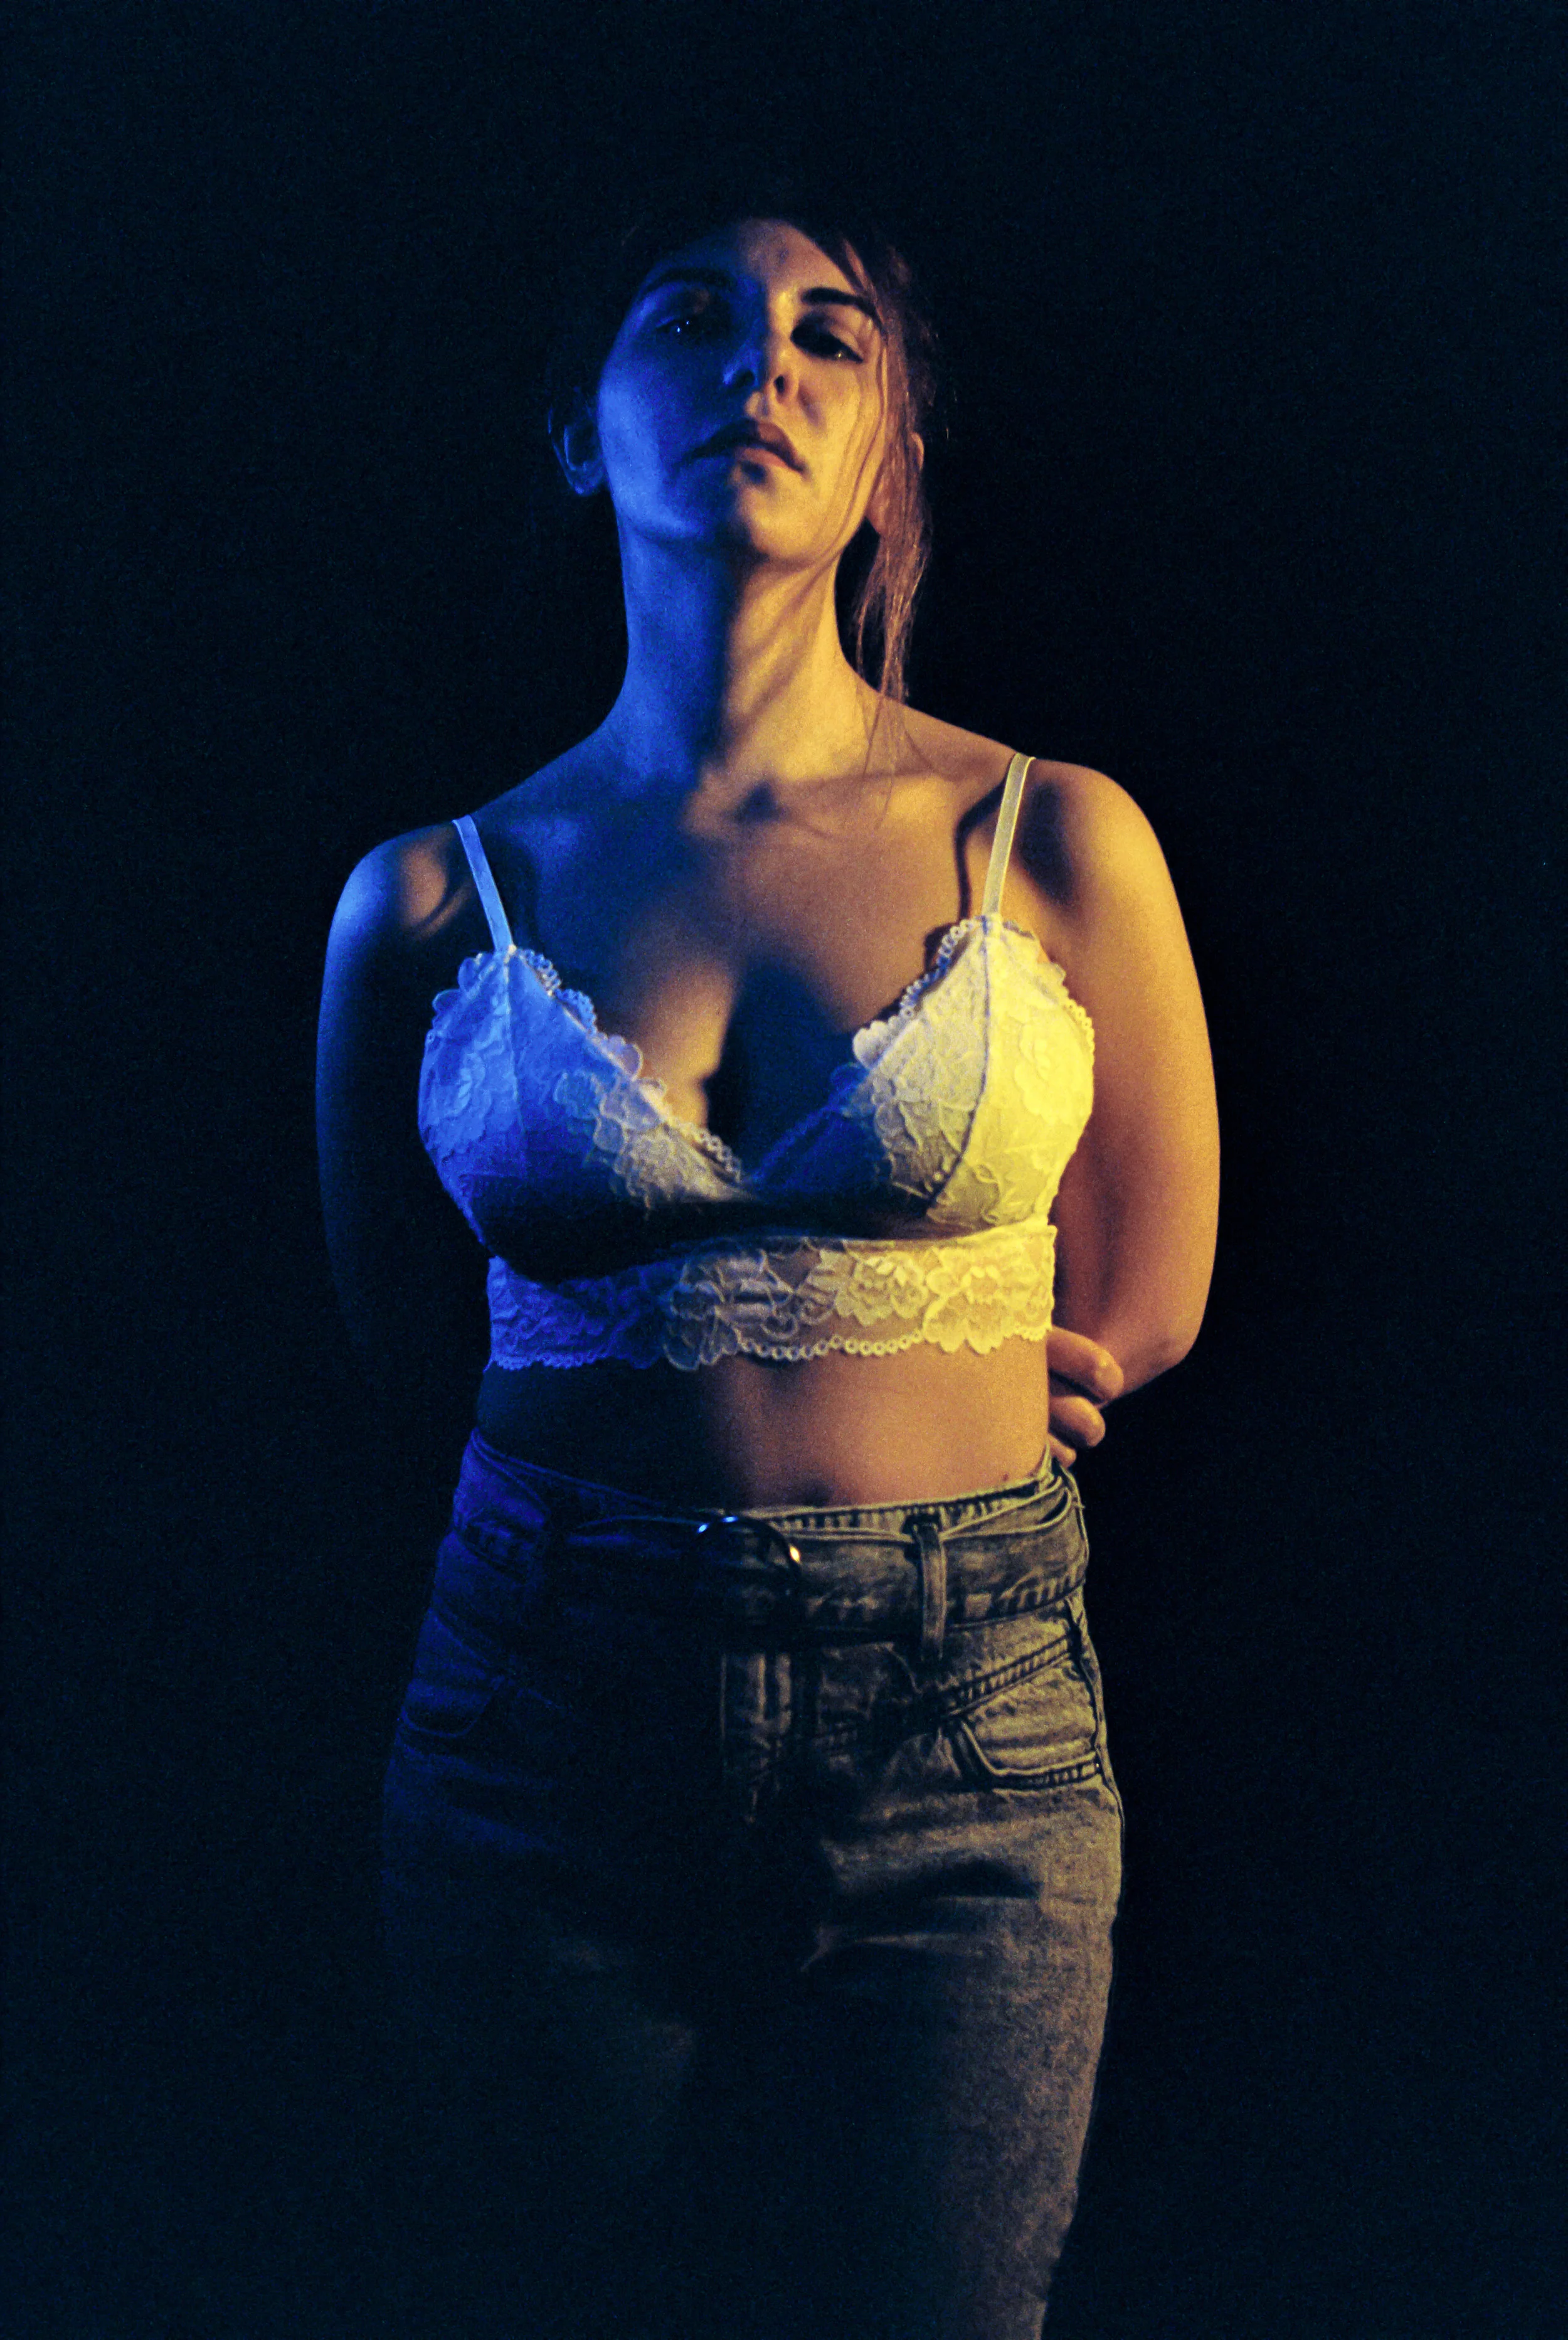
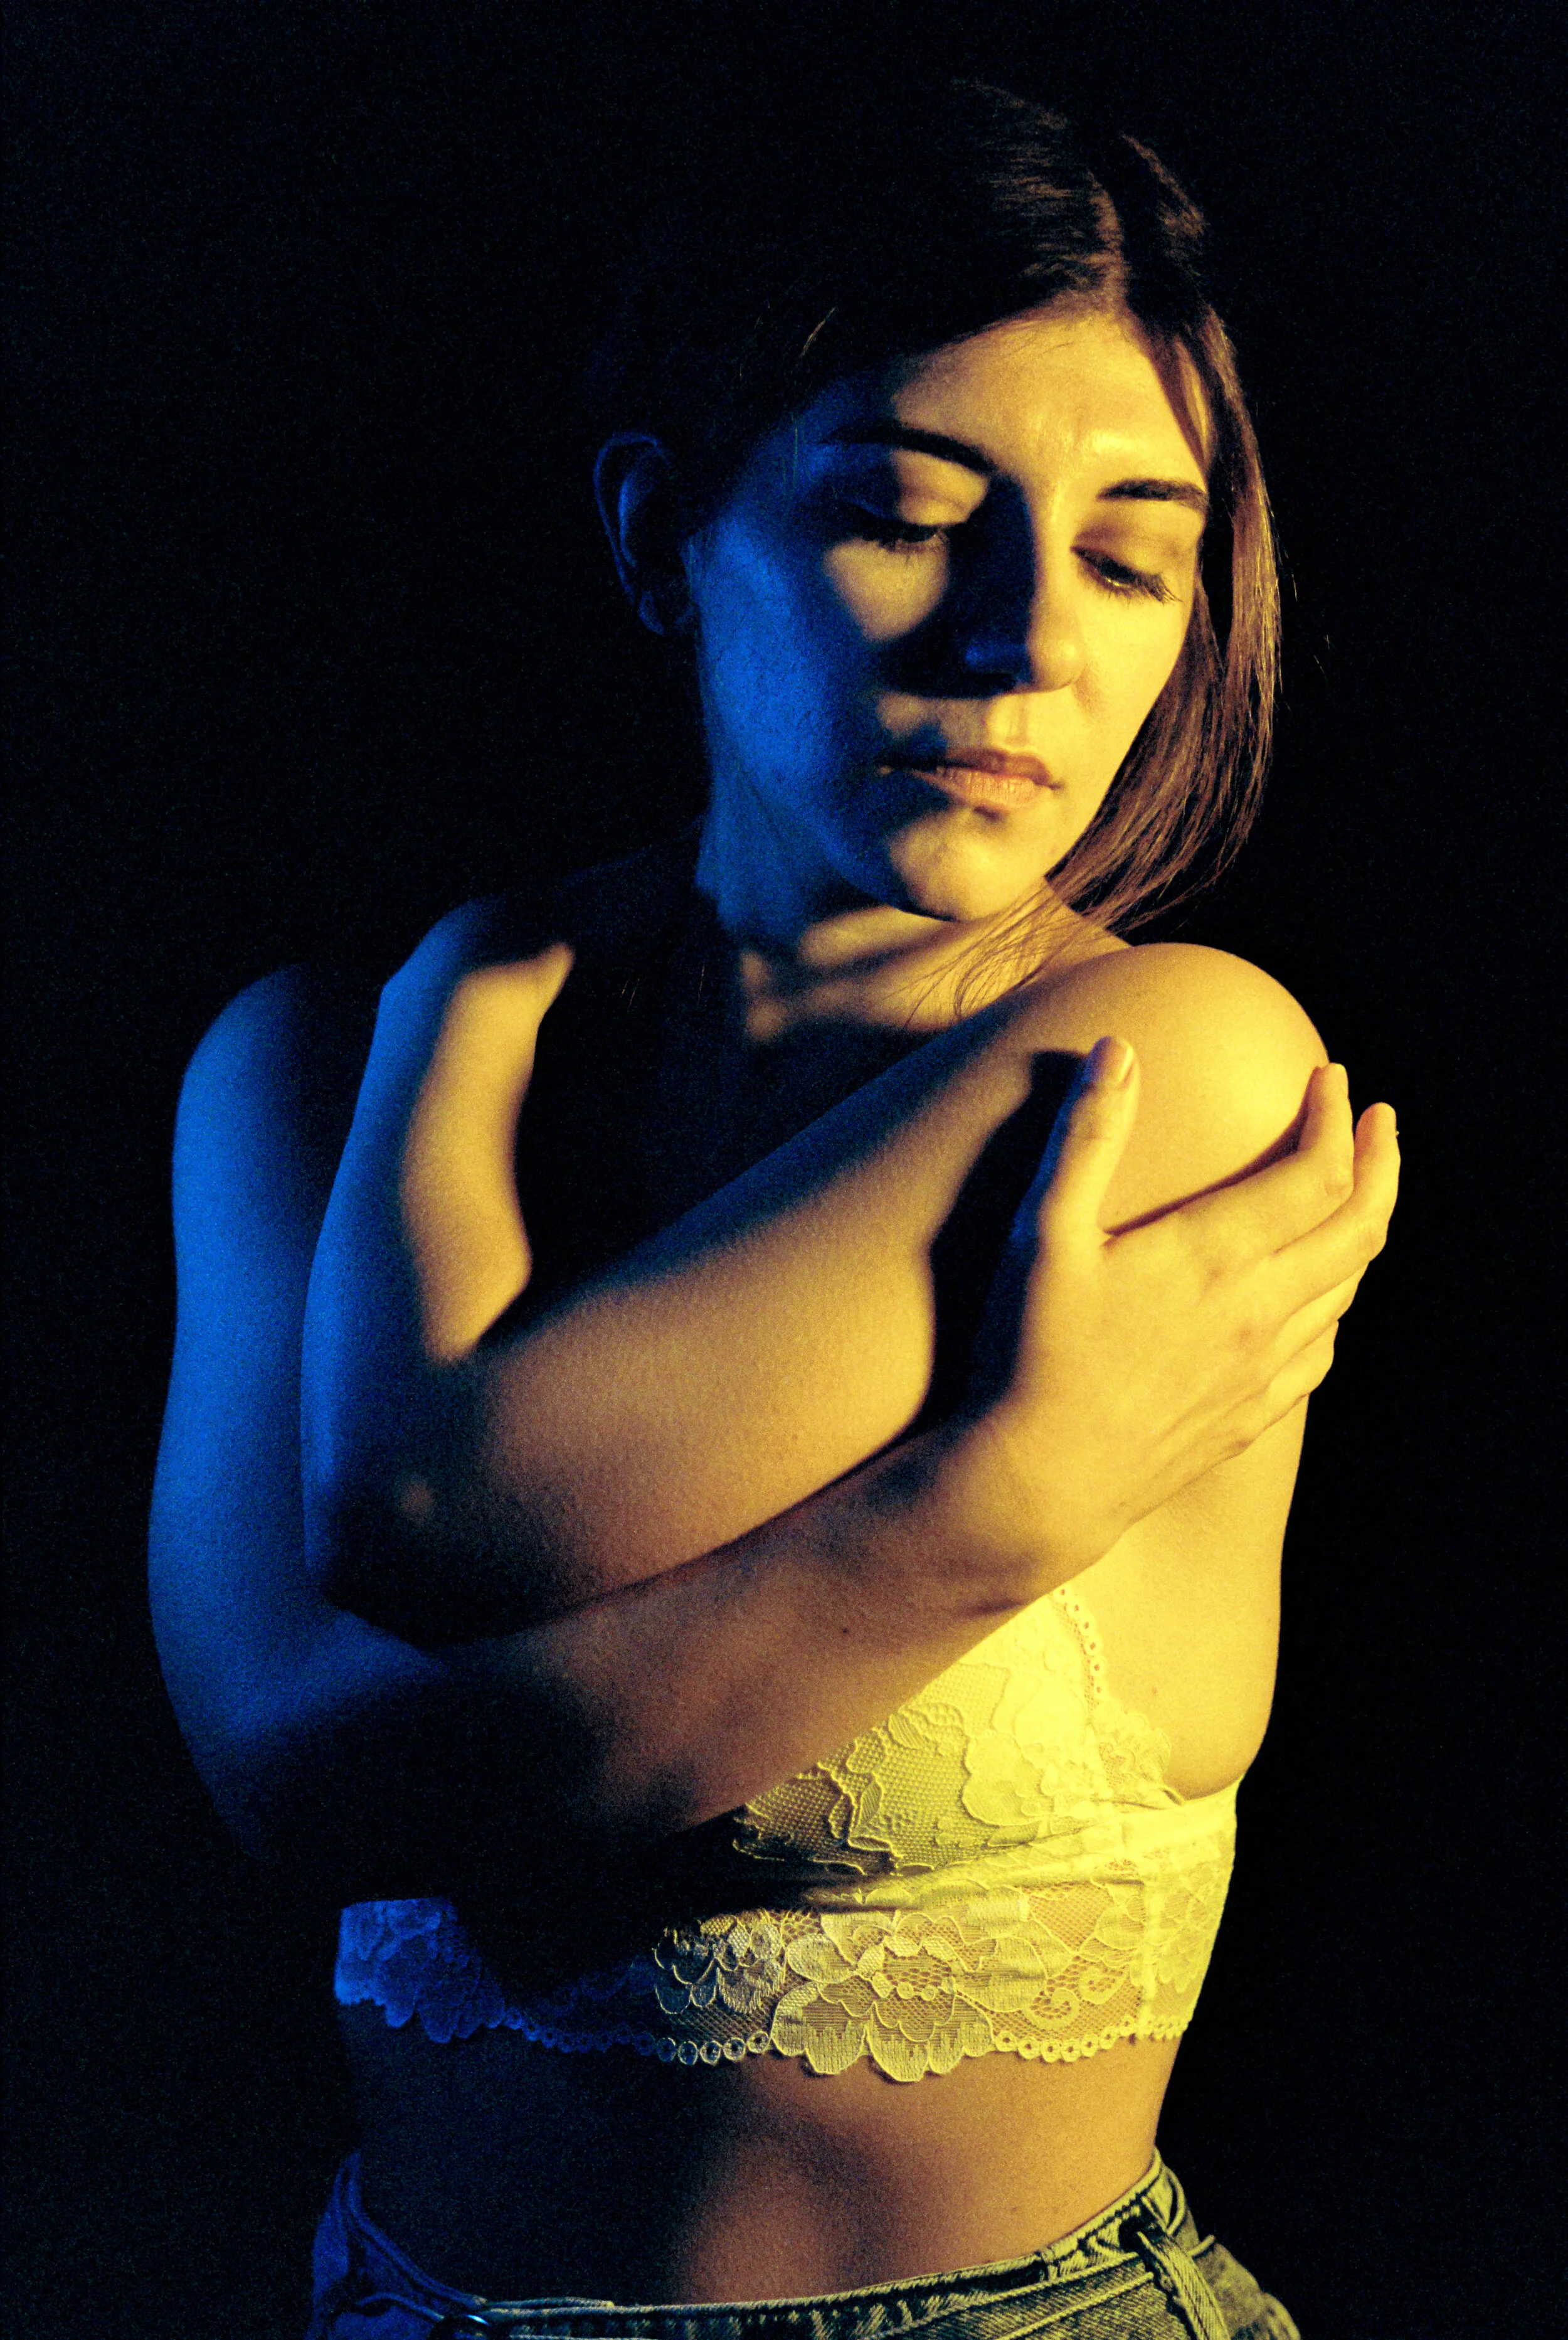
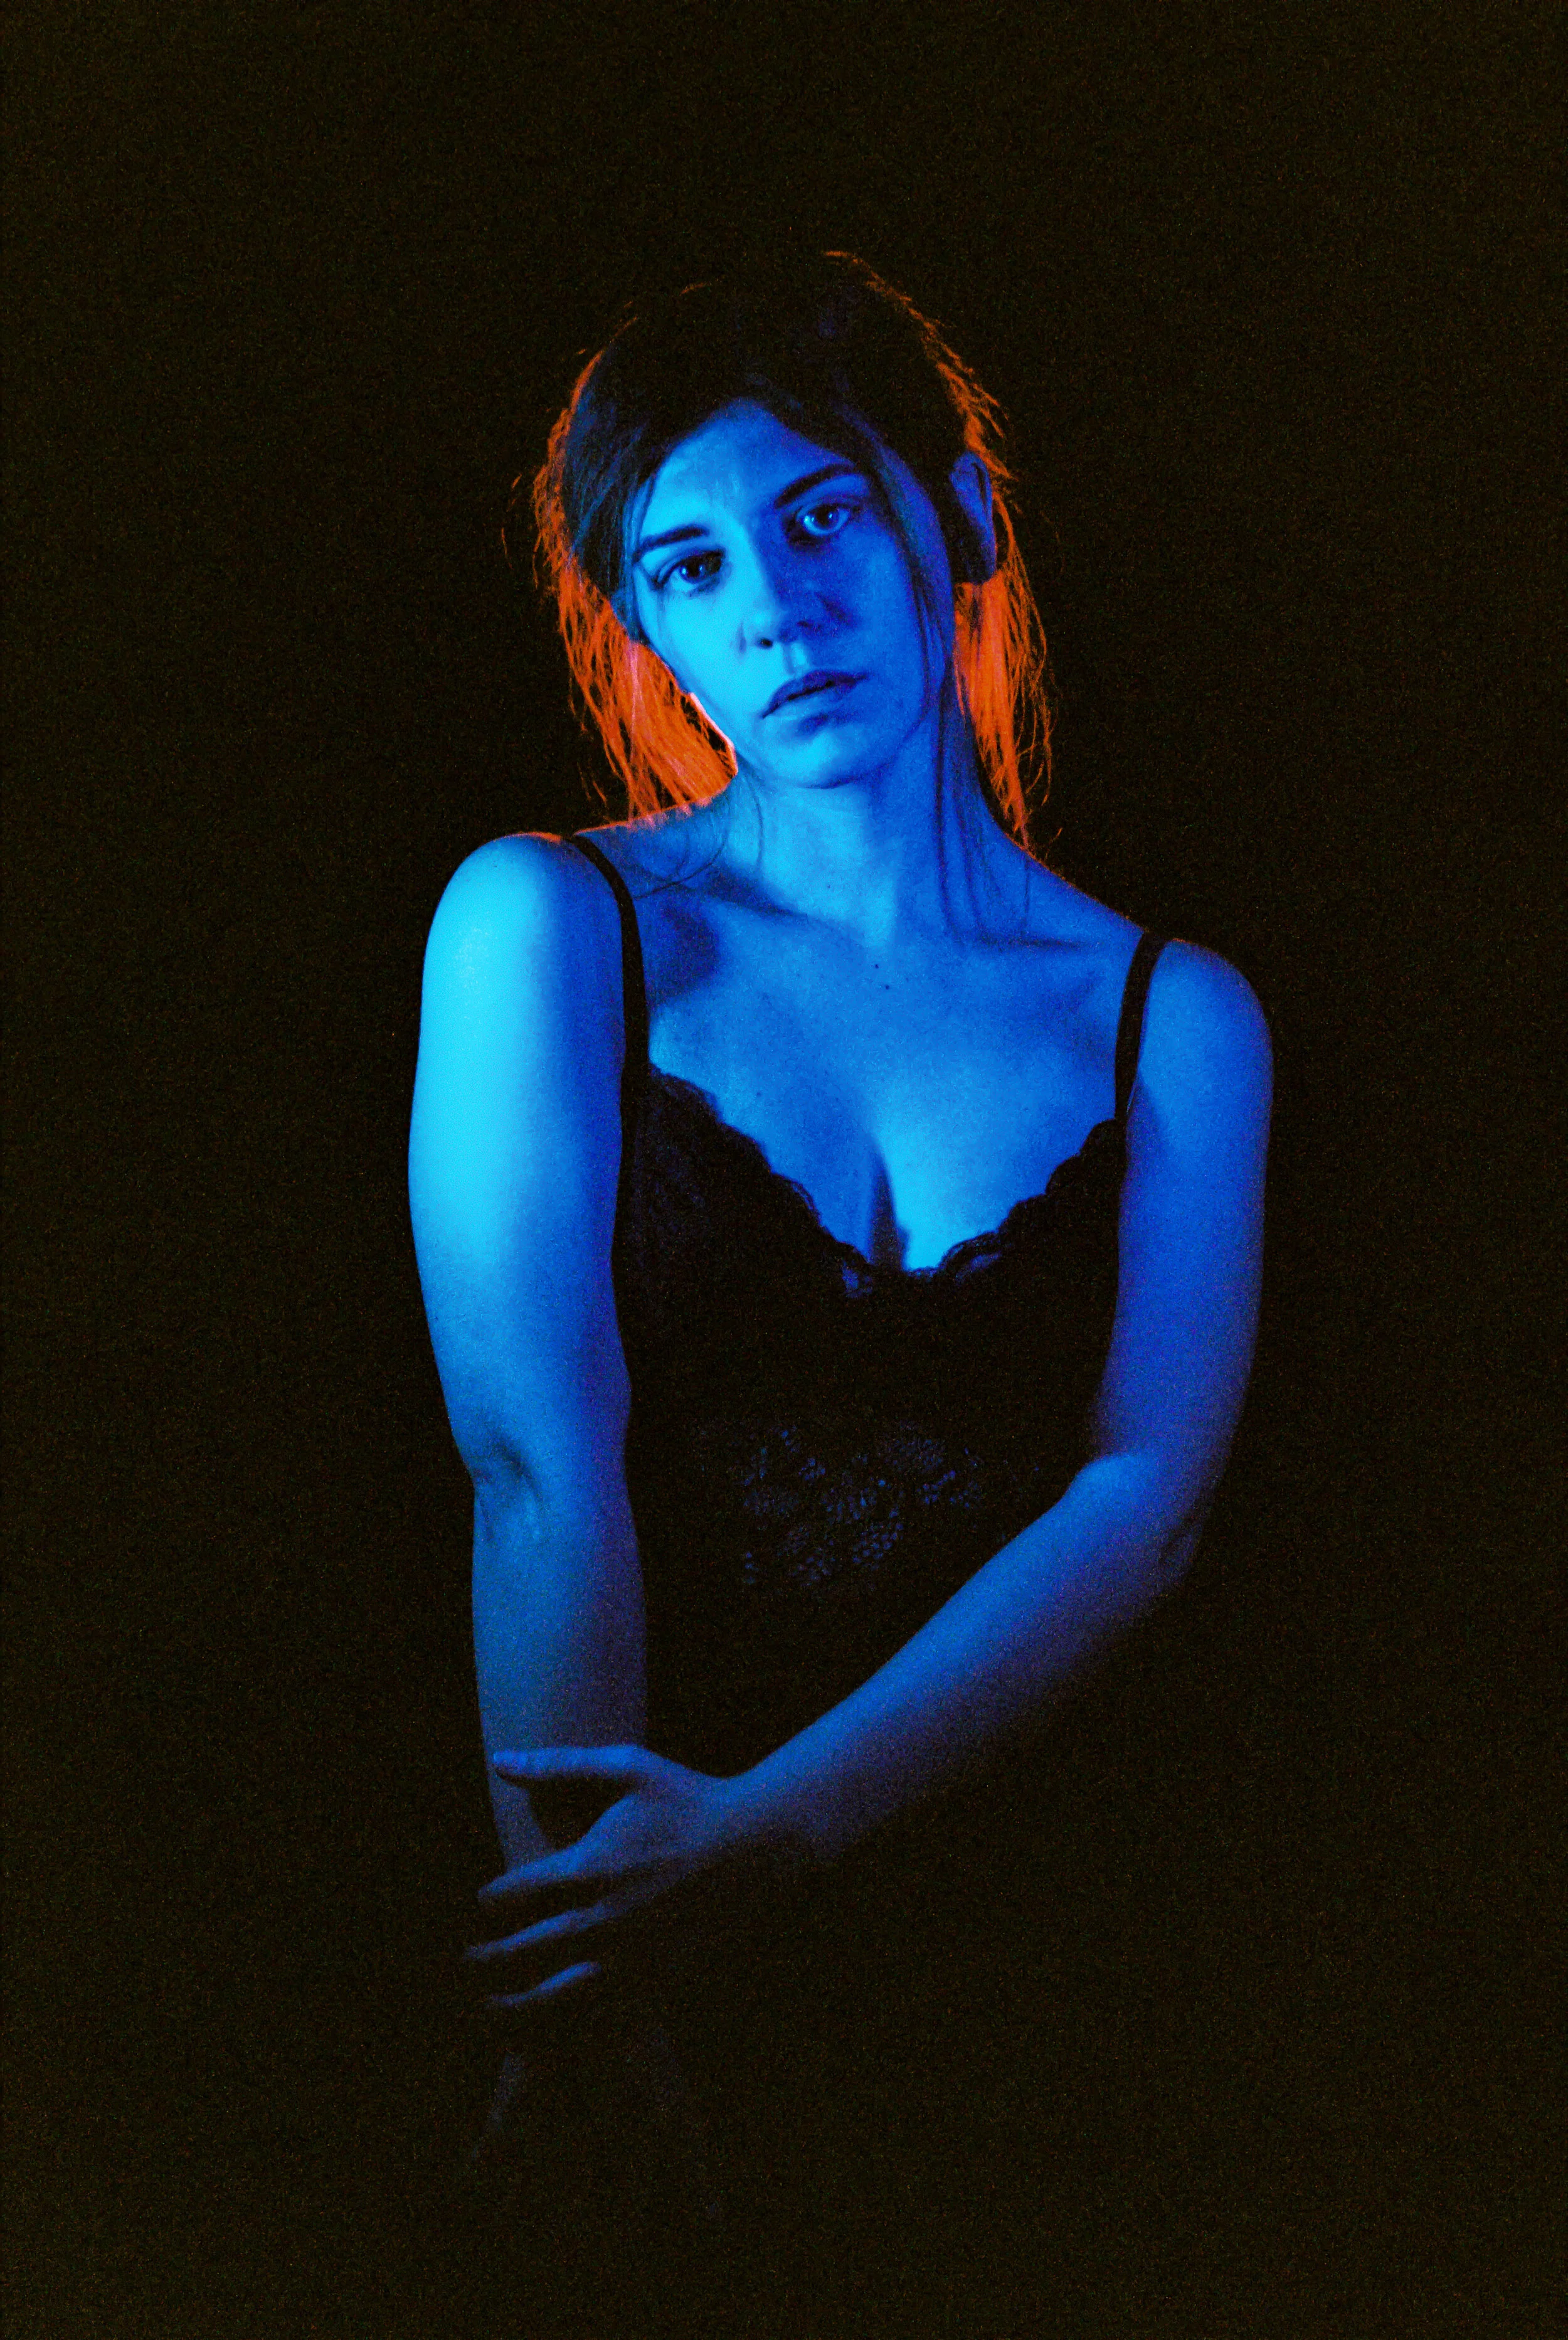
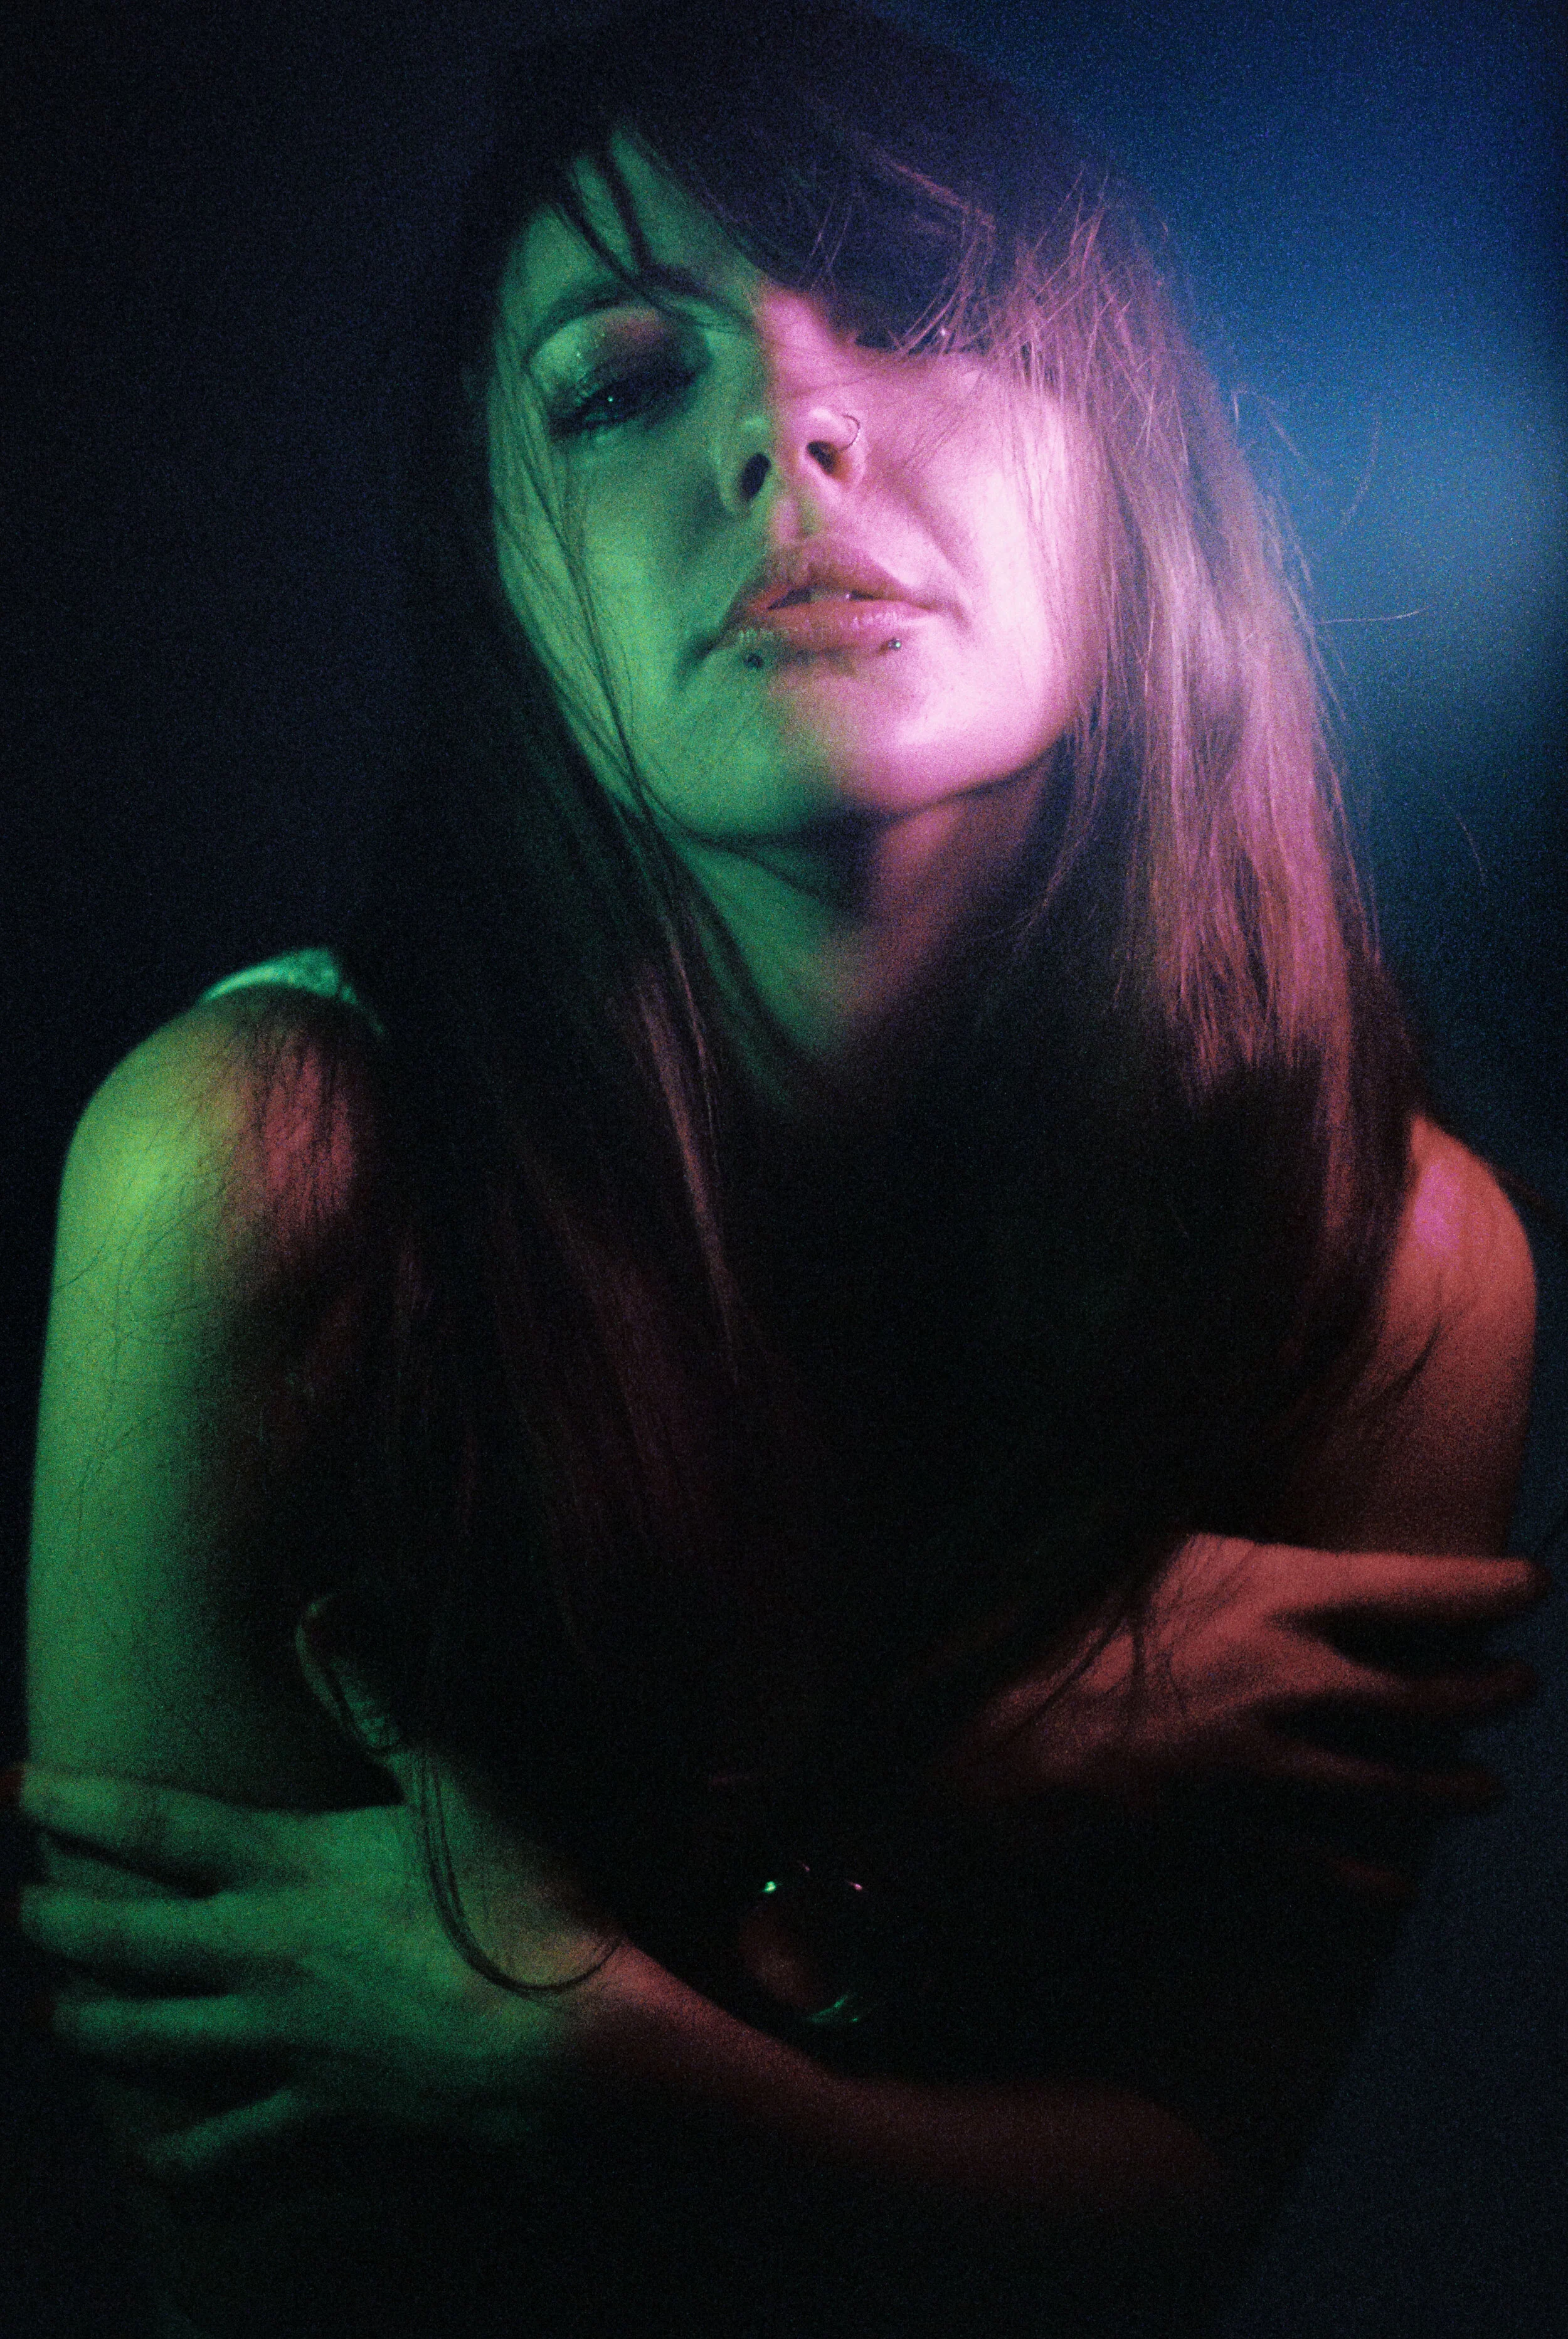
The following shots were taken over the course of two shoots using Portra 400 shot at 3200, I bought another Neewer light pad and borrowed a Yongnuo YN300 for a bit more power.

The following images were taken over the course of two shoots a couple of days apart - the first images are with Sophie who is a fantastic model and I love the images we created together!

0-30.jpg
0-25.jpg
0-14.jpg
0-18.jpg
0-10.jpg

A couple of days later I shot in the same studio with Danni - again a wonderful model and lots of fun playing with the lighting.

0-34.jpg
0-4-2.jpg
0-3-2.jpg
0-30-2.jpg

A huge thank you to models Sophie and Dannie for agreeing to help me with this creative experiment.

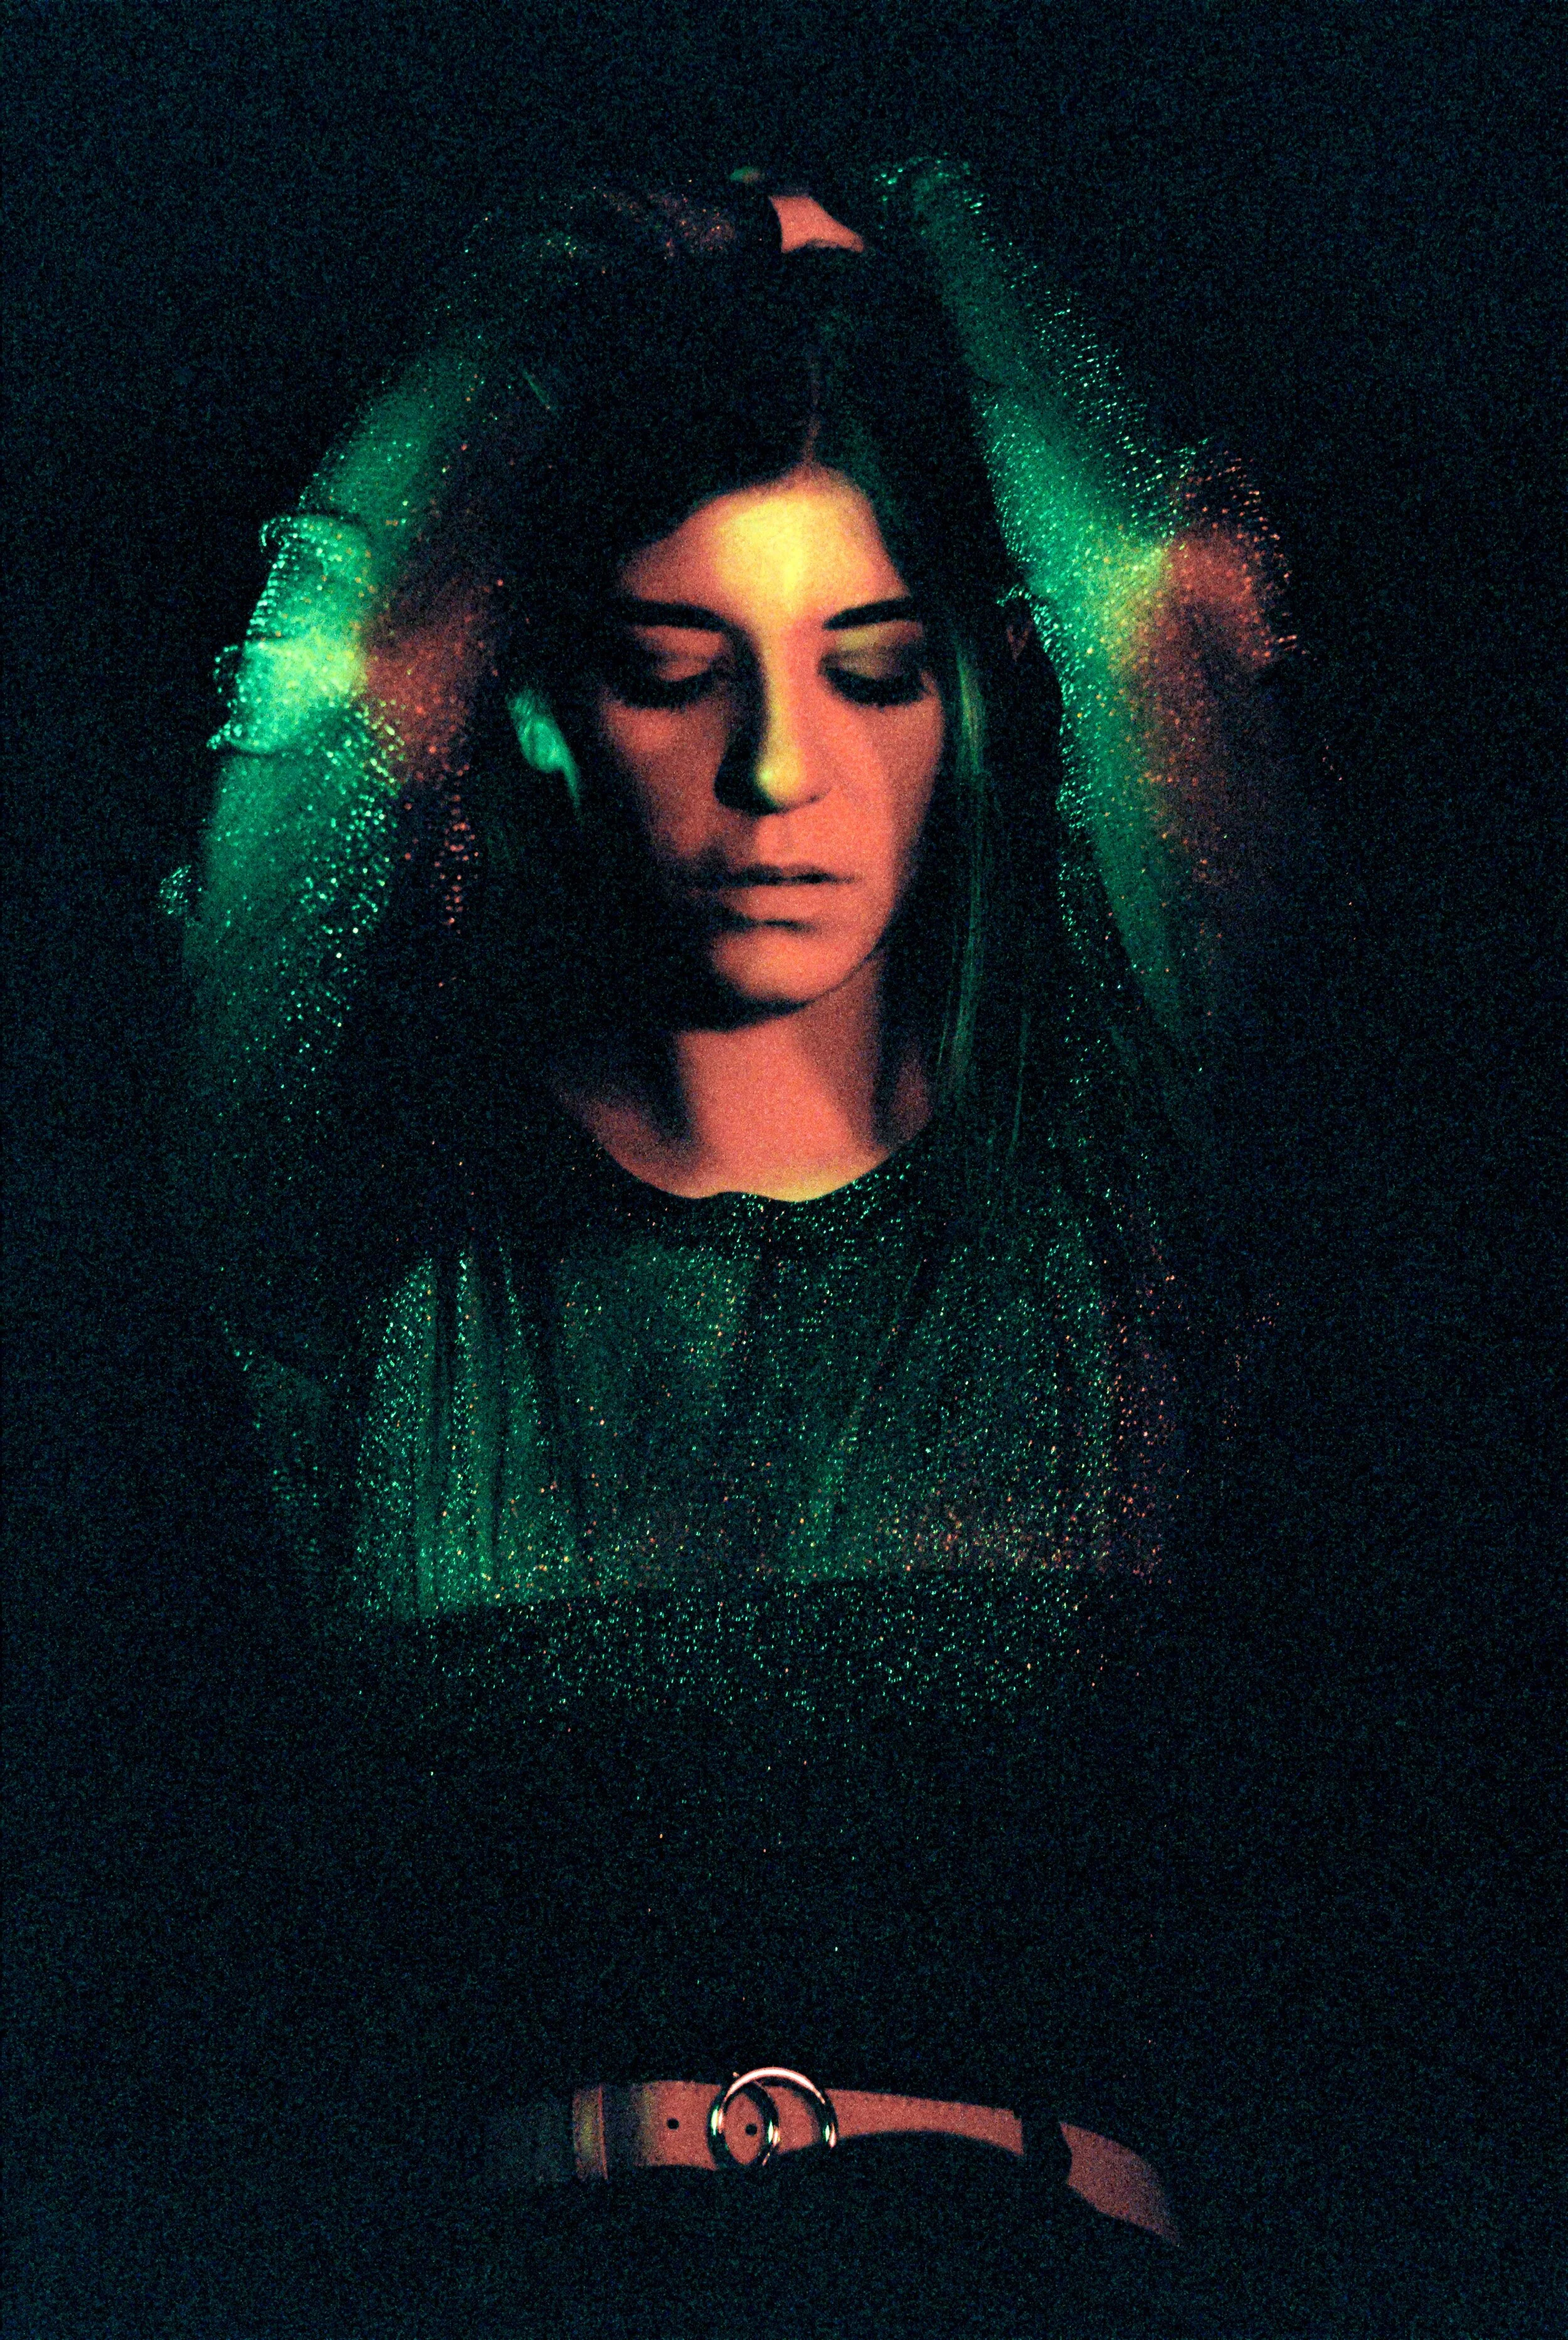
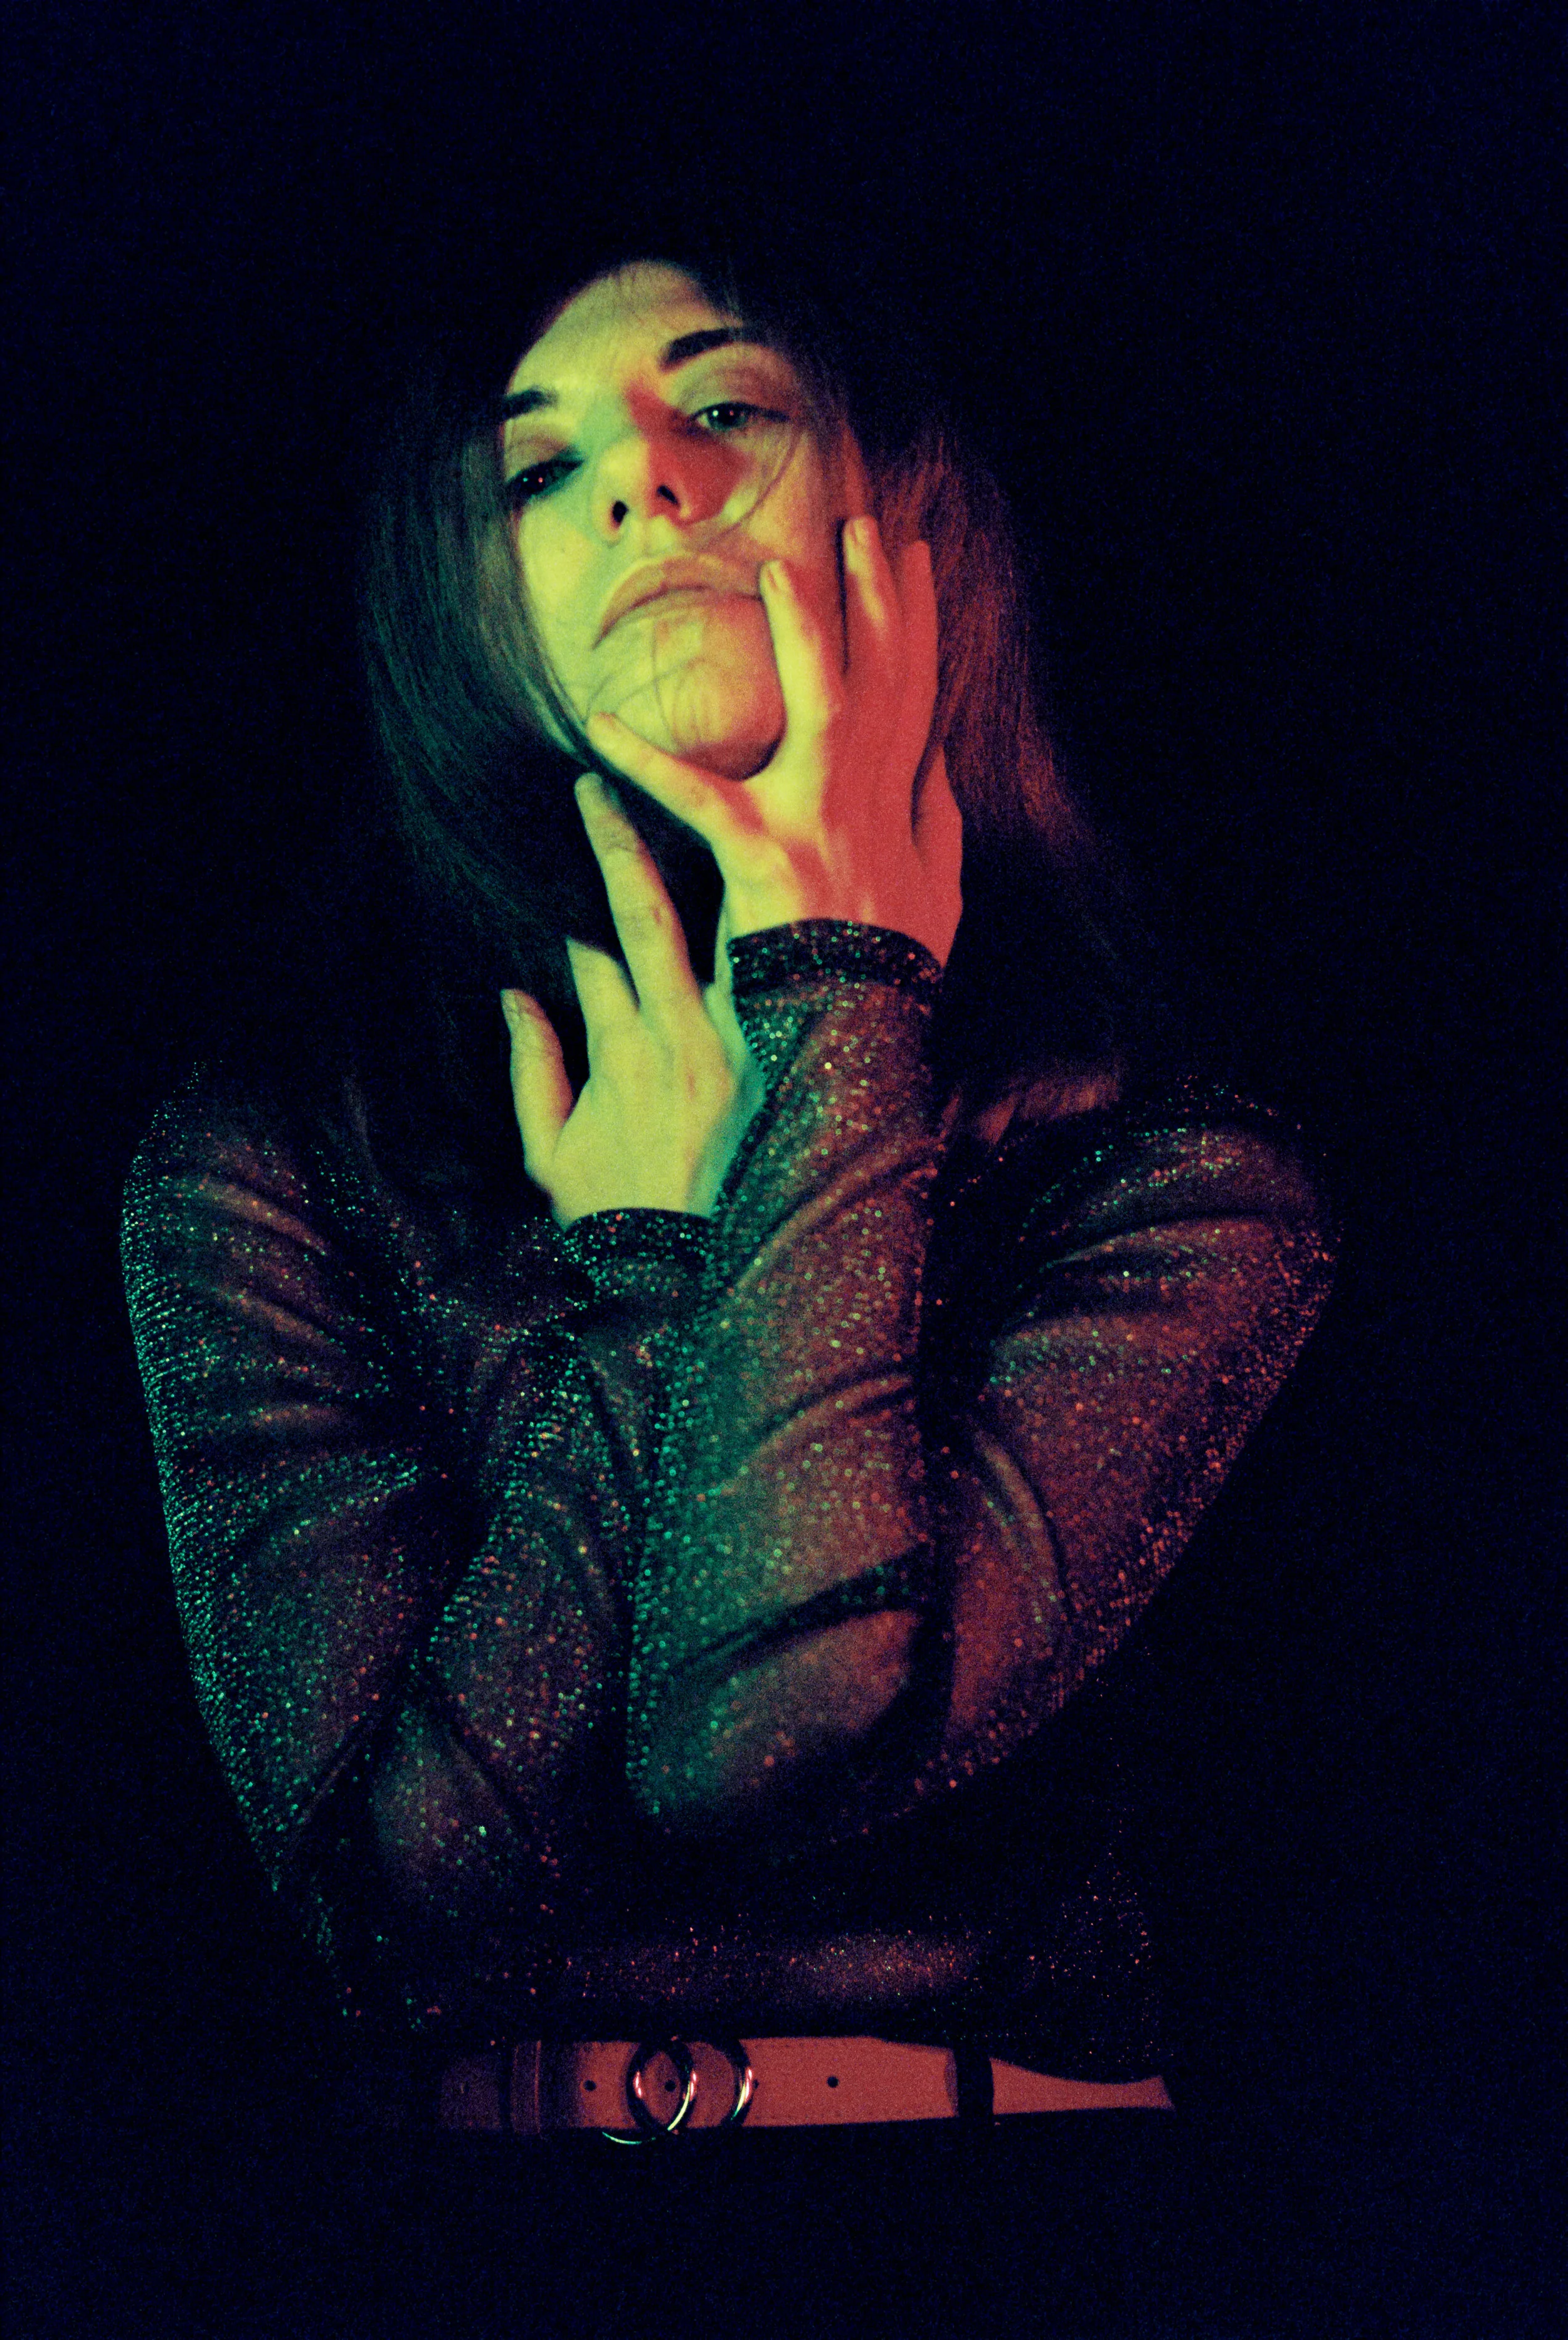
Once again I am knocked out by the results! I’ll talk you through my process and set up for creating these - in terms of lighting I had two Neewer as fill lights and the YN300 as key light. I played around with colour themes as well as mixing and blending colours for different effects.

I found that to get a rich, deep colour two or three layers of cellophane were required over the lights, this obviously impact the amount of light being transmitted but the depth of colour is much improved.

Positioning the lights I was able to judge by eye how the light is falling, then when happy with that I take a meter reading for the highlights falling on the models face and then take the shot.

In general these images were shot at around f2, 1/60 at 3200 - this is quite a big limitation in terms of depth of field and holding steady to avoid camera shake - but I’m really pleased with how they came out - I learned a LOT about the process of shooting film under LED lights, next time I would definitely use some more powerful lighting which would allow for deep/rich colours but without limiting my exposure options. Once again a huge thank you to my collaborators on this project - it really is a joint process and such a creative, shared experience! Every time I shoot I continue to learn, to grow and develop my portfolio which is what it’s all about!

One other thing worth mentioning is that shooting 35mm instead of medium format you do lose quite a bit of resolution as you might expect with a smaller format, but to my eye there is a particular look and feel to these images which is just…..hard to define… the grain, the structure, the feel, it just adds to something intangible which I just love.

Stay tuned for more colourful creative collaborations! I have a loads more for using colour and artificial lighting to help tell a story, evoke a mood and add interest to my work. I have also fallen back in love with shooting in the studio it’s a different process, more systematic and with greater control over things without the pressure of having to accommodate the world at large into your creative decisions - and in these cold winter months it’s good to be under cover!


Nikon F3HP review: If at first you don't succeed - then buy another F3

 
IMG_4192.JPG

Hello! How are we all doing? It feels like a long time since I wrote my last blog (and it is) it also feels that in this time of global pandemic and upheaval that the world is crying out for something - and obviously in this moment I feel that that something is….. a completely subjective review of the Nikon F3!! Of course! I hear you cry!! Just what the world has been waiting for! ;)

Well well well, here’s a turn up for the books… gone and bought myself ANOTHER Nikon F3, in fact I’ve owned it for about a year now but you may recall that a couple of years ago I sold the F3 I owned at that time because it was literally giving me a headache when looking through the viewfinder and that kickstarted my love affair with the glorious F2.

I’ve always felt like I had some unfinished business with the F3 and so in November 2019 I bought another one - the small matter of a global pandemic has definitely put a dent in the amount of use the F3 has seen in the last year but I have been shooting with it quite a bit lately and really enjoying the experience - so much so that I decided I needed to do an updated review of this camera one which explains why I now own another one and how I managed to get over the issues that caused me to sell my previous one.

First things first I am not above just being drawn back to this thing because of how it looks - I mean LOOK AT IT - a thing of beauty! It’s a fantastic piece of industrial design, penned by the genius XX who created the XX, I bought mine of Evilbay and wanted to say a big thanks to the guy I bought it from - he happened to live fairly local to me so I arranged to collect it, I am often struck by just how nice fellow film photographers are, we had a good old chinwag about the camera and film photography in general, I for one am always glad to find someone else who shares this passion/affliction for film and can happily chat away for ages about it! Thank you mate! :)
I was drawn back to the F3 almost by a process of elimination - I tried an F4… too big, too bulky and festooned with features that I wouldn’t use… F5 too modern (I don’t own any AF lenses) F6… too expensive… I bought an F90X for a cheap auto wind on body and I like using it but I was still looking for something… I considered the original F body but I wasn't feeling that so if I wanted another top spec Nikon body that only left the F3…. and here we are! (it still amazes me that I can write a paragraph like that and not even question myself as to WHY i would want ANOTHER camera…. we humans are complex creatures aren’t we?!

69B8FB05-D5B0-42AF-B2EB-E4B20140049C.JPG

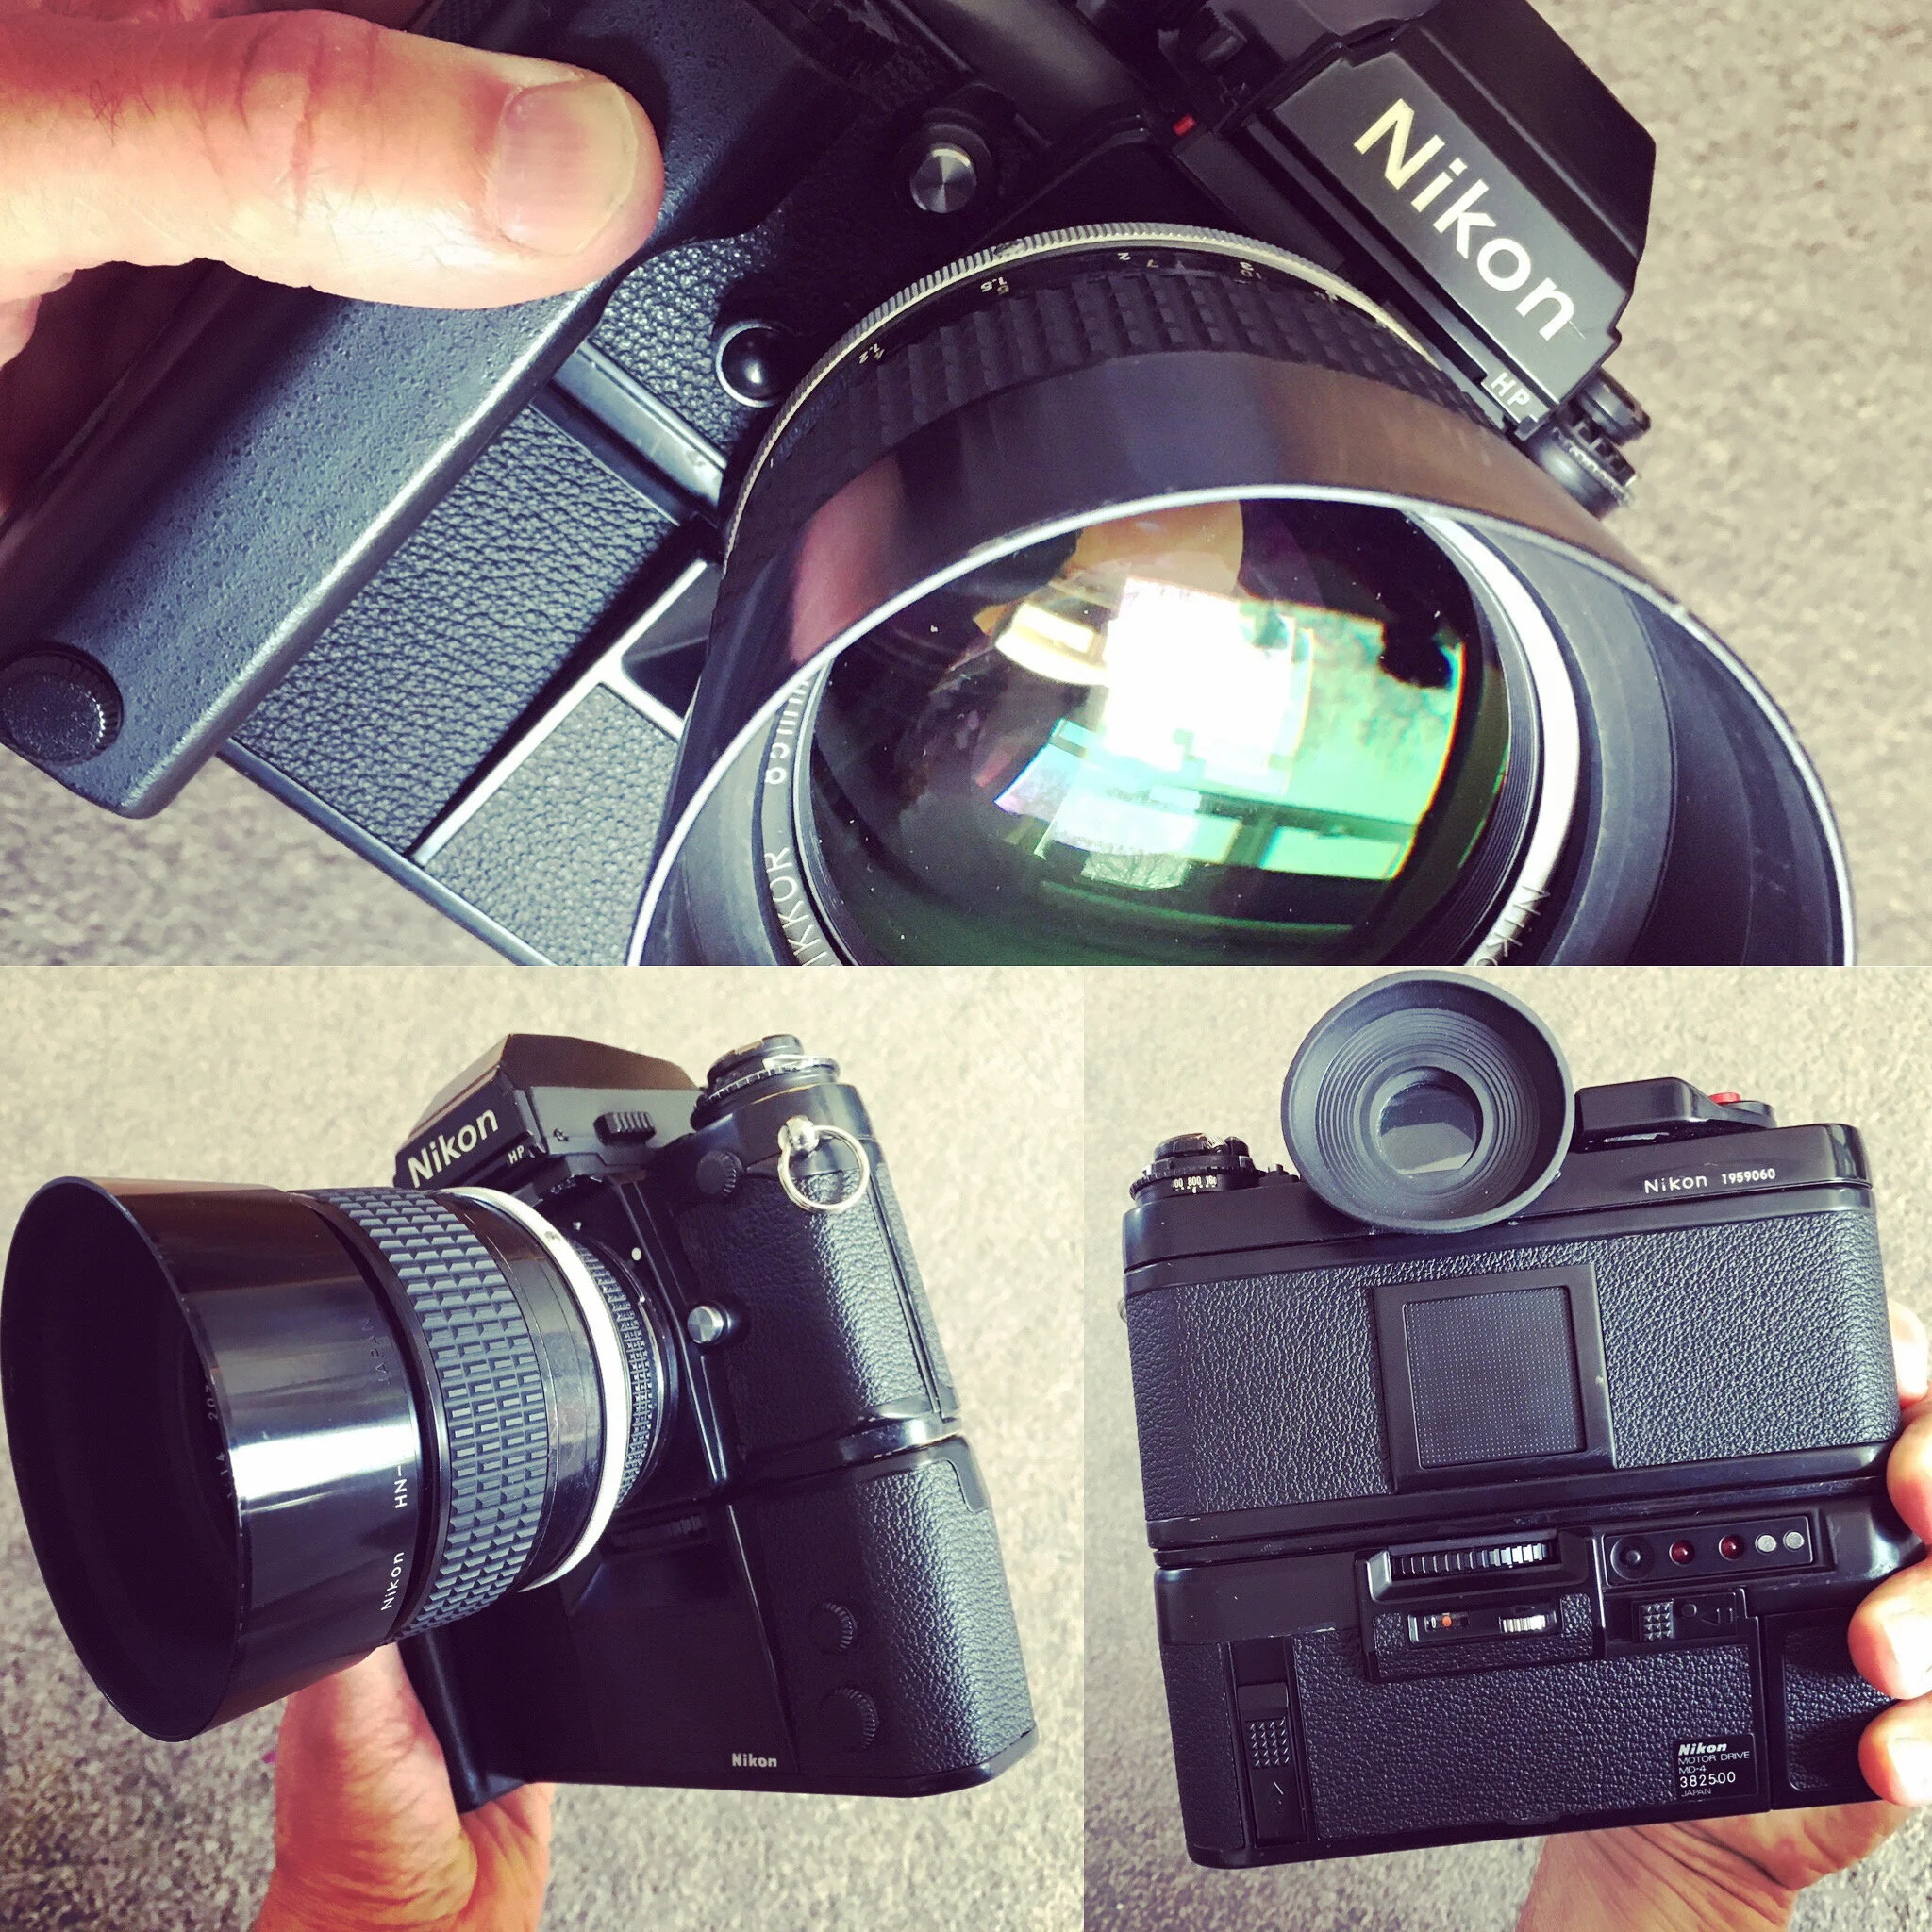
I recently got hold of the MD4 battery grip for the camera which I really just bought on a whim, but I love it! I haven’t taken it off the camera since - it makes it heavier but it’s very well balanced in the hand.

In my original blog post about the F3 I named it the best camera I’d ever used at that point but my main issue was the viewfinder, specifically the (to me) awkward placement of the shutter speed LCD readout - and it can’t just have been me because Nikon released an updated viewfinder the HP (High Point) which was designed ostensibly for people who wear glasses but I have always wondered if this HP viewfinder would solve the issue I had, turns out - it has… a bit…

0-18.jpg
0-25.jpg
0-9.jpg

Truth be told i still find the placement of the meter / shutter read out awkward - but I found a great work around…. just ignore it! :) My main passion is portrait photography and for portraits I always use a handheld meter anyway, so now it matters not that the read out display of the F3 is in a stupidly awkward position as I just my handheld meter, set the controls on the camera accordingly and happy days!! It does mean that I’m unlikely to choose the F3 as the camera I’ll use for casual / day to day / travel photography when having an onboard meter is pretty helpful but I have other cameras for that anyway (Hurrah!! at last a valid reason for owning the F3 AND the F2)!!
Functionally the experience of the F3 is a bit more slick and sophisticated than the F2 (Im sorry fellow F2 fans - but it’s true) The F3 feels slightly more refined all round from the shutter sound to the film advance action - plus the MD4 motor drive can be had for a very low price giving you super fast fps should you require it (you probably won’t but hey… details schmetails).

Enough of this babble! I hear you cry! Very well compadres here’s a sample of shots I’ve taken with my new and very much loved F3 - I can say for certain that this time round it’s for keeps!

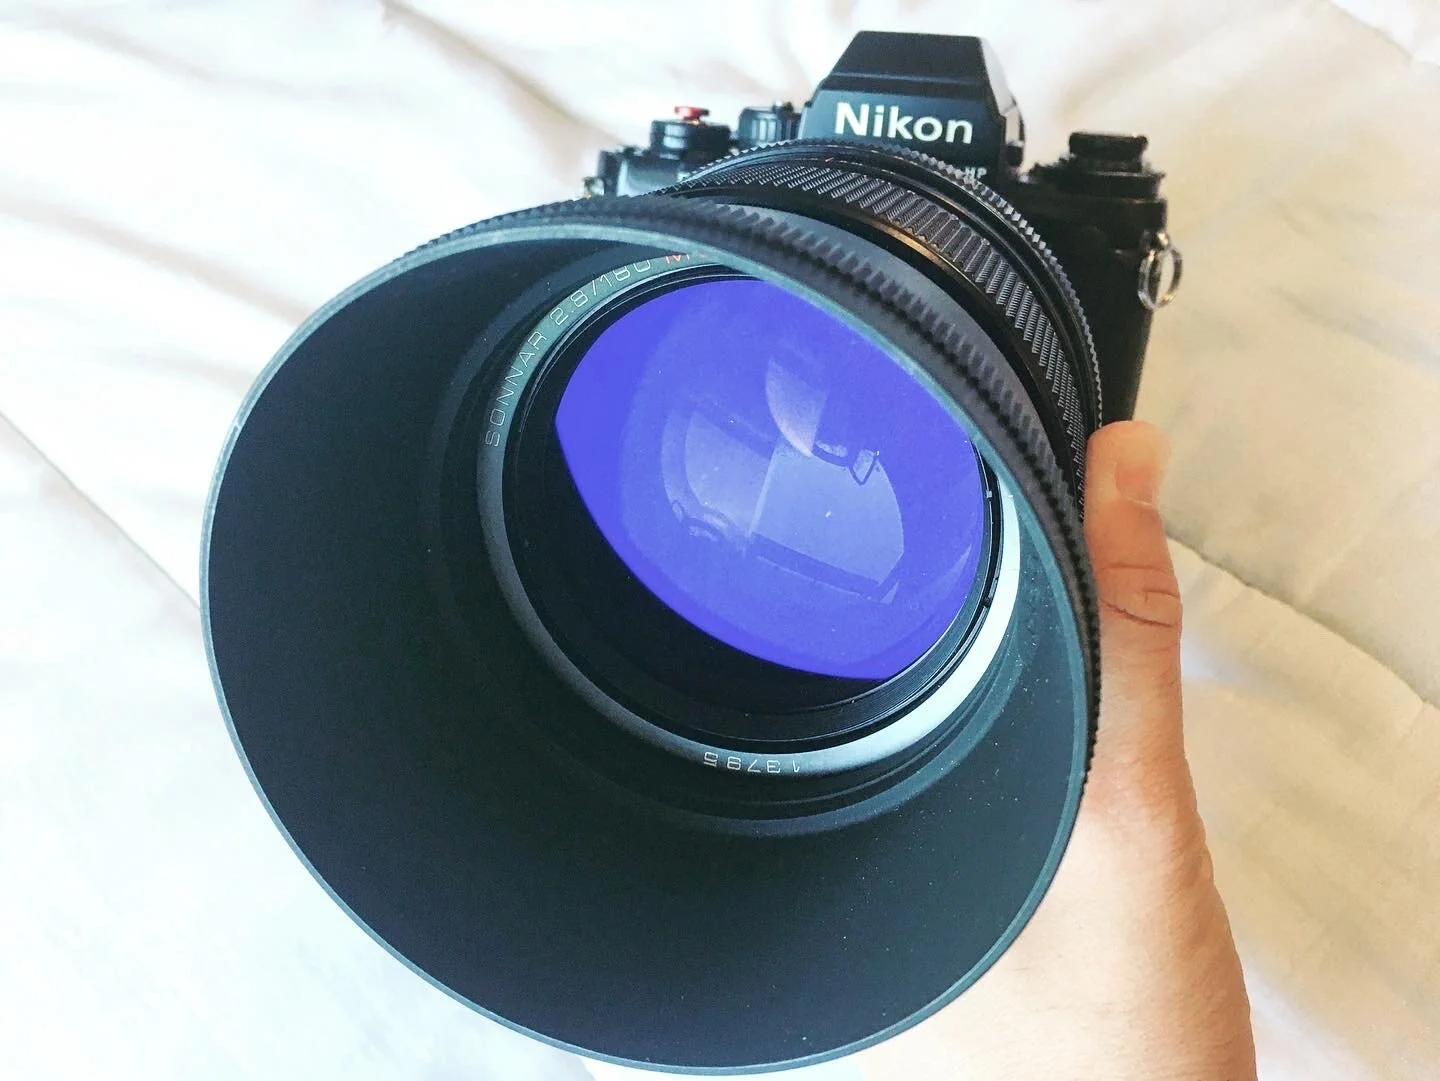
I’ve also enjoyed shooting the F3 with an adapted lens - this monster is the Carl Zeiss Jena Sonnar 180mm 2.8 - it’s native mount is the Pentacon 6 and I shoot it on my ARAX CM, however by means of some magic (and a cheap adapter) in practice it is HEAVY, it’s also a longer focal length then I’m used to and I ended up missing focus on quite a few shots - however i did manage this one! :)

0-5.jpg


Dark Future: A shoot on Kodak Portra at 1600

0-1.jpg

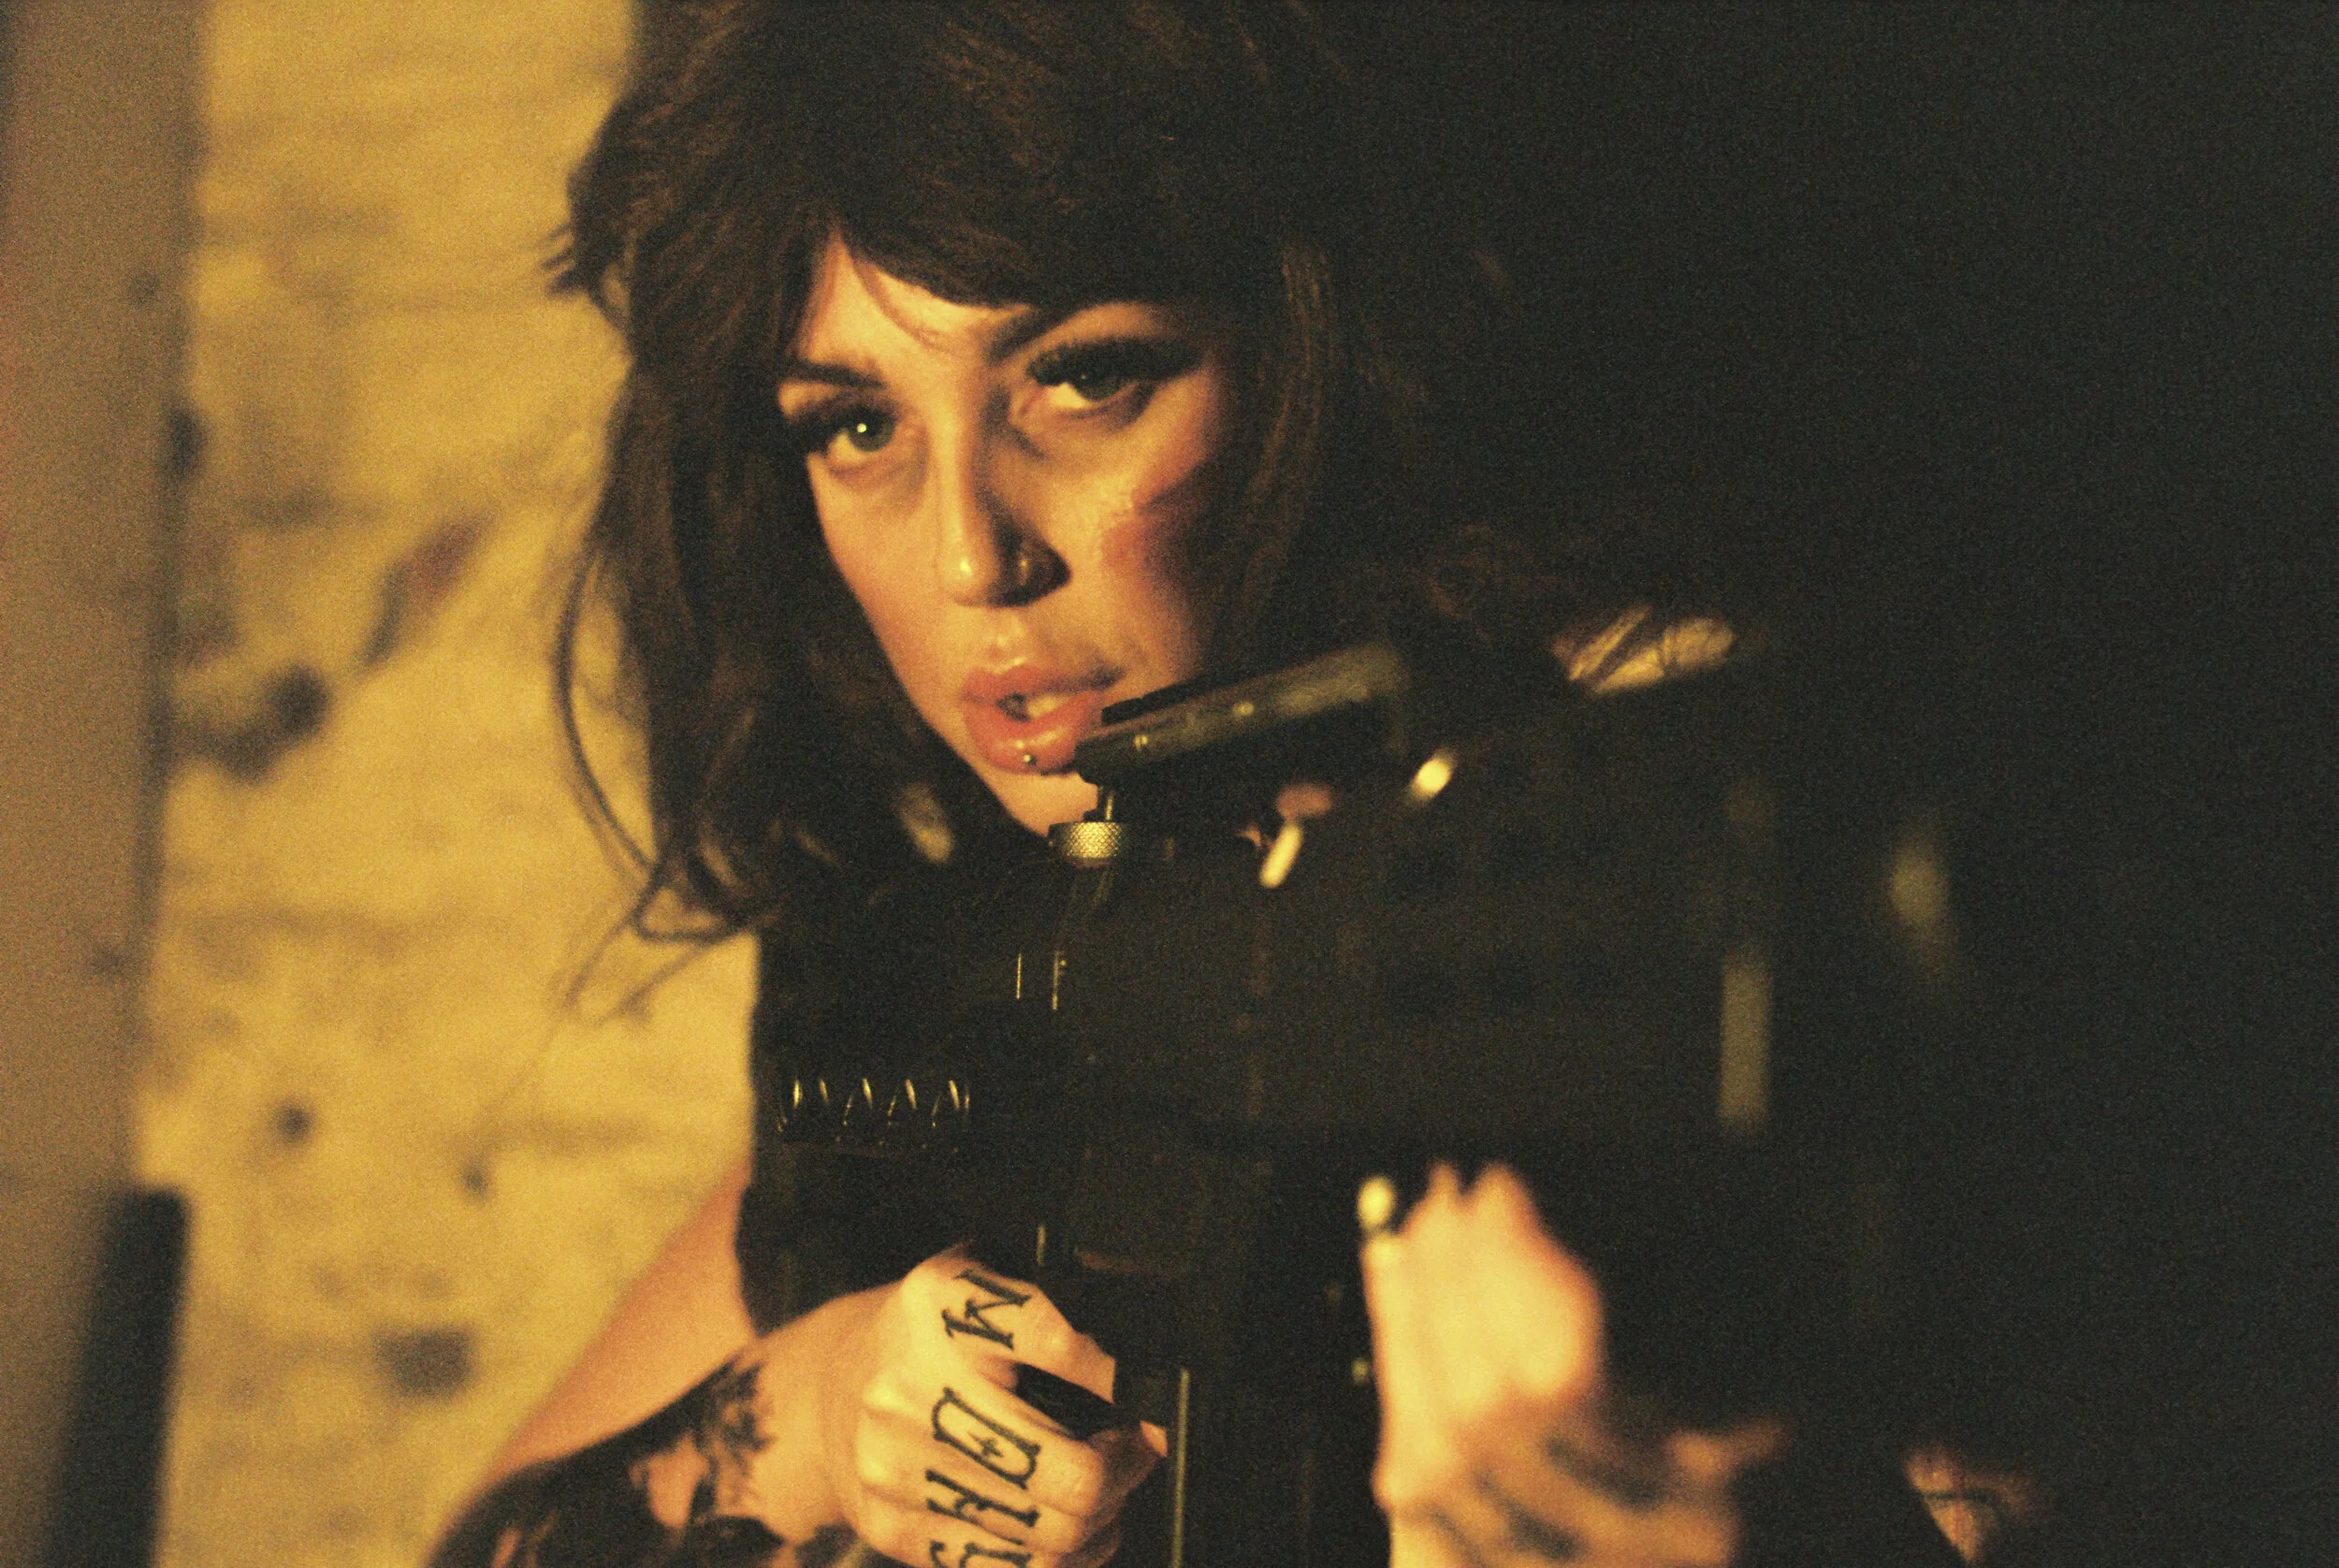
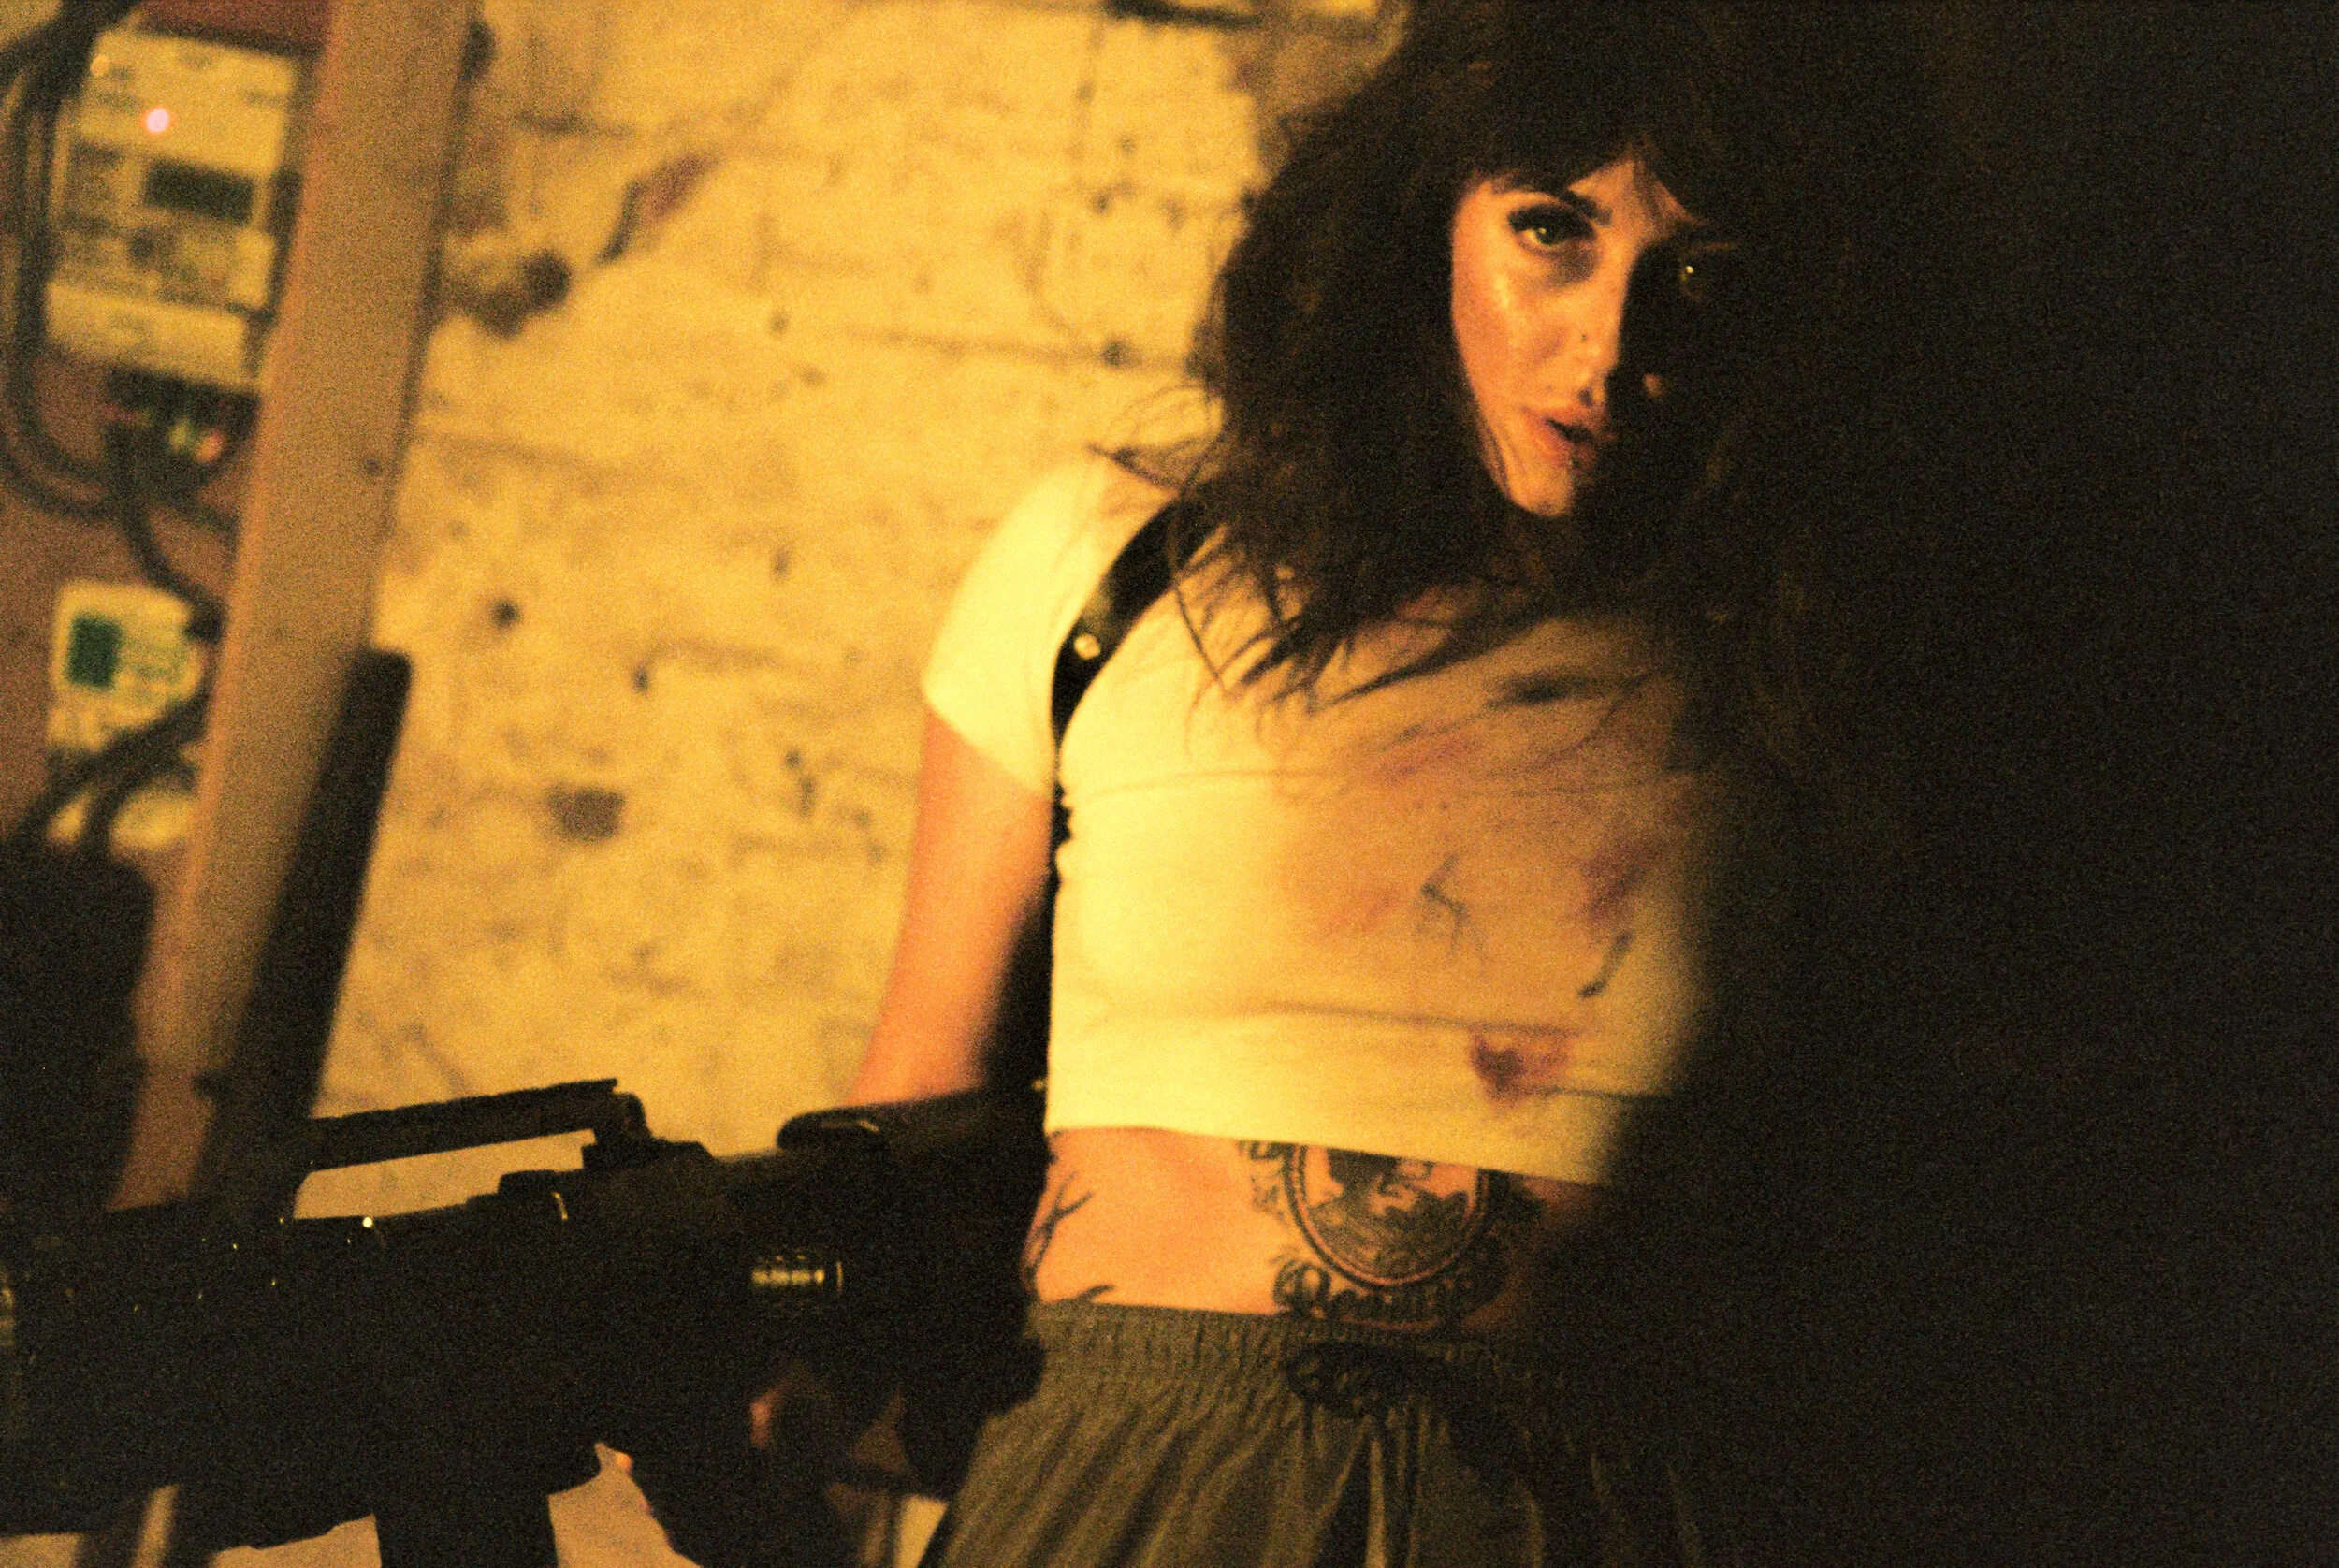
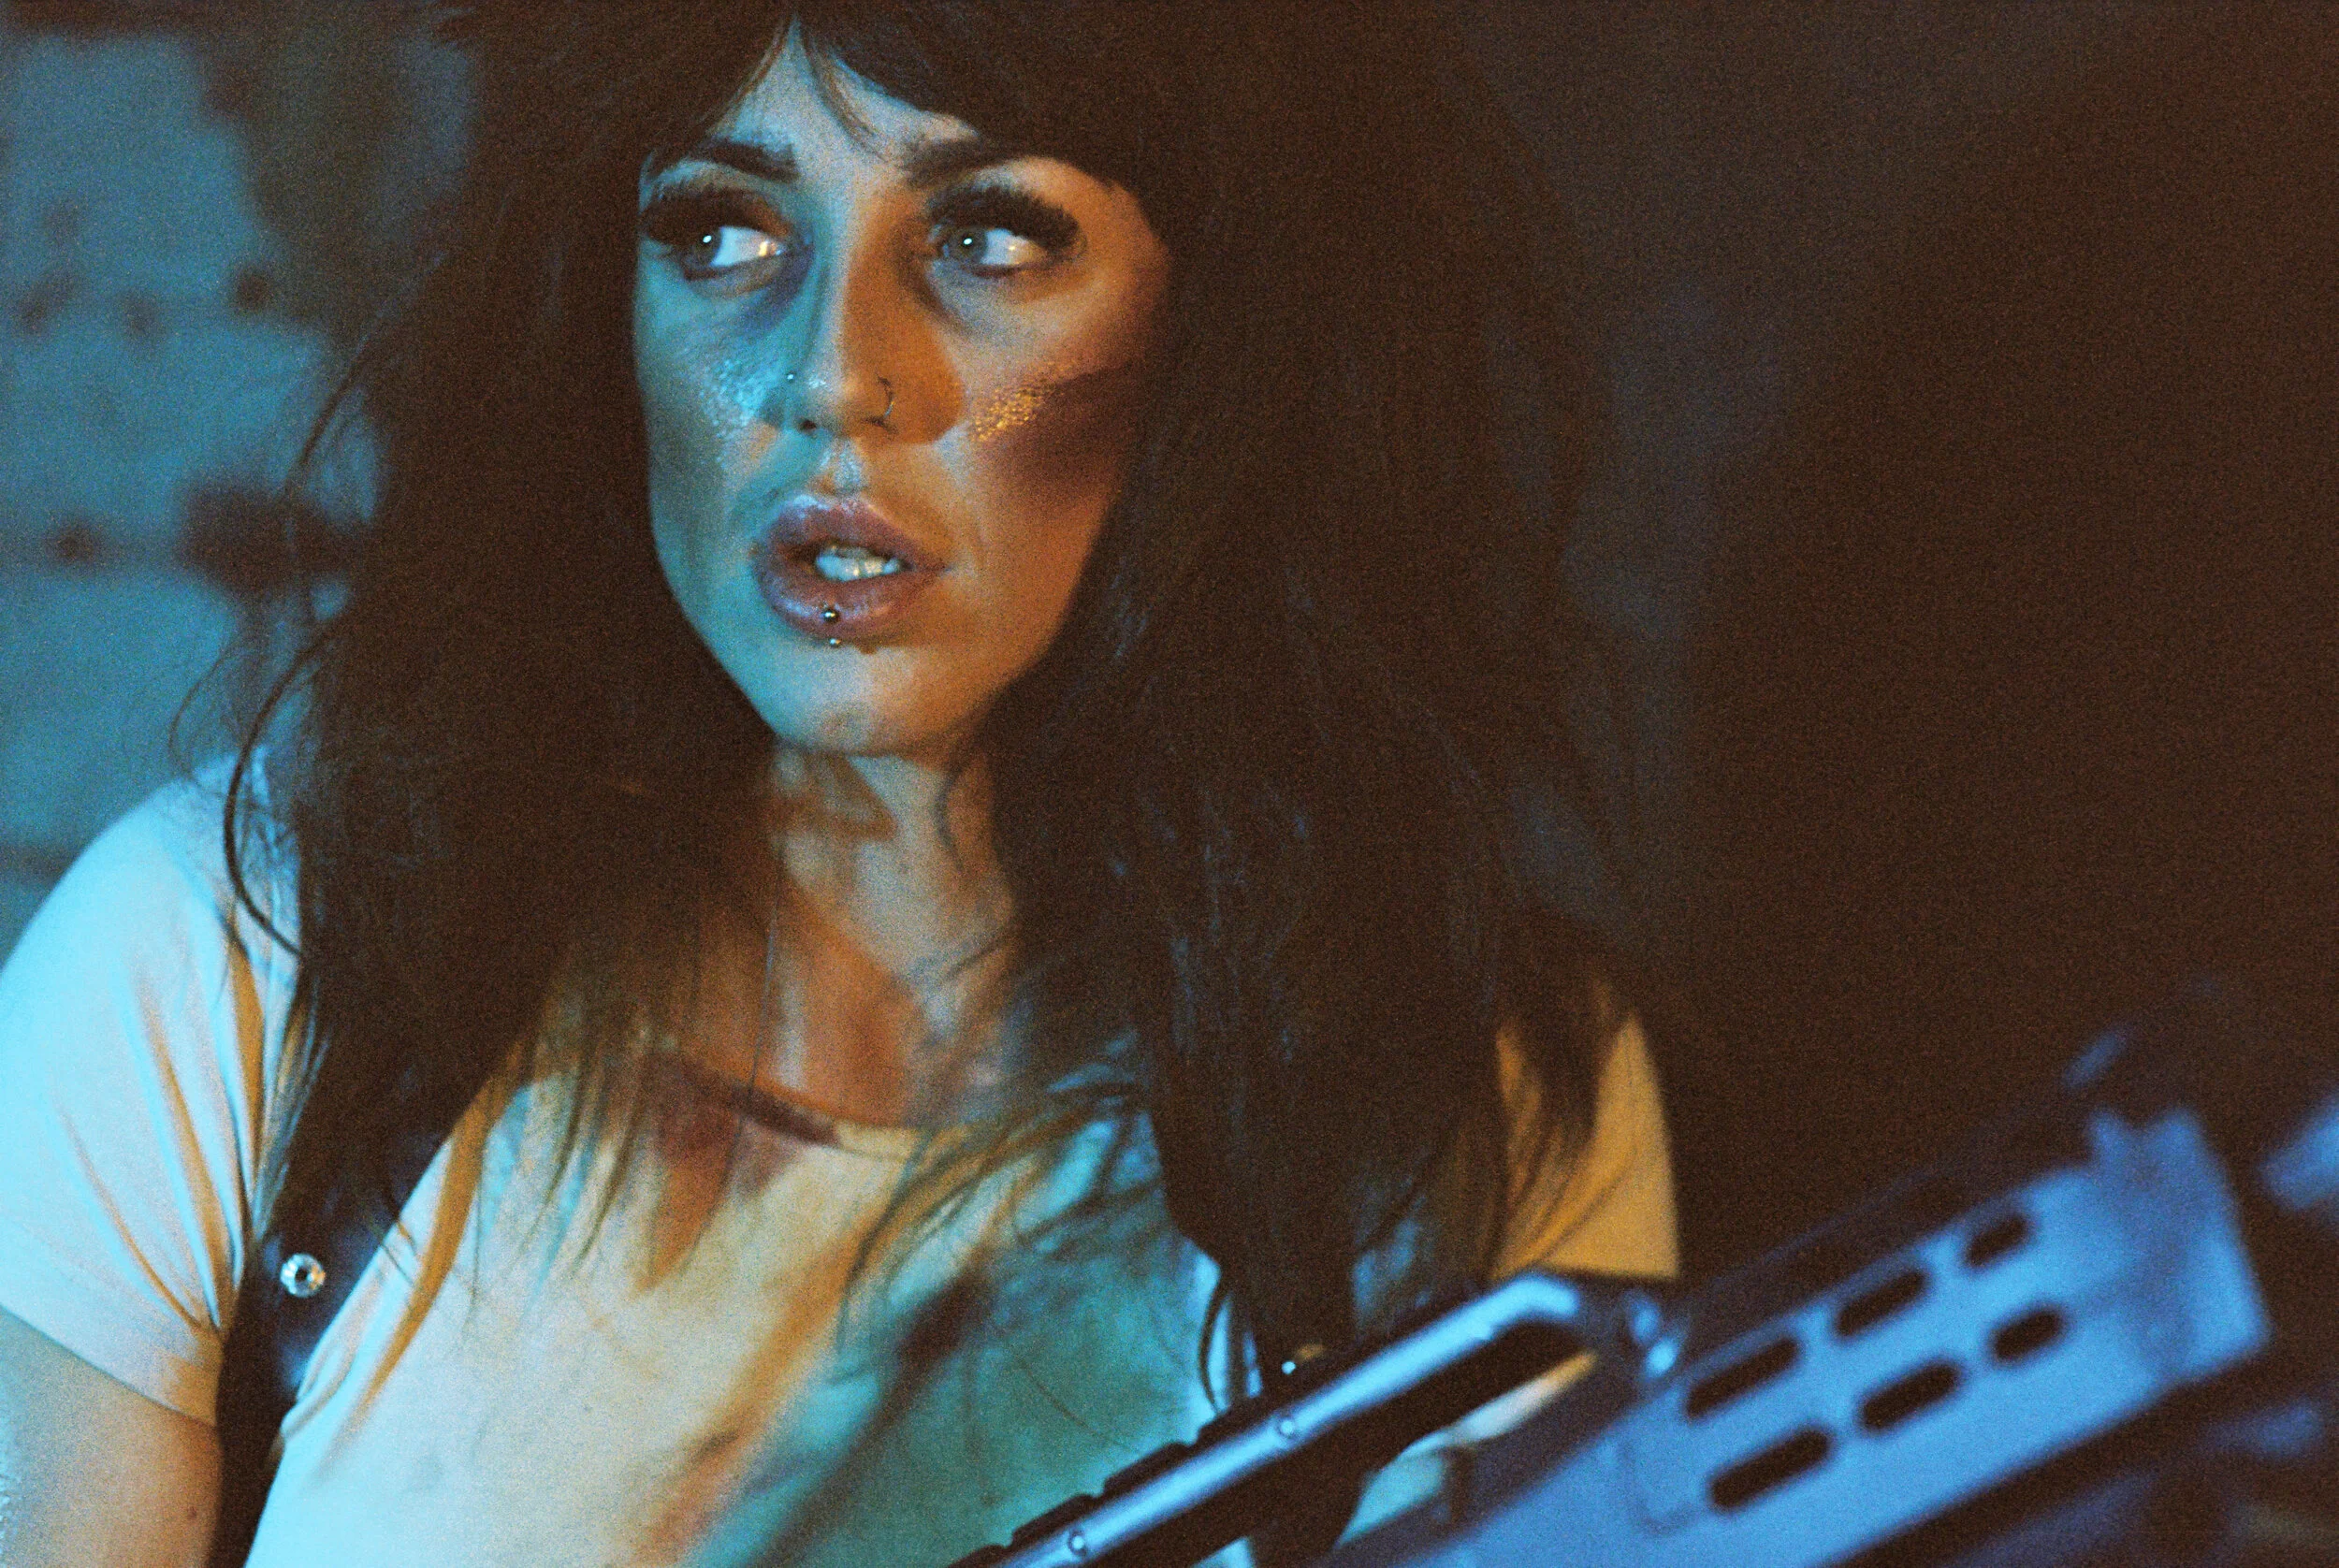
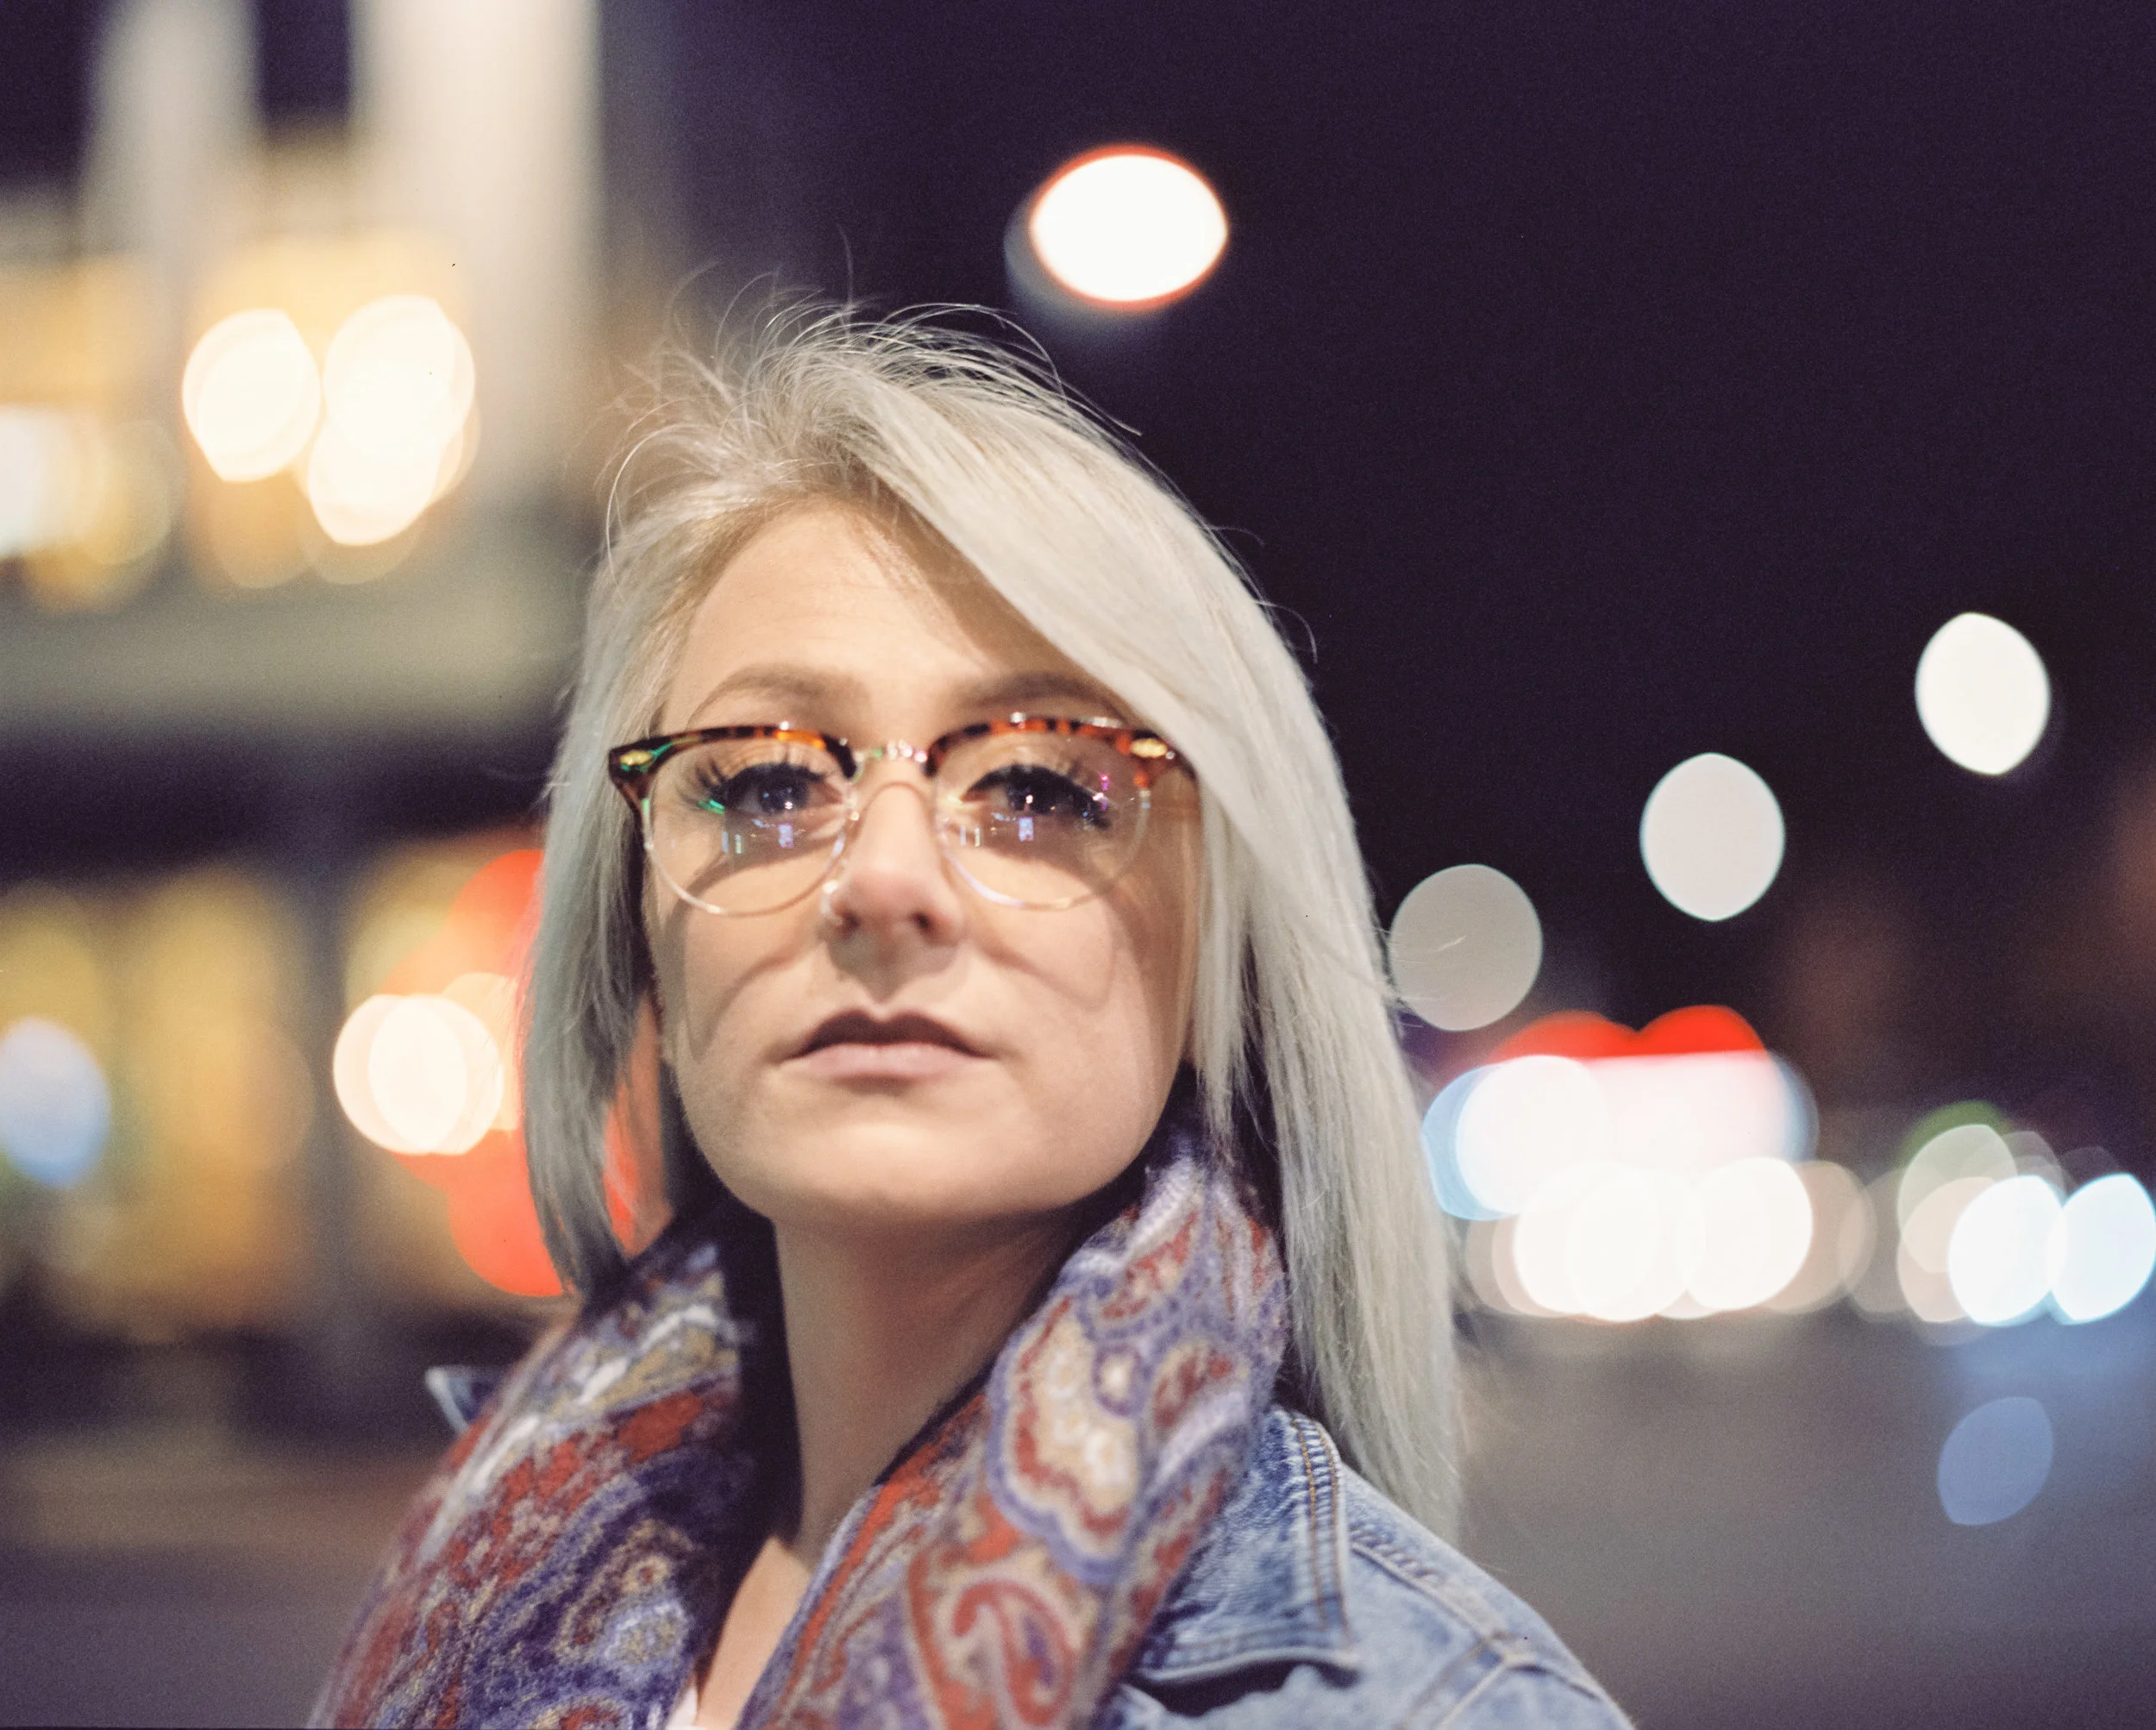
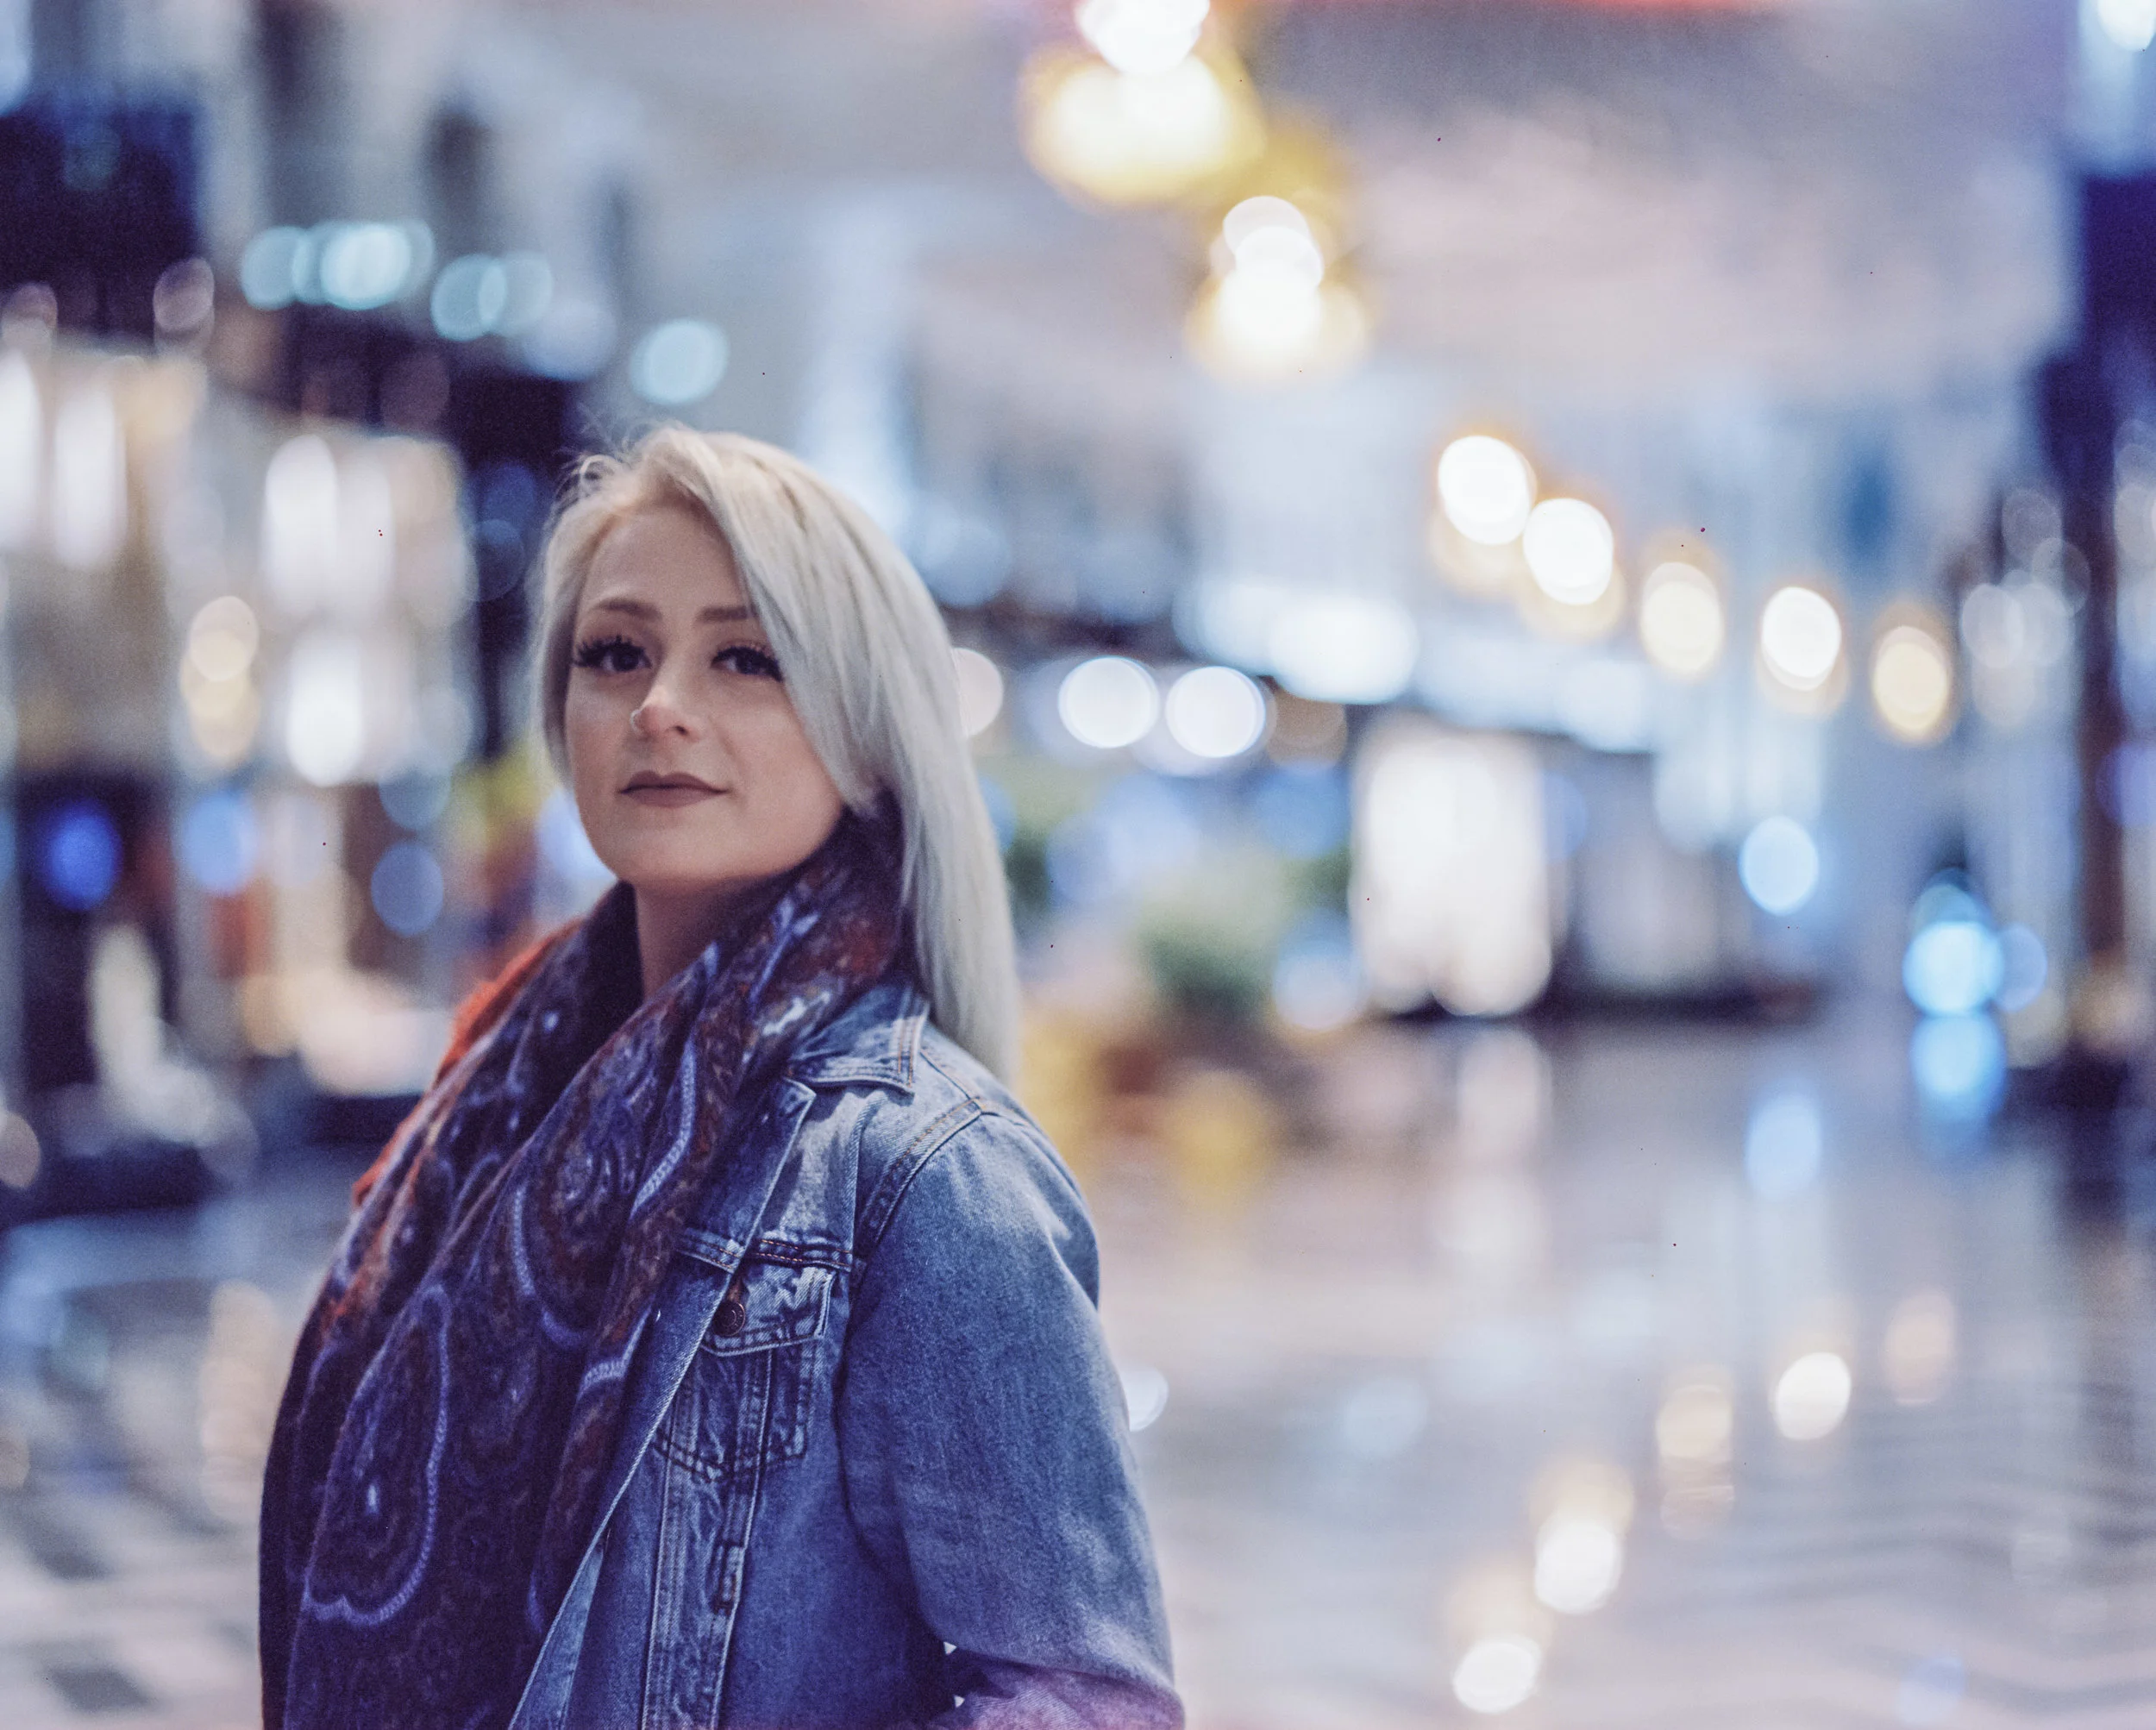
It’s almost November 2019 and that can mean only one thing: we are now living at the time that the original blade runner movie was set!! While there’s certainly no denying that at times it can feel like we’re already living in a dystopian Dark Future, as with all things the reality is often less stylistically pleasing than our celluloid fantasies would suggest – to rectify this, my latest shoot was a Dark Future/Neon Noir/Blade Runner inspired look with the very awesome Charlie Hex 

0-2.jpg

This shoot presented me with a number of new creative challenges – first and foremost amongst these was lighting. Having scouted out a suitable location (and a huge shout out at this point goes to The Arcade Club in Leeds for hosting us) I also wanted to have some control over the lighting too, but given that we were shooting in a public space and the fact that I also have two cameras to lug around I needed something fairly compact – enter the LED light pad! I then used a couple of sheets of cellophane to create my own lighting gels and voila! 

Ignore the F90X in this pic - I changed my mind at the last minute and went for the F2 instead :)

Ignore the F90X in this pic - I changed my mind at the last minute and went for the F2 instead :)

In the run up to this shoot I rewatched the original Bladerunner movie which has been a firm favourite of mine for as long as I can remember, I also re-watched the sequel Bladerunner 2049 (a film which I went to the cinema to watch when it came out and honestly thought it was a bit rubbish) what was interesting was to re-watch both movies but specifically to pay attention to the lighting and how it is used to enhance the narrative of the story – as it turned out I actually really enjoyed 2049 the second time around and one thing I took from the film as a major inspiration was the amazing colour palettes – in particular the strong use of orange lighting, obviously the creative lighting budget for both of these films far exceeds any resources I was able to throw at this project (my orange lighting gel is just two pieces of cellophane, one yellow and one red laid over each other) but as you can see here with a little thought and a cheap LED light, creative possibilities abound!

0-11-Edit.jpg

 A Dark Future inspired look has been on my wish list for a long time and I was delighted when Charlie got in touch after a casting I posted on FB. The images speak for themselves of course but it’s still worth stating that Charlie absolutely smashed it on this shoot!! I shared a few mood boards with Charlie and she came back with the makeup and outfit looks you can see in these images, this combined with her being super confident in front of camera really helped to realise the vision, a proper creative collaboration! Big thanks too to Charlie’s boyfriend Jony who did a sterling job as human light stand by holding the LED light for me :)

0-6.jpg

 During the shoot itself we were in the midst of a very busy Arcade location, mixed and changing lighting and I didn’t have chance to visit the space ahead of the shoot (something I had planned on doing) armed with my trusty light meter, Pentax 67 and Nikon F2 I felt confident I could handle things but as always with film you don’t know until you get the films developed how things really turned out.

0-19-Edit.jpg
Looks like my P67 still has a bit of an issue with the frame spacing with this accidental double exposure - fortunately in this case, I flipping love it!

Looks like my P67 still has a bit of an issue with the frame spacing with this accidental double exposure - fortunately in this case, I flipping love it!

 I was also using a brand new (to me) lens the amazing Nikkor H C 85mm 1.8 and wow has this lens blown me away!! It’s perfect for lowlight shooting – most of these images were shot around f2 or f2.8 and for the Pentax 67 I was mostly wide open at f2.4

The Nikon F2 and the amazing Nikkor H C 85mm 1.8

The Nikon F2 and the amazing Nikkor H C 85mm 1.8

As it’s turned out I think most of my fave shots are with the F2 and the 85mm lens, given the low light and relatively slow shutter speeds (all around 1/60) I am very pleased with how they came out.

Now let’s talk about film stocks -  I used Kodak Portra 400 for both 35mm and 120 formats and again, wow! I am blown away at how awesome it looks! I rated the film at 1600 and asked the lovely people at Exposure Film Lab who do all my colour developing to develop the film at 1600 (push it two stops) the results speak for themselves – colour balance is spot on and to my eye they just look RIGHT!

0-13-Edit.jpg

This is the beginning of a wider Dark Future project I’ll be exploring on future shoots mainly cos I’m a Sci Fi geek and have always loved that Neon Noir vibe ranging from Bladerunner to Akira and beyond - I Can’t wait to add some more retro futurist looks to my portfolio and to explore some more creative lighting techniques!

0-2.jpg
0-8.jpg
0-32.jpg

High Fashion in the High Peaks - Portrait Shoot with Chanel Joan Elkayam

Welcome to the latest in my series of creative collaborations which have the express purpose of helping me to grow my photography portfolio as well as grow connections, grow confidence and grow creatively - basically it’s all about growth!

0-4-Edit-Edit.jpg

On my travels through this universe I have had the pleasure of meeting some really cool, talented and interesting people - on very special occasions I sometimes have the opportunity to work with them and for that I am supremely grateful! My latest (and perhaps greatest) collaboration so far has been with the very wonderfully talented Chanel Joan Elkayam!

1DBAD21F-B29C-4207-827A-47FC93060FC2(1).JPG

The background to this shoot is that I met Chanel a few years ago when I was 2nd shooting for my friend Ruth, ever since then it has been wonderful to see how Chanel has grown into her amazing success as an Industry recognised Fashion Designer, Chanel is the youngest person to have showcased at all 4 of the major fashion shows London, Paris, New York and Milan and she achieved all of this by the age of 18 - basically she’s the real deal! As you can tell I am full of admiration for Chanel’s achievements and I can’t wait to see where her journey takes her next! you can see more of her work HERE.

For this shoot we wanted to showcase some of Chanel’s fashion designs in a natural setting, we chose Dovestones as our location in part because it’s really local for us both and also because it’s amazingly beautiful too! The weather even behaved itself and gave us lots of lovely sunlight to play with too.

C0777458-F9B7-48CD-A752-CBC307C462EA.JPG

I relied on my now favourite combination of the Pentax 67 as primary camera and Nikon F2 as a second body - this set up gives me tip top quality lenses in both medium format and 35mm and I just really like working with them both. Filmwise it was again an all Kodak affair with Portra 400 loaded in the P67 and a couple of rolls of Portra 800 and a cheeky roll of Kodak Pro image 100 for the F2.

IMG_1203.jpg

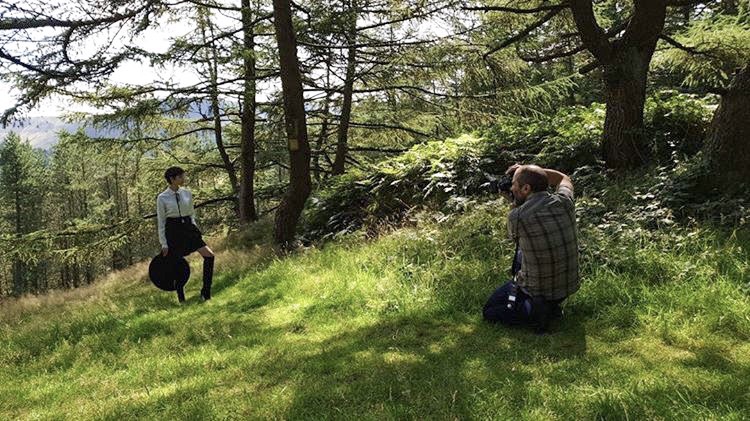
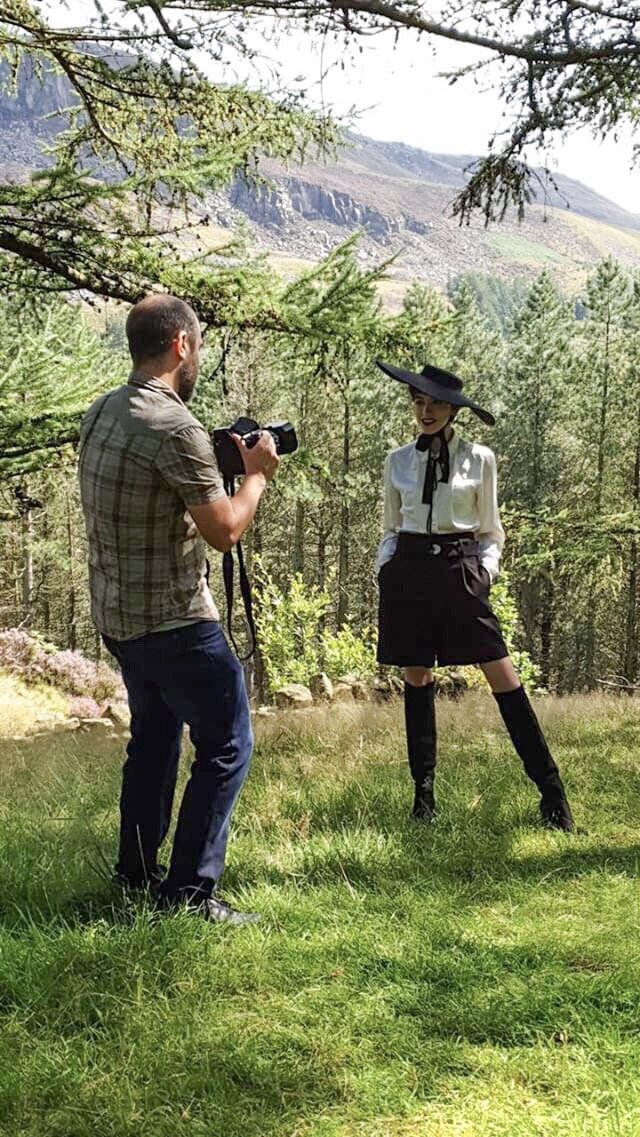
It was so much fun working with Chanel on this shoot, and also a huge thank you to Chanel’s mum too who joined us - it was really lovely to meet her and a big thank you for taking the behind the scenes photos you can see at the start of this blog too! :)

We managed to shoot 4 different looks over the course of a few hours on a sunny afternoon at Dovestones, I really feel like these are some of my best images to date and of course a major part of this is down to Chanel and her amazing designs as well as her talent in front of the lens too, Chanel was lots of fun to work with and made my job easy!

Enough talk!! Here’s some of my fave shots…

0-3.jpg
0-6-Edit.jpg
0-7-Edit.jpg
0-7-Edit-2.jpg
0-8-Edit.jpg
0-8.jpg
0-18-Edit.jpg

So there we go! We got so many great shots together!! I really enjoyed this shoot and loved working with Chanel and her amazing designs. On the technical side of things once again Portra 400 has proven itself to be utterly dependable in mixed lighting situations and every time it renders beautiful tones, contrast and colours - for this shoot I rated it all at 400. Also once again Kodak Pro Image is proving to be another wonderful addition to the line up and some of my fave 35mm shots were from this film :)

The Pentax 67 continues to astound me with the image quality it’s capable of and it’s just so flipping enjoyable to shoot with - here’s to many more creative collaborations to come!

Portraits on film - more night shooting on Cinestill 800T

I have been booking lots and lots of shoots testing out my Pentax 67 in different settings, enviornments and using different films too - it’s been a lot of fun experimenting and getting to grips (literally) with the big Pentax camera - it really is a flexible and user friendly piece of kit, I just love shooting with it and as I’ve mentioned in my review of the Pentax 67 HERE the rumours of it’s weight being a disadvantage are massively over played.

0-10.jpg
0-5.jpg
0-9.jpg
0-7-3.jpg
0-2.jpg
0-1-2.jpg
0-2-2.jpg
0-7-2.jpg
0-3.jpg
0-4.jpg
0-10-2.jpg

Kodak Pro image 100 & Portra 160 review - Portrait shoot out

Now that I have FINALLY settled on some camera kit that I’ll be keeping around for the long term I can focus my energies on exploring different film stocks - not that I wasn’t doing that anyway but I was finding flitting from one camera to the next a bit of a distraction, for the record the cameras which have won my heart are the Nikon F2 and Pentax 67 - today’s blog features a portrait shoot on the F2 shooting with a shiny new portrait lens and using two different film stocks Kodak Pro Image 100 (a new film to me) and Kodak Portra 160 (a film I have used a few times before)

Whilst the main focus of the conversation will be on looking at the two film stocks first up I’ll take a moment to show you the kit I used on this shoot, I’ll then take you through the shoot itself.

IMG_2740(1).JPG

I have just bought the very wonderful Nikkor 105mm 2.5 a lens which has a HUGE reputation as an amazing portrait lens, when i bought it the focus ring was quite stiff so I sent it off for repair to a chap called Miles Whitehead who did a great job of fixing it and it now has silky smooth focus action - I would highly recomment Miles if you have some camera kit in need of some TLC check his site out HERE. In fact as I write this I am reminded that Miles also serviced my F2 when I bought it so double thanks!! :)

I was originally going to include a few thoughts on the 105mm lens in todays blog but I loved using it so much that I think I’ll reserve that for a dedicated blog all of it’s own - suffice it to say that it’s reputation is very well earned, an amazing piece of glass!

Ideal for portrait, weddings and social events dontcha know…..

Ideal for portrait, weddings and social events dontcha know…..

I think most people will be familiar with Kodak Portra 160 which is a mainstay of Kodak’s professional line up, but what’s this Pro Image 100 all about? I’ve been shooting a lot of Portra 400 and 160 recently and whilst I love both film stocks I am always interested in trying new things and the results I’d seen from Pro Image appealed to me - the other great thing about Pro Image is the price! I got this for £25.95 for 5 rolls!

This film stock has only recently come to the UK/European market - despite being around since the mid 90’s, the stock was only sold in warmer climates.

Also worth mentioning at this point that i had my films processed and scanned by the good folks at Exposure Film Lab who I must thank again for their brilliant work, I use them for all my colour films these days because I just love the results I get from them - check them out HERE

The vibe for this shoot was a really natural summer look to make the most of the bright sunshine, we had a beautiful location filled with light, flowers, tall grass and trees - let’s GO!

First up i loaded Kodak Pro Image 100…

0-14.jpg
0-17.jpg
0-10.jpg
0-3.jpg
0-16.jpg
0-26.jpg

Ok then at this stage in the proceedings the word at the forefront in my mind is wow! The Pro Image film is just lovely :) Let’s move on to the Portra 160 which I loaded up next and we’ll do a bit of a comparsion at the end, here’s the Portra shots…

0-16.jpg
0-14.jpg
0-12.jpg
0-23.jpg
0-7.jpg
0-4.jpg

In summary then both film stocks are clearly capable of wonderfully sharp, textured images with great skin tones, colour balance, contrast and detail - I therefore love them both! They each have their own look so whilst they’re comparable I think there are some differences to take into consideration. This was never intended as a ‘one film versus the other’ contest in which we have a winner and a loser but rather an opportunity to look at how these two film stocks worked under the same conditions - to that end I simply invite you to make your own mind up which you like best - or maybe like me, you like them both?!

Here’s a few of my thoughts on each stock:

Pro Image 100 - it has a wonderful grain structure, punchy contrast and I love how it handles the greens and yellows, shadows perhaps not holding as much detail as portra, it has a classic film ‘look’

Portra 160 - minimal grain as you’d expect from portra, slightly muted colour palette although in these images it produced stronger contrast than I’d expected, Portra definitely holds on to more shadow detail and also perhaps slightly sharper.

What does all this show us then? Well they’re very close actually, much closer than I’d have thought! One aspect which does create an opportunity for comparison is the price with a five pack of Portra 160 retailing at around £35.99 and a five pack of Pro Image around £25.95 then clearly if budget is the deal breaker then Pro Image is your winner, if you absolutely must squeeze every bit of detail out of the shot then perhaps Portra is the one to choose - ultimately we’re all winners here as we in the UK now have access to the lovely Pro Image and I’ve got 4 more rolls sat waiting to go! I can’t wait to shoot it again.


Postcard from Berlin Pt1 - Travel Photography on Rollei Retro 80S

Recently I was lucky enough to spend a couple of days in Berlin! I was there working for my other job (yes that’s right I have yet to find a way to make waffling on about film photography pay for my lifestyle - yet….) I made some extra time to visit my super cool cousin in law(is cousin in law a thing)?? anyway we’re family and I was really excited to explore Berlin, I’ll just get this out of the way right now… the place is amazing!! I was struck by how laid back and chilled it was especially for a big Capital City - I mean yeah the place was buzzing but just a proper friendly vibe about it, I really loved my time spent there.

Having finished my work I hit the street armed with my trusty NIkon FE2, Nikkor 50mm f2 (a new lens) and some Rollei Retro 80S film - one of my faves film stocks and fitting to shoot the German capital on some German film :)

IMG_1972.JPG

This isn’t really a camera review type blog but I would be remiss in my duties if I didn’t spare a word or two about my kit for this expedition - so first up the camera body; the Nikon FE2. A wonderful camera, I wrote a blog about it’s older sibling the FE HERE a fine camera itself, but I have long since replaced it with the marvellous FE2. On the surface it looks like a fairly standard 1980’s era SLR but it has a trick up it’s sleeve which makes it a standout - a 1/4000 second top shutter speed :) it is very solidly built and although mine has a few scars gathered during the course of it’s life it works perfectly!

IMG_1939.JPG

Attached to the camera you can see the Nikkor 50mm f2 - as you’ll see in the images that follow this lens is very capable!! I picked it up on ebay attached to a Nikkormat FT2 which cost me £40 - I sold the FT2 for £30 so this lens basically cost me £10!! This makes it a perfect travel lens as I’m not carrying around some big expensive piece of kit - but the key here is that there is no compromise on image quality, this thing is amazing!

The 50mm f2 is also very solidly built, the focus ring is lovely and smooth and even though the lens looks like it’s been booted down the road (and probably has a few times during it’s life) it can create beautifully rendered images with great contrast. It is also an enjoyable challenge to just take a simple 50mm lens with you - no more fretting about which focal length to use, no lugging about loads of lenses which you probably wont use anyway. I enjoy the creative possibilities that working within limitations brings and choosing one lens does this effectively, anyway - enough gear talk!! (for now)

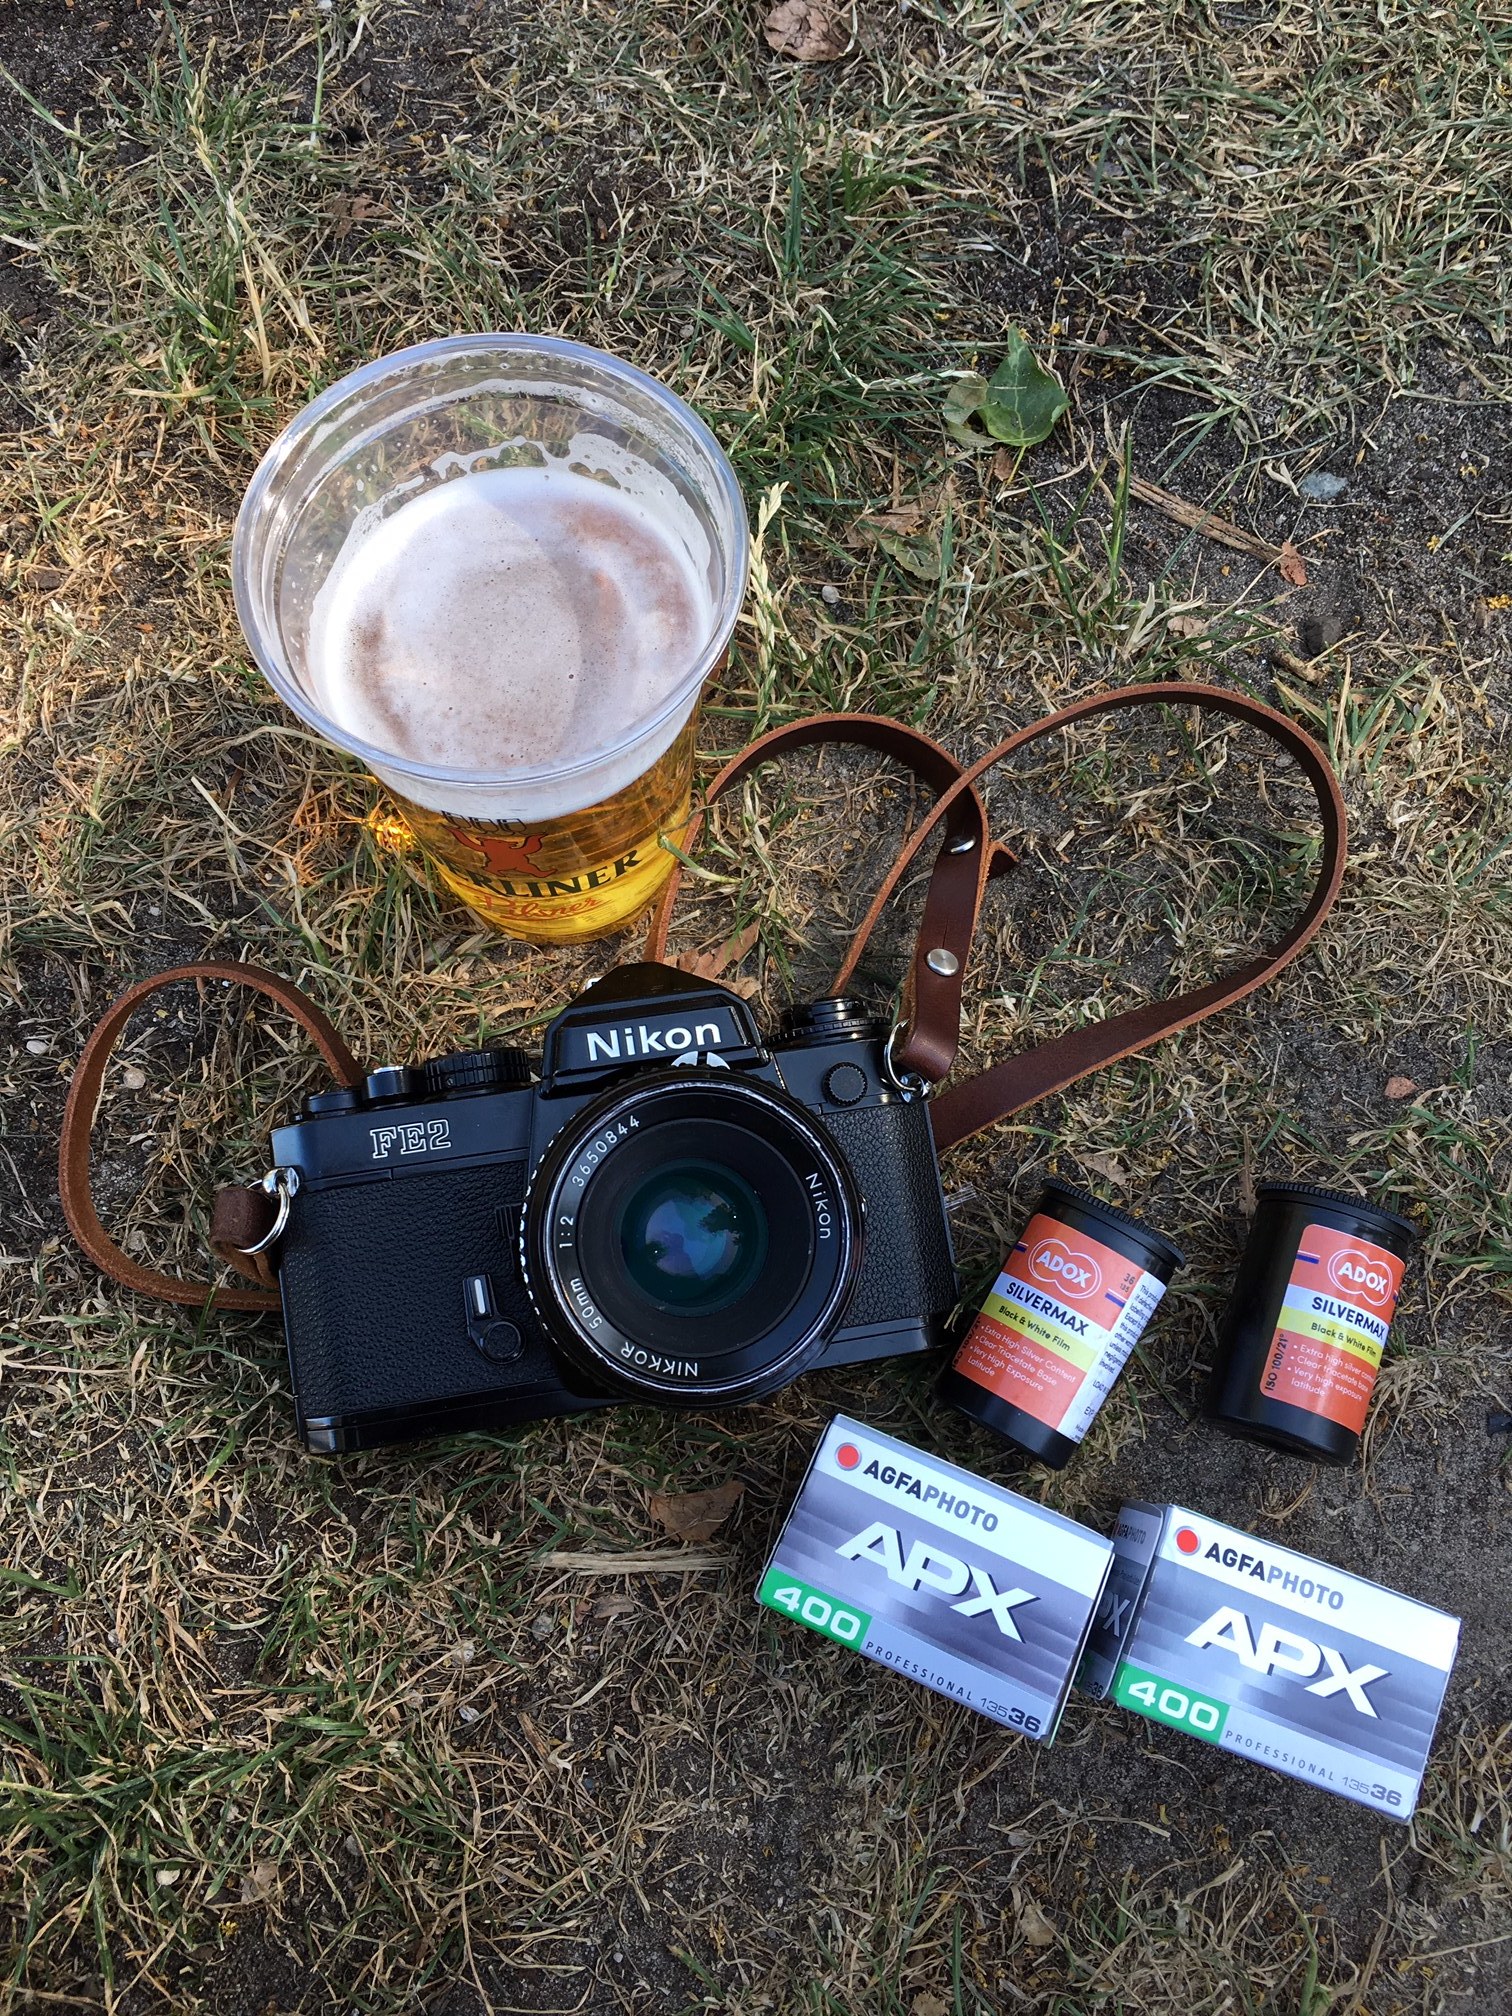
Two key things to note - Firstly you can see some Adox Silvermax and Agfa APX films pictured here that i purchased whilst in Berlin but the images that follow were shot on Rollei Retro 80S which was loaded in the camera at the time of the ‘look at me and my camera, film and booze’ lifestyle type tomfoolery and Secondly, yes the beer was a very good accompaniment to the proceedings.

So, without further ado - willkommen in Berlin!!

The images are presented in roughly chronological order of when I shot them, first up is this interesting monument in ‘Invaliden Park’ and was just round the corner from my Hotel - I’m a fan of brutalist architecture so obviously this really ticked that box for me!

img298.jpg

It was a bright, swelteringly hot day - cloudless blue sky, these sunny conditions worked well with the Rollei film which has a good deal of contrast and lovely tones.

img300.jpg

There is LOADS of graffiti in Berlin, I mean LOOOOAAADS! and stickers too! everything is either covered in graffiti or stickers - I love it!!

img301.jpg
img311.jpg
img304.jpg

Remember what I said about Graffiti? Well there’s loads of street art too! This piece really captured my attention - the building is an abandoned Art School which was either in the process of being knocked down or possibly renovated (or something in between) The building high mural makes the bold statement ‘How Long is Now’ (note no question mark) the blank face, the staring eyes - dark portals keeping watch over the machines at their work.

img306.jpg

The City is alive with the sound of construction work - cranes, diggers, the whole shebang - there was a palpable sense of ‘growth’ about the place

img314.jpg

The Berliner Dom sits right next to the River Spree, most of this side of the building was in shade but a patch of shimmering light reflected from the River illuminated the middle row of windows. And below the dome of the building - really love the contrast in these images, a combination of the light in the scene, the film and the lens all coming together!

img315.jpg

From the lofty heights of the splendid Cathedral to the minute details of human life - these are ‘love locks’ left by couples seeking to declare their undying love to the universe by placing the lock and casting the keys into the nearest water course, hence there are often to be found on or near bridges.

img316.jpg

Maybe it’s a natural impulse to give physical form to such an intangiable emotion, warding off future relationship woes by locking that loved up feeling in place, space and time… or maybe it’s just a daft tourist fad… whatever their intent, whoever and wherever they are now - I wish them well :)

img318.jpg

Neptune sits atop the fountain - again wonderful tones and dynamic range with this film, shot in mid afternoon bright sunshine but the camera meter, the film and developer all working to produce an image which captures the detail in these carved statues, the water stains rendered in white adding a layer of depth to the carved features.

img322.jpg
img323.jpg

The Alexanderplatz TV tower dominates the skyline of the City - if someone asked me to design a TV tower, it would definitely look something like this! I have no idea what purpose the huge disco ball serves (in fact we have a huge TV tower near home which seems to function perfectly well without one) but if the choice is “do you want the huge massive disco ball or not” then the answer has to be yes! Good work people of Berlin!

img324.jpg

Overhead Tram lines make for some interesting compositions…

img335.jpg

Details at street level - Rollei Retor 80S is such a lovely film, it sings in bright sunlight and can also render wonderfully contrasty tones too, the front of the image was awash with light - it made the bicylce wheel really stand out from the background which has translated onto the film as a difference of tone and contrast, the lens is showing off it’s sharpness here too.

img325.jpg

I am a sucker for leading lines, come on - who isn’t? whether it’s a run down, poster covered side street or a neo classical collonade the effect is always the same; a visual invitation… step right this way!

img326.jpg

Neo classical architecture abounds…..

img329.jpg
img330.jpg

….none more so than the Reichstag!! I wasn’t quite prepared for just how HUGE the building is! such a wonderful piece of architecture and rich in history.

img337.jpg
img333.jpg

Just visible in the background is the huge glass dome which surmounts the building (it’s a shame i didn’t have more time to go and visit properly but it gets very busy and you have to book)

img334.jpg
img338.jpg

The final stop on our mini tour of Berlin is the Brandenburg Gate - a beautiful neoclassical monument and famous landmark of the city, during my visit it was closed off in preparation for a concert so I couldn’t get a full length photo of the columns, but it prompted me to work the angles and I quite like how these compositions came out.

img341.jpg
img343.jpg
img340.jpg

The final shot from this roll of film is taken looking up as I walked alongside the Brandenburg gate; I love the gradation of light to shade on the right hand side and also the contrast of the neo classical and the clean, straight lined modern building next door.

It’s worth noting at this point that I developed the film in Kodak HC110 dilution H as per the Massive Development Chart for Rollei Retro 80S, this is one of my fave film and developer combinations especially for work in bright sunlight.

Berlin is a city with a rich history - one that it wears on it’s sleeve; it’s such an eclectic and vibrant mix which I hope I have conveyed in some small way here! This is Part 1 of my postcard from Berlin - next time I’ll share some images that I took with some film bought locally from the good people at Fotoimpex, in the meantime thanks for joining me on this trip!

Portraits on film - Night shoot with Cinestill 800T and Lomography 800 Colour

Sharing details of another portrait shoot, this is part of a major ongoing series I’ll be working on as a I rebuild my portfolio - it gives me an opportunity to share some insights on the cameras/films I’m using, the story behind the shoot itself as well as a place to share those photos which might not make it into my main portfolio.

IMG_0884.JPG

Having made the switch to full time film only and also recently adopting the very wonderful Pentax 67 as my main camera I have been keen as mustard to rebuild my portfolio, to explore the creative possibilities (and challenges) that shooting with film offers and basically have a shed load of fun along the way :) To that end I have been seeking out opportunities to collaborate with some of the very creative souls I am fortunate enough to know - hence this series of blogs! :)

This shoot was for my mate Paul who is a Music Producer under the pseudonym ‘Gamma Prime’ he’s been working on some new material and wanted a set of publicity images to help promote the new work.

The idea was to shoot at night and make use of available artificial lighting to add some creativity to the portraits, this assignment called for some special film stocks - Cinestill 800T and Lomography 800 and I also used a roll of Kodak Portra 400 too. I’ll give you a bit of an overview of these film stocks along the way and some thoughts on their particular qualities in use. I hadn’t used either the Cinestill of Lomo films before so I was excited to try them out - Cinestill is an expensive option and Lomo is more of a budget offering so we’ll see how they stacked up against each other.

First thing to consider when shooting in low light/night time is to take account of sunset! Golden hour light is there for the taking either side of the actual sunset so before I broke out the Cinestill and Lomo films I used a roll of Kodak Portra 400 to snag some of that golden hour light.

Kodak Portra 400

0-4.jpg
0-10.jpg

Shooting with the Pentax 67 you only get 10 frames per roll of film so you really have to make each frame count! As the light fell I loaded the roll of Lomography 800 and since we were still in golden hour I used the first few frames here. At this point it’s worth stating that in a stand up contest Portra 400 vs Lomo 800 there’s really not a huge amount in it, they’re both great films although I think Portra has the edge - crisp grain structure as you’d expect from portra and shadows hold up well with lots of detail. That being said the Lomo film is no slouch and it has a very definite character and feel all it’s own.

Lomography 800

0-2-2.jpg
0-4-2.jpg

We drove into town for the night shots and took a walk through the University Campus to take advantage of the artificial lighting and interesting architectural features. These first couple of frames are still on Lomo 800 and I really like how they came out - a very definite grain charachter which I like very much, shadows don’t hang on to too much detail but in this artificial lighting I think it adds to the effect.

Lomography 800

0-6.jpg
0-2-4.jpg

The images below are all shot on Cinestill 800T - this film stock is repackaged motion picture film, the stuff they use to make Hollywood movies! I was very excited to try it out and it did not dissapoint! the letter ‘T’ in it’s name designates that it’s a Tungsten balanced film so it was designed to be shot under artificial lighting - as you can see the tonality and detail are really great here.

Cinestill 800T

0-2-3.jpg
Note my iphone acting as a fill light here! Focussing was getting a little difficult as it got darker so this helped - I’m thinking of getting a little LED light to help in future

Note my iphone acting as a fill light here! Focussing was getting a little difficult as it got darker so this helped - I’m thinking of getting a little LED light to help in future

0-4-3.jpg
0-8-2.jpg

Cinestill 800T has been processed to remove the Anti Halation layer which in some conditions gives lighting a strange glow, it also appears quite prone to light leaks as you can see on the left side of the above image - although in this case I kind of like the effect!

This shoot was planned as a portrait shoot for a friend to create some promotional images for his work as a Music Prodcuer - you can check out Paul’s music HERE :)

I hadn’t planned to compare and contrast these film stocks but the differences between the final images and the way I shot them presented the opportunity to reflect on the different charachters of each stock, overall I like all of these films and very happy with how they came out - here’s my thoughts on each in turn:

Portra 400 - what is there to say about this film which hasn’t been said already? It’s a classic for a reason and is one of my firm faves - clean grain, great details and rich colours. I’m tempted to explore how flexible this film stock is maybe pushing it to 800 and beyond in lower light to see how it coped. Portra is my go to film, a quality product capable of wonderful results.

Lomo 800 - this was a bit of a wildcard choice and it’s a very solid performer, espeically when you consider the price for a pack of three rolls of 120 is about £18. I shot it in good light and in low light in both situations it doesn’t hold up shadow detail as well as the other two stocks but this shouldn’t put you off, the grain structure is more prominent than either Kodak or Cinestill but this is also not bad news - it gives the film a look all it’s own which is good.

Cinestill 800T - this film blows me away - I love the colours, contrast and tones but more importantly for these shots it’s how the film handles shadows with details holding up really clearly even in very low light, it’s expensive stuff that’s for sure but it’s definitely worth a shot in the right conditions. It’s proneness to light leaking could be annoying if you have ‘THE’ killer shot and some random leaks could spoil your hard work - on the other hand it could just add something to the image!

It’s worth stating at this point that I was really pleased with how the Pentax 67 worked on this shoot, I was able to achieve useable images down to 1/30 of a second in low light which pleases me very much! The 105mm 2.4 lens continues to impress me with it’s ability to create 3D like images with pristime sharpness and beautiful bokeh too.

I have some more creative portrait shoots lining up over the next few months so I’ll be continuing the portraits shot on film series and looking forward to exploring more wonderful film stocks!

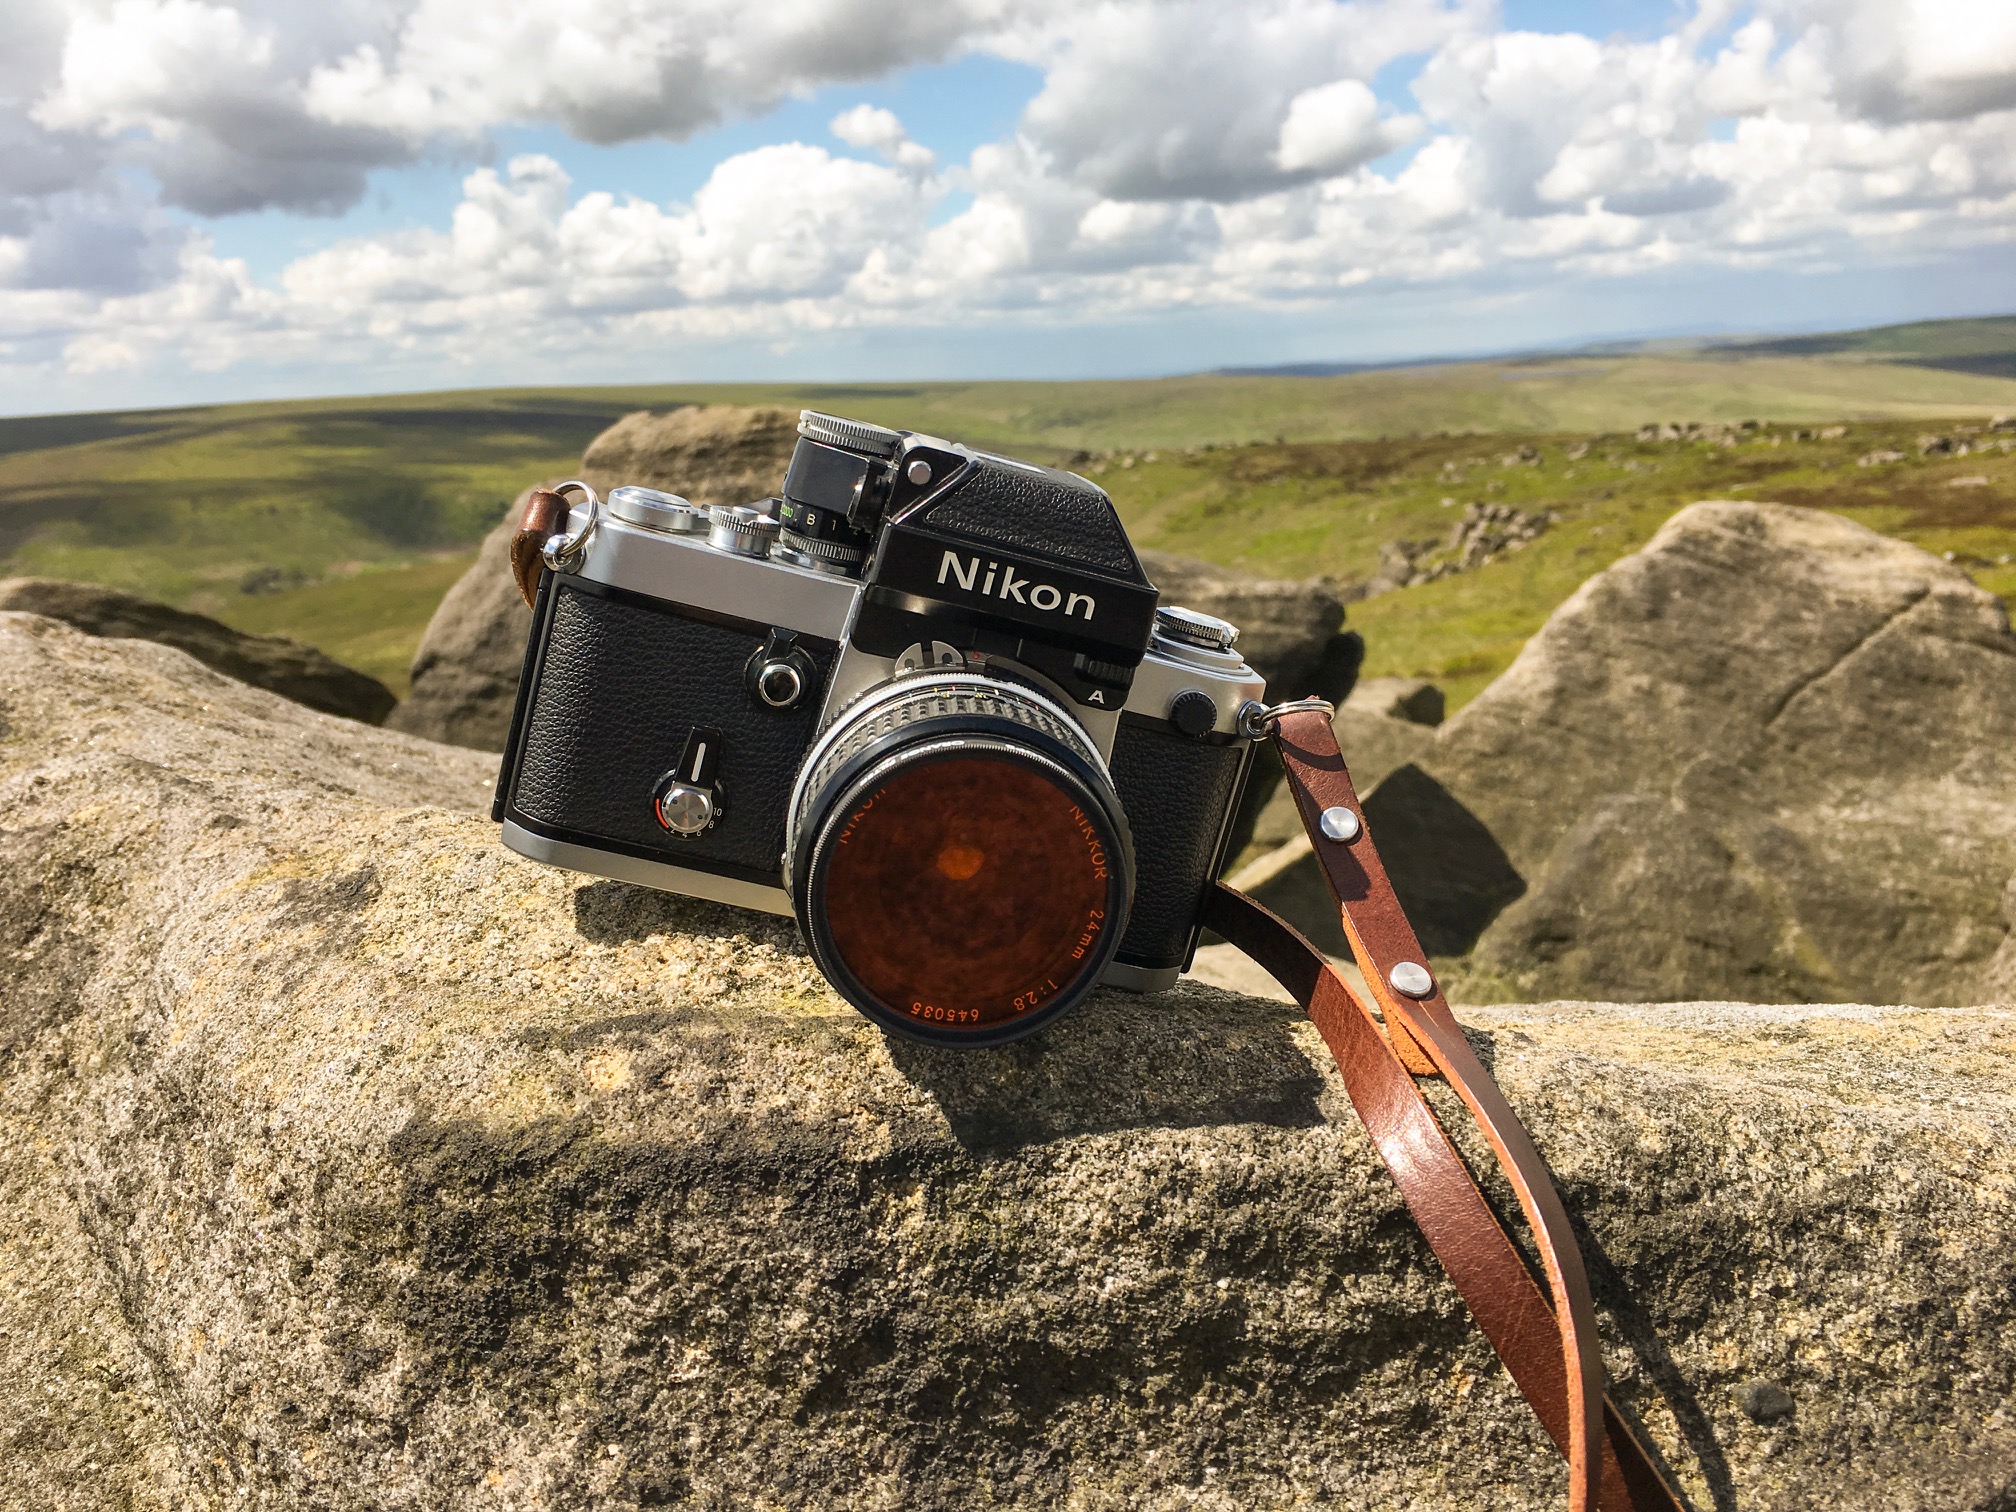
Nikon F2 review

IMG_1510.JPG

Having owned the F2 for 6 months now I can confidently say it has become a firm favourite (yes I know i say that about all my cameras)! The F2 has a big reputation for being a seriously kick ass camera and I can heartily confirm that this reputation is well deserved! The Nikon F2 is an absolute joy to shoot with - I’ve used it on portrait shoots, taken it hiking and shot landscapes with it, used it for street photography and candid portraits of my little boy running about and playing at home - in every situation the F2 is the right tool for the job.

Often when we think of professional spec cameras we assume that these are complex esoteric beasts which require some form of initiation rite to operate and only the enlightened few can master it - and while that may ring true in some cases, not so for the F2! It is a VERY simple camera with an intuitive set of controls laid out in a such a way that it allows the F2 to do what all great cameras do - it gets out of your way and allows you to concentrate on your subject, lovely.

IMG_1516.JPG

I’ve already introduced you to the F2 on this blog HERE but it’s such a great camera that I feel it deserves it’s very own blog review! I’ll give a run through of the features and operations of the camera and then we’ll get down to the business of sharing photos taken with it on various shoots and thoughts on using the F2 in practice.

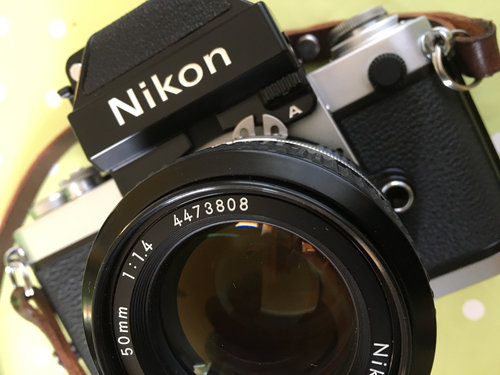
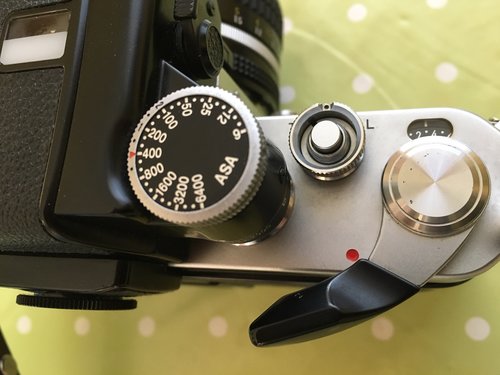
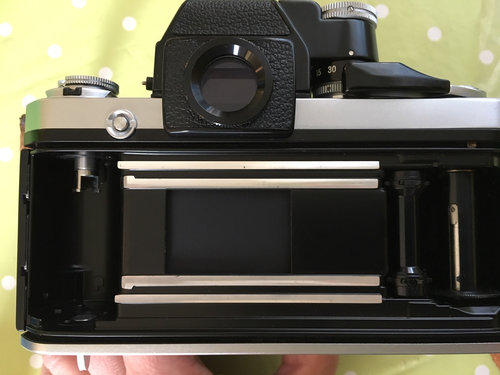
The F2 is a modular design and when it was originally released back in 1971 it was a major selling feature that you could choose from a range of different focussing screens, in later years different prism heads were released which were interchangeable with any F2 body made at any time during it’s production run - this allowed you to decide on which kind of metering system (or no meter at all) worked best for you/a particular situation - my F2 is an F2A which means that it has a metered prism head that uses a needle meter readout, I much prefer this form of read over LED’s but if you like an LED readout then you can check out the F2AS head, or if you don’t want a meter at all you can get a plain prism - lovely! These days the interchangeable nature of the F2 is probably less of a selling point although it will be nice to experiment with some alternative viewfinders at some point in the future.

IMG_1517.JPG

OK so we get it, its a nice camera - so what? how’s it different to all the other bloody cameras you have…. great question! I’m glad you asked! let me explain:

Form factor: it’s a big camera! bigger than your standard 35mm camera, I like this! fits in my hand comfortably, the F2 is perhaps the most ergonomic camera I have had the pleasure to shoot with so far!

100% viewfinder: What you see is what you get! the viewfinder shows the whole of the frame (not always a given on some cameras) it’s big, it’s bright, it’s beautiful!

Mechanical: The body requires no batteries to operate, it’s powered by springs and gears - I like this very much! (obviously the meter needs a battery)

Build quality: The F2 was hand built to a very high specification for professional shooters, in an age when things were built to last, its like a Swiss watch that you can also use as a hammer from to time (or just maybe, make photographs with it)!

Looks: yes I am shallow enough for this to be a ‘thing’ in my choice of camera, but flipping heck look at it! Industrial Design at it’s finest - an exercise in form following function if ever there was one.

IMG_1512.JPG

I enjoy shooting with the F2 so much and I am such a big fan of the amazing Nikkor lenses that I’ve decided to concentrate my 35mm kit around two Nikon F2’s (I just bought a second one) and an FE2 which I already own (and who knows what other Nikon F mount bodies I’ll take a shine to in future) in part because these are simply amazing pieces of equipment and also because running several different lines of camera (Olympus, Pentax, Canon and Nikon) at the same time gets a bit expensive!

I’d much rather own several bodies which can all utilise the same lenses - giving me more capacity to get some killer glass and shoot it across any camera body that takes my fance. Obviously for Medium Format shenanigans the indomnitable Pentax 67 will be a fixed feature and for just the sheer lunacy of it a Holga 120N is also firmly on my ‘keeper’ list of cameras!

I want to share some of the images I’ve taken with the F2, to date I’ve used it on several portrait shoots and also a few hikes into the wilderness to shoot landscapes, I’ll start with some of the portrait images which I took on a shoot with my friend Arya Ravenswood you can see the full shoot HERE these were all shot on Portra 400 on the F2 with the Nikkor 50mm 1.4 AI lens.

35mm  (50).jpg
0-10-3.jpg
0-10-2.jpg
0-37.jpg

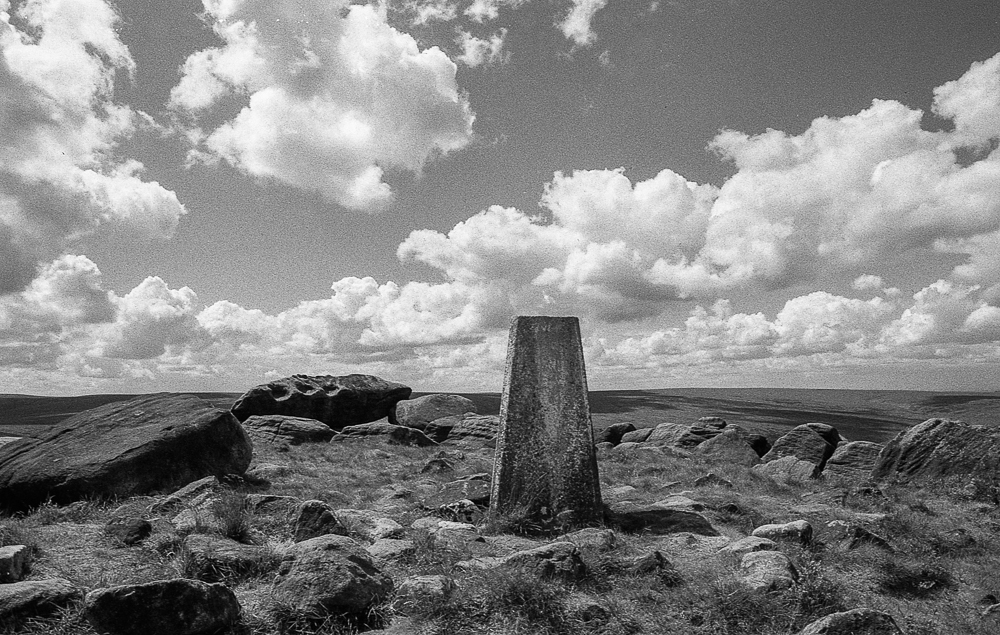
And now a few images from out and about in the moors around my home, the following images were taken on the same day at two different locations - first three are from Dovestones Reservoir and the rest are from West Nab, all shot on Fomapan 200 on the F2 with the Nikkor 24mm 2.8 AI lens and an orange filter (the observant will notice this is also the same time that I took the header shots for this blog - planning ahead you see, I don’t just throw these things together you know)!

img216.jpg
img207.jpg
img215.jpg
img194.jpg
img191.jpg
img189.jpg

So there we have it - another blog during which I heap praise upon a particular camera, stating something like ‘so this is the only camera I’ll ever need’ or whatever, clearly I’ve established that I am prone to bouts of enthusiasm when it comes to this kind of thing but this time it’s different… as a result of how much I enjoy working with the F2 I’ve sold off pretty much all my other cameras now, I‘m a photographer not a collector so my ultimate aim here is to shoot not to have loads of cameras just sitting on the shelf - the F2 is a shooters camera, a pro series camera from a time when being a pro photographer was a badge of honour. I make no claims to that badge myself and certainly just owning a decent camera will not make you a better photographer, but owning something as well made with such attention to detail and design is a joy in and of itself - to use it as intended to create work that you are proud of is a whole other level of joy. I can’t guarantee that I won’t buy some other random cameras in future but what i can say is that for me the F2 is the ultimate 35mm film camera.

Portrait shoot with Arya Ravenswood

I recently had the pleasure of working with my friend Arya Ravenswood who is a practicsing Occult Magician & Witch. Arya wanted to create a fresh set of images to use on her website and Social Media (the occult is a very 21st Century operation ya know) and I was thrilled to be asked to help Arya realise her creative vision!

A huge thank you to Arya for the opportunity to collaborate on these images, check out Arya’s website HERE and also a Periscope TV channel HERE Arya has a real gift - go visit her website and find out for yourselves!

0-9.jpg

Since I am in the process of rebuilding my portfolio it was a great opportunity to put my new Pentax 67 through it’s paces on this shoot. To mix things up a bit I also used my Nikon F2 as a second shooter, filmwise on both 35mm and 120 formats this was an all Kodak Portra 400 affair mainly to give a consistent look and feel to the images so that they can hang together as a set and also because I bloody love the stuff!

IMG_1202.jpg

Working with Arya was amazing, she created two really strong (and of course very Witchy/Occult inspired) looks for us to shoot, we chose two locations (one for each look) and got to it - here’s the first look shot in a local graveyard.

graveard (10).jpg
35mm  (6).jpg
0-10.jpg
0-8.jpg
35mm  (57).jpg
0-3.jpg

We didn’t scout the locations beforehand so it was very much a case of paying attention to our surroundings and allowing ourselves to be drawn towards particular details and working with them; having explored one graveyard we moved on to a second just across the valley. As i reflect on these images now I am reminded of the beautiful surroundings, the palpable stillness, the lush green of the grass and moss covered graves contrasting with Arya’s monochrome outfit, the Occult and Christian symbolism, life and death - as above so below….

woods (11) PICK.jpg

Our second look for the day was an opportunity tor Arya to channel her inner Stevie Nicks with a more bohemian, naturalistic look replete with lace, jewelry, bangles, occult symbols and also incorporating the tools of Arya’s trade - a bronze knife, a crystal ball, a chalice and cauldron. We chose some local woods for this look emphasising the natural elements and giving us a new setting to explore this side of Arya’s persona.

0-10-3.jpg
35mm  (11).jpg
0-2-2.jpg
0-4.jpg
0-10-3.jpg
0-10-2.jpg

This second set of images is certainly more expressive than the first and the wooded location was the perfect backdrop - walking through the trees we came upon a rocky outcrop which provided the setting for our shoot being set back from the main path and out of view of inquisitive dog walkers and their dogs! (I’ve never seen people skidaddle so quickly upon hearing that we’re doing a ‘Witchy’ shoot)! ;)

The combination of the Pentax 67 and Nikon F2 worked great for me - the Pentax is capable of some uniquely stunning images with a very distinctive, almost 3D look which I love, the F2 is no slouch either and some of my favourite images from the whole shoot came from the 35mm camera, I think this will be my default combination of cameras for the foreseeable future.

There were so many images to choose from on this shoot! It was great to work with Arya to create these images and full credit goes to her for styling the shoot, she did an amazing job on the day too and as a result we made some powerful images together, I think this is some of my best portrait work to date (if i do say so myself) I wish Arya every success in her Macgickal endeavours!

35mm  (50).jpg

Pentax 67 review

Ever since I first picked up a film camera and got slowly drawn deeper into the wonderful world of film, I’d heard tell of a mythical monstrous machine called the Pentax 67, today dear friends I am happy to report that my long held dream of owning such a mechanical marvel is realised - behold! the behemoth!!

IMG_0533.JPG

So… another new camera eh? yes dear friends - let me take a moment to explain… I’ve sold all my Digital camera equipment!! I’m officially now full time film only! regular visitors to the website will have noticed a different look/format - no more commercial/events/wedding pages, in fact I’ve completely re-imagined my photographic practice so that it’s more in line with my passions and interests and one thing that i had realised for some time was that my digital gear only ever saw the light of day for commercial/events work - having decided to forgo that area of work my digital kit was effetively rendered redundant - i loved my Canon 6D, it served me very well in the 33,000 ish clicks that i made with it.

Having decided on this course of action and sold off all my digital kit and studio lights i was in the market for a suitable main battle camera to replace my 6D and of course in a very short space of time my attention rested upon the Pentax 67!

IMG_1266.jpg

I’ve spent the last couple of weeks putting the Pentax 67 through it’s paces,adding a few more lenses and accessories to the set up, just generally getting to grips with it and starting a complete overhaul of my portfolio with the resulting images, let’s take her out for a spin and I’ll show you around….

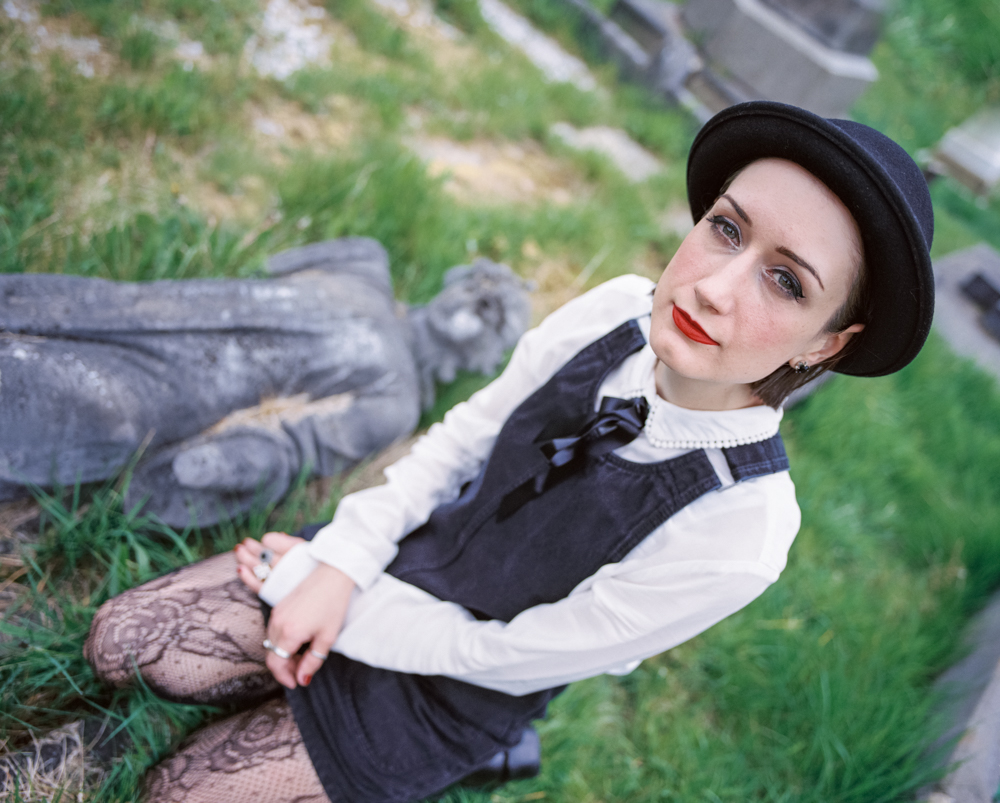
A BIG part of the draw towards this camera was this lens - the Super Multi Coated Takumar 105mm 2.4 - it is properly LEGENDARY!! able to simultaneously render dream like out of focus areas alongside super sharp and crisp details, giving a wonderfully 3D effect - it’s my favourite lens ever, ever, ever! Here are three of my fave portraits shot with it so far :)

The 105mm fulfills the ‘standard’ focal length on 6X7 format giving an equivalent field of view to a 58mm lens on standard 35mm format, what’s even better is that thanks to a cheap adapter I can also use this amazing lens on my other Pentax medium format camera the Pentax 645 (see review of that camera HERE) when used in this way thanks to the smaller negative size of the 645 it works as an 85mm portrait lens :)

Anyway back to the Pentax 67 - in use it’s actucally a very simple and surprisingly ergonomic experience for such a large camera, as usual the internet is rife with ill judged, misinformed claptrap perpetuated by people who’ve never even held the camera - first and foremost being the “you can’t shoot it handheld” to which i say (insert swear word of choice) I’ve had sharp results hand holding this beast consistently at 1/60 of a second with no problem at all and with a bit more care and attention 1/30 is totally doable too, the mass of the camera is such that any mirror slap is soaked up by the sheer weight of the camera body, plus most of the vibrations/noise comes from the mirror returning to it’s start position i.e. after the shutter has closed and the frame has been exposed so total myth about handholding.

IMG_0884.JPG

My version of the Pentax 67 is the thrid version and dates from about 1989 - 1994 (I have no idea how to specifically date the camera by it’s serial number) and to my mind is the best version; earlier models had some mechanical issues present within them from the outset and of course are also much older, there is also a later model the 67ii which is the pinnacle of the range but… it’s EXPENSIVE! and really the only thing it adds is a built in grip (I don’t need this) and an aperture priority mode (I don’t need that either)! so if you’re looking for one of these cameras then go for one that says ‘67’ on the front of the body (earlier models have 6x7 written on the front)

It’s a modular system which means that you can change the prism finder to a wasit level if you like or a metered/non metered head - mine came with a metered head. looking through the prism the finder is about 90% of the actual image which is a bit of a shame but i guess having a 100% finder on a camera this big would have rendered it too unwieldy, it’s not the brightest viewfinder in the world but it’s good and pops into focus well, remove the prism and the focussing screen is HUGE and wonderful!!

let’s get this out of the way… it’s heavy… no denying that, you’ll notice that you have this camera slung over your shoulder!! it’s also big, no getting away from it - although considering the format of negative you’re working with it’s actually smaller than other 6x7 cameras, I really like the straight forward SLR format too - this makes it very easy to transition from your 35mm manual SLR camera and just start shooting straight away.

My latest fave camera combo - the P67 alongside the lovely Nikon F2 a perfect match

My latest fave camera combo - the P67 alongside the lovely Nikon F2 a perfect match

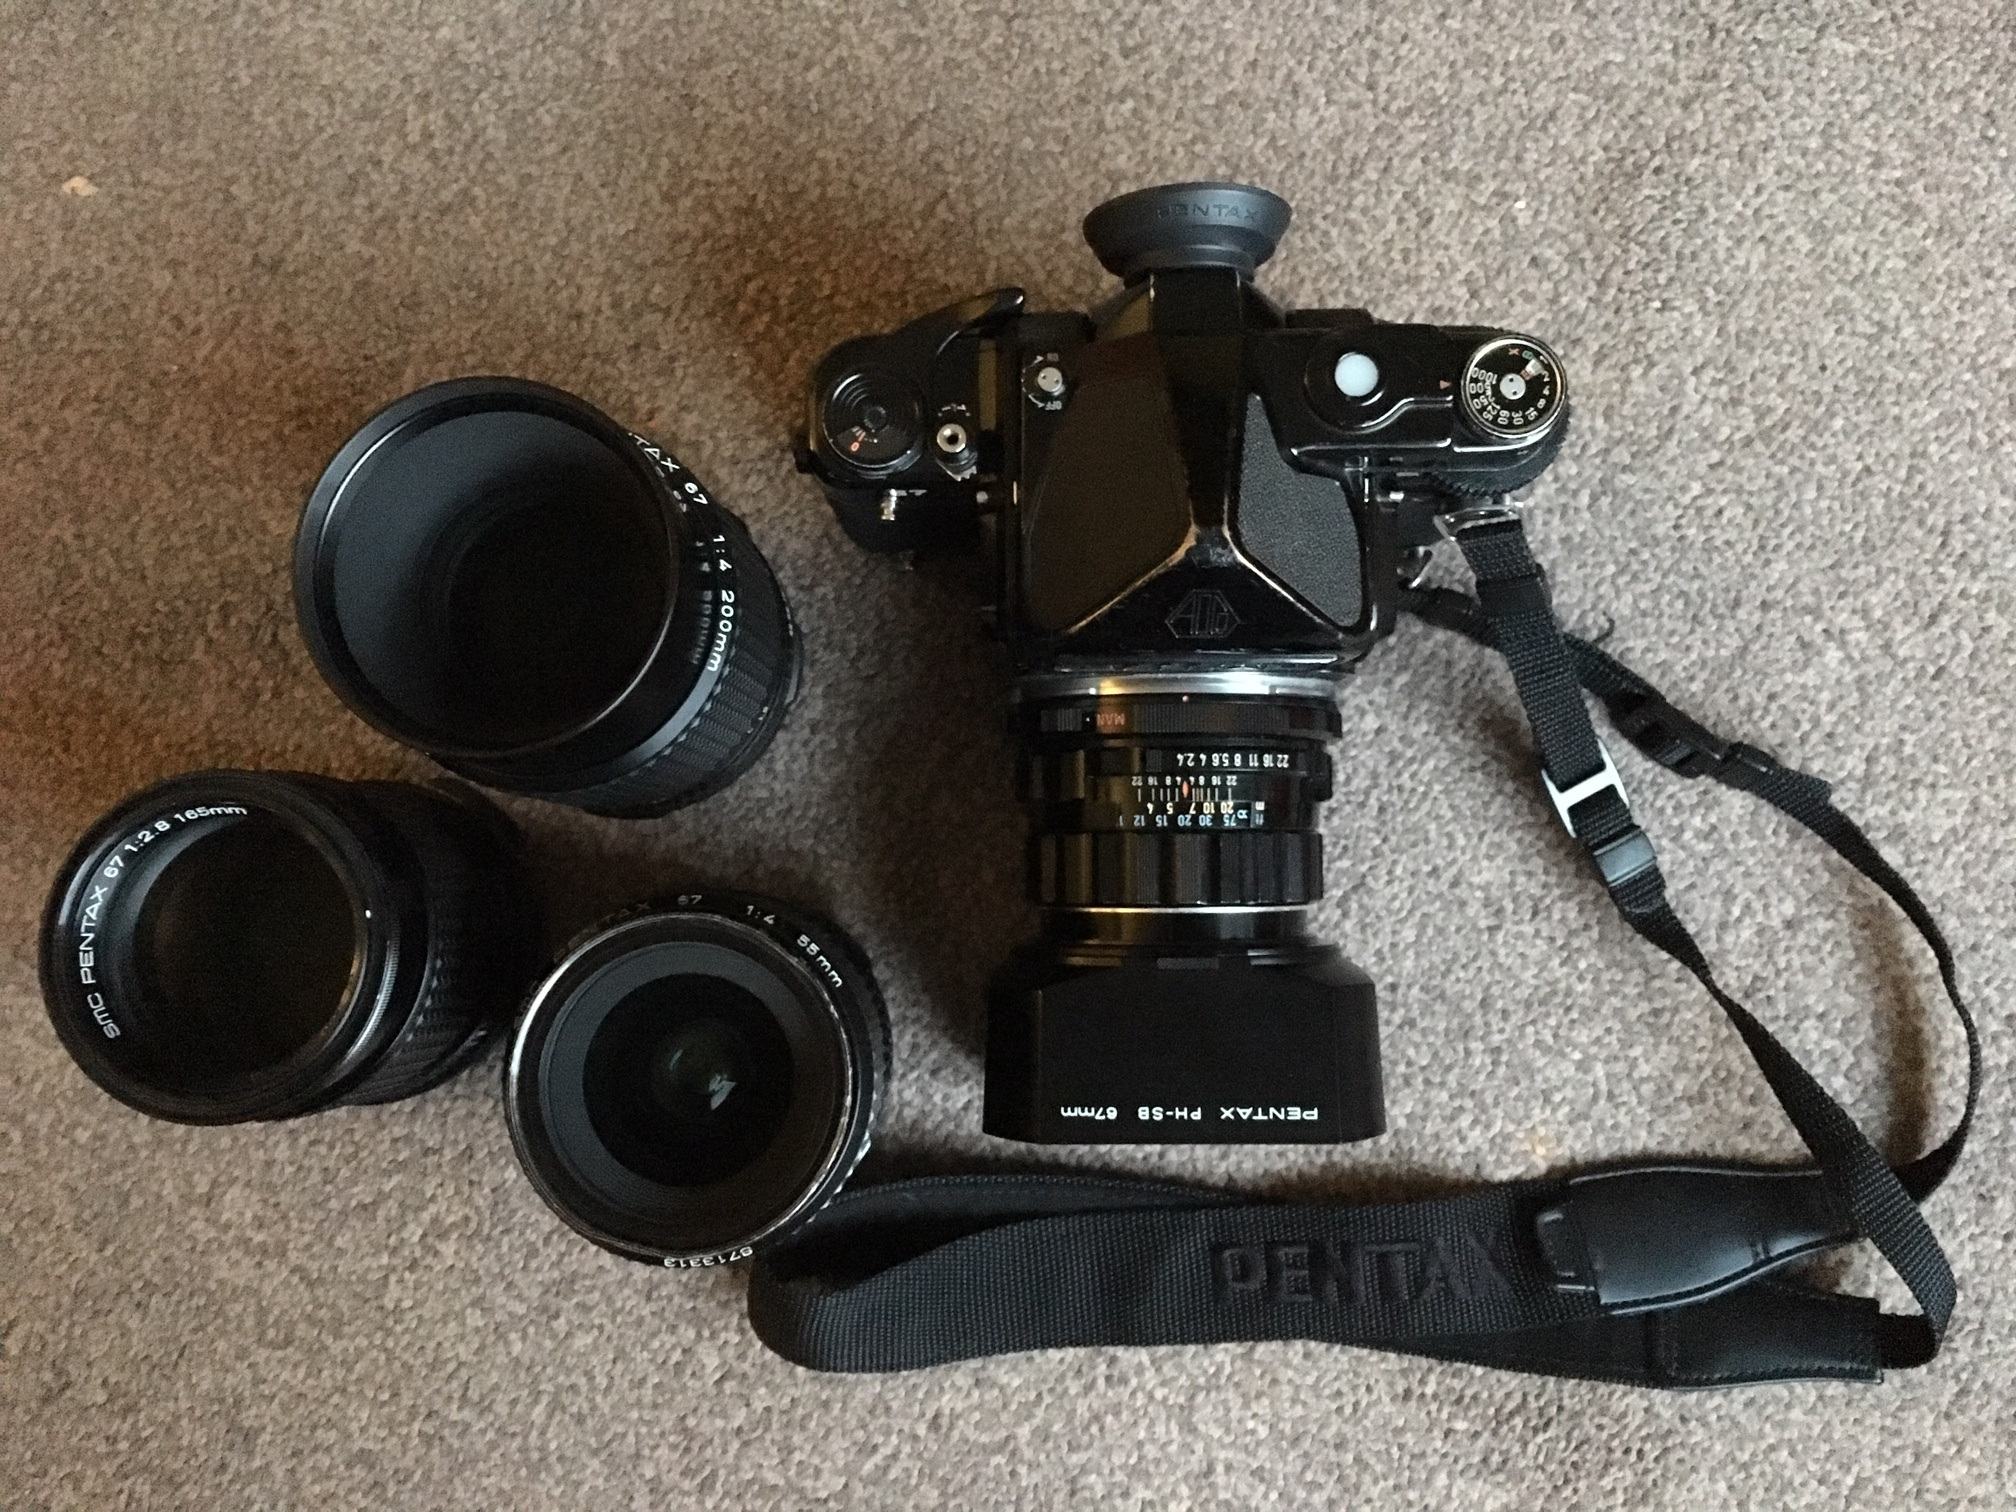
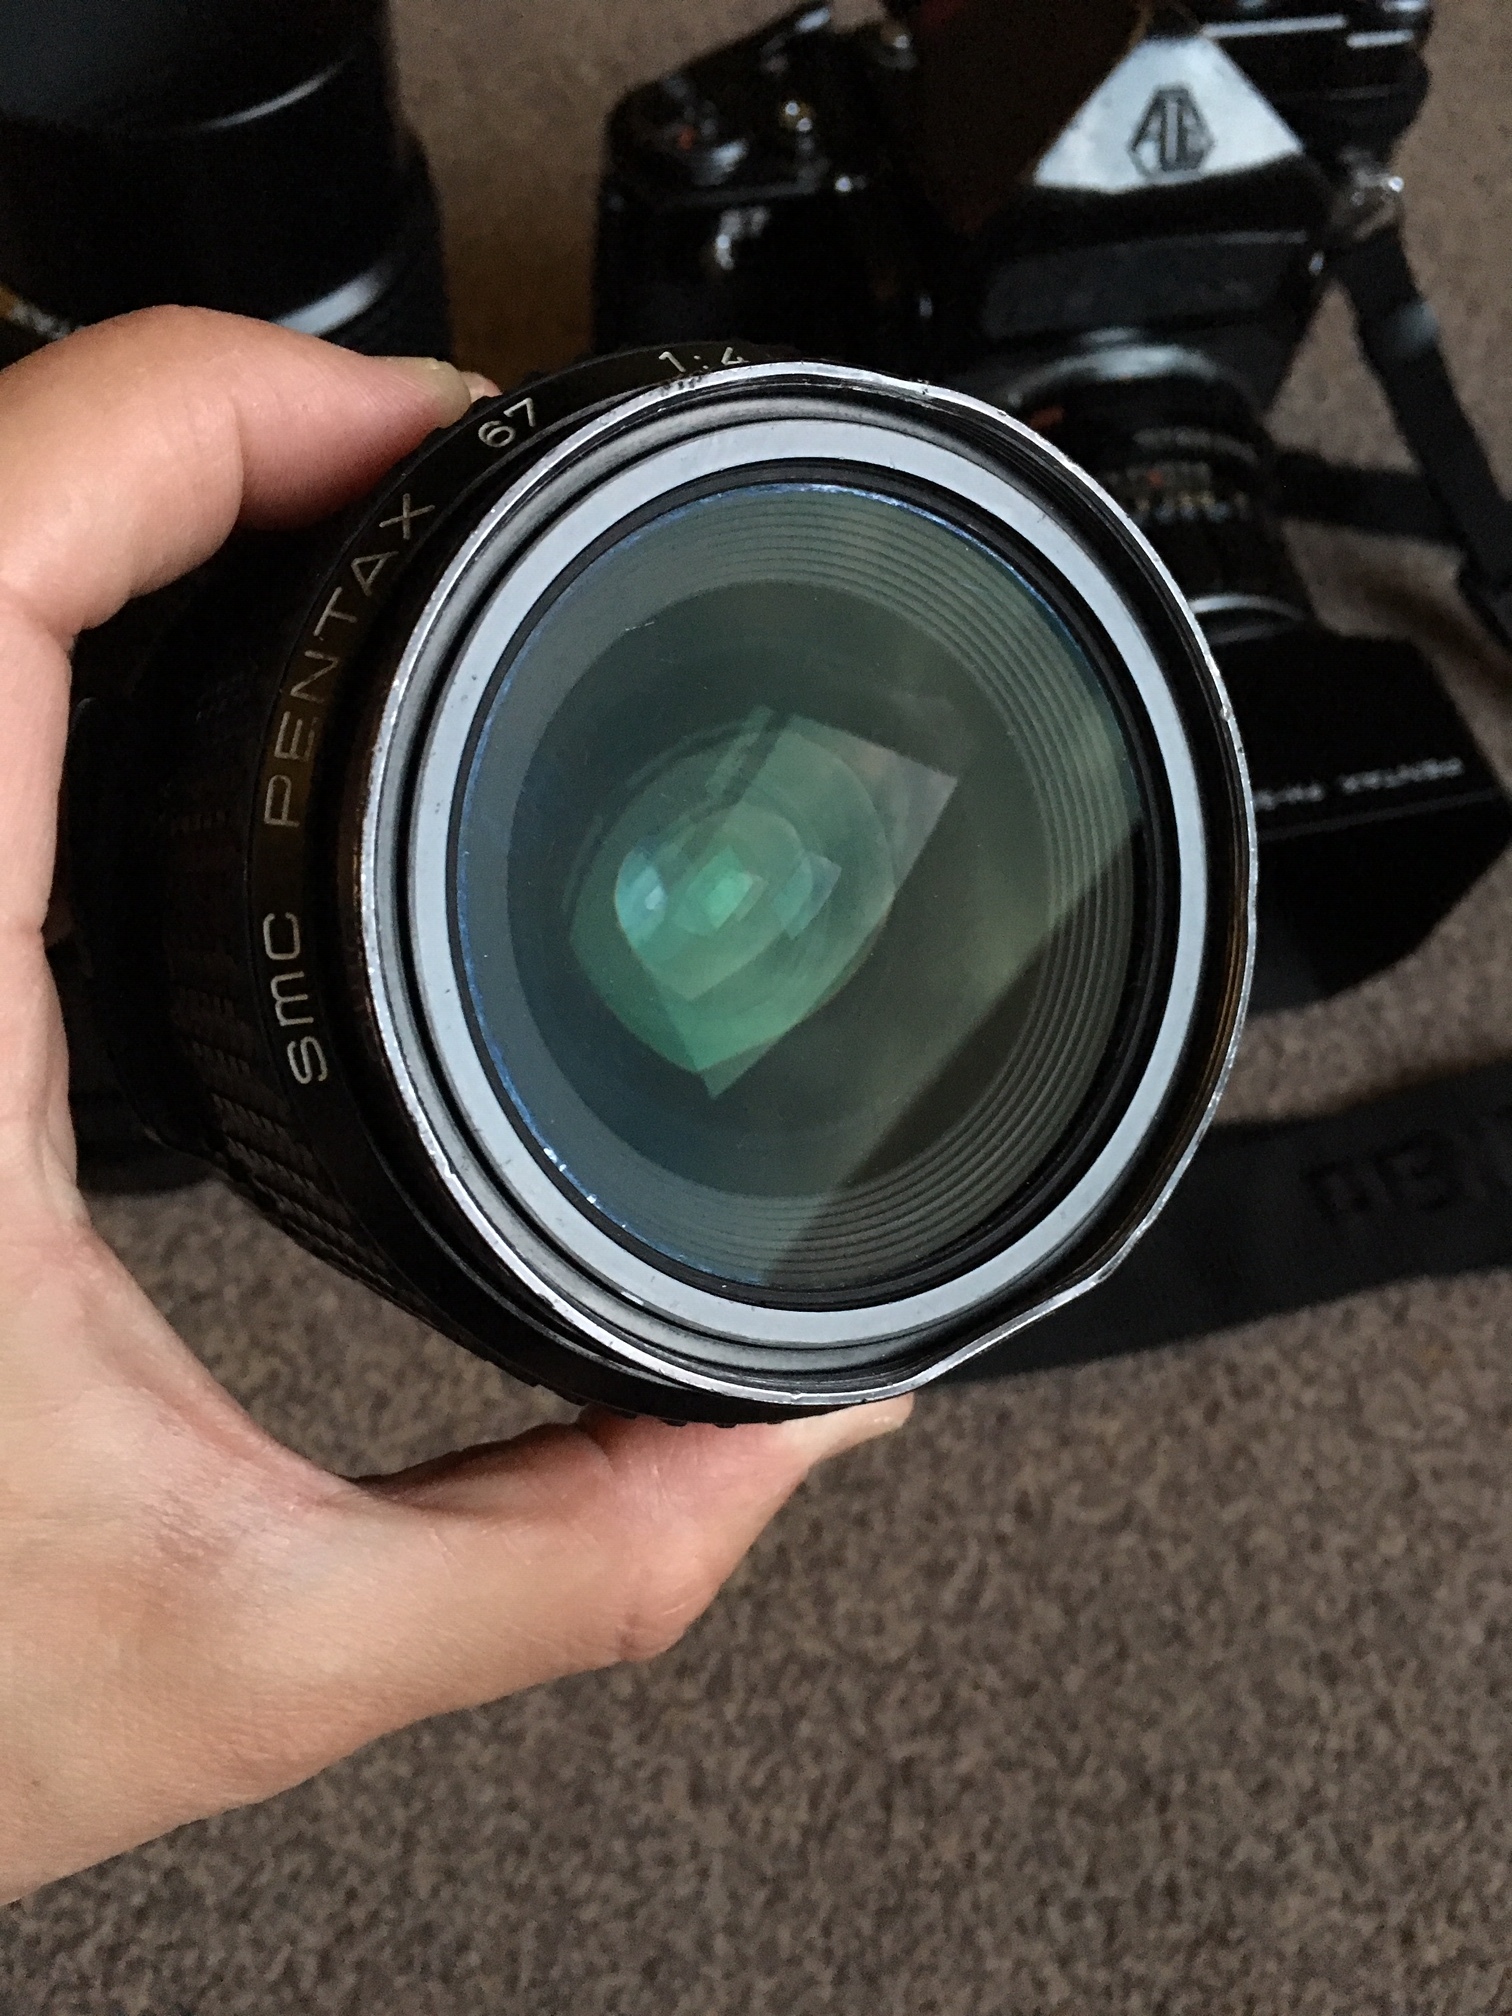
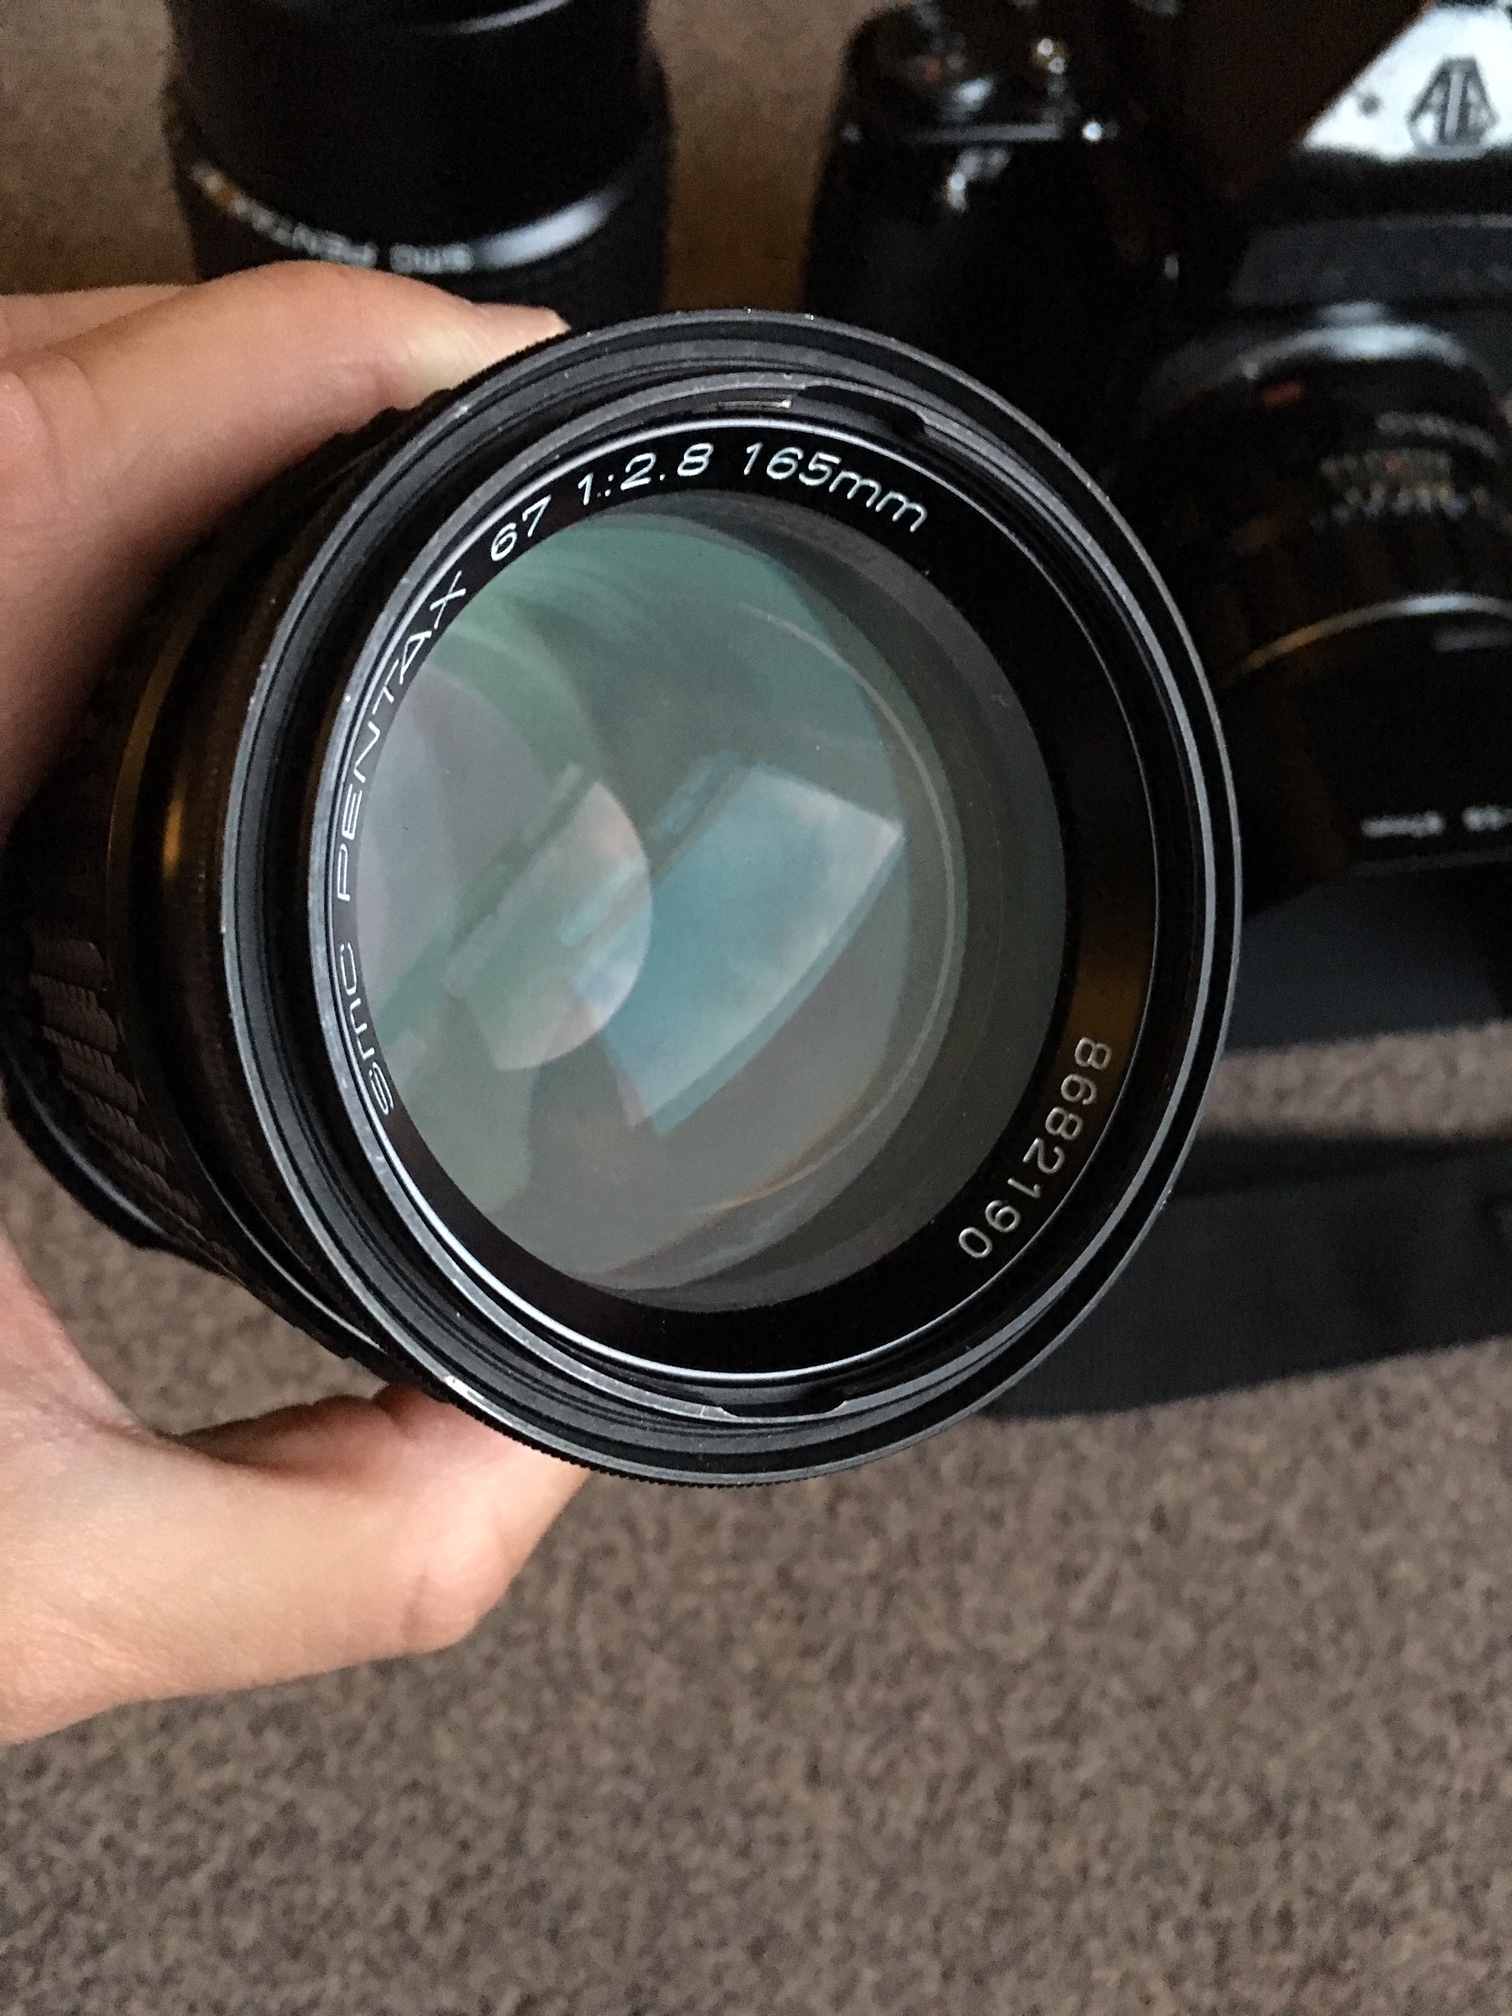
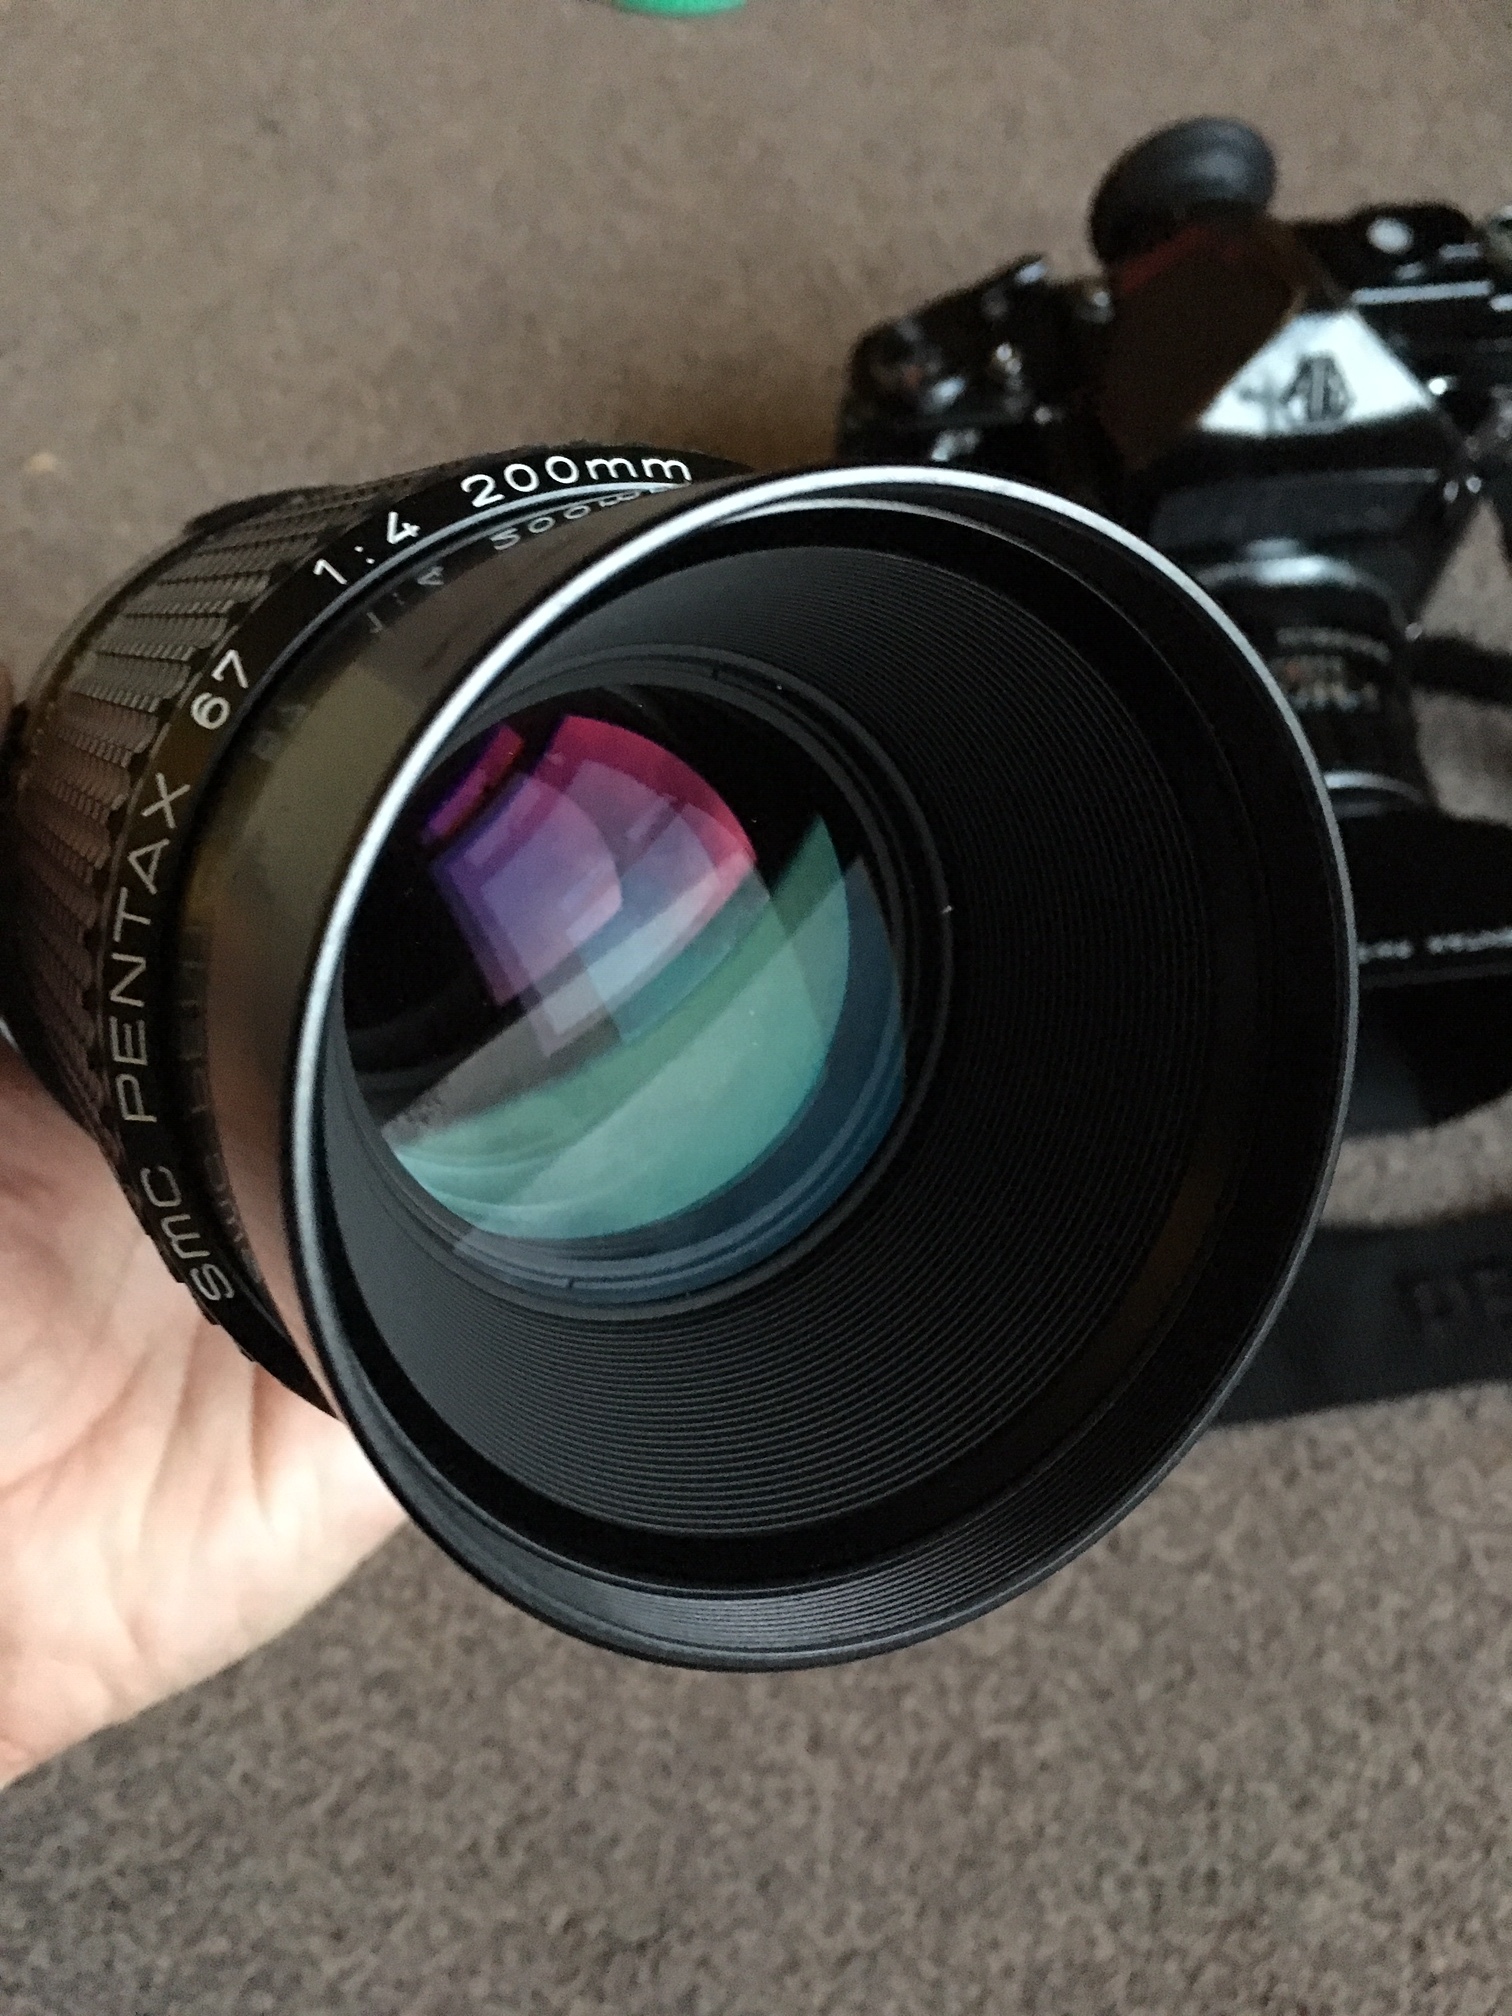
My camera came with the wonderful 105mm 2.4 lens already- i swiftly added the very cool looking lens hood to this and then started casting about for more lenses to try out, the great thing about this system is that these lenses are generally very large and so aren’t really coveted by the mirrorless digital camera crowd, this means they are pretty cheap! By shopping around (in the case of the 200mm that meant importing from Japan and in the case of the 55mm it meant not being too picky about cosmetic condition of the lens body) I was able to put together a selection of three amazing additional lenses for my 67 for less than £250 in total! here they are:

From left to right:

55mm f4 - a wide angle lens equivalent to about 28mm on 35mm format

165m f2.8 - a short tele lens equivalent to about 85mm on 35mm format

200mm f4 - a medium tele equivalent to about 100mm on 35mm format

I’m still testing these lenses out and deciding which to keep in my line up, since I love the 105mm 2.4 so much the two portrait lenses don’t get much of a look in at the moment, despite being fine lenses in their own rightonly time will tell if they will remain in my collection; the 55mm on the other hand is a keeper! Just to prove that the P67 is a flexible camera and suitable for landscape as well as portraiture here are a few shots I got on a short hike in the wonderful West Yorkshire Moors near my home and all shot on the 55mm f4.

It’s a bloody brilliant landscape shooter - I don’t know why this surprised me since it is basically an oversized 35mm SLR, but i was pleasantly surprised at how enjoyable it was to shoot on this walk, it’s weight is a bit of a limiting factor for longer walks and as someone who enjoys the great outdoors I’m not sure I would i regularly take the P67 on a long hike as it is a heavy beast to lug up hill and down dale but I’d definitely take it on shorter walks or to shoot specific scenes with the intention of darkroom printing the results, the 6X7 negatives are wonderful, lots and lots of lovely detail and the 45mm lens is amazing, I’m looking forward to getting into the darkroom soon and printing some of these!

So there we have it, my dream camera is living up to expectations (if not exceeding them) the P67 has helped me to transform my portfolio in a way that no other camera has, it’s flexible enough to shoot on location for portraits and is a very capable landscape shooter too - as with any camera nothing is perfect, but the Pentax 67 is the next best thing!

Review of the Bellini Foto 1 Litre C41 development kit

IMG_0381.JPG

I realised recently that for someone who says that they don’t shoot much colour film, I shoot a LOT of colour film! In fact over the last 12 months I’ve been shooting colour film stocks more and more regularly - so much so that i finally decided that developing colour at home was a viable option. This was something that I’d done once before a couple a few years ago but I found the results less than impressive and the chemicals difficult to handle, short lived and therefore expensive.

So having cast about for a suitable kit to get back in the colour film developing game I landed upon the Bellini Foto C41 kit.

I must stress at this point that I am not being paid (or to cut out the middle man, sent free film) to say nice things about the Bellini Foto kit, this is my genuine honest feedback on the kit (spoiler alert: I think it’s ace) these are just my thoughts and experiences using it.

IMG_0382.JPG

There’s quite a bit involved in todays blog in which I’ll focus on five things:

1: An overview of the Bellini Foto kit

2: The additional bits of equipment I used

3: My approach to developing

4: Scanning the negatives and the results

5: Conclusion

I think that people (myself included) can be a bit put off colour developing because it’s a bit more of an involved process which is true to a point, but really if you can develop black and white (HERE is a blog i prepared earlier on that subject) then really you can do colour - the key aspect which always gave me pause for thought with colour developing was the short shelf life of the chemicals themselves, with the previous kit I’d used lasting about a month which for my purposes is not long enough - happily there is a solution to this problem which I’ll explain later on, first let me show you what’s included in the kit.

IMG_0383.JPG

1: An overview of the Bellini Foto kit

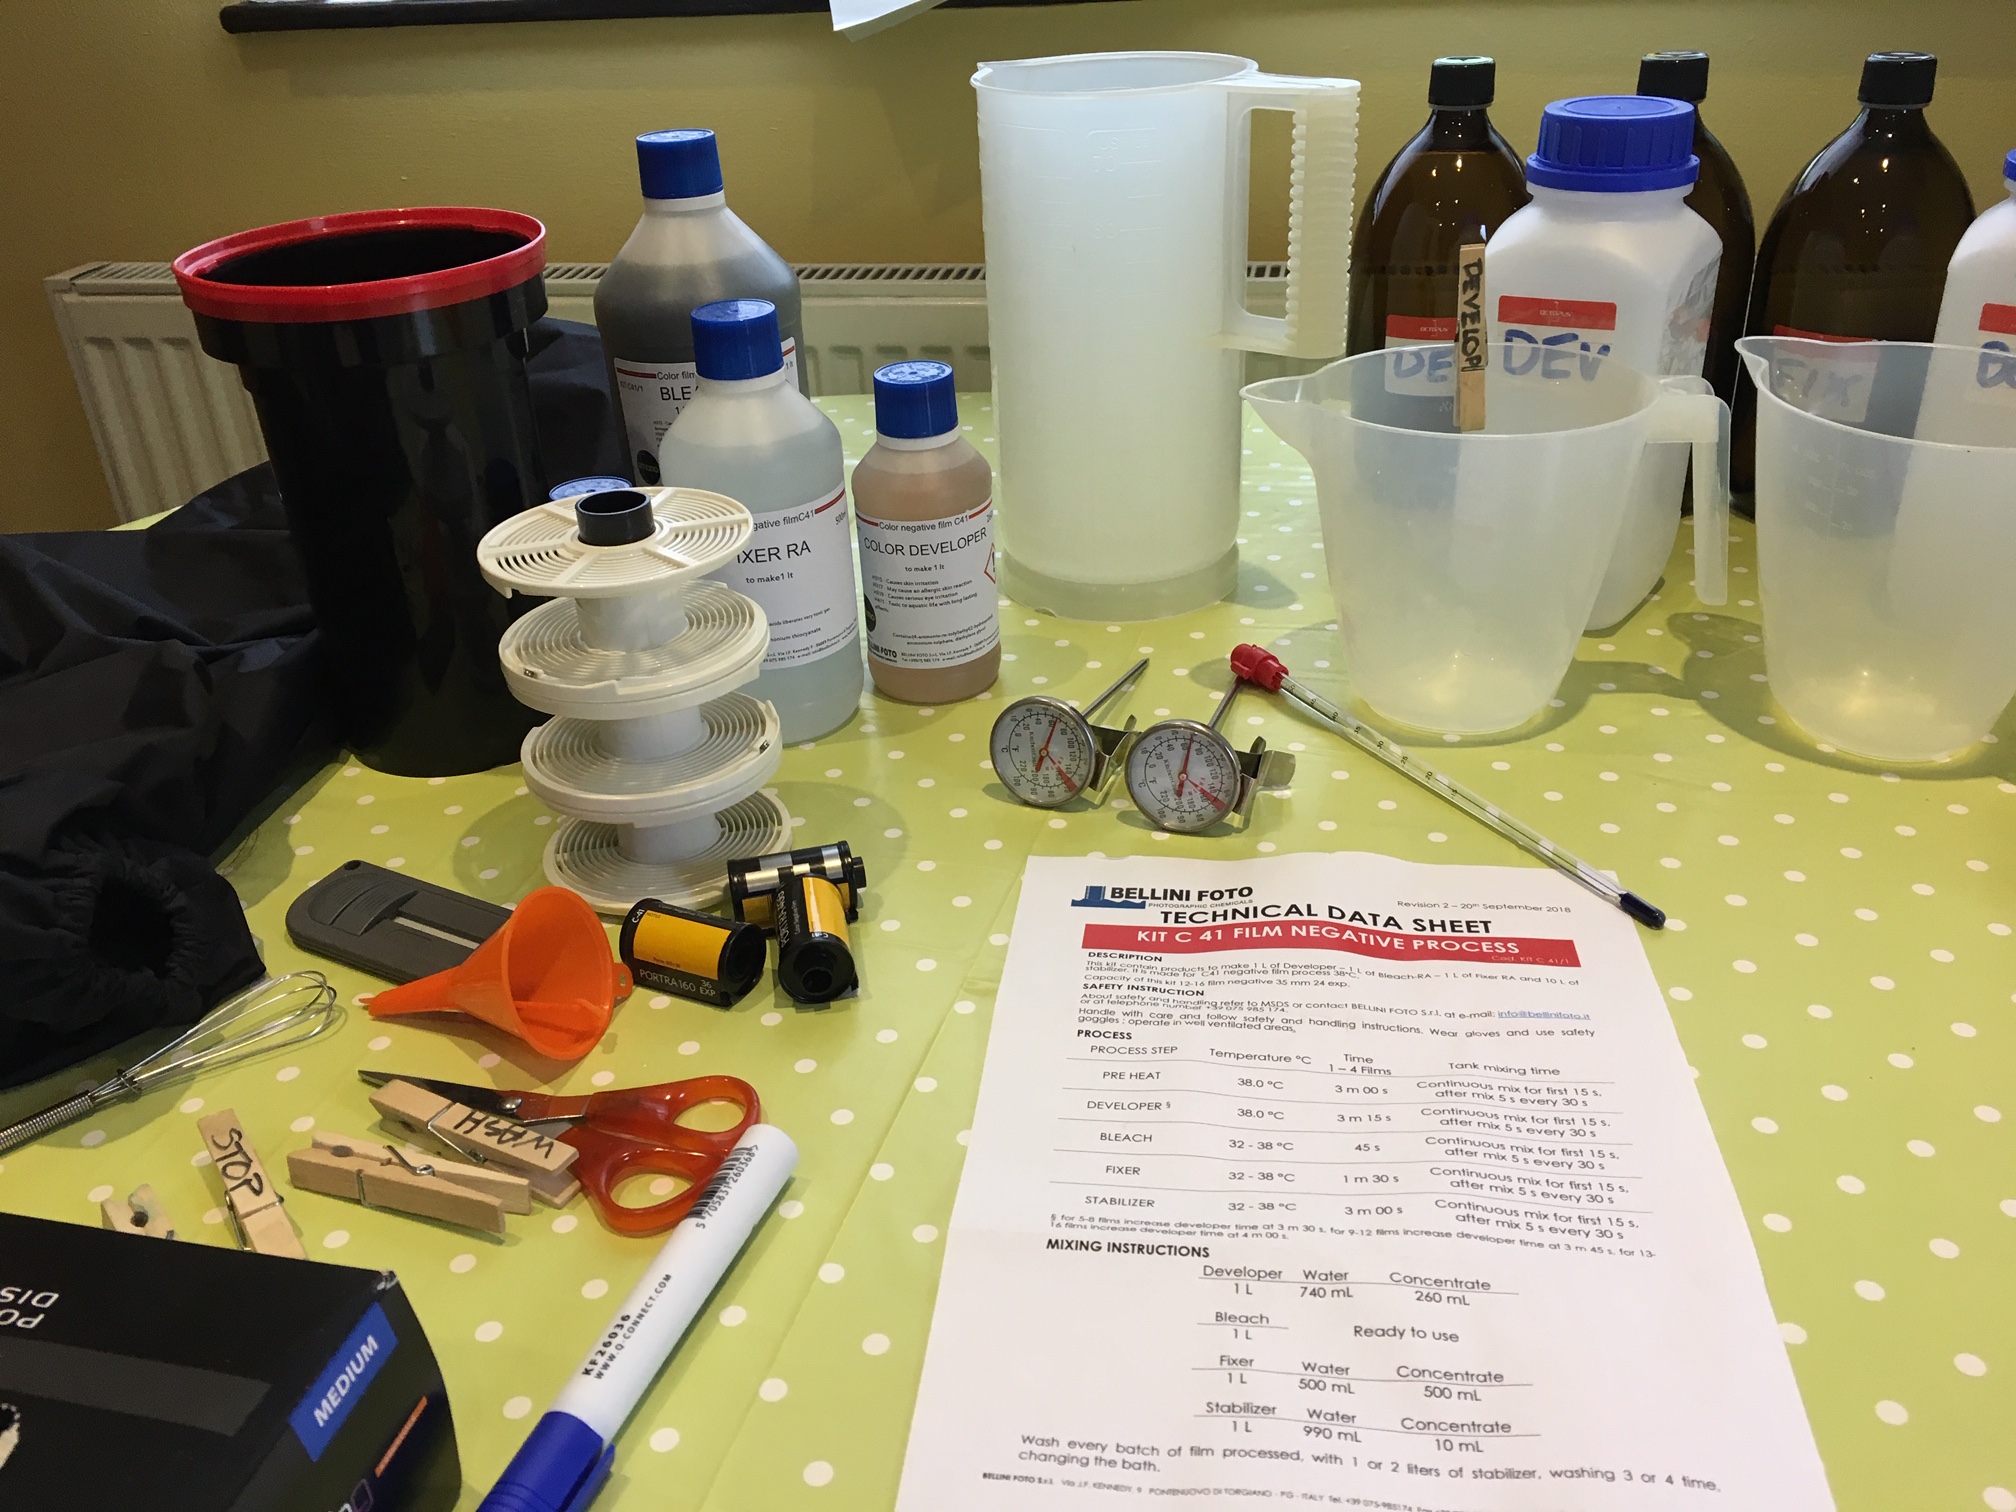
The kit i used is the 1 Litre version and comes supplied with Concentrated Developer, Fixer and Stabiliser plus a ready to use bottle of Bleach, mixing the concetrates is very simple as you can see from the instructions pictured above that are included in the kit.

You get enough developer and fixer to make 1 litre working solutions and loads of stabiliser - enough to make 10 litres! more than enough - which is good because I promptly spilled half of my bottle of stabiliser on the kitchen floor! :(

The key thing with developing Colour even more so than Black and White is to ensure you keep water temperature at a constant 38 degrees, it’s critical in fact!

IMG_0385.JPG

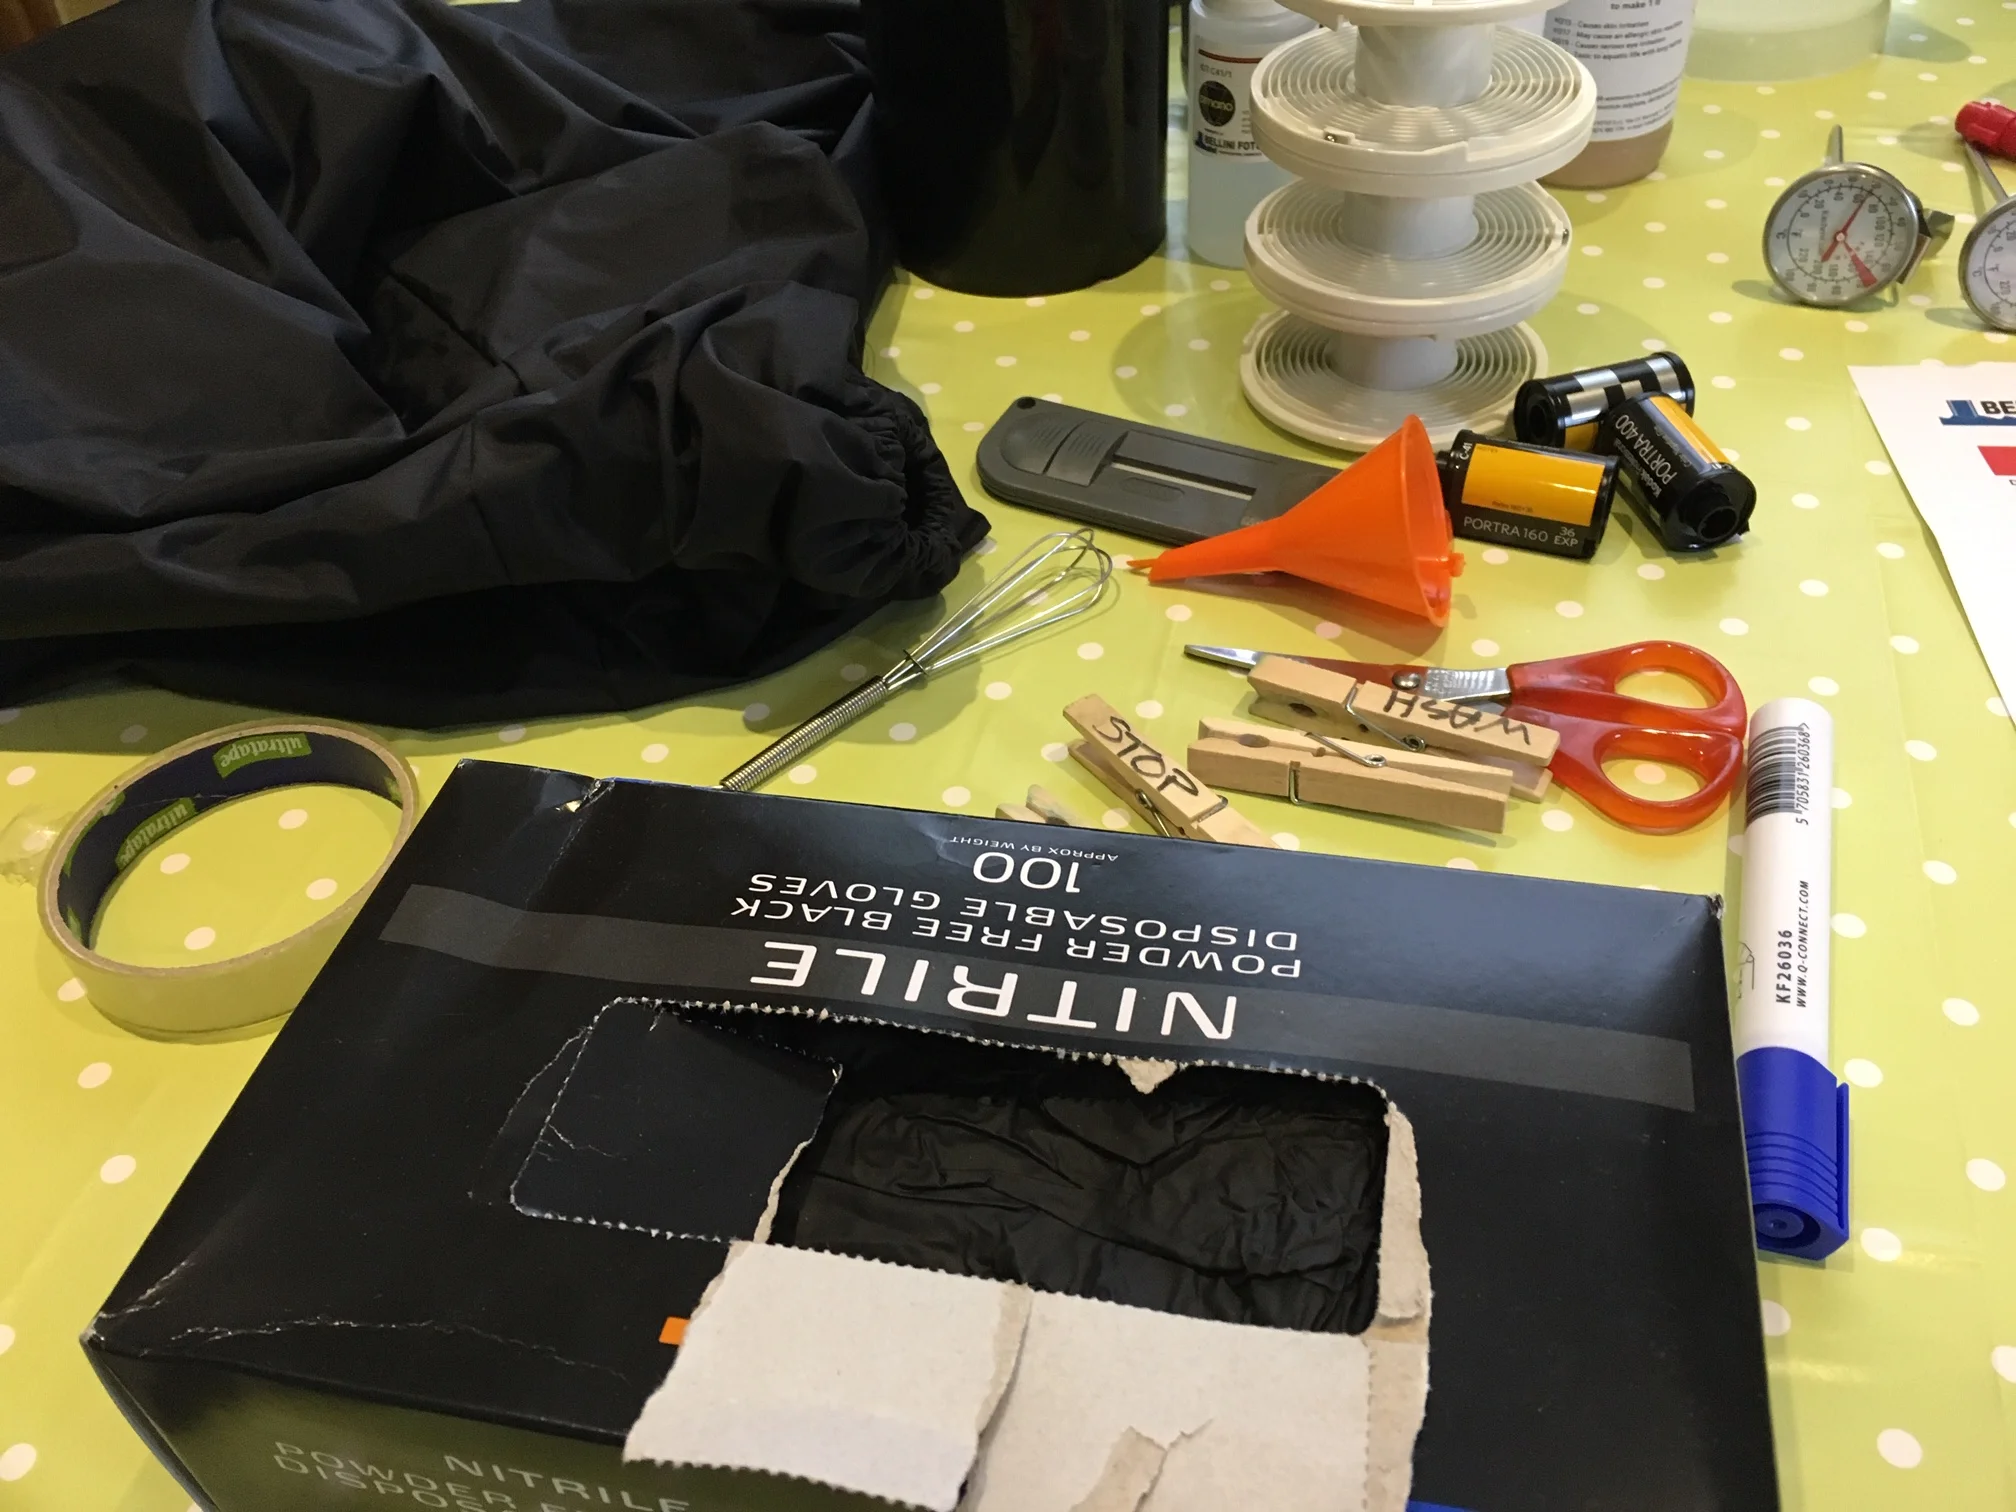
It’s worth stating at this point that whilst none of these chemicals are any more dangerous than stuff you have under the kitchen sink, since you are working directly with the chemicals then gloves are essential, as is working in a well ventilated room - this goes for black & white and colour developing - safety first folks!

IMG_0384.JPG

2: The additional bits of equipment I used

Getting the Bellini kit is one thing but getting set up to develop colour film you’ll need a few extra items (I’m assuming here that you already have all the kit and caboodle required for black and white such as a developing tank,reels, changing bag, measuring jugs, thermometers etc ) I’ll list the colour developing specific items and provide some explanation of their use along the way:

Sousvide - yes I had no idea what this was until i started looking into colour film developing either!! its a tool used for heating up water for cookery (madness i know) i bought mine for £25 off amazon (other megaretailcorps are available) you can see it pictured on the left below, it’s the U-bend shaped thing which clips to the side of the container and heats the water up. I guess it’s not absolutley essential to have and you could control water temp with a kettle of boiling water I suppose but for me the sous vide just takes all the hassle out of this aspect of the process, you set the control to 38 and wait for the it to do it’s thing - it will then keep the water at that temperature as long as you require.

IMG_0387.JPG
IMG_0390.JPG

Water Bath - Heating the water up in a water bath so that you can then heat your chemicals up to the required temp, as you can see from the pictures I used an old plastic box that we had knocking about in the shed, works perfectly!

IMG_0388.JPG

Wide neck bottles - you can see them pictured above, chemical storage bottles with nice wide tops for quick pouring, and plastic for ease of use, you could use empty pop bottles if you like but these were cheap enough and cost me £10 for a set of five.

IMG_0382.JPG

Glass storage jars - ok so these I bought to store the chemicals in when not being used, you can see them pictured above at the back of the photo. I got them from Nik & Trick along with a little vaccum pump and rubber stopper thingys (I think they’re supposed to be used for keeping wine fresh but clearly they serve a much better purpose here) fill the bottles with your working solutions of developer, fixer and Bleach - then using the vaccum pump and rubber stopper you pump all the remaining aire out the stopper seals the bottle et voila, your chemicals should now be good for approx 6 months or possibly even longer! definitely worth getting unless you shoot loads of film and can develop regularly so you won’t need to store stuff for long

Funnels - you’ll be pouring chemicals from bottle to bottle and then into developing tank and back into bottle - get yourself some funnels, label them so you keep things seperate

Theremometer - i have a glass photographers thermometer which is nice and accurate I used this to check on the temperature inside my developer bottle during heating

IMG_0393.JPG

3: My approach to developing
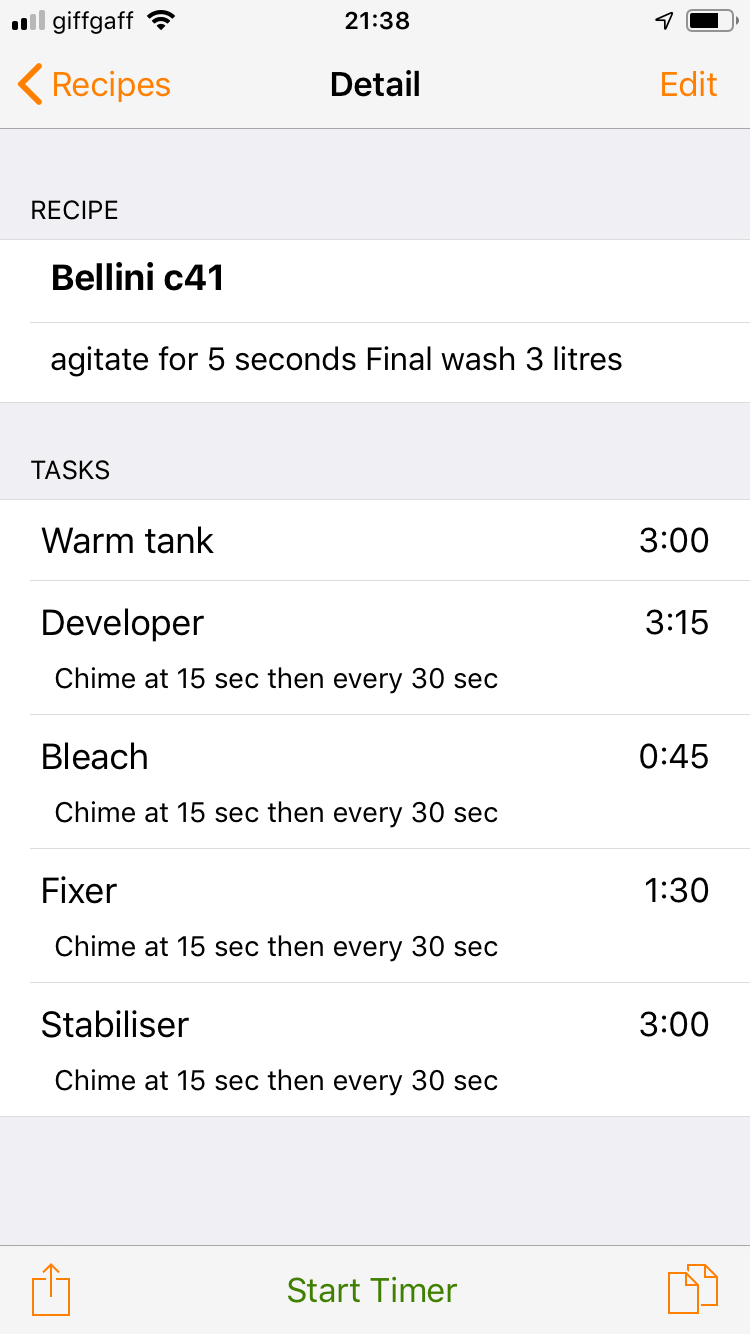
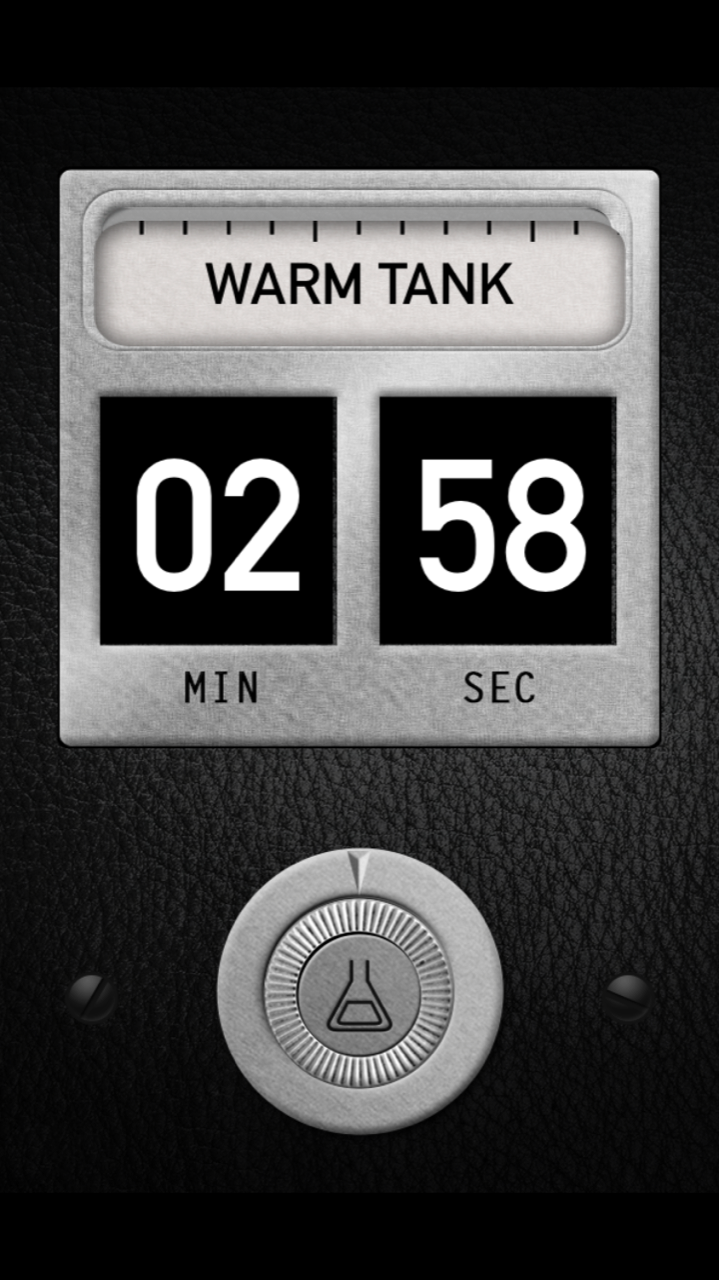
Step by step instructions are included in the kit and there are a number of different steps required in this process and the timings are quite short so you need to be on your toes and paying attention to whats going on, especially when trying out a new process - for me having something like the Massive Development App to guide me along my way during development is usually my preferred app but unfortunatley whilst in all other aspects the the Massive Development App is amazing, it is actually completely RUBBISH at creating custom development procedures, I mean it’s possible to do but it’s very clunky and not as good as it could be….fortunately for us there is another cheeky little phone app out there which can help, it’s called Develop! and it’s great!

It allows you to easily custom build a film developing process with timings and agitation cycles - you can then press ‘play’ and the app will give you a visual guide to keeping on track through the development procedure, lovely! I find this super helpful and takes some of the pressure off and not having to refer back to the print out instructions that come with the kit when you’re trying to keep an eye on everything else that is going on - highly recommend this app, oh and the best part? it’s free! (i think? I can’t remember now - if it did cost something then it wasn’t very much)

Following the instructions (via the help of the Develop! app) made this a very enjoyable process - setting everything up and getting your chemicals up to working temperature is the long part of the process, once everything is set then the whole process is over in less than 15 mins - you can see from the developing timings on the left above how long each stage takes and the agitation process required.

I messed up the stabiliser stage though - i poured the stabiliser away after use when it turns out it is re-useable for a few films before needing to be changing, this coupled with me spilling half of the concentrate as I was getting set up wasn;t brilliant either, fortunately Bellini supply LOADS of concentrate enought to make 10 litres worth so I think I’ve still got enough left for some more developing sessions with this kit

IMG_0392.JPG

4: Scanning the negatives and the results

The moment of truth! I was blown away by the results! clear and spotless negatives which allowed for lovely colours and tones when scanned - of course scanning colour film at home is an art form in and of itself sometimes, but after a little bit of jiggery pokery i was able to get the colour balance i was looking for (I won’t make an already long blog post even longer by discussing the vagaries of scanning - maybe in a later blog) suffice it to say that the negatives I had developed looked great and with minimal processing work i was able to achieve some really lovely finished photos which you can see below.

For more photos from this shoot take a look HERE I developed 3 rolls of 35mm in one go - two portra 400 and one portra 160, the beauty of the C41 process is you can develop different ISO films at the same time with the same process, really pleased with how they came out, of course scanning wise I would still use a professional development service for critical or professional images as the scans are just so much better but I think for personal projects these are just great.

5: Conclusion

Ok so well done for making it this far! my conclusion? I think that the Bellini Foto kit is amazing! i was very impressed with the quality of the negatives and final images, the process was relatively straight forward and I would feel much more confident in using this next time around. I like that given the right storage that the chemicals will last a while and that they are good for approx 12 rolls of film which makes this a great money saving on having films developed professionally - that being said I do need to spend some more time creating a consistent workflow for my scanning and colour balancing to get accurate colour rendition. On some of the photos they came out perfect straight away but others did require a bit of fettling in Lightroom - which is fine - scanning colour film will defintely be a topic for another day though and I am very pleased with the results I was able to achieve on my first run out with the Bellini Kit, I would definitely recommend it.

Street Portraiture on 35mm film with the Nikon FE2 & F2

 
Partners in crime - my trusty FE2 (left) alongside it’s new bezzie mate the F2

Partners in crime - my trusty FE2 (left) alongside it’s new bezzie mate the F2

Lots and lots and lots to update you with since the last blog post which was all the way back in December!! I’ve been mega busy with lots of different projects and got loads to tell you all about, so since it’s almost a quarter of the way through already let’s finally get the 2019 blogging season off to a start shall we!

Remember last time I was saying things like “I’m going to focus more on creating photos” and “I won’t be doing as many gear reviews” and “gear just gets in the way” well I still think that’s true but owing to my contrary nature I’d like to introduce you to my latest gear acquistion… the Nikon F2!! Rather than just a boring old review thought this time I’ll be sharing some images i shot with this amazing camera on a recent portrait shoot as well, but first let me take you for a walk around the F2

IMG_0114.jpg

Ever since selling my Nikon F3 last year I have had a Nikon F Series shaped hole in my heart/camera collection (check out this link for the reason why I sold the F3) back in mid December I decided (after not very much deliberation) to buy myself an F2, cos ya know..I worked really hard last year and it’s nice to treat yourself every now and again and it was the run up to Christmas and… well, you get the idea…

I found this beauty on Evilbay for the ridiculous price of £70 and so a deal was done, the caveat being that the camera was from Japan so taking a bit of a punt on condition and shipping times, but as with my previous experience of international purchases the shipping is mega quick, it’s really only on arrival into the custody of Her Mahesty’s rip off merchants here in good old blighty that things slow down, after an almost literal ice age in UK customs my camera was finally released to me and there was much merry making and feasting by all….. sort of… two things became clear fairly quickly 1: it was in very good condition and functionally worked perfectly 2: there were traces of dreaded fungus in the viewfinder and in the mirrorbox which didn’t bode well and therefore i was going to have to shell out some more cash (and wait even longer) before getting to grips with the F2 - it’s all sorted now though, fresh from a good clean and service I even managed to negotiate a part refund from the ebay seller which paid towards the cleaning :)

There’s oodles of info out there on the interwebs about the F2 so there’s not much point in me re-hashing it all, suffice it to say that between 1971 and 1980 if you wanted a professional level Nikon SLR then this was it!! Instead of reeling off a list of it’s features and functions I’m going to share with you a series of images I shot with both the F2 and my trusty Nikon FE2 on a portrait shoot recently, I’ll share my experience of shooting with it too of course and no doubt indulge in some techno-babble along the way as is my want…

Oh yes and interesting/geeky factoid alert! The serial number on my F2 is 7865098 and thanks to the wonders of the internet and some Nikon nerds who collate all this info I was able to date manufature of my particular camera to between May & August 1977 - so this camera is only a few months older than me! :)

Ok so that’s enough camera geekery for one blog, what’s the damn thing like to shoot I hear you cry… well… it’s amazing! build quality is second to none, it just feels very well balanced despite being quite a large camera, the viewfinder is HUGE and bright and lovely which makes manual focussing a doddle, alongside the ever brilliant FE2 I now have my perfect 35mm dynamic duo!

Portra 160 with the FE2 and series e 100mm 2.8

Portra 160 with the FE2 and series e 100mm 2.8

These images were taken on a portrait shoot with Model Rebecca back in Feb when we had a mini heat wave - I was so glad we made the most of the sunshine! The FE2 was loaded with a roll of Portra 160 and with the F2 I shot a roll of Fuji Acros 100 and a roll of Portra 400 - I enjoyed using this combination of film and cameras so much and was very happy with the results that I decided right there and then that I’m going to shoot film from now on for portraiture.

Fuji Acros 100 on the F2 with Nikkor 50m 1.4

Fuji Acros 100 on the F2 with Nikkor 50m 1.4

Let’s take a moment to reflect on the film stocks used on this shoot - I’ve had a couple of rolls of Fuji Acros 100 on ice in the freezer for a few years now and since buying it Fuji have discontinued production :( having only shot one roll of it before I figured I’d give it a whirl and I love the results, developed in HC110 it has a clean and balanced finished with lovely contrast.

Colour film duties were fulfilled by Kodak Portra one roll each of 160 and 400 flavours - I think i overexposed the 400 speed a couple of stops to 200 and shot 160 at box speed - having developed these myself I had some issues getting the right colour balance when scanning at home and for some frames it took me a little while to get the colours to look and feel ‘right’

Portra 400 on the FE 2 with Nikkor 24mmm 2.8

Portra 400 on the FE 2 with Nikkor 24mmm 2.8

img938.jpg

So there we have it - I was so pleased with how both cameras performed and I continue to be impressed at the quality of the Nikon lenses, the images here were shot on the Nikkor 50mm 1.4, Nikkor 24mm 2.8 and the Series E 100mm 2.8 - super sharp shooters the lot of them! If you’ve not tried an old Nikon camera and lens I would urge you to do so - there’s a reason why these were the manufacturer of choice for professionals back in the day.

Portra 160 on the FE2 series e 100mm 2.8

Portra 160 on the FE2 series e 100mm 2.8

I developed the colour film at home too - the first time in a long time that I’ve done that, I was really pleased with how they came out and I’ve got a write up of the process and kit that I used on the way, I promise it won’t be another 3 months before I write another blog, in the meantime happy shooting!


Just Passing Through

img795.jpg

Hello there! long time no see! It feels like a long time since the last blog although looking back it seems I’ve managed to keep it to one post per month just about! My (non photography) work has taken off in a big way and I’m now working away quite a bit and whilst being on the road is certainly a great experience it does eat into my time for things like blogging and of course being away from home and family for prolonged stints is hard too. It is cool that I get to travel though and see all sorts of weird, wonderful and sometimes just plain ordinary places - it also helps that I have a firm belief that if we have the eyes to see it, the world around us is full of images just waiting to be discovered - good job i write a blog then innit?!

img800.jpg

So what have I been shooting whilst out and about, well literally that…these images represent moments on the go, on the bounce, on the hop, out and about, in betweener moments - inbetween meetings, in between appointments, in between places and spaces, hurrying along to catch a train, a bus, a plane - that in between mindest when you’re moving from one place to the next, just passing through, finding a route, not putting down roots…

img797.jpg

I’d love to stalk the streets for hours on end searching for the perfect shot, the decisive moment but when I’m travelling it’s often as I’m on my way from point A to point B that I have the opportunity to take in my surroundings, to connect however fleetingly and momentarily through the lens of my camera.

img815.jpg

I titled todays post ‘passing through’ by which i mean to draw attention to the difference between being a passer by and the act of passing through places and spaces. Passing by suggests an act of avoidance, a disconnect, whilst passing through a place denotes a willingness to explore, to experience, to navigate, to see…the gift we bring is an outsiders eye, a newcomers curiosity but this is neccesarily a temporary state of being with a transcience that will inevitably lead us out of reach.

img799.jpg
img775.jpg

As you’ll have no doubt guessed by now this isn’t a technical review post - I definitely subscribe to the idea that the act of photography is about more than a set of techniques and their technical application (althogh these are of course important aspects, they are ultimately a means to an end not the end itself)

img789.jpg

So what end is being achieved here? What is the intent? With these images and subsequent blog post I wanted to apply a more intentional mindset to my work so that it’s less about ‘testing’ the various aspects of a camera and film combo in order to write about it on the interweb and more about creating images which have an underlying theme as in todays case, I’m also interested in incorporated elements of storytelling and exploring different themes, thoughts and emotions through my work and I’m working on several projects to that end as we speak (or as I type - whatever, you get the idea)!

img784.jpg
img755.jpg

These images represent the beginnings of a train of thought for my photography, a desire to create a body of work that is ‘connected’ with the theme of passing through which prompts a reflection on how we navigate the world around us, both physical and metaphorical, are we passers by in our own lives? We are bombarded with imagery online and onland which seek to capture our time and attention, can we make time and space to set ourselves apart from the hubub of modern life and simply ‘be’ in a place, eyes open to the expanse of infinite possibilities of fleeting moments.

And if all of that sounds a bit grandiose then as the great Ferris Beuler once said “life moves pretty fast, you might miss it if you don’t stop and look around once in a while” Amen to that!

img754.jpg
img716.jpg
img719.jpg
img713.jpg
img814.jpg
img805.jpg
img813.jpg

For those who are interested the majority of these images were shot on an Olympus 35RC with a couple of shots from my Holga 120N thrown in for good measure films are Kodak Double X, JCH streetpan and Ilford HP5 all developed at home by my own fair hand….I’ll still write gear reviews of course but I’d like to think that at least some of my photography is capable of being more than window dressing for a rambling rumination on the vagaries of X film combined with Y developer to produce Z effect or extolling the virtues of A lens, B camera and C film - this may just be wistful thinking on my part, the true test comes via your contribution dear viewer and how you receive the images, if you made it this far then my sincere thanks for passing through…

Malham Cove - an Art Hike Adventure with the Holga 120N

img739.jpg

Until very recently the whole ‘toy camera’ thing wasn’t something I’d paid much attention to, but I saw a couple of shots on line from the Holga 120N and i was blown away by the strangely evocative images it produces and I just knew I had to try it out! On the face of it the Holga 120N is a crappy childs toy camera with a plastic lens and only the most rudimentary controls and features - it is literally a cheap plasticky box which isn’t very well put together at all and the only part that isn’t plastic is the thin metal spring that triggers the shutter. So why the hell do so many people (myself now very much included) rave about this camera? I took it along with me on another Art Hike on a rainy, foggy Sunday walk to Malham Cove in North Yorkshire to find out.

First things first it’s the images really do speak for themselves - I mean look at them!! The lens is actually surprisingly sharp in the middle, whilst the distortion around the edges adds a ghostly, otherwordly effect which is very eye catching, it uses medium format film which gives it a specific look to it as well, the 6X6 square images have a depth to them which adds to the mystique - it is worth noting that at the moment the Holga is the largest format camera i own :) but it’s more than the aesthetic qualities of the images this camera is capable of that appeals to me.

img744.jpg

A quick shout out to the ‘Art Hike’ crew for such an enjoyable day spent walking around Malham Cove, the rain and mist couldn’t dampen our enthusiasm for nature, creativity, walking and a good old chinwag - always great company, thank you all!

Rogue Leader - Robin who organises these Art Hike capers, he’s a miserable soul - never smiles! ;)

Rogue Leader - Robin who organises these Art Hike capers, he’s a miserable soul - never smiles! ;)

So on the face of it then the Holga is a very strange proposition, usually I’m here telling you about my latest whizzbang camera and how amazing it’s lens or features or built quality are but none of that here…. well sort of….it’s the lack of controls, features or creature comforts of any kind which make it interesting, in this world of instant gratification and camera phones that can create near perfect representations of the world, the Holga is an exercise in limitation - to shoot unencumbered by dials, switches, menus, adjustments, meters, readouts etc etc - it’s wonderfully freeing! it’s just you, a roll of film and a cheap plastic lens - love it!

The controls that you do have are a range focus on a scale of portrait to infinity represented by either a single person, two people, small group or a mountain! You can set the aperture for cloudy conditions or wide open at approximately f8 or stop it down for ‘sunny’ conditions and get something like f11 - again nobody is really sure how accurate these are and it’s entirely likely that it differs from one camera to the next, the shutter speed is fixed at who knows what speed and that’s it! :)

The Holga mummified in electrical tape to stop light getting in and ruining the film - just look at the ‘optical’ lens as well!

The Holga mummified in electrical tape to stop light getting in and ruining the film - just look at the ‘optical’ lens as well!

All of these images shot on Ilford HP5 and FP4, in the murky foggy conditions we encountered on this walk I’d have been better with two rolls of HP5 as it’s a lot more flexible and responds really well to being pushed in development, I think the FP4 struggled in the poor lighting especially at the beginning of the walk, so the Holga shall henceforth dine only on the finest HP5! it’s a good idea to shoot higher speed films anyway since I have no idea what my shutter speed is on the Holga so having some latitude in your film gives me more confidence that I’ll get something!

img742.jpg
44458650_2230519793675399_5616262320452796416_n.jpg

So maybe the Holga isn’t perfect but it doesn’t need to be, I paid £20 for mine and for that price it came with a roll of Ilford FP4 film too which is worth about a fiver!! this camera is CHEAP!! it was designed to be cheap! Most of the time photographers are looking for cameras that give them additional features, controls or settings but the Holga has none of that, in fact THAT is it’s feature - it’s more of a mindset thing, without the confusion of dials, buttons and switches to get in your way you are really only left with one option - point the damn thing at something and shoot! the challenge is whether you can make an interesting image under those constraints! I love it! I am officially a Holga convert and the best part is that i am not going to go broke in the process!

img745.jpg
img749.jpg

The rain soaked summit of Malham Cove - the other great feature of the Holga is that I can quite happily sling this around my neck in horrible weather and not give a hoot about the rain damaging the workings of the camera, becuase the camera is literally a plastic box with a thin metal spring inside…. if i’ve done my job with the 99p worth of electic tape sealing up the camera then water shouldn’t bother the inner workings at all and anyway if it does it just adds to the charm right?

img750.jpg
img751.jpg

In summary then I would heartily recommend you try one - yes you will take some shots with the lens cap on, yes you will make more than a few unintended double exposures, yes you will spend more on electrical tape to seal it up than you paid for the whole camera and yes you will enjoy every second of shooting with it!

Art Hike: A walk through history

I love being outdoors, it's one of my favourite things to do - there's really no substitute for a day spent tramping across open fields, walking amidst the trees and drinking in the views from the top of a just crested hill.

img629.jpg

Earlier this summer i joined 'art hike' for a creative stroll through history and an opportunity to combine my love of art, nature and history.

I would highly recommend you check out Art Hike if any of the above is of interest to you - it's an informal get together organised by my friends Robin & Adele. For this latest one apprx 20 people came out for this walk all creative minded folks with an interest in art and the outdoors - it was great to meet everyone and I'll definitely be going on further expeditions with them! For more details about Art Hike check out their fb page HERE

For this particular walk the group was led by local chap Adrian who has a passion for the pre-history of the area and shared his knowledge and thoughts with us on the neolithic peoples who once strode this landscape, and how even today we can catch a glimpse of their world - if we have eyes to see it.

img626.jpg

I too have a keen interest in this phase of human history - the landscape around Huddersfield is so rich with features that our ancient ancestors would've recognised and made use of that it's easy to get carried away imagining how they would've looked in times past, there are three topographical features which really stick out (literally) in the geography, history and phsychology of Huddersfield these are (most prominently) Castle Hill and (less well know but more mysterious) are the twin high points of Shooters nab and West nab - these three sites are quite clearly visible to/from one another. There is archeological evidence of neolithic occupation at all three sites - but our understanding of what our ancient forebears were up to is fairly limited.

img611.jpg

Castle Hill is a remarkable feature and it makes it's presence known on the landscape - it's history is ancient going back at least 4,000 years having at one time being a hill fort, enclosure and later a Norman castle - the pub that used to stand atop the hill was much missed (especially after a long walk) but the hill still plays host to a Victorian folly which is open to the public and I have some photos from that on another roll of film so we;ll see how that turns out! There's more info on Castle Hill to be found HERE. For me it's certainly been a much visited place but it was great to hear Adrians stories and get more details about how unique a feature it is and how unusual the hill fort is - i knew it was special but had no idea just how much!

West Nab on the left and Shooters nab on the right - enclosing Meltham Moor in between

West Nab on the left and Shooters nab on the right - enclosing Meltham Moor in between

West Nab is a firm favourite place of mine to visit - a rocky outcrop with clear signs of human activity in the shape of carvings and bowls cut from the rock, the summit appears to consist of a collapsed ancient burial mound - so little is known about the site and the people's who left these reminders of their passing though, the aptly named shooters nab is not open to the public thanks to the shooting range from which it takes it's name.

The two nabs form a cradle shaped feature which is visible from pretty much anywhere in Huddersfield (although to my shame i was blind to it for many years) but once my interest was 'peaked' (groan) I couldn't take my eyes from it!

img630.jpg

Our route took us from the top of Castle Hill down to 'Deadmans Stone' and then up through the mills of Armitage Bridge and a woodland track into Mag Wood, here we walked on towards Netherron bank where I was amazed at how much visible evidence of prehistoric earthworks remain on the ground - albeit very slight traces and without Adrian's guidance I would have walked straight over them!

img616.jpg

We walked back through beautiful woodland and along the edge of famland and traces of more modern human activity...

img620.jpg
img614.jpg
img627.jpg
img618.jpg

More recent stone structures abound, from wonky field boundaries to this half submerged stone circle of unknown date (probs about a week old)

img608.jpg

Walking back up to Castle Hill we bravely ventured through the tunnel off doom.....

img607.jpg
img606.jpg

Emerging safe into the bright sunlight and a pleasant (but steep) hike up the hill

img604.jpg

A side of Castle Hill I hadn't seen before - open fields and scatterd tress across the lower slopes of the hill... This image of the tree is possibly my fav from the whole roll and a candidate for wet printing in the darkroom I think :)

img609.jpg

Returning at last to our point of origin :)
A wonderful summers day walking and talking with likeminded folks, I can't think of a better way to spend a sunny sunday afternoon! I shot these on my trusty Olympus OM2n with a 28mm lens and an orange filter which helps to accentuate the contrast and in bright conditions helps retain details in the clouds as you can see! The film was Rollei Retro 80S which is one of my favourite emulsions, smooth and contrasty - i developed this roll at home in Bellini Foto 'Eco Film Developer'

There are more photos from this walk waiting to emerge from their photochromatic slumber so stay tuned for more pictures in pt2!